 First order of business: It’s time for another Giveaway, don’t you think? Mother’s Day is coming soon and I’m thinkin’ some mother should get a tea package to celebrate her special day!! And so, starting today and through May 4th, leave a comment and your name will be thrown into the hat for a drawing on May 5th. The winner will receive the package pictured below: A Tea-For-Two teapot, a cute tin of one of our signature teas with tea infuser and a package of our wonderful Victorian House Scones. Sound good? Great! Start commenting on posts and enter early and often. 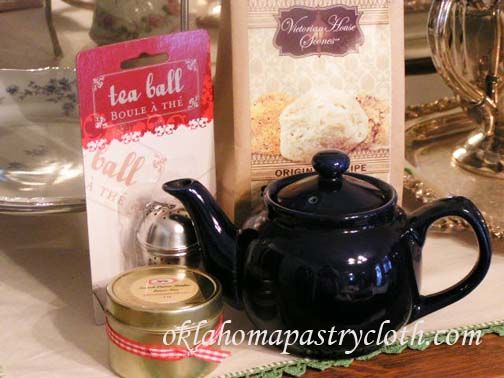  Second order of business: Patrice Lewis over at the Rural Revolution, who has so kindly linked to this blog, has produced a series of E-books on canning and country living that are handy indeed. Since they are only $1.50 each, they are so affordable and since they are around 20 pages each, are easy to print off to keep at your fingertips. You can order Patrice’s booklets here. OK, so for a past number of posts, I have been sharing handwritten recipes, from my grandmother, that are recorded in a 1931 edition of the Rumford Cookbook which was put out by the Rumford Baking Powder company. This week, I tried another one of those recipes and Mr. Fix-It gave a big thumbs up. As usual, my grandmother only wrote down the ingredients with a few mixing instructions, but this time she did give a baking time and the instructions to use a “moderate” oven. I figured that would be around 350º. My figuring was correct! 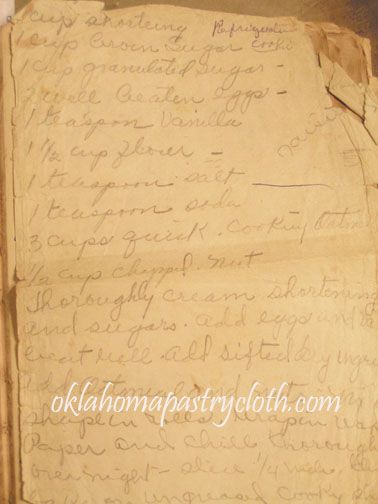 I have also been including some exerpts from a book that my father wrote, called Sailing Down The River Of Memories which is about his growing up years in the 1930’s and 1940’s. The following exerpt, I thought, would be fun for those of you with children. It seems that in today’s fast-paced, technology-permeated world, we’ve forgotten some of the simple games of the last century. And I will say that some of those games were pretty rough! “Flying Dutchman – Players held hands in a circle while one couple who was IT walked counterclockwise outside the circle. When they hit the joined hands of two players, both IT an the other couple then ran in opposite directions around the circle trying to be the first back to the opening in the circle. The losers became IT. When I was about seven, Treva Scott, who was older than I, and I were tagged. She got ahead of me as we ran and the heel of her shoe hit me in the mouth, knocking four front teeth loose. Fortunately, they were baby teeth. I’ve heard of a person “putting his foot in his mouth” but never of someone else doing it. Mumble Peg – A knife with a long and a short blade opened on one end was needed. The knife was opened with the short blade out straight and the long blade at a 90-degree angle. The player put the long blade touching the ground and fipped the knife into the air. The game was played two ways. In one, points were given when the short blade stuck into the ground, the long blade stuck or both blades stuck. In the other, the winner had to stick the knife all three ways – long blade into the ground, long and short blade into the ground and the short blade in with the base of the knife resting on the ground making a triangle. Sometimes, we flipped the knife off of our wrist or hand. Leap Frog-One boy leaned over with his hands on his knees while a second boy ran up and putting his hands on the bent back, vaulted over him. Sometimes several boys would line up about three feet apart and the jumper tried to jump all without stopping or breaking rhythm. The real challenge was to vault over two or three boys who leaned over one another. Indoor Games-We played many indoor party games such as “poor pussy”, “heavy, heavy hangs over your head,” “odd or even,” “I see something you don’t see” and “hot or cold”… Dropping Clothes Pins into the Milk Bottle-Milk came in long-necked quart milk bottles with the opening about one inch in diameter. We took three straight clothes pins, stood above the milk bottle and tried to drop the pins into the bottle. Just like Me-This game was popular with adults who liked to pull it on a young child. Interesting enough, some children liked to play it over and over again. Leader: You have to say, “Just like me” after anything I say. Ready? I went upstairs. Child: Just like me Leader: I walked down the hall Child: Just like me Leader: I came to a door Child: Just like me Leader: I went in the room Child: Just like me Leader: I looked in the mirror Child: Just like me Leader: I saw a monkey Child: Just like me No adults needed-I guess one thing that made our play “ours” was that it was something WE did. No adult was needed. We made a lot of the things we played with such as kites, boats, stilts, balls. When we wanted to play baseball, we got enough boys together, found a ball and bat and played. We didn’t need a coach to teach us how to hit or pitch. We learned by playing. No adult stood on the sideline shouting at us for making an error or for not hitting a home run. Playing with friends was the main thing. ” Update:I have to add a note that was sent to me from my cousin – daughter of my father’s sister. It was just too neat not to share: “I’ve enjoyed reading your take on Grandmother’s cookbook. I remember the recipe on back of the letter, but I never even thought of trying it-or the red devil’s food, even though I know Mom made it bunches of times. She said she started making it at age 12 and that became her specialty for Hightower family gatherings. Last night she said sometimes she would make it and a white cake, then marble the two batters in a tube pan. She said it was always a hit when she did that and that it made a very large cake! Your mention of the letter with the recipe on the back reminds me Mom said that when Granddad was self-employed or looking for employment, Grandmother would type his letters. She taught herself to type with an instruction book like Mom used in high school that she got from Aunt Helen. She always kept a dictionary handy because she was so concerned that she would misspell something. Our grandmother was a hard worker! I don’t know how old she was when the was cashier at Aunt Ruth’s store in Pittsburg but I know she wasn’t young. Mom said Grandmother worked wherever they moved. I do remember her working in a candy store in Indianapolis. That would be the one I would remember!! Also from your dad’s writing, the Just Like Me rhyme reminds me of her. I can still hear us laughing when she did it with me. Just last week, I was reading a nursery rhyme book to Ben and that was in there. So I played it with him the way our grandparents did with us, and we laughed ourselves silly. He wanted to do it over and over.” So, on to making cookies that would have satisfied that crew of busy boys! Grandmother T. only has “Refrigerator Cookies” written in the corner of the paper on which she recorded this recipe. The fun part is that it is on the back of a letter that my grandfather had written to some company, applying for a construction foreman’s postition. Back then, a resume was just a list of past postitions in a one page letter! I think that you will like these cookies and the only addition I can see making is chocolate chips! I know. With me, it’s always chocolate! But they really would be good in the cookies. 1 cup shortening (I used 1/2 cup shortening and 1/2 cup butter 1 cup brown sugar 1 cup granulated sugar 2 well-beaten eggs 1 teaspoon vanilla 1 1/2 cup flour 1 teaspoon salt 1 teaspoon soda 3 cus quick cooking oatmeal 1/2 cup choped nuts 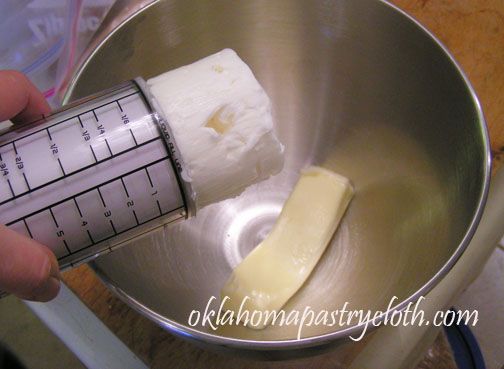 Add shortening or shortening and butter to a large mixing bowl. 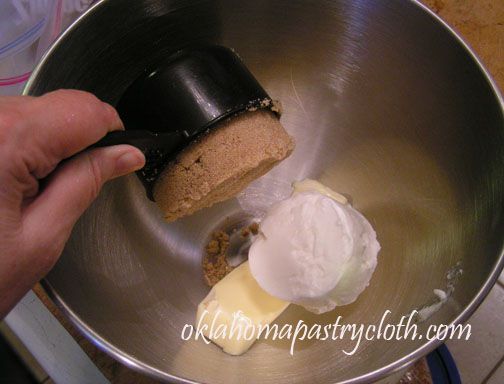 Add brown sugar 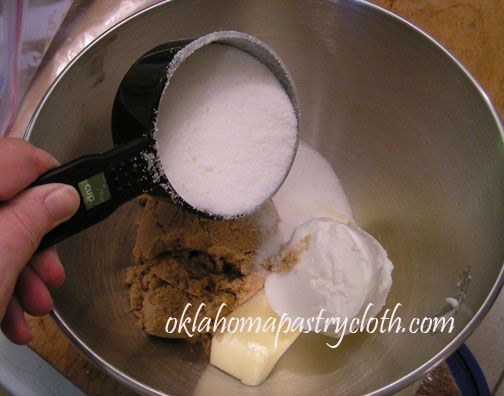 And the granulated sugar 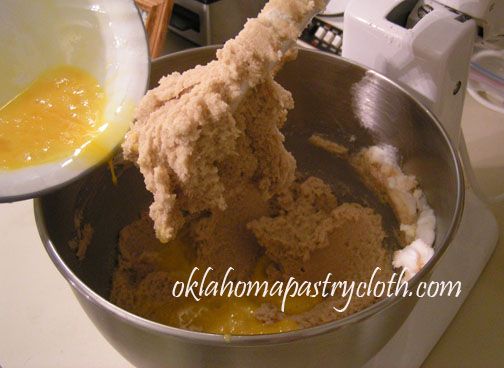 Thoroughly cream shortening and sugars. Add beaten eggs. 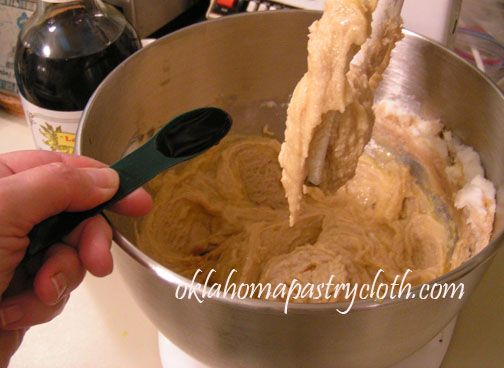 And vanilla and mix well 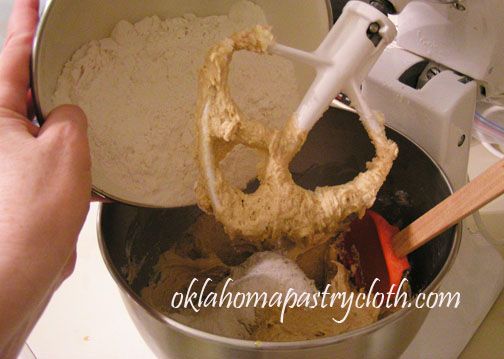 Add flour and mix 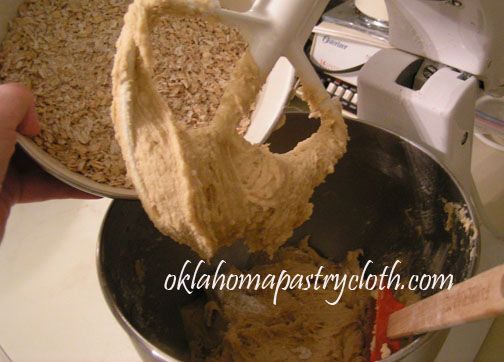 Add oatmeal. We roll our own oats so I used that even though it calls for “quick cooking” oats. It worked great. 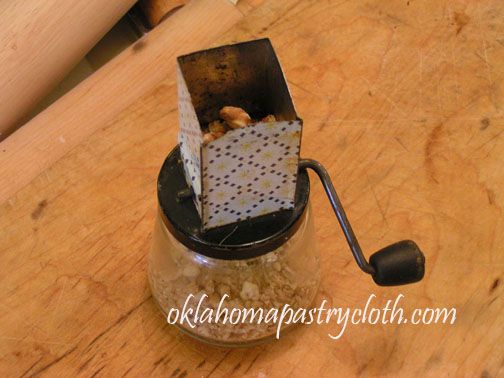 Add nuts. Of course, I had to use my grandmother’s nut chopper from her vintage kitchen! 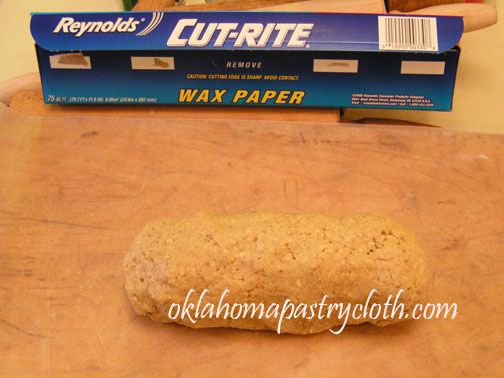 Shape the dough into rolls. I made the dough into two rolls, but I suggest making three. The cookies were really, really big with the two rolls. 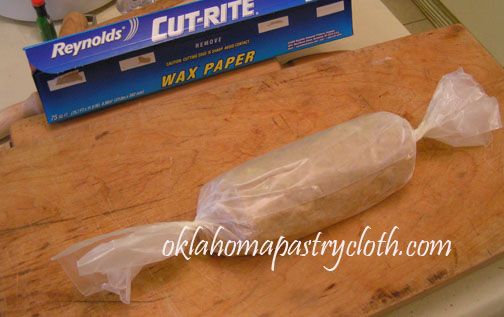 Wrap the rolls in wax paper and chill thoroughly or overnight. 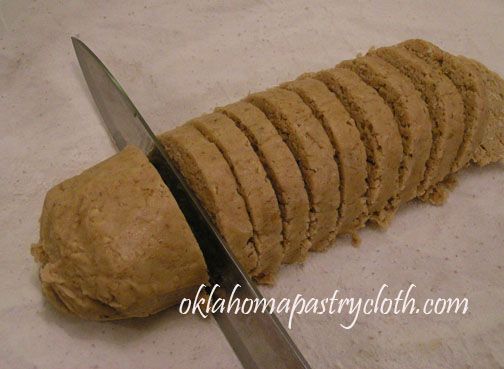 Slice cookies about 1/4″ thick and place on an ungreased cookie sheet. Bake at 350º for 10 minutes. 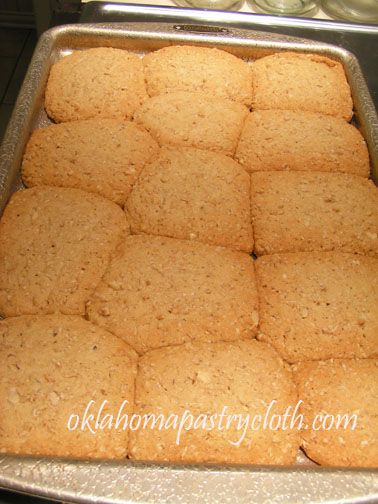 Just a note: Leave LOTS of space between your cookies. Otherwise, you get a sheet of cookies!! 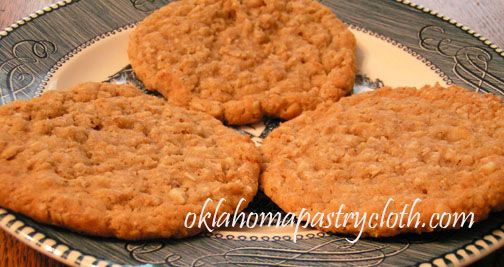 The second batch worked much better!! I used parchment paper on my cookie sheet and put plenty of space between the cookies. They came out perfect. Yummy! I’ll be adding the chocolate chips next time!  |
|
|
Oklahoma Pastry Cloth™ Company on Facebook
|
|
 |
|
|
Posts Tagged ‘Rumford Cookbook’
Cooking In the 1930’s Part II
Monday, April 2nd, 2012
 Previously, I showed you photographs of the worn and ragged Rumford Cookbook that served as my grandmother’s journal and recipe collection. She evidently never cooked out of the book, but used it to record family events and geneologies and favorite recipes which consisted almost totally of desserts! Now I know where I get my sweet tooth. 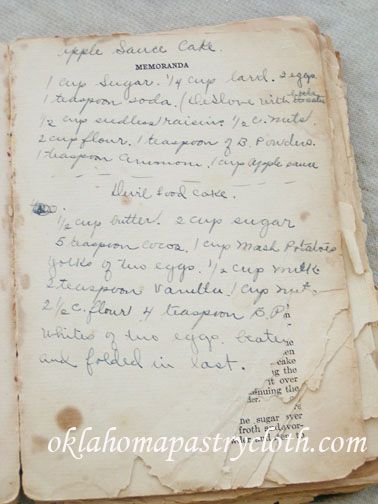 It is a precious thing to have this book with my grandmother’s writing scribbled throughout, but to make it even more special, my father, who will be 84 on July 4th, wrote a book about his early life in Missouri and his experiences in Germany during the WWII era and it includes the story of the Rumford Cookbook. Dad’s book is a volume of memories that I can pass on to my grandchildren and great-grandchildren in a way that my parents, grandparents, great-grandparents, aunts and uncles will never be forgotten. They will always be alive in words and photographs. Here is an exerpt from the book that I thought you might enjoy: According to the old saw, some people eat to live, meaning they aren’t particular about what they eat or how it is prepared. Well, I think it is fair to say my family “lived to eat.” We enjoyed food!! It may not have been prepared in a fancy way, but it was fixed with love. Don’t ask me why but the folks said “fixed” instead of “prepared” as in “I’ll have supper fixed directly.” Mom, Grandmother Hightower and other members of the family prided themselves on being good cooks and well they should. Light rolls were high and light. Fried catfish was crisp on the outside and moist on the inside. Steak was tender enough to cut with a fork. And who could stop with just one piece of red devil’s food cake with fudge icing? 1/2 cp butter 2 cups sugar 5 tsps cocoa 1 cup mashed potatoes 2 eggs, separated (beat whites to fluffy) 1/2 cup milk (I used half and half) 2 tsps vanilla 1 cup nuts 2 1/2 cup flour 4 tsp baking powder Icing 2 squares chocolate 2 cups sugar 2 tbsps syrup (I assume Karo White but I used plain old pancake syrup and it was great) 1/2 cup milk (I used half and half) 2 sticks butter 1 tsp vanilla powdered sugar to thicken if needed 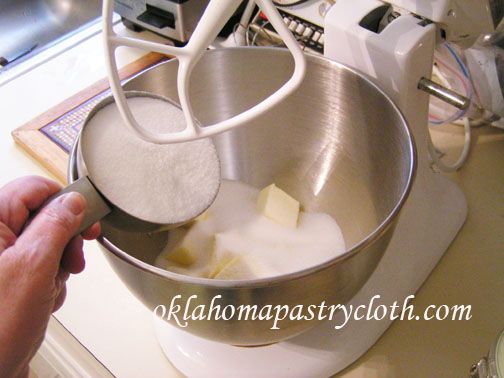 Cream sugar and butter until fluffy 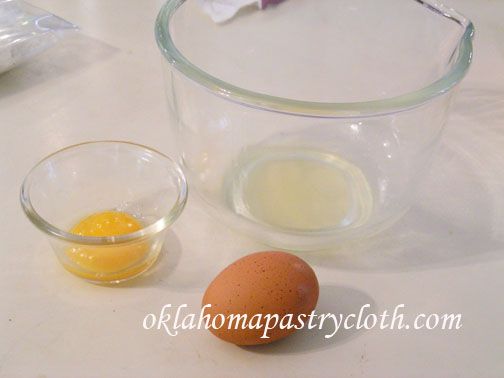 Separate eggs and place egg whites into a bowl to be whipped. 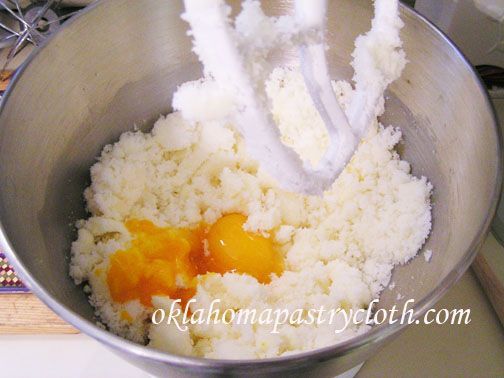 Add yolks to the sugar and butter mixture and mix 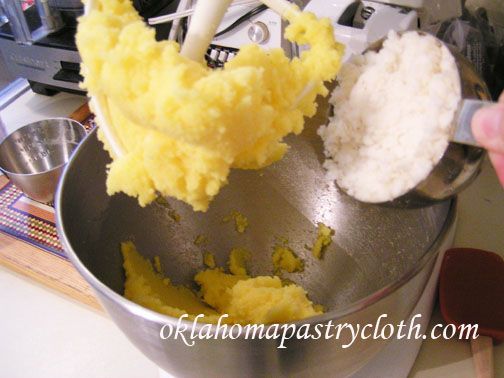 Add potatoes and beat 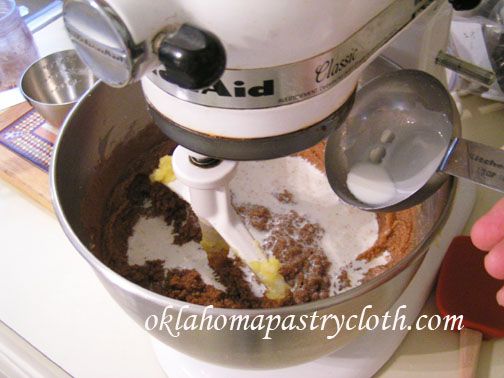 Add cocoa and milk and mix thoroughly 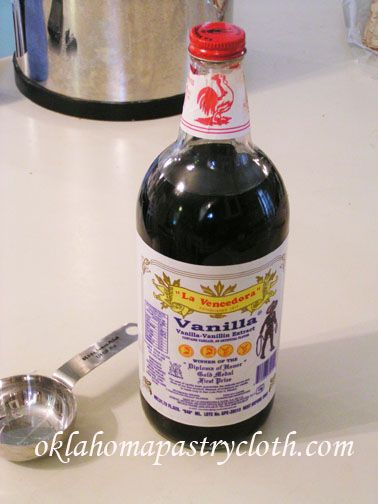 Add vanilla 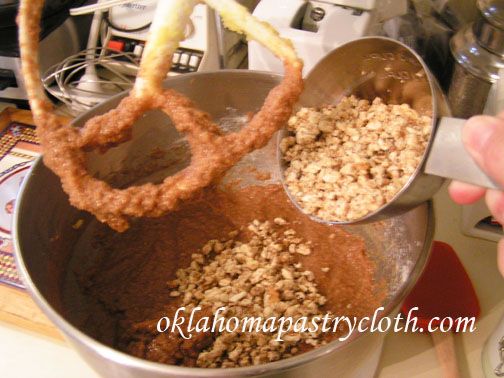 And nuts..I used English walnuts, but pecans would be great too. 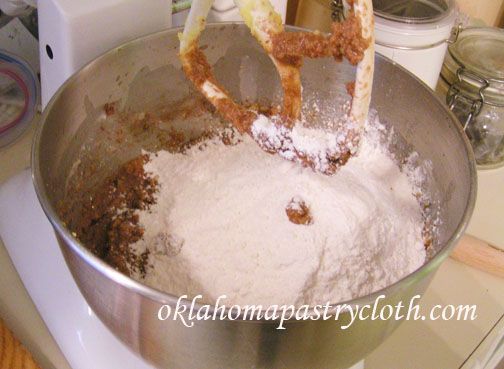 Add the flour that is mixed with the baking powder. Now here, I will caution that because of all of the different flour types, the 2 1/2 cups may be too much with certain types. If you grind your own wheat and are using a soft, white wheat pastry flour, you will definitely not need the full amount. I suggest that you add the flour 1/2 to 1 cup at a time until the consistency is smooth and not too dry. This batter is not a thin batter like we are used to with boxed cakes. It is almost the consistency of whipped icing. 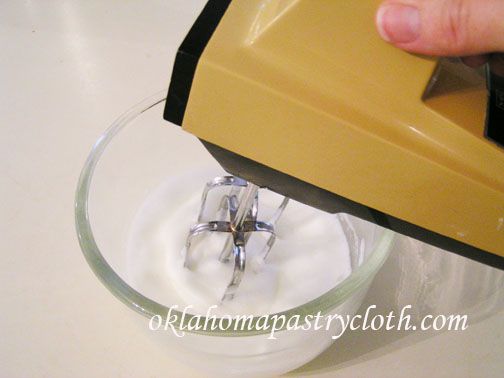 Beat the egg whites until stiff and fluffy 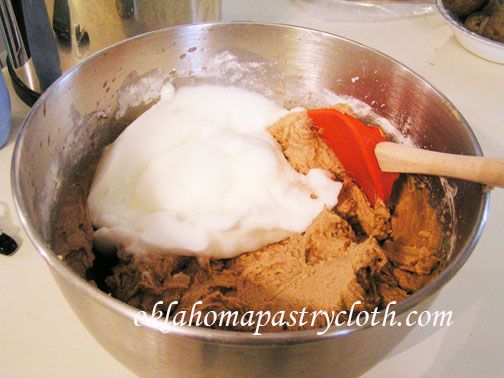 Fold in the egg whites with a spatula by gently turning the batter over on top of the whites again and again until the egg whites are incorporated into the batter. 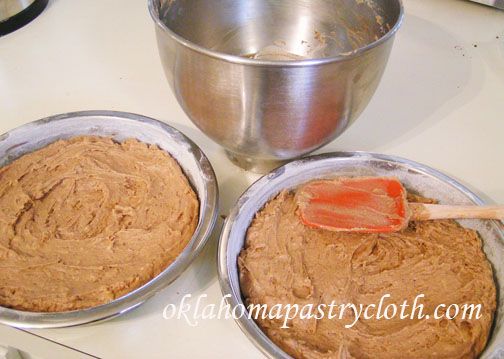 Divide the batter equally between two greased and floured 9″ round cake pans. Bake in a preheated 350º oven for 30 – 35 minutes. Test with a toothpick or sharp knife to make sure it comes out clean. DO NOT OVERBAKE. Check at 30 minutes and if it is not quite done add a minute at a time. 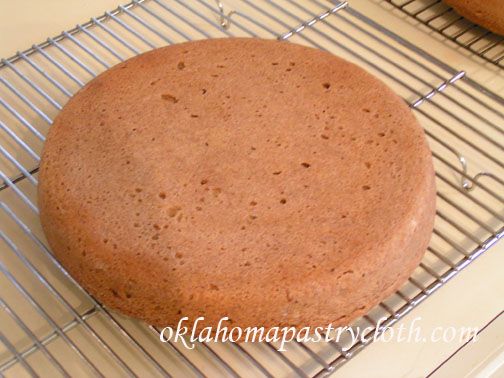 Invert cakes onto cooling racks and allow to cool 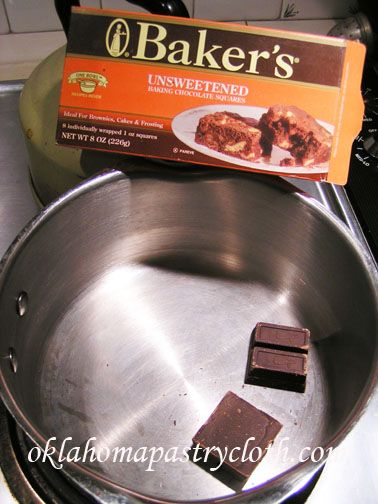 Meanwhile, place two squares of Baker’s Chocolate into a 1 1/2 quart saucepan. 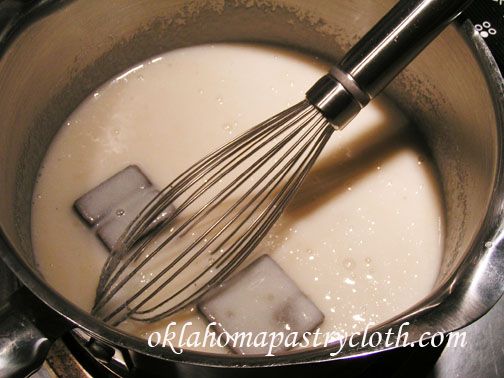 Add sugar and milk or half and half and stir, with a whisk, over low heat until sugar is dissolved. Turn up the heat and, continually stirring, as the chocolate melts and the mixture comes to a low boil. 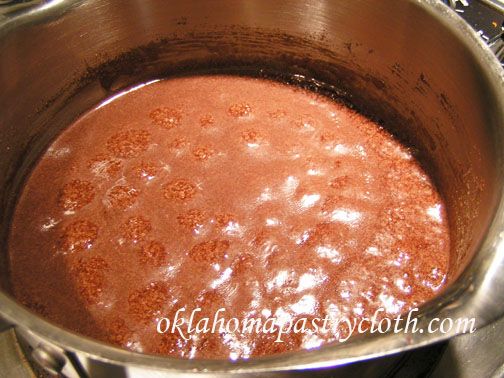 Stop stirring mixture and allow to boil for 2 full minutes. 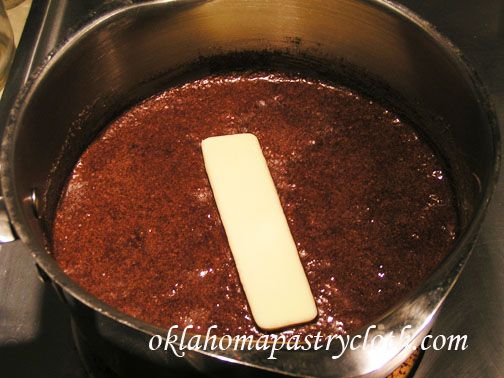 Remove from heat and add butters and vanilla. Stir until butter is melted and incorporated. Cool until the icing becomes hard. Stir to whip to spreadable consistency. If you want a thicker spread then you feel you are getting, add powdered sugar, 1/4 of a cup at a time until you reach the consistency you want. 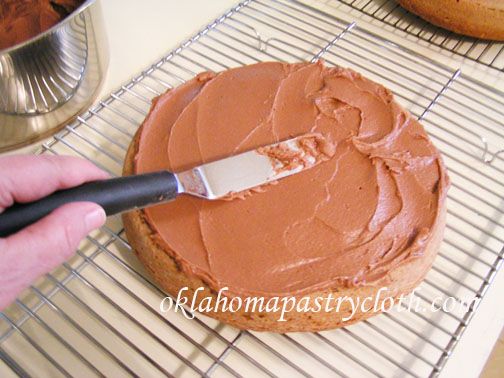 I like to place my bottom layer of the cake onto a piece of wax paper. Then, I can slide the cake onto a cake plate after I am finished icing, for a nice, clean look. Ice the top of the bottom layer of the cake with a thick layer. Place the top layer of the cake onto the bottom layer and make sure they are centered on top of one another. 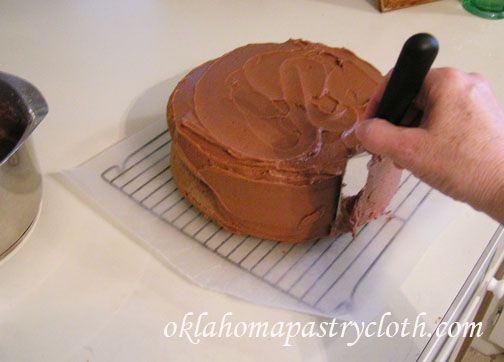 Ice the tops and the sides of the cake 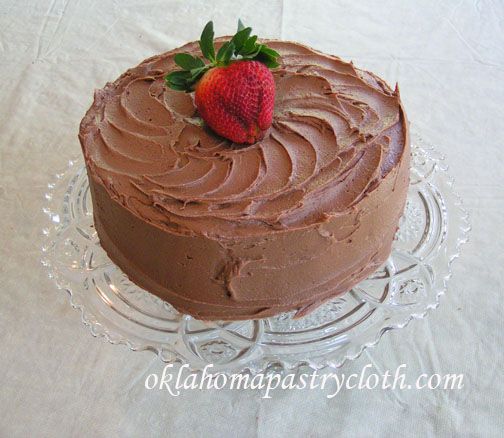 Garnish with a strawberry or chocolate shavings. 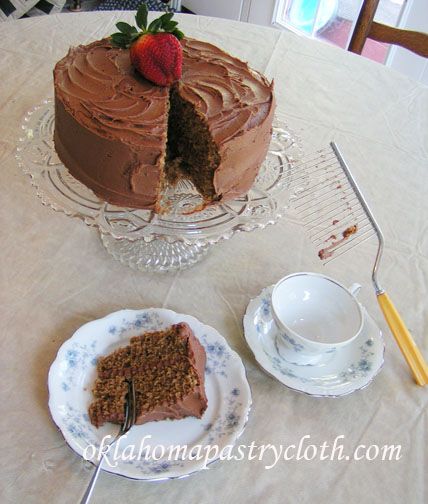 Of course, I had to use my vintage cake cutter that I found at an antique store. It is just like the one that I grew up with that my mom used to cut her cakes. It beats a knife to smithereens!! The cake is tasty, especially with strawberries and the longer it sits, the more most it seems to get. Next time, I’ll do the Red Devil Food Cake that Dad talked about and we will see what it is like!  |
|
|
Oklahoma Pastry Cloth™ Company on Facebook
|
|
 |
|
|
Cooking From the 1930’s – Part I
Wednesday, March 14th, 2012
 Don’t forget to leave a comment to enter the Bread Pan Giveaway to win two unique bread pans. The winner will be chosen on St. Patrick’s Day I’ve had an interesting week and it isn’t even over yet! My sister, from the Dallas area, flew here to spend time with me and to meet my little granddaughter for the first time. We had a blast taking care of my granddaughter for two solid days. She is three months old, is grinning from ear-to-ear and is making every sound in the world in an attempt to communicate. And as all grandmothers are supposed to do, I worked hard to teach her the kinds of things that three month olds are supposed to know, especially how to make a sustained “ahhhh” while grandmother bounces a finger over baby’s mouth to make a vibrating “ahhhh”. Of course, I made a video and of course I put it on Facebook for the family. It is amazing to me that I am a grandmother. I remember my times spent with my grandmothers and it is just mind-boggling how time marches on from one generation to another. Someday, this little, budding personality in my arms will be a grandmother too and I’ll be long gone. However, my name and my memory will carry on just as my grandmothers’ names and memories carry on for me in my memories, my stories, my pictures and in my cooking. It is such a daunting task, but such an honor, to be able to pass on faith, values and lessons to the little ones. Recently, my cousin sent me a treasure from the past that is most dear. She had, in her possession, the Rumford Complete Cookbook that my grandmother (on my father’s side) had used from the early 1930’s until she died in the early 1970’s. The funny thing is, there is not one, single recipe in that cookbook that any of us remember my grandmother fixing. She did not use those recipes! She used the book, and its many blank pages, to record in her distinctive pen, her own favorite recipes, accounts of everyday life, and geneologies. When family would come for a visit, family members wrote their own observations of the time too. It is a precious collection of moments in time. 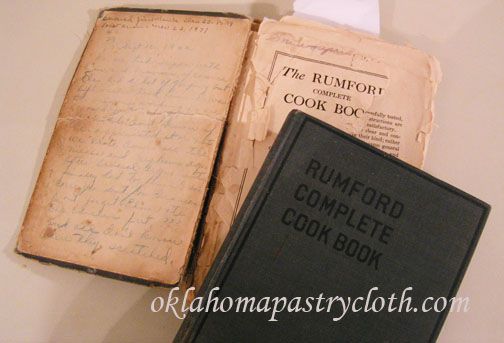 On the inside of the front cover is a combination of my grandmother’s handwriting recording the first snow in 1939 (December 23) and the first snow in 1971 (November 22) and then below, my great-aunt Suzie wrote the oddest entry: “Sept 16 1942 We all took supper with Chas. and Frances [my grandparents], of course. Chas did a lot of griping but after all I told him he was the only one working so we would just not [illegible]. Don’t know if he appreciated it or not. We wrote down all the nieces and nephews ages after several arguments finally had to finish up correspondent for Frances. Don’t forget Elmer ate the chicken feet and all – don’t know where they scratched.” Elmer was my great-uncle Elmer and he was worried about where the chicken feet he’d just eaten had been while on the chicken!! 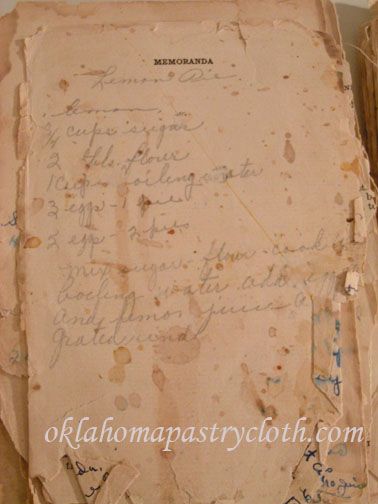 I decided that since I did a series on my mother’s mother’s cookbook of 1914, I would do one on my father’s mother’s cookbook of 1931 as well. Only, instead of using the recipes printed in the book like “Codfish Fritters” and “Perfect Fish Balls”, I’d use the tried and true recipes that my grandmother recorded and actually made. And since today is “Pi Day” (It’s March 14th – 3.14 – silly!!) I thought that I would make Grandmother Thurman’s lemon pie. I can remember her whipping one out at the stove while I watched. She dearly loved anything lemon, especially lemon sour candy, but her pies were not to be outdone. 1 Pie shell, baked 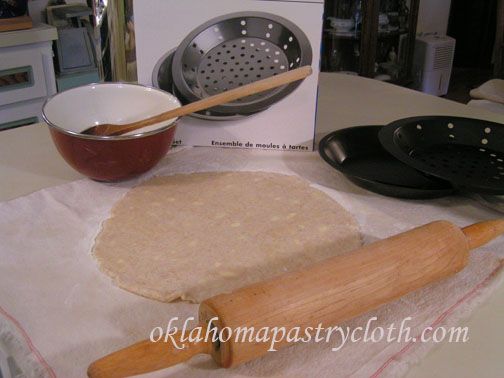 I keep my pie crust mix in the freezer, take out enough to make however many pie crusts I plan and let the mix thaw for a little while before mixing with water. Having it cold makes it much flakier. Roll out your pie crust, of course on an Oklahoma Pastry Cloth™! Place the pie crust in your tin. I am using a tin that you can find at the shopping page that has a perforated insert to keep the crust from shrinking. 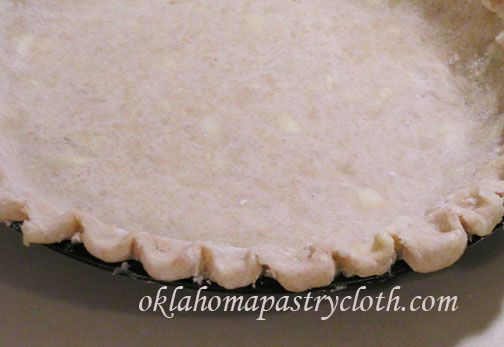 I like to flute my crusts 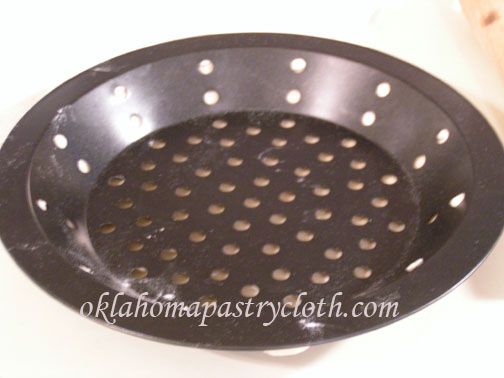 When using the additional perforated tin, it is placed into the pie tin over the crust. Bake the crust at 400º for 15-20 minutes and allow to cool 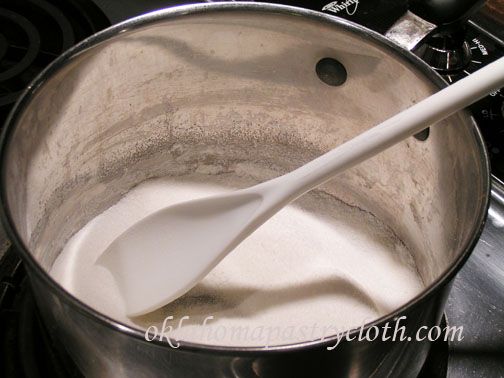 In the meantime, place sugar and flour into a medium saucepan and stir to mix 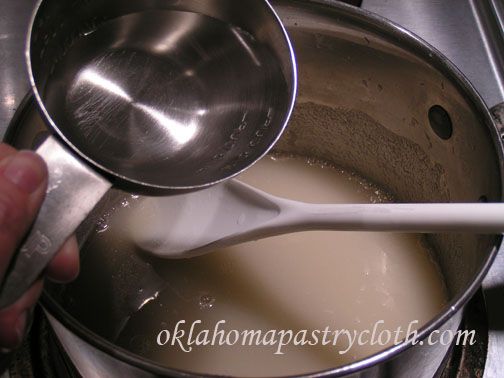 Add cup of boiling water very slowly and stir to make a creamy mixture and heat to boiling 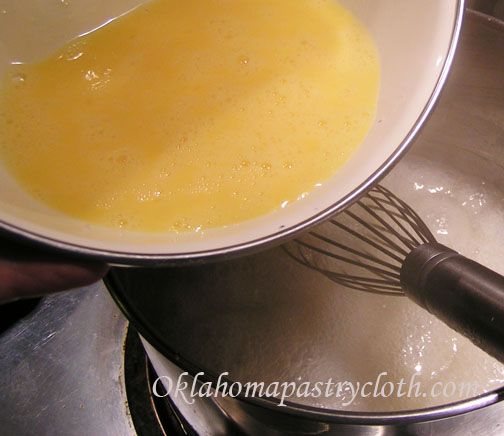 Slowly add beaten eggs, whisking as you pour. 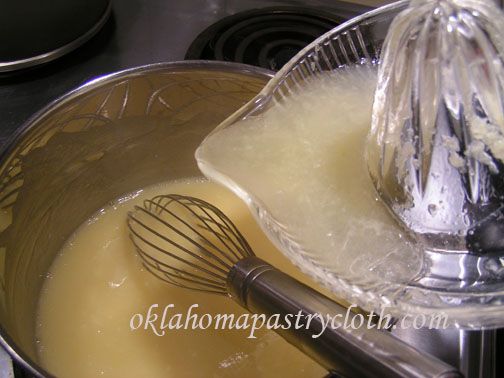 Add lemon juice and lemon zest. 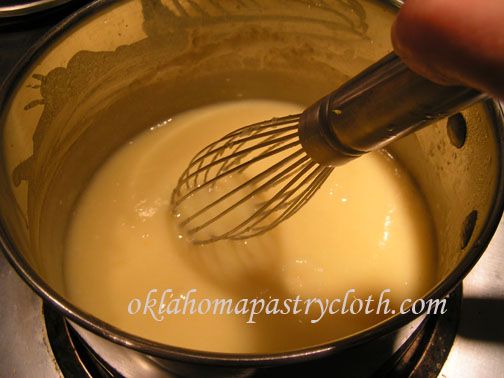 Stir until thickened to a pudding texture 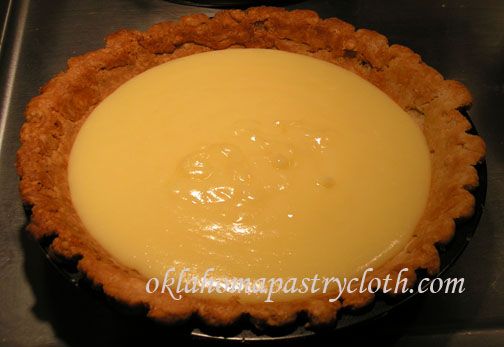 Pour the custard into the baked pie shell. Chill in the refrigerator until cold all the way through. There will be enough room in the pie shell to also add a topping 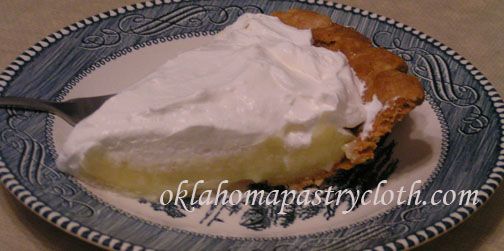 Slice and serve topped with freshly made whipped cream or canned whipped cream. I don’t like the flavor of Cool Whip with it. Or you can make meringue to place on top and bake until lightly browned. I’m not a big pie meringue fan but lots of people are!  |
|
|
Oklahoma Pastry Cloth™ Company on Facebook
|
|
 |
|
|
For follow button place this after Click Here To Comment and above the
:


 Homestead Revival
 Paratus Familia
 Rural Revolution