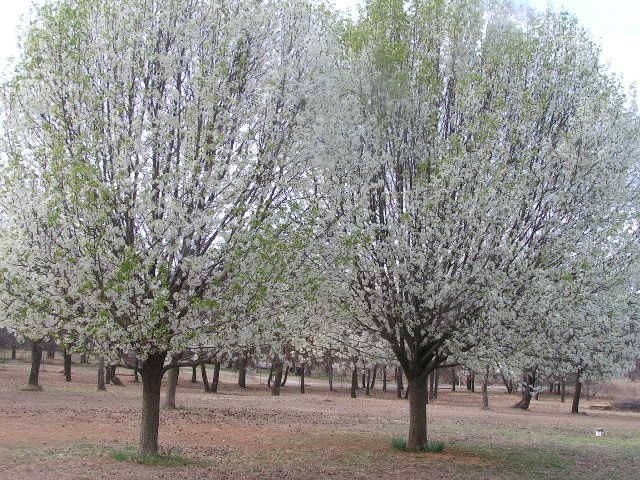
  Spring has actually come to Oklahoma! The drab brown of winter is slowly turning into Spring Green! The Bradford Pears are glorious. 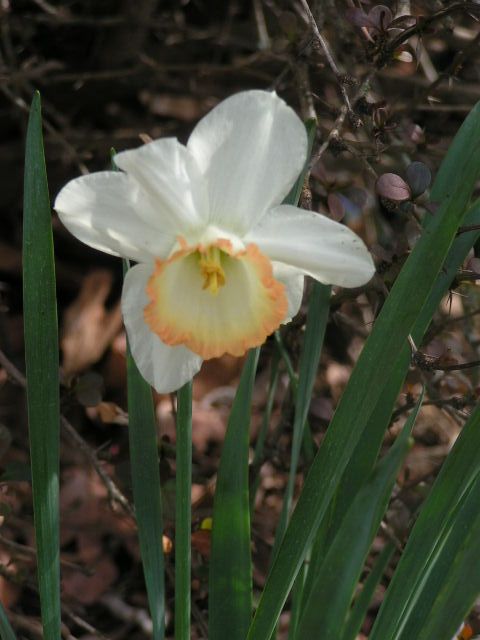 Dafodils are peeking out from emerald folage. 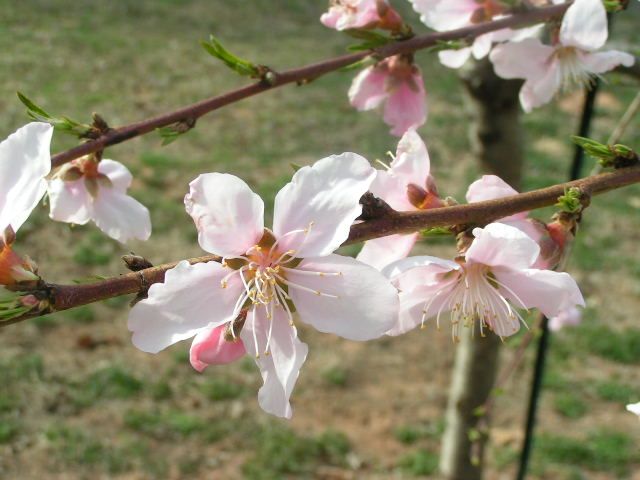 Nectarine blossoms seem to have escaped the 21º frosty morning at the first of the week and are lacing the trees as pink, cotton candy flowers. 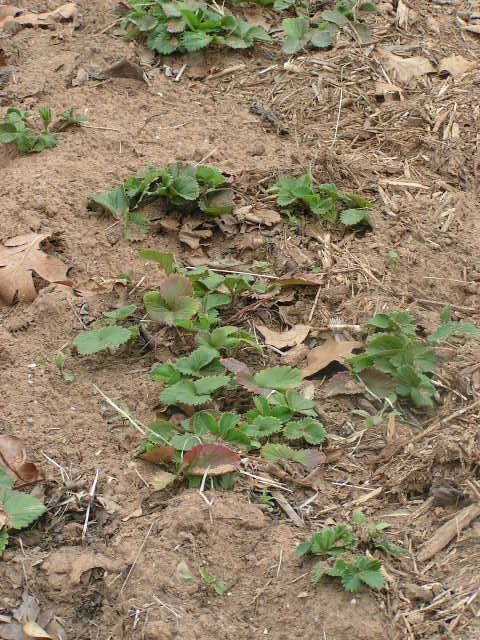 The rows of strawberry plants proved that they could withstand one of the coldest, snowiest winters Oklahoma has seen in a very long time and are starting to grow and spread. 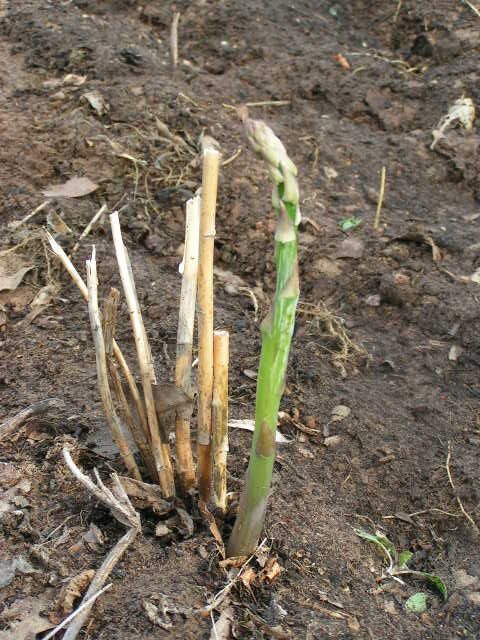 And the asparagus is poking through the soil like a finger testing the wind to see if it’s safe! Here at the Oklahoma Pastry Cloth™ digs – no pun intended! – gardening season has hit with a vengeance. We plant pretty early here in Oklahoma and we can plant tomatoes as early as the first of March complete with water teepees to avoid any late frosts. The plants start early and grow hardy early. We usually have two growing seasons. 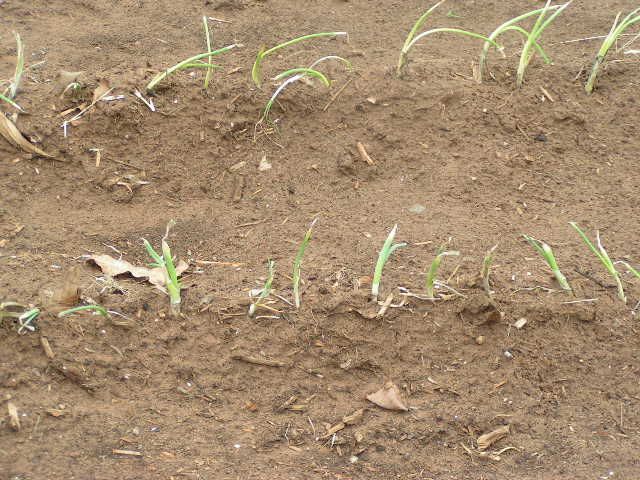 This week, in our garden, potatoes, onions and lettuces were put in while the wind blew 30 mph and out-of-control wild fires raged all around us. It’s been a tough week for many folks here. Our soil is very sandy and it drains really fast. That means that when there is little rain, the bermuda grass becomes the prime fuel for a wayward flame started by some idiot who drops his cigarette butt and pretty soon trees, pastures, houses and barns go up in smoke. After all of these years of fires out here in prairieland, you would think people would learn!! Anyway, here, I’ve planted the onions a little deeper than they will be later because in the sandy loam, it is easy to establish them and then pull the soil away when they have rooted. Planting them deeper helps them stay upright. It’s all these little suckers can do to battle the Oklahoma winds. As I said, the soil is sandy, but we have added, for the past 15 years, horse manure, compost, mulch and peat moss so that it is the richest sandy loam you ever saw. It smells so good!! And it is in that soil that I planted potatoes – a total of 104 cuts or 13 rows. 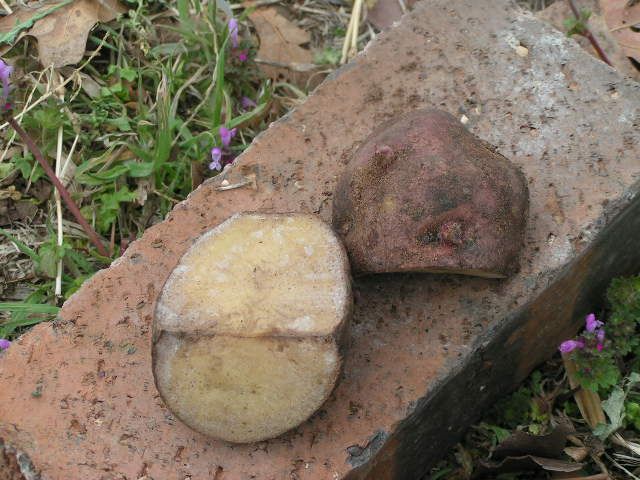 To start off preparing for spud planting, good quality seed potatoes are required. These can be found at any local garden shop and even in some grocery stores. There are all kinds of varieties – Yukon Golds, Pontiac Reds, Kennebec…these are the three that I like. My favorite is just the plain ol’ standard Pontiac Red. A couple of days before planting, I take each potato and locate the “eyes”. These are little indentions that have knobs sticking out of them. These are the buds. I try to get good sized seed potatoes so that I can cut them into pieces with two of the eyes per piece. And the pieces should weigh at least an oz. Cutting them this way, I get more plants per potato than just one. 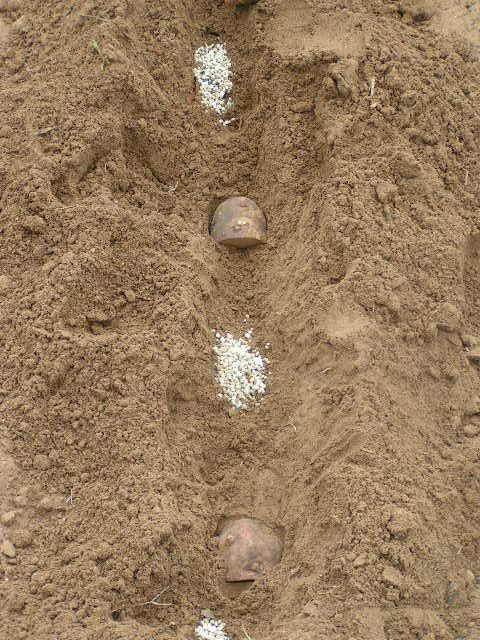 I plant my potatoes differently here in Oklahoma than we did in Tennessee MANY years ago. There, we did mounds that would make for good drainage. Here, in this sandy soil, I have found that rows are more successful. I place each potato cut side or sides face down in the soil about 3″- 4″ deep. This keeps them from freezing if we have a wierd freeze and it keeps them from drying out in our Spring heat. Yesterday, it had already gotten to 86. I place the potatoes about 1 1/2 to 2 feet apart and place about a tbsp of 10-20-10 fertilizer on either side of each potato cut, being careful not to get it too close to the potato which will burn it. 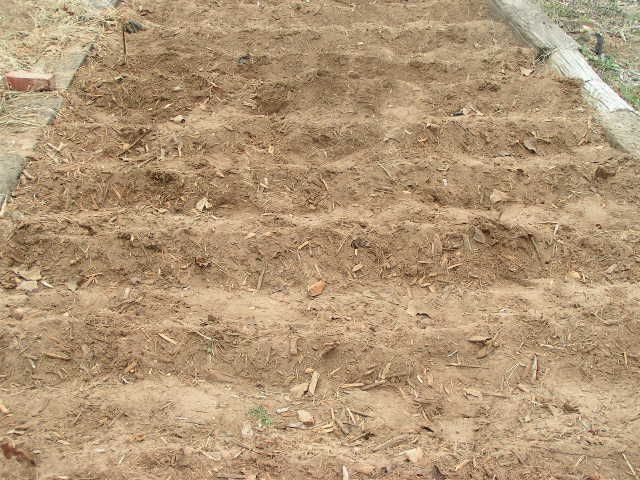 After I get all of the rows done, I go through with a hoe and pull the dirt up to a peak over the potatoes to make an even, covered row. It’s hard to tell in this picture because of the angle, but the rows are also 1 1/2 to 2 feet apart. I’ll keep adding to this post as growing season progresses and you can see how they turn from cut pieces to wheelbarrow loads of potatoes! Stay Tuned! |
|
Oklahoma Pastry Cloth™ Company on Facebook
|
|
|
Posts Tagged ‘potatoes’
Plantin’ Taters
Friday, March 18th, 2011
Hashbrowns! Yum!!
Friday, February 18th, 2011
|
Is Misspelled…  It’s closing in on planting time for potatoes! I love fresh potatoes from the garden and have done posts before on them. I am planning on doing a full bed of the knobby things this year. Usually, we only do a half a bed, but we were out of potatoes too soon this time. And of course, I’ll be drying some of them. But I have another favorite way to prepare potatoes for the long haul and I have been asked by reader, Shari, to share it here. Mr. Fix-It loves hashbrowns and it is easy to take a large batch of either garden potatoes or Russets from the store and make hashbrowns to last you a long, long time. 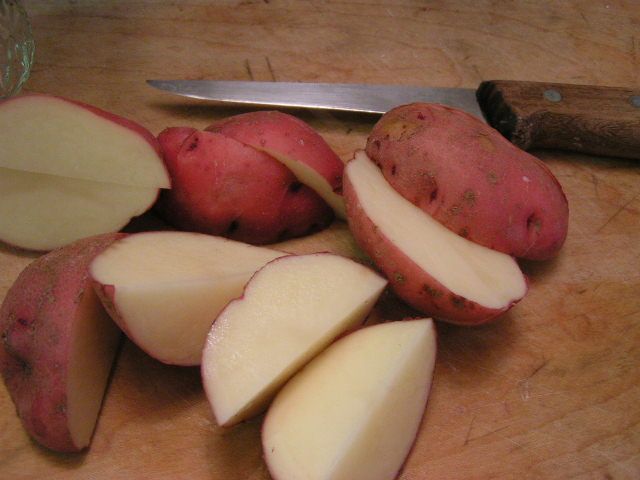 First cut up potatoes to fit into a food processor with a grating blade on it. You can also grate them by hand. Red and Yukon golds can keep the skins, but Russets are better peeled 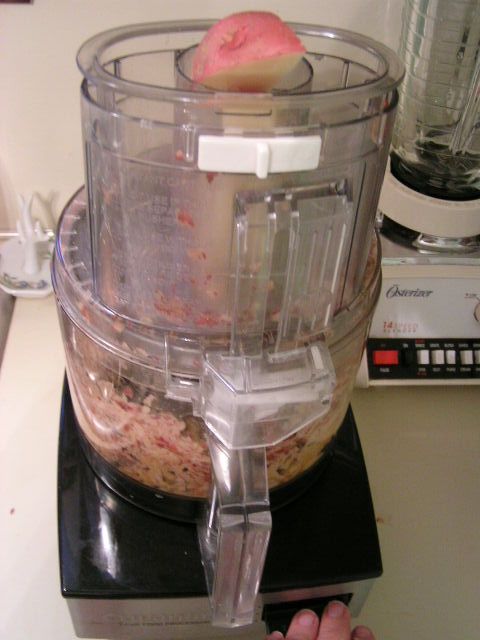 Put into a food processor to grate or do it by hand 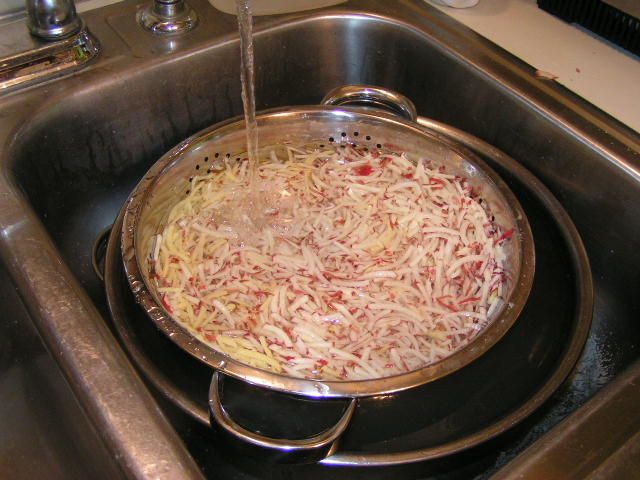 Once the potatoes are grated, put them into a collander that is in a larger bowl and pour water to cover the potatoes. Pick up the collander and swish it up and down. The water will be white and cloudy. Pour that off and do the same process until the water is clear. This washes off all of the starch that makes potatoes turn black. 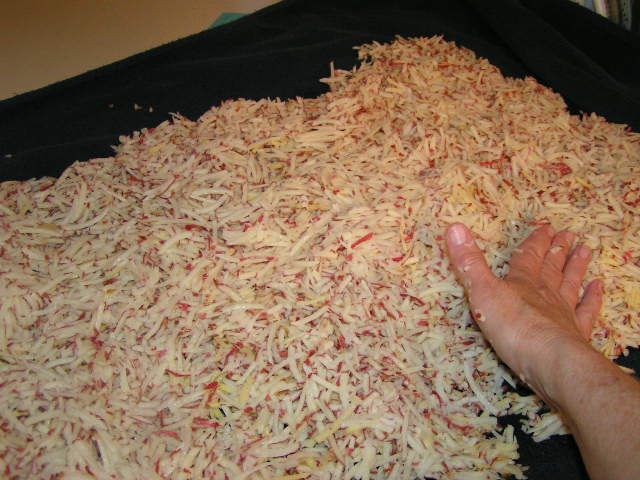 Lay a large bath towel out on the counter and spread the grated potatoes over the towel. 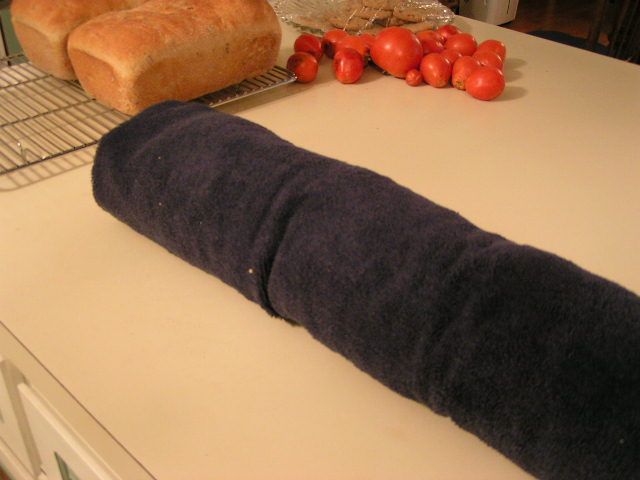 Fold the edges of the towel over the top of the potatoes and roll the towel up like a jelly roll, pressing as you roll. This squeezes out excess water. When you unroll it, the potatoes will be dry. 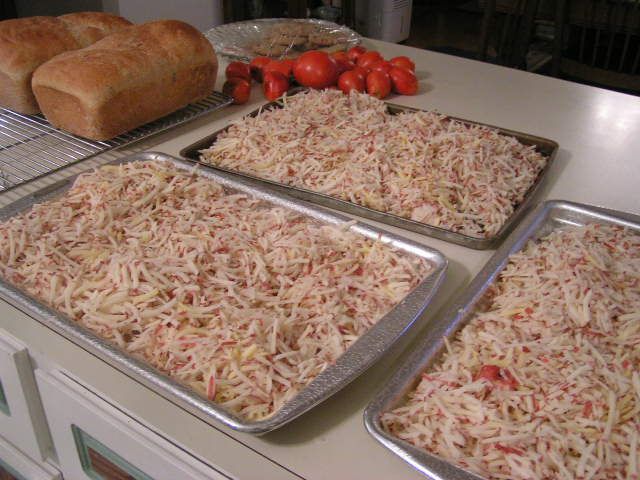 Distribute the grated potatoes among cookie sheets and place in the freezer. 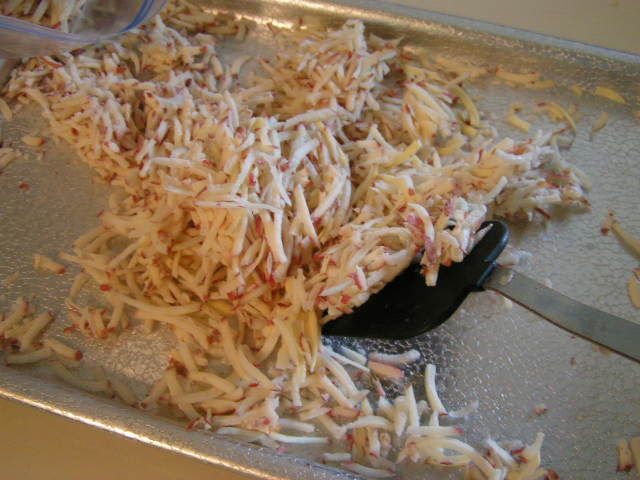 Remove from freezer and, using a spatula, lift potatoes off of the cookie sheets. 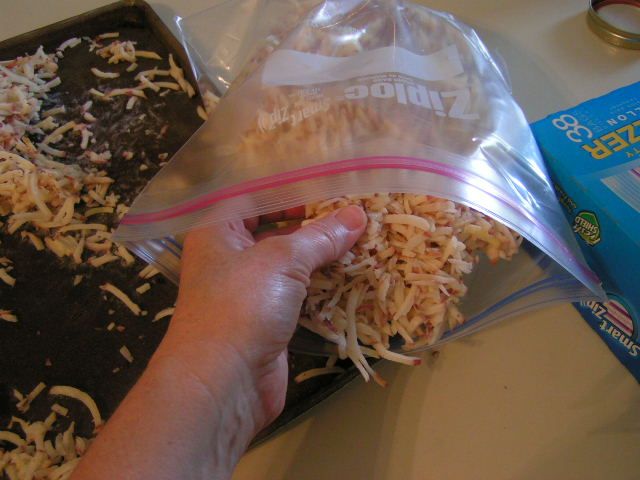 Place in plastic freezer bags 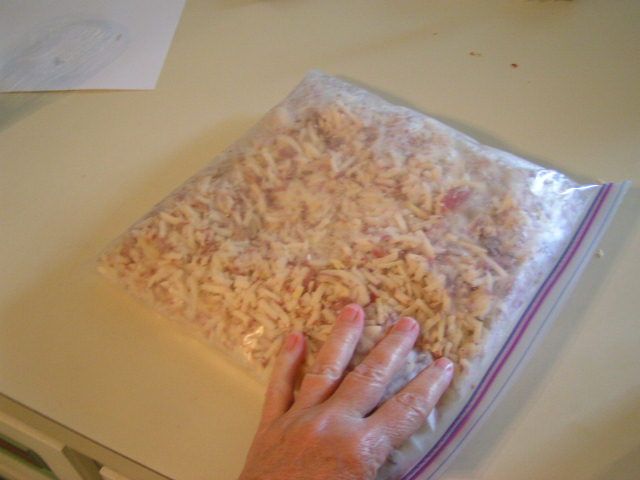 Bend the bags around to break up the slabs of frozen potatoes. Label bags and place in the freezer. 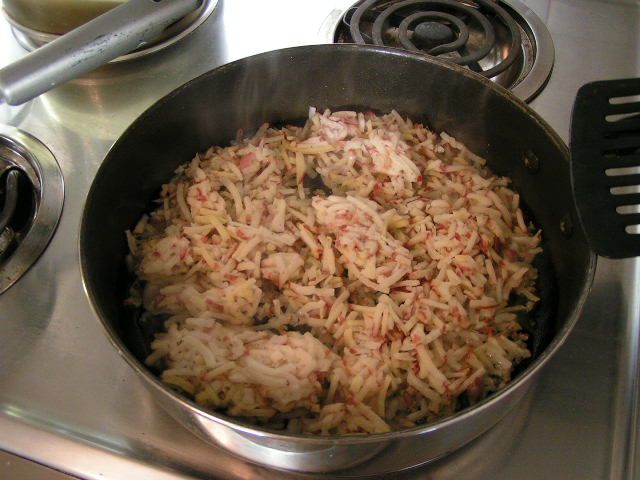 Your hashbrowns can now be used in any recipe calling for hashbrowns, even casseroles. To make old-fashioned hashbrowns for breakfast, put 2 – 6 tablspoons of oil (depending on the size of your skillet but barely covering the bottom), either olive oil or vegetable or coconut, in the bottom of a large skillet and heat on medium high. When heated, add hashbrowns to about 3/4 – 1 inch deep and salt to taste. 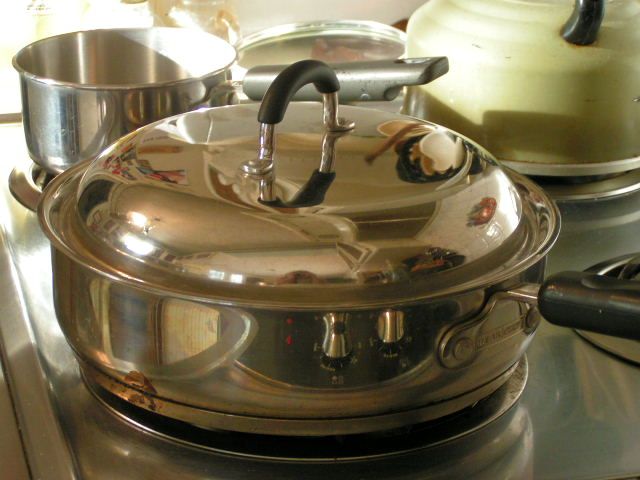 Cover with a lid and cook until the bottom of the potatoes is golden brown. 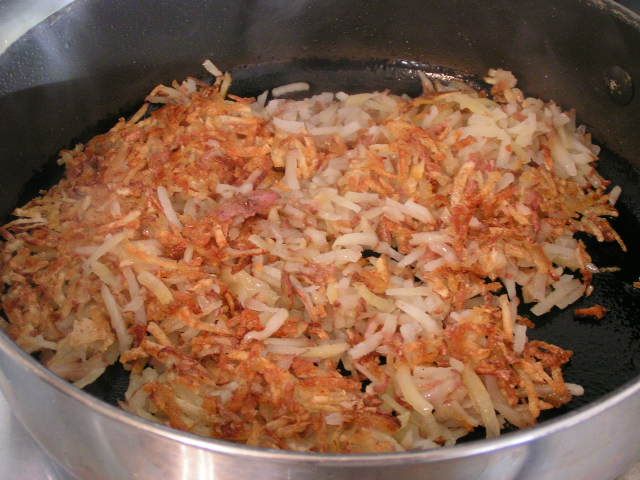 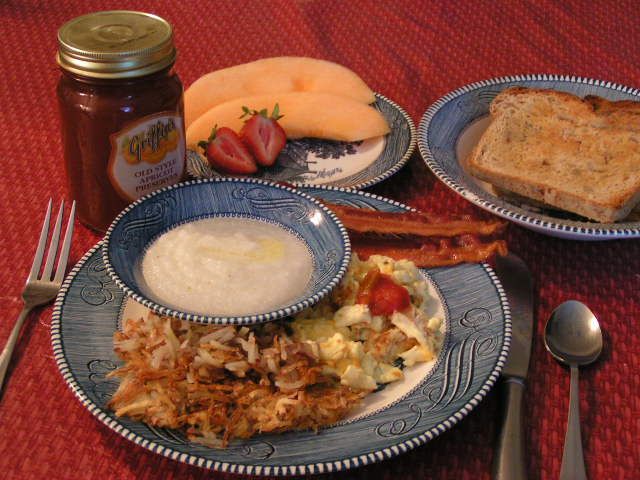  Cook until the second side is browned and crisp. Remove from the pan and pat with paper towels to remove any excess oil. Serve as a side dish. And don’t forget the grits!! |
|
Oklahoma Pastry Cloth™ Company on Facebook
|
|
|
Dehydrating Series Pt II – Potatoes
Thursday, January 13th, 2011
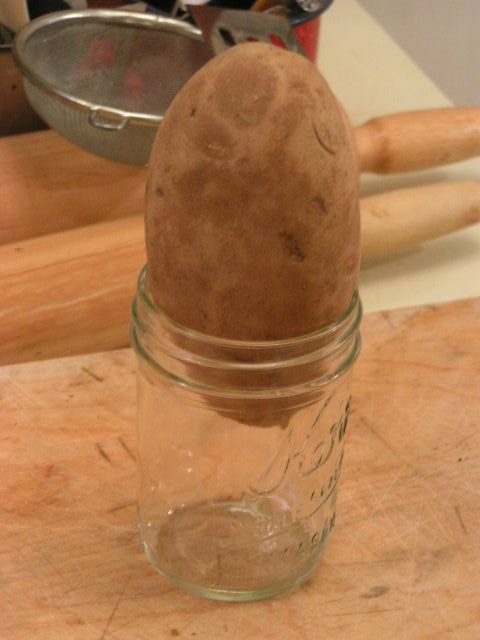 I’m going to get right to the point today as a continuation of Part I with photos of how to dry potatoes. Potatoes are one of my favorite garden items and I devote an entire bed to both red and Yukon Gold spuds. These “new” potatoes take a little longer to dry than the traditional Russetts which I am demonstrating here. Also, at the end is a recipe in which to use the sliced and dried potatoes. My next post will be about drying peppers and then you’ll get a recipe for broccoli cheese soup made from all of your dried veggies that will have your family licking the pot. So keep following! 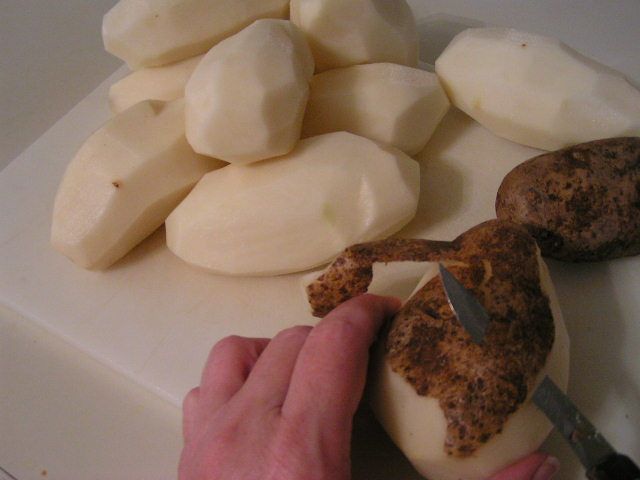 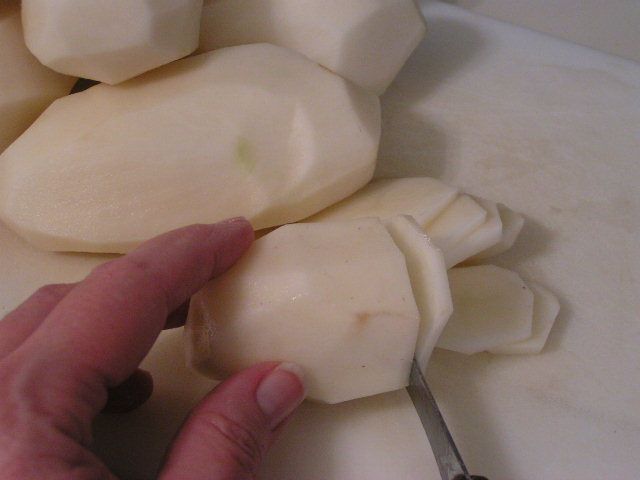 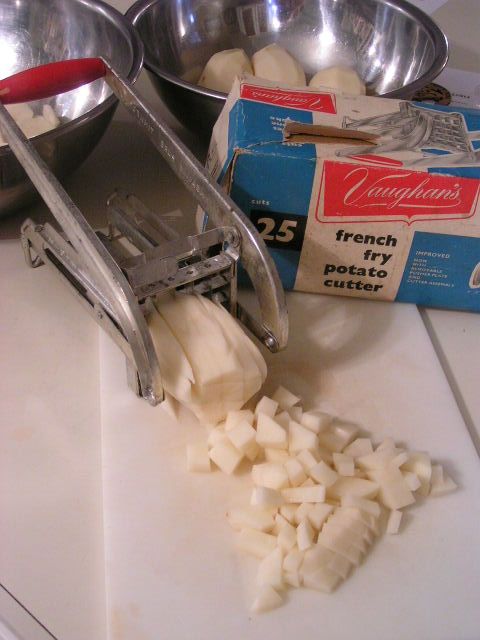 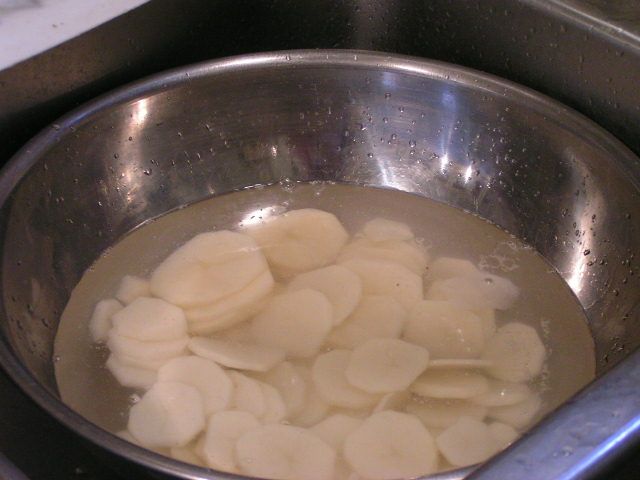 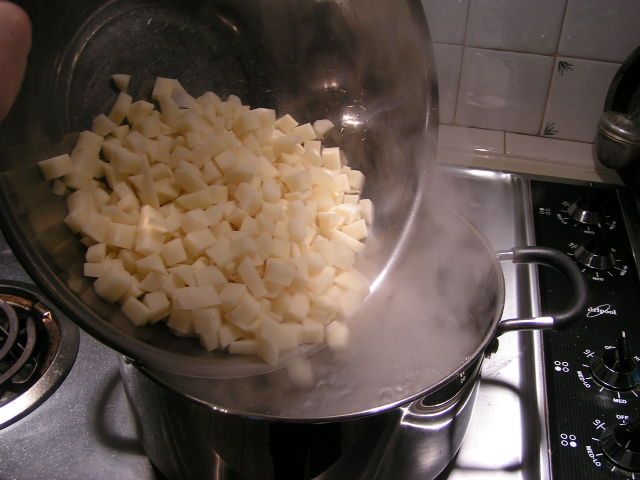 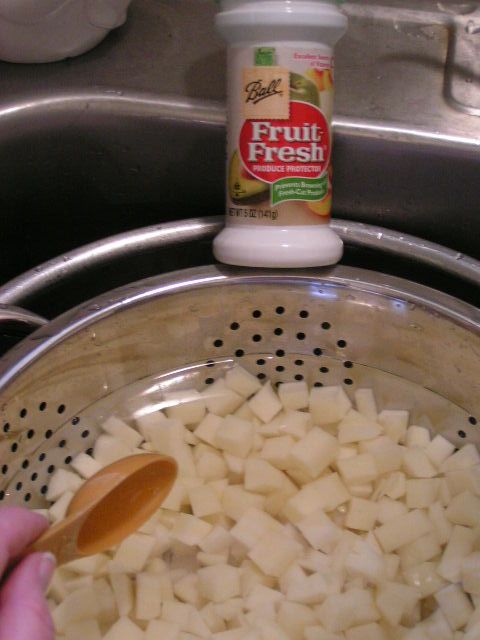 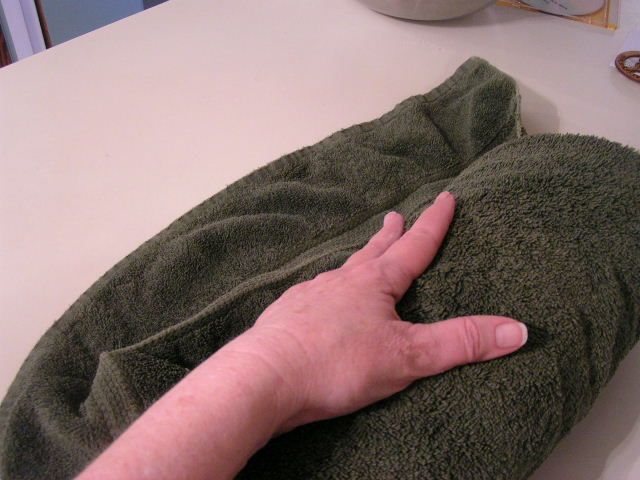 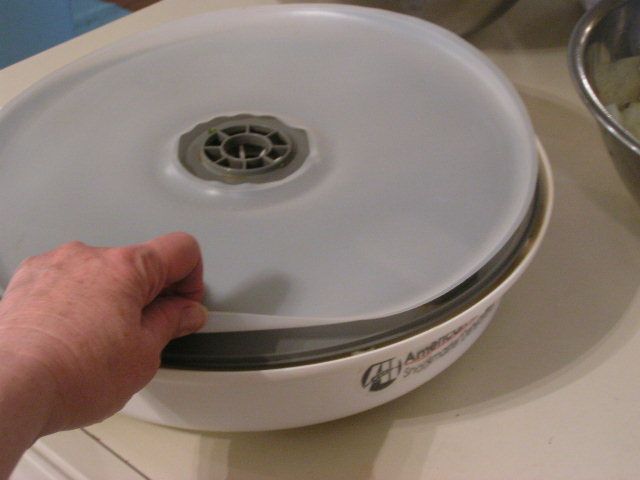 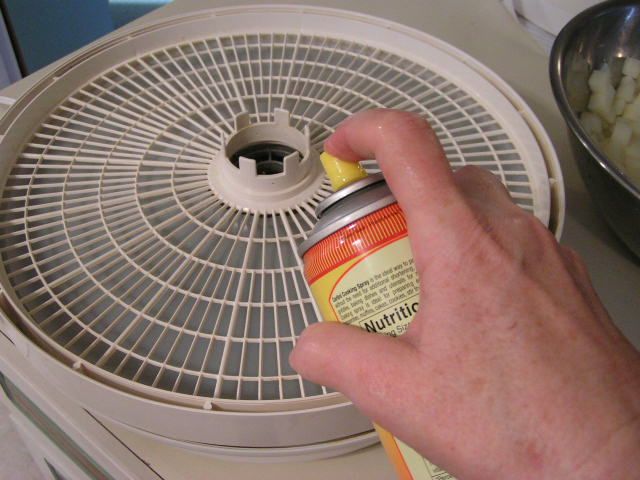 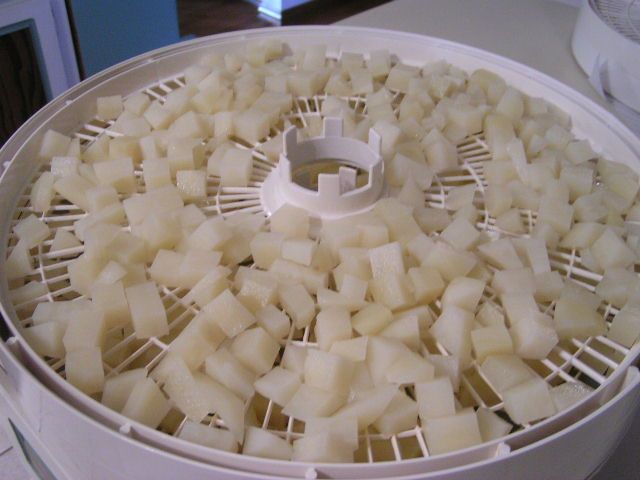 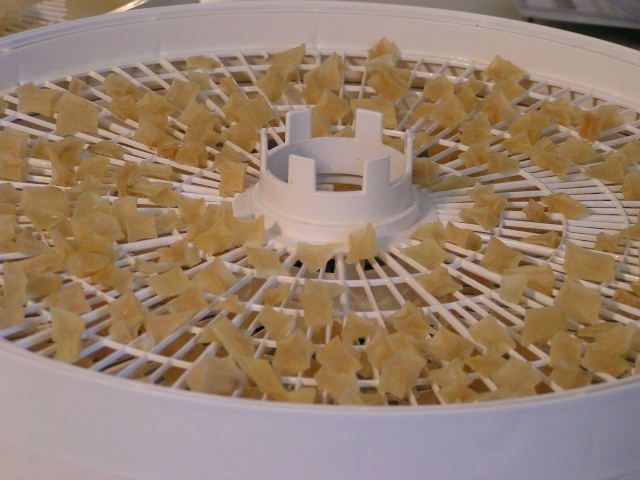 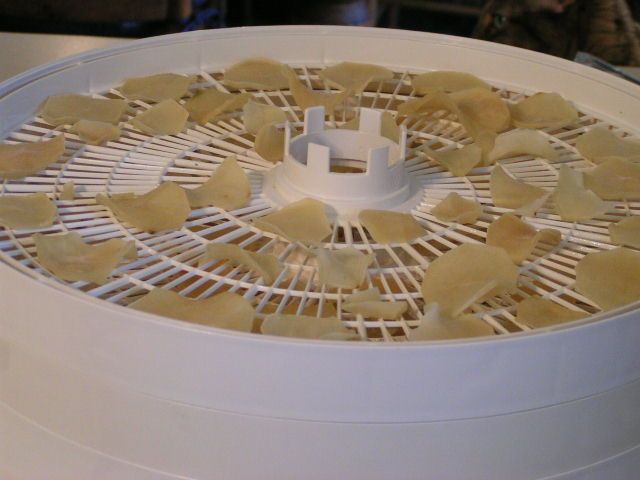 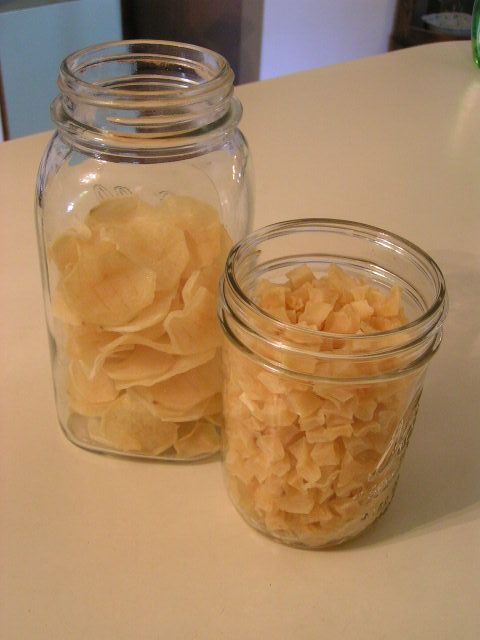 (Or as my friend Janis calls them, “Old Rotten Potatoes”) 1 pkg Shawnee Mills Country Gravy Mix 2 1/4 cups water OR make 2 cups of your own white sauce from your favorite recipe 1 cup dried sliced potatoes 1/2 medium onion 1/2 cup shredded cheddar cheese 2 tbsp Hormel Real Bacon Bits or 3 slices bacon chopped into pieces French’s French Fried Onions 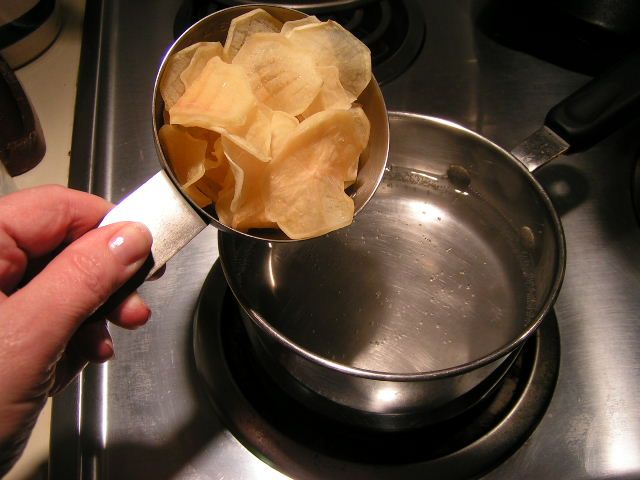 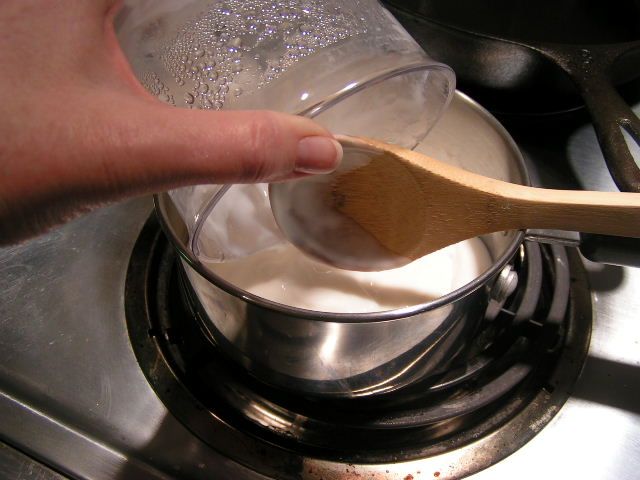 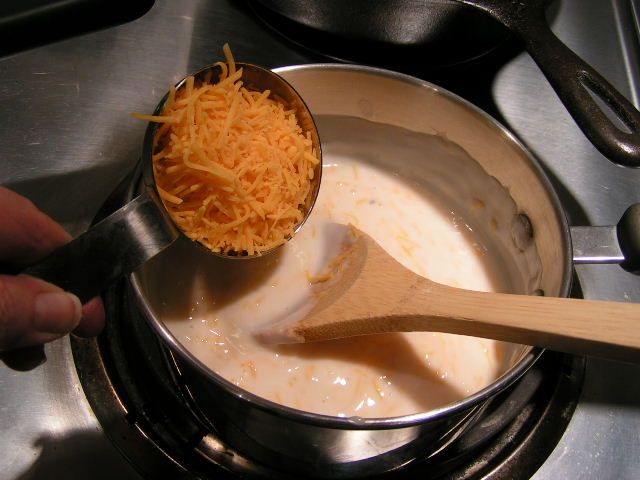 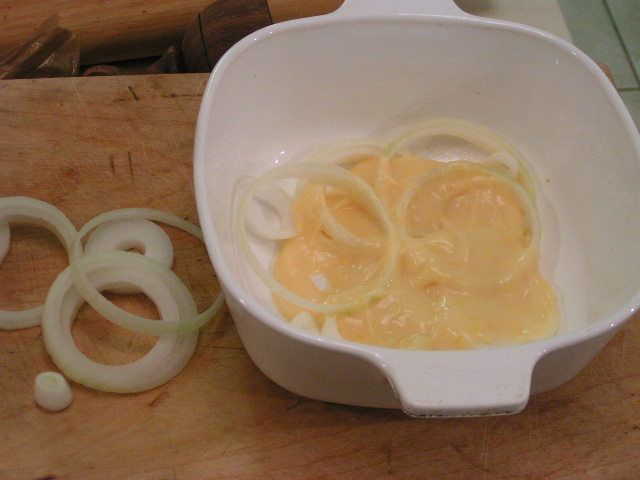 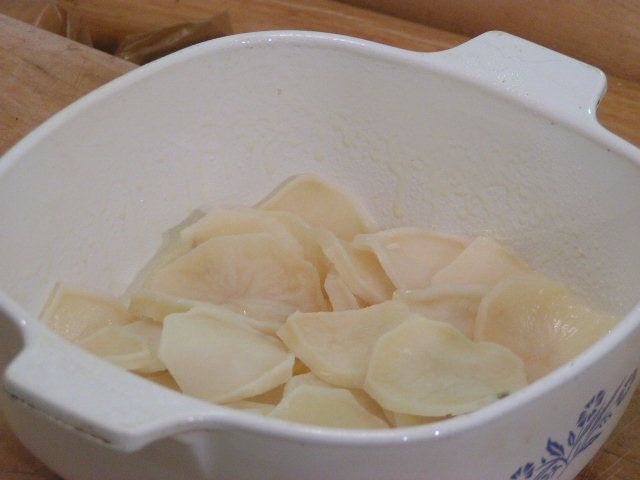 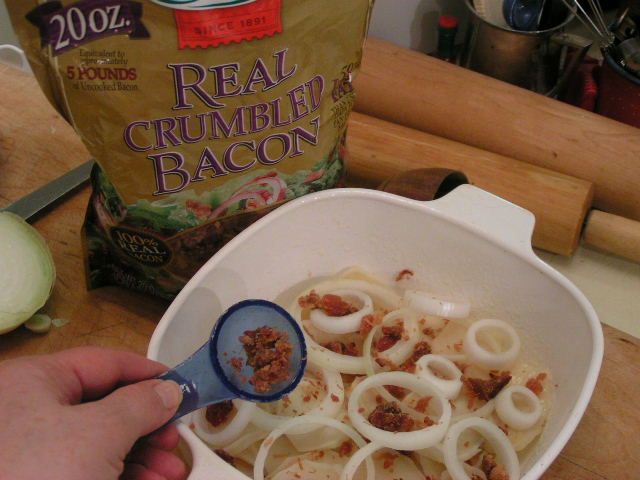 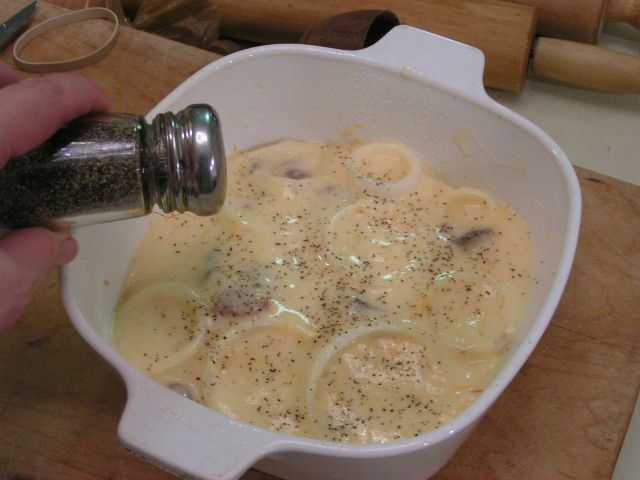 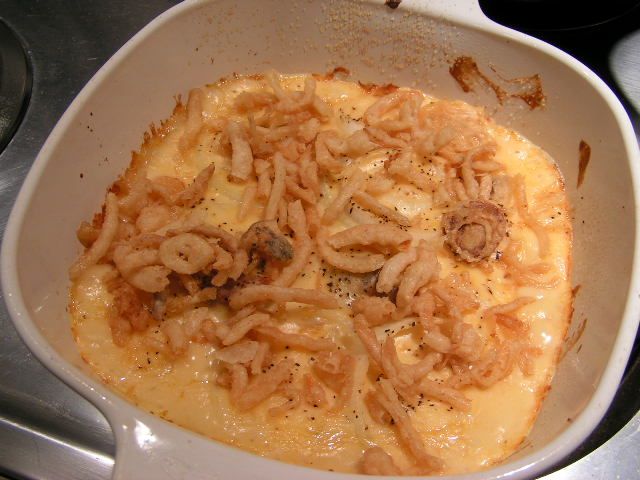 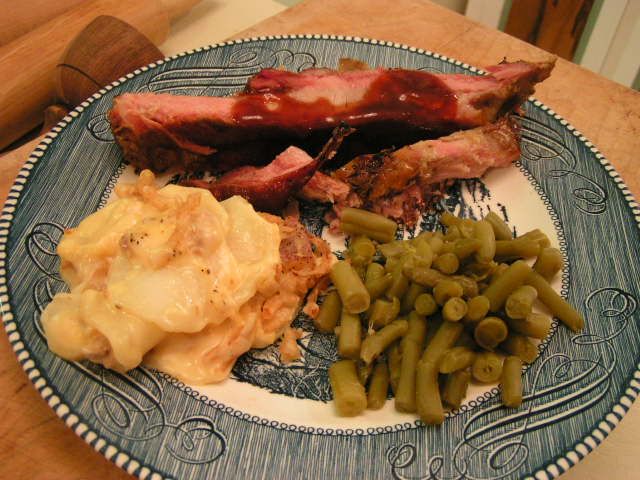 |
|
Oklahoma Pastry Cloth™ Company on Facebook
|
|
|
One Potato, Two Potato, Three Potato, Four…
Thursday, June 25th, 2009recipe posted below:
Oklahoma is blessed with two growing seasons. Vegetable gardeners nurse crops through the middle of July and then start over again on many Fall vegetables around the end of August. This year has been a little weird, as it was exceedingly cool and wet through May and the first part of June. Crops are a bit late this year, but now that they are coming in, they are coming in with a bang!
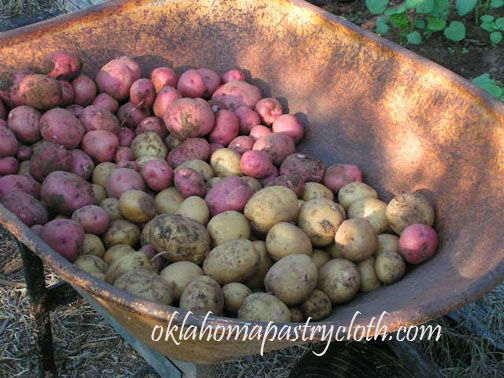
This morning, I gathered my shovel and wheel barrow, donned my garden gloves and headed out to dig potatoes. The sun was shining brightly at 6:45 a.m. and I knew that I had better get busy because the cool has gone and the 100 degree temps are now normally setting in. The air smelled fresh and clean and a heavy dew covered the ground. As I dug potatoes, I was treated to the various songs of a Mockingbird who was perched on top of our light pole. Mr. Mockingbird – the grand impersonator – ran through his repertoire – Bobwhite Quail, Phoebe, Cardinal, Crow, Whip-o-will, and his own personal warble. He’s so good, that one would swear that it was the real birds all calling out together.
The dirt smelled sweet as I dug to the side and beneath each plant, lifting a big clump full of potatoes. The dirt is as black and rich as can be, having been worked and mulched and composted these past 12 years. It started out as what is known in Oklahoma as “blow sand”. That is the bulk of our soil here in our area. But as horse manure, compost and mulch have been added every year, the sand has become the richest sandy loam.
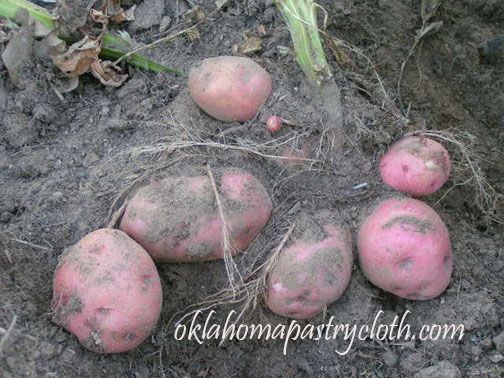
Potatoes are a miracle to me. From one seed potato that looks just like any that you would eat, as many as 4 plants can be had, by cutting the seed potato into pieces with “eyes” and then planting those. Each piece grows a plant and from each plant many of the tubers are produced. They invisibly enlarge underground, attached to runners from the plant. It is like digging for buried treasure and discovering gold – Yukon Golds to be exact. This year, I planted both yellow and the traditional red potatoes.
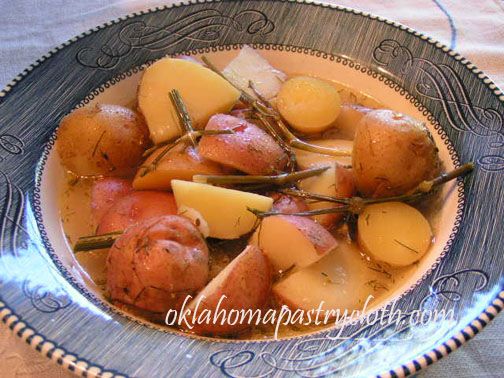
Every year, at our table, the first potatoes are made into Butter and Dilled Potatoes. You will find the recipe below. These are wonderful with roast beef or roast pork or roast chicken and are so fast and easy. They make wonderful leftovers too, because the flavors really permeate the potatoes after sitting in the frig. And if you are watching your cholesterol, I have included how to make them safely and you’ll never know the difference!! Thanks to the Irish for these nutritious tubers!!
Butter and Dilled Potatoes
5 large New Potatoes cut into large chunks
2 tbsp real butter (or 1 1/2 tbsp olive oil or canola oil + 1 tbsp Molly McButter for cholesterol watchers)
2-3 large sprigs of fresh dill or 1 1/2 tbsp dried dill weed
Salt to taste
In a large saucepan, cover potatoes with water and add butter, dill and salt. Bring to a boil and reduce heat to cook until potatoes are tender. Continue to cook until fluid is reduced by half. Serve while hot.

 Homestead Revival
 Paratus Familia
 Rural Revolution