 Heh all! Well, because of all your help, we got the votes we needed and qualified to be considered for the Mission Main Street Grant! I can’t thank you enough for all your support! We got way more votes than we needed! Now, I am long past due giving a shout out to a really amazing lady who is helping people all over the internet with her cooking channel. Hands That Cook offers all kinds of recipes, tips and demonstrations that are easy to follow. She has a wonderful knowledge of cooking skills and a heart to share them with those who wish to learn. Though she likes to remain anonymous, the videos and voice are warm and inviting and I know that you will get a lot out of them. She has a diverse following who obviously love her to pieces. Hands That Cook ordered one of our Oklahoma Pastry Cloths™ and it was certainly a pleasure working with her. She liked our product so much that she did a show about a 100 year old pie crust recipe that she uses while offering a great review of the pastry cloth. You can enjoy it here: It is so wonderful to see how our products are making life easier and pleasant in kitchens across the country and even in other countries. That is our goal!! We tried Hands That Cook’s recipe for pie crust and it was wonderful. 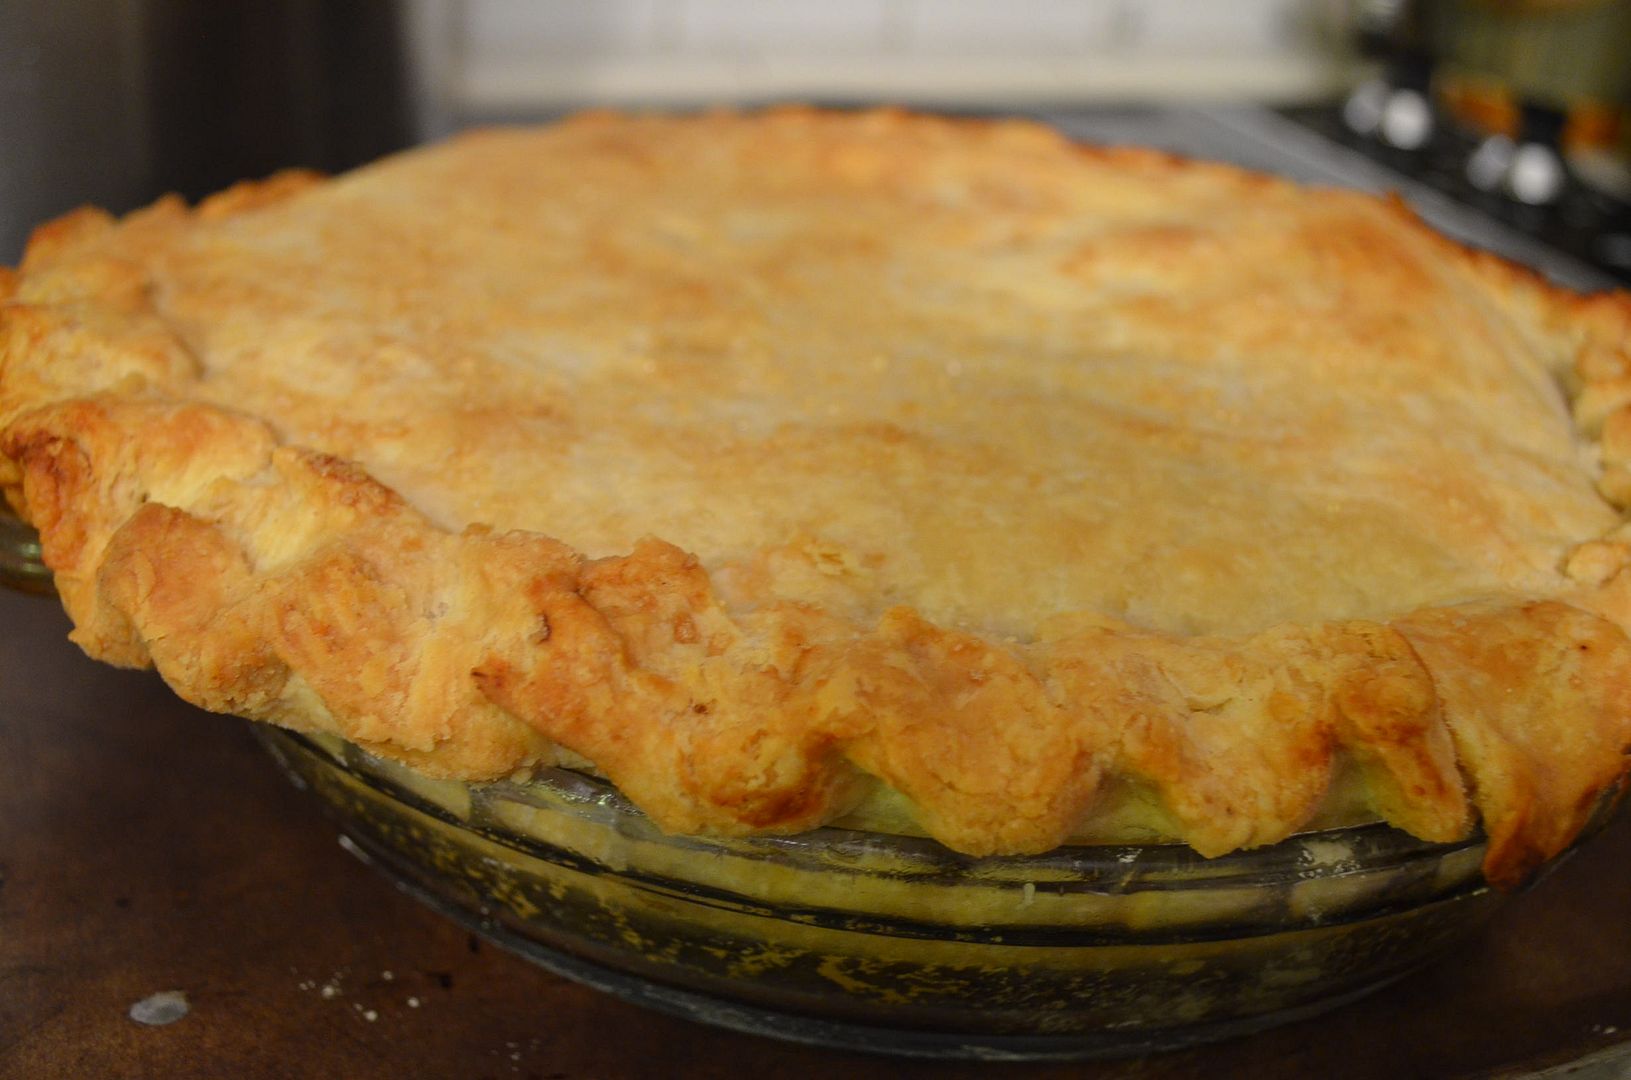 And of course it had to be an apple pie. Yummy! Thanks to Hands That Cook for a great recipe and a wonderful testimonial.  |
|
| |
|
Oklahoma Pastry Cloth™ Company on Facebook
|
|
 |
|

|
Posts Tagged ‘pie’
Shout Out
Monday, June 29th, 2015
A New Meaning To Pot Pie
Tuesday, November 20th, 2012
 I know. I know. Where have I been? Did I fall off of the earth? Did I get swallowed by a giant batch of soap? Did I get discovered by Food Network? (I wish!) While none of these scenarios is probable, the fact is that I had a variety of much less exciting happenstances occur at once. First, as I left you last time, I had a house full of teenage young men who stayed with us for 7 nights as they campaigned for our state representative. It was rather hectic here. But on top of that, my eye disease decided to rear its ugly head and I was having a hard time reading or typing for very long. It’s just no fun when you see two of everything!! And then – more company and more cooking. And then – two canning classes and a case of hives and more double vision. All in all, with excuses aside, it all boiled down to one main culprit: Writer’s block!!!! Yep. My brain has been fried. I have not had one single thing to write about. I’d start, but the words wouldn’t come and when they did, there were two of each. Soooo, I gave up. I have now chilled, rested and used not just a few ice packs and I am back in business. And speaking of business, we had a winner for our Fall Giveaway, reader and FaceBook fan, Sue Feely won two packages of our Frontier Fixin’s bread mix. Next week, right after Thanksgiving, a new giveaway will be introduced just in time for Christmas! So be watching. With this being Thanksgiving week, a time for family, memories, gratitude and turkey, I thought that I would give you a way that I like to use my leftover turkey that is pretty tasty. The recipe originated from a cookbook that I’ve had for years and is evidently no longer in print, titled “Favorite Brandname Cookbook”. I tweaked the recipe for leftover turkey but use chicken as well and home canned chicken or turkey is really great in it. If you want to can your turkey after Thanksgiving and then use it later, this is a good way to use that, but straight off the bone is fine too. I like white meat in my recipes but both white and dark work well too. It’s all a matter of preference. In this tutorial, I am using chicken, but will be making it with turkey on Friday!! And just as a note, I use dehydrated celery, mushrooms and onions and they work great. Ingredients: 1 cup sliced carrots 3/4 cup chopped onion 1/2 cup diced celery 1/2 cup chicken or turkey broth 1 can cream of chicken soup 1 pkg turkey gravy mix (if using turkey for the meat) mixed with 1 cup cold water 1 cup sour cream 3 cups cubed or shredded chicken or turkey 1/2 cup sliced mushrooms 1 teaspoon worcestershire sauce 1 teaspoon salt 1/8 teaspoon pepper Topping: 1 cup flour 2 teaspoons baking powder 1/2 teaspoon salt 2 eggs beaten 1/2 cup milk 1 Tbsp. chopped green pepper 1 Tbsp. chopped pimento 1 1/4 cups shredded cheddar cheese (sharp is good) 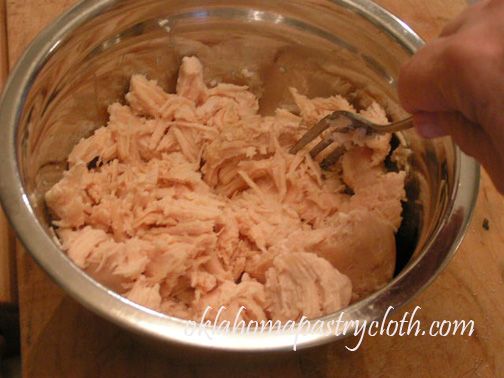 In a bowl, place the meat, either shredded or cubed. If using canned meat, it will shred. 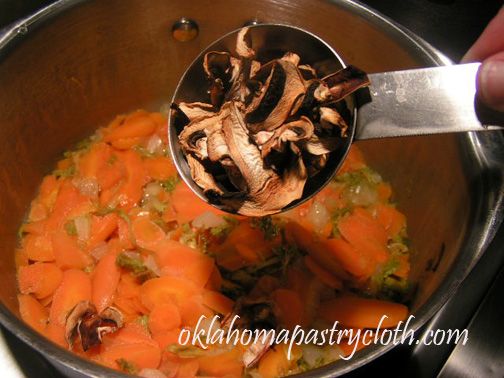 Place veggies, minus the peppers and pimentos, into a saucepan with 1/4 cup chicken broth, cover and simmer for 20 minutes. Add a little water if needed to keep from cooking dry. 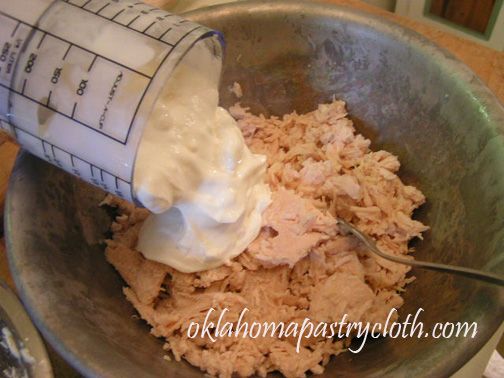 Add sour cream to the meat 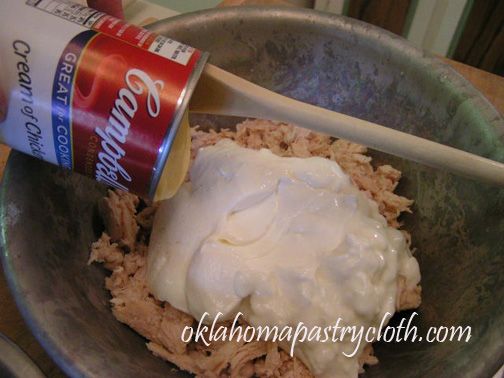 Add cream of chicken soup and turkey gravy mixed with 1 cup water to the meat and sour cream 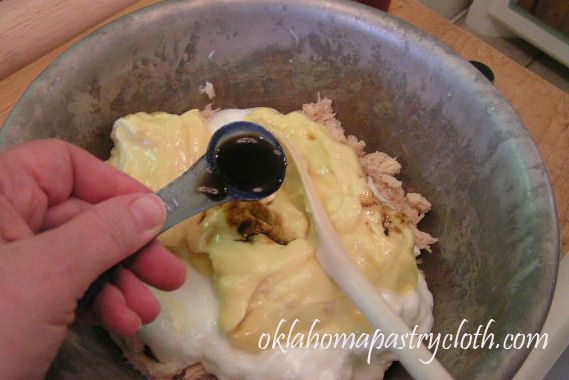 Add Worcestershire sauce, salt and pepper 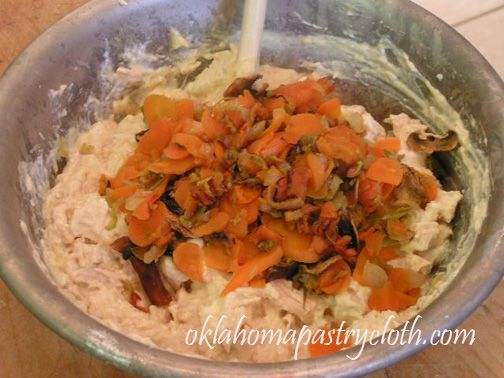 Add vegetables 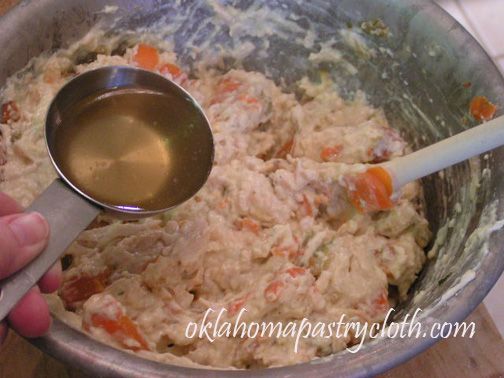 Add remaining 1/4 cup chicken broth and mix all ingredients well 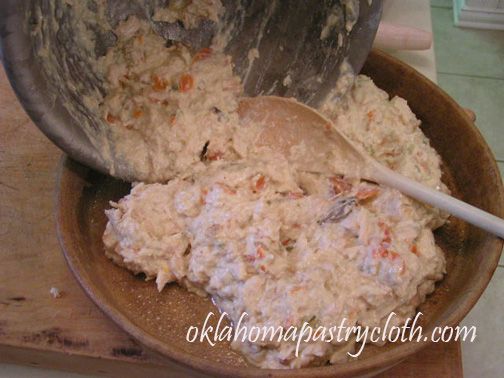 Pour the meat mixture into a casserole dish. I am using a Pampered Chef stoneware deep dish baker here. Set dish aside. 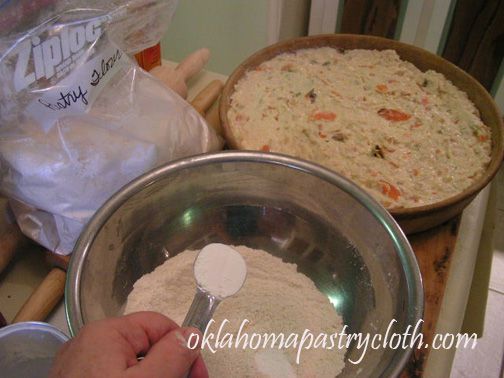 In a bowl, add flour, salt and baking powder and stir. 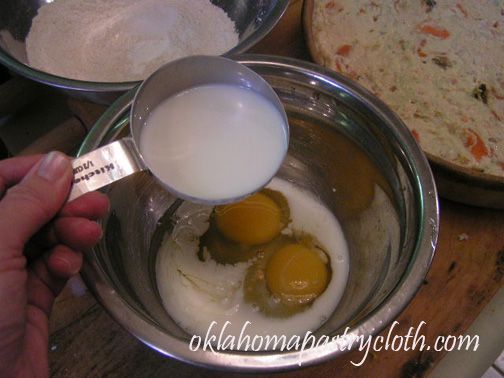 In a separate bowl, lightly beat eggs and milk together 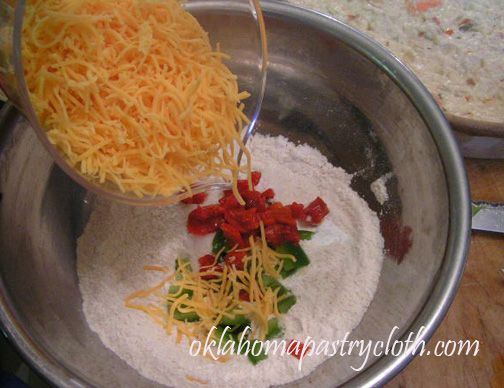 Add cheese and peppers to the flour mixture and toss until the cheese is totally incorporated with the flour 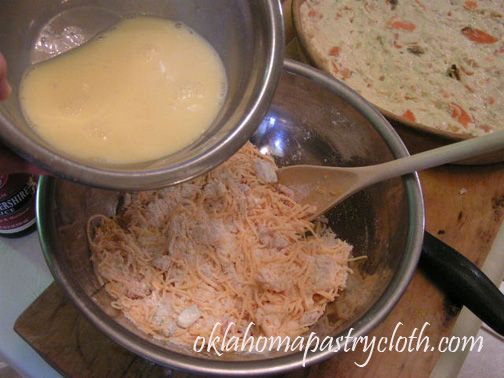 Pour egg mixture in with the flour mixture and stir well 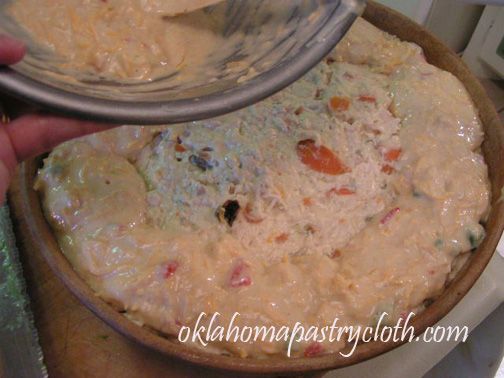 By spoonfuls, place the batter mixture in a ring around the outside top of the meat mixture in the casserole dish. Bake for 40 – 45 minutes at 350º until golden brown. 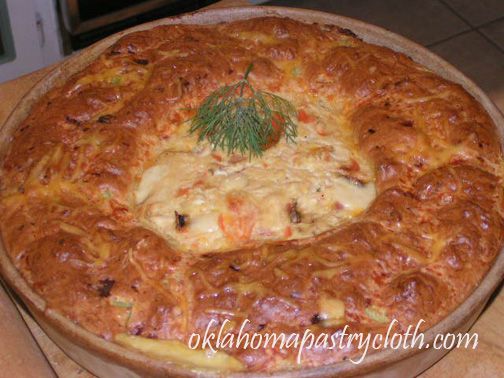 It’s pretty and it’s good! Serve hot with a salad and you have a meal!  |
|
| |
|
Oklahoma Pastry Cloth™ Company on Facebook
|
|
 |
|
|
|
Old-Fashioned Southern Chocolate Pie
Monday, August 22nd, 2011
|
Friday, I had the pleasure of seeing the movie, “The Help”, at our incredible Warren Theater in Moore, OK. The Warren Theater is a step back into the nostalgic mid-1900’s of Art Deco, complete with plush curtains over the screens, raised at just the right moment in pleated velvet splendor, personnel dressed in brass-buttoned waistcoats, taylored pants and white gloves and even a large balcony dinner theater for dinner and a movie. One can spend a Fall afternoon in that particular entertainment venue, munching on hotdogs and chips while watching an OU football game live on the big screen. “The Help” is a wonderful combination of humor, drama, tears and intrigue all wrapped up in a visual treat of 1960’s decor (“Oh look!! There’s our family’s old coffee table!”), vintage cars, 5¢ bottles of coke and amazing home cooking. Without revealing too much, I’ll just say that a central theme throughout the movie kind of revolves around one character’s chocolate pies. Minny is portrayed as the best cook in town and her pies are a specialty. I left the theater wanting an ice cold coke in a bottle and a piece of old timey Southern chocolate pie. Yesterday, I could stand it no longer and so, while I didn’t get that coke, I did get that chocolate pie. Rich!! Oh honey. You can only eat a small slice. But yuuuuumy!! Mr. Fix-It is now stuffed with pie and ready to go see the movie, himself, so I get to see it again! So here you go with a recipe for after you see it. Oh! And you can use my first recipe for pie crust found here, or you can use your own favorite pie crust recipe or I have provided a new one below that was given to me by a friend, Kathy.
 In a bowl, place 3 cups of flour. I am using home ground whole wheat pastry flour here, but you can use all-purpose and that is great.  Add shortening to the flour.  Add salt to the flour and shortening and cut in the shortening with either a mixer and blade or with a hand pasty cutter.  In a separate bowl, combine egg, water and vinegar and whisk until beaten. Add to the flour mixture and stir or mix until a ball forms.  Divide dough into two equal balls. (I use a scale and weigh) One will be used for a large pie shell. Store the rest in the frig for another shell. Or for small pie pans, you can get three single pie shells from this recipe.  For a slightly sweet desert crust, sprinkle powdered sugar on the bottom of the pie plate or tin  Roll the dough on your Oklahoma Pastry Cloth™ to just a little smaller than your pie pan. Place the crust into the pie pan and then press to mold into the pie pan and leave an edge.  Flute the crust using a knife and forcing the crust edge between two fingertips. Place the pie pan and crust into the frig while you prepare the pie filling.
 In a small sauce pan, place chocolate chips  Add canned evaporated milk  Add butter. Heat on medium heat and stir until all ingredients are melted and incorporated into a smooth sauce. Remove from heat and cool slightly.  In a separate bowl – I’m using my McCoy bowl to go right along with the movie. Look for one just like it in one of the scenes – add sugar, flour, nuts, salt and vanilla.  Stir ingredients until nuts are coated.  Slowly stir in chocolate and mix until all dry ingredients are incorpoated with the liquid ingredients.  Whisk in egg quickly until smooth  Pour batter into prepared pie shell and bake at 375º for 40 minutes or until firm.  Cool completely  Cover with either whipped cream or meringue. (I use whipped cream. Not a big meringue fan) |
|
|
Oklahoma Pastry Cloth™ Company on Facebook
|
|
 |
|
|
Fresh Coconut Pie – How to Crack A Coconut
Thursday, July 14th, 2011
|
Coconuts have always held a fascination for me. They’re like big, round, oversized Brazil nuts with hair and if you look at them square on, they look like little spider monkey faces! My father used to bring home coconuts for us to open, letting each of us 4 girls crunch on a chunk of the white meat as we watched him crack the next ones. Mom would deal with the rest, grating it and freezing it for use in baked products. It had to be baked because my father was dangerously allergic to fresh coconut and fresh coconut milk. But he liked coconut as long as it was cooked. Fresh coconut has a totally different taste from commercially shredded and bagged. It is crunchier, lighter tasting and not very sweet, hence sugar on the bagged stuff. I found some coconuts on sale at our local grocery for 50¢ each and so I grabbed three. Fresh coconut pie was calling my name. Mr. Fix-It loves coconut pie, so what better way to impress him than to make it straight from the tree?!  Mr. Fix-It assumed the responsibility of cracking open my grocery prizes and poked the “eyes” with a washed nail setter to open holes for the juice to escape. It’s a “He-Man” job after all.   As I counseled him to wrap each coconut in a towel before tapping with a hammer, (well, that’s the way WE did it when I was growing up) he gave me that “I dun’ need no stinkin’ towel” look. He proceeded to break the heavy hulls of the nuts in several places and proudly pointed out that he had not sent pieces flying. OK, so he’s good, but if you want to save a mess, wrap your whole coconut in a towel before breaking.  By sliding a table knife between the shell and the meat, the meat easily pops out with some of the shell membrane still attached.  Using a paring knife, peel off remaining shell – only don’t do it like Mr. Fix-It, who is cutting toward himself!!  Using a hand grater or the grating wheel on your food processor, grate coconut. 
 Bake a pie shell and set aside to cool  Put the sugar, cornstarch and salt into a saucepan that is not heating.  Pour coconut milk into a large measuring cup and finish to level 3 cups with cows milk.  Pour the milk mixture into the saucepan and stir until sugar and cornstarch are dissolved.  Beat egg yolks and add to the saucepan, stirring mixture to fully incorporate  Bring mixture to a boil over medium heat, stirring constantly to keep from sticking and from getting lumpy. As mixture thickens, let boil one minute.  Remove from heat and stir in butter…  and flavorings  Add coconut  Stir coconut into filling mixture  Pour filling into pie shell  Cover with plastic wrap and tap with your hand so that wrap touches the filling. Place in the frig to cool for at least 2 hours.  Remove from frig and cover with whipped cream or cool whip and sprinkled with toasted coconut.  For an extra zing, add grated chocolate. It’s a Mounds Bar flavor! |
|
Oklahoma Pastry Cloth™ Company on Facebook
|
 |
Canning Peach Pie Filling
Tuesday, June 28th, 2011
 There is just something about the smell and taste of peaches. The smell is great in potpourri. The smell and taste are awesome in iced tea and are especially good in our Peach Cordial and Peach Berry teas. Peaches just have a heady fragrance that even draws you to the grocery bins with an invisible wave that says, “You HAVE to have some peaches!” We only have one peach tree. But more are going to be planted this fall. It is best to have at least two different kinds of trees – and we did – but one died. Oklahoma has many peach orchards, but the heat is brutal and it got our other tree. Actually, one tree is plenty for one family, but as I said, two make for better fruit. I was very excited to see all the fruit on our tree this year. It got bigger and bigger and then one day we noticed little, clear sappy things oozing from tiny holes. Arrggghhh. Oriental Fruit Moths had had their way with my peaches!!! How depressing. These beautiful fruits look so pretty, but when sliced, brown tunnels weave through the ripe and juicy meat. So, next year, pheromone traps will be hanging from the tree like Christmas ornaments! What fruit we did get has been incredible. It’s like eating peach candy and so I have been diligent at getting these precious peaches stashed away for future use. One thing I love to do is make pie filling. I use the same method as my Apple Pie Filling, but I adjust the syrup for peaches – a litle thinner. The following is the recipe that I use for peaches. To see how to make the syrup just click on the link for the Apple Pie Filling and directions and pictures are there. Mix dry ingredients together in a large pot and slowly add water, stirring with a whisk until well blended. Bring to a boil while continually stirring and allow to boil until mixture thickens and becomes more transparent. Remove from heat and add lemon juice. Stir.  Wash 6 – 8 pounds of peaches. In this case, I used more because I had to cut so much off of each peach due to those nasty Oriental Fruit Moths.  Peel peaches  I find the easiest way to slice peaches is to make cuts about 1/2″ apart, cutting at an angle toward the pit so that there is very little meat being pulled away from the pit. In the case of most of my peaches, I ended up cutting out chunks around the worm holes so this batch isn’t very pretty!! I slice my peaches into a bowl that has a cup of water mixed with a tsp of FruitFresh in it. I continually toss the peach slices as I cut to keep them coated with the citric acid mixture.  Pack the peaches into jars leaving a 1″ head space from the top of the jar. I’ll be rearranging peaches from the jar on the front right to distribute among other jars because it is too full. Add 1/2 tsp apple cider vinegar to each jar of peaches.  Ladle syrup into jars leaving a 1″ head space of syrup. This prevents any from boiling out in the processing. I usually have around a quart of syrup left over and just use it for my next run or I can it and use it for fresh peaches in a pie.  Using a knife or canning spatula, run around the inside perimeter of the jars to release any air bubbles.  Wipe the rims of the jars with a wet cloth to remove any juices, oils or syrup which will keep a jar from sealing.  I like to place my lids in the water in a pan by alternating them rubber side up, rubber side down which helps to keep them from sticking together. The water is brought to just before a boil and then turned on low to keep the lids warm.  Using a canning wand or tongs, remove the lids from the water and place onto jars. Screw on the rings and adjust by tightening and then backing off just a smidge. Place in a water bath canner and fill with warm water to 1″ over the top of the jars. Bring to a full boil and boil for 20 minutes. Remove jars from canner and allow to cool. Listen for the “ping” pop that lets you know the jars are sealing.  These jars are ready to store. I will use one quart and one pint to make a pie, so this batch made enough for four pies! Just pour into your crust, top and bake at 400 degrees. Easy as…umm…peach pie!! |
|
Oklahoma Pastry Cloth™ Company on Facebook
|
 |
πr²? – no – Pie r Round
Monday, September 28th, 2009
It’s Fall and that means that Thanksgiving is on its way! And Thanksgiving makes me think of pies. Yes, most people would say that they think of turkey – I’m sure that’s #1 on the board on Family Feud – but I think of pies – well – and yes – sweet potatoes.
I love pie. I won’t go out of my way for a cake, but give me a pecan pie or an apple crumb pie and I’m grinning. One of the readers asked for a good pie crust recipe and so I thought that this would be a good time to jump into the subject. Time to roll up our sleeves and prepare for the coming feast and to give thanks for God’s provision and grace no matter what our situation. These times are hard, but we can know joy in spite of hard times when we realize that God has it in His hands. Make this Fall and Thanksgiving one that your family remembers with fondness and joy! Good food helps!
Pie dough is really easy to make. The secret to great pie crust is in the shortening – plenty of shortening. You can’t be stingy. Of course, my grandmother, and probably yours, made the flakiest, lightest crusts because she used lard, but with today’s sermons on cholesterol I won’t even go there! Ask any southern cook, though, and they’ll all tell you that a crust isn’t a crust without lard.
So I use the next best things – Crisco and butter – real butter. It is also important to keep the ingredients cold. Having an Oklahoma Pastry Cloth ™ in the freezer is a plus! My recipe makes enough for quite a number of crusts and can be kept in the freezer to be measured out in 1 cup measures per pie shell or top. My recipe is an adaptation of one given to me by my mother many years ago, which I then recorded in the back of my grandmother’s Fannie Merritt Farmer Boston Cooking School Cookbook of 1951. Below, you will find the recipe and directions with pictures and then the directions for some wonderful tarts made with the pie dough.
Pie Crust Mix
4 1/2 cups flour
1 cup shortening – cooled in refrigerator
1 cup butter – also kept cool
2 tsp salt
6 tablespoons ice water (to be added to 2-3 cups of mix for double crust)
1 tsp white vinegar
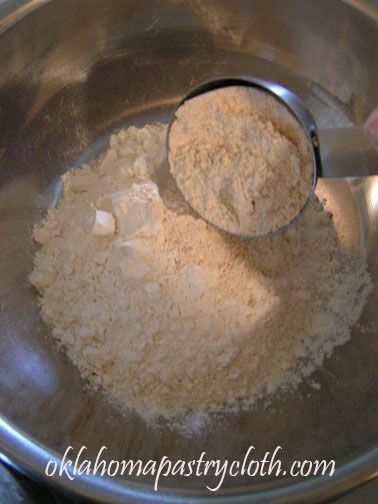
Put 4 1/2 cups flour into a large bowl. Add salt.
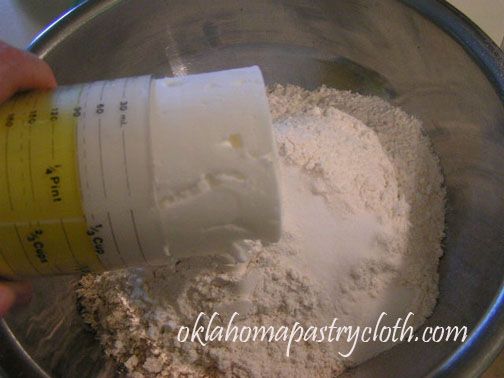
Add shortening. Here, I am using the handy Adjust-a-cup that will be available on the shopping page in just a few weeks.
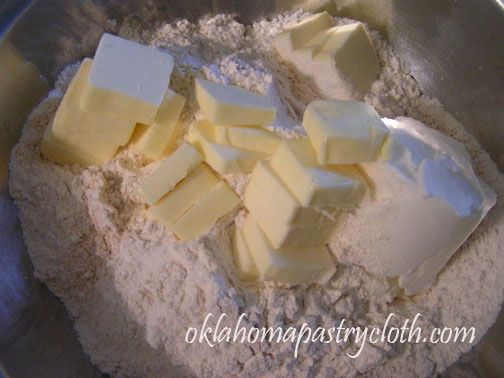
Cut butter into small slices. Add to flour, salt and shortening.
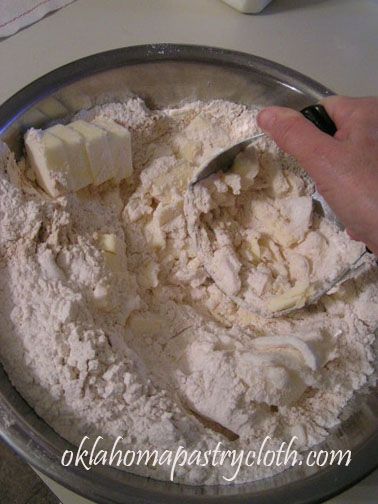
Using a pastry cutter (available at the shopping page) cut the butter and shortening into the flour.
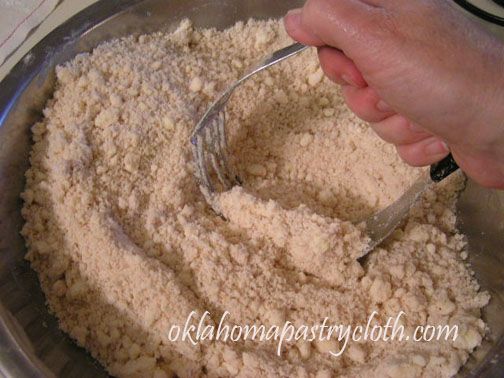
Continue cutting until the mixture resembles small peas.
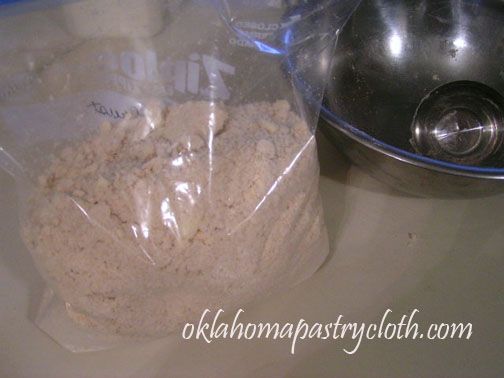
This mixture can be stored in a freezer bag in the freezer and used as needed. 1 – 1 1/2 cup = 1 pie crust round (depending on the size of your pan) so 2 to 3 cups for a bottom and top crust. Add 6 tblsp ice water with the vinegar added, a few at a time and stirring until dough pulls away from the side of the bowl and forms a ball. (Don’t be afraid to make it a little sticky. You don’t want your dough to be too dry)
Tarts
4 oz cream cheese
1/2 cup powdered sugar
1/2 cup cool whip
1 1/4 cup strawberries
4 tbsp glaze
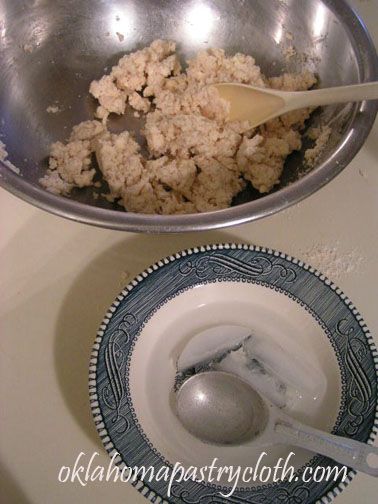
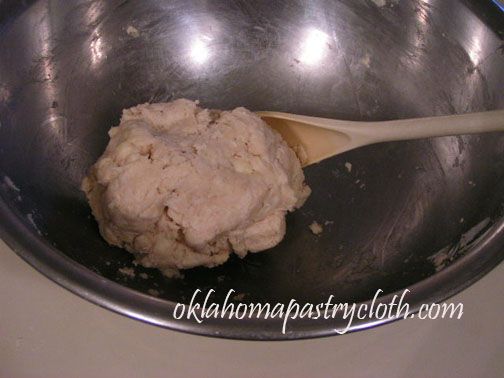
Measure out 1 3/4 to 2 cups pie crust mix and in a bowl, add one tablespoon at a time of ice water to equal six tablespoons along with 1 tsp vinegar and mix until a soft dough is formed as you stir.
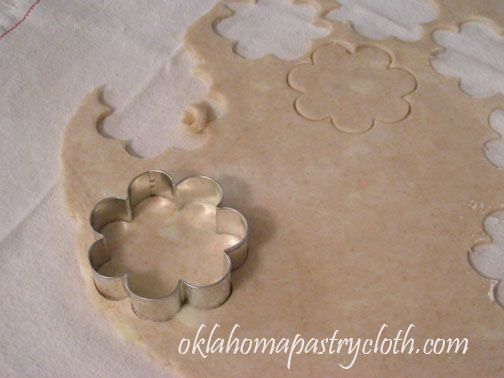
Roll pie dough onto Oklahoma Pastry Cloth™ to about 1/8″ thick. Cut with flower shaped cookie cutter. This one is 3″ across and an entire set of them is coming your way with the other utensils. Check the shopping page in a couple of weeks!
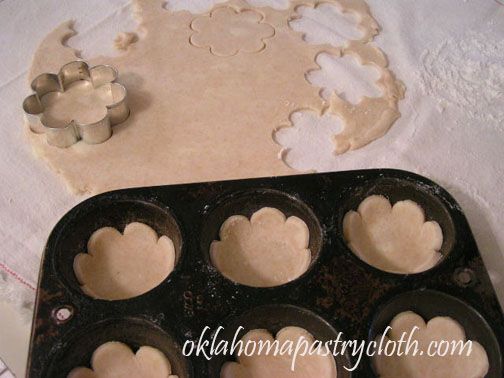
Place “pie flowers” into Pam-sprayed muffin tins. Bake at 400° for approximately 8 minutes or until browned on the edges. Set aside to cool.
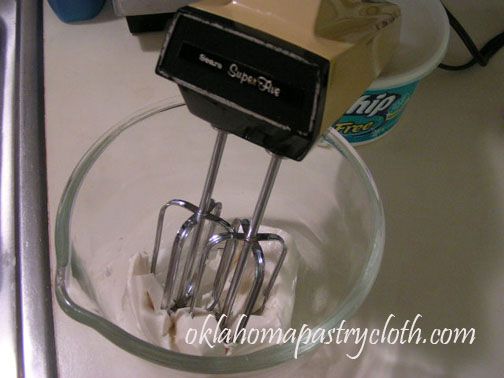
In a mixing bowl, place 4 oz cream cheese and mix until creamy. I like to use my old Sears hand mixer. It’s that 60’s-70’s retro gold color and still works like a charm. There’s just nothing like the high whine of an old hand mixer.
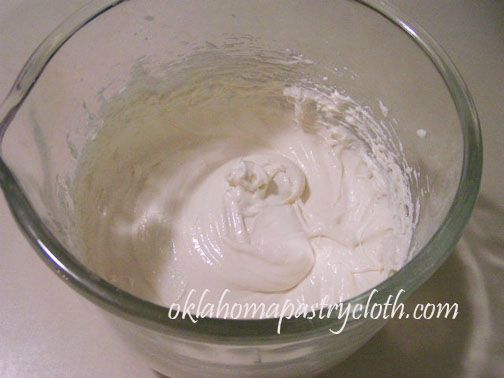
Add powdered sugar and cool whip. Blend until creamy. You will use around half of this for the tarts or double the number of tart shells to use all.
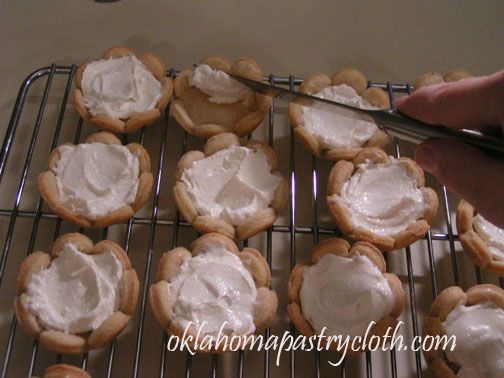
Spoon mixture into the bottom of the cooled tart shells. For more stability and to avoid breakage, this can be accomplished while the shells are still in the muffin tins.
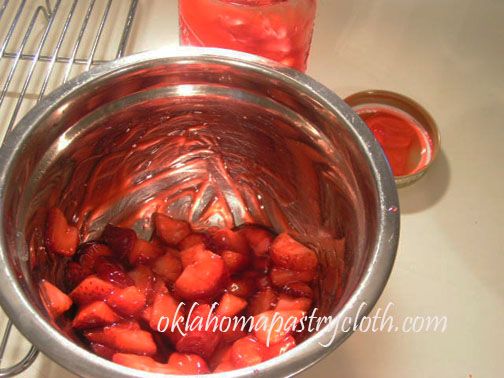
In a bowl, place fresh strawberries and toss with strawberry glaze. Or you may also use any type of canned fruit pie filling.
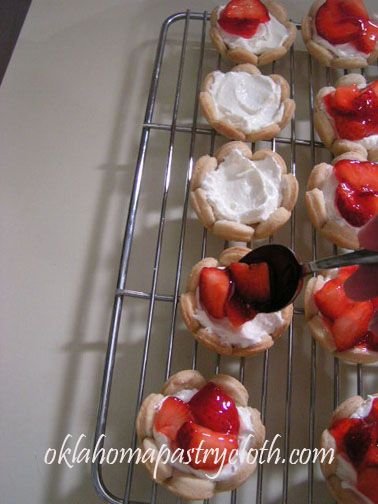
Spoon fruit mixture over cream cheese mixture. Makes approximately 18 tarts
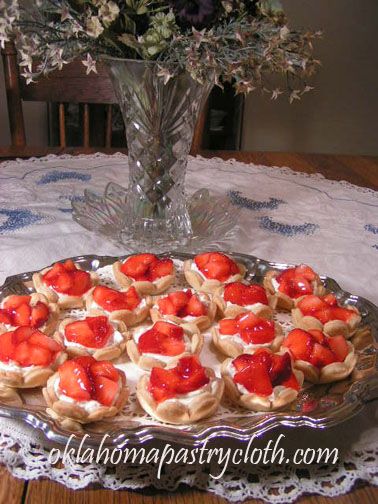
Arrange on tray and serve. Aren’t they pretty? They taste wonderful too!
Thanks to Kathy, for donating her tart recipe.

 Homestead Revival
 Paratus Familia
 Rural Revolution