Posts Tagged ‘orange’
Thursday, April 21st, 2011
An English Scone
Ain’t Nothin’ But A
Fancy Oklahoma Biscuit!

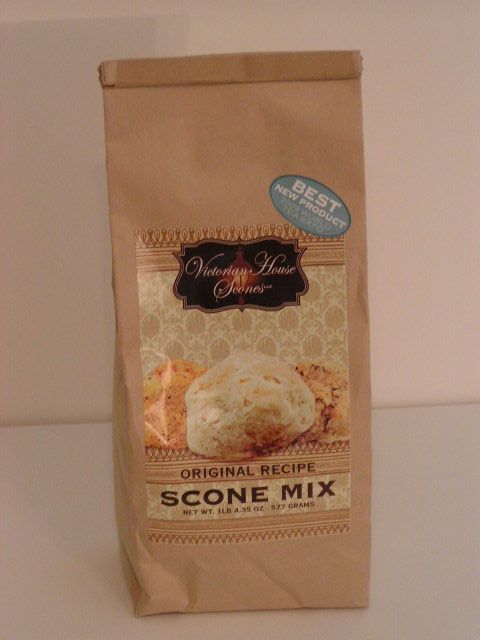
Yep, that’s what I tell anybody who says to me, “A scone? What’s a scone??” when I am showing off the three scones mixes that I carry at the shopping page. The Victorian House Original Recipe Scones are especially good because you can add anything you like to them like 1/2 cup of white chocolate and 1/3 cup of Craisins to create “addiction from a bag”! They are handy because you can make them ahead of time and either freeze them raw for baking later, or keep them in the frig raw for baking the next day. And one bag makes 16 big scones – a bonus! Packaged scones are a great thing to have on hand for a quick tea with the neighbor, a relaxing treat for your afternoon or a wonderful “thank you” gift in a pinch. The Victorian House Scones are an authentic Scottish scone, made with buttermilk.
But for those who like to say, “I make MY scones from scratch” – you know, the: “I grew the wheat, dried the wheat, ground the wheat, milked the cow, churned the butter, separated the cream AND got the eggs from our chickens” kinda gals – ok, so you got the ingredients at the store and put them into the mixer! Whatever – it’s homemade! – here is a recipe for you. These scones are fluffy and light and just keep you wanting more. This recipe is my own recipe that I have developed over many, many attempts at scones. And yes, if I should ever decide to market the mix, I WILL have to kill you. 🙂 This recipe uses the dried orange zest from a couple of posts ago. And these are the English type of scone. So here you go:
English Style Orange Scones
Preheat oven to 400 degrees
2 cups flour
1/2 cup sugar or 1/2 cup splenda + 1/4 cup powdered milk
1 tbsp. baking powder
1/2 tbsp Dough Enhancer (optional)
1/2 tsp salt
fresh zest of orange or 1 tsp dried zest
2-3 tbsp orange juice concentrate
6 tbsp cold butter cut into pieces
1 egg white (reserve the egg yolk)
1/2 cup heavy cream
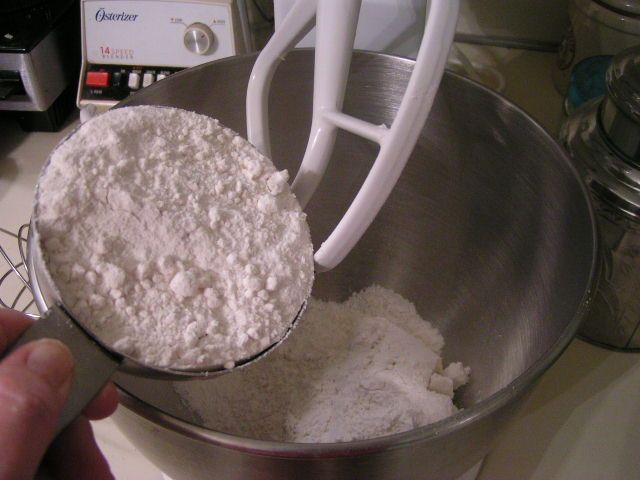
Add flour to mixing bowl
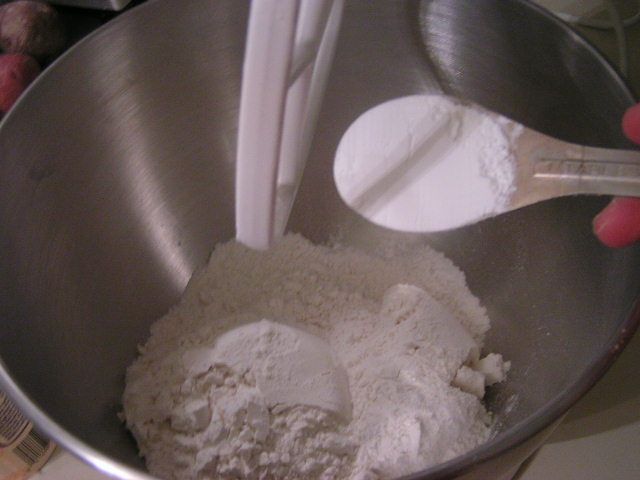
Add Baking Powder
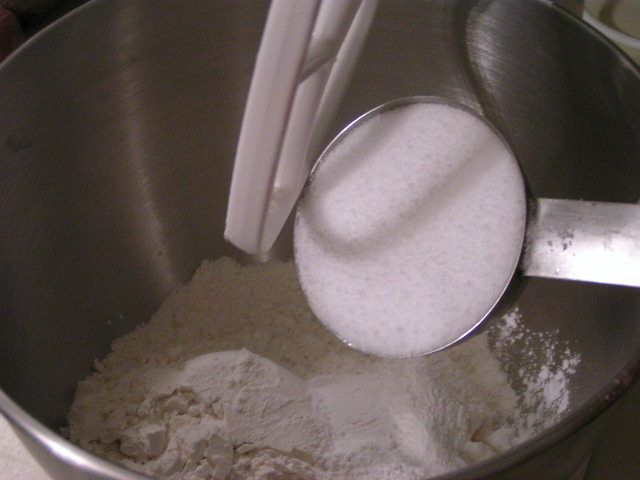
Add sugar or Splenda. If using Splenda add powdered milk.
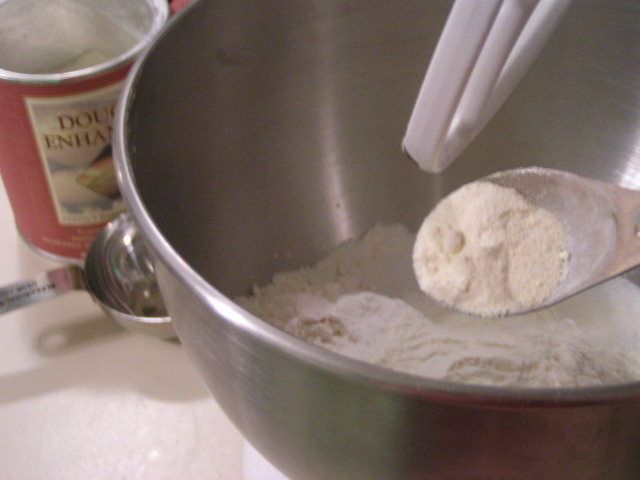
Add dough enhancer – this is optional
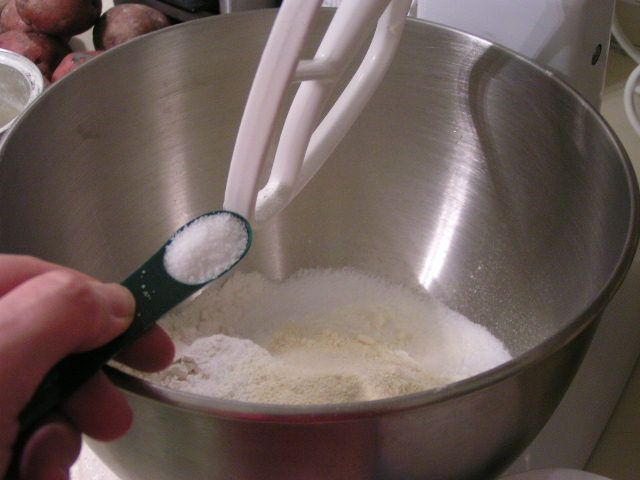
Add salt
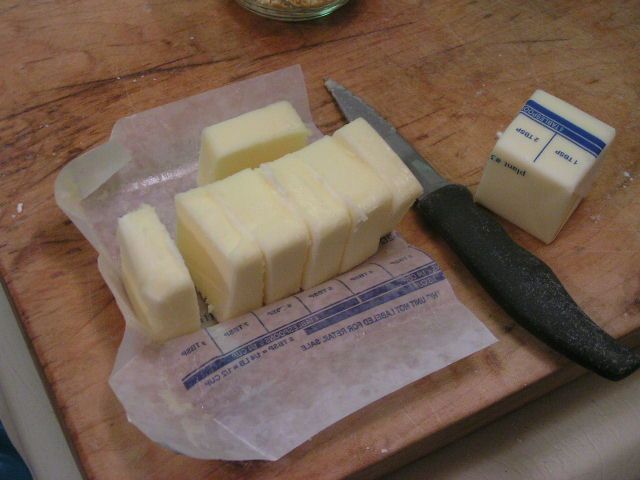
Cut butter into pieces
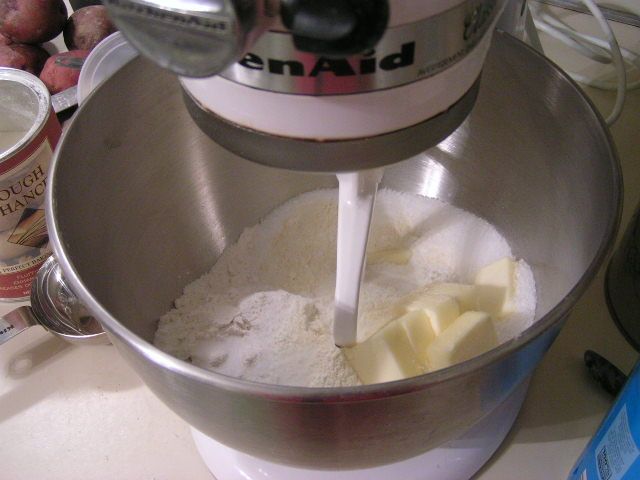
Using mixer or dough blender, cut butter into flour until the mix resembles small peas.
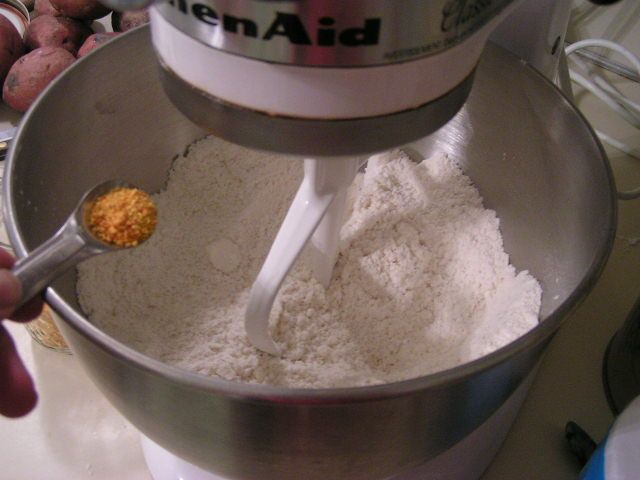
Add orange zest.
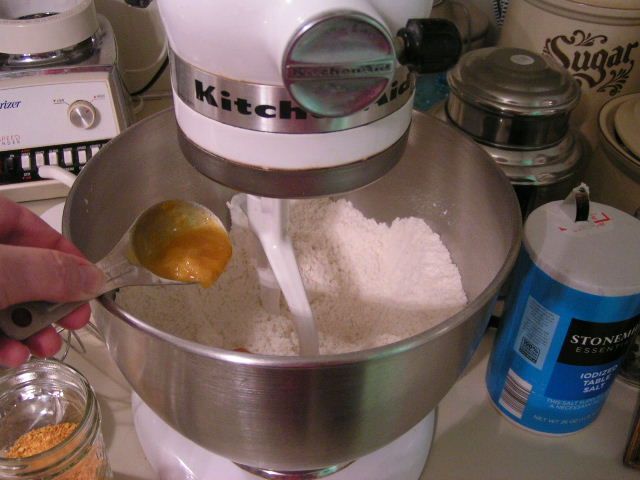
Add 2 -3 tbsp frozen orange juice concentrate to the mix depending on how much of an orange flavor you prefer. Stir in
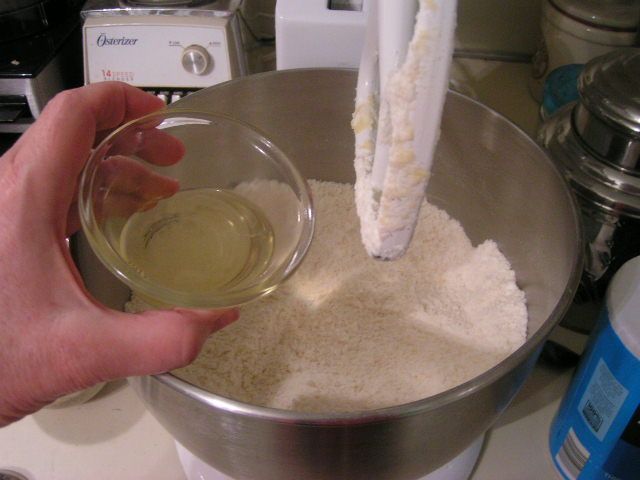
Add egg white and stir (you can use a whole egg if using Splenda for more moistness)
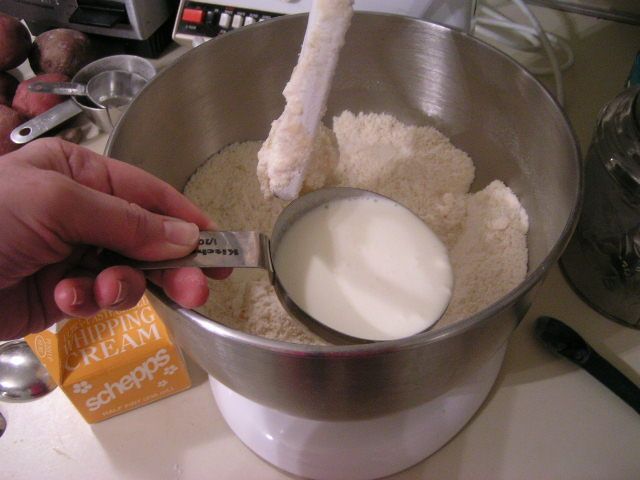
Add cream
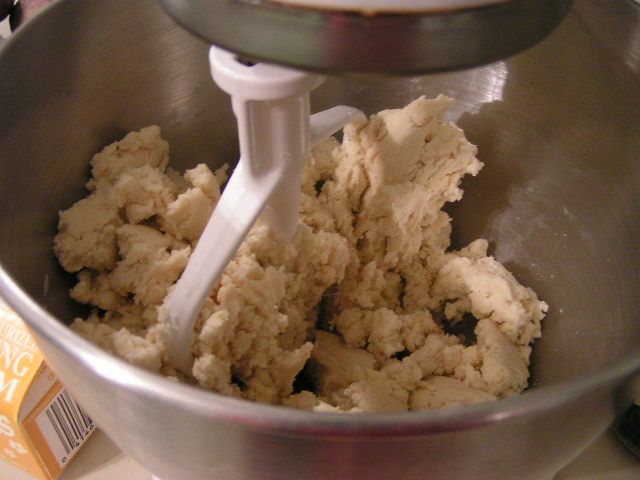
Mix until dough just holds together
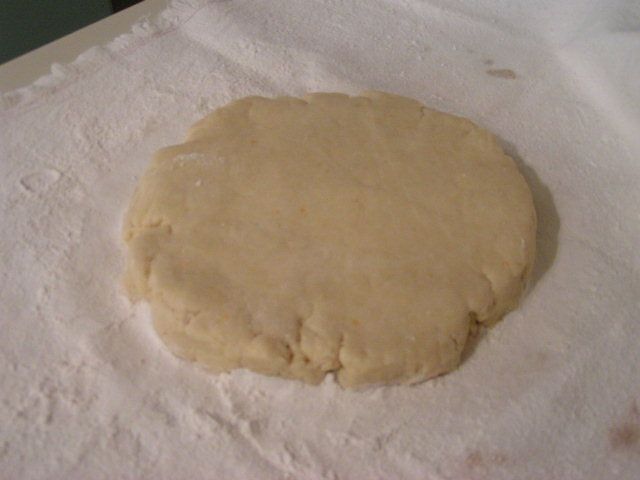
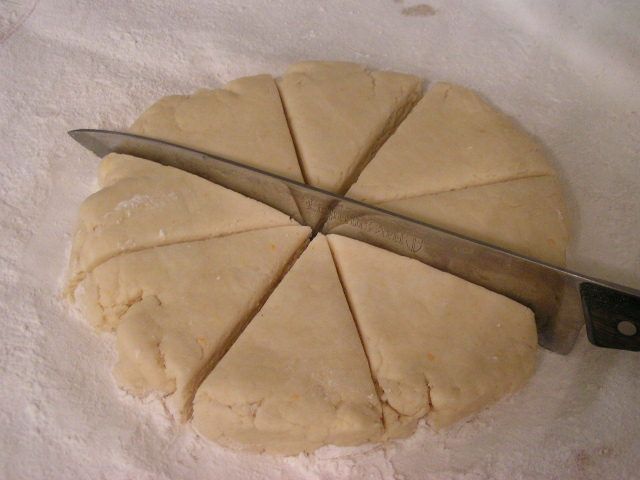
Place dough on a floured surface like the The Oklahoma Pastry Cloth™. Pat the dough out into an 8″ circle and cut into 8 triangles
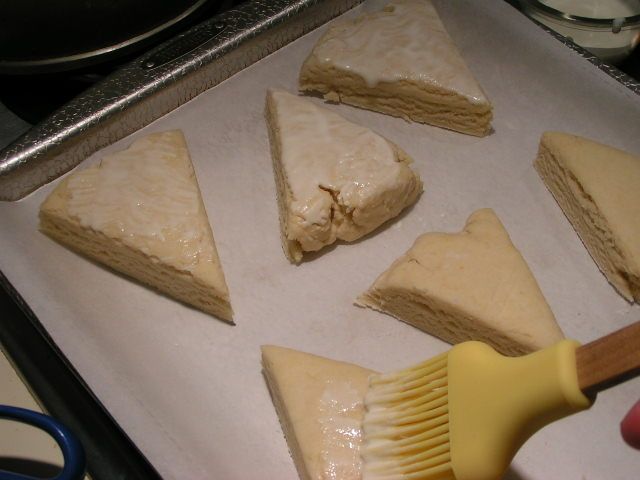
Place scones on a cookie sheet that has been lined with parchment paper and brush with a mixture of the reserved egg yolk and 3 tbsp cream.
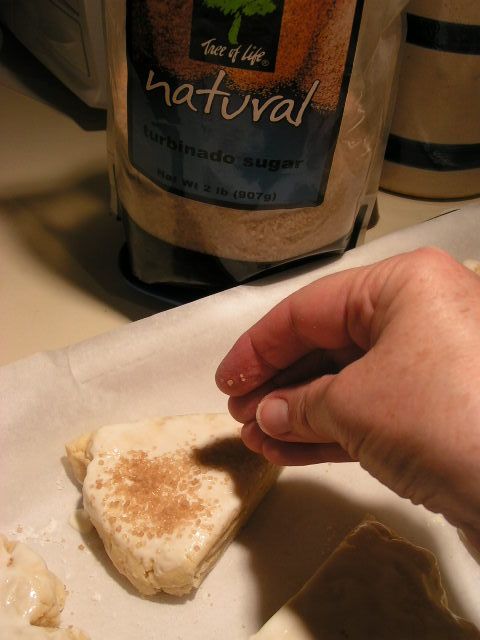
Sprinkle with raw sugar. Bake for 15 – 20 minutes depending on how fast your oven is. You want them to be golden brown. If you would like, dip the tops of the freshly baked scones in the following icing:
Orange Flavored Icing
1 Tbsp melted butter
2 Tbsp frozen Orange Juice Concentrate
Pinch of orange zest
1/4 tsp vanilla
1/2 cup powdered sugar
1 Tbsp milk
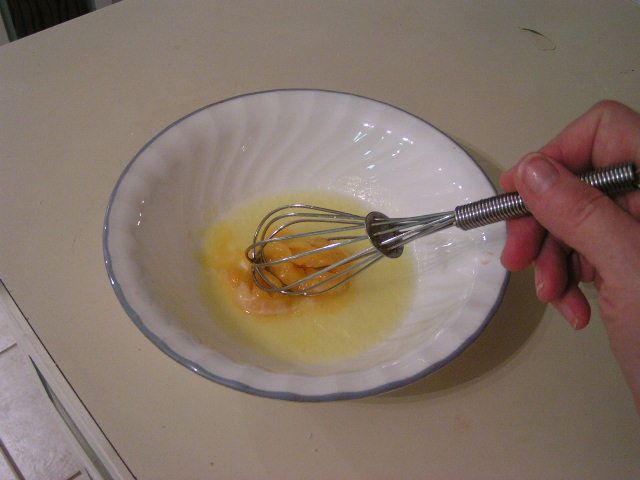
Stir orange juice concentrate into melted butter
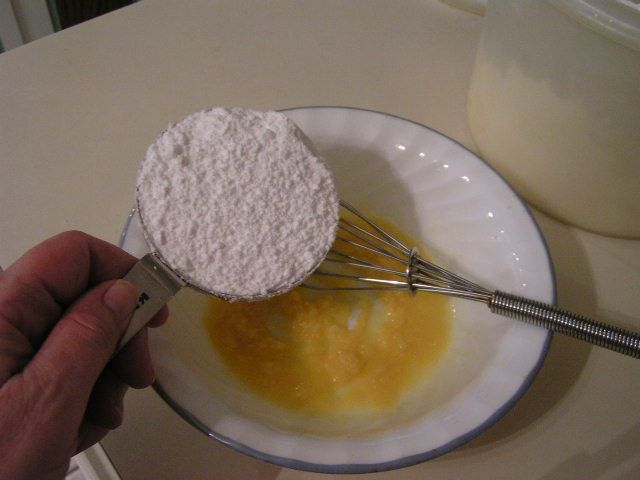
Add powdered sugar and stir. Add milk and continue stirring until smooth. Add more powdered sugar if it is too runny.
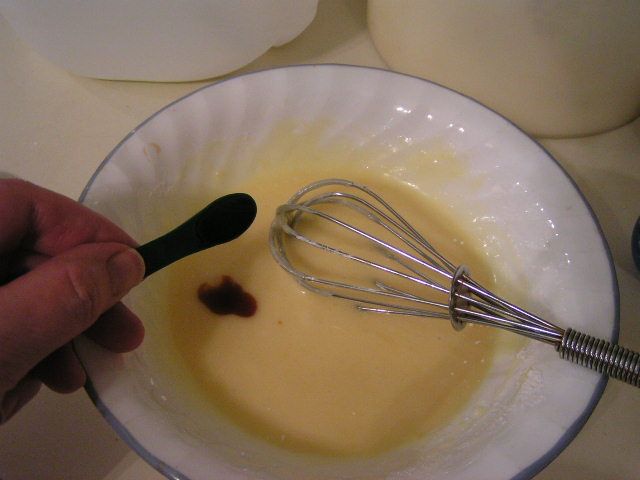
Add vanilla
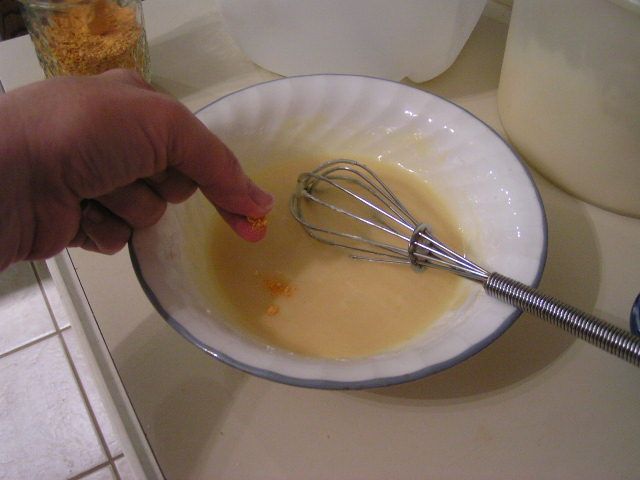
Add pinch of orange zest. Stir and then dip the tops of the scones into the icing.
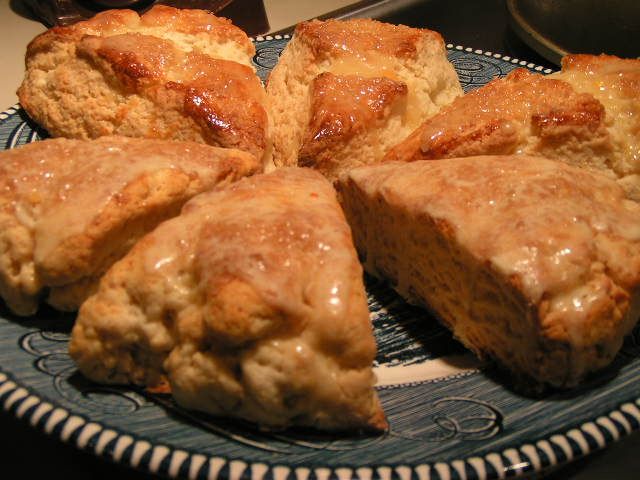

Serve warm or cold. The scones in the forefront are the ones made with Splenda. They are a little heavier and hold their shape. The ones in the background are made with sugar and are lighter and more puffy. Serve with tea and lemon curd and you are set!!
Happy “Ta-Ta” and “Cheerio”!
MB
|
Please join us on FaceBook!!
|
Join in the conversation by leaving a comment below!

|
Tags: baking, Breads, Butter, cream, orange, recipe, scones, tea, tea party treats
Posted in Breads, Let's Cook! | 11 Comments »
Monday, April 18th, 2011
Orange You Glad I Dried?

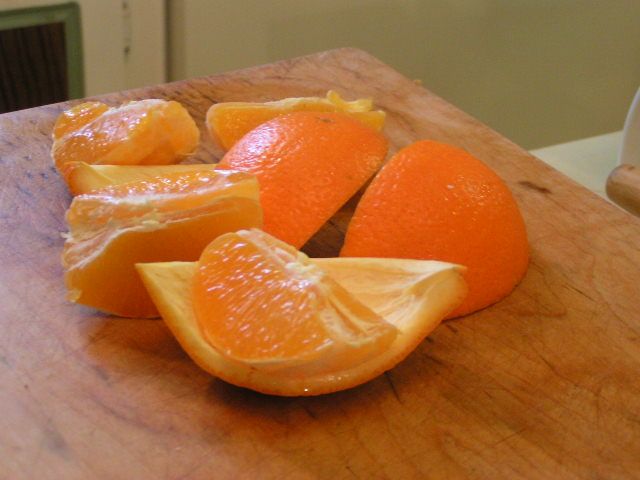
I don’t know about you, but one of the worst things I know of in cooking, is zesting lemons, limes and oranges. I have, in the past, posted the tip to freeze your rinds in freezer bags to whip out in your time of need and zest with much greater ease. However, no matter fresh or frozen fruit hulls, the zester makes no distinction between the rind and your knuckles. More than once, I have let go a yelp because I got too close to those nasty little teeth that rip the skin.
Now, I’m a great fan of oranges and it seems that the ones recently have been extra good. Oranges are like candy to me and so Mr. Fix-It says nothing when he finds me typing away at the computer with sticky fingers and juice dripping from my chin. Yes, yes. My momma taught me better. I just grin and hand him a quarter and say, “Wanna slice?” He always takes it.
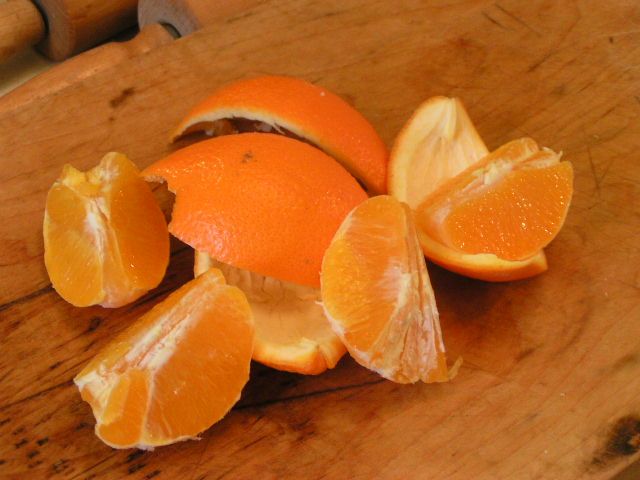
So I’m munching on an extra sweet citrus and I’m staring at the pile of peels on the cutting board. My mind clicks and I think, “So, why couldn’t I dry the peels and chop them up for zest?” And so my experiment began.
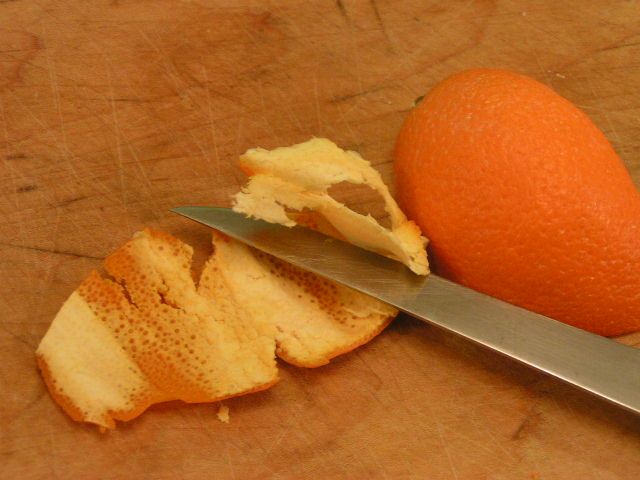
Now, the whole point of zest is to basically just take the outer rind of the fruit. No fibrous, white, inner rind. I know that when I’m zesting, though, I get some of that white lining and so I figured a little wouldn’t hurt. Therefore, I used a sharp knife and slid it under the inner skin and carefully cut between it and the outer orange rind.
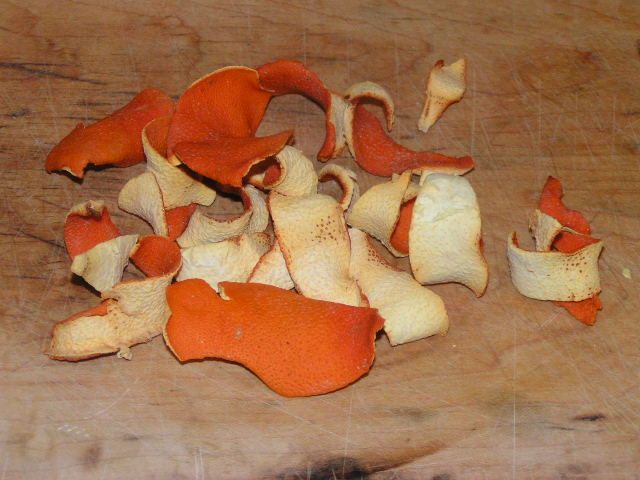
I laid the cut rinds out in the air to dry. I decided not to use a dehydrator because I was concerned that the heat would change the flavor of the orange rind zest.
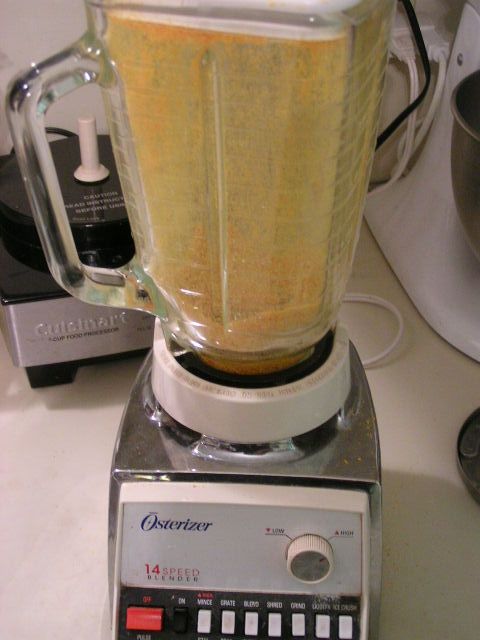
After a week, the skins were so dry they were leathery/brittle. I popped them into the blender and pulverized them!
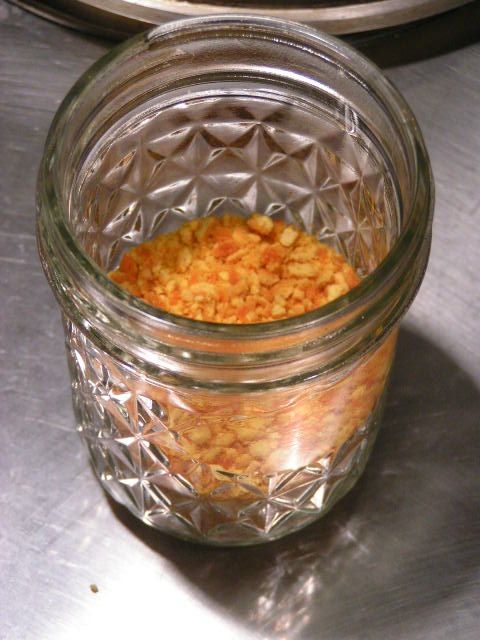
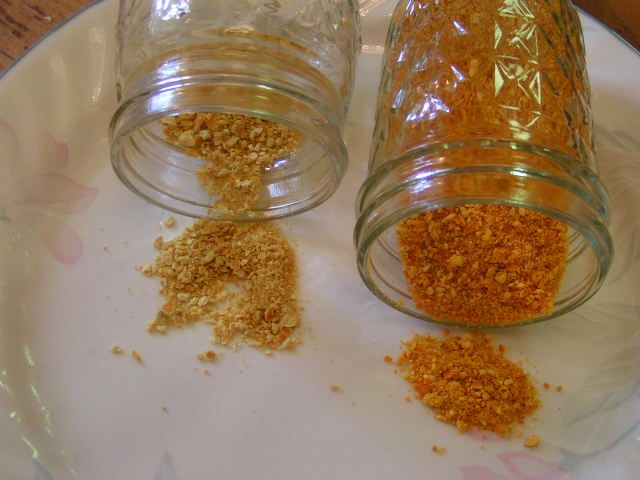
The result was wonderful! I figured out that I could put the “zest” into a jar and then just keep adding as I dried more oranges. I did the same with lemons. Actually, I found lemons for 33¢ each and so I bought a boatload. I brought those home and juiced them, froze the juice in ice trays as 1 oz cubes and then quartered the rinds to easily slice the white inner skin from the outer rind. I dried those too. In the picture, the lemon zest is to the left and the orange is on the right.
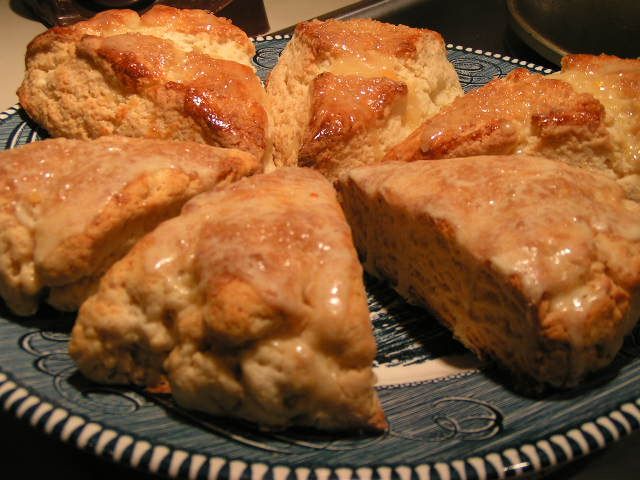
I used the zest in my basic scones recipe and wow. They were wonderful. That’ll be my next post – the recipe! All I know is that now I have a new “zest for life!” 🙂

Happy Zesting!
MB
|
Please join us on FaceBook!!
|
Join in the conversation by leaving a comment below!

|
Tags: dehydrating, lemon, orange, scones, zest
Posted in Canning and Food Processing, Let's Cook!, Quick Tips | 4 Comments »


 Homestead Revival
 Paratus Familia
 Rural Revolution