Posts Tagged ‘jar sealer’
Saturday, January 15th, 2011
Hoover Ain’t Got Nothin’
On This
Little Bit Of Technology!
I have had a number of readers ask me how a vacuum sealer works with jars, since posting the two articles on dehydrating veggies. I thought that I would break into the middle of that series and answer those questions in pictures. Just as background info, I have a FoodSaver V2440 which is quite ancient in the world of technology. I am thinking that I got it somewhere around 2000 or 2001. I am sure that you can find that particular model on Ebay but I highly doubt anyone is selling it new. Target , Walmart and Amazon all carry FoodSaver products or you can order from the company directly at FoodSaver.com. Just make sure that whatever model you choose has the “accessory port” which is the little raised button that you will see in my pictures. Some of the models do not have this feature. I looked on the website and found one particular model that seemed reasonably priced and with the port feature. Just click above if you’d like to view it. The canning accessories must be purchased separately unless the website happens to be having a combined special. You can find the jar sealing items here. There is one for wide mouthed jars and for jars with regular openings. The following are pictures of how I use my vacuum sealer for both bags and jars.
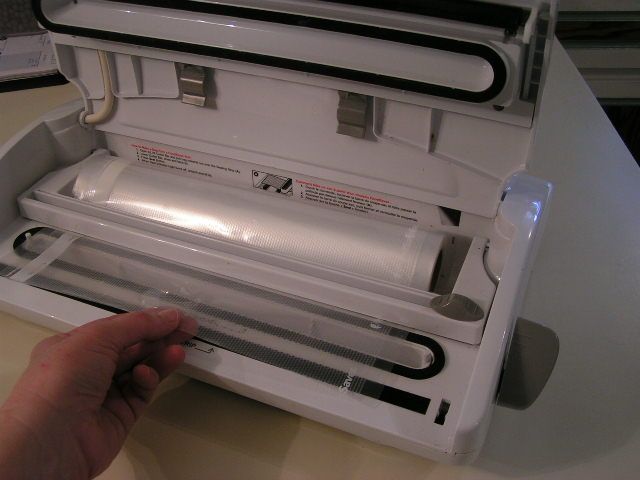
My vacuum sealer is equipped to do both bag vacuuming and container vacuuming. To bag items, first pull the plastic sheeting from the roll to cover the sealing plate.
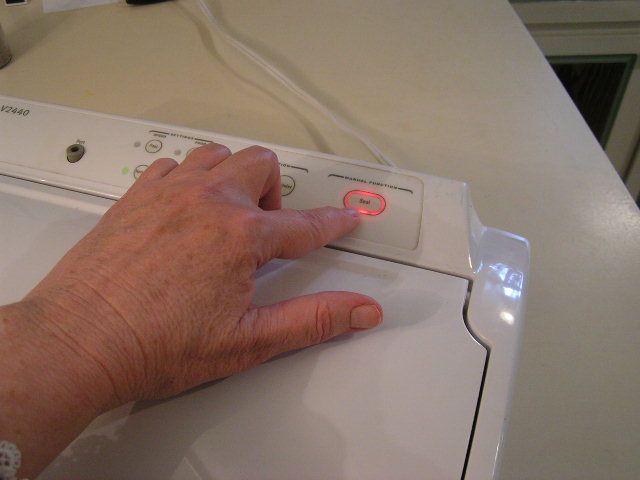
Secure the lid and press the ‘seal’ button and allow to seal what will become the bottom end until the light goes off or until the time you have determined is enough. If you predetermine a time, you have to manually stop the sealing feature by repressing the ‘seal’ button. Pull the plastic out to make a bag long enough to hold your food. The sealed portion acts as the bottom. Cut with the cutting feature.
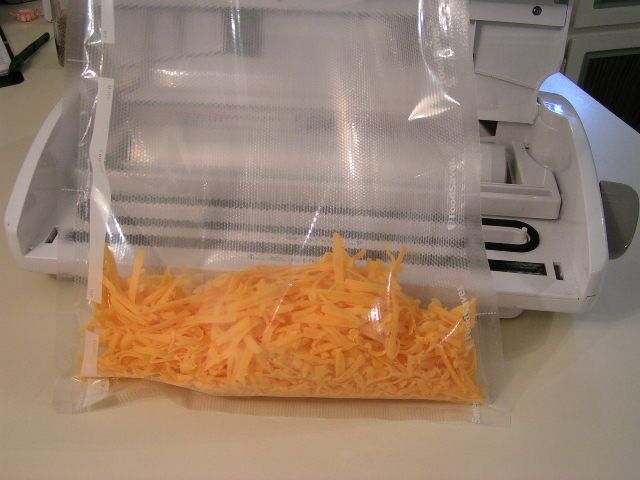
I bought a boatload of cheese on sale (1 block for $1.00!) and so since we like grated cheese, and I have found that you can freeze grated cheese really well, here I have grated a block of cheddar. You can also use a food processor. Cheese may also be canned!! But that’s for another post. Pour in the cheese or whatever you are sealing
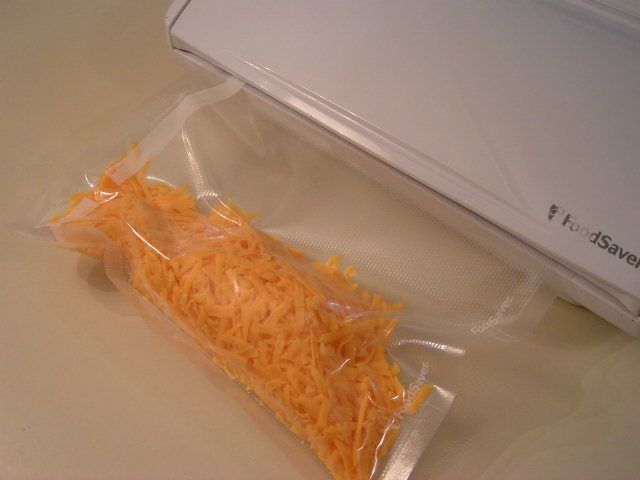
Place the open end of the bag down into the chamber that attaches to the suction holes and close the lid and fasten Press the “vacuum and seal” button and watch it work!
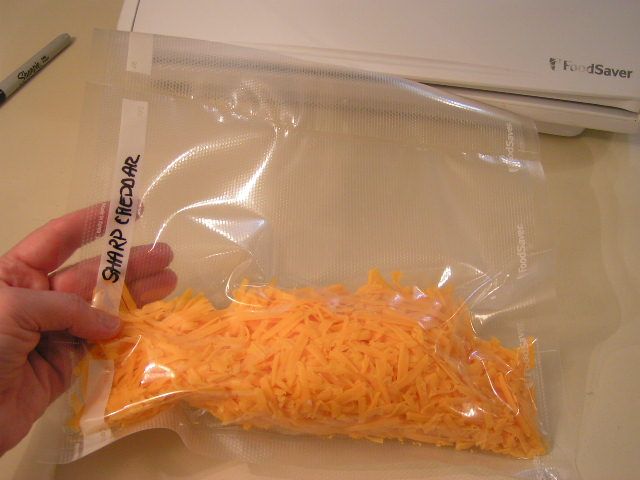
You can stop it at any time, which is what I am doing here in order to keep the cheese from being too tightly pressed.
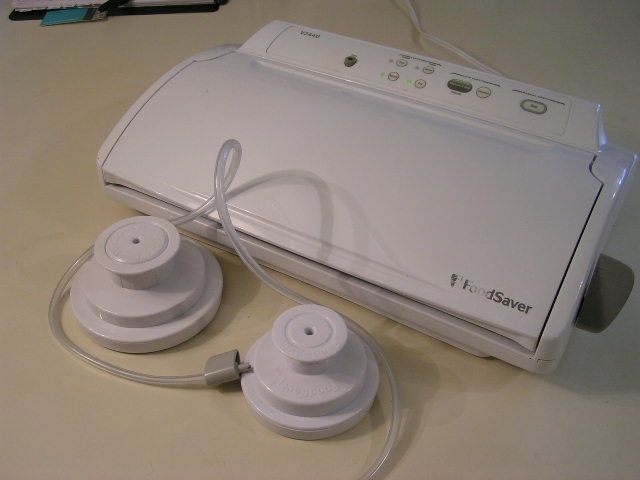
To vacuum jars, you must have the jar sealers and hoses that can be purchased separately. They run anywhere from $8 – $10
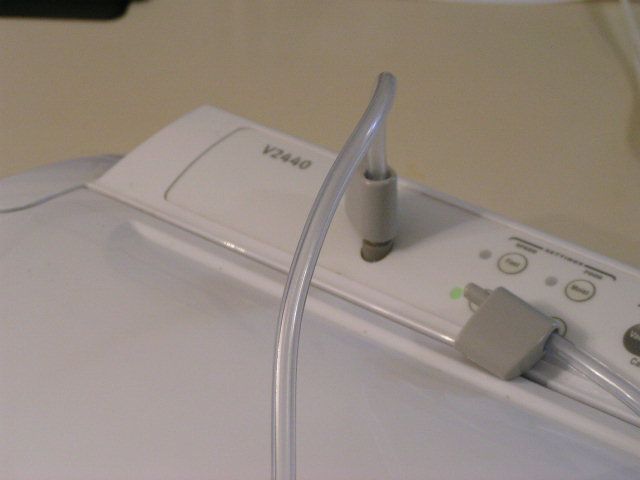
First, attach the hose to the accessory port
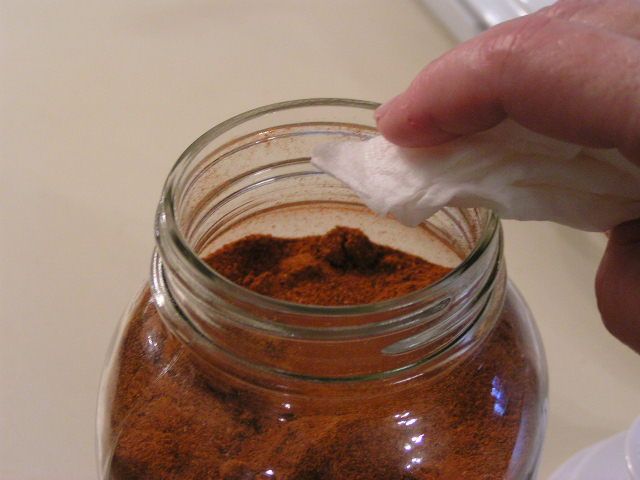
Wipe the edges of the jar with a damp cloth or paper towel to remove any residue or oil
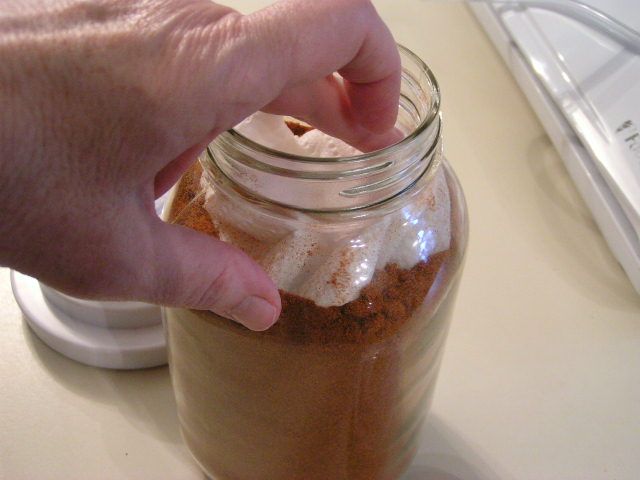
Place a dry, folded paper towel over powdery substances in the jar. Not needed for fruits and vegetables, etc.
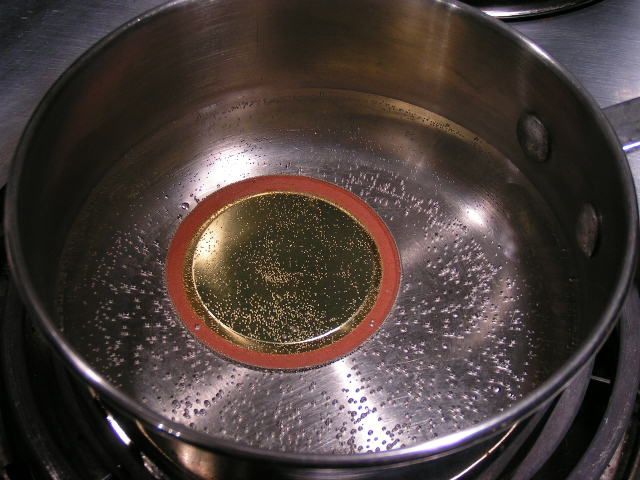
A new lid should be softened in a pan of nearly boiling water
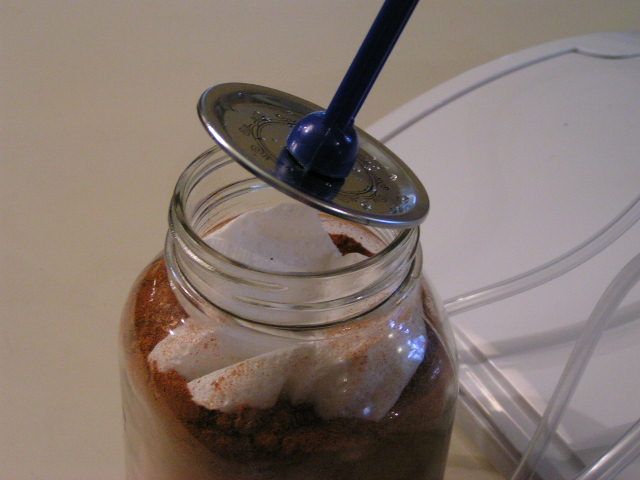
Place lid on top of jar
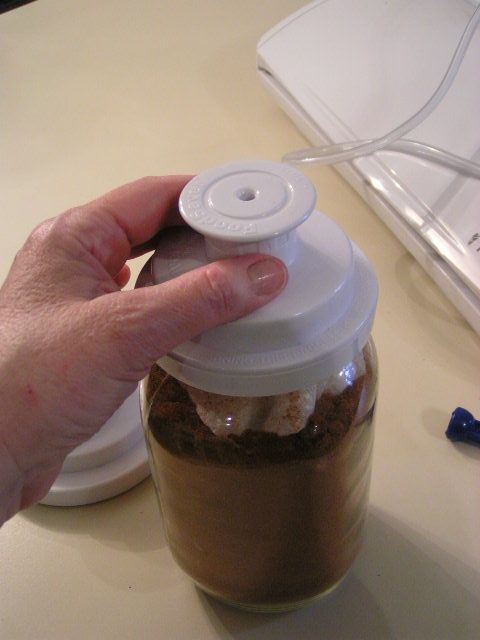
Place appropriate width jar sealer over the lid. This is the sealer for a regular mouthed jar. I find that sometimes it helps to wet your finger and run it around the inside edge of the sealer before putting it on the jar to create an even tighter vacuum.
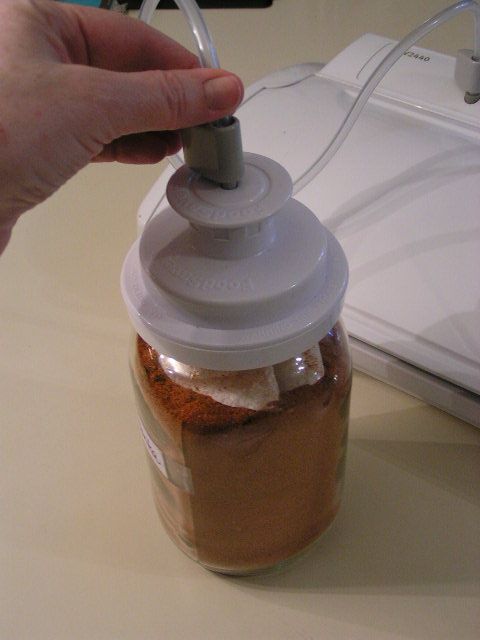
Attach hose to jar sealer
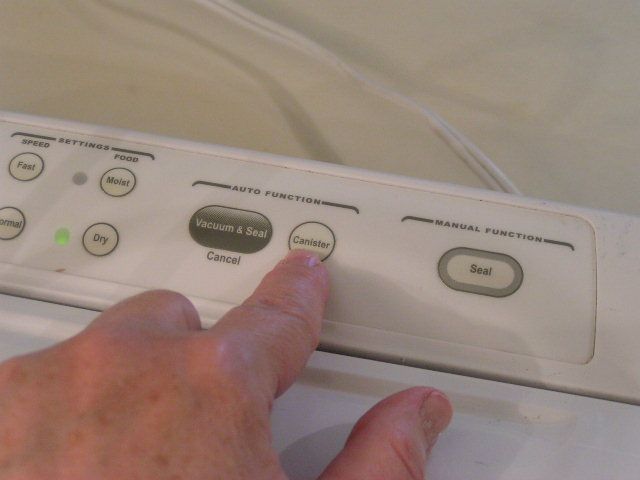
Press the canister button. If you get a newer model sealer, then the button may be different
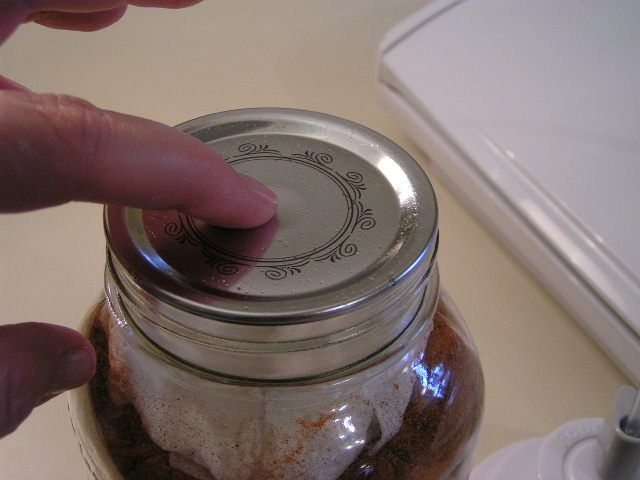
After removing the jar sealer, the “button” on the center of the jar lid should be concave and will not pop when you push the center of the jar lid.
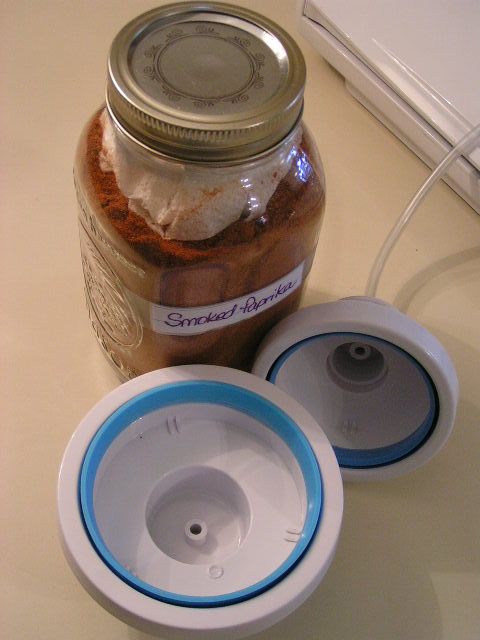
So there you have it. My darling daughter refers to this wonderful piece of equipment as “the sucker thing” and asked for one for Christmas. Did I mention that she is 29?!
Happy Cooking!
MB
|
Please join us on FaceBook!!
|
Join in the conversation by leaving a comment below and enter our January Giveaway!
|
Tags: cheese, FoodSaver, jar sealer, preparedness, preservation, vacuuming
Posted in A Day In the Life Of An Okie, Canning and Food Processing, Let's Cook!, So You Have To Make It Educational!! | 4 Comments »


