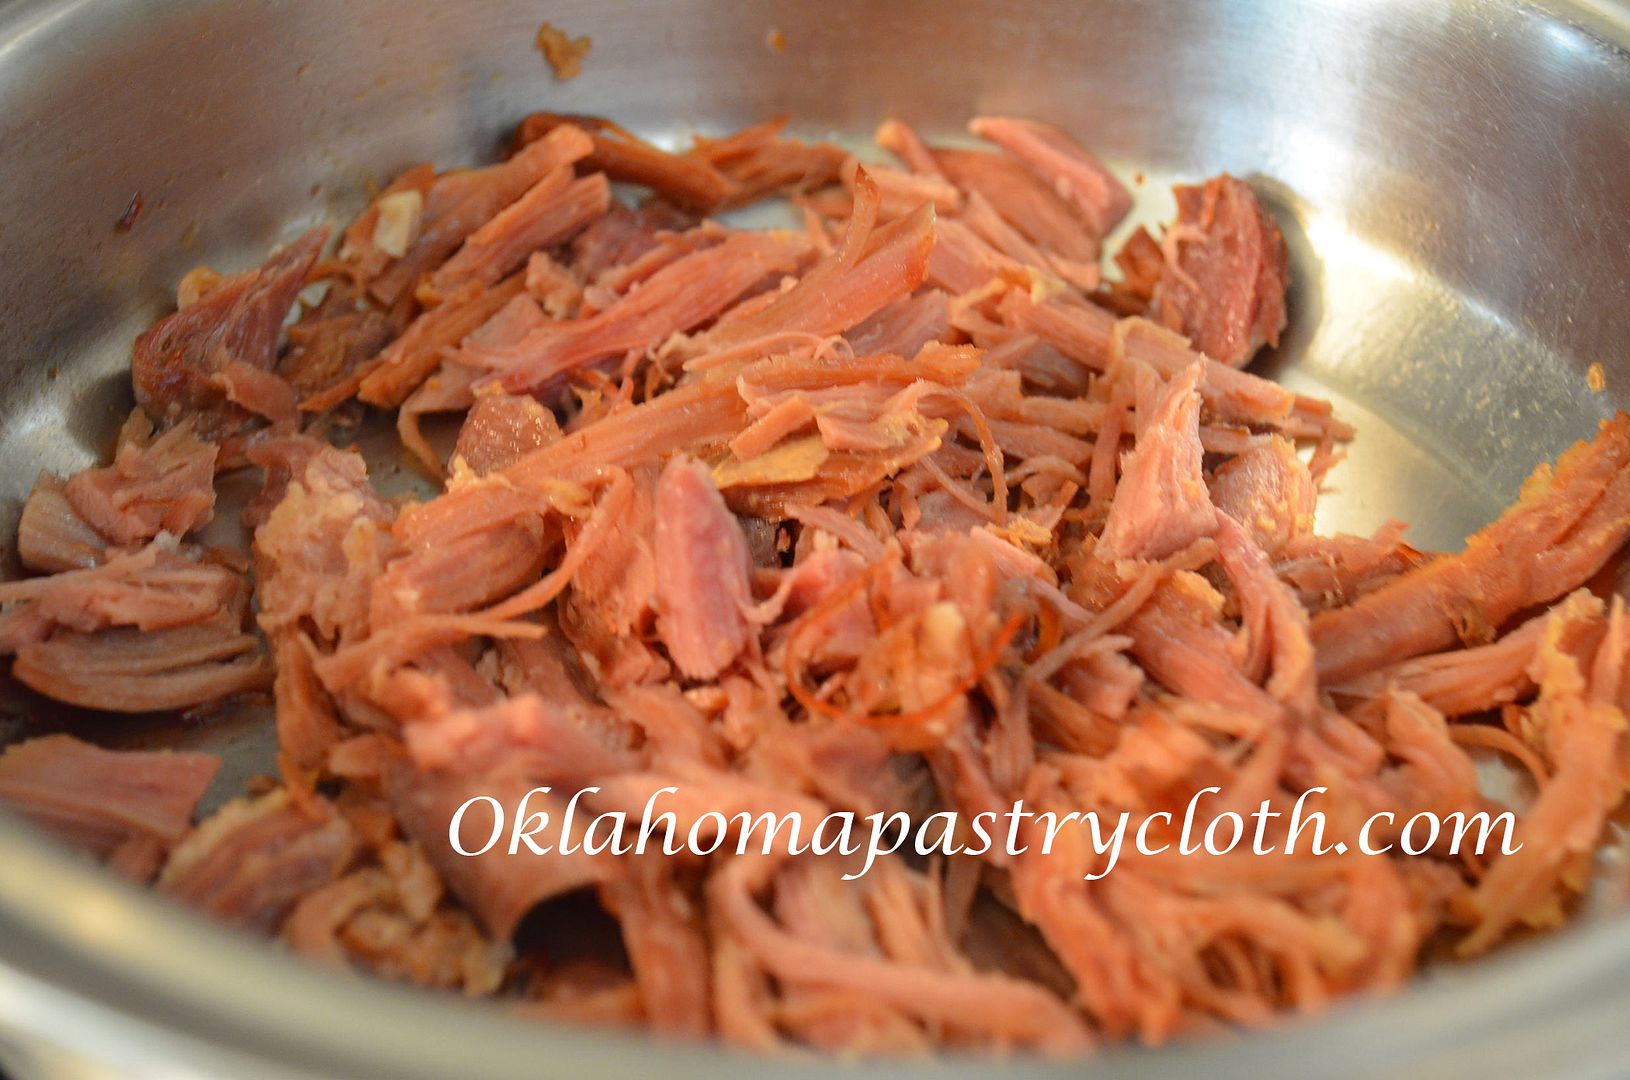
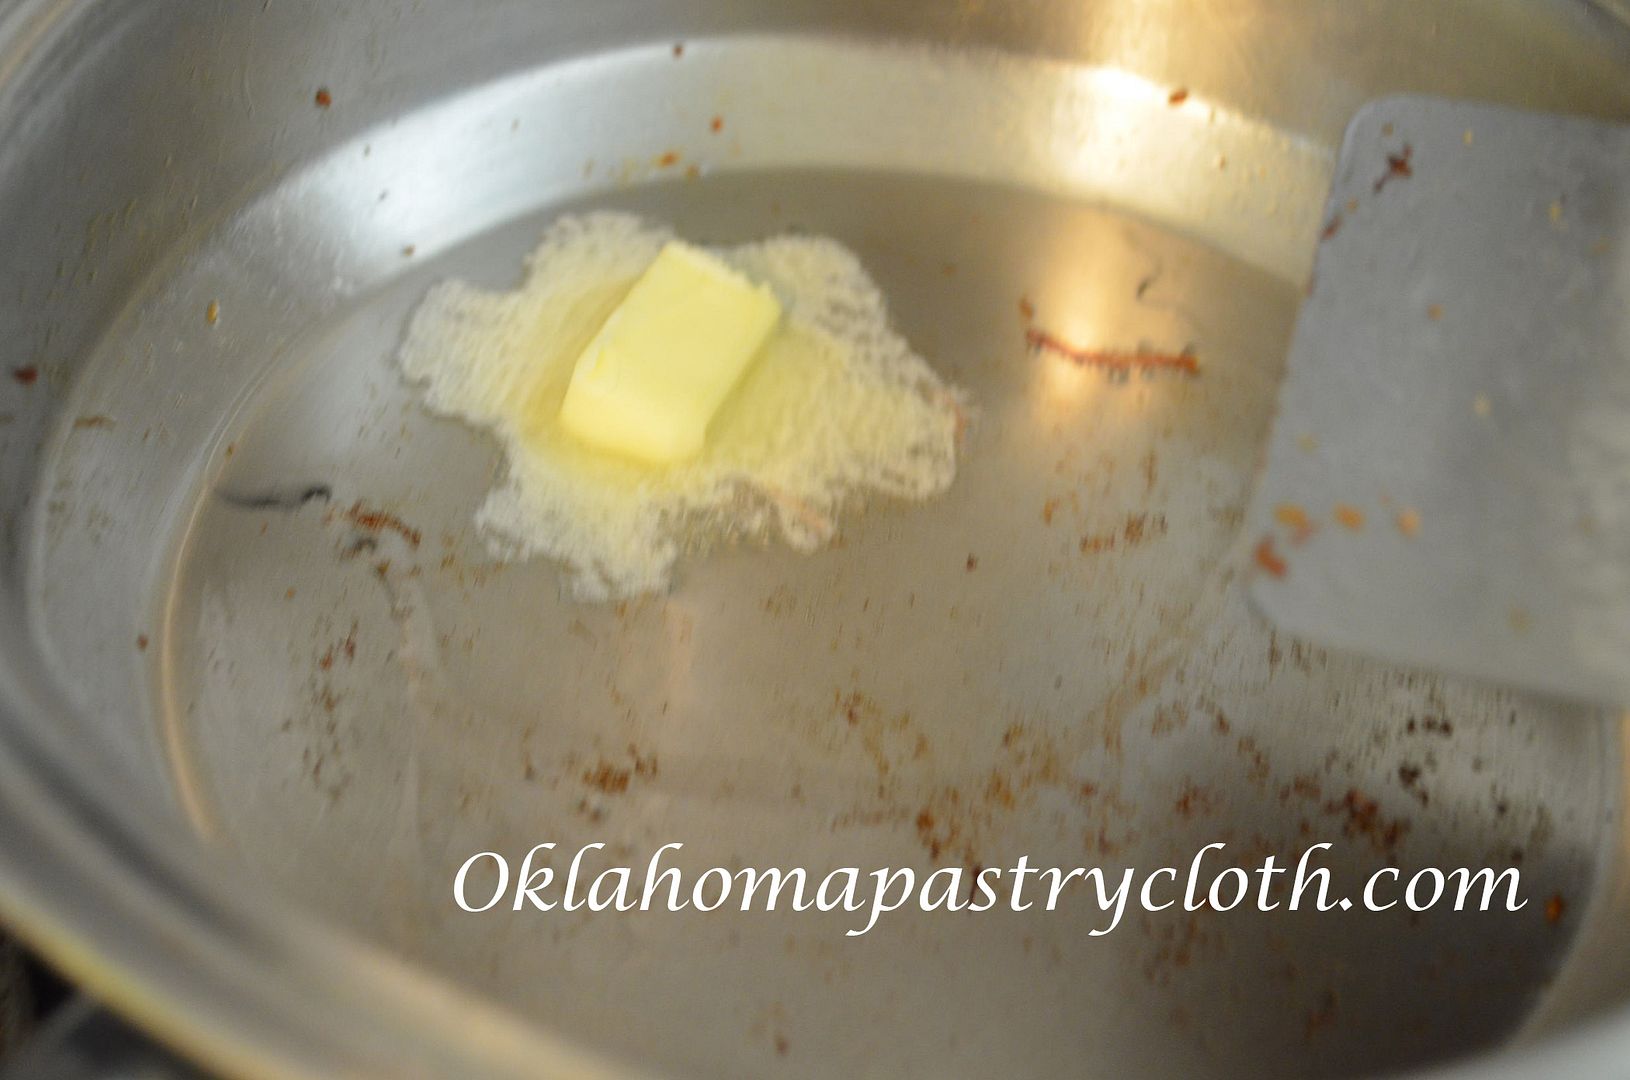
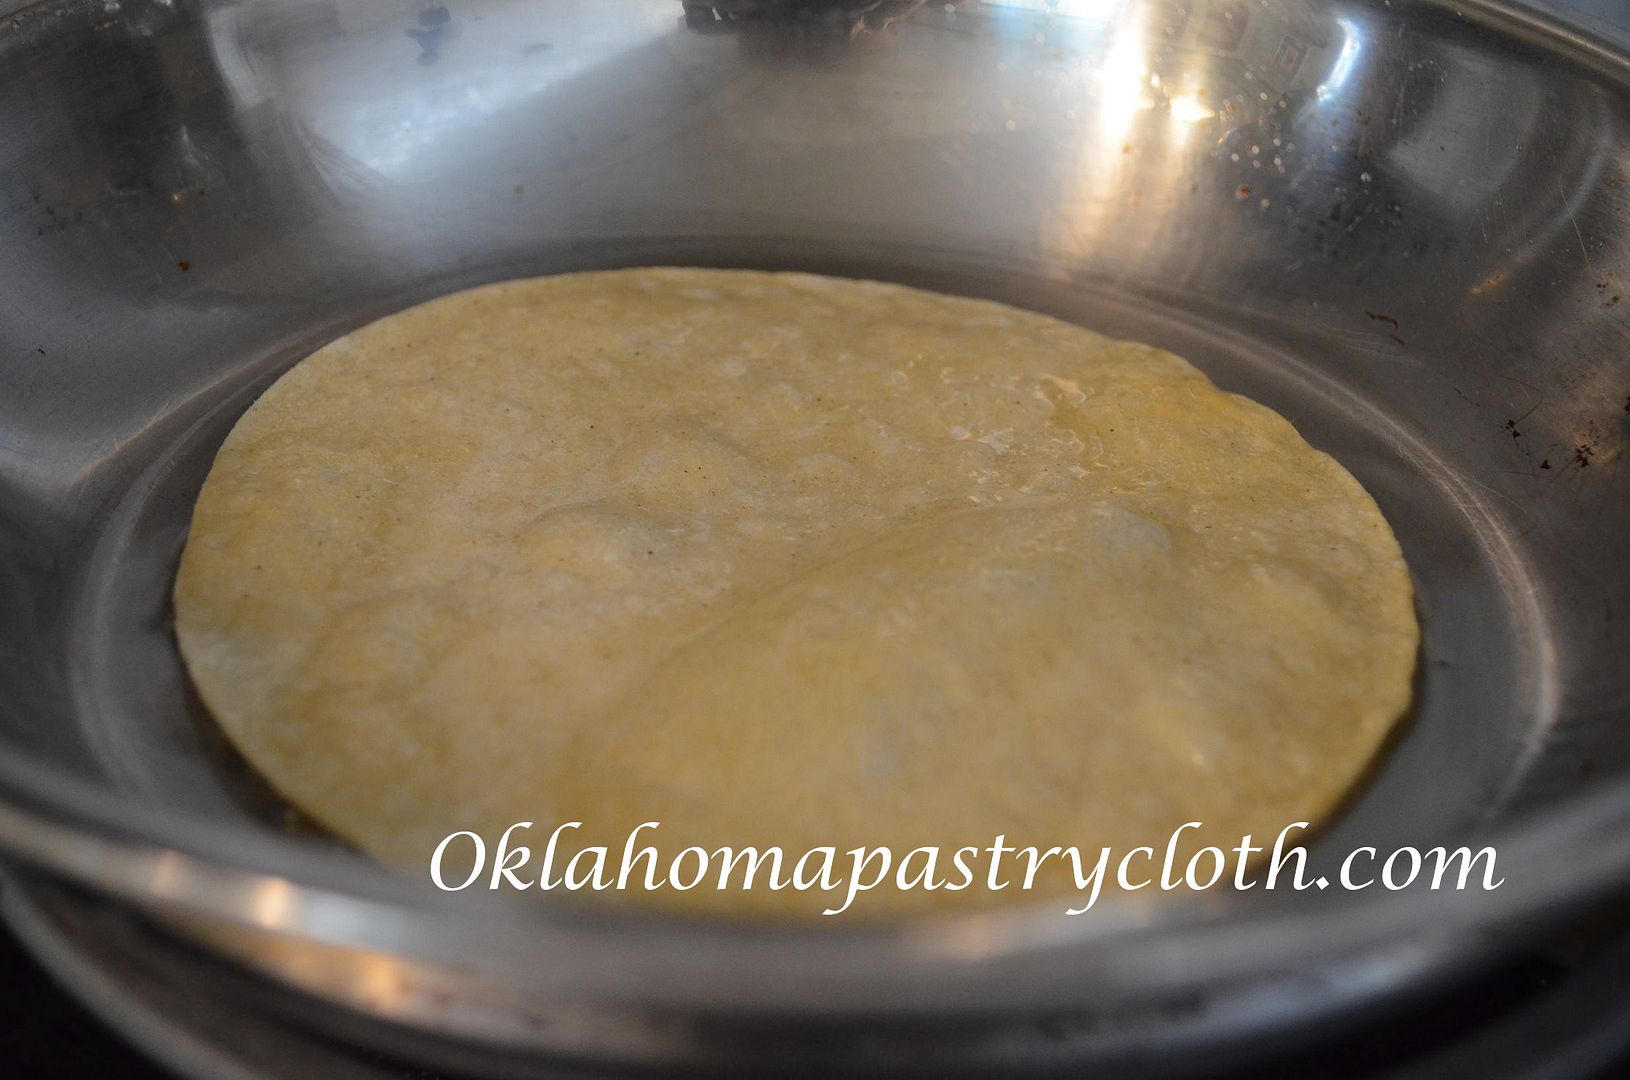
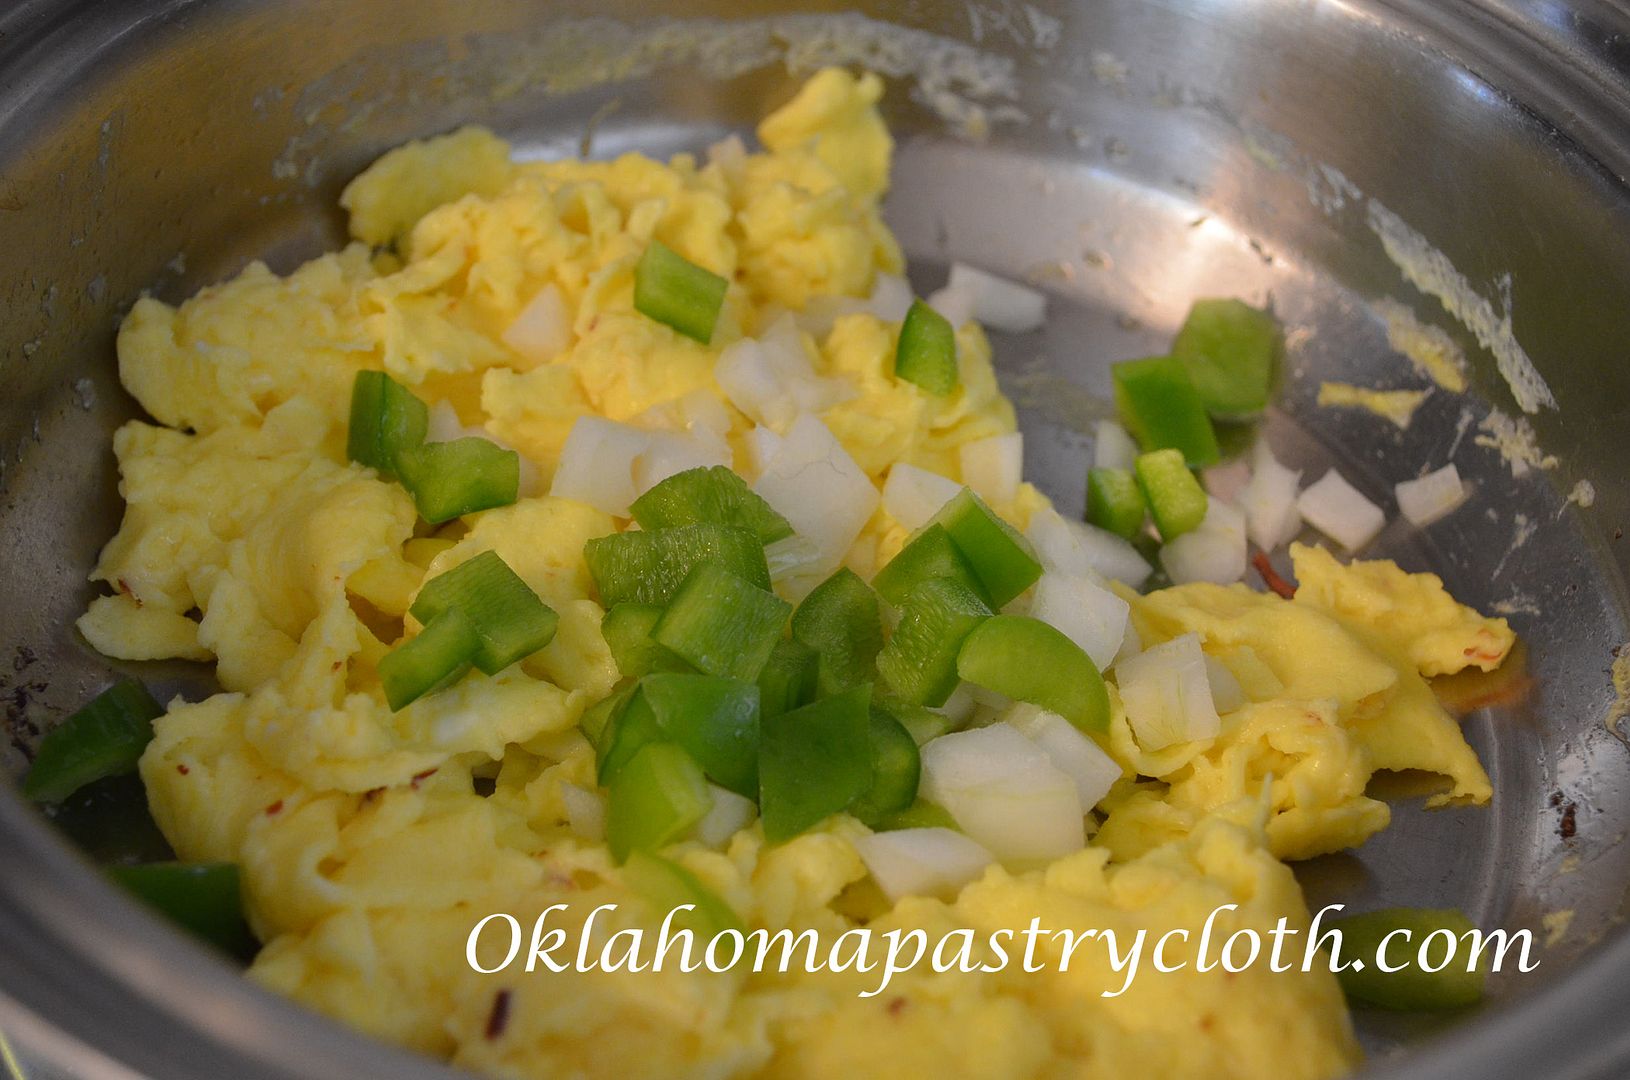
 Last week, I shared with you the fact that, though one can think that one has all things under control, the reality usually rears its ugly head and one finds out that one has NOTHING under control! My dad used to tell about a professor at the University of Kentucky, back in the 1950s, who used to quip that as soon as you think you have control over anything, just take a big rock, hold it over your foot, drop it and then WILL it to stop. That will cure you of that illusion. BUT….I also have been taught to make lemonade out of lemons, or in this case, ham and egg tostadas out of ham that I didn’t get to serve! We love these breakfast yummies and the ham that I had to can after the disaster at our son’s rehearsal dinner has come in really handy! They are wonderful for a brunch as well and look so pretty on the plate.  Home canned ham is wonderful for this breakfast treat, but you can used any kind of ham you like. It just needs to be shredded or chopped. Toss 1/2 cup of ham, per person, into a hot skillet that has been wiped or sprayed with a little olive oil and toss until thoroughly heated. Remove ham to a bowl or plate and place in a slightly warmed oven.  Ingredients:  Add a tbsp. of butter and a tbsp. of olive oil to the skillet and heat until butter is melted.  Prepare one corn tortilla per person and place into hot oil for about 30 seconds. Quickly flip and allow to cook until puffy places start appearing. Pick up with tongs and transfer to a paper towel and pat to remove excess oil. Repeat until all tortillas are cooked. You want the tortillas to be tender, not crispy. Add more oil and butter as needed. Stack on a plate and place into the warmed oven as well.  In a bowl, add one to two eggs per person with 1 tbsp. of milk per egg. Add a dash of salt and pepper and whisk until well-scrambled. In the skillet that is still hot and has the remaining oil and butter in it, add eggs and stir to cook. When about half-cooked, add onions and green peppers. Continue stirring and tossing to scramble the eggs.   On each plate, place one tortilla in the center and top with 1/2 cup of ham. Add eggs, onions and green peppers on top of the ham. Sprinkle shredded cheddar or Monterey jack cheese over the surface of the eggs. If the cheese doesn’t melt right away, microwave for a few seconds to melt it. Add freshly chopped tomatoes and picante sauce. Garnish with fresh cilantro and sour cream or guacamole if desired.  |
|
| |
|
Oklahoma Pastry Cloth™ Company on Facebook
|
|
 |
|
|
|
Posts Tagged ‘ham’
Ham and Egg Tostadas
Tuesday, July 21st, 2015
Home-Cured Ham
Friday, May 20th, 2011

 The unique feature of country ham is the layer of mold that forms on the wrapping paper and ham surface as it hangs and ages. Newbies who receive a Tennessee Country Ham for a gift usually freak when they unbag their present and then unwrap the paper that has shrouded the meat all during the curing process. A nice, moldy carpet coats portions of the rind and paper. This is simply removed by scrubbing the ham with a mixture of vinegar and water or with plain water and a stiff bristle brush. The meat is sliced with a saw just 1/4″ thick. Having worked in a meat department that was constantly visited by local farmers toting their treasured cured hams to be sliced, I learned that it was ‘bragging rights’ when it came to how long one of these hams were hung. Three years was the limit, but it seemed that the more mold and the longer aged the better these ‘specialists’ viewed their product. Hog killing commenced around Thanksgiving, hams, bacon and shoulders were cured and smokehouses were loaded with the goodies to be smoked or to be used without smoking. I remember one farmer’s story about a most disastrous year. He had corn fed and slaughtered his pigs to put up meat for the year. After a gruelling day of salting down, wrapping and hanging portions, cutting up roasts, chops, ribs and other cuts for the freezer, grinding sausage and rendering lard, this industrious man and his family went to bed and slept the sleep of hard workers. The family went about the rest of the year and on into winter with the happy knowledge that come Fall, there would be good eatin’s from the smokehouse for sure. Sometime during the summer, the farmer went to the smokehouse and opened the door. To his horror, all that he found hanging from the rafters were bones tied with rope and picked totally clean of any shred of meat. Rats had crawled along the rafters, shinnied down the ropes and feasted on the cured meats without so much as asking! In the meat department, we cured hams all year long. We purchased fresh hams from our local packing plant, which you can do as well. We let them warm at room temperature for a couple of hours and then coated with our cure, hanging them in the cooler for the first 12 weeks. As meat begins to cure, it must be kept cool. This is why the farmers always waited until Thanksgiving or later to kill their hogs. With a walk-in cooler or refrigerator, however, the curing process can take place any time of the year.  I thought that I would give you a step-by-step lesson on how to create these wonderful hams with the help of some great kids. A group of home schooled students got to mix an anatomy and physiology class with learning to cure meat at the Oklahoma Pastry Cloth™ digs. We had purchased a hog that was taken to our local packing house and then we picked up the quarters to process ourselves, including curing the hams. As you will see, curing meat is a pretty simple process and is a wonderful way to preserve meats for a long time. One note, however, once these hams are sliced, the meat must be wrapped in freezer paper and frozen or, if eaten soon after slicing, kept in the refrigerator for a short time.
           So there you have it!! |
|
Oklahoma Pastry Cloth™ Company on Facebook
|
 |

 Homestead Revival
 Paratus Familia
 Rural Revolution