  Don’t forget to leave a comment to enter the Fall Giveaway, to be held on November 1st. The winner will receive two boxes of our Frontier Fixin’s breads just in time for Thanksgiving. I wanted to take a moment to guide you over to the shopping page for our newest addition to the product line – our own, handmade and all-natural Castile goats milk soaps. Our soaps are made with organic goats milk, fresh olive and coconut oils, hand purified tallow and pure essential and fragrance oils for an experience that softens your skin and soothes with the faintest hint of scent. Our small bars which weigh at least 2 oz are $3 per bar and our larger bars weighing at least 4 oz are $5 per bar. Mix and match for a unique gift for your favorite person this Christmas or make these soaps stocking stuffer surprises for your loved ones. Below are the four kinds that are available at this time. Be watching for our newest fragrances that are curing right now, such as English Rose Garden, Winter Balsam, Evening Jasmine and, just in time for Christmas, our earthy Frankincense and Myrrh, tied with gold ribbon! And remember, while we are working as fast as our fingers can take us, it takes 4 weeks for the soaps to cure and so it is first come, first serve until the next batch is ready. 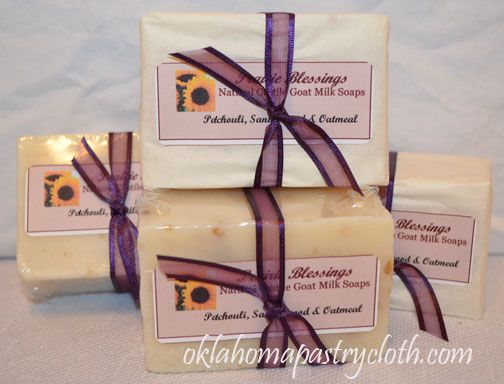 Bathe in the earthy and intoxicating fragrance of Sandalwood and Patchouli. Real oatmeal flakes act as a light scrub in this cream colored soap. 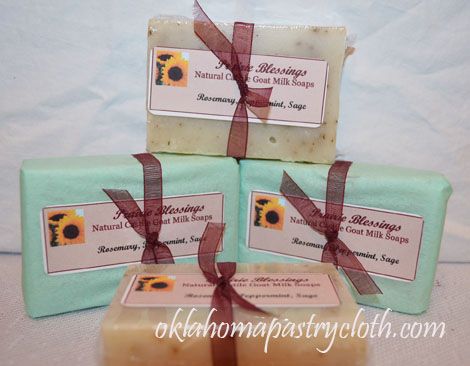 This wonderful soap has the light and fresh aroma of Rosemary and Peppermint from essential oils with real, rubbed sage, grown right here on the farm, added as a soft scrub. Rosemary is supposed to be good for the hair and skin, as well as a mild analgesic for muscular pain. While peppermint is supposed to act as an anti-inflammatory. 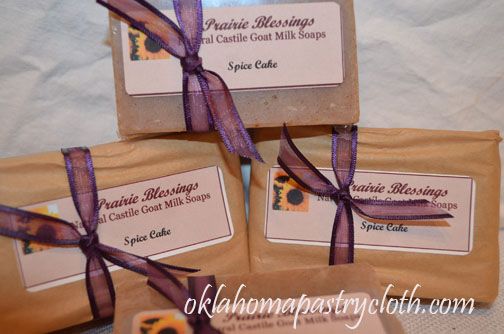 This rich soap smells like a warm slice of spice cake with a dripping, sugar icing. Infused with Cinnamon Leaf essential oil, this soap also includes real powdered cinnamon and cloves with actual cocoa for a soft, brown color. You will have to resist taking a bite!! 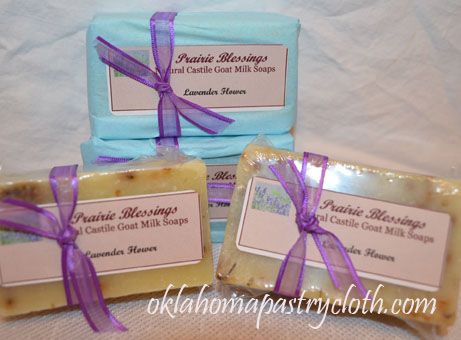 Made fresh with whole lavender flowers grown at a lavender farm just 1 mile away, this soap has the fresh and Spring time fragrance of pure lavender essential oil. You will feel like you just stepped off of the English moor after using this soap! All soaps are handmade right here at the Oklahoma Pastry Cloth™ digs. And for a unique wedding or wedding shower idea, contact us at creatingconceptsent@yahoo.com for custom gift soaps to match colors or a specific scent for your special event. Coming soon:
 |
|
| |
|
Oklahoma Pastry Cloth™ Company on Facebook
|
|
 |
|
|
|
Posts Tagged ‘essential oils’
New!! Handmade Goat Milk Soaps
Tuesday, October 23rd, 2012
Tutorial on Making Soap
Friday, September 14th, 2012
 Whew. Got lots of pictures for this one and it has taken a bit to get them cropped, size-adjusted and signed to get them up. Sorry for the delay. But here we go! First off, I won’t be giving a recipe here simply because I am not at liberty to give this particular one. It is actually a copyrighted recipe that I doctored for my purposes. However, if you go online and look up recipes for Castile Soap, you will find lots of them and you can just choose which one you would like to try. The process is still the same. This is true for vegetable oil based soaps too. This process is the same, no matter what oils you use. The trick is to stay within exact weights of ingredients, according to each recipe. The oils might include coconut oil (which gives a nice lather), shea butter, olive oil, grapeseed oil, almond oil, etc. Experiment and see what you like. At first, I wasn’t worried about a recipe. I was hesitant to try making soap because I needed to see the step-by-step process so that it wouldn’t be quite so intimidating. I’m a visual learner. So, I decided that I would put the process up in pictures for anyone out there who, like me, needs to see what the steps look like. Tools you will need: A large, stainless or enamel cooking pot Making the lye solution: This soap is made with a lye and water solution. The solution gets extremely hot – dangerously so. When ready to use for making soap, the lye water will need to be between 95º and 98º and so it is fine to make it the day before to allow it to cool down. It is much easier to then raise the temperature back up from room temperature then it is to wait around for it to cool down from 200º to the correct temperature. 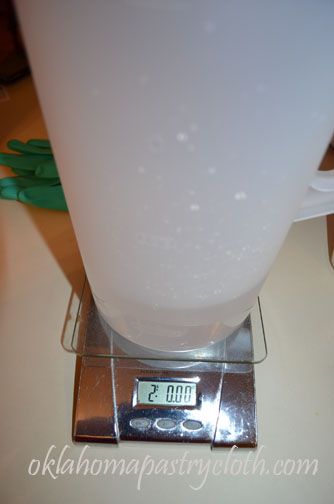 Everything in soapmaking is done by weight. For example, if a recipe calls for 32 ounces of water, that actually means 2 pounds by weight. Or 8 ounces means 1/2 pound, not one cup. I use a digital scale to measure because it is so easy to adjust for the weight of the recepticle in which ingredients are placed. To measure the water, I place the pitcher on the scales before they are turned on. When I hit the “on” button, the scale accounts for the pitcher and zeroes out the weight. I can now add the water and get the exact weight of water I need without getting confused by the weight of the pitcher! 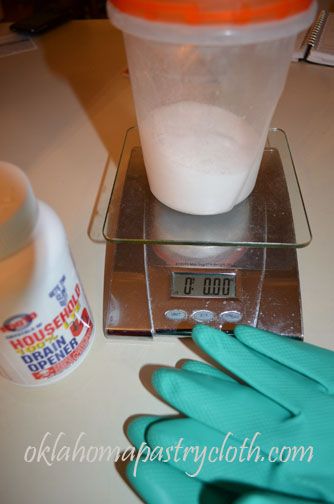 Lye can be found at Ace Hardware stores, but you have to ask for it. They keep it locked in a back room. There are other stores where it can be purchased too, and if you are making lots of soap, there are chemical companies that will sell it in large quantities. The chemical name for lye is sodium hydroxide. Lye is very caustic and very dangerous, so treat it with respect. Wear old clothes, an apron, rubber gloves and a shirt that will cover any exposed arm. Safety goggles are a good idea too, to avoid burning your eyes. In a separate container with a lid, weigh out the amount of lye listed in the recipe that you will be using. Do not touch it!! 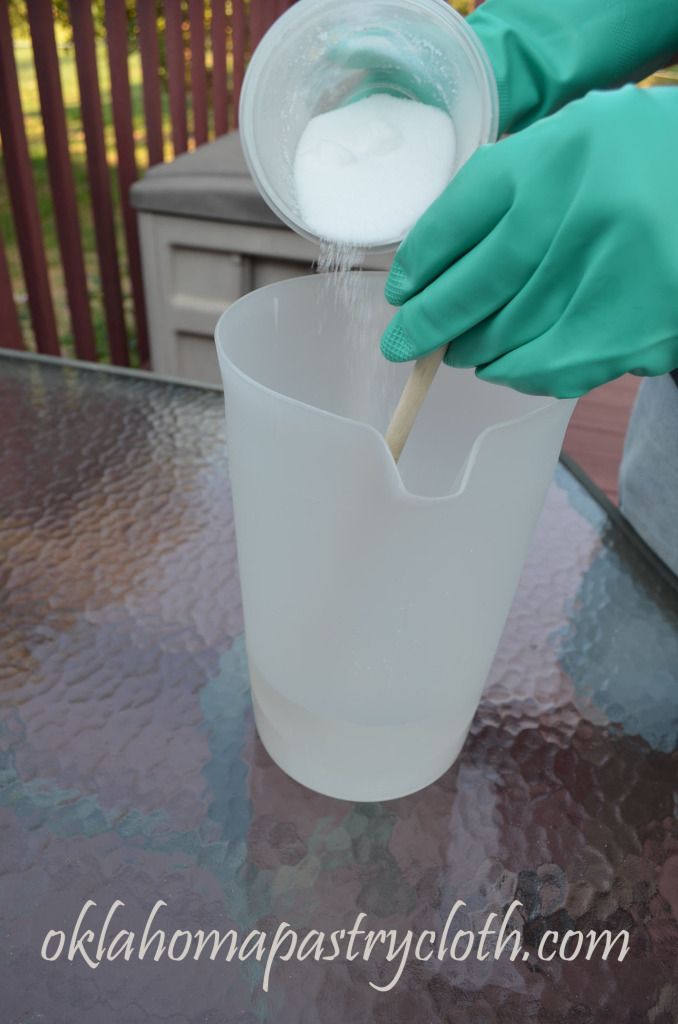 Making the lye solution is best done outside or in a garage with good ventilation. Adding lye to water causes a chemical reaction that emits the most noxious fumes that can overcome you. Keep your face from being directly over the pitcher and if you have to, wear a face mask to filter the fumes. Some people are quite allergic to them. Lye is always added to the water, not the other way around. If water is added to the lye, it can cause an explosion kind of like a volcano and then you are in real trouble!! Lye will eat whatever it touches, (ok..so that isn’t very scientific terminology – it corrodes!) including your skin. So remember: Lye to Water!! If you happen to get some lye mixture on you by accident, immediately run cold water over the area and wash with vinegar to offset the reaction. Now, to make the lye water, pour the premeasured lye into the premeasured water in a steady stream, stirring as you pour to dissolve it well. The mixture will start giving off a vapor and will get extremely hot. You will not be able to touch the pitcher. Continue to stir until the lye is dissolved and then place the lid onto the pitcher, turned so that the spout is open to vent. Either leave the mixture outside on a place where no child or animal can reach it, or put into a shed or garage where there is no danger of disturbance. If there are other people in your household, label the pitcher before use with a skull and crossbones, a big red “Danger” and “Poison” so that nobody mistakes it for anything other than what it is!! Note: Occassionally check your solution and give it a stir to make sure that the lye remains dissolved. It can settle to the bottom and leave a hard block that is difficult to break up if you do not stir it once in awhile. 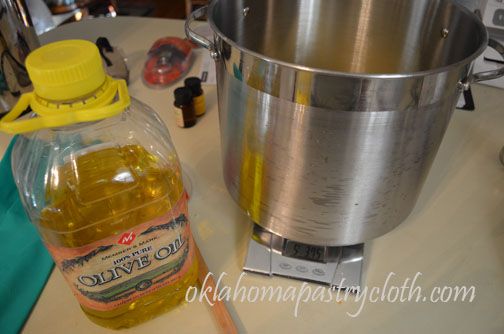 Prior to making soap, everything should be prepared, weighed and ready before anything else is done. You won’t have time to do that once the process has begun. Weigh all tallow and/or oils into the stainless pot. Then, if you are using essential oils or fragrance oils, have those measured and ready and off to the side. If you plan on using goat’s milk, have that measured and it helps if it is partially frozen or at least very, very cold. It doesn’t hurt to have it in a small container that sits in a bowl of ice, to keep it cold until use. Just a hint: I freeze the goats milk in mini muffin tins that equal 1/4 cup each and then pop them out and store in a freezer bag. I can then grab however many I need for a recipe and place in a bowl ready for use. If you plan on using herbs or colorants or spices, those all need to be weighed ahead of time as well. Line your items up in order of placement according to your recipe to make it easy to grab and dump. You will be working fast and some of the essential oils may cause you to have to really work fast as they accelerate tracing in the soap. 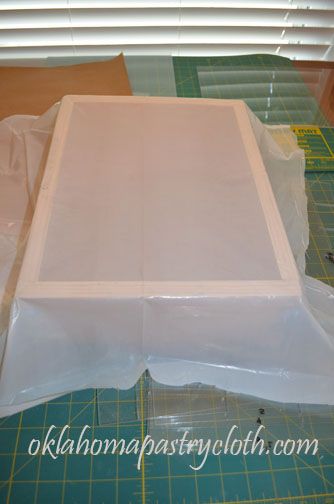 Molds must be prepared ahead of time as well. You can use practically anything for a soap mold! Here, Mr. Fix-It made me a high-falutin’ contraption that is great, but you can use a cardboard box, like shoe boxes. Or you can use a lenth of guttering with ends put in place for a fluted soap bar. Use your imagination! Whatever you choose to use must be lined with plastic and one side of a white trash bag or a cut up large, plastic shopping bag works great. Here, I am laying the bag over the mold to press it down into the mold. I will do that by putting the plexiglass pieces that Mr. Fix-It cut for the inside of the mold. When the soap is firm, the plastic acts as a handy way to lift the soap out of the boxes or other items. 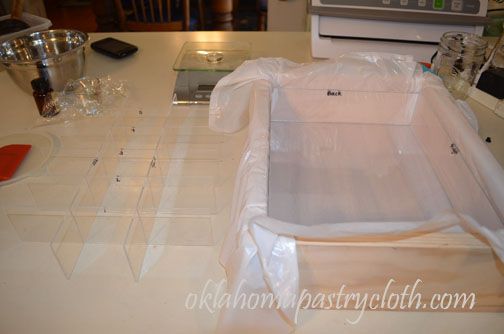 The lining is in place and the dividers are set to the side to put in after the soap is poured into the mold. 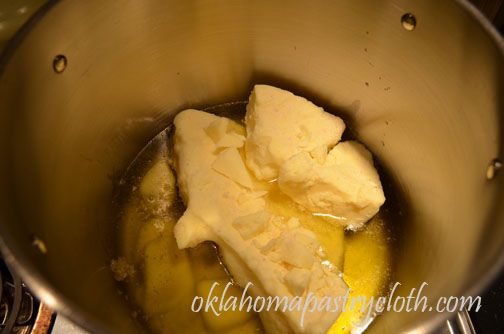 Now for the fun!! Heat the tallow and/or oils on low heat to melt slowly. Don’t heat too fast because then the oil gets too hot. Stir occassionally to break up any tallow chunks. When most, but not all, of the tallow is melted, remove the pot from the stove and allow the rest of the fat to melt off of the heat. The mixture will be hot enough to do that and you can stir it some to continue the process. Using a thermometer, check the temperature. It will probably be over 100º so there will be some cooling time required. 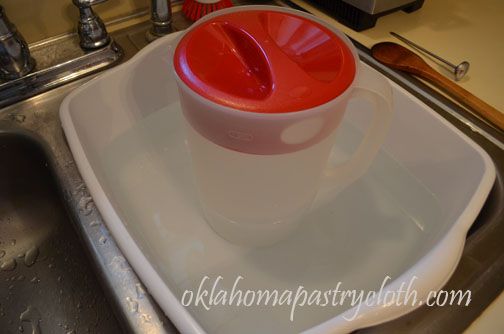 In the meantime, place hot water in the sink or in a dish pan and put the pitcher with the lye solution (that will be at room temperature), into the water. I keep a tea kettle of boiling water available to add to the dishpan to raise the temperature of the water, if need be. Using the thermometer, check the temperatures of the lye solution and the fats, aiming for between 95º and 98º. I know this sounds tedious and complicated, but you would be surprised how fast it goes. It isn’t that difficult to get both temperatures in sync. 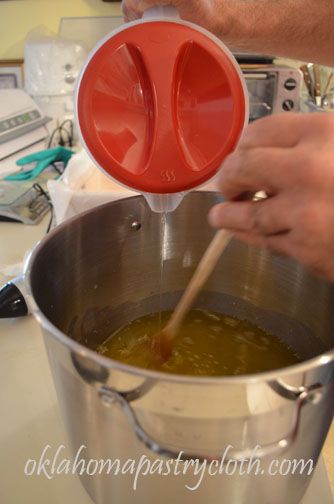 When both the fat and the lye solutions are between 95º and 98º, begin pouring the lye water into the fat, stirring with a long handled wooden spoon and making sure that the lye water is pouring in a steady stream. Don’t dump it in all at once. Here, Mr. Fix-It is helping so that I could take pictures and he refused to wear my gloves, but it is a really good idea to wear rubber gloves so that you don’t get splashes on your hands. Continue stirring and pouring until the pitcher is completely emptied. Keep stirring and stirring. Go around the edges of the pot, stir into the middle, go back and forth – you are getting the lye solution well incorporated and you don’t want there to be any pockets of lye that are not mixed. The lye and the fat will start reacting with each other and the mixture will become pretty hot at first, hence the long-handled spoon!! 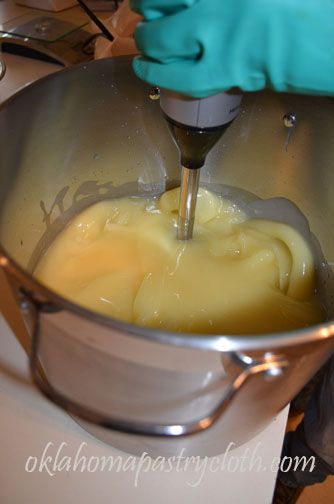 This is where an immersion blender comes in really handy. The blender really incorporates the lye solution into the fat well. You can blend for a minute and then stir and then blend, etc. because you don’t want to get your blender overheated. Move it around the pot like you would the spoon and cream all areas of the mixture. 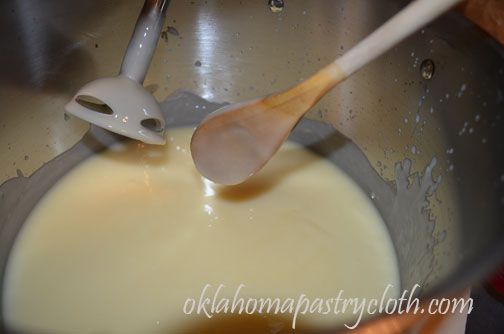 The soap will begin to thicken, kind of like pudding. The term ‘tracing’ describes what it looks like when you take the spoon out of the mixture and drips and runs stay on top of the surface or you can draw a circle in the surface and it doesn’t disappear, like the surface of hot pudding. 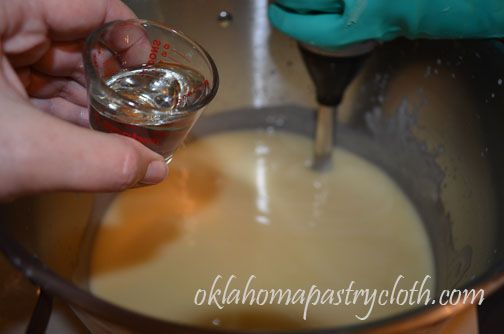 At this point, you are ready to add the goats milk, essential oils, fragrance oils, herbs and colorants. I add the milk first and then the oils, using the immersion blender to blend well. 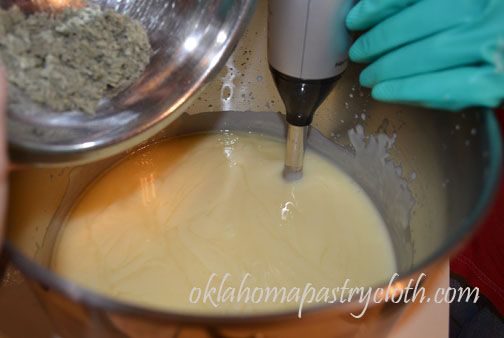 Next goes in the herbs or flowers and colorants. Here, I am adding some dried and rubbed sage from our garden. If you want to add color, you can use natural items to achieve that without having to use commercial colors. Cocoa works well to make a soft brown while paprika makes a neat orangish tint. Tumeric is another spice that colors. You can also add oatmeal pieces for a soothing soap. 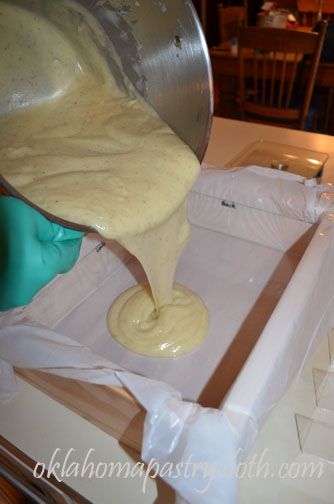 The soap is now poured into the mold or molds and I use a silicone spatula in the pot to accomplish this. 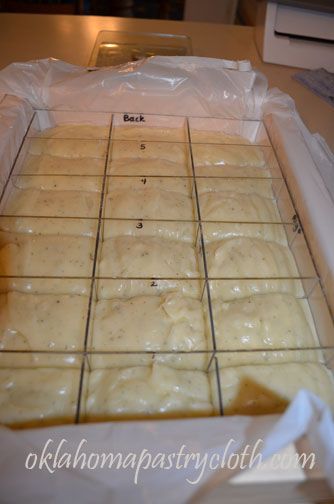 The dividers are added into the mold and I am having to work fast because this recipe sets up fast. 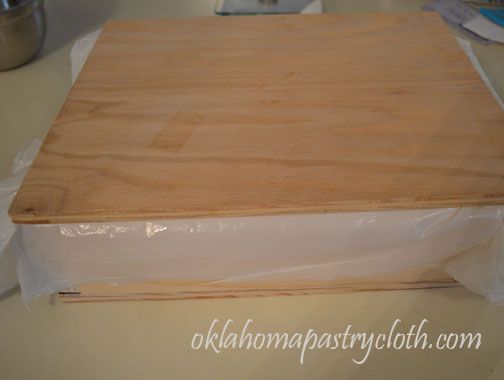 The lid to the mold is immediately put into place and I tap the whole mold onto the counter to evenly distribute the warm soap. If you are using a box or other item for a mold, you can use a piece of cardboard with a towel placed over it to cover your mold. The purpose of the cover is to let the soap cool very slowly. Do not lift the lid to peek. Leave the mold alone for 24 hours, at which time you can open it and lift the soap out by pulling up on the edges of the plastic liner. If you are making some of the vegetable oil soaps, hardening may take longer than 24 hours. My mold releases the ends of the mold and I can slide the whole soap block out and then separate each bar from the dividers. The soap will be very soft, so you have to be careful. At this point, you can cut your soap into bars and you can slice the very tops off where a soda ash residue may have collected, to make a nice, smooth surface. You want to remove the soda ash because it is hard on your skin. Again, vegetable oil based soaps may not be ready quite this quickly to cut. 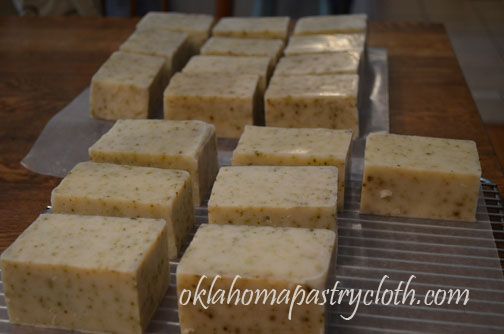 And voila! Soap! These bars will cure for about three to four weeks before they will be used. As the bars cure, the chemical reaction continues and improves the quality of the soap. You can carve the edges of your soaps for a softer look if you like. So there you go. Isn’t that neat? I feel like my great-grandmother, only she used a big, cast iron pot and made enough soap for a year in one batch!!  |
|
| |
|
Oklahoma Pastry Cloth™ Company on Facebook
|
|
 |
|
|
|
Learning To Make Soap!
Monday, July 16th, 2012
 I assure you that this is going to be one, clean post. And yes, it’s about bars, but not the drinkin’ kind. I had so much fun the other day, I left in a lather. And, ok, I’ll stop now. What am I talking about? Last week, some of my friends and my daughter and I took a soap making class at the headquarters of Laughing Rabbit Soaps, under the tutelage of Charlotte Hayer. Charlotte is funny, excited about her craft and 100% on a mission to get others in Oklahoma to join her in soapmaking. For $25, we joined in the process of making 30 lbs of soap, each getting one pound to scent and color however we chose. One pound makes 4 bars of soap. And of course, you know me – I threw myself into the project with complete abandon, camera shutter flying. I am so excited about making a first attempt on my own. At that point, I’ll do a step-by-step. I am seeing all kinds of possibilities for soaps!! Just to let you see what we did, here are a few pictures. 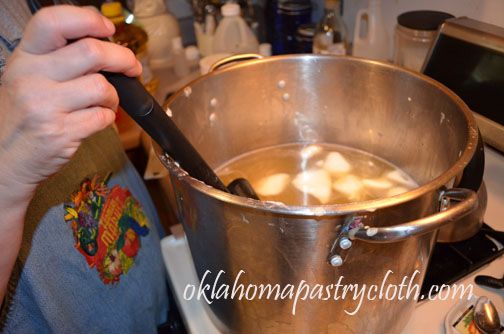 First, Charlotte melted a mixture of solid fats and liquid fats in a large stockpot on the stove. She uses tallows or olive oil, palm oil, shea butter, cocoa butter, sweet almond oil, etc., depending on what type of soap she is making. She used a thermometer to determine that the temp of the oils was correct. 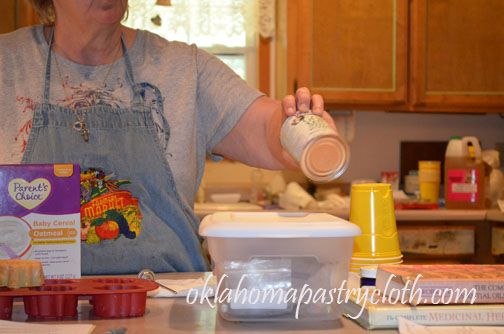 She showed us that there are all kinds of additives that one may use in soaps, including goats milk which should be added cold or frozen. She said that canned or cartoned goats milk can be employed if one does not raise goats. 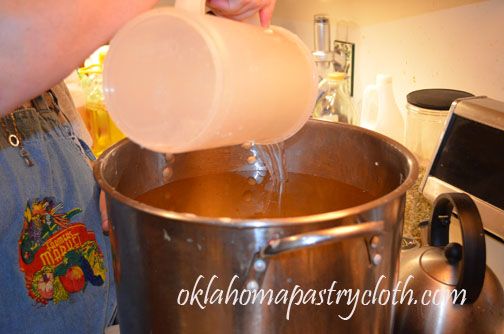 Charlotte had mixed her lye into three separate containers of water several hours prior to our arrival in order for it to cool She did the three containers because she was making a triple batch of soap. She made sure that we understood that one always adds lye to water – not water to lye. The lye water was added to the oils. 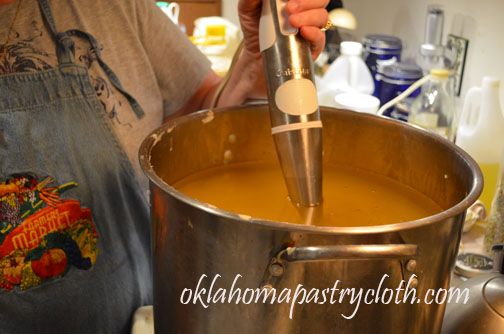 Here’s something that I’m going to have to find because it works soooo well!! – A stick blender or wand blender to some people. The mixture of oils and lye were mixed together until it began to thicken and “trace”. 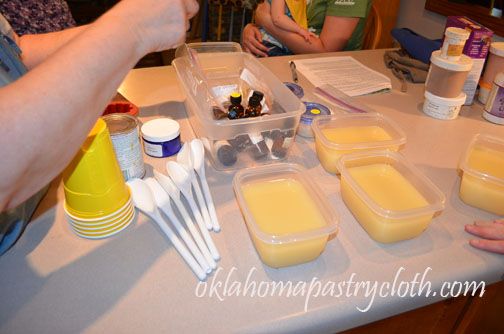 At this point, Charlotte filled plastic refrigerator containers with the liquified soap – one for each one of us. 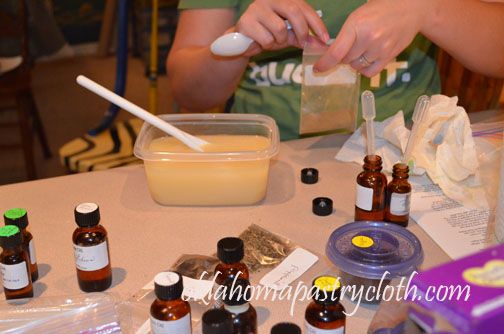 We were given bottles of many types of essential oils, bags of ground flowers, herbs, cocoa and colorants. We used pipettes to transfer the oils to the soap and spoons for the dried materials and we just guessed at amounts. 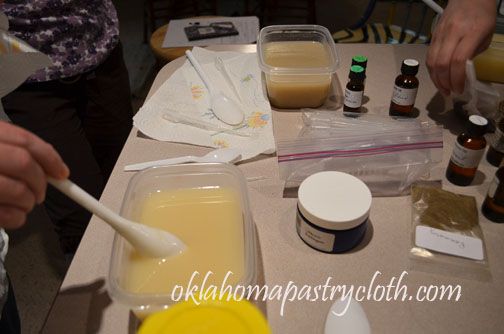 As ingredients were added, the soap was stirred. I was amazed at how forgiving the soap is. We had plenty of time to make choices and experiment. 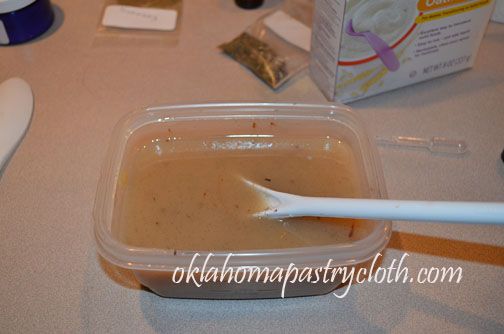 I added oatmeal baby cereal for gentleness, rosemary and peppermint essential oils, chopped vanilla bean for specks and cocoa for color. 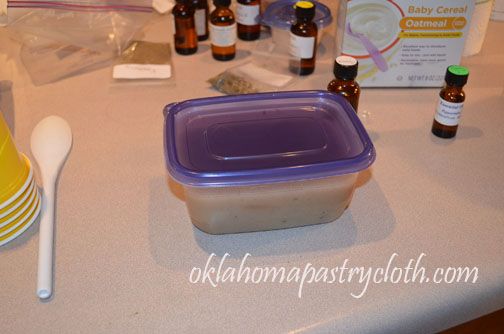 The soap was covered to allow to cool slowly. 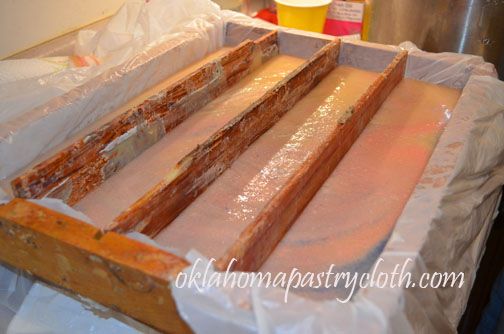 Charlotte used the leftovers to pour into one of her large molds. She colored her soaps with blue and pink, swirled. Very pretty. 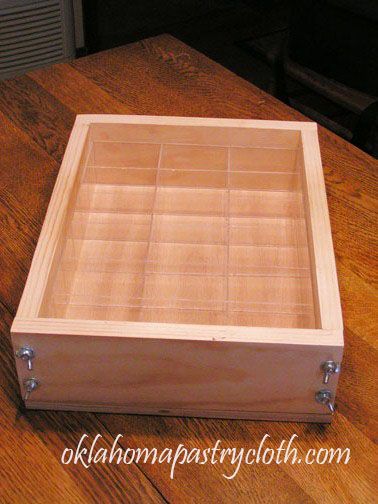 Of course, Mr. Fix-It remains my hero. He helped me make my own mold for my first soap project and I think it is just pretty nifty. This mold will hold 4 lbs of soap and we will be making another one to match. I’m thinking of making a larger one as well. I have found my new adventure!! Stay tuned.  |
|
|
Oklahoma Pastry Cloth™ Company on Facebook
|
|
 |
|
|

 Homestead Revival
 Paratus Familia
 Rural Revolution