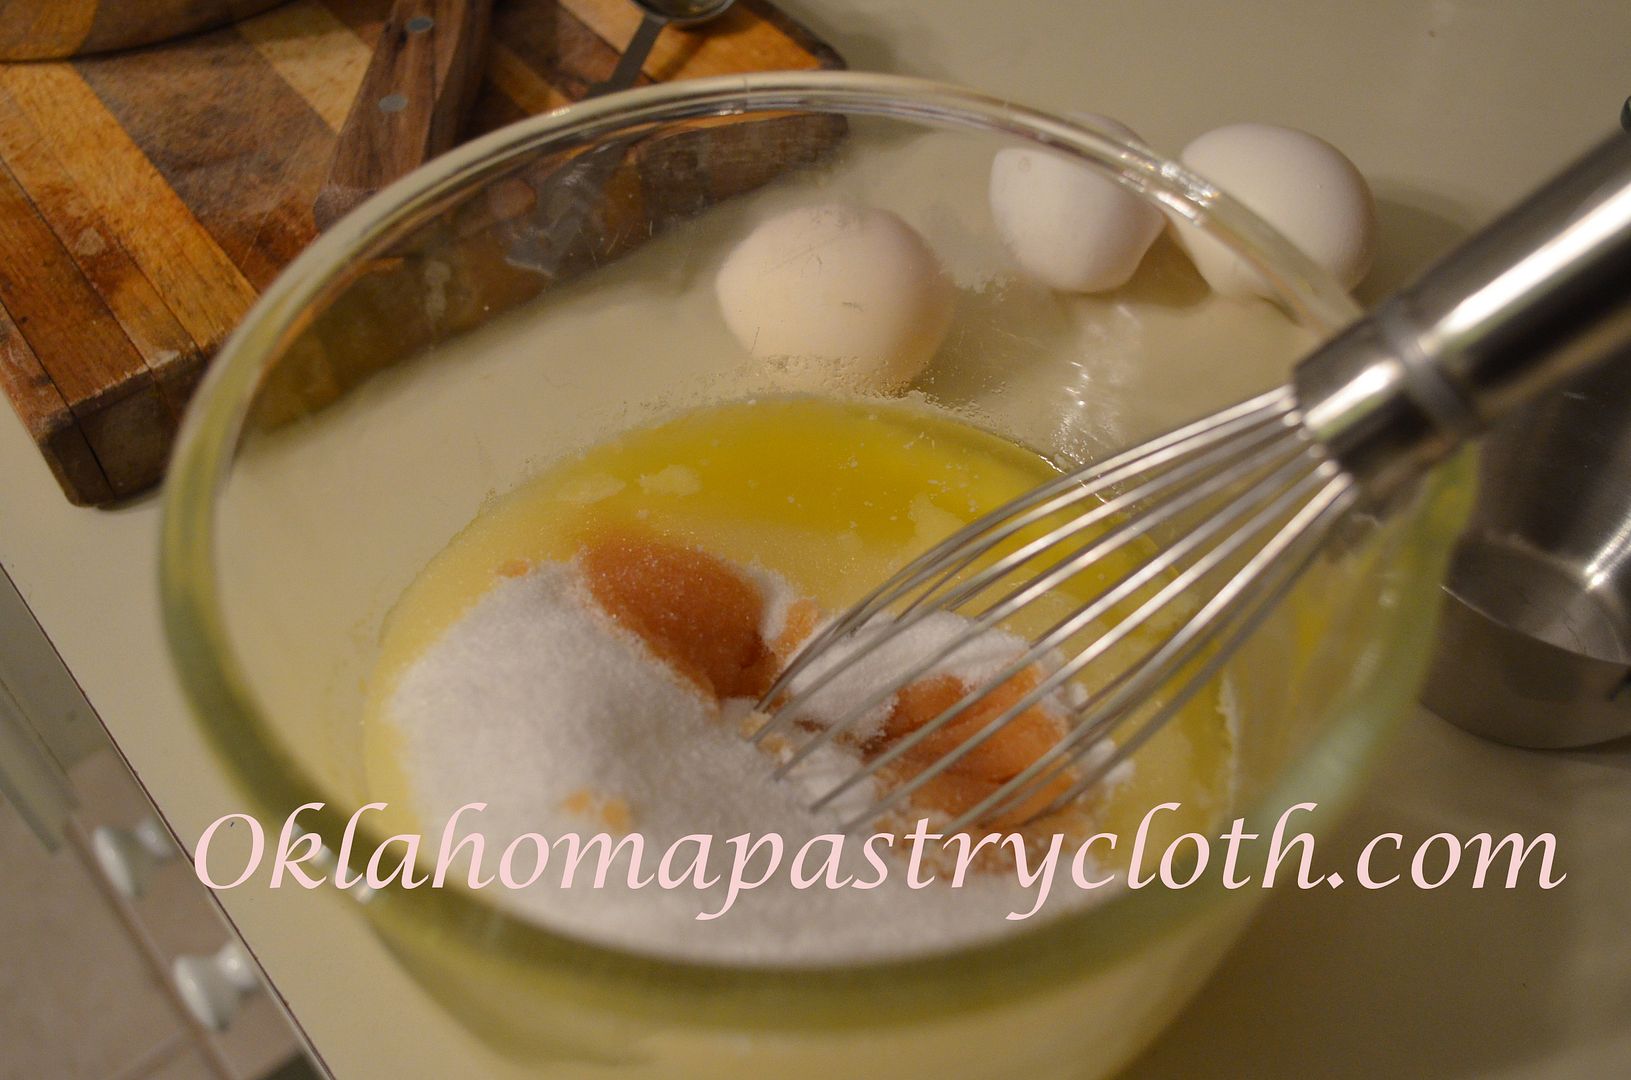
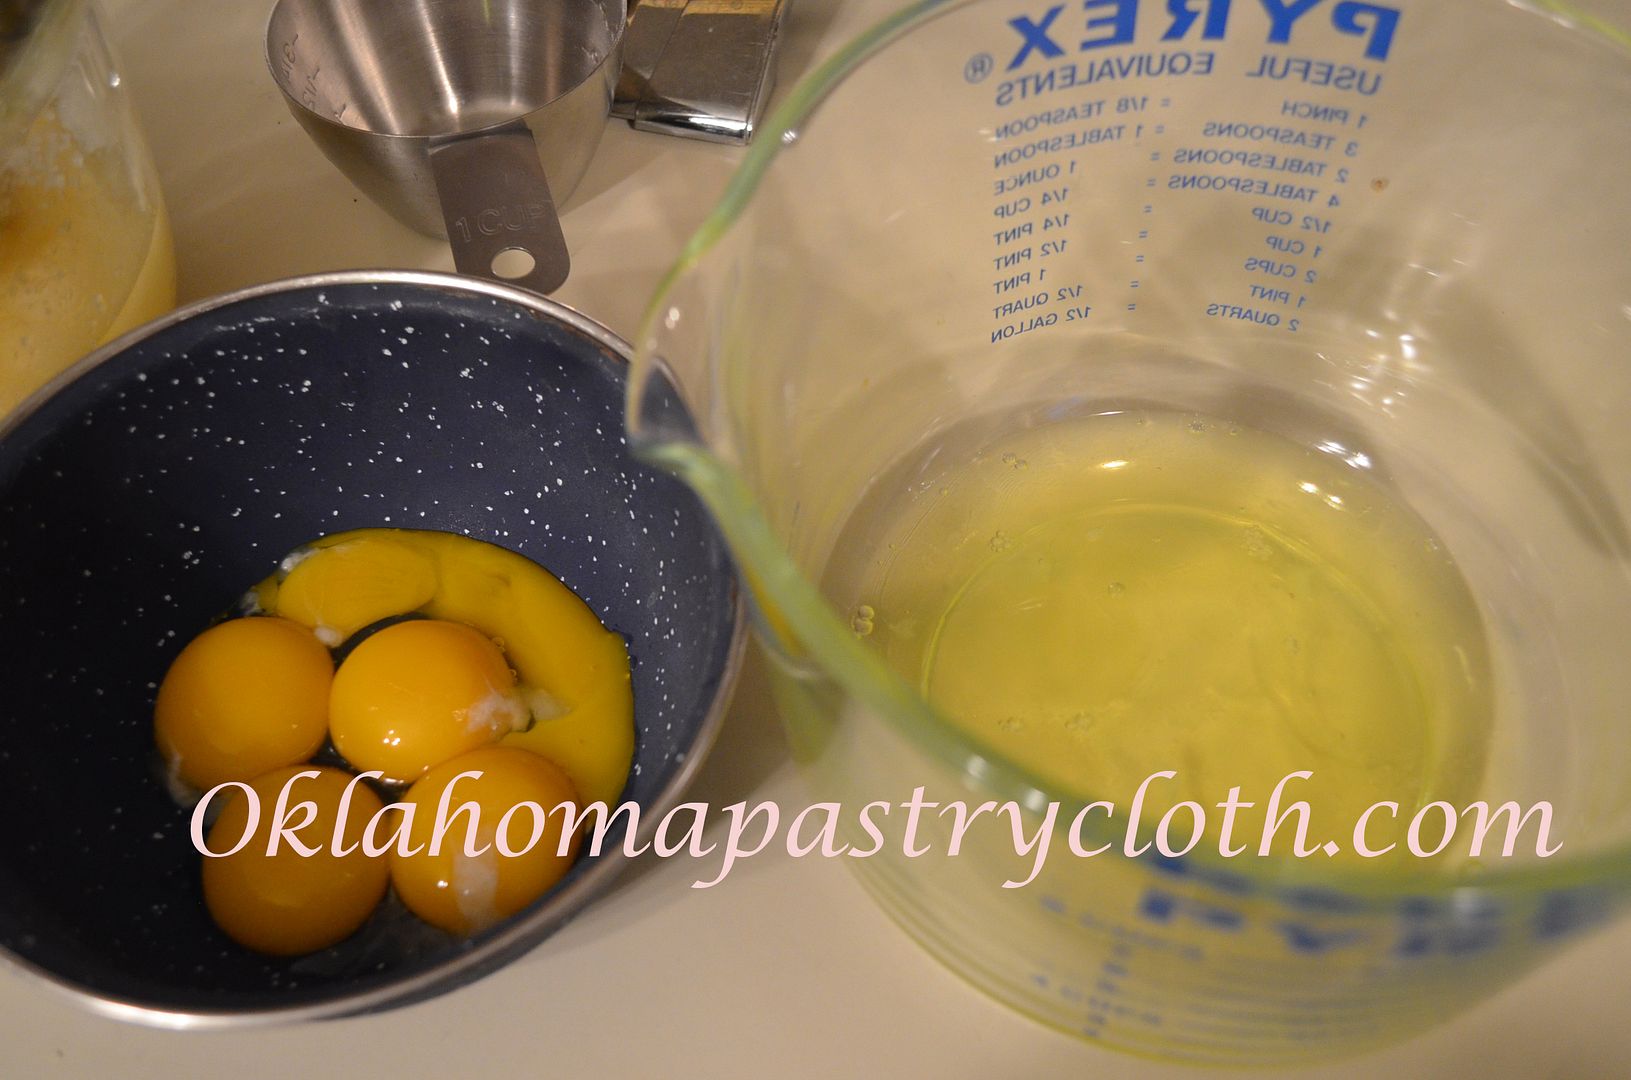
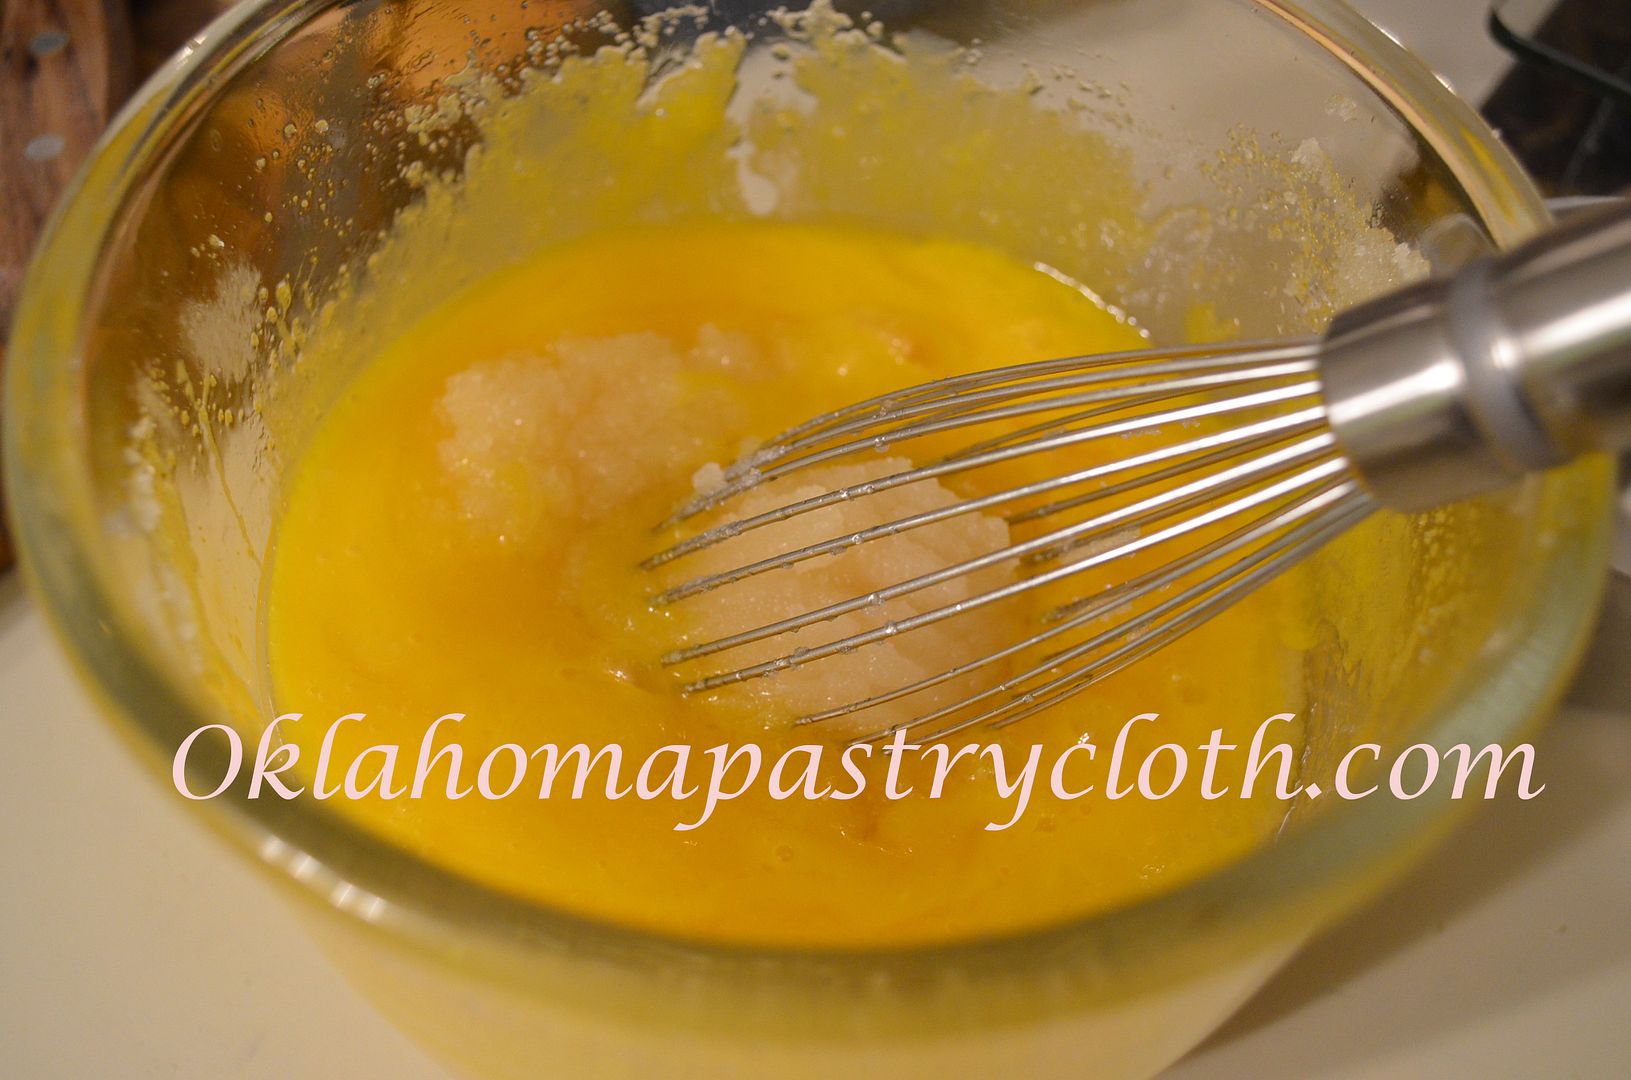
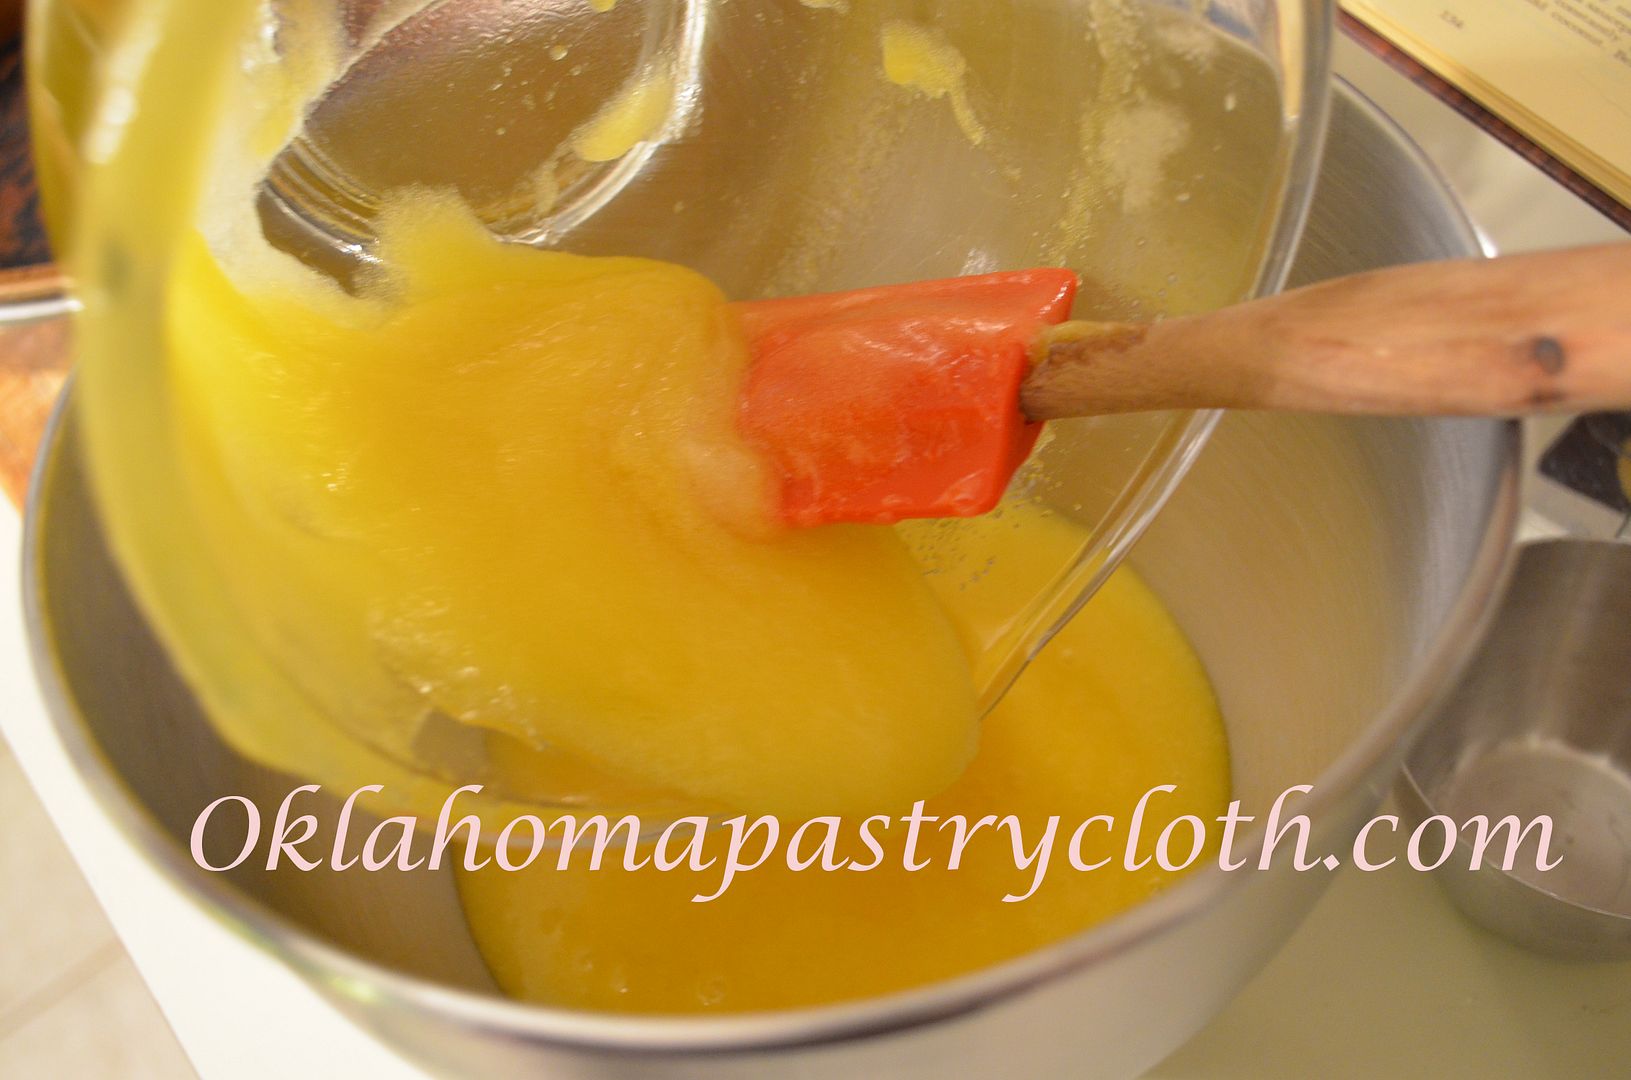
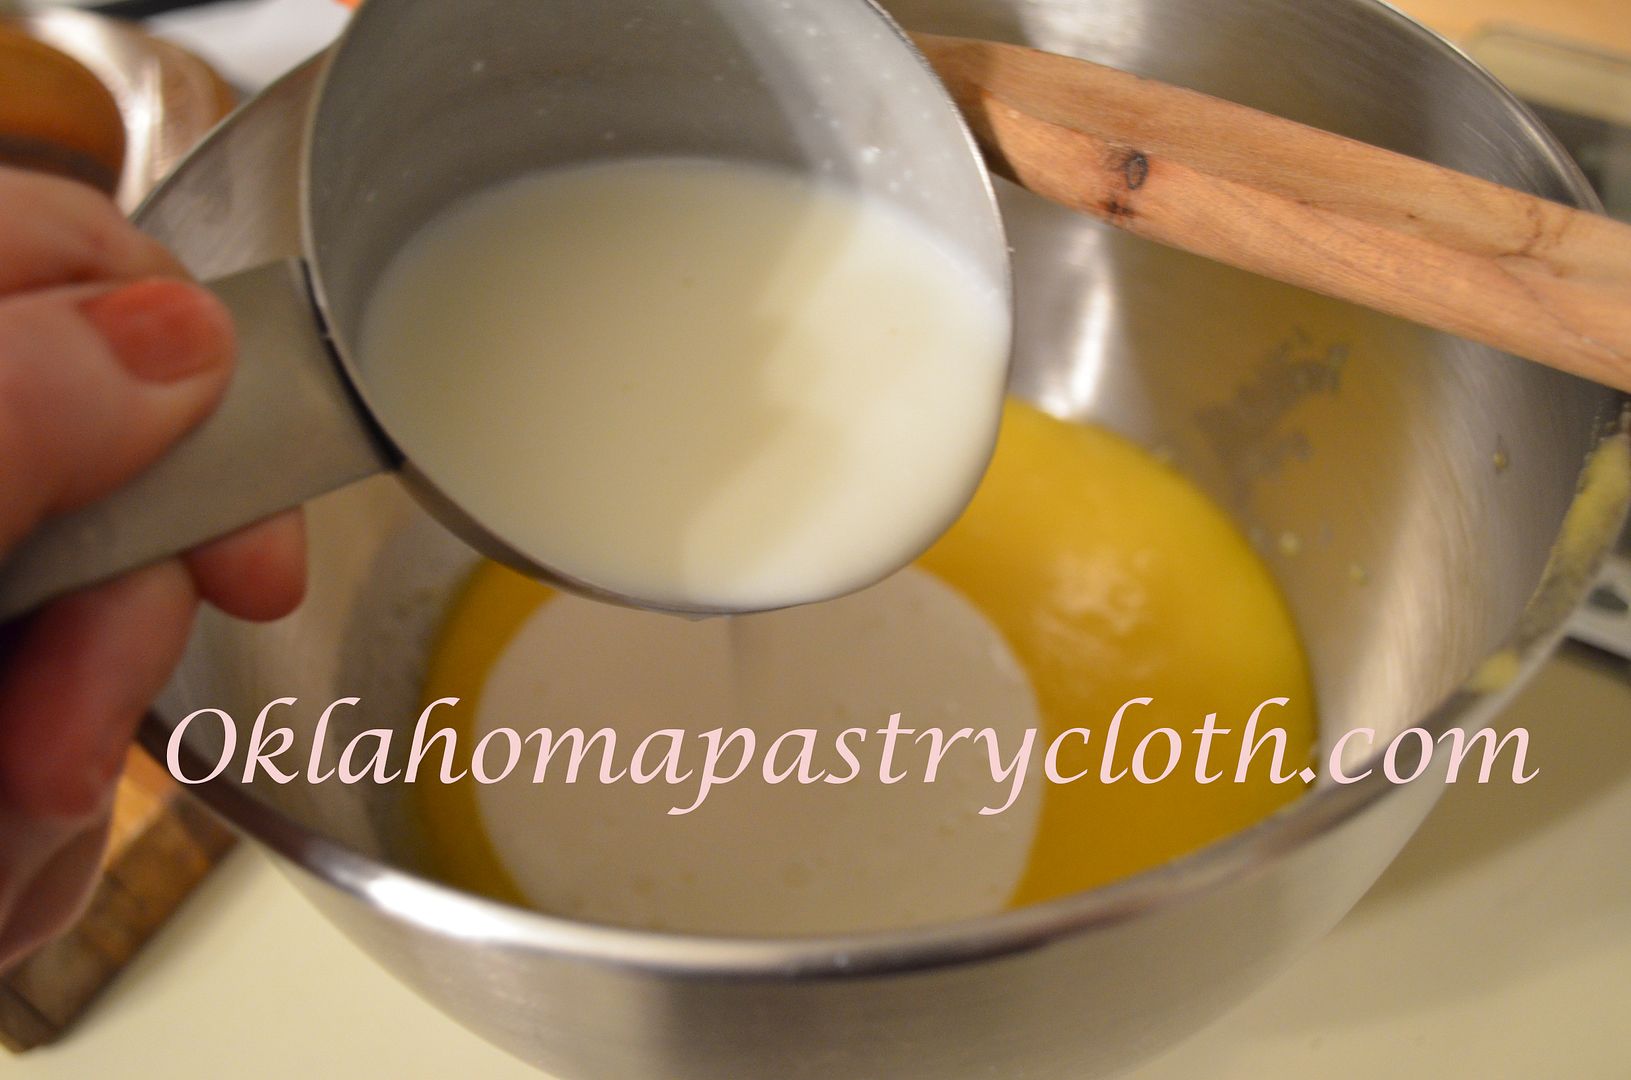
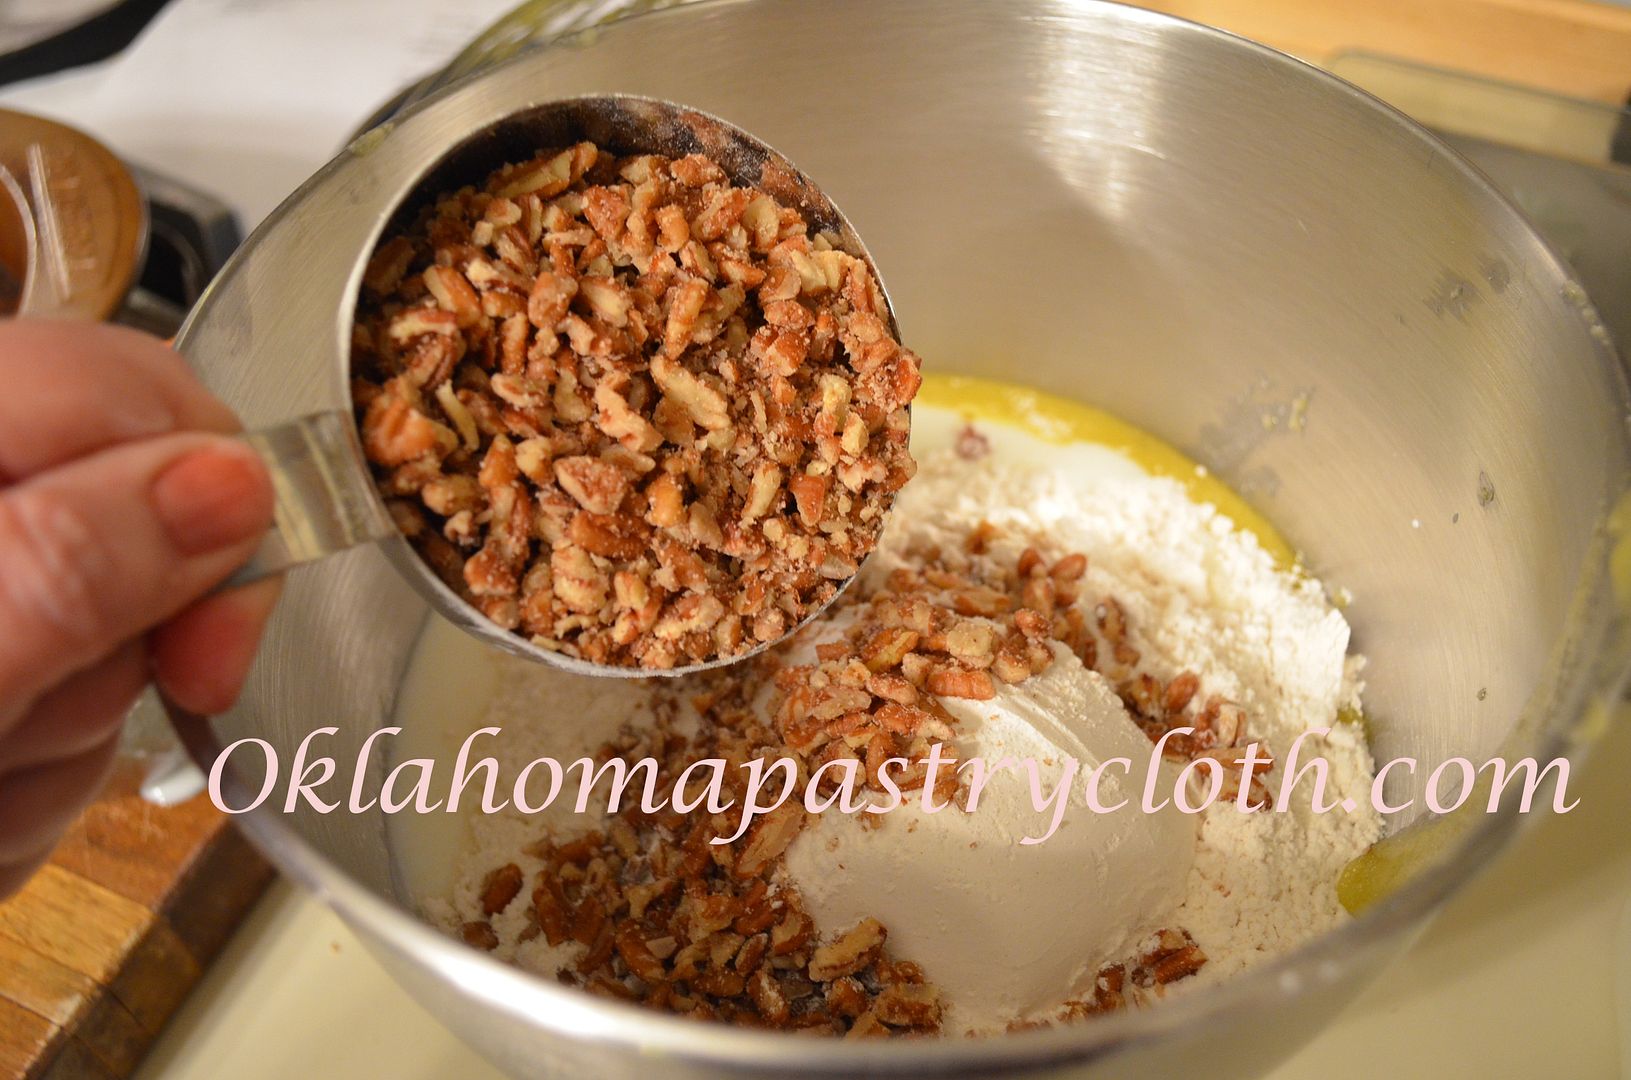
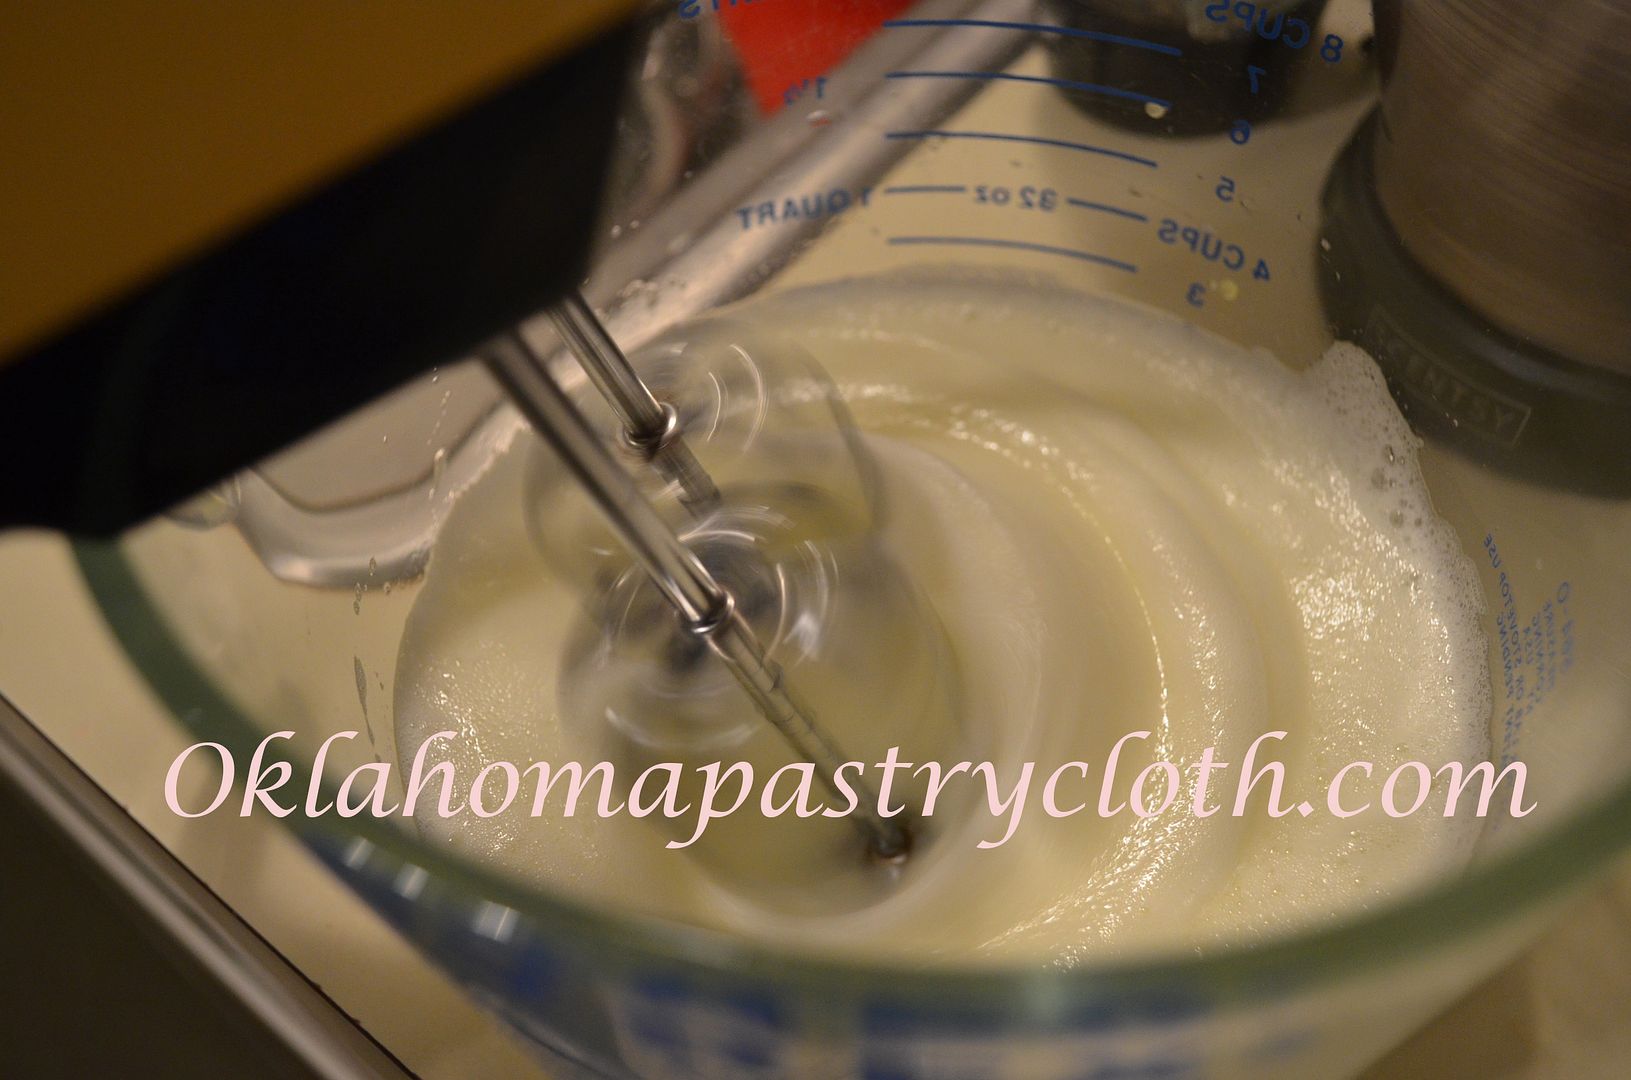
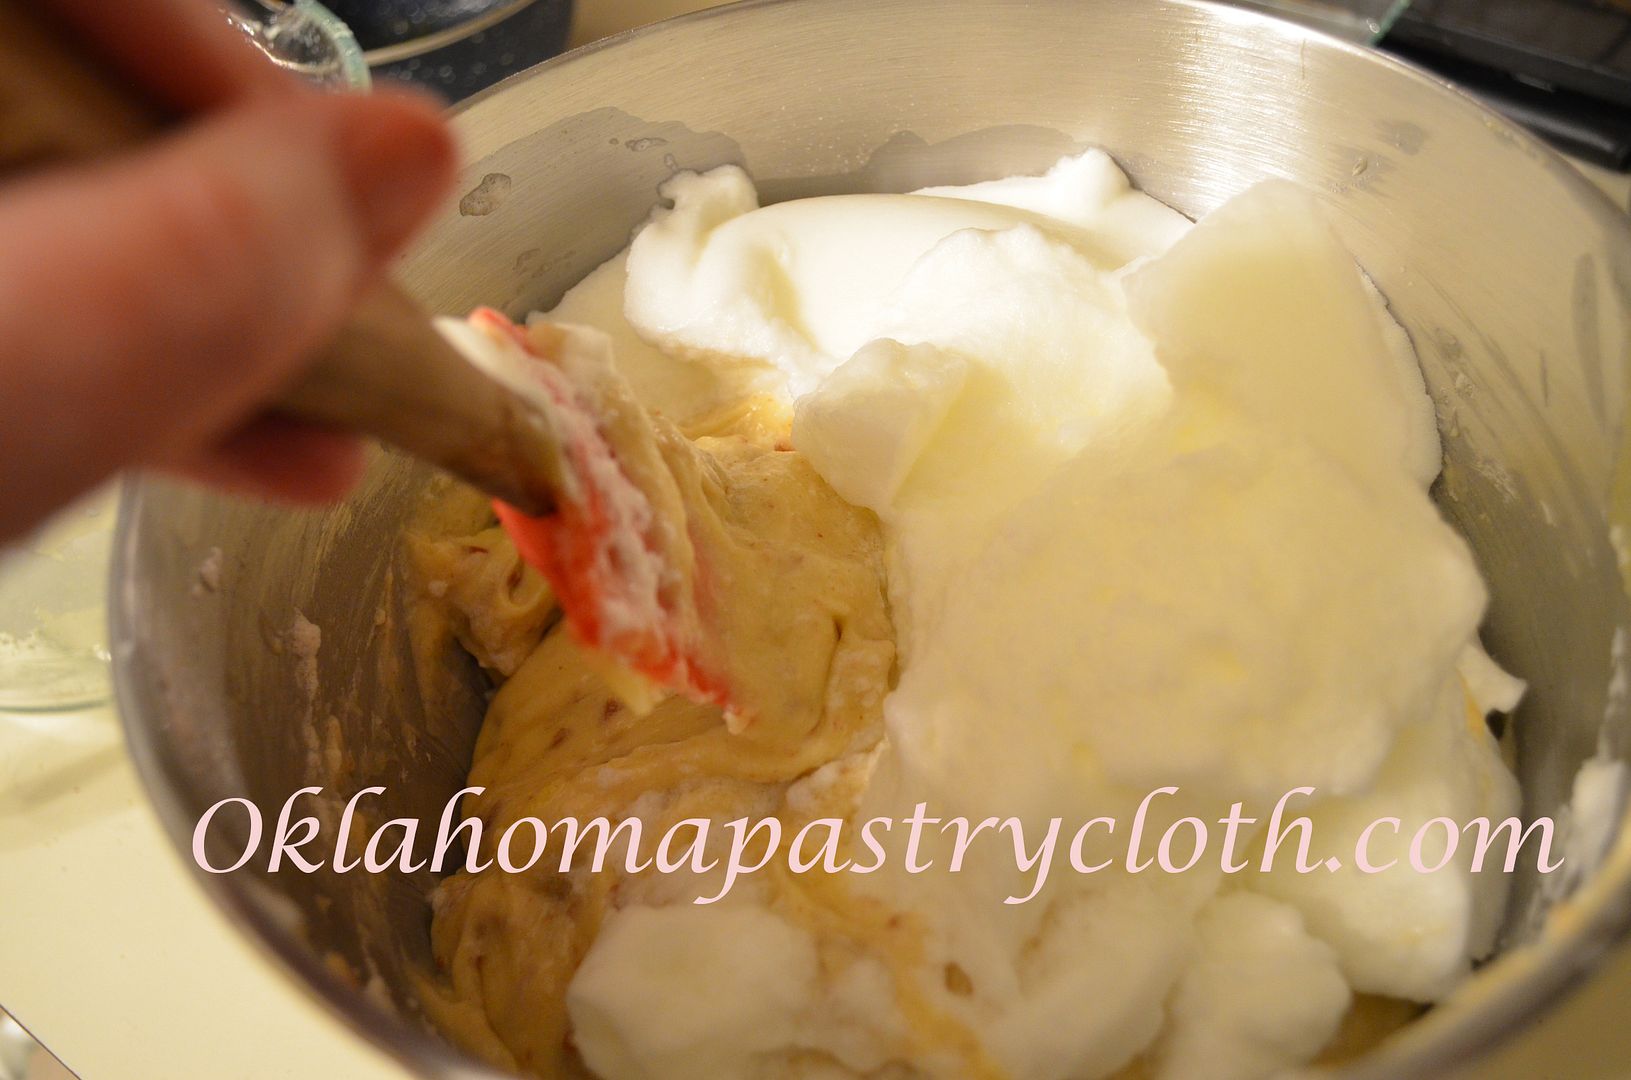
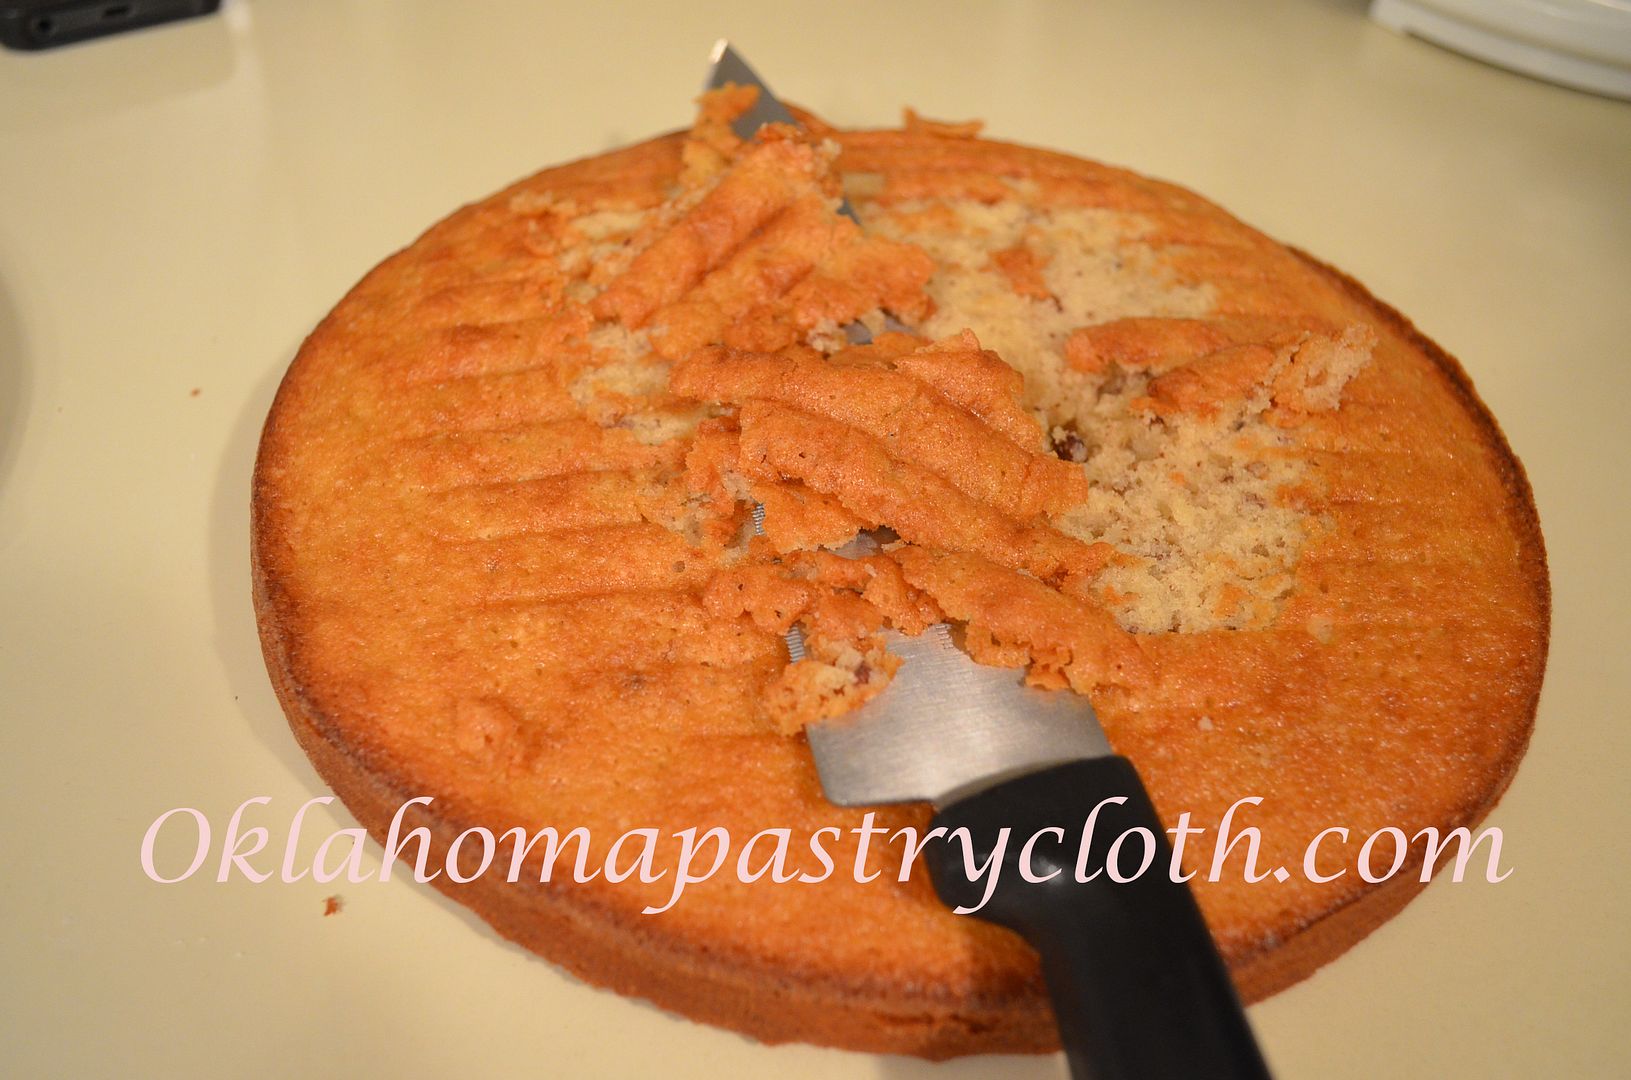
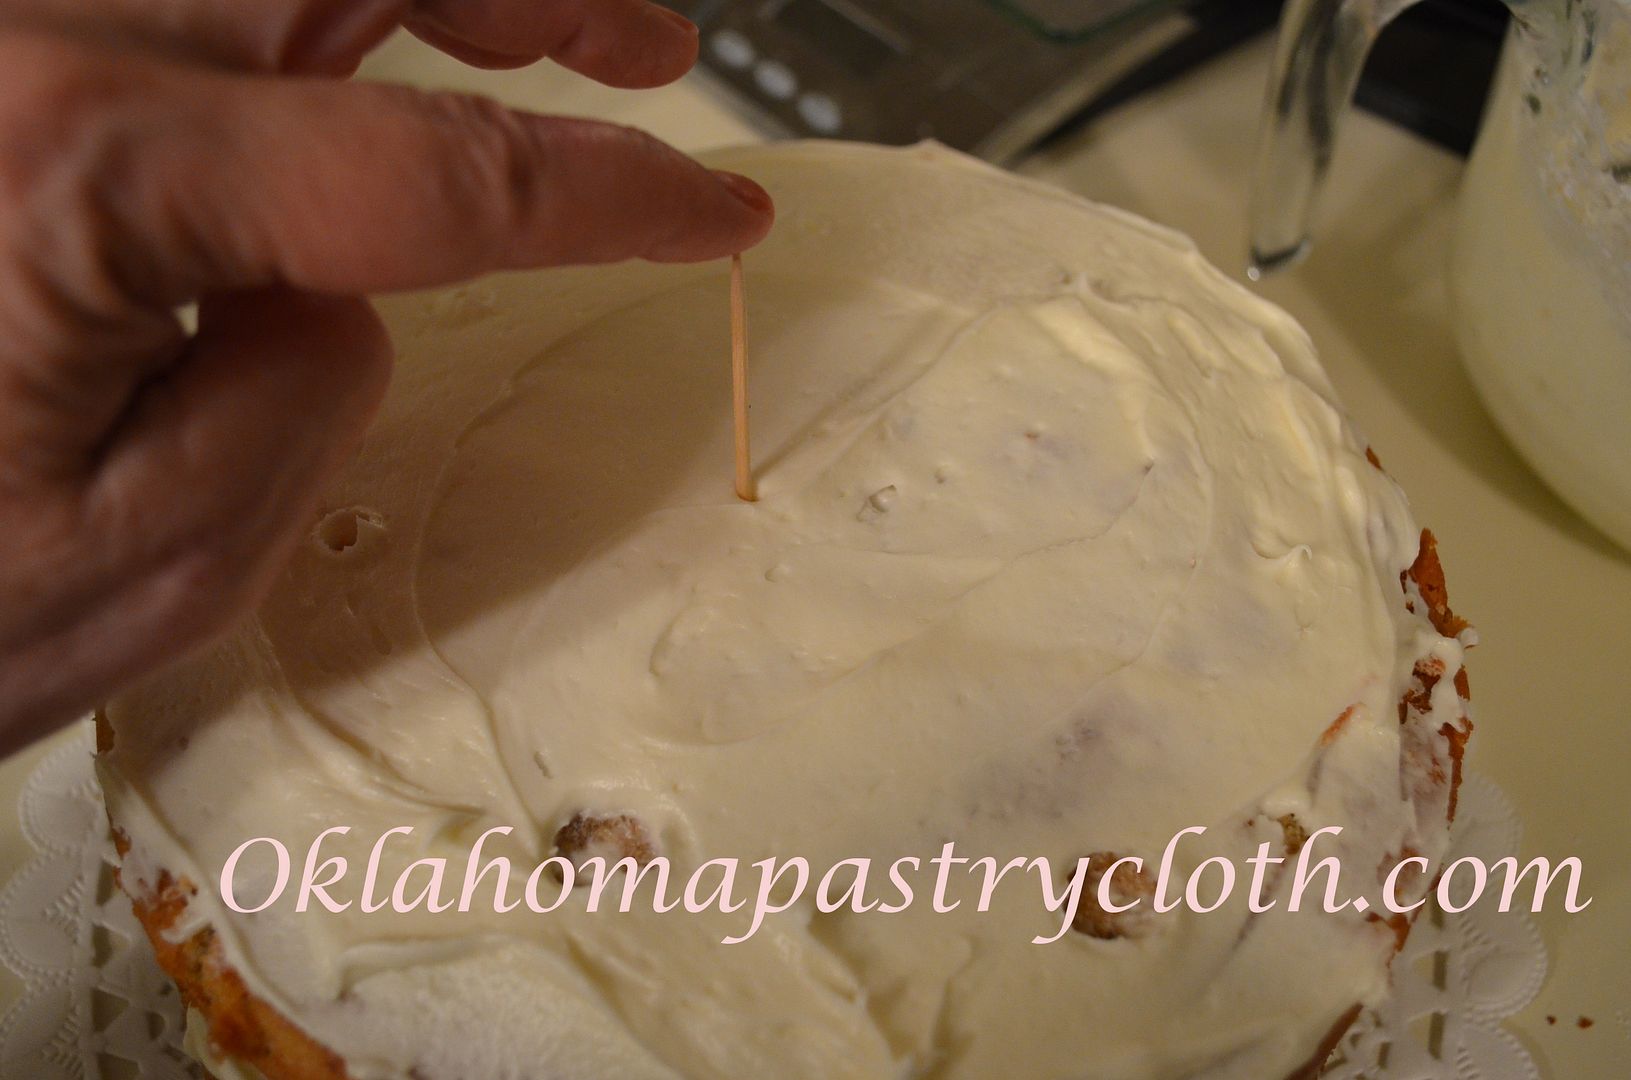
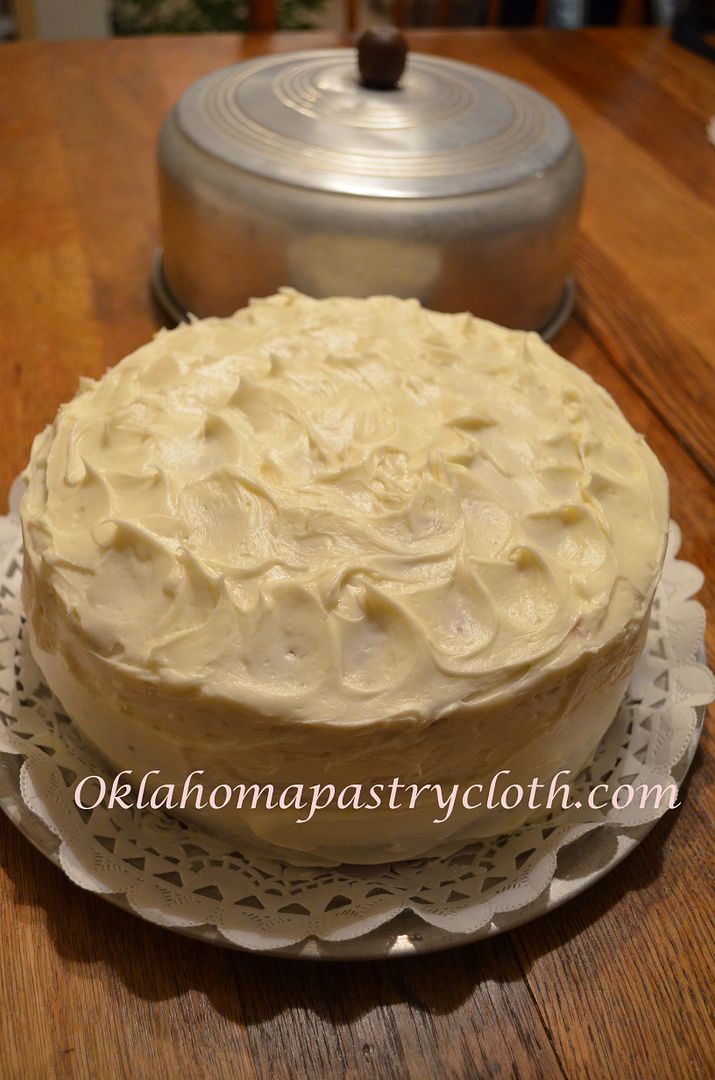
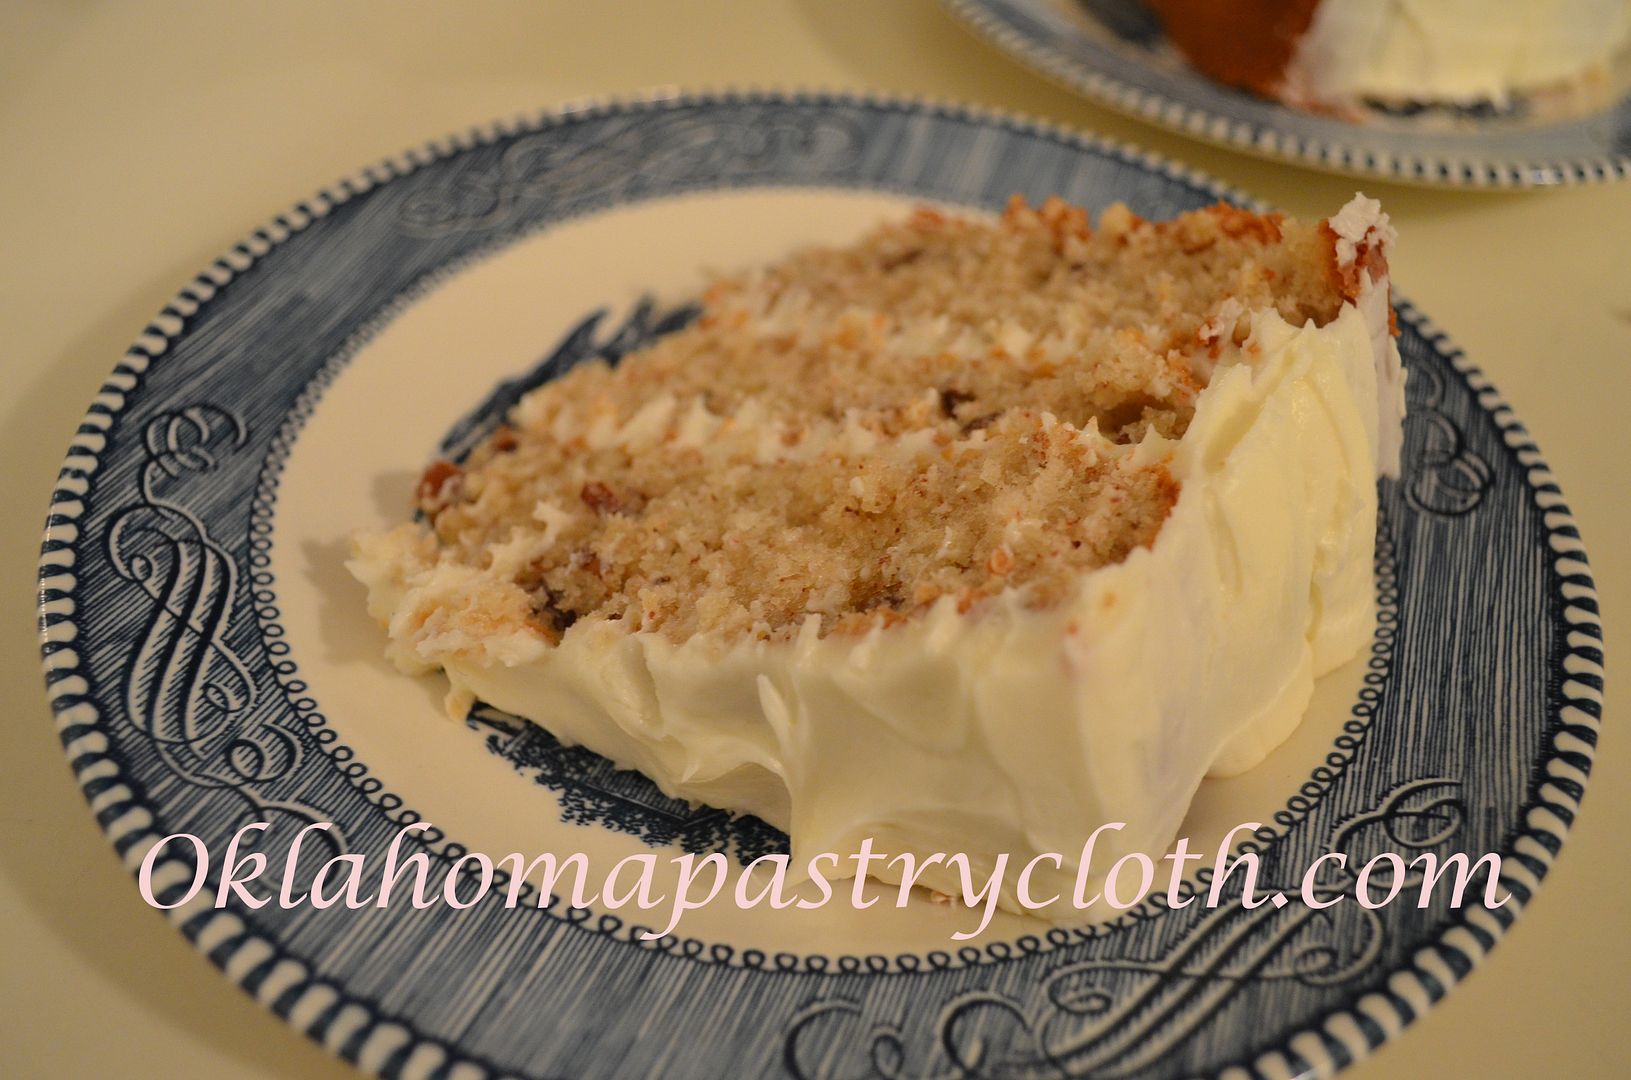
 The other cold-to-the-bones, dismal, misty night, Mr. Fix-It said he was really, really, really wanting a dessert. We aren’t eating many desserts since the discovery of my thyroid issues. Of course, Mr. Skinny Fix-It can’t eat anything if I can’t eat anything, right?! So, with the wood stove finally blazing, to make the house toasty warm, dogs sacked out around it like stuffed animals tossed aside, I decided to be nice and make him something special – an Italian Cream Cake. Ever since Sir Flying Ace’s and Miss Amelia Air-Heart’s wedding, Mr. Fix-It has been wanting another Italian Cream Cake. Only, he wanted it the way their wedding cake was – no coconut. It does make a difference – especially for those who aren’t crazy about coconut!! Now, you know me. I had to find out the background on Italian Cream Cakes and so I researched and researched and guess what. There IS no background on Italian Cream Cakes. This is the best I could come up with from Answer.com and a recipe book: “While the Italian Cream Cake has its roots in renaissance Italy, the first written record of it is first seen in Canada in 1913. It is not until 1937 that the first recipe of Italian Creak Cake surfaces in the Plano News from Texas. Over the years the recipe has grown more complicated, though it is adored for its endless flavor combinations.” And “Not much is known about the origin of the Italian cream cake. The recipe apparently first appeared in the southern part of the United States and was the creation of an Italian baker who had moved to the U.S.” Evidently, we rednecks are more crazy about this cake than are Italians. That would make sense since it is all about butter and pecans! So here is my version of the Italian Cream Cake. And just a note, I use my own, homemade bourbon vanilla which I’ll show in an upcoming post. Preheat oven to 350º Ingredients: Icing:
             |
|
| |
|
Oklahoma Pastry Cloth™ Company on Facebook
|
|
 |
|
|
|
Posts Tagged ‘dessert’
Italian Cream Cake
Sunday, January 24th, 2016
Shout Out
Monday, June 29th, 2015
 Heh all! Well, because of all your help, we got the votes we needed and qualified to be considered for the Mission Main Street Grant! I can’t thank you enough for all your support! We got way more votes than we needed! Now, I am long past due giving a shout out to a really amazing lady who is helping people all over the internet with her cooking channel. Hands That Cook offers all kinds of recipes, tips and demonstrations that are easy to follow. She has a wonderful knowledge of cooking skills and a heart to share them with those who wish to learn. Though she likes to remain anonymous, the videos and voice are warm and inviting and I know that you will get a lot out of them. She has a diverse following who obviously love her to pieces. Hands That Cook ordered one of our Oklahoma Pastry Cloths™ and it was certainly a pleasure working with her. She liked our product so much that she did a show about a 100 year old pie crust recipe that she uses while offering a great review of the pastry cloth. You can enjoy it here: It is so wonderful to see how our products are making life easier and pleasant in kitchens across the country and even in other countries. That is our goal!! We tried Hands That Cook’s recipe for pie crust and it was wonderful. 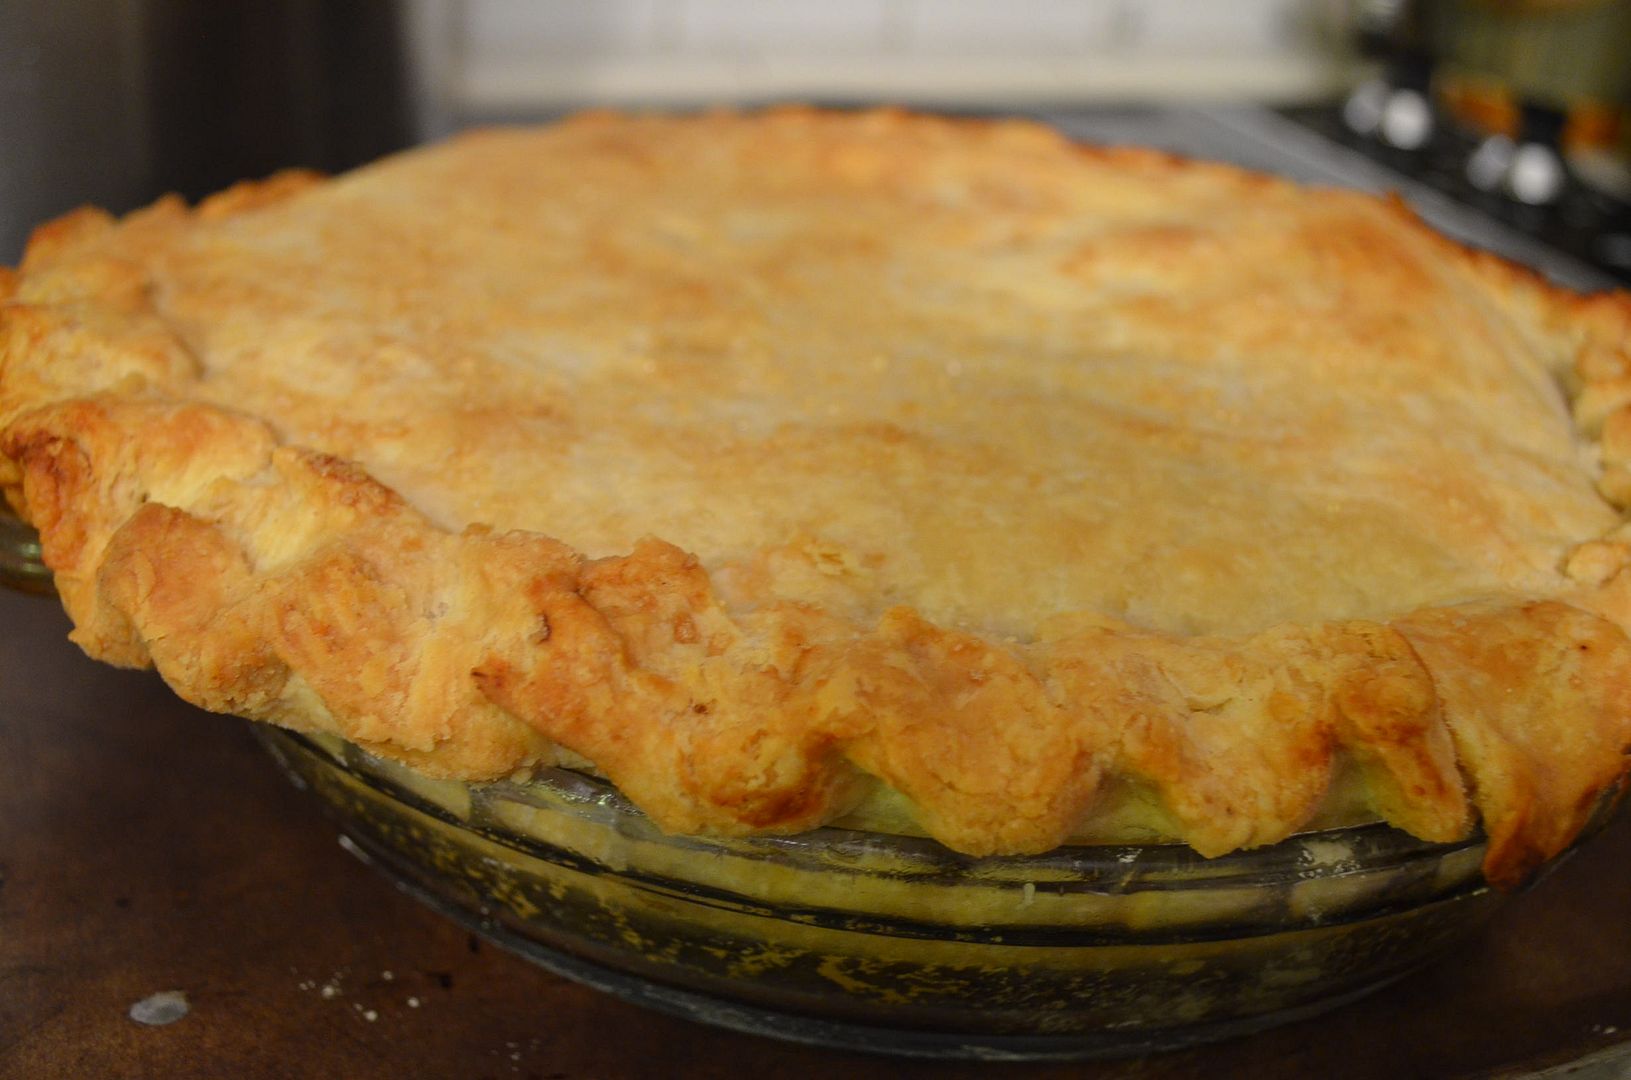 And of course it had to be an apple pie. Yummy! Thanks to Hands That Cook for a great recipe and a wonderful testimonial.  |
|
| |
|
Oklahoma Pastry Cloth™ Company on Facebook
|
|
 |
|

|
Vintage Cooking Pt. III
Monday, January 16th, 2012
 I have been doing a series of posts from my grandmother’s high school, 1914 edition of “Domestic Science” and visualizing working in a vintage kitchen with wood cook stove and Seller’s or Boone kitchen cabinet complete with sifter and flour drawers. Included in each lesson have been etiquette rules that follow each recipe in the book. Many of these rules have been passed on to the children of today, (I hope!!) but there is one issue of etiquette that I know they did not consider back then. That rule concerns the public use of cell phones. 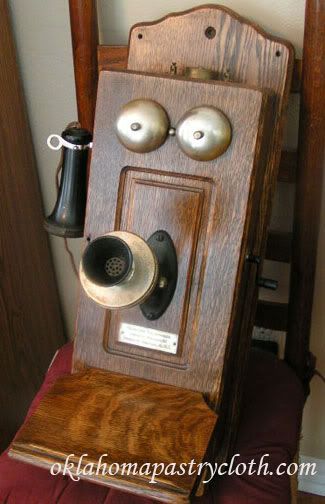 Friday, I was sitting in the waiting room of a certain preventative testing clinic for women, minding my own business and not really caring about anybody else’s, when the woman sitting across from me accepted a call on a cell phone that was playing some really annoying jingle. She was on oxygen and so her conversation was a series of loud words stilted by the short gasps of her oxygen machine. In a voice equal to what we used to call an “outdoor voice” she carried on a conversation with the person on the other end and gave all of us in the room the inside scoop of what she was planning for the day. Meanwhile, the cellphone of the women to my left and right simultaneously whined different songs and both women loudly answered, “Hello?” Then the woman to my left said, “You’re going on a cruise?! When are you leaving? Alrighty! They kind of keep everything in and she’s the one asking about the birds and she’s just going to snap. I’m at the place to get a mammogram.” Oh my. That word and the picture it paints. Is nothing secret anymore? All three women continued to converse in mucho decibels when the Latino man across the room, waiting on his wife, made a call and in Spanish yelled over the other voices to explain something. I caught “Mañana” and “ocho” but that was the extent of my eavesdropping since the only other language I know is French. The other bored husband in the room accepted a call, about that time, and made an order for decking and something else in frustrated tones. But it was when the lady to my right took it up a notch and put her phone comrade on speaker phone that I almost lost it in gails of laughter at how ridiculous this situation was. I couldn’t hear myself think and it amazed me that these people could concentrate on what they were saying with all of the other conversations going on. I stifled a giggle as this woman said, “Oh, you know. She told us that her father kicked her out, but I found out that was a lie. I think she must be drinking.” (we REALLY needed to know that!) And the lady on the other end squawked out a reply. But I guess the fact that I was taking notes by that time, thinking, “Blog material!!”, that I got noticed because the speaker phone got cut off quickly. My name was called at that point and I sauntered into the tiny dressing room, still snickering at the sitcom into which I had just been dumped. I sat to wait my turn because I was in that place to get a you-know-what (I still have Victorian limits). A muffled voice came through from the dressing room next door, “Oh I know!! You should have seen what she made. She didn’t do it the way she was supposed to, but it turned out cute. Looks like snowflakes. I’ll show it to you tomorrow.” I had to smile at that one. Obviously a young mother or a grandmother proud of her little daughter or granddaughter. And so, before I move on to the next vintage recipe, which is to die for, by the way, I will insert a modern code of manners into the mix by reminding all that while we like to stay connected, there is a limit to that connection when it comes to public places. Those around us really don’t care about our personal lives – unless they are robbers who are taking down your plans. There is a reason for texting!! Mr. Fix-It insisted that I try this recipe next. Oh my gosh. Incredible doesn’t even come close. As I looked at the amount of chocolate used, I thought that it couldn’t be enough. I realize that back then, chocolate was really, really special and expensive and so I upped the amount a tad. Also, while I am including the original hard sauce recipe, I decided to use MY hard sauce recipe that’s a bit – harder – shall we say? Yes, it has rum in it, but it’s cooked and it made an already wonderful dessert, something to brag about. Here you go: 2 cups dried bread crumbs or 4 slices 3/4″ thick bread, dried and sliced 4 tblsp butter (1/2 stick) 3 cups scalded milk 2/3 cup sugar 1/4 cup melted chocolate (I used 1/3 cup chocolate chips) 2 eggs 1/2 tsp salt 1 tsp vanilla dash of cinnamon Hard Sauce 1/3 cup butter 1 c powdered sugar 2/3 tsp vanilla Sauce Directions: 1. Melt and cream the butter thoroughly. 2. Very gradually add the sugar, creaming constantly. Add the flavoring and set aside to cool. My Hard Sauce 1 stick butter 1 cup sugar 1 egg beaten 1/8 tsp vanilla 1/2 to 1 jigger of rum according to taste Directions and photos to follow.. 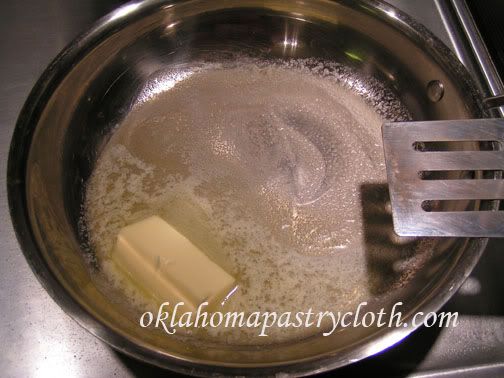 Melt butter in a skillet. 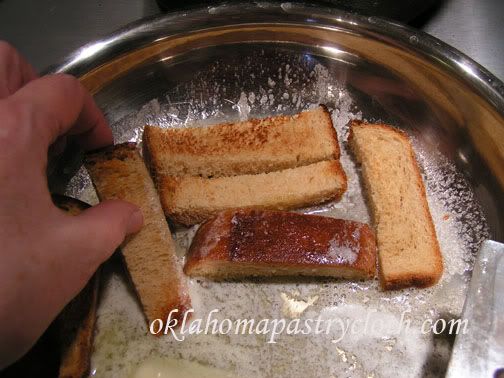 Dredge bread crumbs or sides of bread stips in the butter until all butter is gone. Note: I am using homemade whole wheat bread here. I toasted 4 thick pieces, sliced and then put in the oven on 200º for about 30 minutes to dry it out. This really made a good pudding because the bread has such body. And you can convince yourself that this is healthy because there is fiber?! 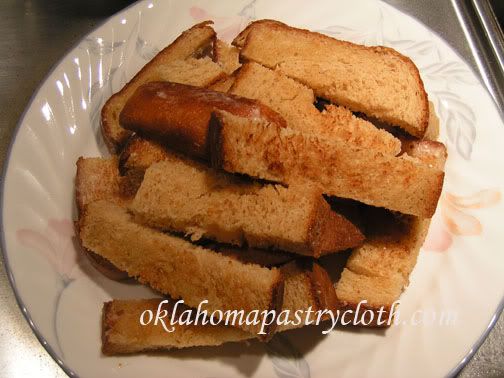 Place the bread on a plate and set aside 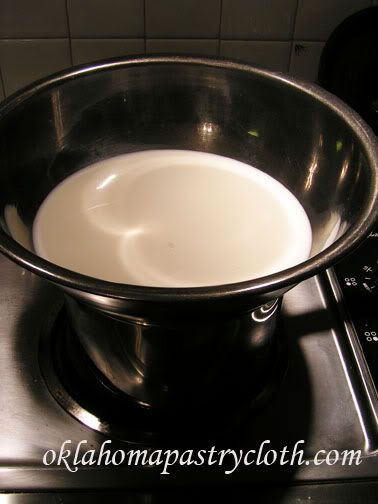 In a large double boiler (mine is too small so a stainless steel bowl over a pan of boiling water works great) pour the milk and scald to just under boiling. 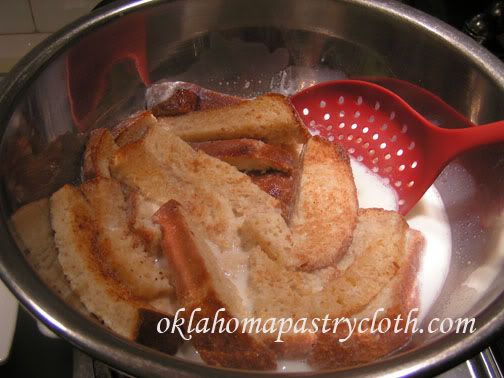 Pour bread into milk and allow to soak until bread is soft. 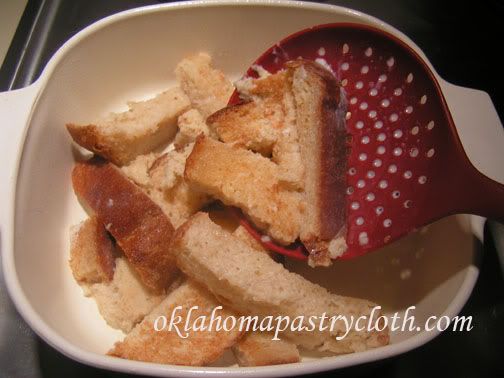 The directions say to spoon the bread into a buttered or greased ‘pudding dish’, but I looked up what that would be and I do not have one. It is made of ceramic or pottery and can be either oval or round and has a design on the bottom. So, I used the tried and true Corningware casserole dish! I sprayed my dish with spray olive oil. 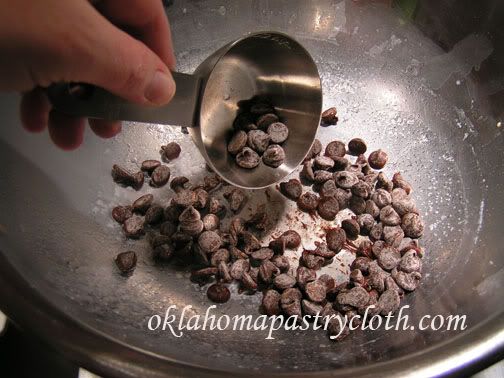 Pour leftover milk into a bowl and set aside. Place chocolate into the bowl. 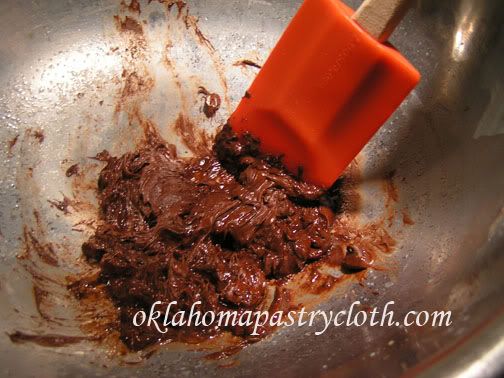 Melt chocolate or chocolate chips in the bowl over boiling water. 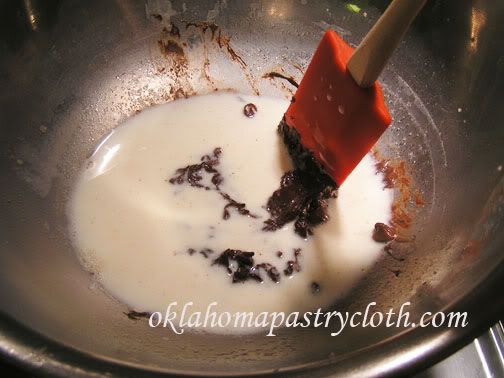 Add just enough of the scalded milk to the melted chocolate to blend into a smooth mixture. 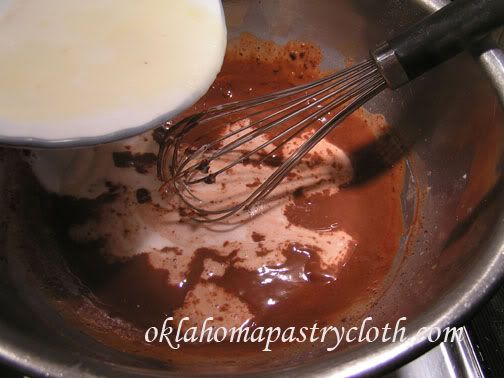 Add rest of the milk and blend. Add dash of cinnamon. 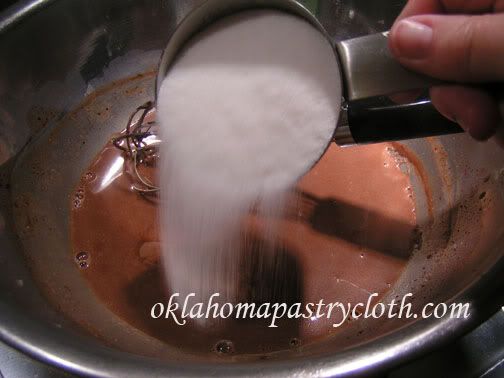 Add half the sugar and blend 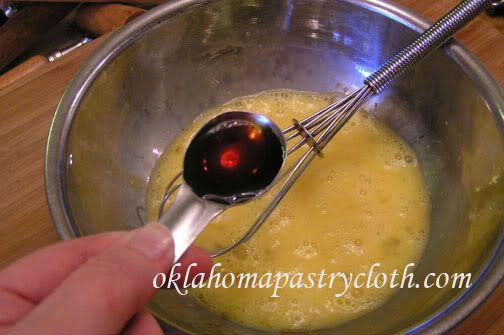 In another bowl, beat two eggs and add salt, sugar and the rest of the sugar and beat until creamy 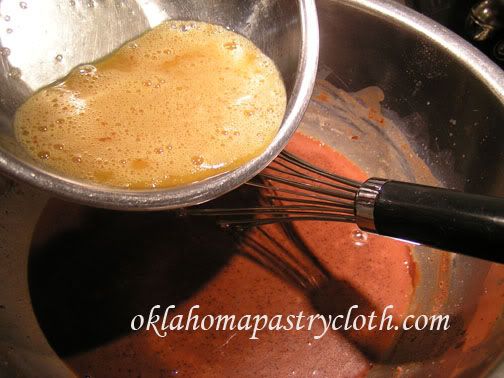 Gently pour, little by little, the egg mixture into the chocolate mixture whisking continually to keep the eggs from curdling. Stir until the mixture is smooth. 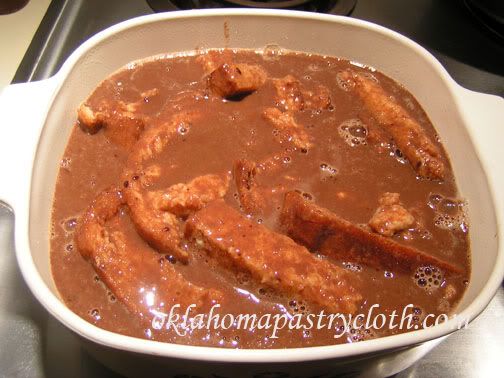 Pour chocolate mixture over bread pieces in the baking dish. Now this is where I had to do some guessing because it said, “Bake in a moderate oven until done.” I figured 350º for 45 minutes. That worked great. I have to remember with these recipes that the old stoves were more of a guess than a thermostat! 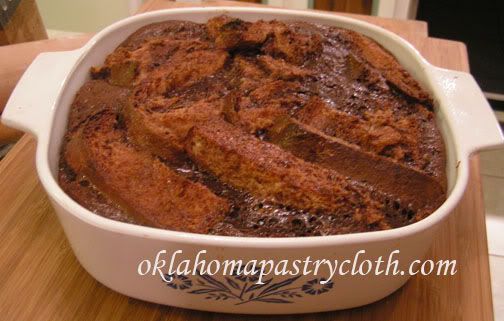 Test with a sharp knife or toothpick to come out clean. Allow to stand for a few minutes. The sides of the pudding will pull away from the sides of the dish. Serve warm with warm hard sauce that follows. 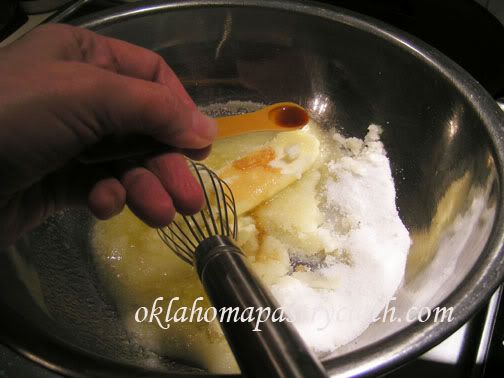 In a clean bowl over boiling water, or in a small double boiler, melt butter and add sugar and vanilla. 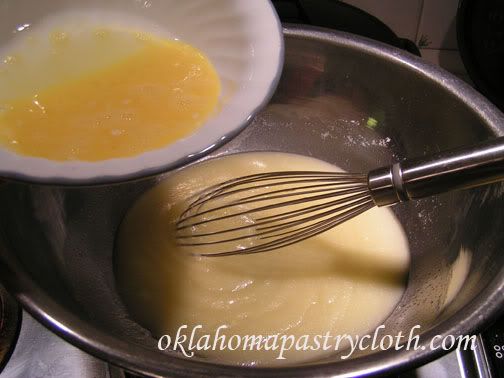 Stir until mixture is smooth and then gently add beaten egg, whisking continually to keep the egg from curdling. 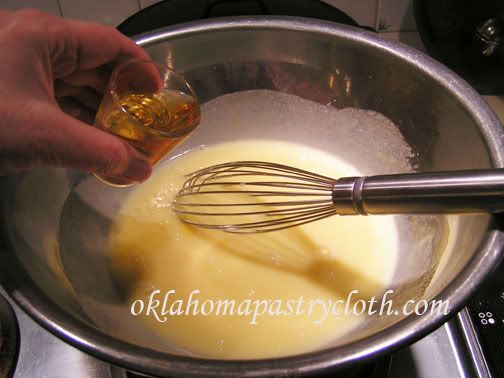 Add rum and stir.  Cook for about 10 minutes until sugar is completely dissolved and sauce is thick and smooth 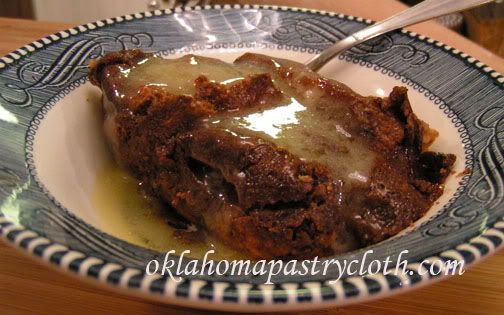 Spoon each serving of warm chocolate bread pudding in a bowl and ladle sauce over it. I promise, you will sit there and just sigh with joy. Leftovers of both sauce and pudding may be reheated. Table Manners:
 |
|
|
Oklahoma Pastry Cloth™ Company on Facebook
|
|
 |
|
|
Fresh Coconut Pie – How to Crack A Coconut
Thursday, July 14th, 2011
|
Coconuts have always held a fascination for me. They’re like big, round, oversized Brazil nuts with hair and if you look at them square on, they look like little spider monkey faces! My father used to bring home coconuts for us to open, letting each of us 4 girls crunch on a chunk of the white meat as we watched him crack the next ones. Mom would deal with the rest, grating it and freezing it for use in baked products. It had to be baked because my father was dangerously allergic to fresh coconut and fresh coconut milk. But he liked coconut as long as it was cooked. Fresh coconut has a totally different taste from commercially shredded and bagged. It is crunchier, lighter tasting and not very sweet, hence sugar on the bagged stuff. I found some coconuts on sale at our local grocery for 50¢ each and so I grabbed three. Fresh coconut pie was calling my name. Mr. Fix-It loves coconut pie, so what better way to impress him than to make it straight from the tree?!  Mr. Fix-It assumed the responsibility of cracking open my grocery prizes and poked the “eyes” with a washed nail setter to open holes for the juice to escape. It’s a “He-Man” job after all.   As I counseled him to wrap each coconut in a towel before tapping with a hammer, (well, that’s the way WE did it when I was growing up) he gave me that “I dun’ need no stinkin’ towel” look. He proceeded to break the heavy hulls of the nuts in several places and proudly pointed out that he had not sent pieces flying. OK, so he’s good, but if you want to save a mess, wrap your whole coconut in a towel before breaking.  By sliding a table knife between the shell and the meat, the meat easily pops out with some of the shell membrane still attached.  Using a paring knife, peel off remaining shell – only don’t do it like Mr. Fix-It, who is cutting toward himself!!  Using a hand grater or the grating wheel on your food processor, grate coconut. 
 Bake a pie shell and set aside to cool  Put the sugar, cornstarch and salt into a saucepan that is not heating.  Pour coconut milk into a large measuring cup and finish to level 3 cups with cows milk.  Pour the milk mixture into the saucepan and stir until sugar and cornstarch are dissolved.  Beat egg yolks and add to the saucepan, stirring mixture to fully incorporate  Bring mixture to a boil over medium heat, stirring constantly to keep from sticking and from getting lumpy. As mixture thickens, let boil one minute.  Remove from heat and stir in butter…  and flavorings  Add coconut  Stir coconut into filling mixture  Pour filling into pie shell  Cover with plastic wrap and tap with your hand so that wrap touches the filling. Place in the frig to cool for at least 2 hours.  Remove from frig and cover with whipped cream or cool whip and sprinkled with toasted coconut.  For an extra zing, add grated chocolate. It’s a Mounds Bar flavor! |
|
Oklahoma Pastry Cloth™ Company on Facebook
|
 |


 Homestead Revival
 Paratus Familia
 Rural Revolution