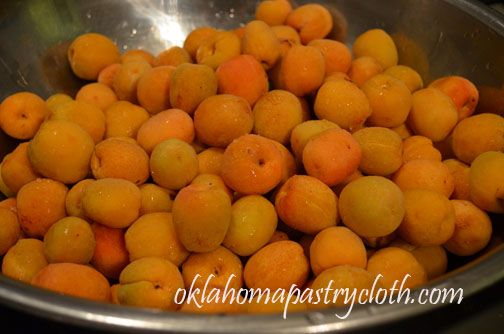
  Well, it appears that my internet is totally hosed for who-knows-how-long. It has been down and I have waited patiently for a reawakening, only to find out that the company is down all the way into Kansas!! Somebody cut a cable. Dear Mr. Fix-It got me hooked into a mobile unit and so I get to write a really fast post!! Today, the subject is “Apricots”. Growing up, I loved dried apricots. We kids would get a bag and devour them instead of candy. I still love them today and I still call them what we used to call them, “Dried Ears”. Seeing my cousin recently, she affirmed that THEY call them dried ears as well! You can’t deny that dried apricots look like something some faraway, cannibal tribe collected from unsuspecting captives, not to mention that which Van Gogh sent to his lady love. OK, so now I’ve really made them appetizing, eh? Apricots are a member of the same family as peaches, plums, apples and pears but are most closely associated with plums. They grew wild in China as long ago as 2000 BC and it was the Chinese, through the silk and spice trade, that brought the fruit to the Middle East and Mediterranean countries. Romans made the apricot trees part of their culture around 100 BC as did the Greeks who called them, “the golden eggs of the sun”. By the Middle Ages, apricots were being cultivated throughout Europe. The Spanish brought the fruit trees to the New World, first planting in Mexico and later in what is today’s California, which is the leading producer in our country today. Because of our climate in Oklahoma, apricot trees produce quite well and quite prolifically. If you remember from the past post on the bunnies, Sir Flying Ace’s dog found those bunnies in an underground nest beneath his apricot tree. Last month, I joyfully emptied that tree of as many of the jewels as I could reach and then Sir Flying Ace brought me another sack that he had gathered. Mr. Fix-It and I have a young apricot tree, but it will not be ready to produce for another two years. From Sir Flying Ace, I got enough apricots to make some amazing jam, some baby food for the grandbaby and a goodly amount of dehydrated halves for snacks and dried apricot fried pies. I thought I’d give a few pictures of what that included. Apricot Jam 5 exact cups diced fruit (about 3-1/2 lb. fully ripe apricots) 1/4 cup fresh lemon juice 7 cups sugar, measured exactly into a separate bowl 1 box SURE-JELL Fruit Pectin 1/2tsp. butter or margarine 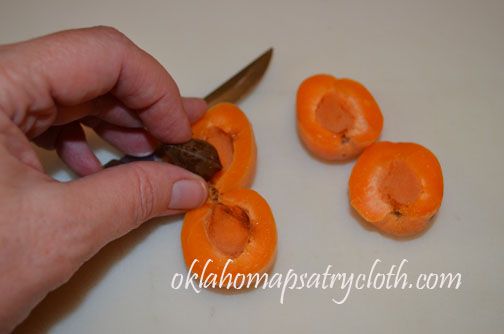 Apricots are easy, easy to prepare. They are used – minus the pit – skin and all. All you have to do is make a cut all the way around the fruit, to the pit, and then pull the halves away to lift out the pit. The pit doesn’t even stick. 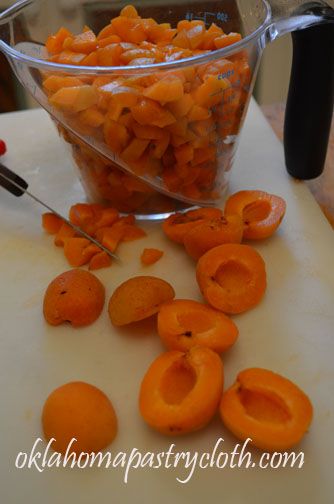 I use a food processor to chop my apricots. I use the pulse feature so that I don’t liquify them and make the pieces too small. 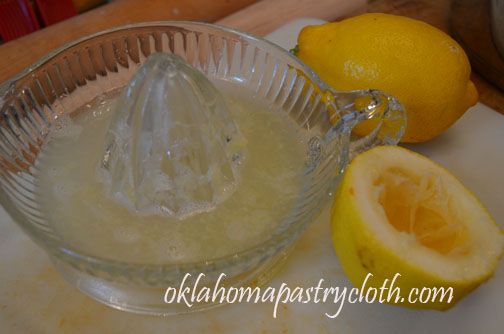 The chopped apricots are put into a large pot with lemon juice and the SureJel is sprinkled onto the fruit and stirred in until well dissolved. The butter is then added to keep frothing down.  On medium-high to high heat, the fruit is brought to a rolling boil. At this point, the sugar is added consistently and quickly as you stir. I use a wire whisk to stir the jam as I pour in the sugar. It is important to have the sugar measured out ahead of time because you will not have time to do that once the fruit has started boiling. Anyway, once the sugar is stirred in well, bring the jam back to a rolling boil and boil for one minute.  After one minute of boiling, remove the pot from heat and skim any froth off of the top with a spoon. You can put the froth into a bowl and use for jam yourself. Removing the froth just makes the jars prettier. 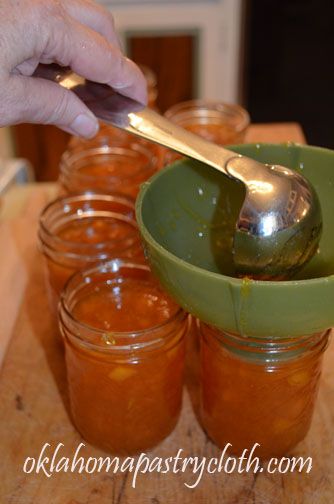 Ladle the hot jam into sterilized jelly jars to 1/2″ head space. 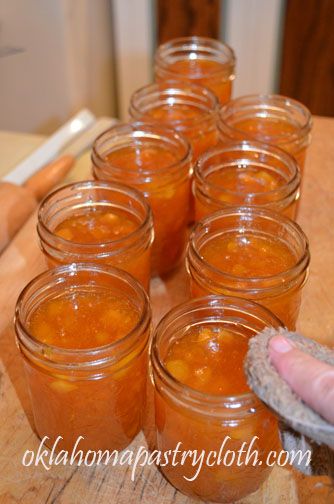 Wipe rims of jars with a warm, wet cloth to remove any drips or oils from your hands. 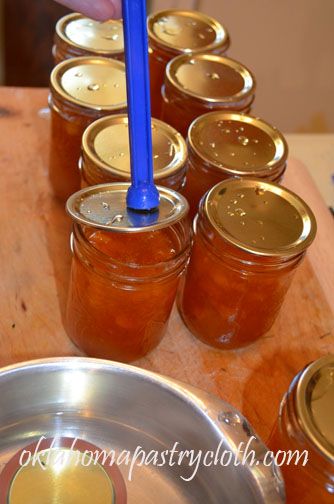 Place lids that have been warming in hot water onto the jars. Add rings and tighten and then back them off a smidge. 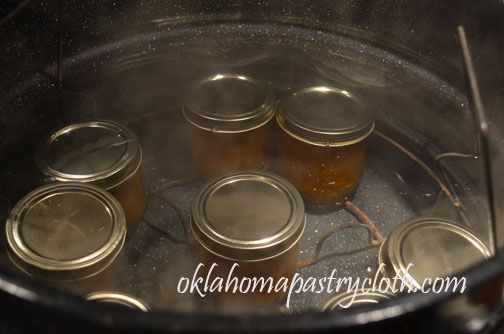 Place in a waterbath canner of warm water and process for 15 minutes. 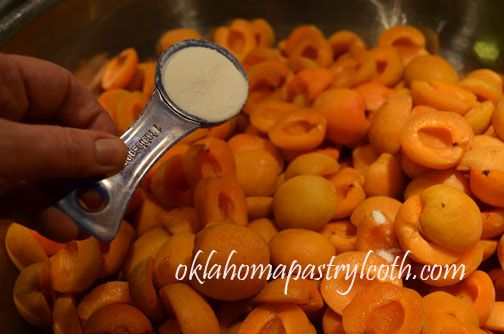 I also dehydrated a bunch of apricot halves. First, I cut the halves into a very large bowl and tossed them with a couple of tablespoons of Fruit Fresh. The apricots are not skinned. 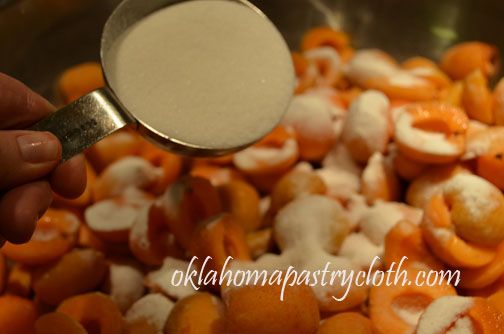 I then toss about 1/2 cup of sugar into approximately two gallons of apricot halves because I like for there to be a little bit of a glaze when they are dried.  The halves are placed on the dehydrator trays. The trays have been sprayed with olive oil to keep the apricots from sticking. 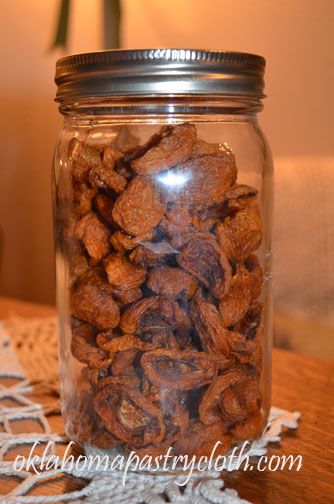 I store the dried apricots in quart jars that have been vacuum sealed with a FoodSaver.  |
|
| |
|
Oklahoma Pastry Cloth™ Company on Facebook
|
|
 |
|
|
|
Posts Tagged ‘dehydrated’
Dried Ears
Tuesday, July 31st, 2012
Processing Onions for Long-term Storage
Monday, June 13th, 2011
|
I love onions. Such a mundane little vegetable – but it has such a pleasant shape and flavor, especially the Vidalia variety. Georgia has a right to be proud of that little onion. There is no onion sweeter and you can eat it like an apple – if you like onion flavored apples, I guess! Personally, I think the onion is a necessity in cooking because it makes all the difference in the world…well…second only to tons of garlic. I bet you’d love to have an up close and personal conversation with us at the OPC™ digs, eh? Onions are one of the simplest veggies to put in a garden. Cheap too! A bundle of onions costs around $1.50 to $4 and offers you anywhere from 50 to 100 sets. I usually put out two or three bundles. Row furrows are dug, fertilizer is sprinkled down the center of the furrows and then chopped in and covered to make a raised row. I plant my onions using a stick in one hand to make a hole and then dropping an onion set with the other hand. I then go back and pull the dirt up around each set using both hands (yes, I wear gardening gloves) which also straightens the onions to standing. In my neck of the woods, I have to plant them deeper than usual because our soil is a sandy loam and dries out really fast in our stiff winds. Once the onions are established, I pull the dirt away from them to expose the top of the bulb. Turning the soil between rows can be done by using a hoe, a mantis or a tiller or mulch can be used as well. This year, we had a dickens of a time keeping a really weird grass in check. Hand weeding around each bulb was a not fun necessity, but this has been an unusual year. The only other maintenance that we perform on our growing onions is pinching off any seed heads if they form and a side dress of 10/20/10 fertilizer every three weeks if there has been much rain. Otherwse, a series of soaker hoses does the trick. The nice thing about onions is that you can pick them at any stage of the game. Small onions are great for salads and garnish as ‘green onions’. Medium sized onions are wonderful to throw in with green beans or pintos or they can be left to expand to slicing size.  At the later stage of growth, onions have the soil pulled away from the bulb to allow the bulb free room to grow.  Eventually, the green tops start to fall over.  After the tops fall over, the onions are left for about two weeks before pulling.  Onions are easy to pull out of the ground.  We use 5 gallon buckets to gather our onions. Makes for easy carrying.  I wash my onions a few at a time in a big stainless tub/bowl or in another large bucket. After cutting off green tops no closer than 1 1/2″ from the bulb, I submerge the bulbs in water and use my hand to wash them back and forth.  I separate out sizes of bulbs and freeze the smallest ones for seasoning beans, etc. or cut them up for dehydrating. These I prepare, after washing, by removing the roots, the stem and the outer skin.  The medium to large ones are left whole to cure on racks for use as fresh onions. The roots and the stem will dry up and will be clipped. These onions will stay fresh until as long as November or December, stored in a cool dark place.  The largest are sliced and frozen on cookie sheets covered with wax paper and will be put into freezer bags. These will be used for homemade onion rings, for cooking on the grill and for use in casseroles.  Onions for dehydrating are chopped by hand because the food processor makes the pieces too small. The chopped onion is spead out on dehydrator racks. I start the process outside because the smell is overpowering and keeps you from crying. 🙂 After about 6 hours, I move the dehydrator inside.  After drying about 15 to 18 hours, depending on the moisture content, these onions are packaged into jars. Here, I have dried some of both our yellow and white onions. Storage for these dried onions is years. They are wonderful for using in soups and stews but you can also use them in chicken or tuna salad or for seasoning a cooking hamburger by putting a tablespoon or two into a bowl, covering with water and then placing into the frig overnight. You will have rehydrated onions to use like fresh! That is actually what some restaurants do. |
|
Oklahoma Pastry Cloth™ Company on Facebook
|
 |
Dehydrating Series Pt II – Potatoes
Thursday, January 13th, 2011
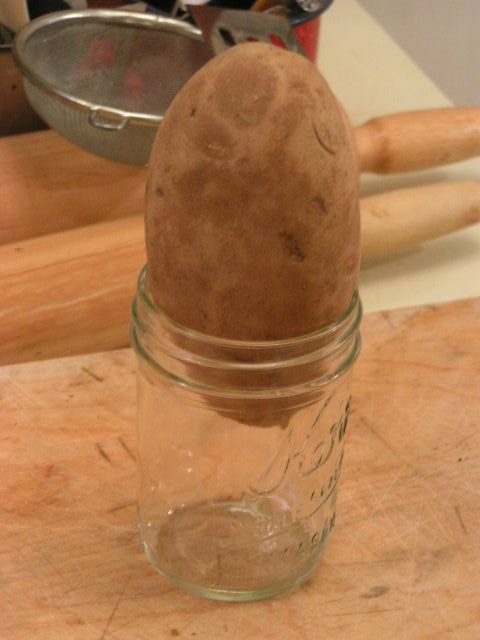 I’m going to get right to the point today as a continuation of Part I with photos of how to dry potatoes. Potatoes are one of my favorite garden items and I devote an entire bed to both red and Yukon Gold spuds. These “new” potatoes take a little longer to dry than the traditional Russetts which I am demonstrating here. Also, at the end is a recipe in which to use the sliced and dried potatoes. My next post will be about drying peppers and then you’ll get a recipe for broccoli cheese soup made from all of your dried veggies that will have your family licking the pot. So keep following! 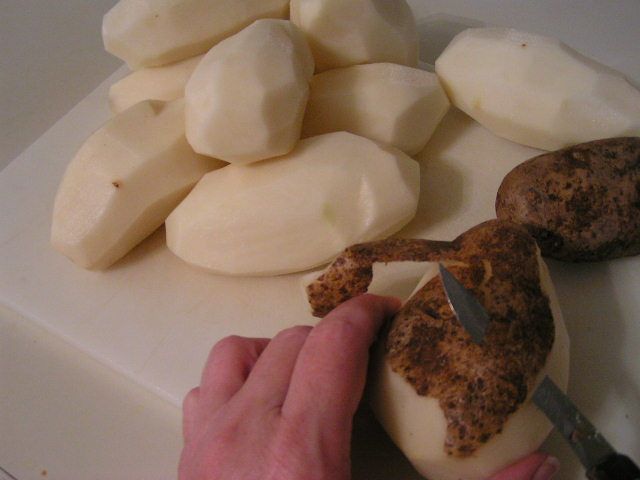 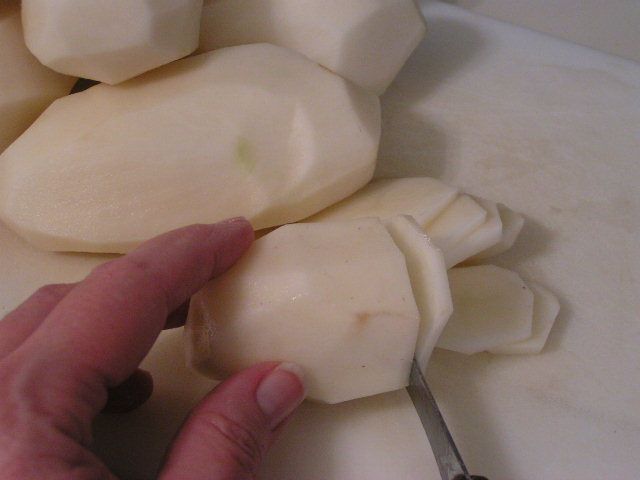 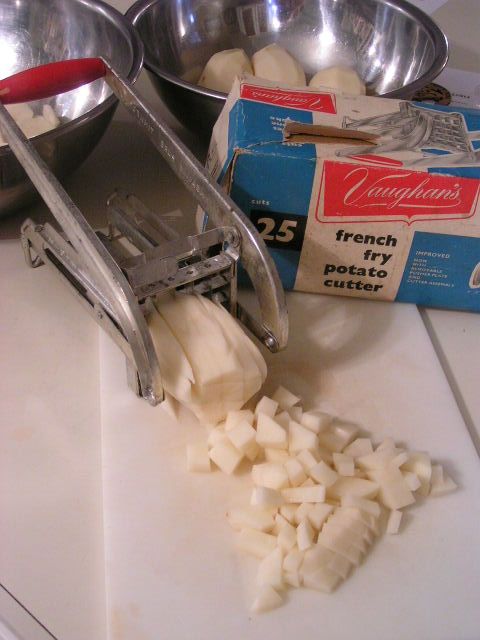 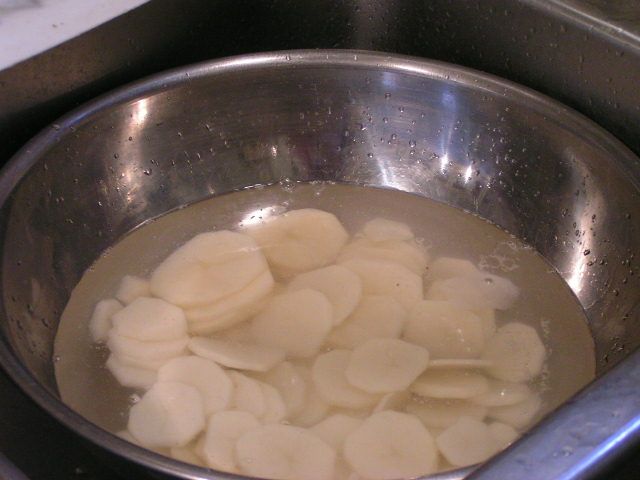 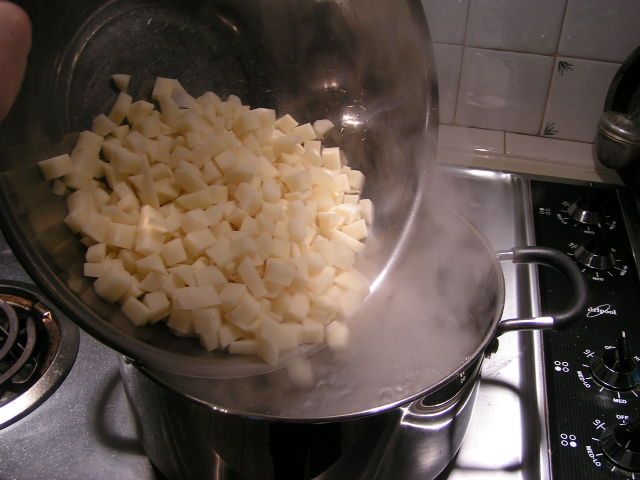 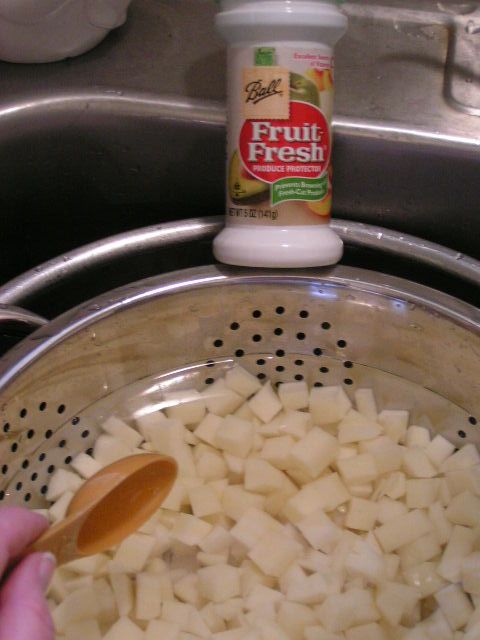 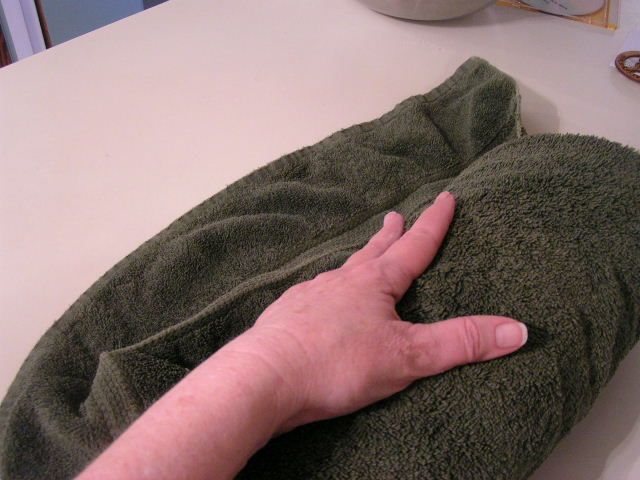 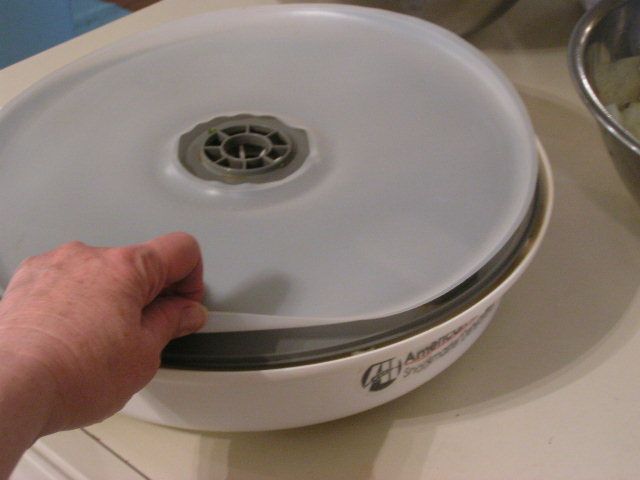 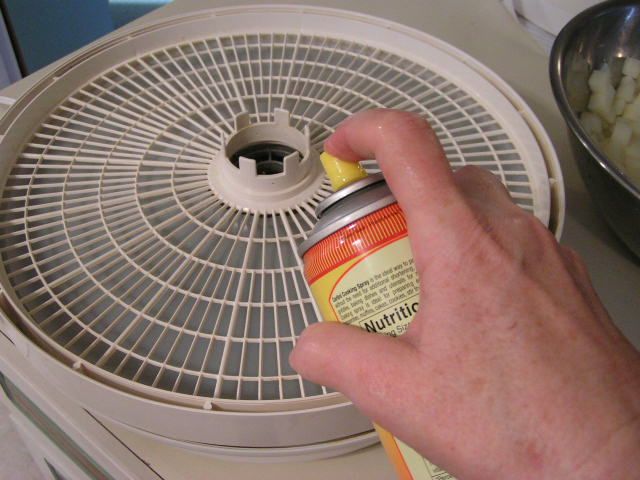 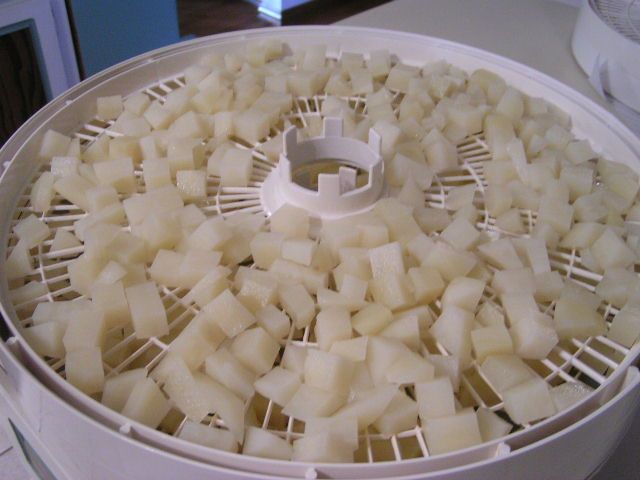 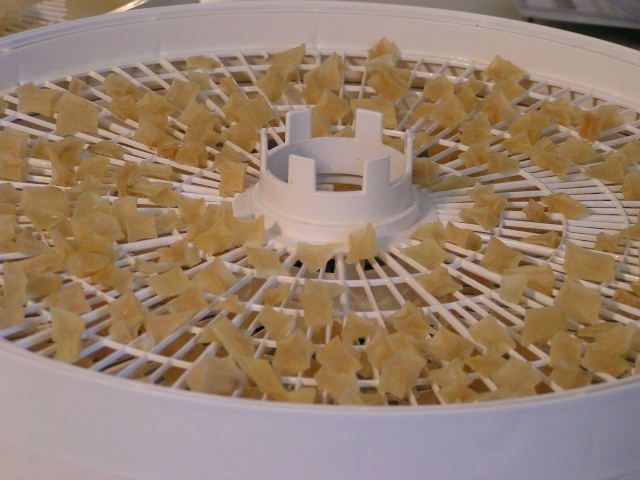 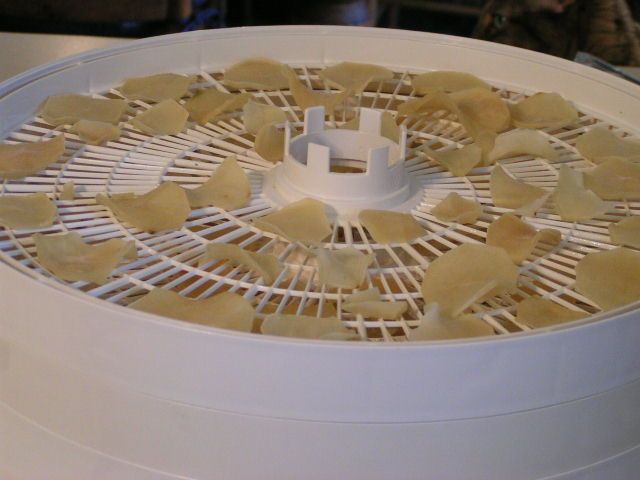 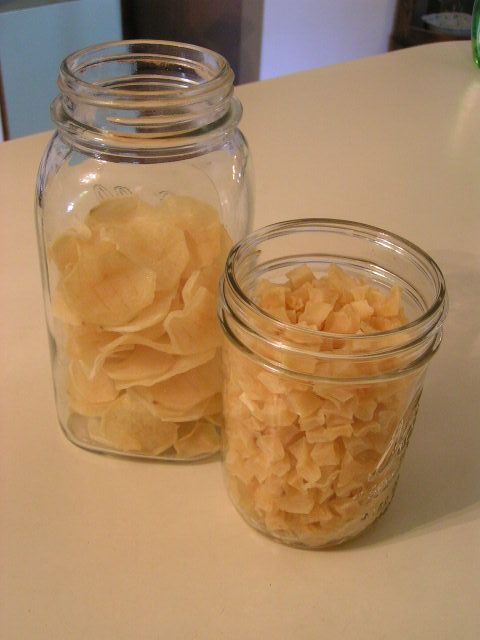 (Or as my friend Janis calls them, “Old Rotten Potatoes”) 1 pkg Shawnee Mills Country Gravy Mix 2 1/4 cups water OR make 2 cups of your own white sauce from your favorite recipe 1 cup dried sliced potatoes 1/2 medium onion 1/2 cup shredded cheddar cheese 2 tbsp Hormel Real Bacon Bits or 3 slices bacon chopped into pieces French’s French Fried Onions 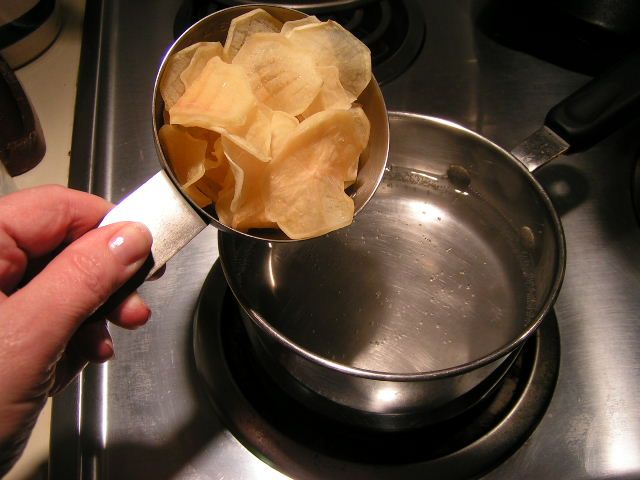 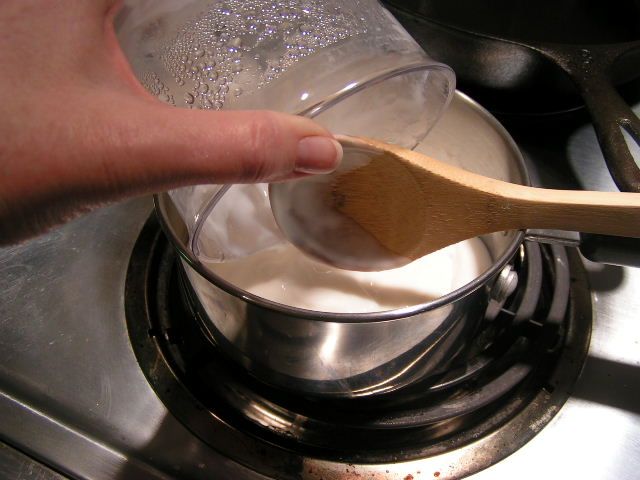 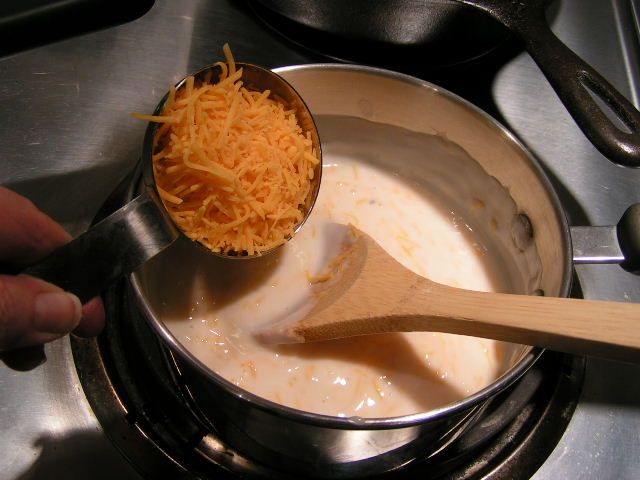 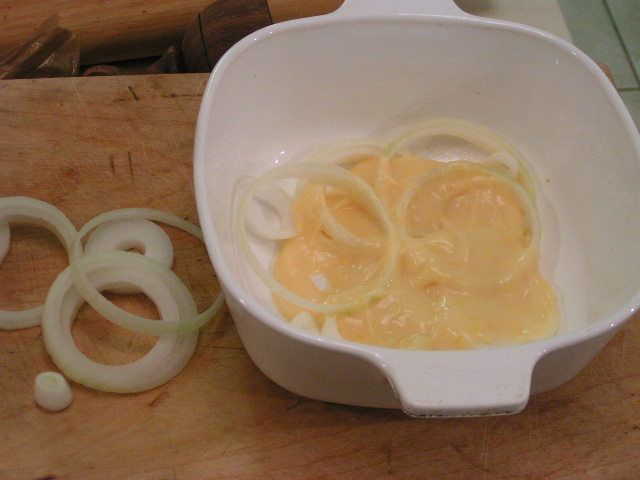 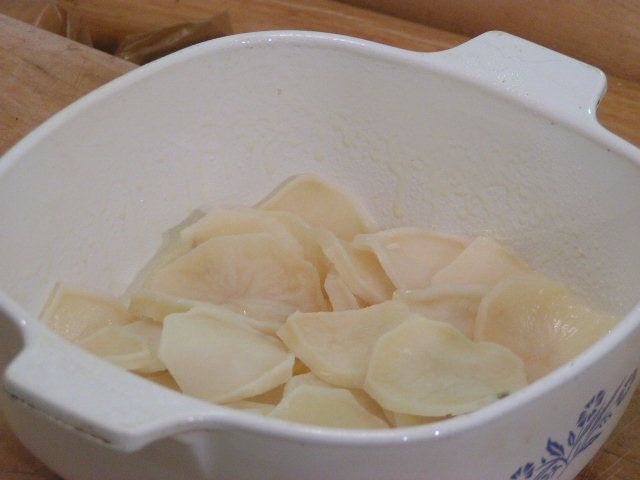 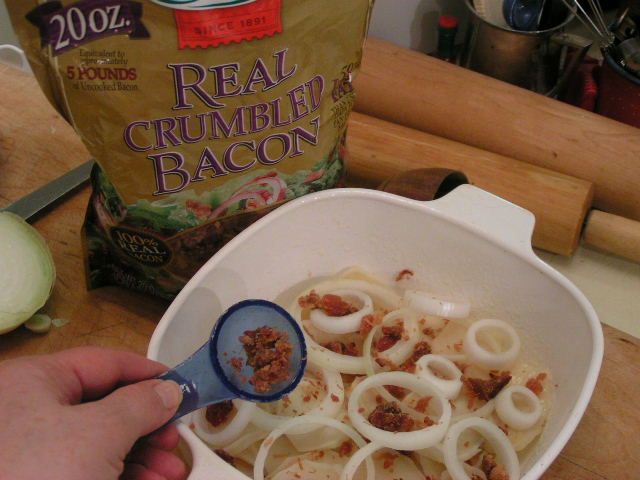 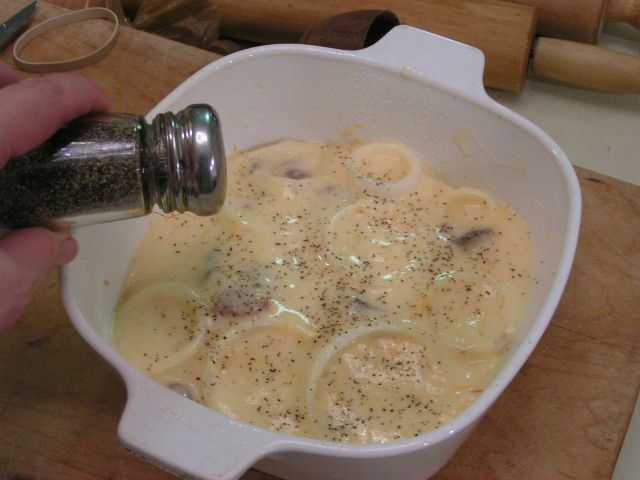 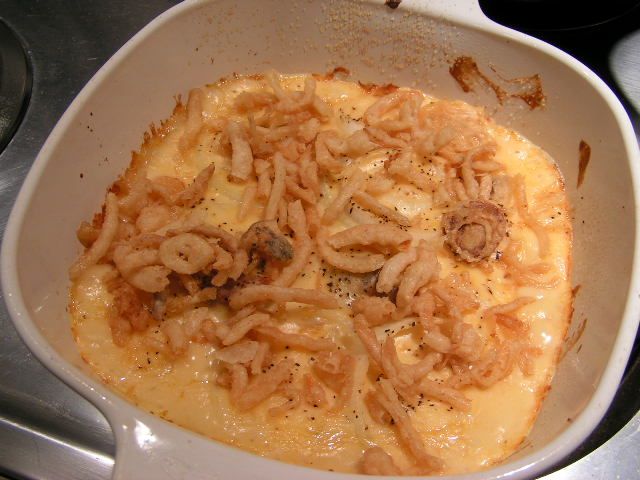 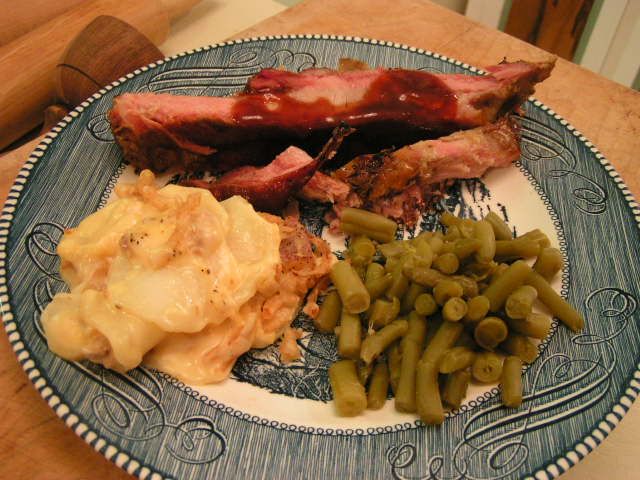 |
|
Oklahoma Pastry Cloth™ Company on Facebook
|
|
|

 Homestead Revival
 Paratus Familia
 Rural Revolution