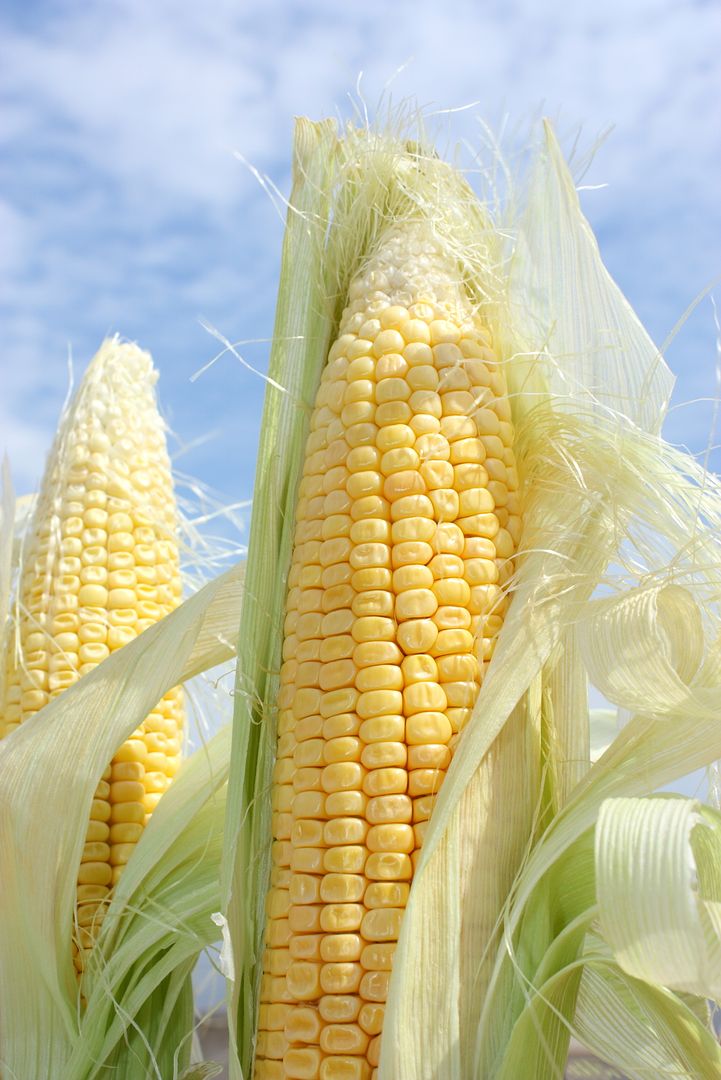
 It doesn’t take much to thrill me. I’m one of those people who appreciates the little thngs in life! For probably 12 years, I’ve been grinding wheat to make our breads and other flour products and it’s been grand. I started out with a hand grinder – a Lil Ark – that has large, stone burrs to grind the grain. You’ve heard of stone ground meal, I’m sure. Well, we don’t have a watermill, but we still have the stone ground flour! 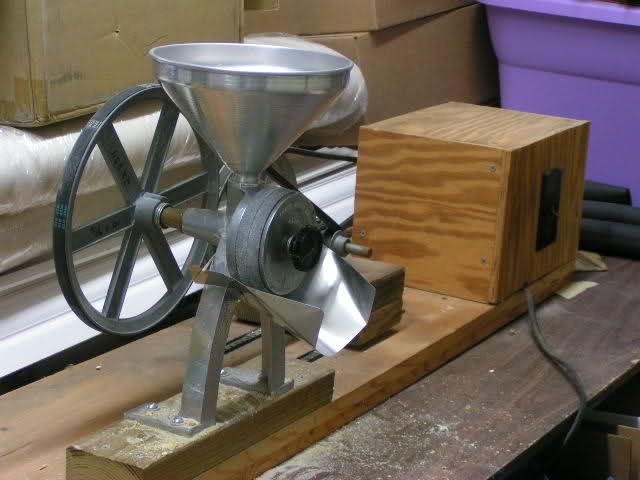 Mr. Fix-It, ever the mechanical genius, watched as I rotated ’round and ’round with the handle to the mill to get about 2 cups of flour for 20 minutes of work. Good exercise, but rather boring. He knew he could get a motor to do the work for me and so he promptly set out to do just that. Two fly-wheels, a couple of auto belts, some pine and an old trash compacter motor later and Mr. Fix-It had indeed fixed it! It isn’t much to look at, but by jove, it does an incredible job. It stays in the garage because it is huge and kinda messy. 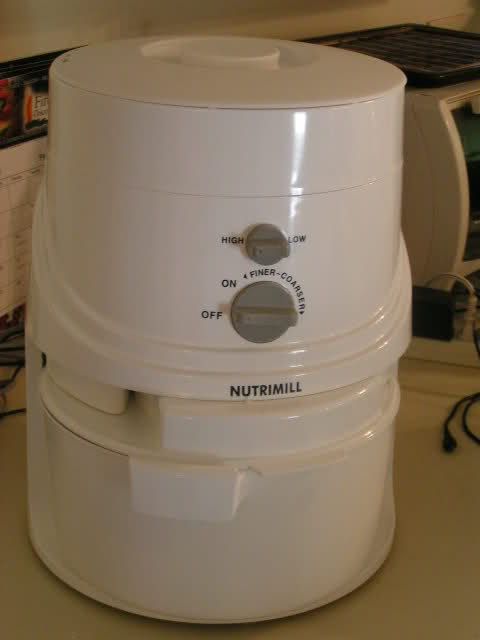 And then I graduated. I got a Nutrimill…the grinder of electric grinders. What took my Lil Ark an hour to accomplish, the Nutrimill does in 10 minutes. All the more flour to bake with, my dear! These grinders can be found at a number of places online and they are sooooo worth it. Some online sources include:
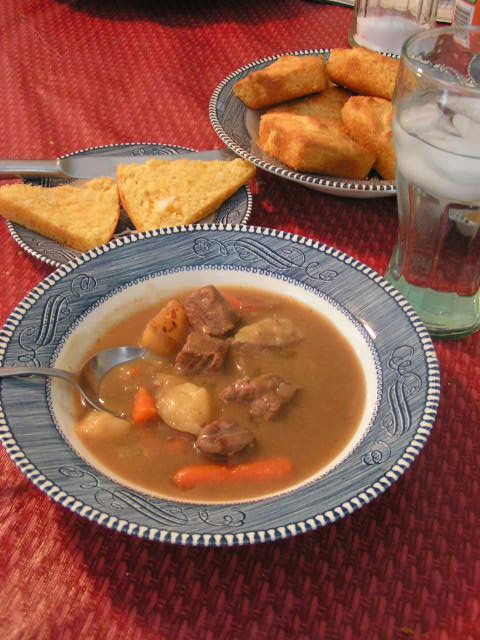
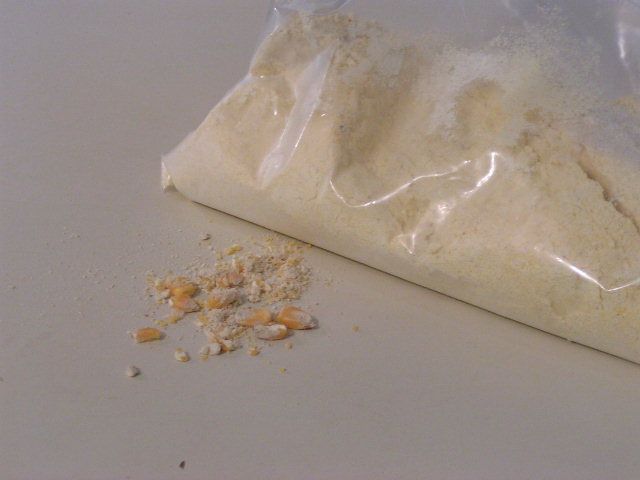 So all of this time, I’ve been making breads and such with wheat flour, but it never occurred to me to purchase corn and do my own cornmeal. Duh. Well, today ended that bit of ignorance. I purchased a sack of corn from Sonrise Whole Grains in Midwest City, and came home to experiment. I used both grinders and combined the results. The Nutrimill grinds the corn pretty fine, which is great for coating fish, while the Lil Ark makes a more grainy meal, which is good for cornbread. But together, it makes a-maize-ing cornbread. 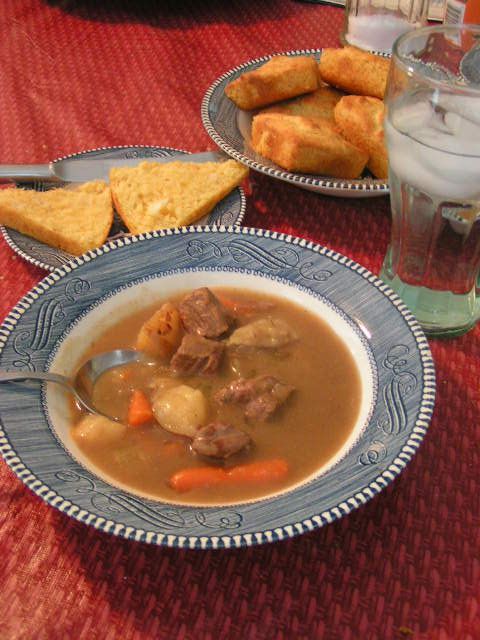 As a result, for dinner tonight, I made cornbread by my recipe posted previously and served that with some home canned beef stew. Now THAT’S livin’! |
|
Oklahoma Pastry Cloth™ Company on Facebook
|
 |
Posts Tagged ‘cornbread’
Grinding Corn
Friday, March 25th, 2011
Sweet Cornbread
Sunday, October 3rd, 2010
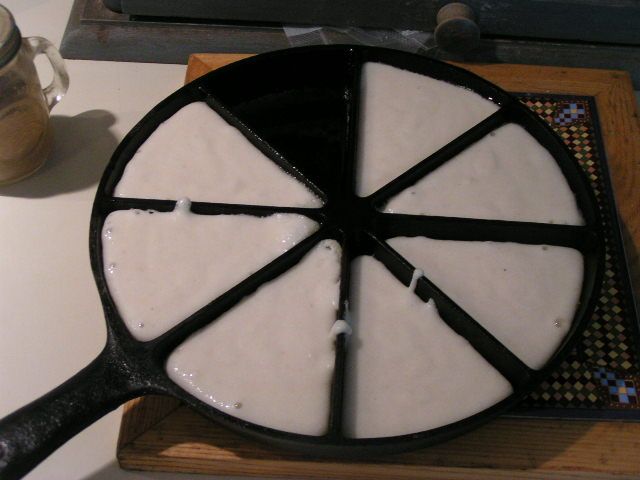
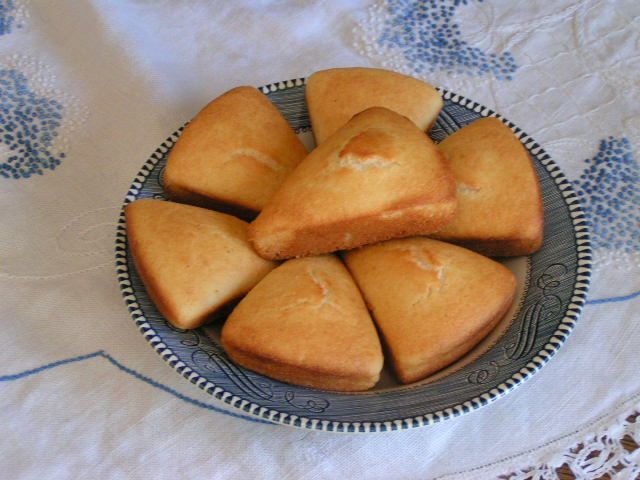 In answer to a request by reader, Marcie, here is my recipe for cornbread that I have used for years and years. I love it because it has just a tad bit of “sweet” to it, it is firm and is just tasty. The trick to it, though, is the pan I use. You can find these pans at hardware stores, Bass Pro Shop and I have even seen them at Walmart. A new skillet must be “seasoned” before use – wiped with a thick coat of cooking oil and baked upside down on a cookie sheet in a 350º preheated oven for 1 hour. This should be repeated often after cooking, until the surface becomes nonstick. If you want to go the “authentic” route, you can look in antique stores. I have two of these cornbread pans. One was my grandmother’s and the other was found at a junk shop. These cast iron skillets have dividers to make 8 pieces of cornbread. The secret to baking amazing cornbread in them is to put shortening in the bottom of each section and to place the pan in a 450º oven to melt the shortening. Have the cornbread batter ready when the skillet is removed from the oven and then pour the battle into the piping hot pan to fill each section 1/2 to 2/3 full. The batter will sizzle and bubble. Of course, you can do this same process with a regular cast iron skillet, and then slice your bread yourself. Melted shortening in the cast iron skillet also helps to keep it seasoned for the next batch. To wash the pan, just wipe out with a paper towel or damp cloth and let air dry. Cornbread Recipe 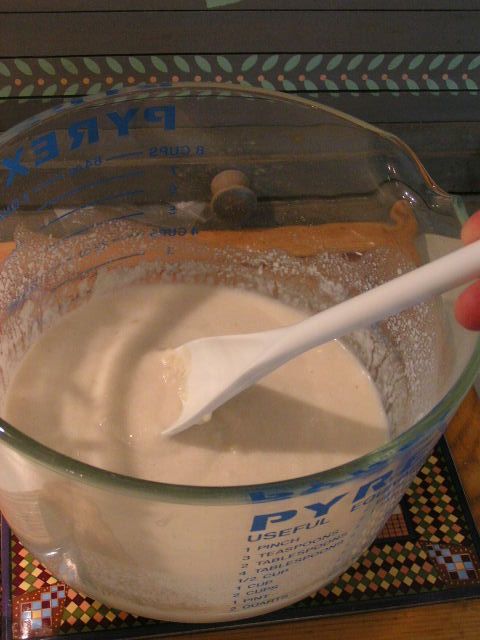 |
 |
 Happy Cooking! MB Oklahoma Pastry Cloth™ Company on Facebook
|

 Homestead Revival
 Paratus Familia
 Rural Revolution