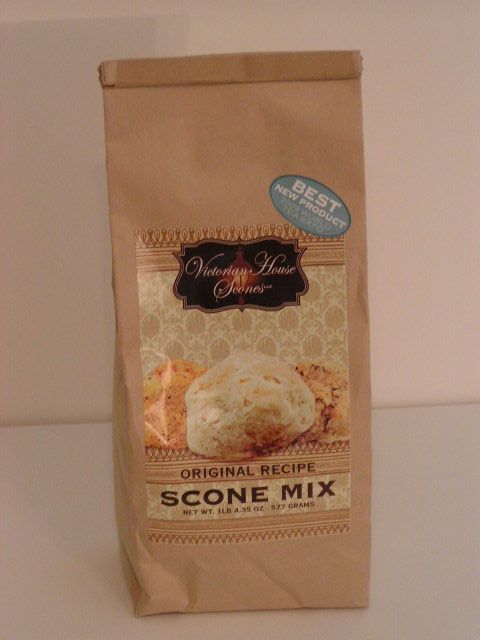
  Yep, that’s what I tell anybody who says to me, “A scone? What’s a scone??” when I am showing off the three scones mixes that I carry at the shopping page. The Victorian House Original Recipe Scones are especially good because you can add anything you like to them like 1/2 cup of white chocolate and 1/3 cup of Craisins to create “addiction from a bag”! They are handy because you can make them ahead of time and either freeze them raw for baking later, or keep them in the frig raw for baking the next day. And one bag makes 16 big scones – a bonus! Packaged scones are a great thing to have on hand for a quick tea with the neighbor, a relaxing treat for your afternoon or a wonderful “thank you” gift in a pinch. The Victorian House Scones are an authentic Scottish scone, made with buttermilk. But for those who like to say, “I make MY scones from scratch” – you know, the: “I grew the wheat, dried the wheat, ground the wheat, milked the cow, churned the butter, separated the cream AND got the eggs from our chickens” kinda gals – ok, so you got the ingredients at the store and put them into the mixer! Whatever – it’s homemade! – here is a recipe for you. These scones are fluffy and light and just keep you wanting more. This recipe is my own recipe that I have developed over many, many attempts at scones. And yes, if I should ever decide to market the mix, I WILL have to kill you. 🙂 This recipe uses the dried orange zest from a couple of posts ago. And these are the English type of scone. So here you go:
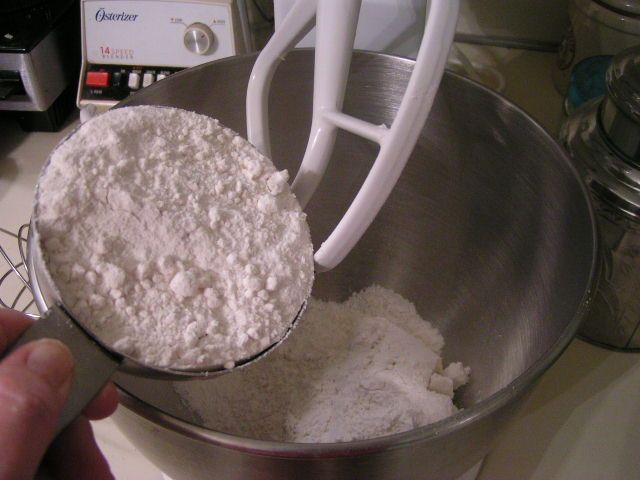 Add flour to mixing bowl 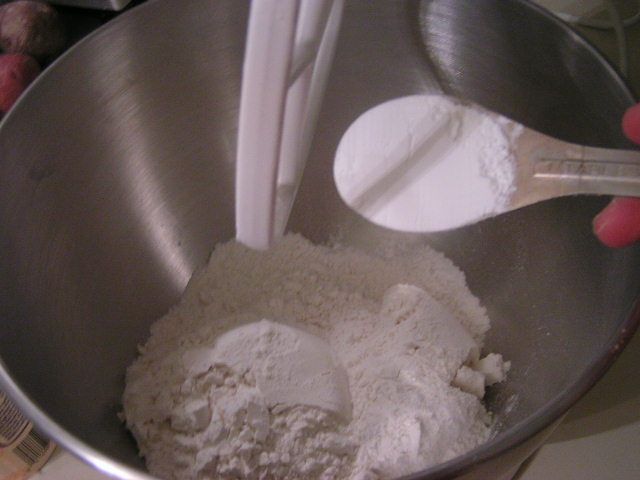 Add Baking Powder 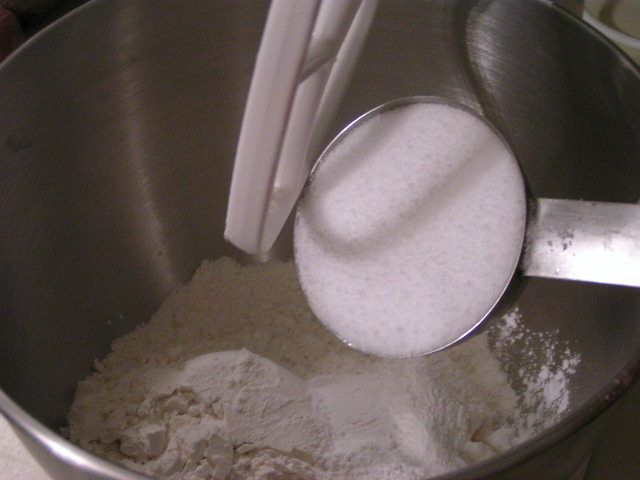 Add sugar or Splenda. If using Splenda add powdered milk. 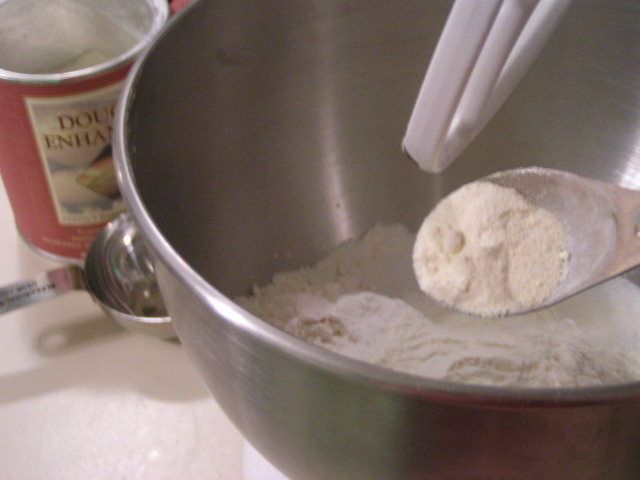 Add dough enhancer – this is optional 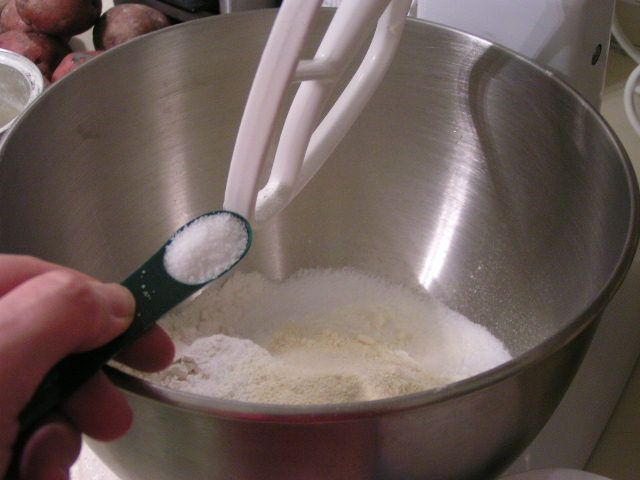 Add salt 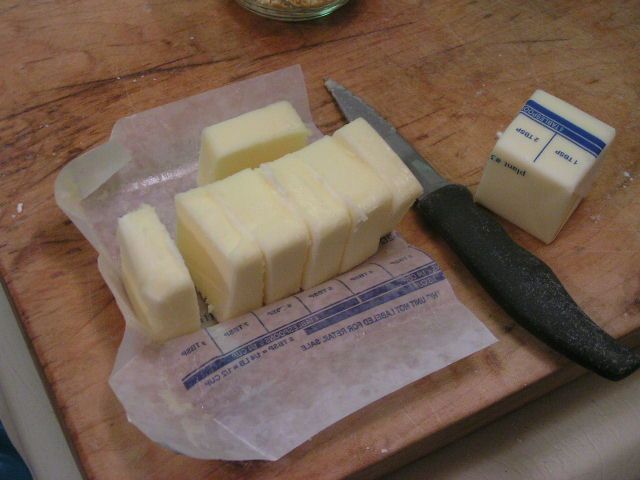 Cut butter into pieces 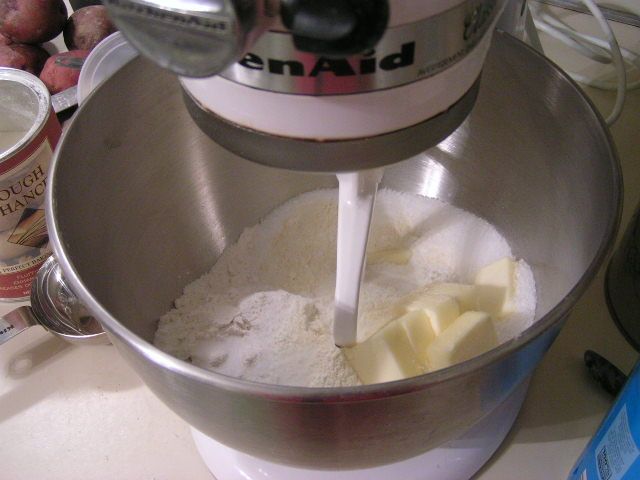 Using mixer or dough blender, cut butter into flour until the mix resembles small peas. 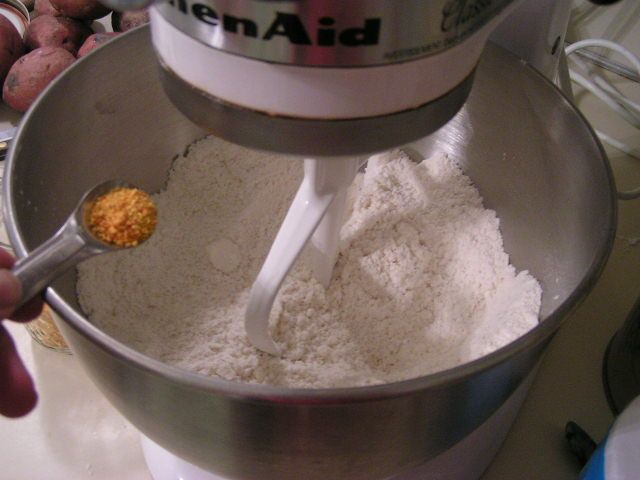 Add orange zest. 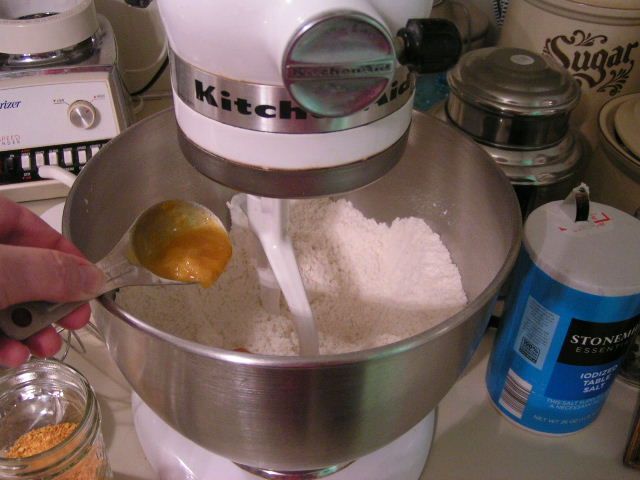 Add 2 -3 tbsp frozen orange juice concentrate to the mix depending on how much of an orange flavor you prefer. Stir in 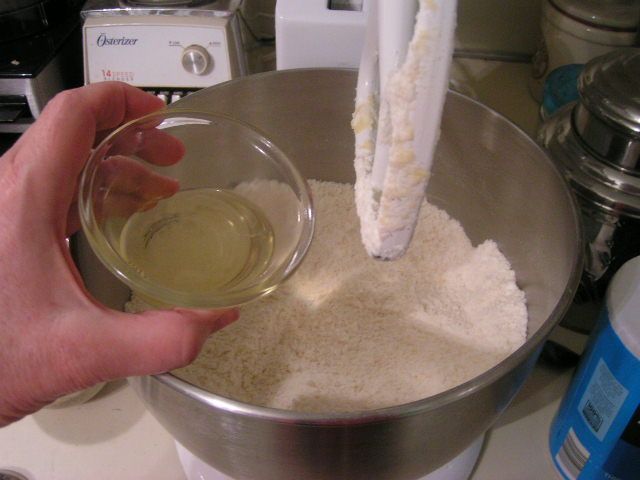 Add egg white and stir (you can use a whole egg if using Splenda for more moistness) 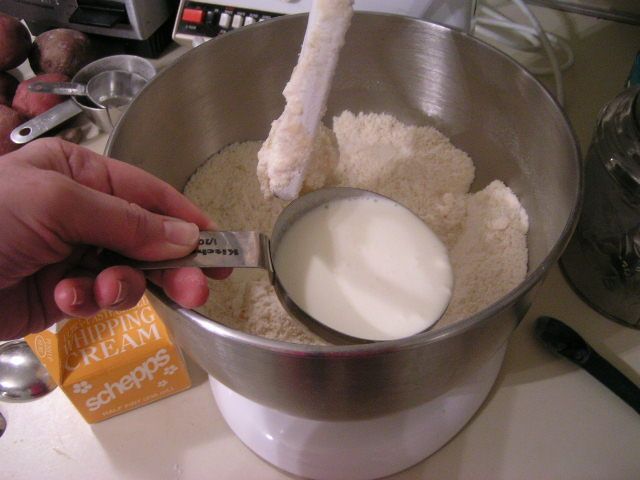 Add cream 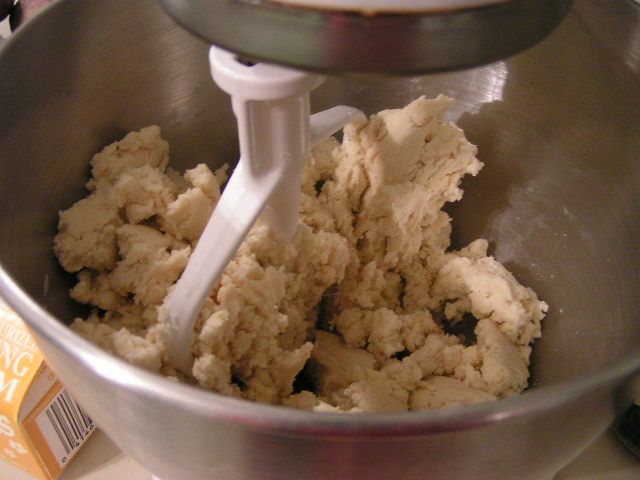 Mix until dough just holds together 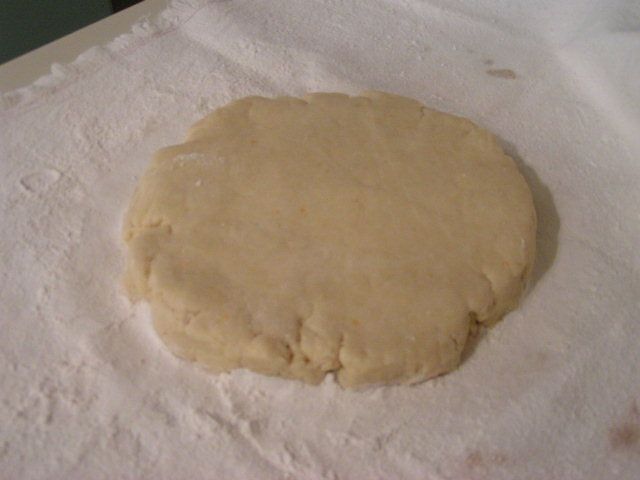 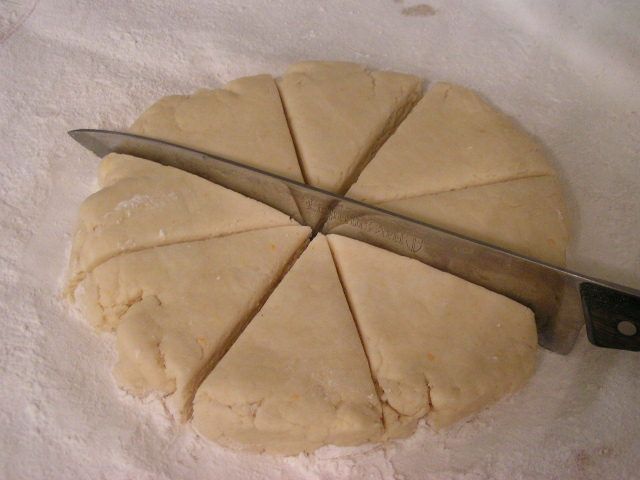 Place dough on a floured surface like the The Oklahoma Pastry Cloth™. Pat the dough out into an 8″ circle and cut into 8 triangles 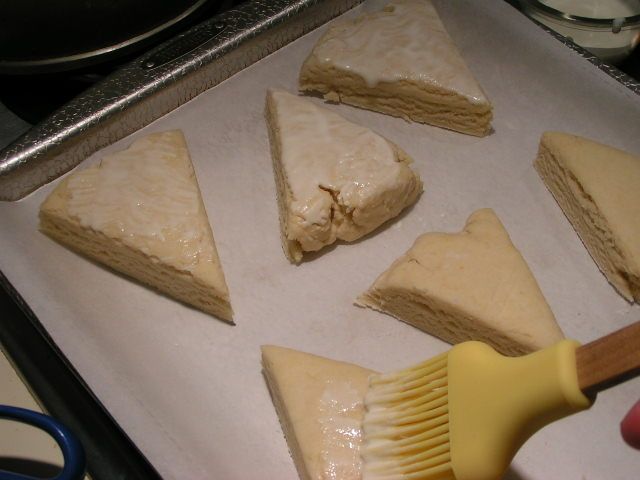 Place scones on a cookie sheet that has been lined with parchment paper and brush with a mixture of the reserved egg yolk and 3 tbsp cream. 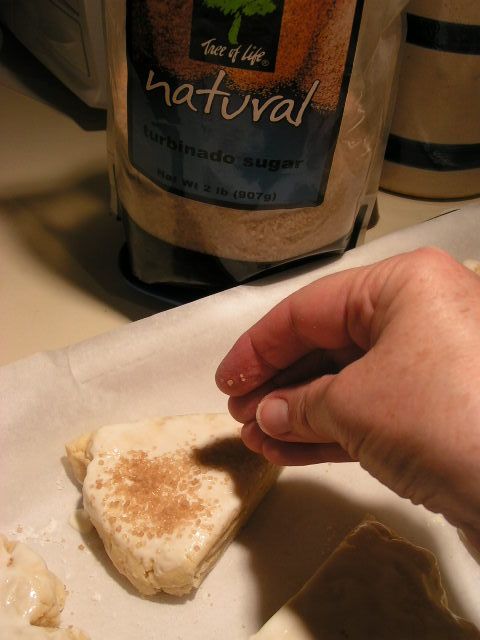 Sprinkle with raw sugar. Bake for 15 – 20 minutes depending on how fast your oven is. You want them to be golden brown. If you would like, dip the tops of the freshly baked scones in the following icing:
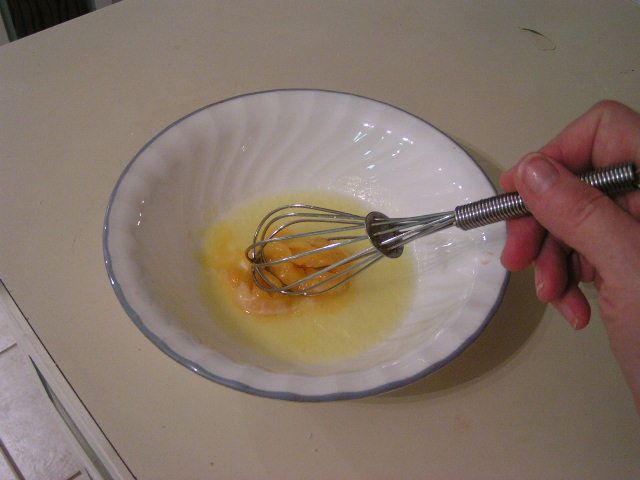 Stir orange juice concentrate into melted butter 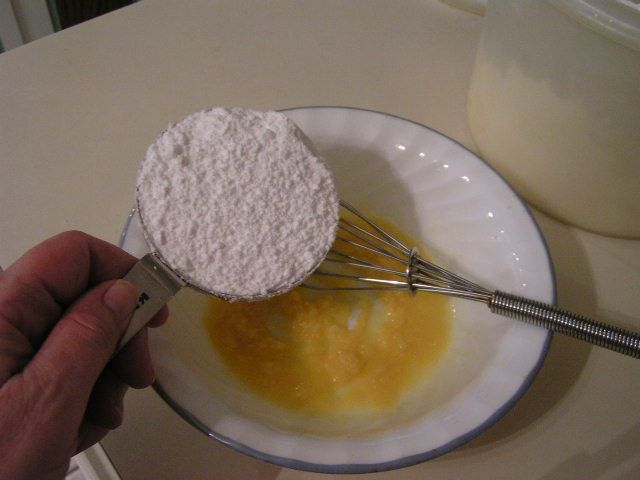 Add powdered sugar and stir. Add milk and continue stirring until smooth. Add more powdered sugar if it is too runny. 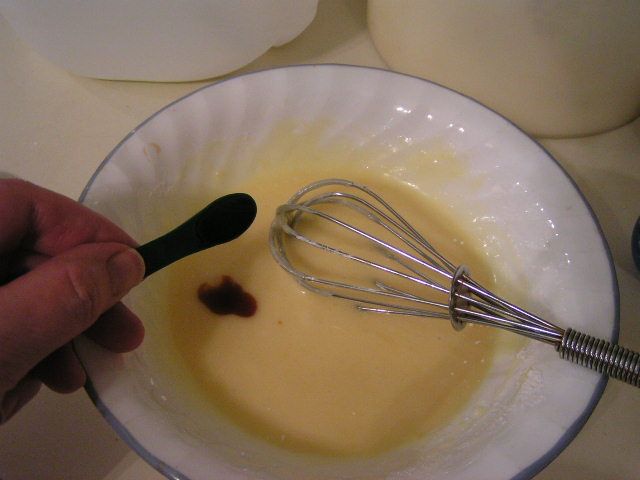 Add vanilla 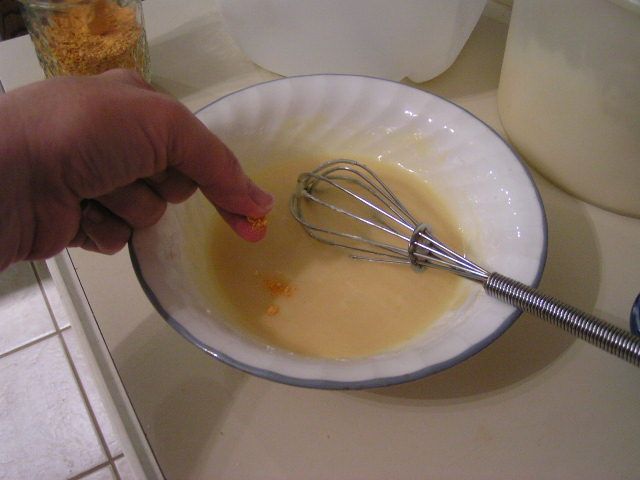 Add pinch of orange zest. Stir and then dip the tops of the scones into the icing. 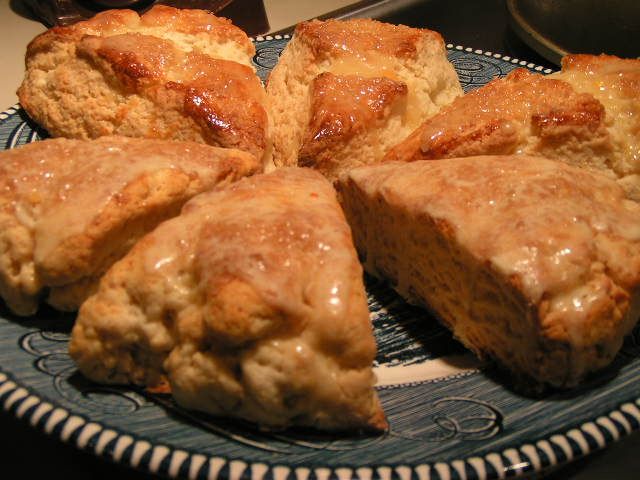  Serve warm or cold. The scones in the forefront are the ones made with Splenda. They are a little heavier and hold their shape. The ones in the background are made with sugar and are lighter and more puffy. Serve with tea and lemon curd and you are set!! |
|
Oklahoma Pastry Cloth™ Company on Facebook
|
 |
Posts Tagged ‘Butter’
Orange Scone Recipe
Thursday, April 21st, 2011
Canning Butter
Thursday, February 24th, 2011
|
I have a question. If milk is nature’s most perfect food, as we ALL learned in our science classes many years ago and have heard on many a dairy commercial, why isn’t butter perfect too? Why has butter gotten such a bad rap when it is simply the richest part of the milk that has been whipped to a frenzy? All I know is that butter is all-natural and has to be a whole lot better for you than the fake spreads that marketers have tried to pawn off on us as the nutritionally better alternative. We humans seem to always go down the road of trying to improve on what comes naturally and then wind up right back where we started, concluding that the original product isn’t so bad after all.  I have admitted my affinity for butter in past posts but I am in no way an addict to the stuff. Really. I can quit using it anytime. Really. I use it in moderation mixed with olive oil and am known to spread it sparingly on a slice of fresh homemade bread. Really. But there is simply no substitute for the stuff when it comes to sauces, cajun cuisine and toast.  So did you hear about the solar flares that scientists are afraid are going to destroy the earth? Well, not destroy exactly…just leave us in an electronic lurch which would pretty well destroy the majority of us who can’t live without a cell phone, computer or electric toothbrush. How in the world can I keep my precious butter from spoiling if our refrigerators aren’t running? Well, I can it, silly! I gathered all of the info I could from several sources on the internet and have started canning part of my butter when I find it on sale. The Indians in India have been canning clarified butter, called ghee, for ages and ages. I like to can my butter whole. Take a peek at what is working for me: 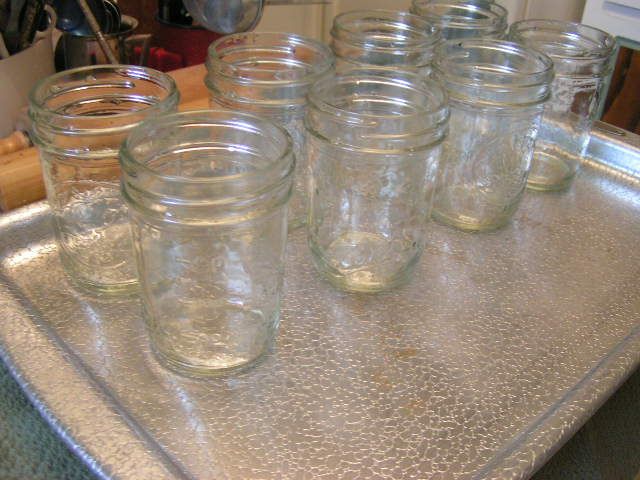 Wash jars in hot soapy water and boil in a large pot or wash on the sterilize cycle in the dishwasher. Place the jars on a cookie sheet. Here I am using 8 oz jars which hold about 1 1/3 sticks of butter. In this run, I used 9 – 8 oz jars for 12 sticks of butter or 3 lbs. Put the cookie sheet of jars into a 250º oven and heat for 20 minutes. 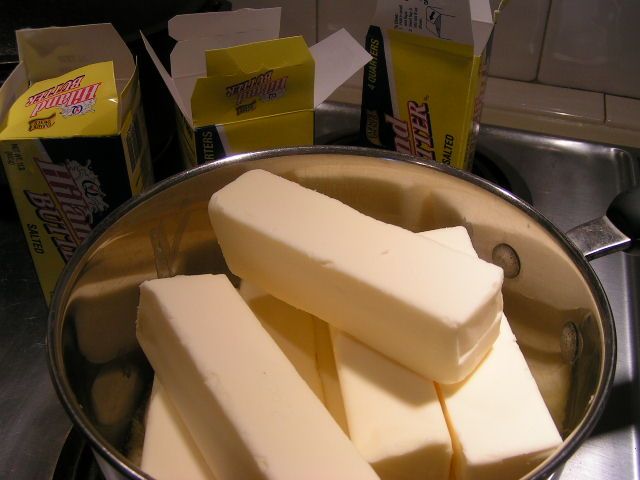 Place sticks of salted butter in a large pan. I do about three pounds at a time simply for ease. The larger pots get too heavy to manipulate and butter gets everywhere. 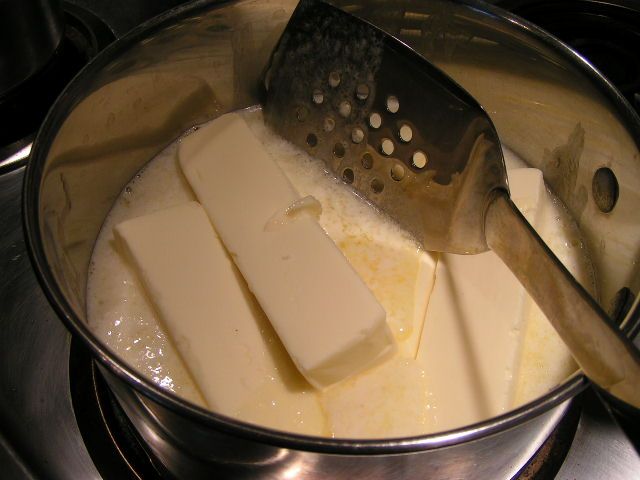 Slowly melt the butter on medium heat, stirring constantly with a metal spatula to keep from scorching on the bottom. A spatula with holes is ideal because the melted butter is pushed through the holes during stirring and helps to keep it uniform. 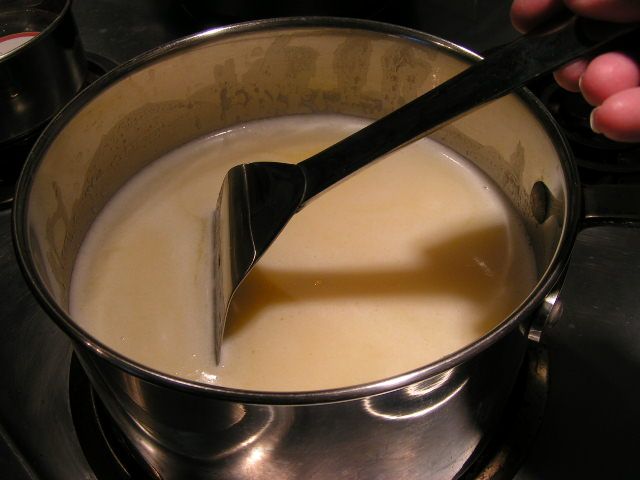 When the butter is totally melted but not quite boiling, continue to stir and allow to simmer for 10 minutes. A thick, white foam will appear. 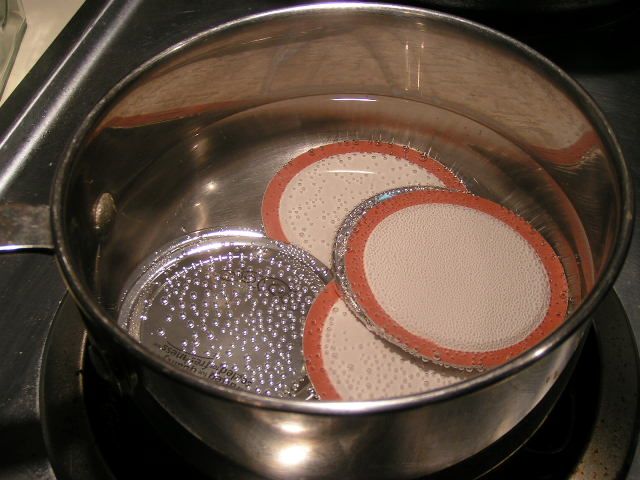 While melting the butter, place lids in a pot of water and bring to a near boil to prepare lids. Turn heat down to keep lids warm. 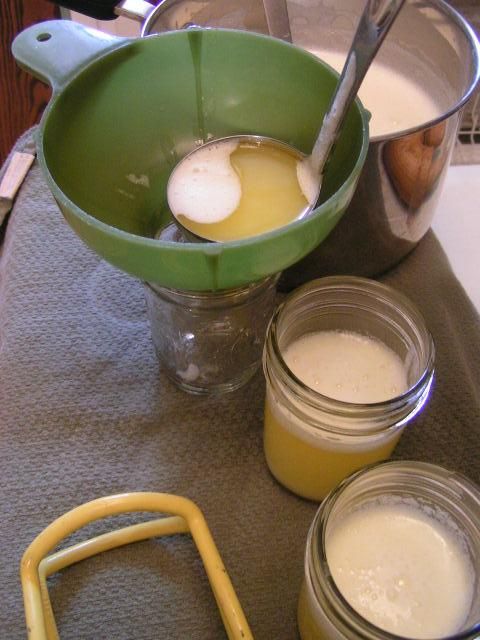 Remove jars from oven and immediately ladel butter into the jars, using a canning funnel. Be sure and stir the butter around and dip deep, pulling up, in order to keep the butter uniform, as it separates. Fill to leave a 3/4″ head space. 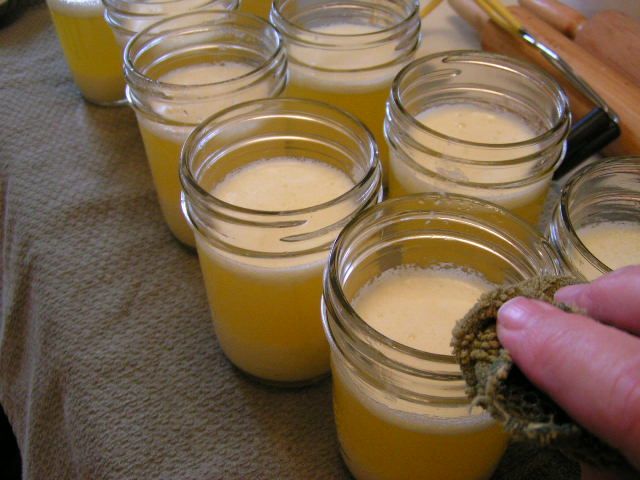 Carefully wipe the edges of the jars with a damp cloth to remove any butter. Butter on the rims will cause the jars not to seal. 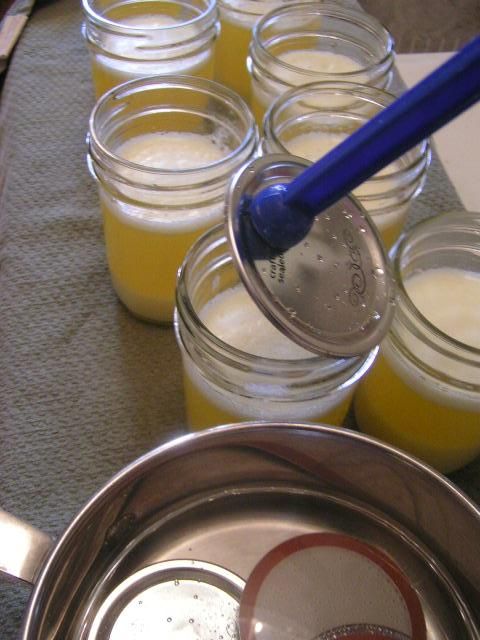 Place the lids on the jars and attach rings, tightening slightly. Place jars into a waterbath canner that has water already heated and enough to cover the jars 1″. The water needs to be heated because the jars of butter are hot and will crack in cool water. As soon as water begins to slowly boil, set timer for 15 minutes. 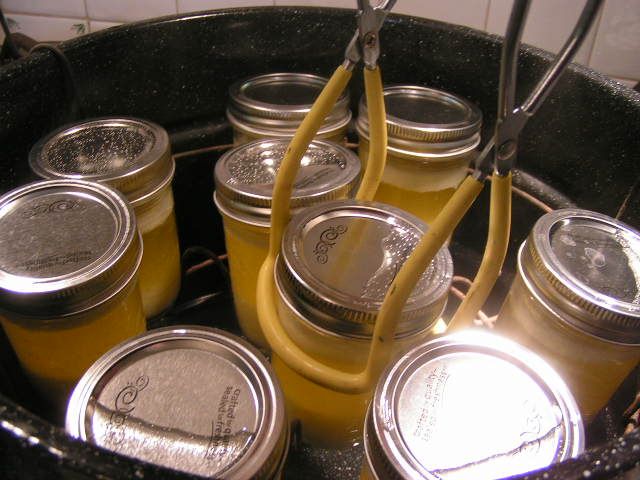 When jars have been processed for 15 minutes, turn off heat and allow to cool down in the water for another 10 minutes. Then, lift the rack to top of canner and remove jars with canning tongs. 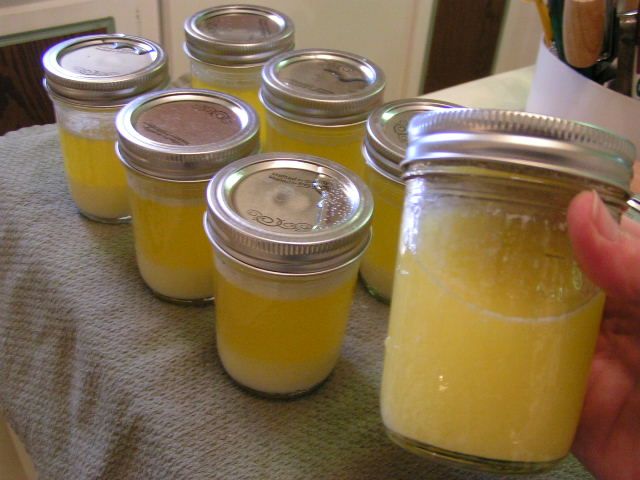 When the jars are cool enough to handle, now comes the tedious part. Every few minutes shake the jars up and down in order to make the butter uniform. If you notice in this photo, the jars to the left have sediment on the bottom and foam on the top. Shaking incorporates this into the clarified portion. Go about your business, but about every 5 minutes, stop and shake the jars. As they cool, they will stay more and more uniform. I set a timer to remind myself so that I can do clean-up. 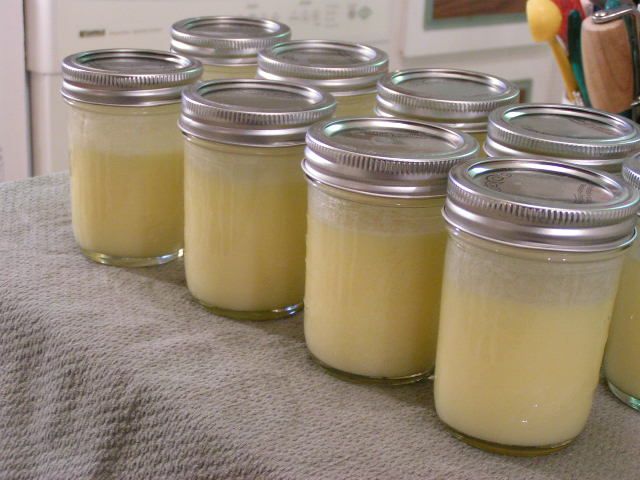 This butter is totally cooled and ready to store in the pantry. Aren’t they pretty? I read one homesteader’s take on canning butter and she said that they actually opened some from 1999 and it was still good. Don’t think I would keep it THAT long, but it wouldn’t matter because it wouldn’t last that long around here anyway!! 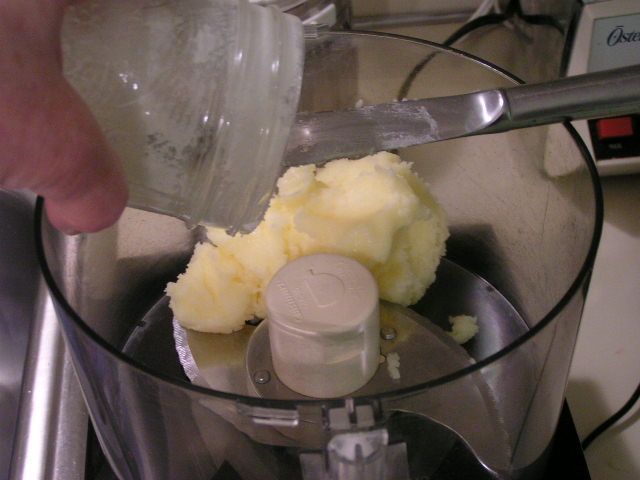 Canned butter is not quite as smooth as fresh butter, but if you are wanting a smooth, healthy spread, you can make the same recipe posted earlier with olive oil or canola oil. Just scrape butter from an 8 oz jar into the food processor or blender. 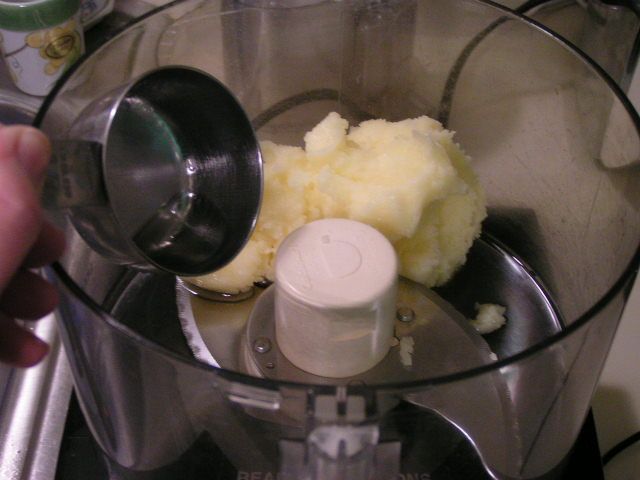 Add 1/3 cup oil. If you have canned your butter in larger jars, adjust amounts of oil. For example, a 1 pt jar of butter would require 2/3 cups of oil. 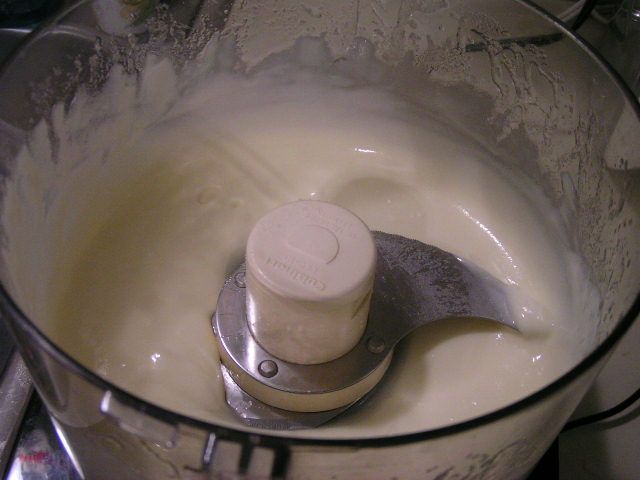 Process until smooth 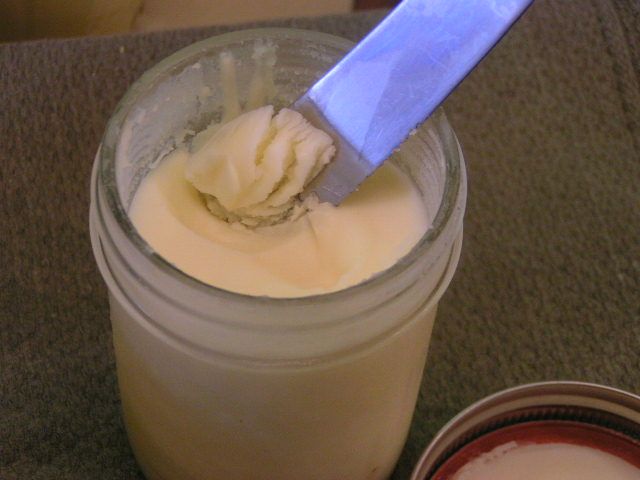 Pour back into jar and allow to harden in the frig. It will go back to the consistency of smooth, spreadable butter. Pass the Lobster, please!! |
|
Oklahoma Pastry Cloth™ Company on Facebook
|

 Homestead Revival
 Paratus Familia
 Rural Revolution