 Last week, I shared with you the fact that, though one can think that one has all things under control, the reality usually rears its ugly head and one finds out that one has NOTHING under control! My dad used to tell about a professor at the University of Kentucky, back in the 1950s, who used to quip that as soon as you think you have control over anything, just take a big rock, hold it over your foot, drop it and then WILL it to stop. That will cure you of that illusion. BUT….I also have been taught to make lemonade out of lemons, or in this case, ham and egg tostadas out of ham that I didn’t get to serve! We love these breakfast yummies and the ham that I had to can after the disaster at our son’s rehearsal dinner has come in really handy! They are wonderful for a brunch as well and look so pretty on the plate. 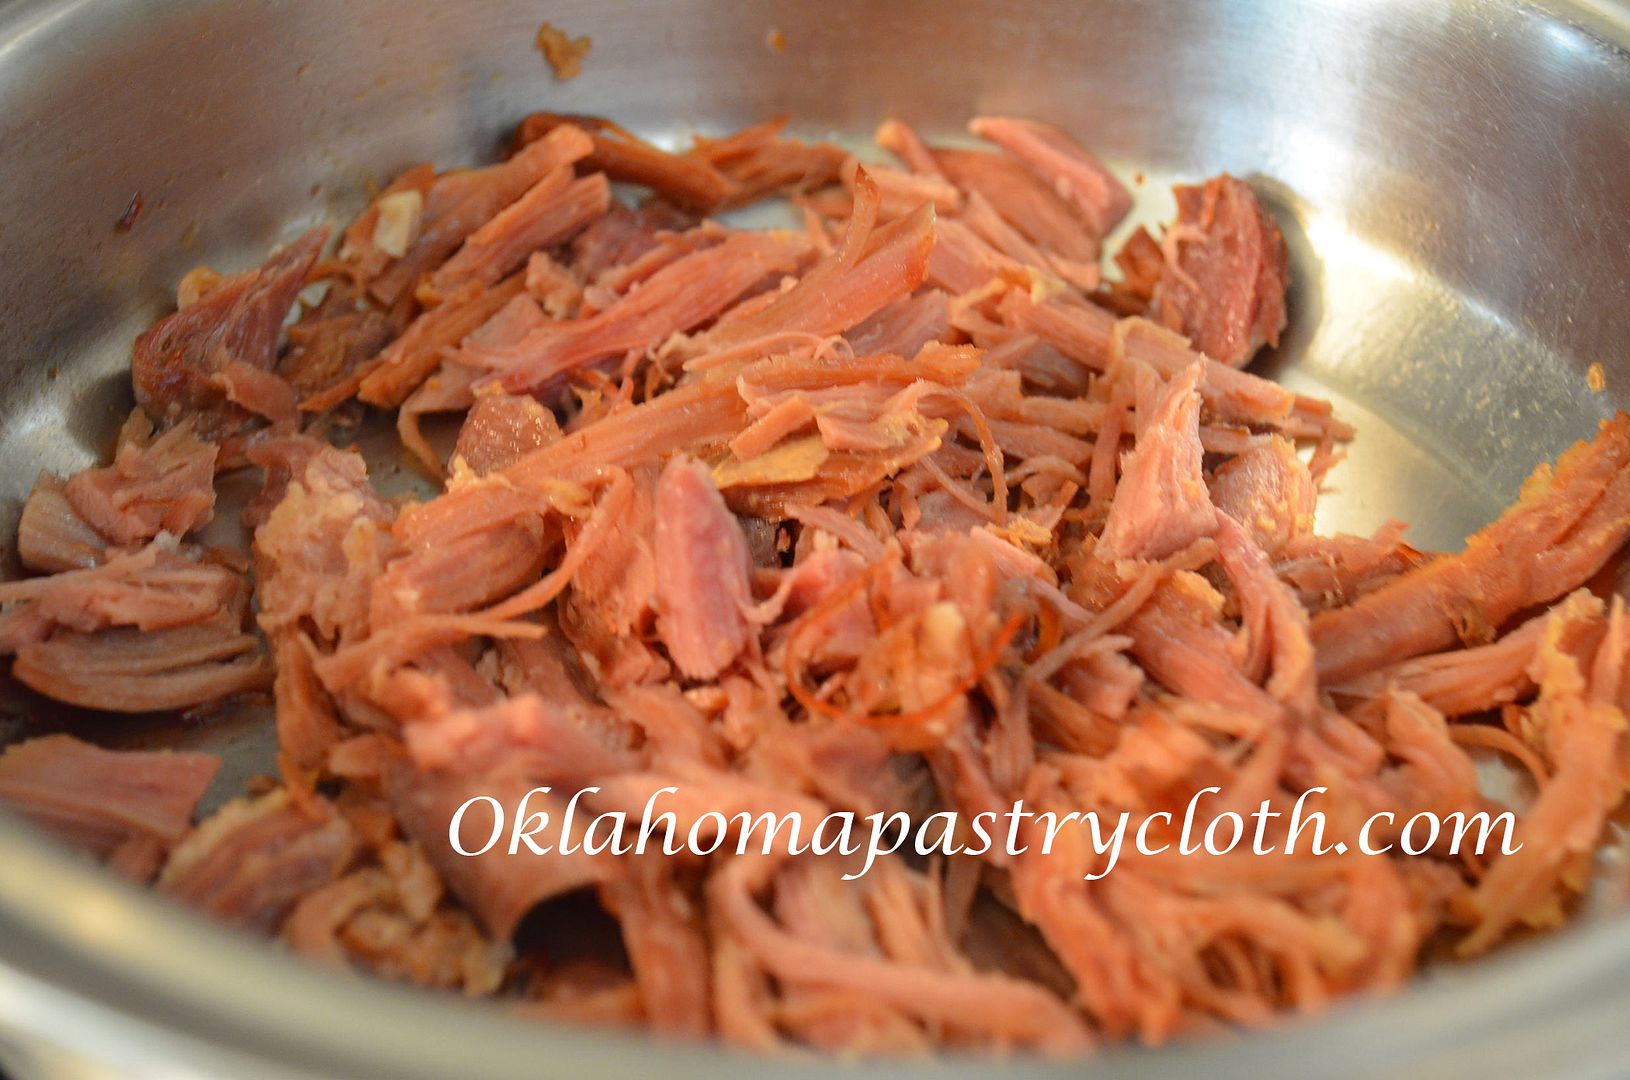 Home canned ham is wonderful for this breakfast treat, but you can used any kind of ham you like. It just needs to be shredded or chopped. Toss 1/2 cup of ham, per person, into a hot skillet that has been wiped or sprayed with a little olive oil and toss until thoroughly heated. Remove ham to a bowl or plate and place in a slightly warmed oven.  Ingredients: 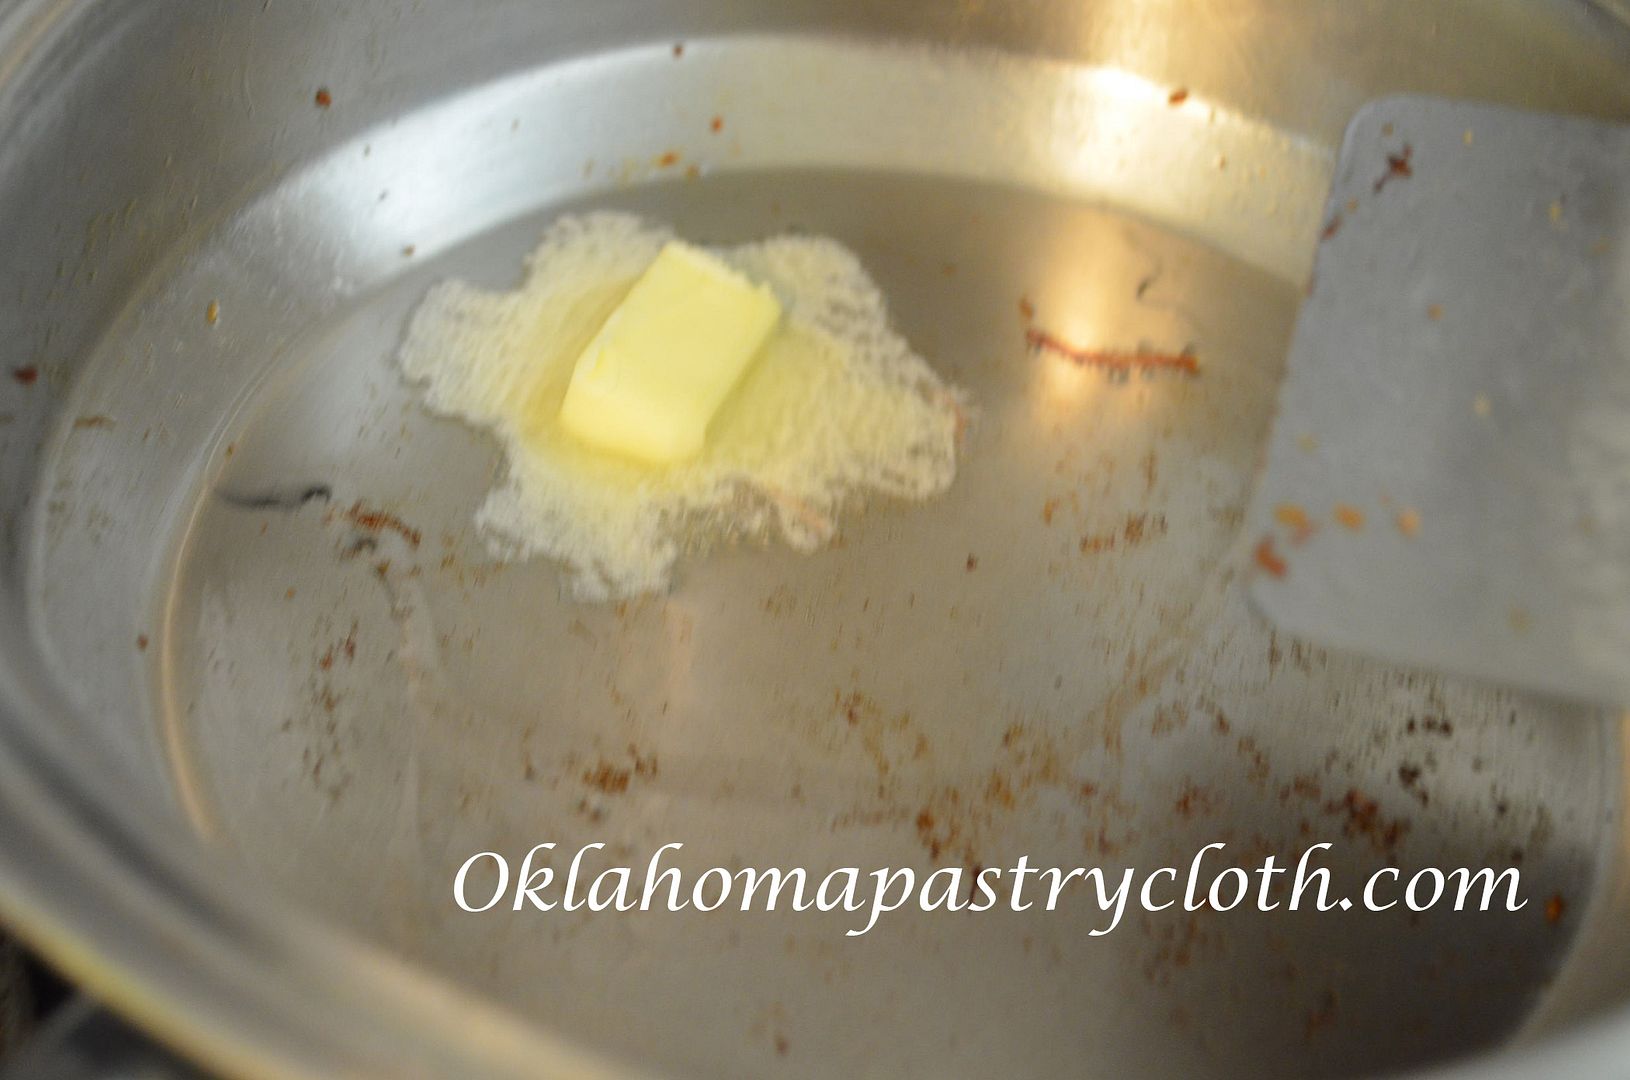 Add a tbsp. of butter and a tbsp. of olive oil to the skillet and heat until butter is melted. 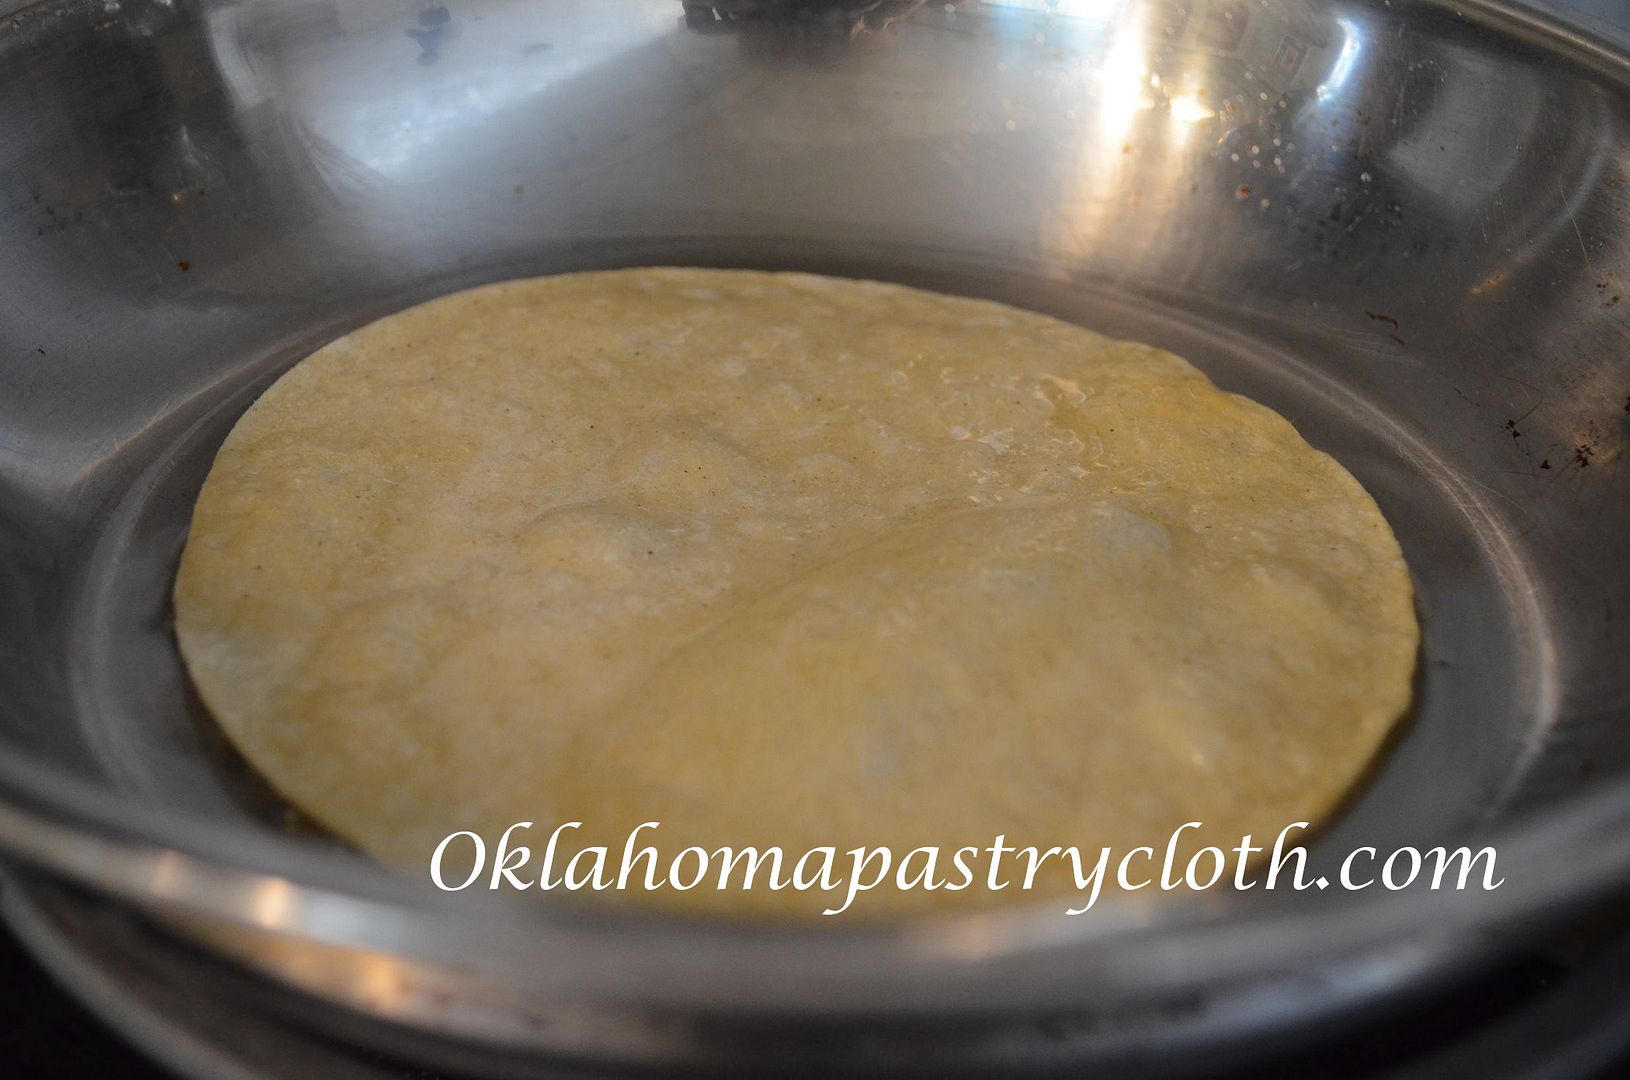 Prepare one corn tortilla per person and place into hot oil for about 30 seconds. Quickly flip and allow to cook until puffy places start appearing. Pick up with tongs and transfer to a paper towel and pat to remove excess oil. Repeat until all tortillas are cooked. You want the tortillas to be tender, not crispy. Add more oil and butter as needed. Stack on a plate and place into the warmed oven as well. 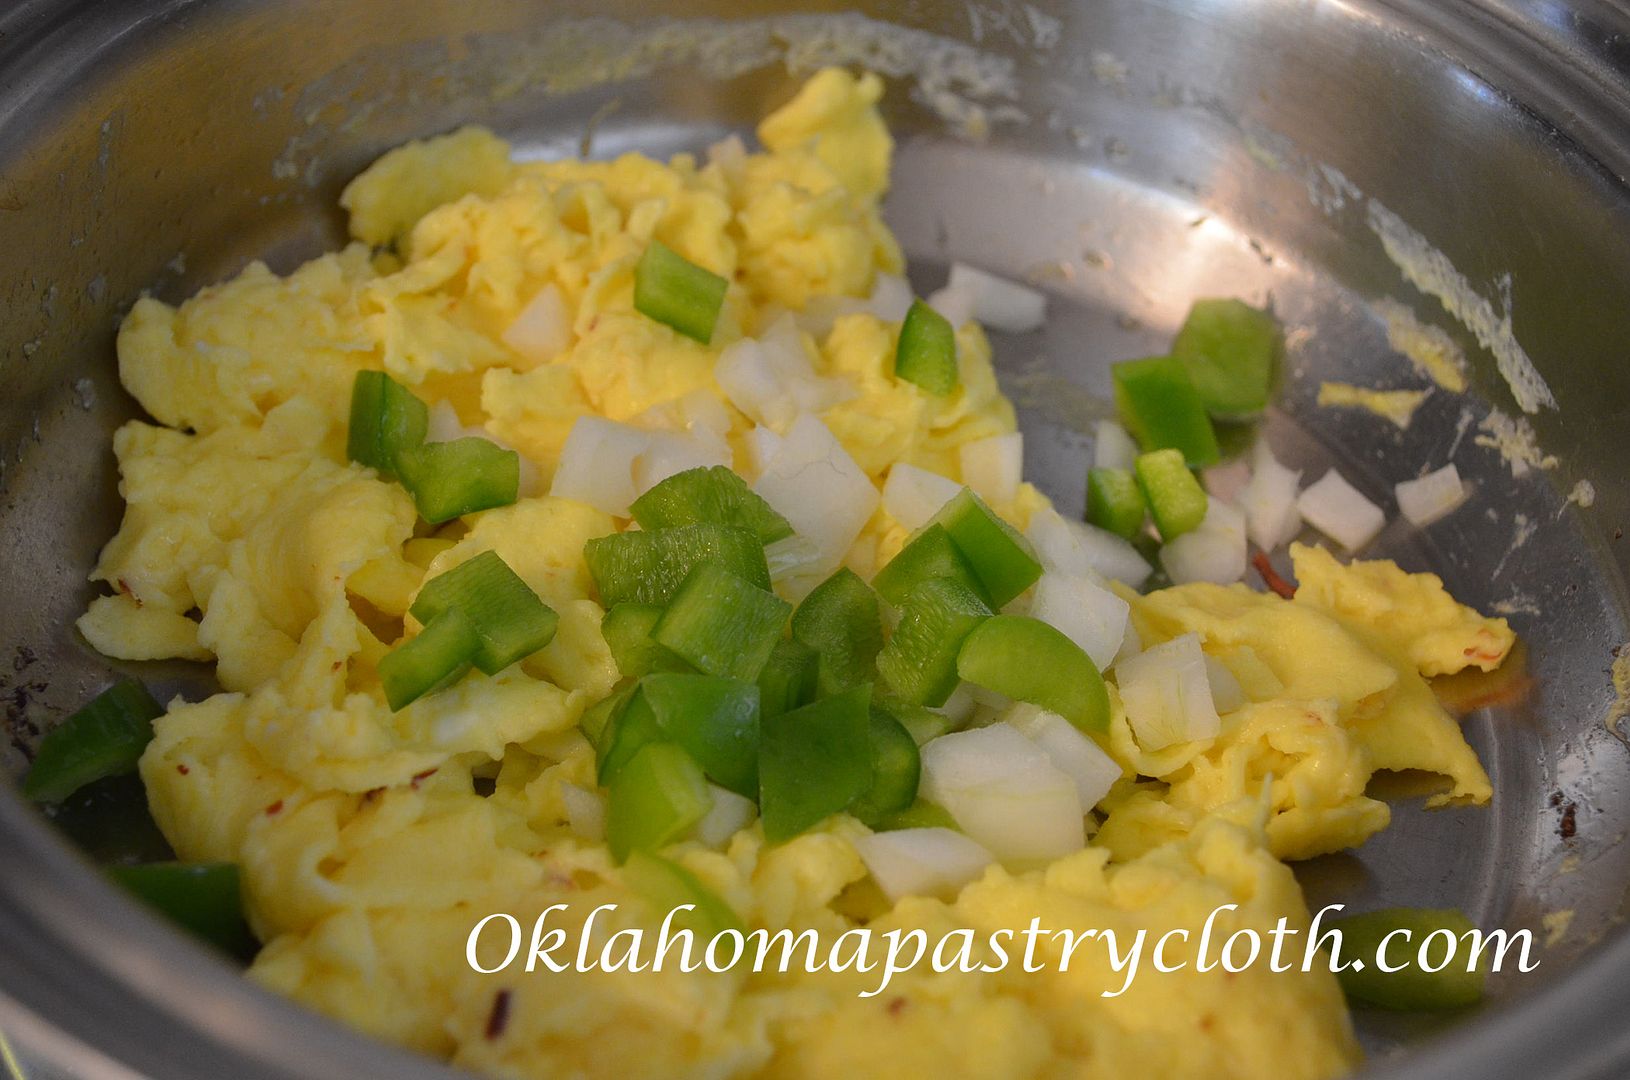 In a bowl, add one to two eggs per person with 1 tbsp. of milk per egg. Add a dash of salt and pepper and whisk until well-scrambled. In the skillet that is still hot and has the remaining oil and butter in it, add eggs and stir to cook. When about half-cooked, add onions and green peppers. Continue stirring and tossing to scramble the eggs.   On each plate, place one tortilla in the center and top with 1/2 cup of ham. Add eggs, onions and green peppers on top of the ham. Sprinkle shredded cheddar or Monterey jack cheese over the surface of the eggs. If the cheese doesn’t melt right away, microwave for a few seconds to melt it. Add freshly chopped tomatoes and picante sauce. Garnish with fresh cilantro and sour cream or guacamole if desired.  |
|
| |
|
Oklahoma Pastry Cloth™ Company on Facebook
|
|
 |
|
|
|
Posts Tagged ‘Breakfast’
Ham and Egg Tostadas
Tuesday, July 21st, 2015
Canning Bacon
Friday, September 2nd, 2011
|
I told Mr. Fix-It the other day that I have decided that my purpose in life is to be a “cup bearer” of sorts – you know, the person who drinks the king’s beverage and dies if it is poisoned. I try foods and processes and if they don’t kill me or taste like they could, I then pass them on to you! You wouldn’t believe how many recipes my poor Mr. Fix-It has had to endure only to have me scratch them with a “Well, THAT one is going in the trash!” He is such a dear and patient man. His worst response to anything I cook is, “It’s ok.” He can say it through clenched teeth and a galant effort to swallow, all the while looking for a way to spit his food out while I am not looking and still graciously offer, “It’s ok.” However, I must admit that he was very sceptical of my newest canning project. I had read about canning bacon at Patrice Lewis’ The Rural Revolution and on Enola Gay’s blog, Paratus Familia, and I have been meaning to try it myself lo these many months. But bacon didn’t go on sale until just recently and so, when it did, I snatched boatloads of it up and made my plans. Believe it or not, I got it for 99¢ a pound because it was nearing its “sell by” date. I have this vague memory of my parents receiving a can of expensive bacon from Denmark and it was rolled in white paper and tied in the middle. We thought it was amazing, so I knew it could be done.  Now, according to instructions that I found, kraft paper or paper sacks were used in the packaging and I used kraft paper on this first run. However, this is where that “cup bearer” roll comes in – I’m suggesting that you use boxed parchment paper. I found in this first run, that the kraft paper leaves a flavor of the paper in the bacon. You know how wet paper bags smell? Well, that’s the hint of flavor left in the bacon. I did not find that in a subsequent run with the parchment paper. Perhaps that is because white parchment paper is meant for cooking!! Duh. The pictures I have here, however, are from my first run and are with the kraft paper. Just pretend it’s white and do the same thing! Finally, be sure and use thick-sliced bacon. The instructions told me this, but you know me. I never follow instructions. I tried a package of regular sliced bacon. You’ll see the results. Not good. The outcome of canning the bacon was amazing. It fried up beautifully and Mr. Fix-It was duly impressed. Talk about a wonderful companion for camping!! (The bacon – not Mr. Fix-It – although he is a wonderful companion for camping.) No need to mess with wet, sloppy packages of bacon floating in melted ice in a cooler. Just open a jar and there you have it! So here are the directions for canning bacon. Just remember – PARCHMENT PAPER!  Lay strips of bacon side-by-side onto sheet of paper, leaving 1/3 of paper to be folded over the the top half of the bacon. You can put a half pound, 3/4 pound or whole pound onto one sheet. I put 1/2 pound for each jar because there are just two of us.  Fold top third of the paper over the top half of the bacon. If your parchment paper is not tall enough, then place a cut strip of parchment paper over the top half of the bacon strips.  Now fold the top over to the bottom, folding the bacon in half. There will be paper between the top and bottom halves of bacon.  Starting at one end, begin rolling “package” like a jelly roll, allowing some end paper to overlap. Cut off any extra paper.  This was my addition to the process. Because I remembered way back into my childhood that bacon we had received in a metal can was tied with a string, I did the same thing because it keeps the roll nice and tight. I did not tie the string snug, but just let it hold the roll together. I used kitchen twine also known as “butcher’s twine”.  Drop the rolls open side down into preferably wide-mouthed quart canning jars (I had to use a couple of small mouth because I was short two jars) that have been washed and sterilized in the dishwasher, in boiling water or in the oven. The wide-mouthed jars make it easier to remove large rolls.  Wipe the rims of the jars with a warm, soapy and wet dish cloth to remove any oils from the glass that would keep the jars from sealing.  Having kept lids warming in nearly boiling water, place them onto the jars and add rings.  Process in a pressure canner at 10 lbs of pressure for 90 minutes.  When jars have cooled, remove rings and wash jars and rings in hot, soapy water to remove any oils that may have escaped. Allow to dry and place rings back on. Store. Jars aren’t real pretty because the bacon fat coats the sides.  To use bacon, remove ring and lid from jar and allow the roll to slide out. Carefully unroll paper package and fold back paper off of bacon.  Carefully remove bacon from paper with a fork. This is where packaging thick bacon comes in. Thin bacon simply falls apart. See below what happens in the removing and the cooking.  The thin bacon made a mess in the removal and cooking!  Place bacon into skillet and add oil that is the bottom of the jar. Fry just like fresh bacon. It takes a little longer to crisp than raw bacon.  A great addition to a good Okie breakfast – Western omelet, grits, English muffins…and bacon. Yum!! And even if Ol’ Man Winter gives us another electricity blackout, I’ll have bacon for breakfast to cook on the wood stove! |
|
|
Oklahoma Pastry Cloth™ Company on Facebook
|
|
 |
|
|
Cheesy Hashbrown Bake
Friday, August 26th, 2011
|
We all know why they call it comfort food. It’s because once you’ve eaten it, you have to unbutton your pants to get comfortable!! We southerners seem to think we’ve cornered the market on that kind of vittles and southern cooking has become synonymous with comfort. Southern comfort is more than just the name on a bottle of alcoholic spirits! Unfortunately, as Paula Deen has documented, southern cooking can be a little heavy on the fat and sugar and gargantuan on the portions. I have learned to cook with the same flavors, just not quite so much fat, and my portions are drastically cut. “Moderation in all things!”I say. Having to unbutton those pants is not necessarily a good thing. One of my favorite things for breakfast or as a side, is hasbrowns. Cheesy hashbrown casserole is even better than plain ‘taters. But so many of the casseroles have as much as a stick of butter and then pure cream – you know – the works. In order to satisfy my craving for these spuds laced with cheese, I’ve developed my own way to get the flavor without all the calories. Now, I will say, there IS a difference. You can’t cut out that much butter and cream and still have the same thing. However, this recipe makes me happy and that’s all that counts. Right? It’s all about me -and you too – because you’ll like, I’m sure.
 I use new potatoes from the garden and shred them in my food processor. Regular Idaho potatoes are fine too, or you can use frozen hash browns.  If you are shredding your own, put the hashbrowns in a bowl and wash them in cold water until the water runs clear. Pat them dry with a towel and either weigh or measure them.  In a large bowl, place potatoes, cheese and onions and toss until well mixed  In a separate bowl pour chicken broth…  add two tablespoons of the butter, melted  Whisk in the garlic powder  And the salt  And the milk and pepper to taste.  Pour the liquid mixture into the bowl of potatoes, onions and cheese. Toss until all of the dry ingredients are coated.  In a 2 quart cast iron skillet or casserole dish, melt the remaining tablespoon of butter. spread evenly over the bottom surface of the pan.  Pour the potato mixture into the pan…  and lightly pat down the surface.  Bake at 350º covered for 20 minutes. Remove cover and bake 25 to 35 minutes until potatoes are tender.  Serve hot for breakfast or dinner! |
|
|
Oklahoma Pastry Cloth™ Company on Facebook
|
|
 |
|
|
Popovers
Monday, August 8th, 2011
  Don’t you just love to go through old family albums, giggling over moments frozen in time through a cameral lens, stretching your brain to the limit while trying to remember dates, places, faces and what you were thinking when you were sure colorful striped bellbottoms with a plaid, ruffled shirt made you look like an Ives St. Laurent model? The camera had to be one of the best inventions of all time – well, next to chocolate. At my age, I’ve seen cameras evolve exponentially. Movie cameras too. Note: I have movies – 8 millimeter mind you – that show a third grade me dancing around with my sisters in our ’60’s dresses (we wore dresses alot back then) pretending we were the Three Little Pigs. There is no sound and every second or so a flash of yellow or green runs across the picture indicating aging film. Among my vintagge pictures are the 3″ x 3″ photos from my dad’s Argus camera, a heavy black and chrome metal invention, housed in a real leather case. He bought it when he got home from the army after WWII. I used that camera in college and now my daughter has it. Remember the Brownie cameras? – Oh! Oh! And the Polaroids. Now those were cool. The photographs were nearly instant and you didn’t have to wait a week while the film was being developed! There was such excitement, pulling the film paper out of the camera and counting the minutes before carefully pulling back the cover sheet to reveal a very over-exposed likeness of your cousin making faces. Polaroids went by the wayside and I can’t imagine why. Slides were a big deal in the 1960’s and it was every television sitcom’s joke for a family to be invited to dinner only to be imprisoned on the couch while the host presented a slide show of the family vacation to Disneyland. “Yep. That’s Carol kissing Goofy. No, that’s Goofy on the left. Carol is the one on the right!” The guests would endure 40 gazillion slides of everything from standing in line at the Flying Teacups to standing in line for an ice cream cone and then the guests would look at their watches and say, “Oh dear! Look at the time. We have to let the cat out!” I remember the projectors where the slides were placed one at a time in a rack and then pushed into the projector to view. Then came the carousel projectors and we thought those were amazing. They were even remote controlled. When my family got one of those, I thought we were Up Town. 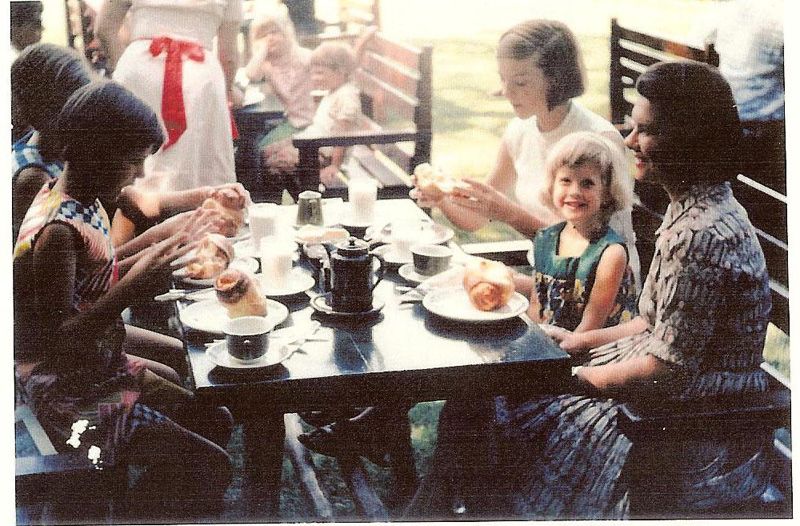 My parents were so wonderful to take tons of pictures of our childhood and our family life in general. We really do have a grand collection of memories on film. One of my favorite memories includes a tea house that my family frequented many a summer. My father was a college professor and during many of the summers of my growing up, he taught at the University of Maine as a visiting professor for the summer sessions. He and my mother introduced us girls to a treat with which we absolutely fell in love – the Popover. The tea house at Jordan Pond at Acadia National Park was our first experience with these hot, puffy pockets of air and the eating was only made more fantastic by the rustic outdoor tables overlooking a gorgeous lake with mountains in the background. Hot tea, coffee or milk accompanied our orders, as well as fresh strawberry jam and fresh butter. Delightfully, the tea house is still in operation and we were able to gather there again during a family reunion for my parents’ 50th anniversary a number of years ago, making memories with our own children. Of course, at that point I had to learn how to make popovers so that I can now eat them anytime I choose right here in Okieland. I thought I’d share what I learned with a recipe and directions. 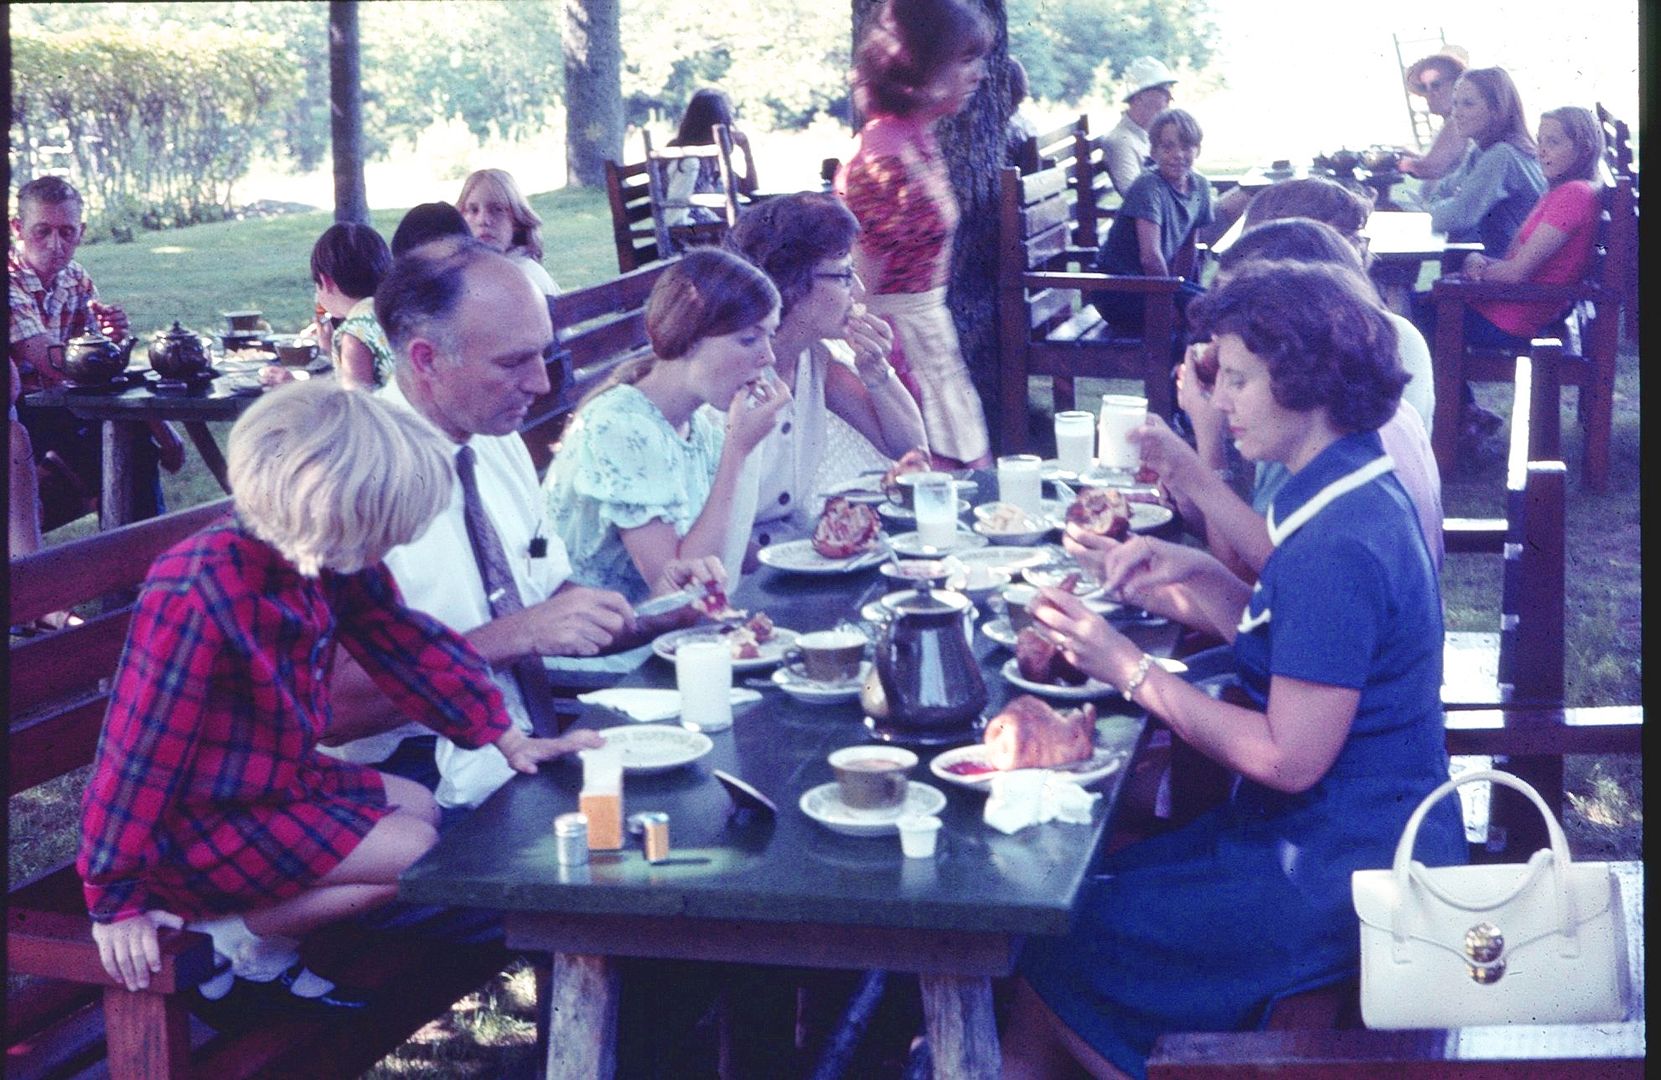 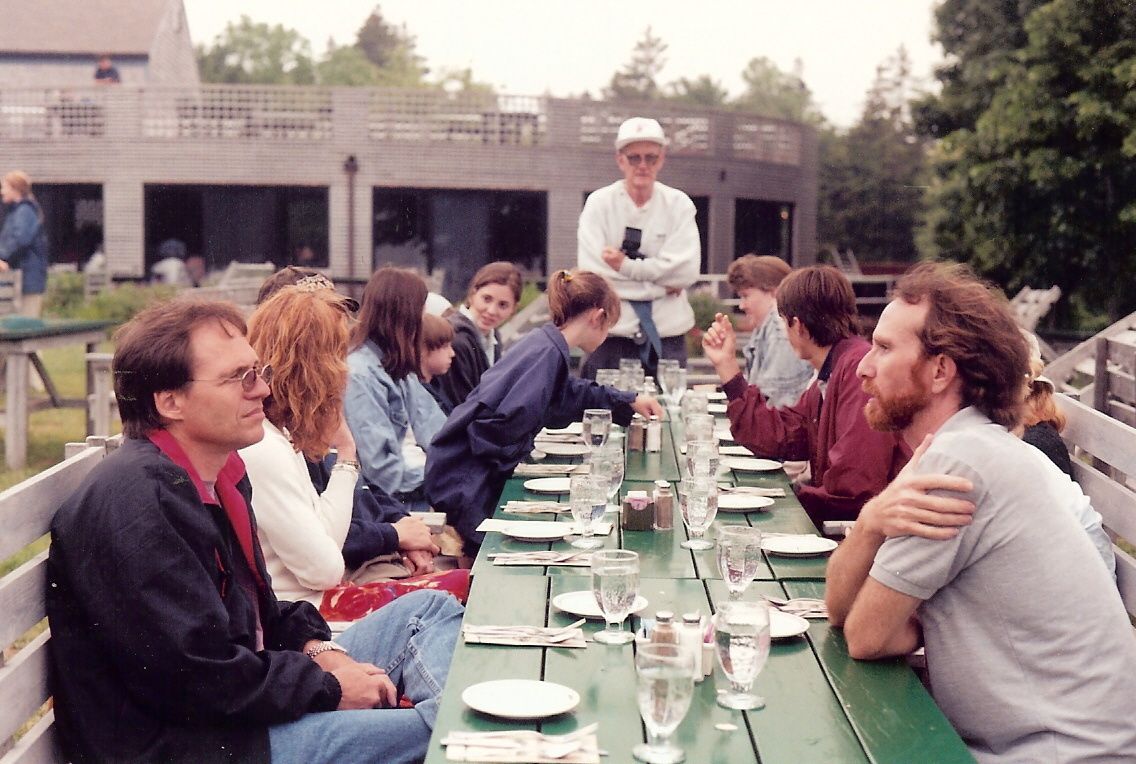 Of all the things my parents gave me, my memories with family are what have stay with me to this day. Those memories are made more vivid by the lovely photographs and movies taken by my parents and grandparents. They have been given to me and to my sisters to share recollections with our children and grandchildren, in the same way that our parents shared with us from their childhoods. It is a way to stay connected with our heritage. Take time to make memories with your family. Take trips, have picnics, sing songs and laugh together. All of the trinkets in the world will never be remembered like time spent together.
 Preheat oven to 425º and lightly grease a 6 cup popover pan with either shortening or butter. You can find popover pans online and I found a very inexpensive one for you to check out here. JUST A NOTE: You CAN put all of the ingredients into a blender and just blend the fire out of the batter. But if you do not have a blender or would rather use the more traditional method, follow the directions below: 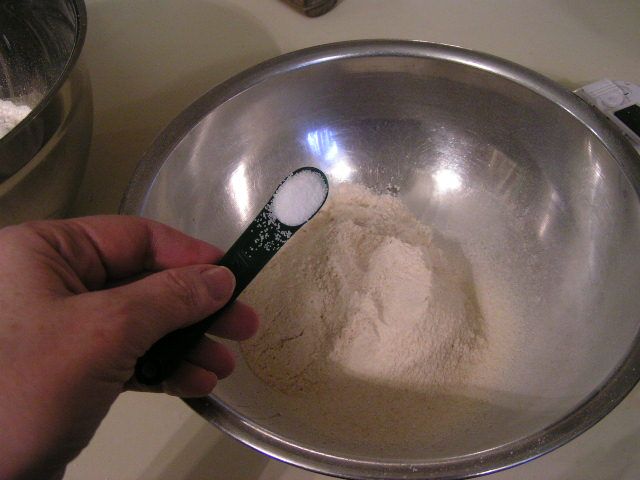 In a shallow bowl, add flour and salt. Set aside. 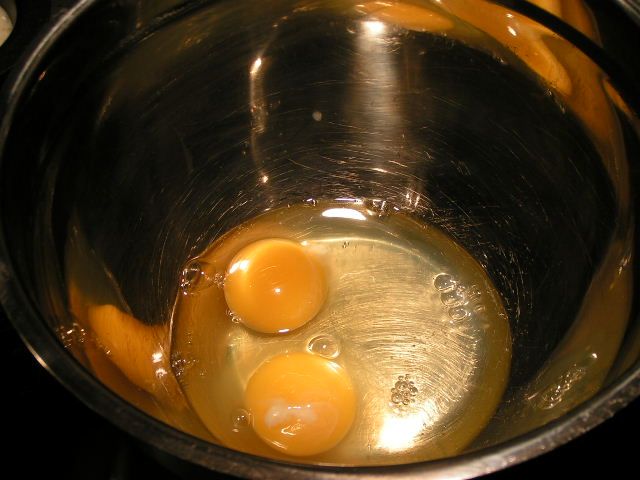 In another shallow bowl, break two large eggs that have sitting at room temperature 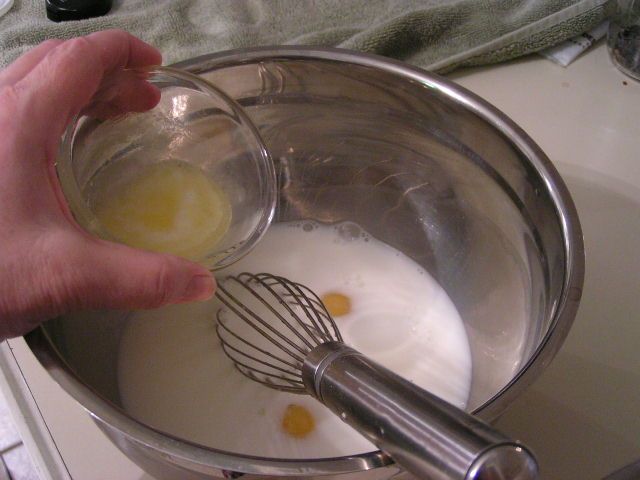 Add milk or half and half and melted butter 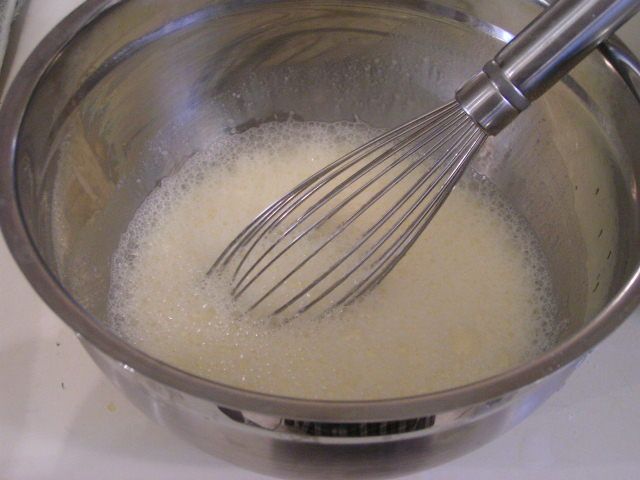 Vigorously whip the egg mixture until it is light and frothy. 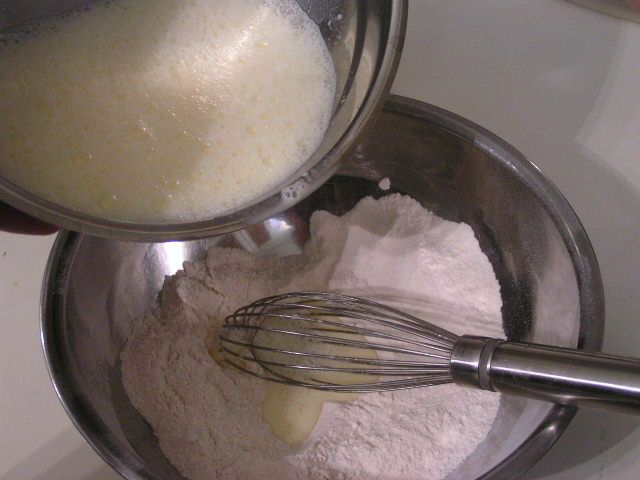 Add whipped egg mixture to flour mixture 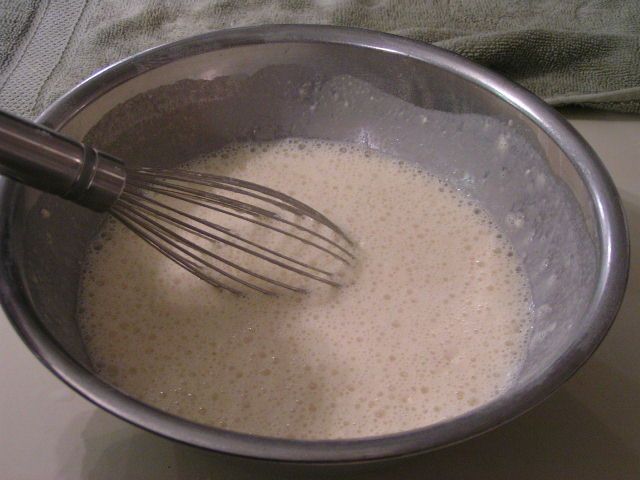 Whip the fire out of the batter! 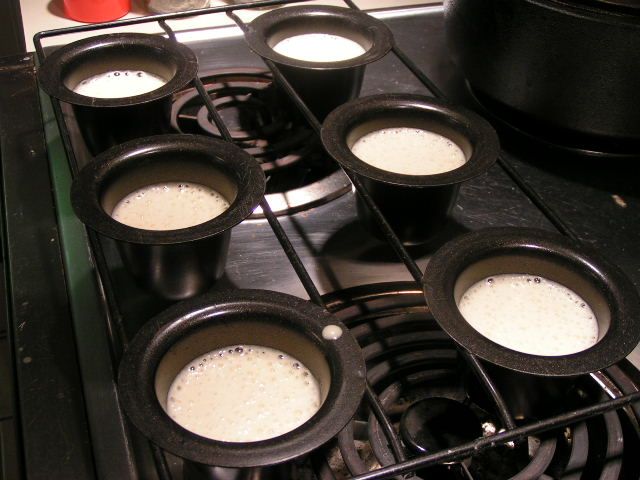 Now here, you can try both methods and see which works best for you. Some people heat the popover pan in the oven for 5 minutes and then pour the batter into the hot cups. Or you can use a cold pan and evenly pour the batter into the greased popover cups 1/3 to 1/2 full. 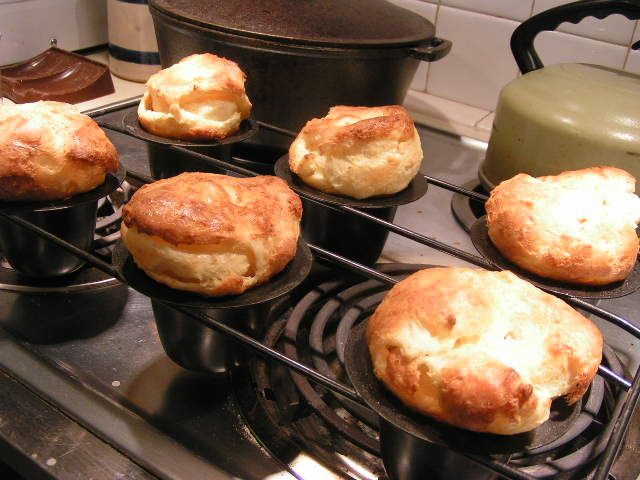 Bake on the center oven rack for 15 minutes and then turn down the oven temp to 350º and contine baking for 20 – 25 minutes until golden brown. Turn off the oven. Using a sharp knife, pierce the top of each popover to allow the steam to escape. Leave in the oven 30 seconds. 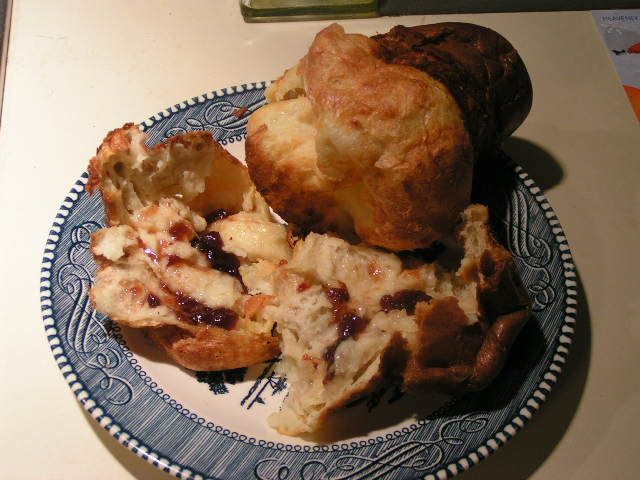 Serve immediately with butter and jam. Great for breakfast. |
|
|
Oklahoma Pastry Cloth™ Company on Facebook
|
|
 |
|
|
Blueberry Season In Full Swing
Sunday, June 5th, 2011
 The blueberries are coming in with a bang this year. They are so big and juicy! Oklahoma’s gonna compete with Maine, I’d say!! When I was a girl, my family would go to Cadillac Mountain in Maine and pick wild blueberries to our heart’s content. Wild raspberries and strawberries could be found as well. There was just nothing like standing on that high mound of granite that was covered in short blueberry bushes, loaded with small, ripe berries. The book Blueberries For Sal was a favorite of ours. Now, I harvest Oklahoma blueberries – large, plump and sweet. The bushes are much larger than those of the Maine wild blueberries. The berries are wonderful for jelly, muffins, scones and coffee cake and today, I thought I’d share a yummy coffee cake recipe that we like. Canned blueberries work fine in this recipe too. Enjoy! For Cake:
 Cream butter, sugar and eggs together  Add vanilla and either lemon or orange zest and mix  Add sour cream and mix in  Add flour that has been mixed with soda, salt and baking powder. Stir  Add fresh blueberries that have been tossed with sugar or use canned blueberries  Grease a 9” round or square pan with Crisco or other shortening. I use a paper towel to do this. I find that it covers more surface than a brush.  Flour the pan by shaking flour around the surface of the pan until all areas are covered. Shake out excess flour. In cookbooks, this is what is meant by “greasing and flouring “ your pan.  Meanwhile, melt stick of butter over medium heat and remove from heat  Add white and brown sugars and stir  Add cinnamon and stir until completely blended  Stir nuts into the batter  Add flour and stir until everything is totally incorporated. It will be crumbly and sticky.  Pour batter into baking pan and crumble topping over the surface of the batter  Crumble the topping all the way to the edge of the pan. Place in a 350º preheated oven and bake for 40 – 55 minutes. Test for doneness with a knife or a toothpick. It should come out clean.  Allow to cool for 10 – 15 minutes and sprinkle with Confectioners sugar. Serve warm. Leftovers can be cut up and frozen. |
|
Oklahoma Pastry Cloth™ Company on Facebook
|
 |
Hashbrowns! Yum!!
Friday, February 18th, 2011
|
Is Misspelled…  It’s closing in on planting time for potatoes! I love fresh potatoes from the garden and have done posts before on them. I am planning on doing a full bed of the knobby things this year. Usually, we only do a half a bed, but we were out of potatoes too soon this time. And of course, I’ll be drying some of them. But I have another favorite way to prepare potatoes for the long haul and I have been asked by reader, Shari, to share it here. Mr. Fix-It loves hashbrowns and it is easy to take a large batch of either garden potatoes or Russets from the store and make hashbrowns to last you a long, long time. 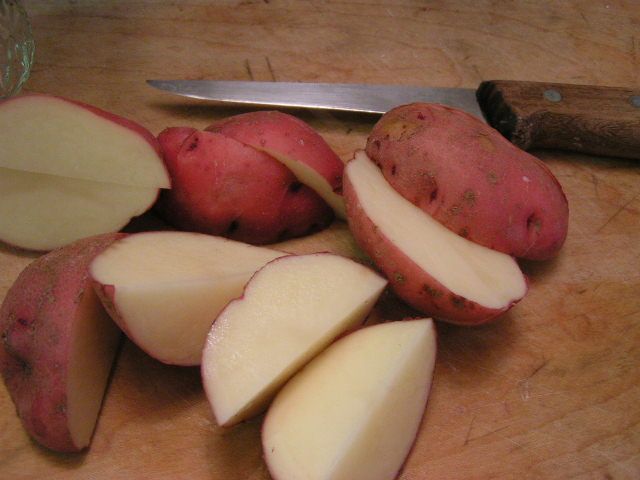 First cut up potatoes to fit into a food processor with a grating blade on it. You can also grate them by hand. Red and Yukon golds can keep the skins, but Russets are better peeled 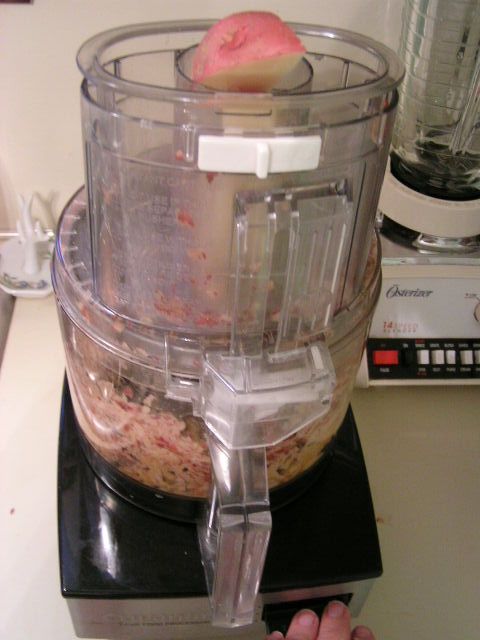 Put into a food processor to grate or do it by hand 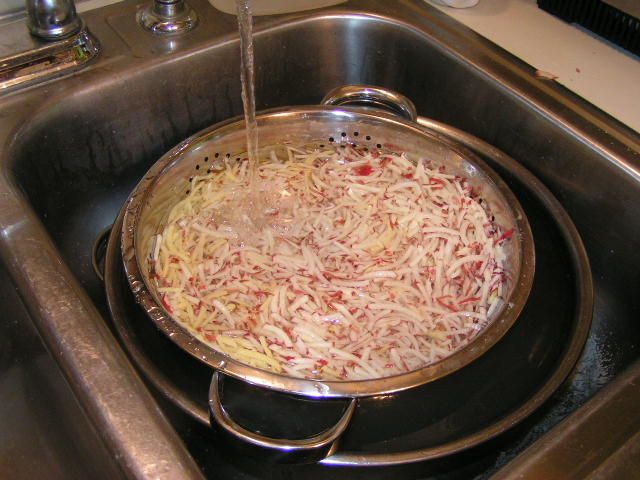 Once the potatoes are grated, put them into a collander that is in a larger bowl and pour water to cover the potatoes. Pick up the collander and swish it up and down. The water will be white and cloudy. Pour that off and do the same process until the water is clear. This washes off all of the starch that makes potatoes turn black. 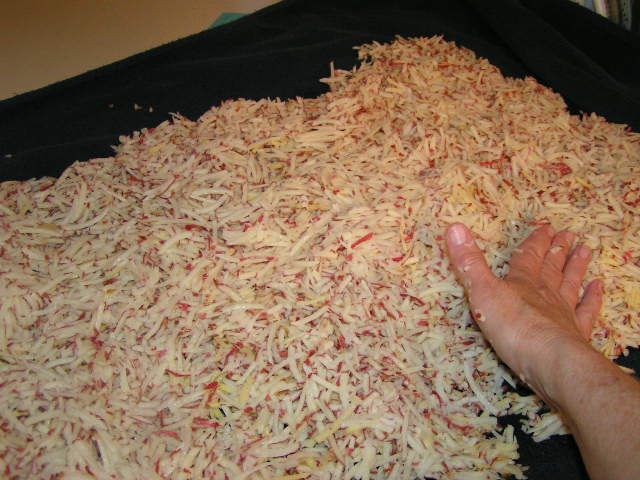 Lay a large bath towel out on the counter and spread the grated potatoes over the towel. 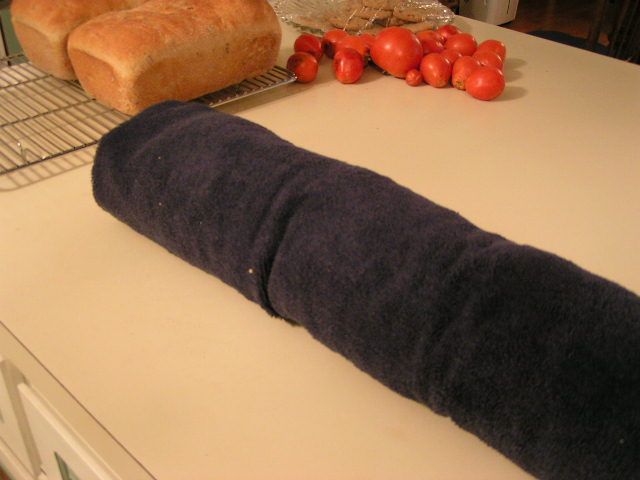 Fold the edges of the towel over the top of the potatoes and roll the towel up like a jelly roll, pressing as you roll. This squeezes out excess water. When you unroll it, the potatoes will be dry. 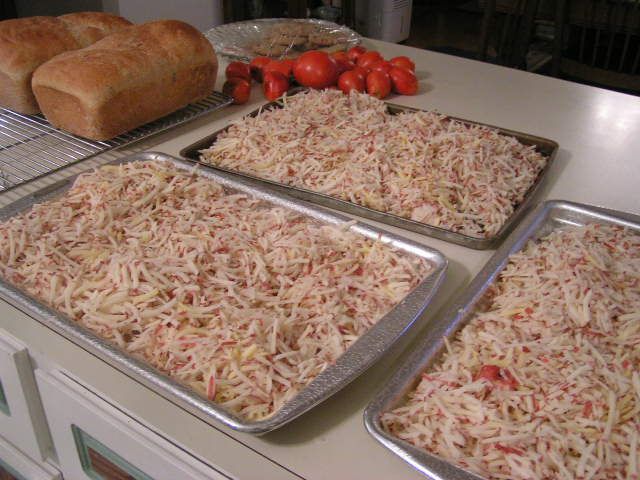 Distribute the grated potatoes among cookie sheets and place in the freezer. 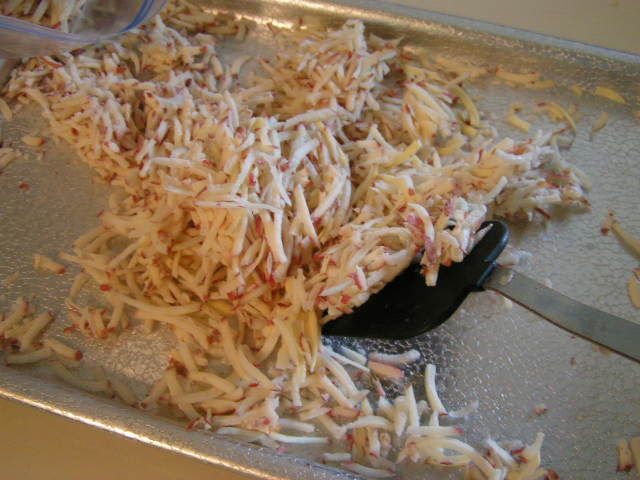 Remove from freezer and, using a spatula, lift potatoes off of the cookie sheets. 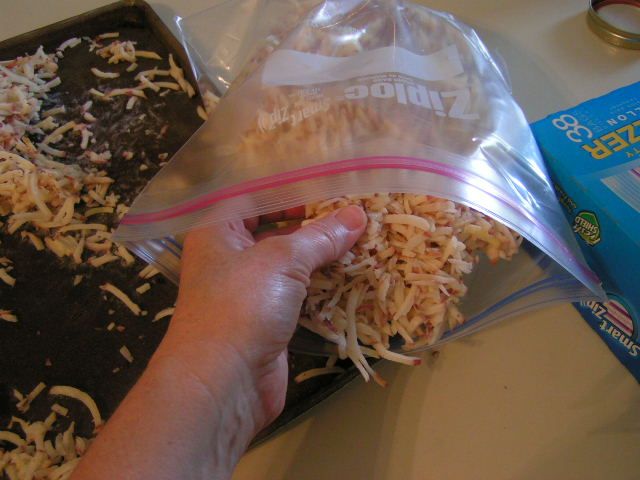 Place in plastic freezer bags 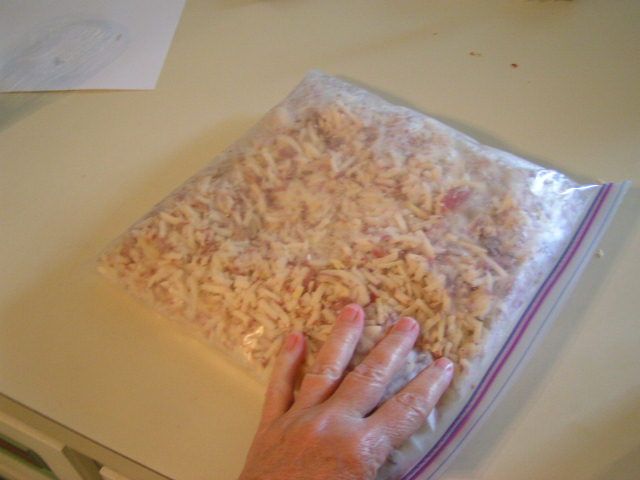 Bend the bags around to break up the slabs of frozen potatoes. Label bags and place in the freezer. 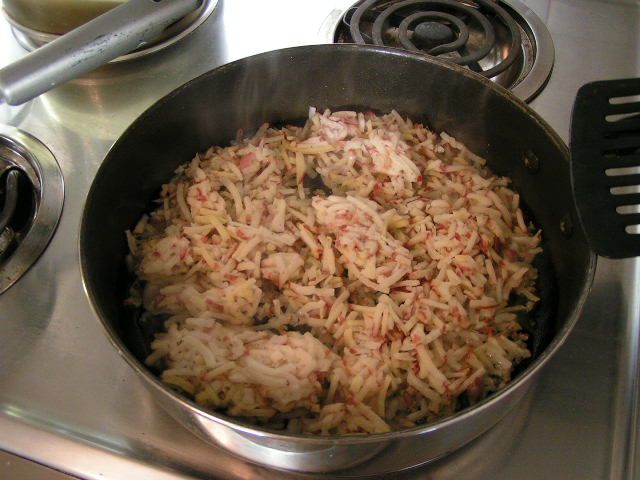 Your hashbrowns can now be used in any recipe calling for hashbrowns, even casseroles. To make old-fashioned hashbrowns for breakfast, put 2 – 6 tablspoons of oil (depending on the size of your skillet but barely covering the bottom), either olive oil or vegetable or coconut, in the bottom of a large skillet and heat on medium high. When heated, add hashbrowns to about 3/4 – 1 inch deep and salt to taste. 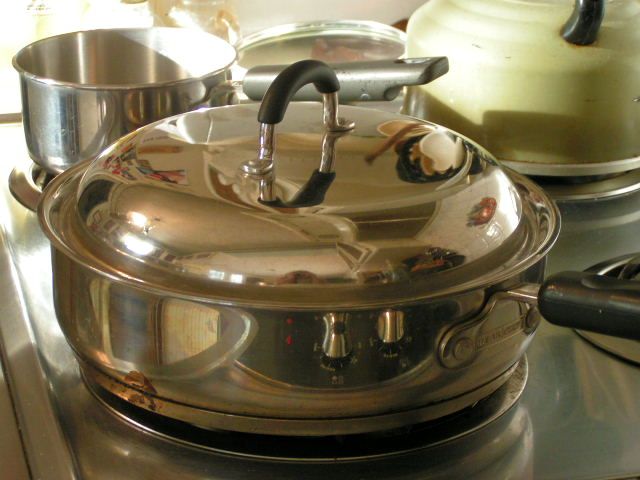 Cover with a lid and cook until the bottom of the potatoes is golden brown. 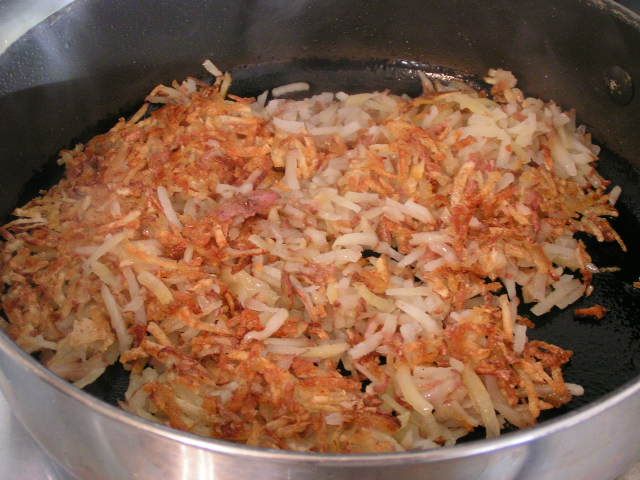 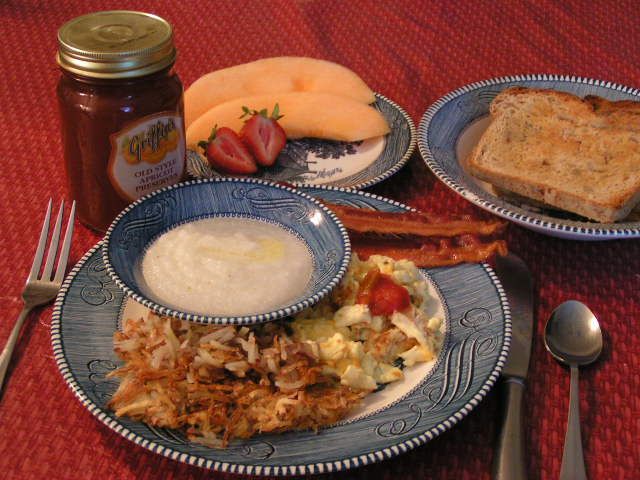  Cook until the second side is browned and crisp. Remove from the pan and pat with paper towels to remove any excess oil. Serve as a side dish. And don’t forget the grits!! |
|
Oklahoma Pastry Cloth™ Company on Facebook
|
|
|
Egg and Muffin Sandwiches
Monday, January 3rd, 2011
|
“De-Serve” (A Recipe To Serve!) OK, so that was kind of a crazy thing to write, but I was thinking about that place with the golden arches and their old slogan. Remember? It was that catchy song about what you deserve – you know – like a break today? However, as I grow older and older I am finding that what I think I deserve ain’t all it’s cracked up to be! I bet you can’t get that song out of your head now, can you? 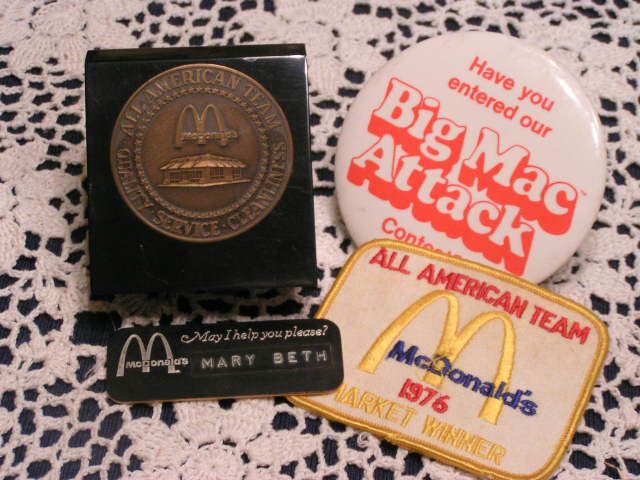 In my youth, I had the “prestigious” honor of being a “crew member” of the McDonald’s Restaurant team – aka, a “hamburger flipper”. I lived, breathed and literally ate McDonald’s. I don’t know how it is now, but back then, McDonald’s was run like the army and there was a real pride in the job and a sense of ownership in the company. Each year there was a competition for all crew members in order to become part of the “All American Team”. The more All American Team members at a store, the more prestigious the store in the eyes of the corporation. Competition was fierce and hard and not just a little scary. It was like participating in the Olympics, only instead of swimming you were waiting on and serving customers in under a minute, or in place of throwing the shot put, you were assembling, wrapping and tossing cheeseburgers onto a warming tray to a stop watch. The competition went on during the day while customers were actually being served and “The Suits” were there watching your every move. The one year that I decided to take the plunge, I competed at the cash register and outside the restaurant in grounds cleanliness. I won. I have proof. But I’m still waiting for the endorsement offers. 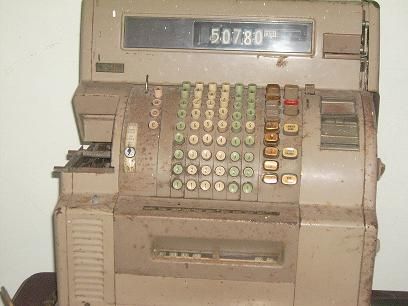 Now, I need to remind you that cash registers at the time were not the electronic wonders they are today. Computers were something only ‘brainiacs’ even considered and, as far as we were concerned, still occupied an entire room with magnetic wheel thingys (my hubby tells me they were called column tape units and he would know) whirling synchronistically . If that isn’t a real word, it sounds good – can’t you just see it?? Yep, the cash box on which I registered counter sales was an upright mechanical monster with round, brown keys in rows all down the front of the unit. The first vertical row was for the cents, the second, tens of cents, the third, ones, the fourth, tens and so on. The number totals showed up in white on black placards, side-by-side, in a window above the buttons. In order to put in a monetary amount, one had to punch each row of places matching the numbers of the entry. I remember starting out punching one button at a time with one finger as the customer stood there looking at me like, “You moron, can’t you work any faster than this? My Big Mac is gonna mold before I get it.” However, I eventually mastered the beast and could use multiple fingers to put in a total all at once – three fingers for “$1.99” and the thumb and first finger to “enter”. I thought I was hot stuff. And, oh yes, I was there when the Big Mac was first introduced. I had a “Mac Attack” on a regular basis.  I learned to count back change. Those cash registers only told you what the total due was, not the total cash back. A $20 bill for that $1.99 order? A penny – two dollars, three dollar bills – three dollars, four dollars, five dollars, a five dollar bill – ten dollars, and a ten dollar bill – twenty dollars. Give a clerk today, if there is no computerized cash register, a ten dollar bill and a nickle for a $1.95 purchase and watch him slowly come unglued trying to figure out how much money you should be getting back!!! Crew members were required to be “versatile” and one’s pay scale and evaluation was based on just how many things one could do in the restaurant. That meant that I didn’t just work the front, but I cooked too and I loved it. It was a fascinating process and I am here to tell you that a McDonald’s hamburger or French fries are no more unhealthy for you than a hamburger or French fries that are fried at home. Food is food and frying is frying. Back then, however, there was one breakfast ingredient that seems to be missing these days and that was butter. But I’m getting sidetracked – back to versatility. Another job that was a requirement back then was being a morning host or hostess. That has gone by the wayside too, apparently, but it was a fun job that involved making sure tables were clean, visiting with the customers, refilling coffee and bringing extra food items requested. It is a job that taught me the value of a servant attitude. I found that the more gracious I was and the more willing I was to do for the customers, the kinder they were and the more appreciative they were. Even when I would get a real grouch, I found that if I didn’t take offense and just treated them kindly, their grouchiness didn’t bother me and they seemed to leave a little less grouchy. It’s a lesson to practice every day.  I never would have picked McDonald’s as my career of choice at that time. I was fresh out of college with a degree in Fine Arts, but there weren’t any jobs out there in “Art” even if one did think that one’s art was “Fine”. McDonald’s was the only job I could land. I found out however, that even though I was not getting what I thought I “deserved”, I was learning an enormous amount of information and wonderful skills that would serve me the rest of my life. I’ve found that to be true in everything I’ve done that hasn’t jived with what I thought I had to have. I have figured out that I really don’t know what is always best for me and that I just have to chill and let God do the leading to whatever “best” is. It has led to a much more peaceful life, believe me!! We are at the beginning of a new year and stress is pretty heavy in the country and in the lives of many individuals. Seeking to serve rather than to be served is a heck of a way to deal with stress. When we seek to serve, rather than focusing on what we think we “deserve”, there is a change in attitude and actions for everyone involved. Anyway, because with any life’s lesson there really has to be food involved, it is time for a recipe. The following is my way of using the homemade English Muffins, from the last post, for egg and muffin breakfast sandwiches. Your kids will love you for them! Sandwiches Per Sandwich: 1 egg or two egg whites 1 English Muffin 1 slice American Cheese 1 slice Canadian Bacon or 2 slices thin-sliced Smoked Ham Melted butter or olive oil 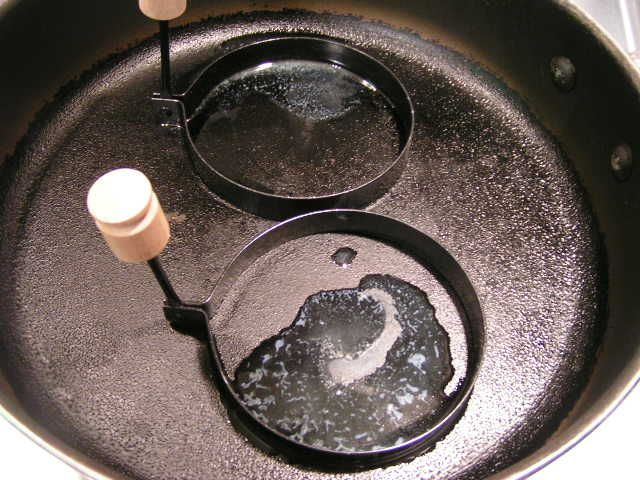 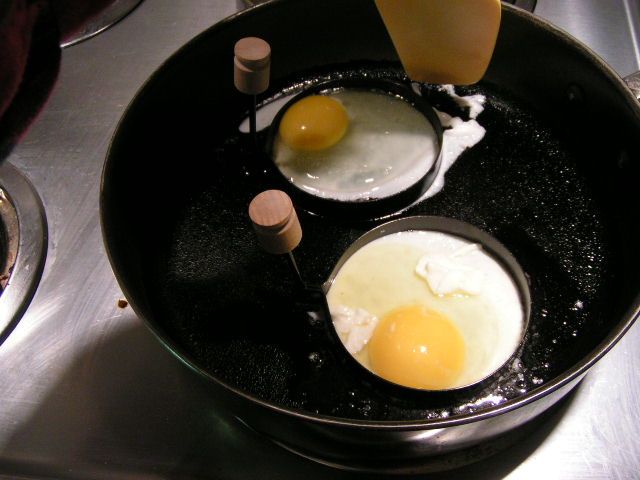 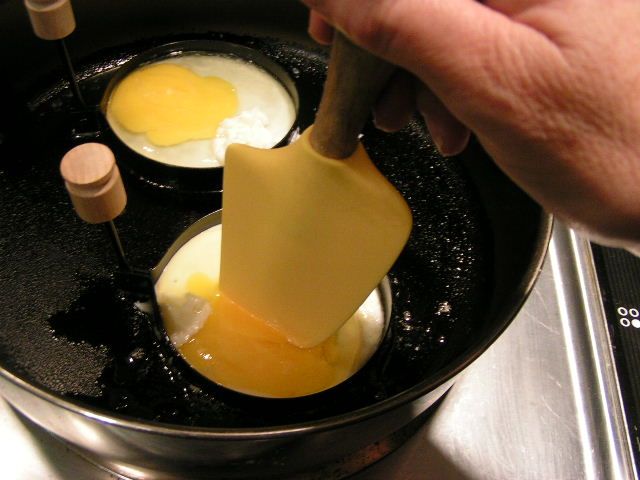 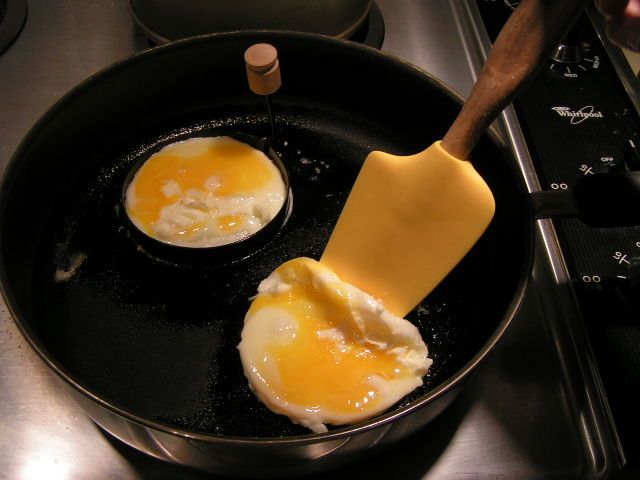 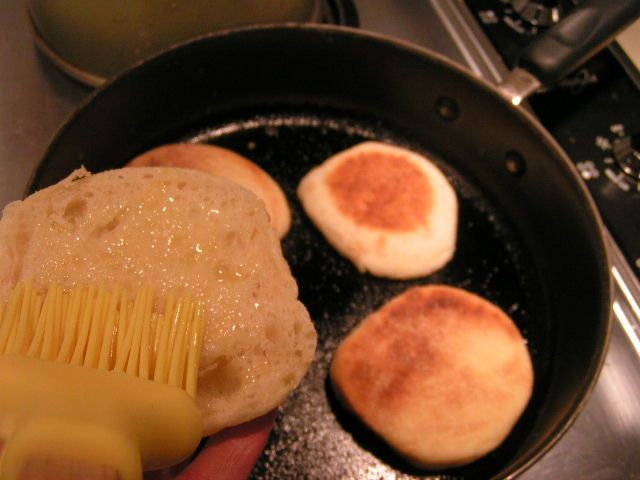 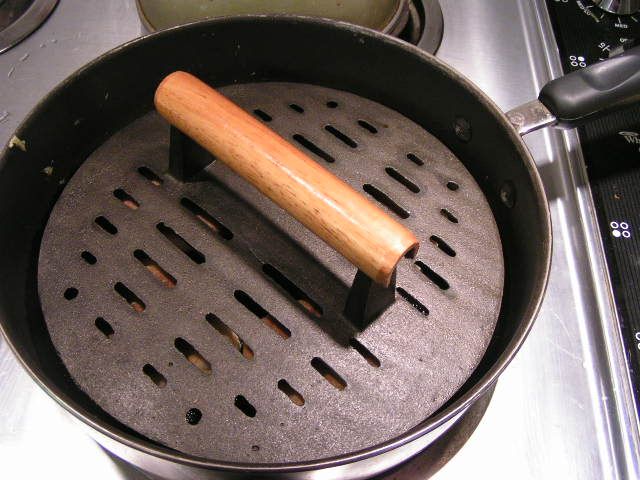 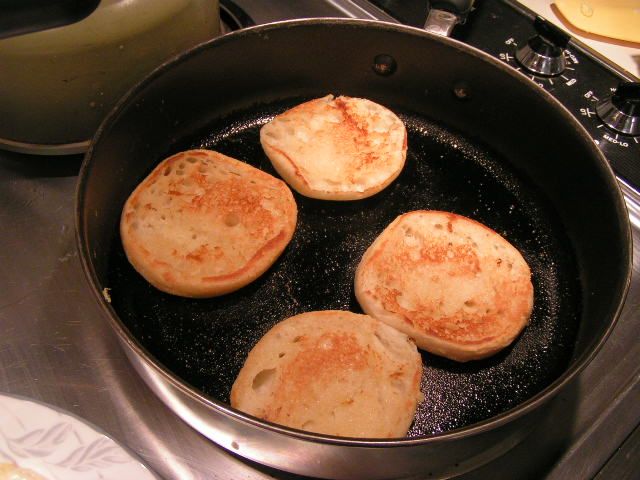 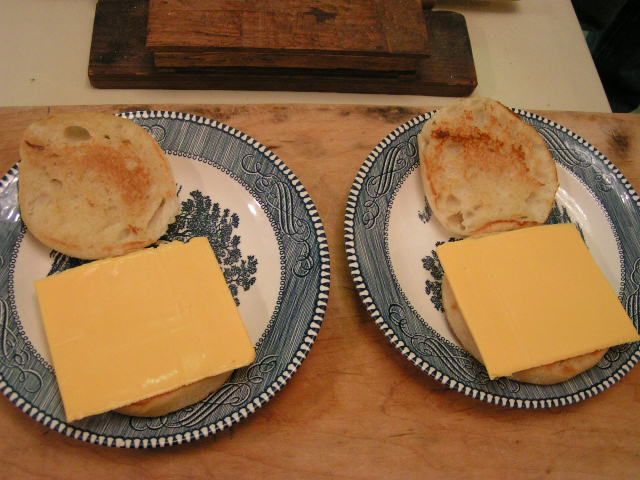 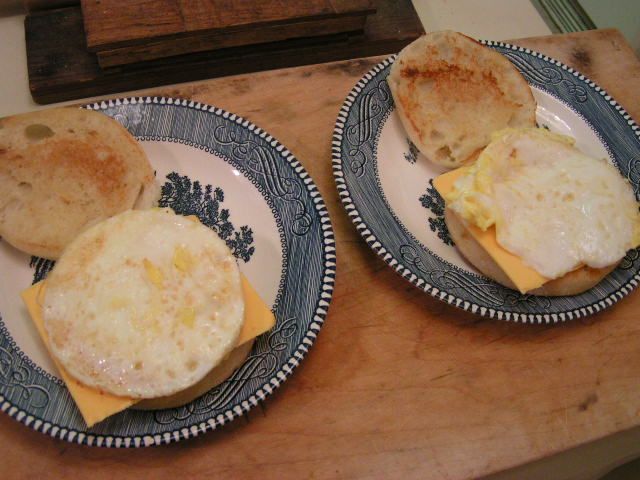 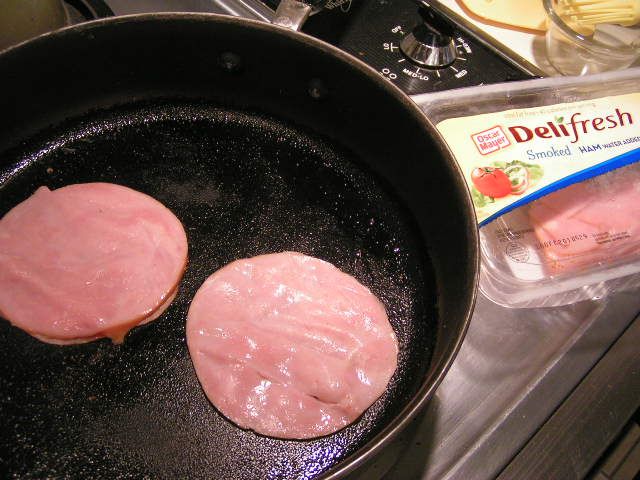 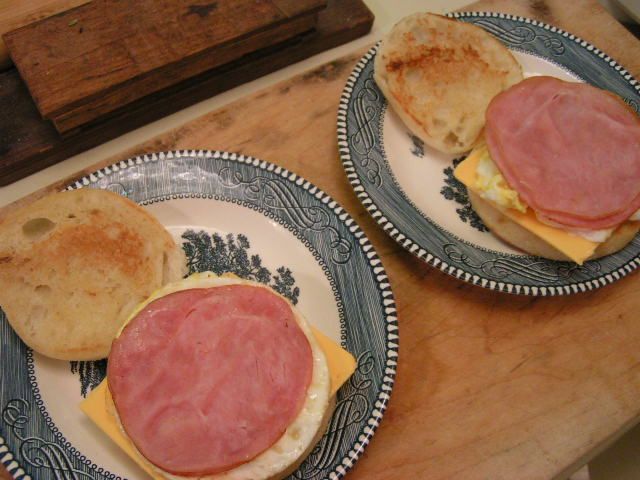 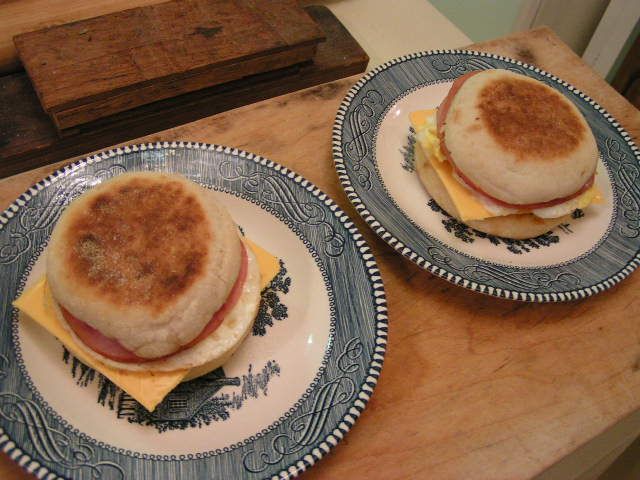 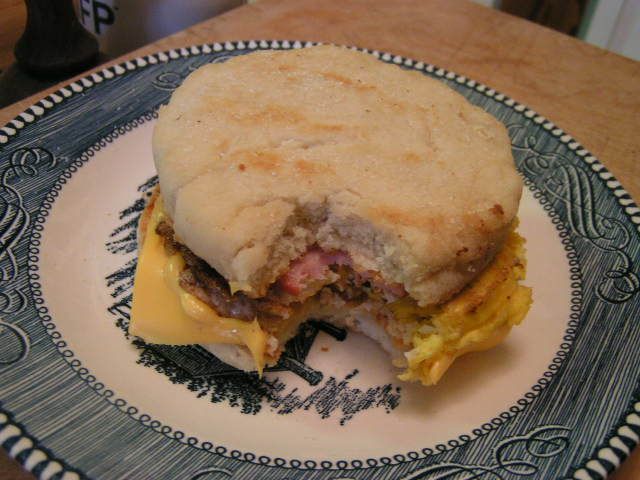 |
|
Oklahoma Pastry Cloth™ Company on Facebook
|
|
|

 Homestead Revival
 Paratus Familia
 Rural Revolution