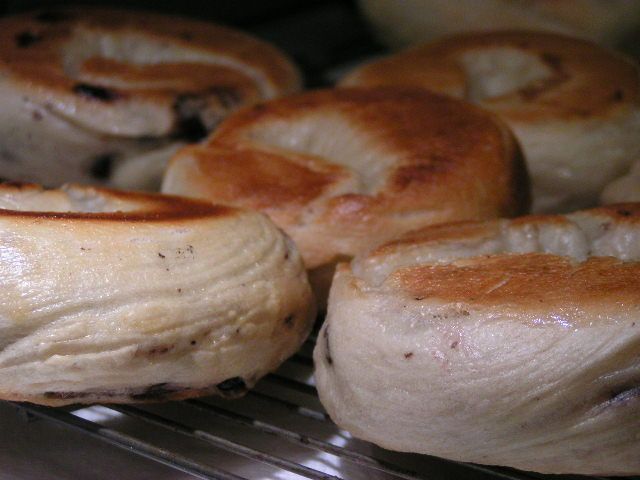
  This morning, I am munching on a toasted bagel with butter and strawberry cream cheese. Let me tell you. There is absolutely no bread on earth, in my book, that is more gratifying and fun than the toasted bagel. And the taste. Oh my. Crunchy/chewy on the outside and soft and yummy on the inside. The only thing that comes a close second for me is an Aunt Annie’s garlic pretzel!!! Once you’ve eaten a fresh, homemade toasted bagel, you will never go back to the store-bought ones again. They are melt-in-your-mouth delicious. The fun thing about them is that they don’t take very long to make!! And the more you make, the better you get at forming them. Pretty soon you are ready for a window in front of a gawking crowd that’s watching you slap bagel ropes around your hand and wowing them as you deftly tuck the ends together to make a perfect circle, ready for boiling water. According to the Kitchen Project the legend about bagels runs something like this: “In 1683 in Vienna, Austria, a local Jewish baker wanted to thank the king of Poland for protecting his countrymen from Turkish invaders. He made a special hard roll in the shape of a riding stirrup – Bugel in German – commemorating the king’s favorite pastime and giving the bagel its distinct shape.” In Poland, bagels were given as gifts to expectant mothers and used as teething rings for the new babies. And in Russia, they were given as good luck charms with magical powers! Immigrant Jewish bakers brought the bread rings to North America and they were quickly a favorite. Today, while many bagel stores use automated machinery to produce large quantities of bagels, there are also stores where artisans ply their trade with the stiff dough and roll them by hand. That is the way that I do it. Below is the recipe for basic bagels and step-by-step instructions. Total time from start to finish is a little over an hour. You can add any of your favorite ingredients to his recipe. Oven temp: 425º
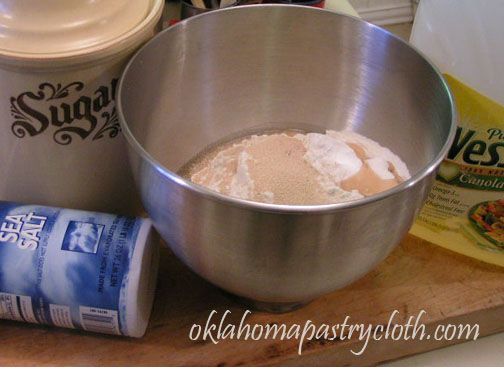 Place 1 tbsp sugar into a 2 cup measuring cup and add 1 1/4 cup warm water. Sprinkle yeast on top of the water and shake it until yeast starts to sink. Allow to proof for 5 minutes. Meanwhile, add all of the other ingredients to a mixing bowl. Pour proofed yeast in with the rest of the ingredients and mix with a dough hook on your mixer or mix by hand with a wide spoon. Knead by hand for 10 minutes or knead with a dough hook for 8 minutes on low. 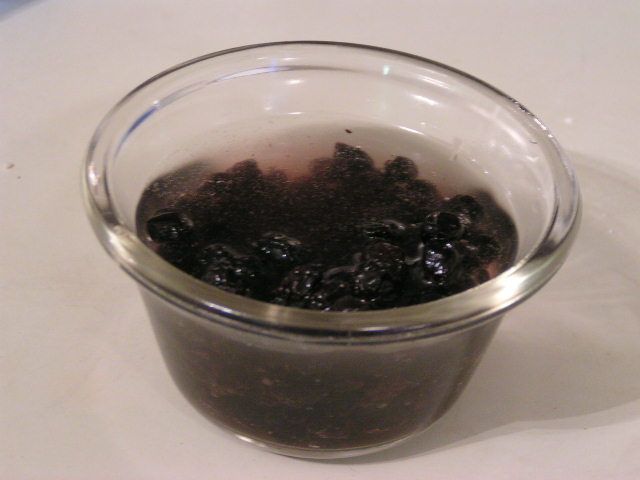 I reconstituted some dried blueberries overnight by pouring warm water over them and putting them in the refrigerator to soak overnight. I added these to part of the dough after kneading. I divided the dough, leaving part in the mixer and then added the drained blueberries to mix. You can add cinnamon and raisins or fresh blueberries, garlic and onion pieces, anything that you like in a bagel. 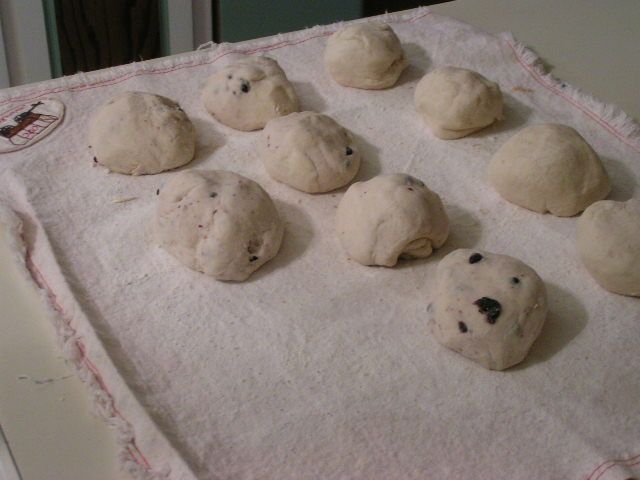 On a floured surface, divide the dough into 8 balls. I am using an Oklahoma Pastry Cloth™ here and it provides a wonderful surface on which to work with bagels. And cleanup is a breeze. Cover the dough balls with a warm damp towel and allow to rest for 20 minutes. 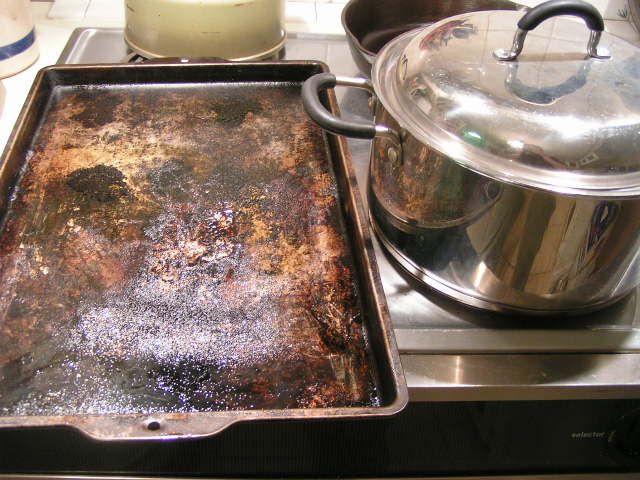 In the meantime, prepare a large pot with water to be boiled and oil a cookie sheet. 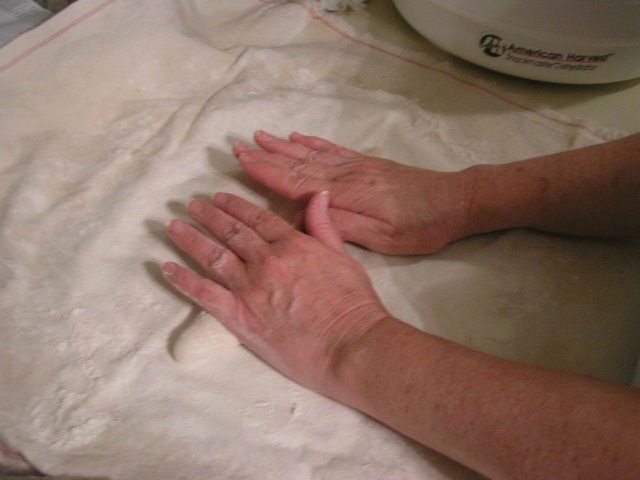 Remove damp towel from dough balls and flour the rolling surface. Roll each dough ball out to the length equal to the width of your hands placed side-by-side. 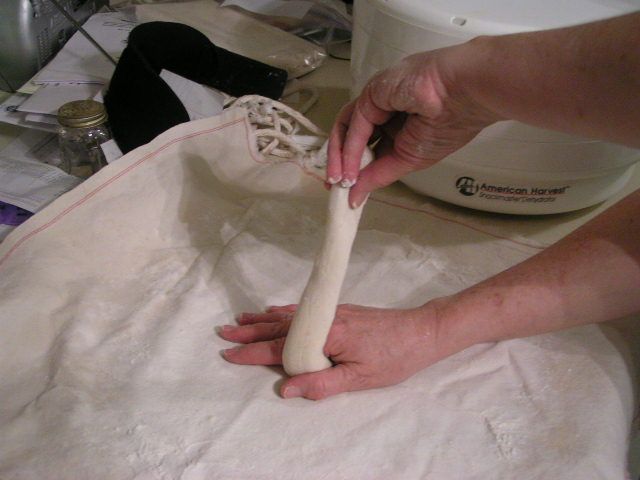 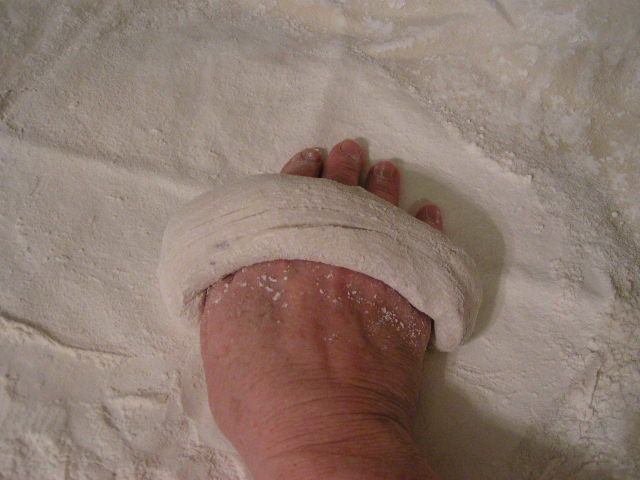 Place one end halfway under your less dominant hand and pick the other end in your other hand. Wrap the rope over the top of your less dominant hand and bring the end under your hand to match the other end. I have a bowl of water nearby where I can dip my fingers in and wet the surfaces of both ends so that they will join easily. 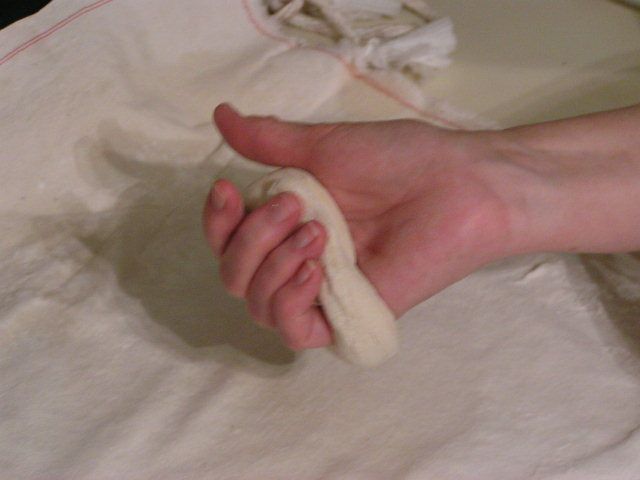 I flip my hand over and gently squeeze the ends together. Or you can press the ends together by pressing down onto the floured surface. At this point, I place the formed bagels back onto the pastry cloth, but the pastry cloth has been put onto a flat surface like a cookie sheet or pizza board. When all bagels have been formed, I cover them with the warm, wet towel again and then place in the oven that has been warmed to 150º and turned off, to rise for 20 – 30 minutes. They should look slightly puffy when they are done. You don’t want them to rise too much, but just have a nice, full shape. Meanwhile, start your water to boiling. 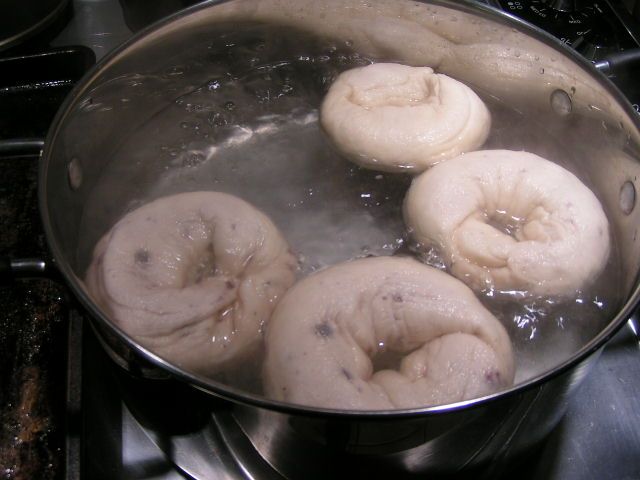 When the bagels have risen slightly, drop them into the boiling water for 1 minute on one side. 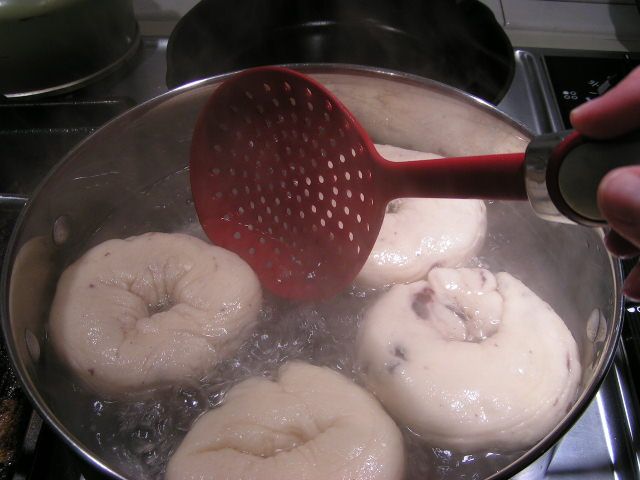 Using a large, slotted spatula, gently turn the bagels and let them boil for 1 minute on the other side. 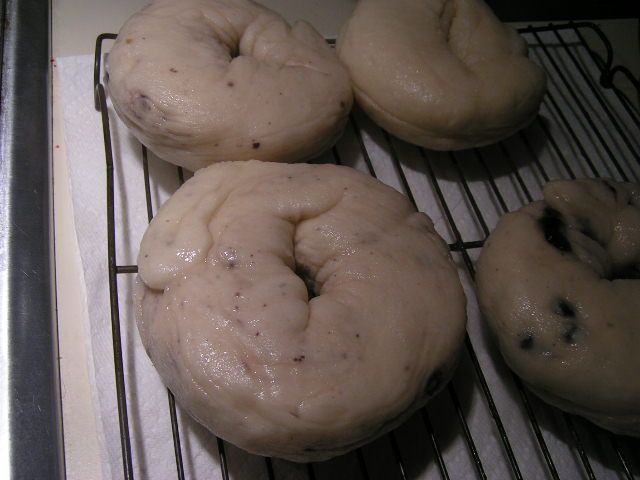 Lift the bagels out of the water and allow to dry for a minute on a rack. 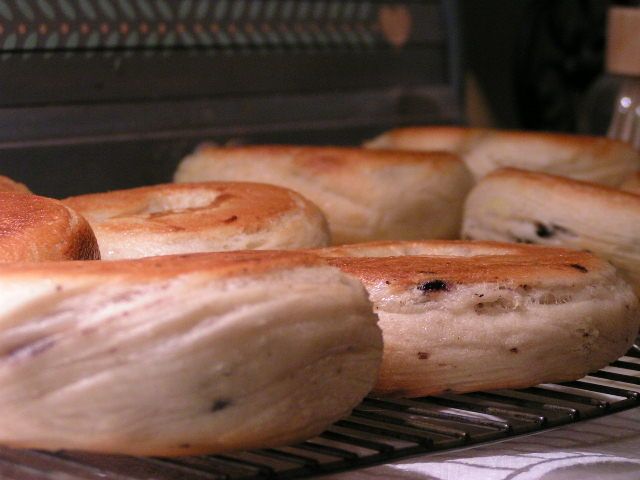 Then place them on the oiled cookie sheet. Bake at 425º for 20 minutes. If you like your bagels to be crispy on both sides, after 10 minutes of baking, you can flip them over to the other side and bake for 10 more minutes. 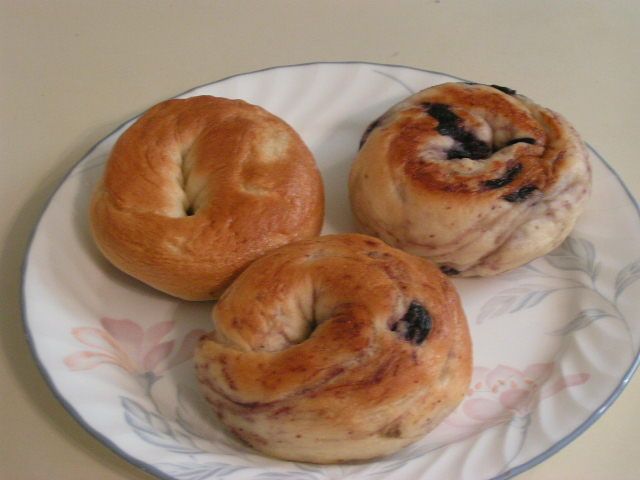 Just to show you the difference in appearance, the two bagels on the left were not turned and the one on the top right was flipped in the middle of baking. Slice bagels and toast in a toaster or toaster oven and serve warm. Extra bagels can be stored in a plastic bag and refrigerated for freshness. 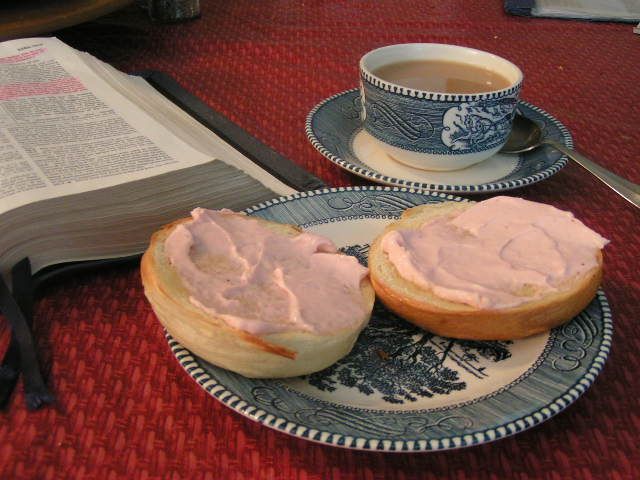 Bible study with a freshly toasted bagel slathered with butter and strawberry cream cheese accompanied by a nice cup of hot, Fortunes Blueberry Vanilla Tea found at the Shopping Page.  |
|
|
Oklahoma Pastry Cloth™ Company on Facebook
|
|
 |
|
|
Posts Tagged ‘baking’
Making Bagels
Monday, August 1st, 2011
Making A Reflector Oven
Monday, July 25th, 2011
|
I’m probably gonna step on some toes. I have a funny way of doing that occassionally. But I see something ridiculous in our culture and I just have to poke fun. I can’t resist. It’s a disease. When I see something dumb, I just can’t keep my mouth shut. Invariably, I wind up offending SOMEBODY. C’est la vie. So as a disclaimer, loving the following appliances is just fine and dandy. But you have to admit that the name is rather humorous. I ran across a website for a brand of appliance that has quite a catchy brand name: Back To Basics. Now I ask you, when you think of back to basics, what do you think of? I picture washboards, rolling pins, clotheslines, grain mills, the Oklahoma Pastry Cloth™, and canning apple butter. In fact, being the campers that we are, a campfire, a chicken on a spit and marshmallows on a stick are REALLY back to basics in my book. Think, “Latrine”. And so, when I saw that there was a brand of kitchen item called, “Back To Basics”, I thought that I’d be finding some pretty neat retro stuff. Ha! Did you know that in today’s culture, Back To Basics, basically means, “Not eating at McDonald’s” and not going to the neighborhood sno-cone stand. For under $100 you can have your own Back To Basics sno-cone stand in your home and invite all of the neighborhood children for free cones, thereby teaching them the principles of capitalism; ie; giving away freebies undercuts your competitor until he goes out of business and then you can start charging out the wazoo. It all depends on how much you are willing to shell out to the neighborhood kids!  But the one that just had me giggling was the Egg and Muffin Toaster. Boy, I’m sure those 1889 Oklahoma Sooners couldn’t have made it in their sod huts without their egg and muffin toasters. Sure, they didn’t have any electricity but you know that toaster was a basic! And I’m sure my mom has memories of my grandmother getting up early to pop muffins and eggs into her toaster to create those sandwiches that hadn’t been invented yet by Ray Kroc of McDonald’s. Shoot, that isn’t even the way he made those egg and muffin sandwiches! OK, so now that I’ve poked fun at the marketing department of an appliance company, I’ll go back to that camping discussion and really getting back to basics. Having been a Girl Scout all the way through Seniors, I learned alot about living with the basics. We camped regularly and had to learn survival skills for various badges. One of those skills was how to make and cook in a ‘reflector oven’. We baked biscuits, brownies, cookies and my favorite, gingerbread, in many a cardboard box lined with aluminum foil. We were so proud of ourselves when we successfully presented a hot treat.  I continued to use these contraptions through parenthood as we hauled children, tents, cooking equipment and fishing poles to our favorite spots. The kids thought that using the reflector oven was the best part of a camping trip. My favorite story about one of those trips happened not too awfully many years ago. We had all four kids, at that time teenagers, with us and had set up two tents at a beautiful park in Arkansas. Our camping spot was next to the biggest, shiniest, most expensive motor home any of us had ever seen. We looked like slum dwellers living next to the Taj Mahal. The next morning, I got up early and started a fire in the fire pit, got some bacon frying in a cast iron skillet, scrambled eggs, shredded hashbrowns and mixed up some biscuits. I had made my reflector oven the night before and it was ready and waiting for hot coals to bake my biscuits. I loaded the oven with the coals and the biscuits, closed it and covered it with a towel to bake for 20 minutes. The family chowed down on the meal that would ready them for a day of fishing and swimming. After breakfast, I had heated up water in my two waterbath canners to wash dishes and was doing so when the man from the big, fancy motor home timidly approached the table on which I was working. He introduced himself and then said, “Um. We couldn’t help but notice that you had a mighty fine breakfast there this morning.” I said, “It was pretty good.” He continued, “Well, we saw that you was eatin’ some biscuits. We was just wonderin’ where you made those biscuits.” I showed him my reflector oven and he turned to yell at his wife whose face was pressed against the screen of their motor home. “She baked ’em in a box, hon!!! She baked ’em in a box!!” Yes siree. I shore did. And so, here are the directions for a reflector oven that may come in handy for you one day. They are just dandy for when the electricity goes out. Note: This is an outdoor project!! Do not attempt to use this oven inside because the coals give off dangerous carbon monoxide.  Line the inside of a medium sized cardboard box (I’m using an 18 x 18 here) with heavy duty aluminum foil. This includes the top flaps. If you can find a box that has had the entire top cut like a lid, rather than flaps, it’s even easier.  Start coals as for grilling or you can use coals from a wood stove or campfire. Today, I will be using pretend coals because in Oklahoma we are under a burn ban and can’t even grill a steak!!  While the coals are heating up, place an old pan or foil pan in the bottom of the box and stand a brick upright on each side of the pan. This pan will be used to hold the coals. You can also make a metal rack to use instead of the bricks  Pour the hot coals into the pan that has been placed at the bottom of the box.  Place your pan of biscuits, brownies, cookies or cake mix on top of the bricks or rack  Fold the lid or the flaps of the box down to close and cover with a heavy bath towel. Bake for recommended time.  You will have baked goods in a jif! I promise. Now THAT’S back to basics! |
|
|
Oklahoma Pastry Cloth™ Company on Facebook
|
|
 |
|
|
Orange Scone Recipe
Thursday, April 21st, 2011
 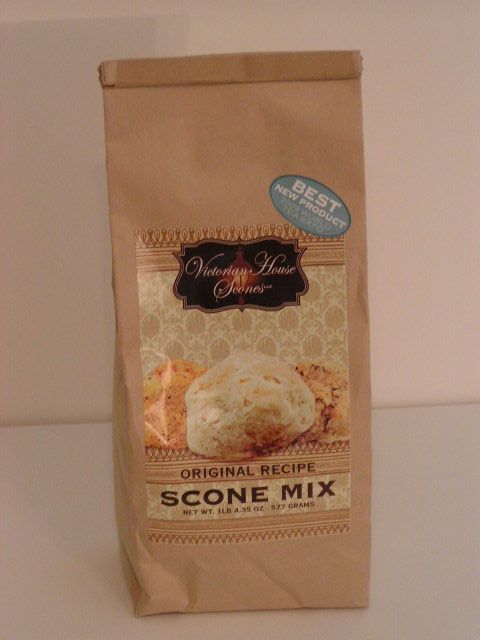 Yep, that’s what I tell anybody who says to me, “A scone? What’s a scone??” when I am showing off the three scones mixes that I carry at the shopping page. The Victorian House Original Recipe Scones are especially good because you can add anything you like to them like 1/2 cup of white chocolate and 1/3 cup of Craisins to create “addiction from a bag”! They are handy because you can make them ahead of time and either freeze them raw for baking later, or keep them in the frig raw for baking the next day. And one bag makes 16 big scones – a bonus! Packaged scones are a great thing to have on hand for a quick tea with the neighbor, a relaxing treat for your afternoon or a wonderful “thank you” gift in a pinch. The Victorian House Scones are an authentic Scottish scone, made with buttermilk. But for those who like to say, “I make MY scones from scratch” – you know, the: “I grew the wheat, dried the wheat, ground the wheat, milked the cow, churned the butter, separated the cream AND got the eggs from our chickens” kinda gals – ok, so you got the ingredients at the store and put them into the mixer! Whatever – it’s homemade! – here is a recipe for you. These scones are fluffy and light and just keep you wanting more. This recipe is my own recipe that I have developed over many, many attempts at scones. And yes, if I should ever decide to market the mix, I WILL have to kill you. 🙂 This recipe uses the dried orange zest from a couple of posts ago. And these are the English type of scone. So here you go:
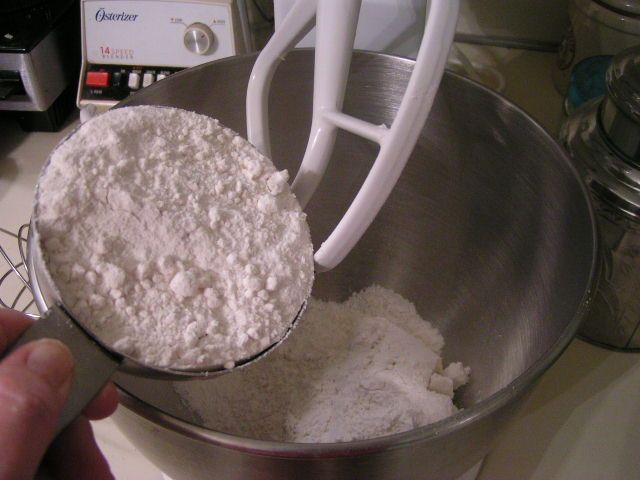 Add flour to mixing bowl 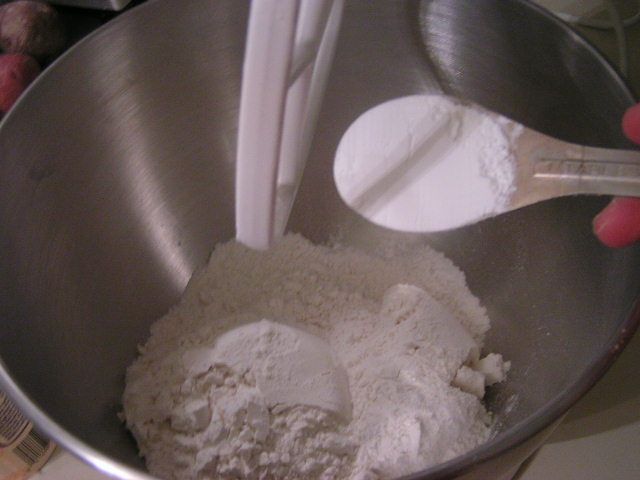 Add Baking Powder 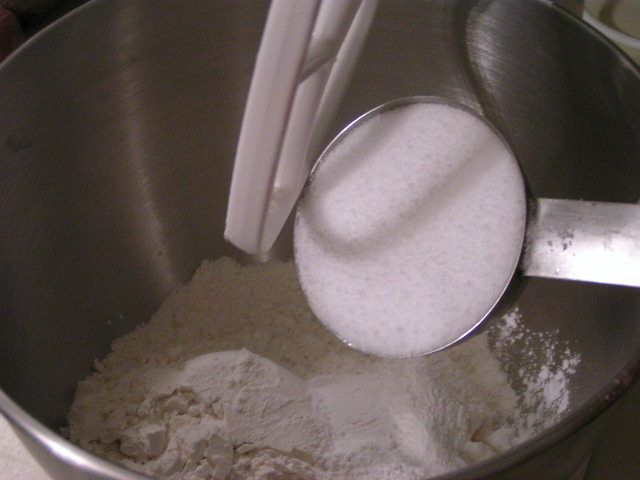 Add sugar or Splenda. If using Splenda add powdered milk. 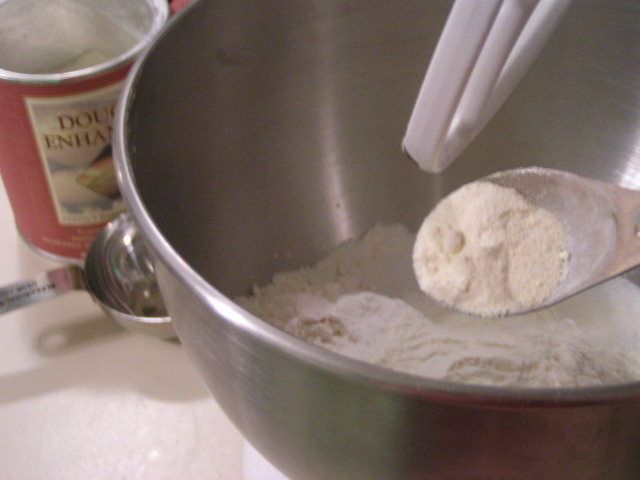 Add dough enhancer – this is optional 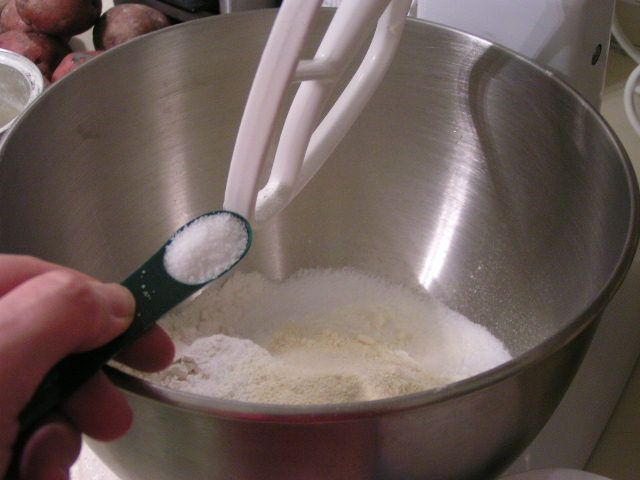 Add salt 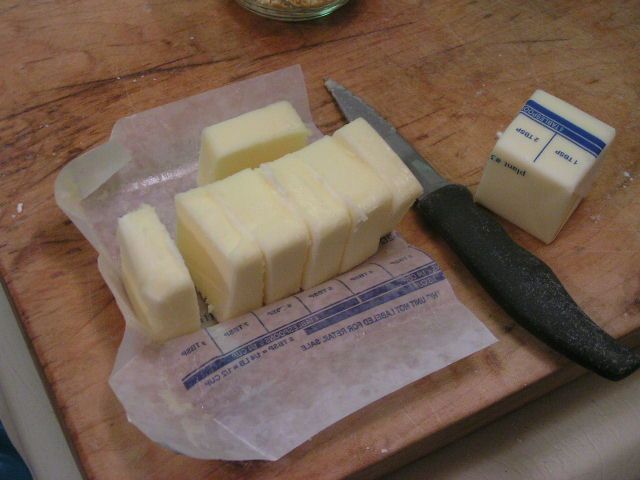 Cut butter into pieces 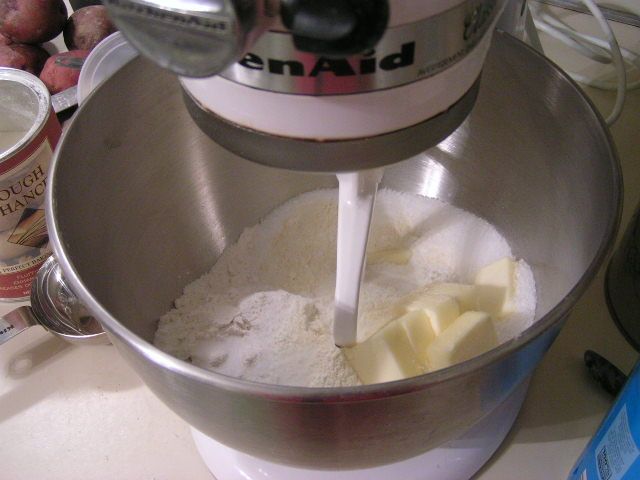 Using mixer or dough blender, cut butter into flour until the mix resembles small peas. 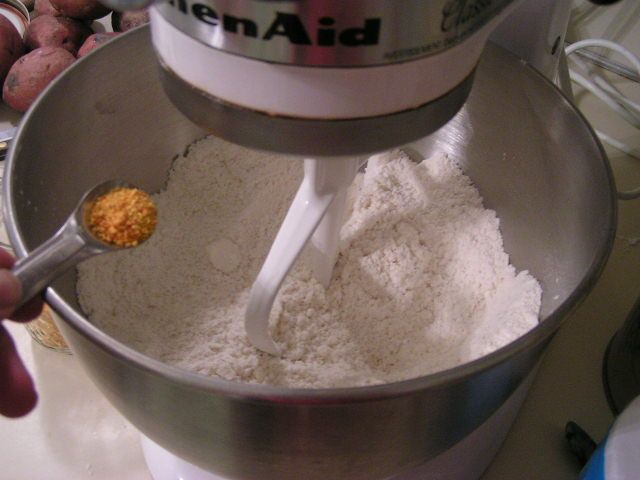 Add orange zest. 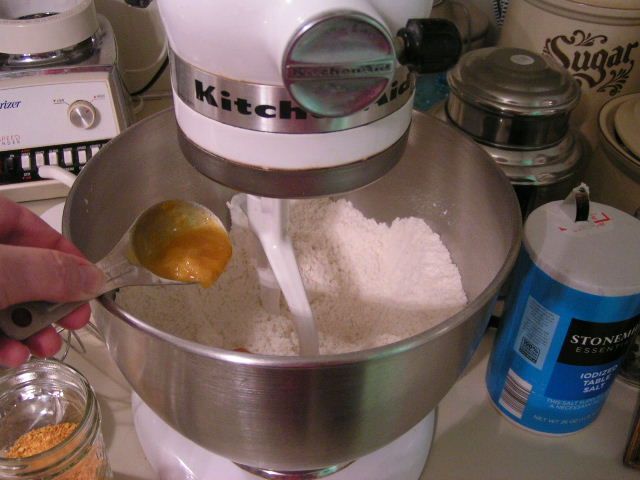 Add 2 -3 tbsp frozen orange juice concentrate to the mix depending on how much of an orange flavor you prefer. Stir in 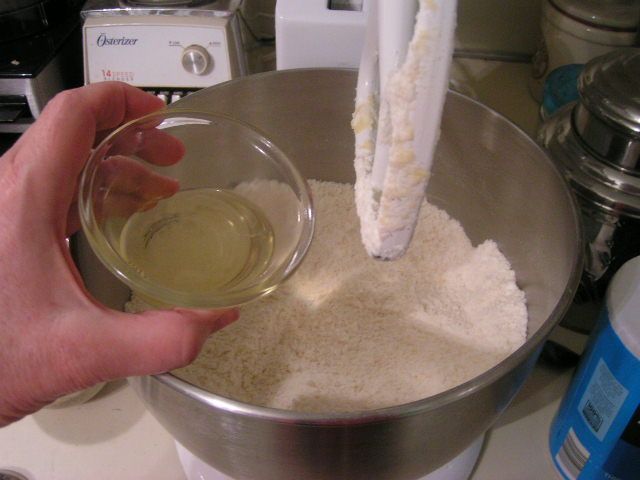 Add egg white and stir (you can use a whole egg if using Splenda for more moistness) 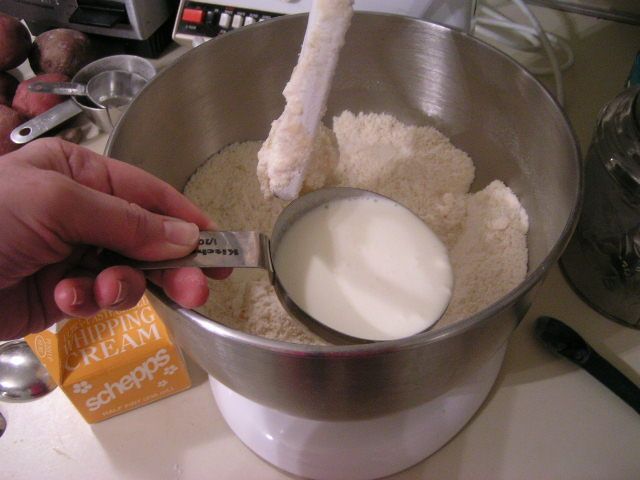 Add cream 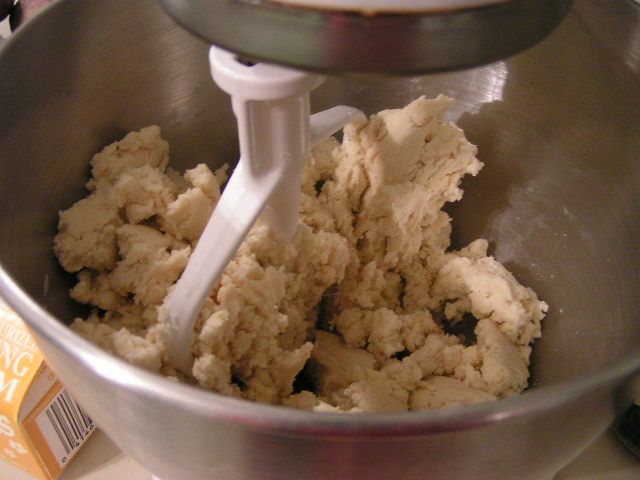 Mix until dough just holds together 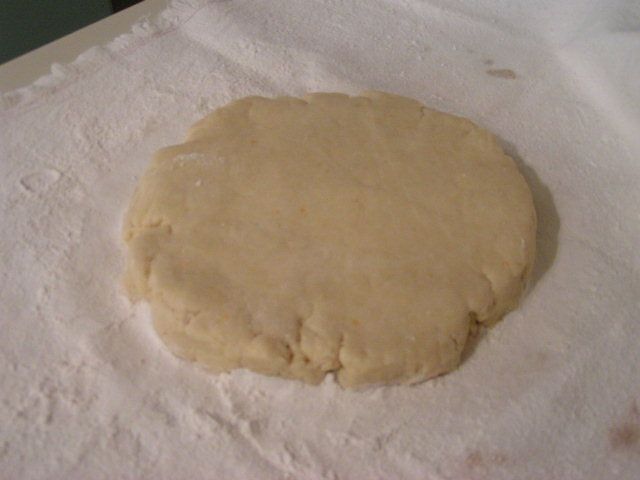 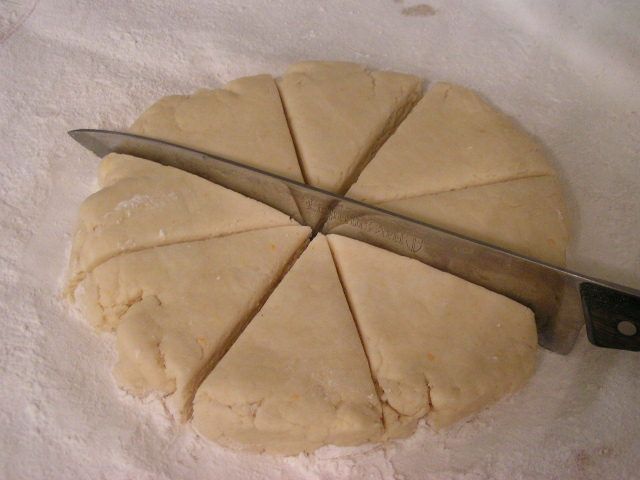 Place dough on a floured surface like the The Oklahoma Pastry Cloth™. Pat the dough out into an 8″ circle and cut into 8 triangles 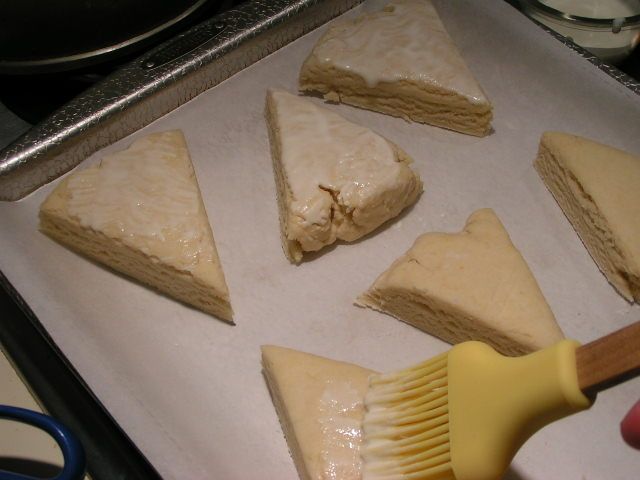 Place scones on a cookie sheet that has been lined with parchment paper and brush with a mixture of the reserved egg yolk and 3 tbsp cream. 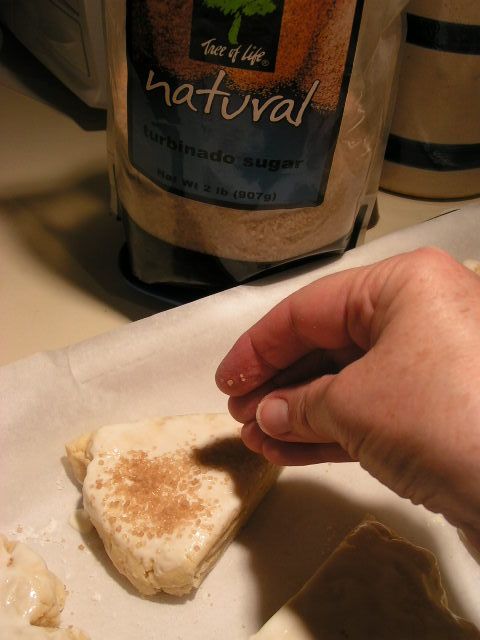 Sprinkle with raw sugar. Bake for 15 – 20 minutes depending on how fast your oven is. You want them to be golden brown. If you would like, dip the tops of the freshly baked scones in the following icing:
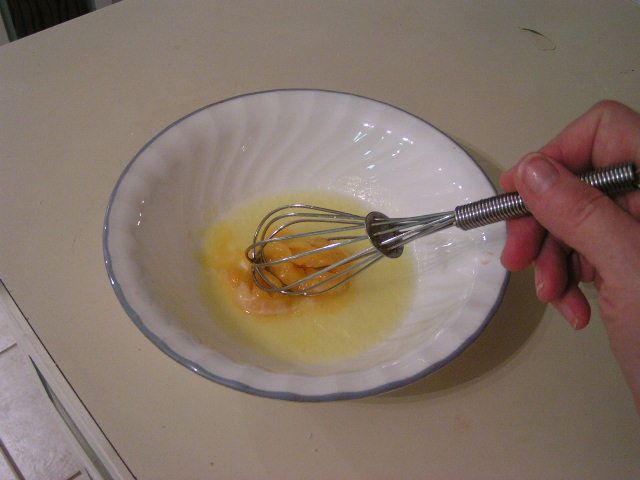 Stir orange juice concentrate into melted butter 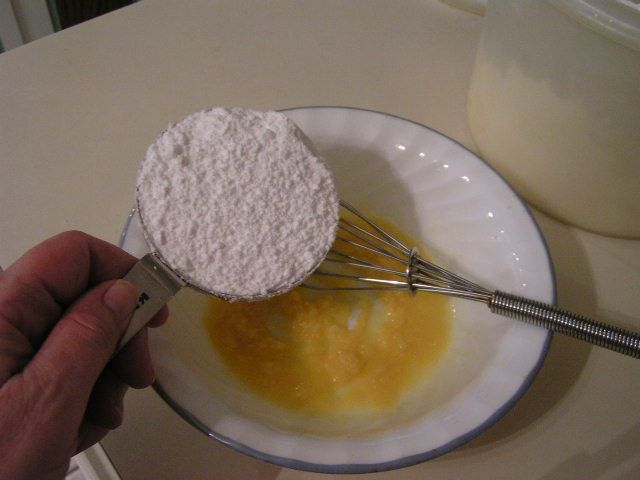 Add powdered sugar and stir. Add milk and continue stirring until smooth. Add more powdered sugar if it is too runny. 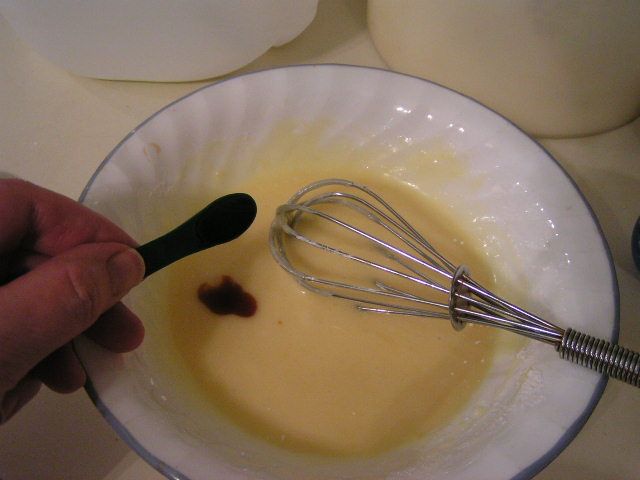 Add vanilla 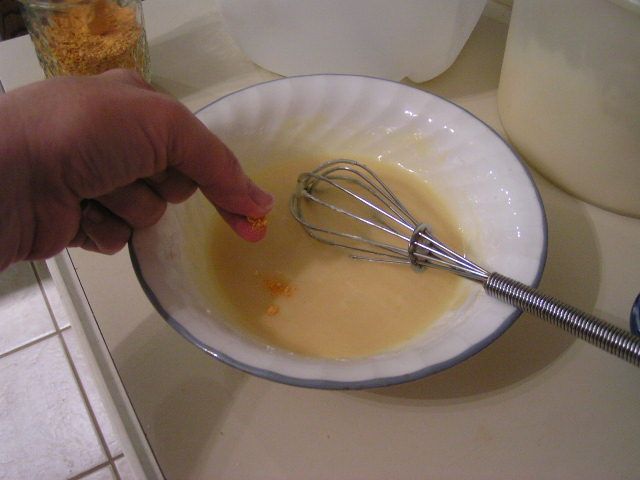 Add pinch of orange zest. Stir and then dip the tops of the scones into the icing. 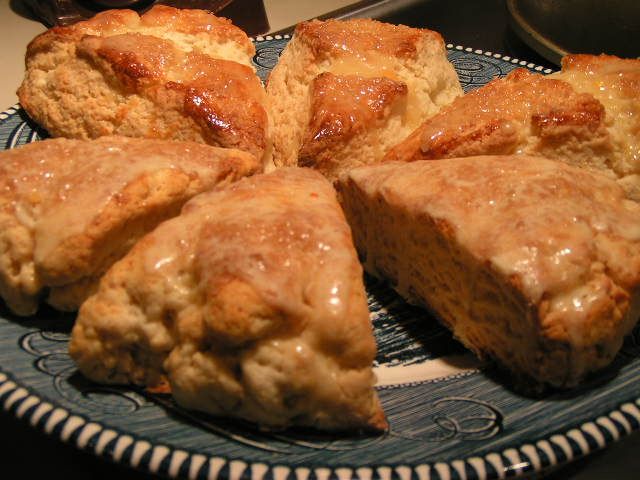  Serve warm or cold. The scones in the forefront are the ones made with Splenda. They are a little heavier and hold their shape. The ones in the background are made with sugar and are lighter and more puffy. Serve with tea and lemon curd and you are set!! |
|
Oklahoma Pastry Cloth™ Company on Facebook
|
 |
English Muffins
Thursday, December 30th, 2010
|
I grew up with English Muffins for breakfast. I think I heard it said that my mom used to make them from scratch, but all I remember are boxes of Thomas English Muffins or various other brands in tubular bags loaded with muffins stacked one on top of the other. We cut the treats with a fork and toasted them in the oven until the tallest points were crisp and brown and the rest of the muffin was warm and chewy. Eggs Benedict was a favorite in our house, with the English Muffin as the basis for that whole, yummy egg concoction. I did a little research, out of curiosity, to see where this muffin originated and got conflicting reports. According to Wikipedia, they originated in England and may have been around as long as the 10th century, however, they didn’t become fashionable until the late 1800’s. It stated that these muffins were and are served as a staple part of “tea”. But according to Foodreference.com The English swear that they never heard of them until these muffins were imported to England from America. It appears that Wikipedia may have confused English Muffins with Crumpets. Crumpets are a flatter, chewier, spongier version and really are a “tea” staple in England. Foodreference.com joked that perhaps a pitiful English baker named Thomas, messed up his mother’s crumpet recipe – probably added too much flour – and produced the English Muffin instead. Who knows. It makes a good story though! About a month ago, one of the active participants on the MaryJane FarmGirl Connection challenged all of us “Farmgirls” to a bread baking day. What fun. We were told to make something that we had never tried before. It was a blast reading recipes that were shared and seeing photos of the results. What a wonderful group of women. It was with that challenge, that I decided to try my hand at English Muffins. The following is the result and I must say, “Oh my!!” A pat of butter and some strawberry jam and you might as well leave me to meditatin’. These were very easy to make and I encourage you to give it a try. You will love the results. No more ‘store boughten’ for me!!!! 1 cup water 1/2 cup scalded milk 2 tsp sugar 1 tsp salt 2 tbsp warm water 1 pkg active dry yeast [or 1 tbsp loose yeast] 4 cups flour 3 tbsp softened butter 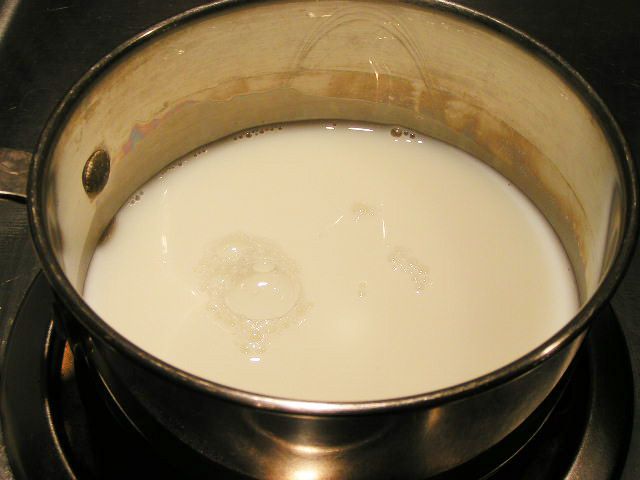 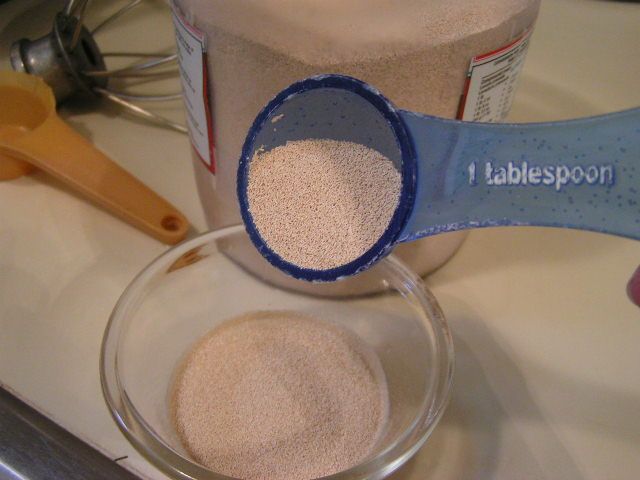 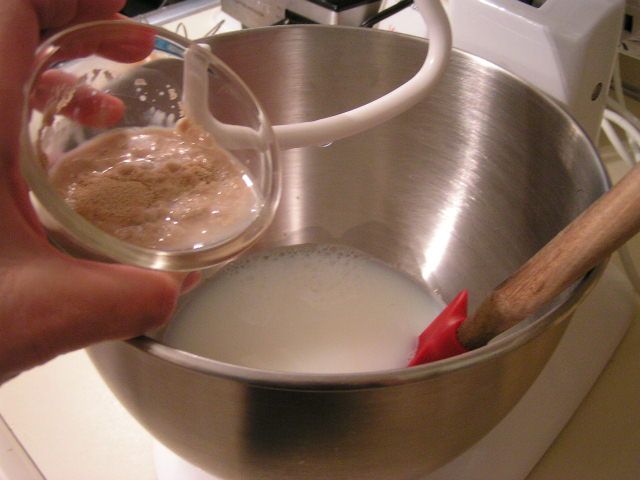 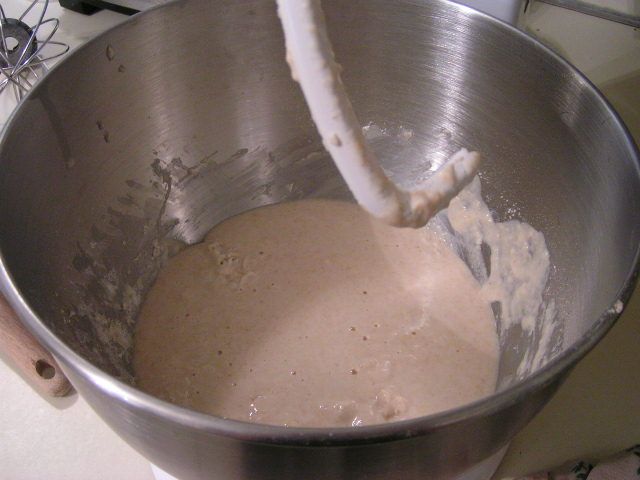 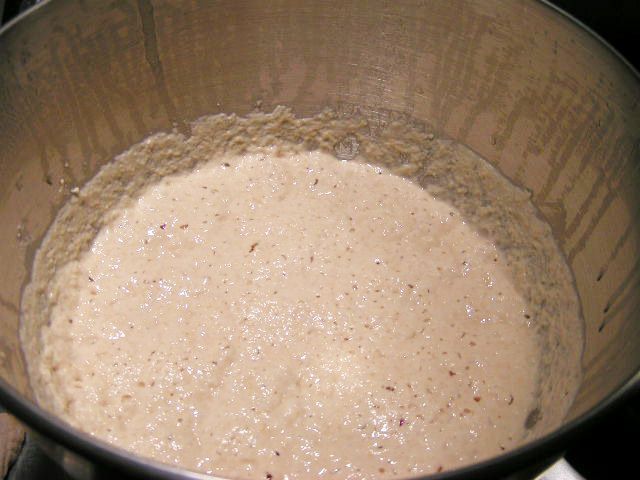 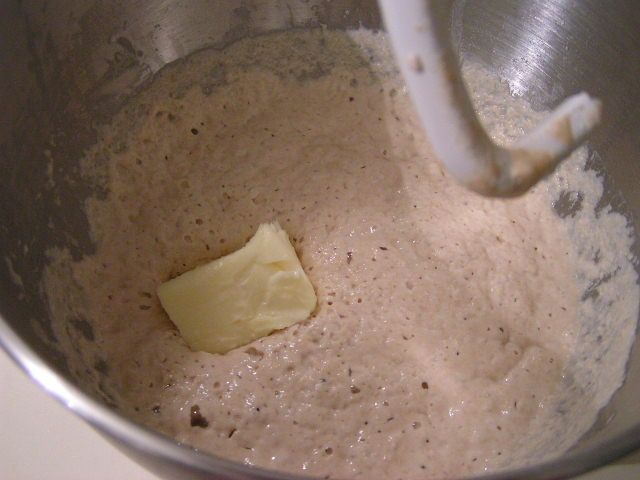 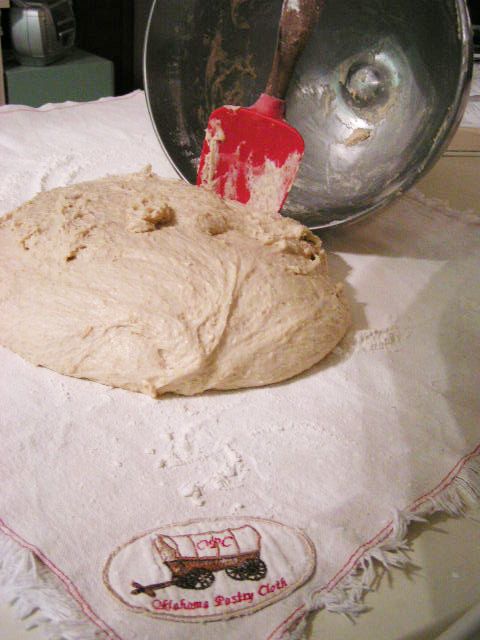 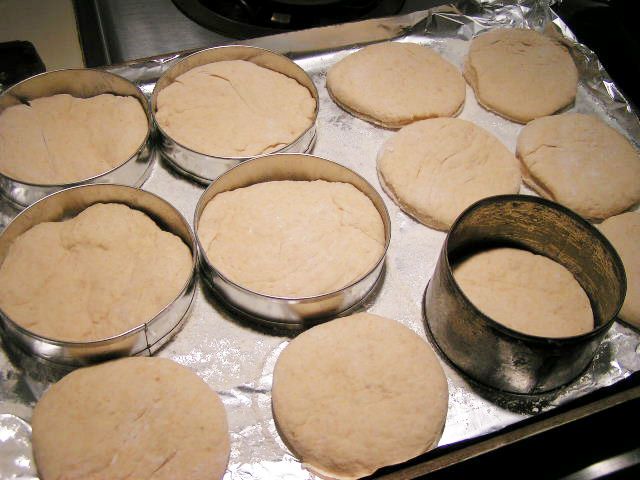 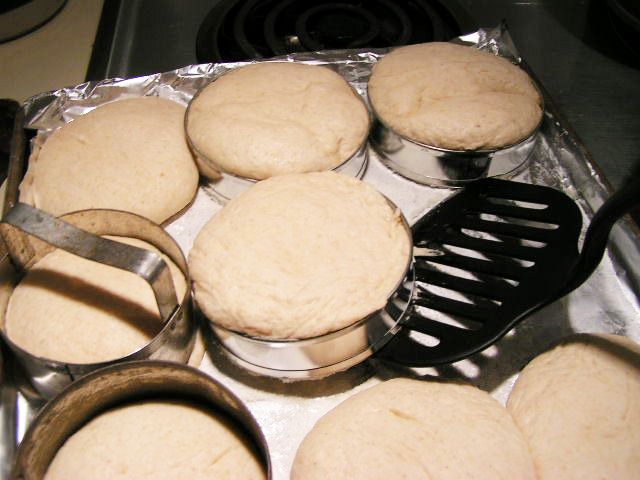 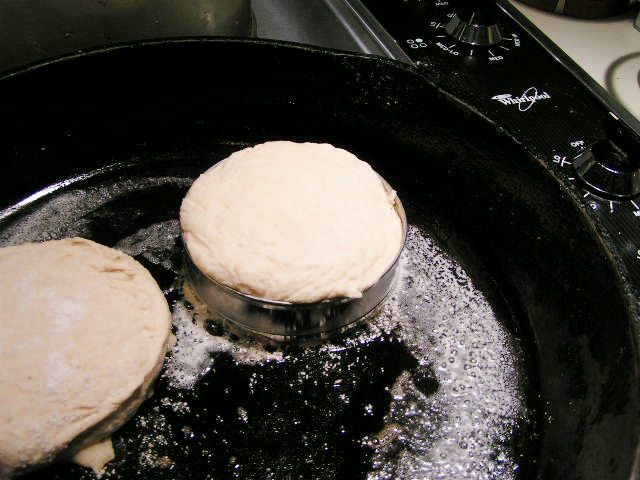 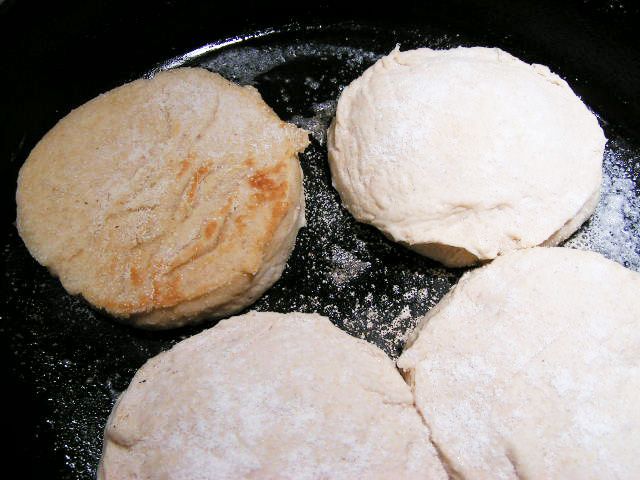 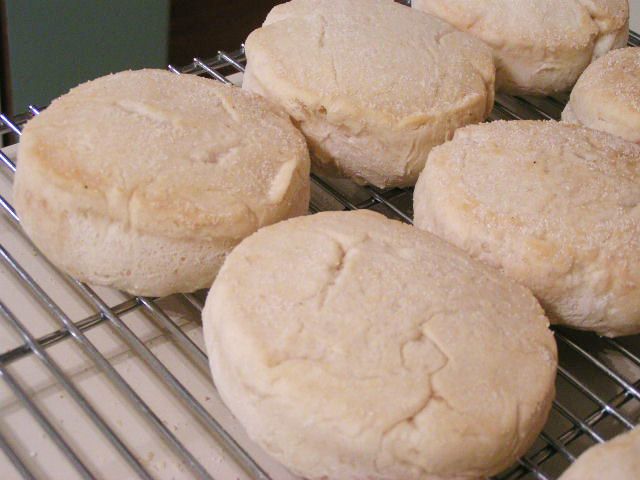 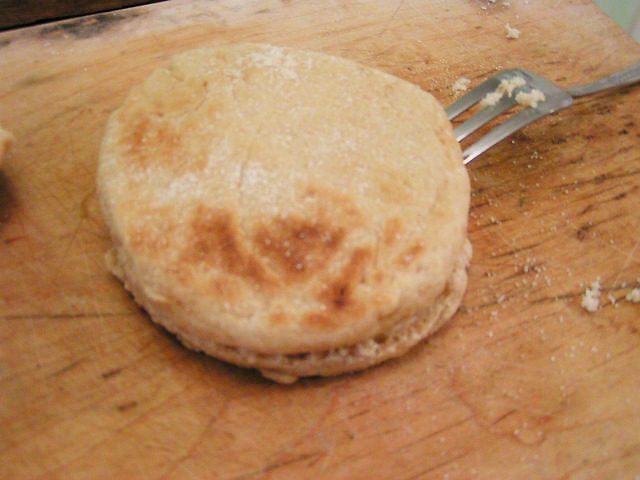 I don’t care where these precious breads were invented or if they were just a mistake on the part of a bad English baker who immigrated to the US, they are delicious and a real treat. Next post, I’ll show you something that you can do with them that will thrill the kids. Until then…. |
|
Oklahoma Pastry Cloth™ Company on Facebook
|
|
|

 Homestead Revival
 Paratus Familia
 Rural Revolution