  A number of posts ago, I put up my own, special scones recipe and intended to post my favorite lemon curd recipe shortly thereafter. As good intentions usually go, mine disappeared into the oblivion of a ‘To Do List’. Does anyone ever really do what’s on their ‘To Do List”? I mean, my list grows to at least three pages and then I see something on page three that should have gone onto page one and the next thing I know, the list is in the trash and I’m digging around for something to eat. I know. You’re supposed to just list the most pressing items in the manner of “How do you eat an elephant? One bite at a time.” However, I’ve never even thought about eating an elephant and I’m not all that good at determining which is pressing, which is nagging and which is “get it done now or the IRS is coming to put you under a bright light for interrogation!!” And so my list grows exponentially and I get sidetracked. I’m easily diverted. Take for example, today, while working in the garden. I had a mental “To Do List” that was at least five pages long and I decided to tackle #2 on page four – weed the onions. We’ve had some good rain and a really strange grass has grown up for the first time ever in my onion rows. My onions have been coughing and gasping for help and so I felt that this might be a “pressing” matter. I began weeding and had that wonderful sensation of accomplishing something as foot after foot of dark, rich dirt became exposed and completely clean around my Texas 1015’s. I had finished row two when a bright red color caught my eye. Two beds over, more raspberries were ripe! Oh! And blueberries too. I had to go get a bag to pick them and left my other rows of onions helplessly begging me to please continue the weeding. Ignoring them, I picked berries, sneaking a lucious bite on occassion, and finally headed in to wash them and get them laid out onto cookie sheets for freezing. As I patted the raspberries and blueberries dry, they made me think of making jam, which made me think of things on which to put jam, which made me think of scones, which made me think of lemon curd which reminded me that I had not posted my favorite recipe. Add to that, a gentle reminder from one of my readers to post it or else (actually, it was my sister-in-law but she’s a reader), and lemon curd went to the top of my ‘To Do List’ that really doesn’t exist. And so, the onions have been left for another day. Hopefully, you are more disciplined than I, but I have to say, it’s not so bad. Mr. Fix-It says that I wake up each day to a whole new world. That’s good, right? VARIATIONS: Substitute Lime juice and lime zest or raspberry juice and 1 tbsp crushed raspberries or concentrated orange juice and orange zest 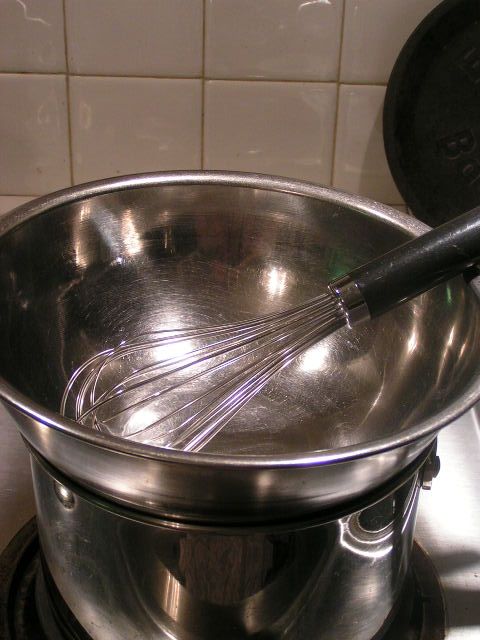 I have a double-boiler and you can use one if you like, but I like to use a shallow stainless steel bowl over a pan of boiling water in which to make my curd. It makes it easier to whisk the entire area of curd without having to deal with the side crevices of a pan. This gives me a much smoother curd that does not have to be strained for lumps. 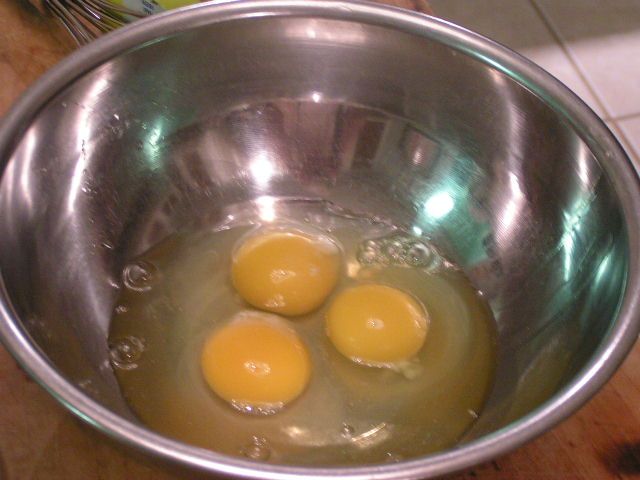 Place three large eggs into the bowl or double boiler 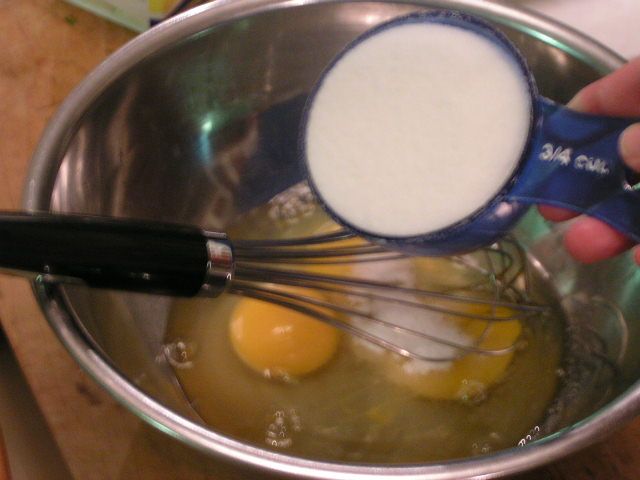 Add 3/4 cup of sugar 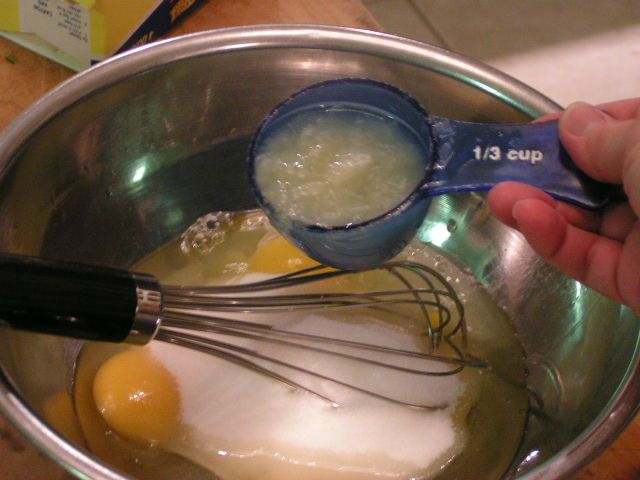 And 1/3 cup of lemon juice 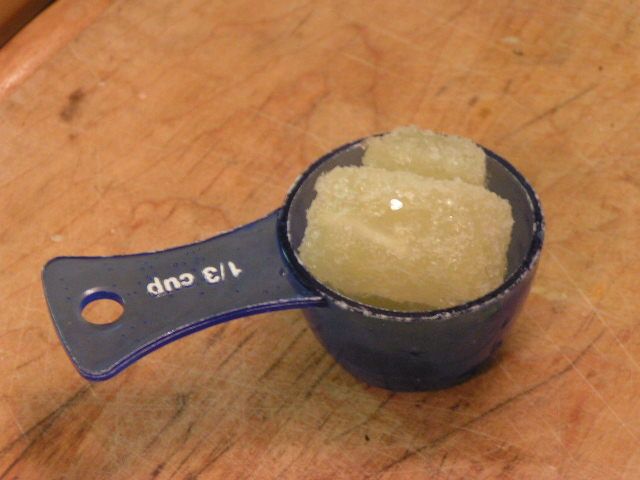 Just as a hint, I buy my lemons in bulk when on sale and juice them all, freezing the juice in ice cube trays. I pop them out and store them in the freezer in bags. I freeze the leftover rinds for easier zesting. This is one recipe where my dehydrated lemon zest is just not as good. I melt the frozen juice in the microwave 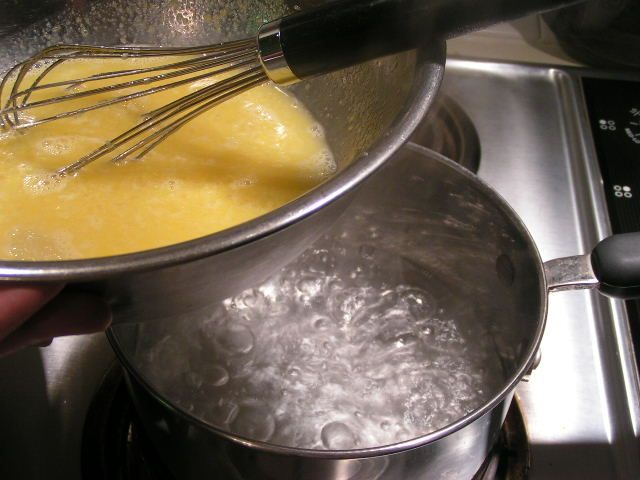 Place bowl over boiling water and immediately begin whisking 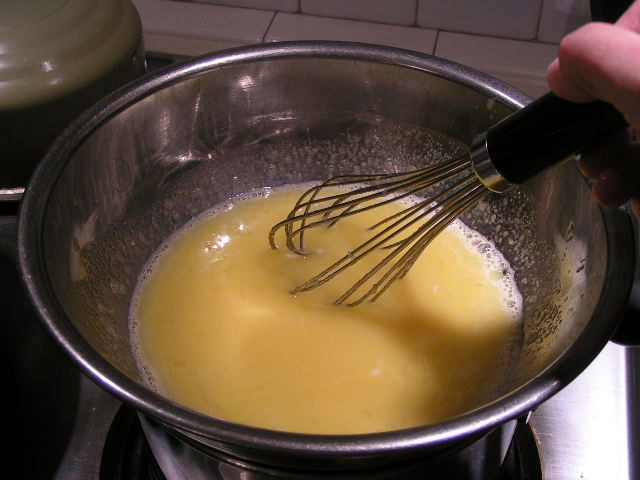 Continually stir with the whisk and do not let the curd stand idle at all in order to keep from getting lumpy 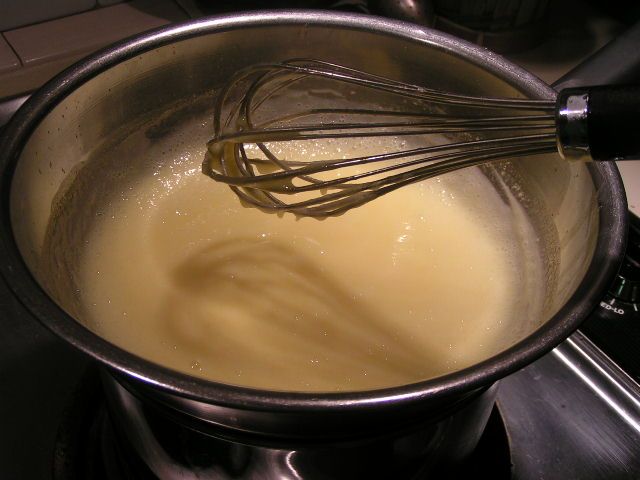 The curd will begin to thicken to the consistency of thin pudding. This takes about 7 -10 minutes. If your curd gets lumpy, you can strain it through a strainer. 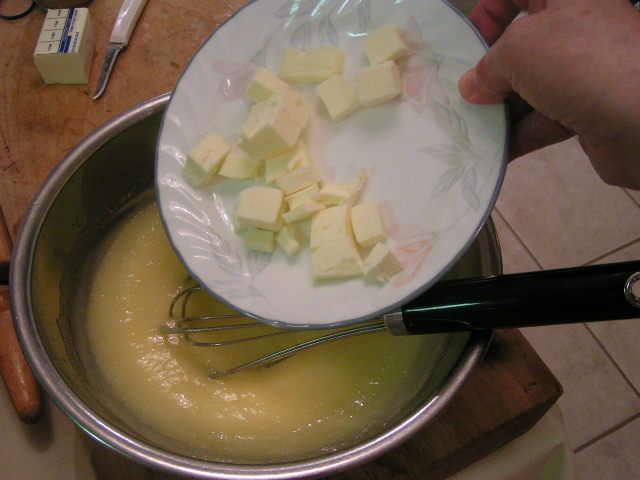 Remove from heat and immediately add butter 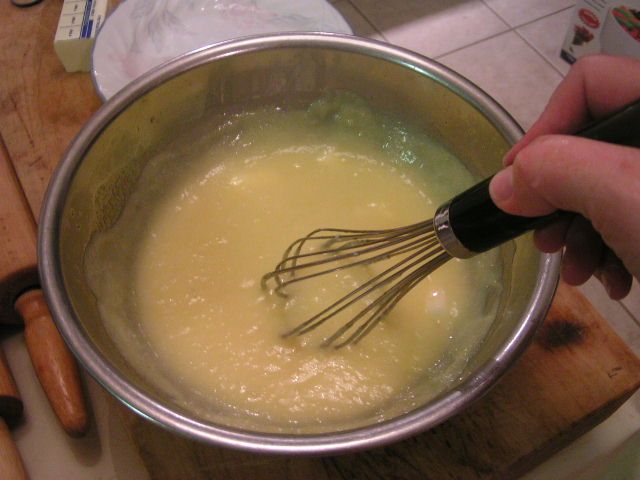 Stir until melted 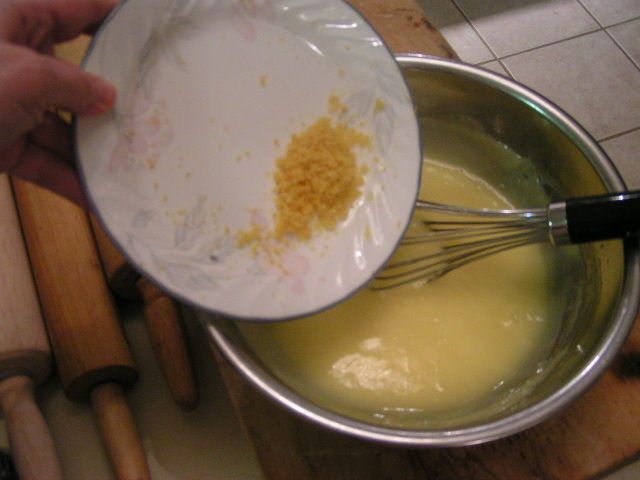 Add lemon zest and stir in 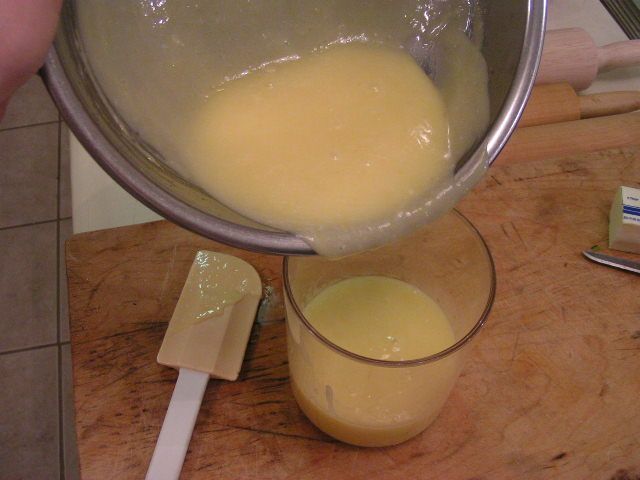 Pour into a container and allow to cool. Place in frig. If you do not plan on eating all of the curd right away, you can pour it into ice cube trays or small refrigerator dishes to be frozen. Remove from freezer and allow to thaw about 20 minutes before serving. 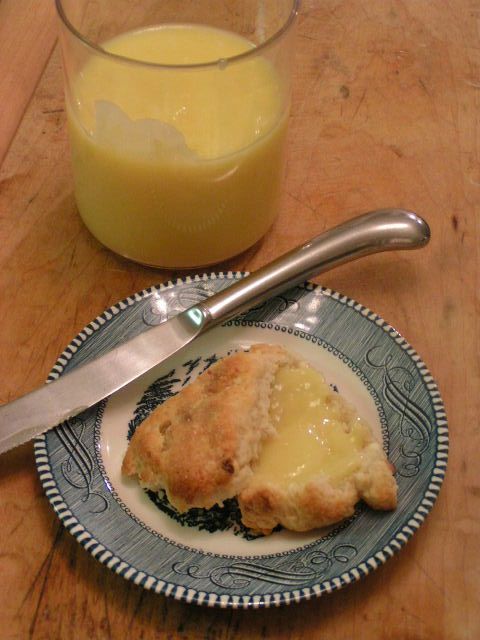  There is just nothing like lemon curd on scones. Here, I am serving our Victorian House Scones made with 1/2 cup white chocolate chips and 1/2 cup Craisins added. The Victorian House scones are wonderful to keep on hand when you don’t have time to make them from scratch. One package makes 16 large scones. Check them out at the shopping page. |
|
Oklahoma Pastry Cloth™ Company on Facebook
|
 |
Posts Tagged ‘recipe’
Lemon Curd
Monday, May 30th, 2011
Orange Scone Recipe
Thursday, April 21st, 2011
 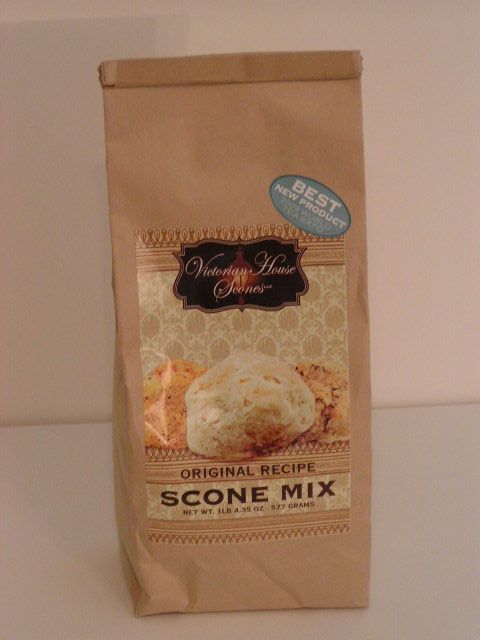 Yep, that’s what I tell anybody who says to me, “A scone? What’s a scone??” when I am showing off the three scones mixes that I carry at the shopping page. The Victorian House Original Recipe Scones are especially good because you can add anything you like to them like 1/2 cup of white chocolate and 1/3 cup of Craisins to create “addiction from a bag”! They are handy because you can make them ahead of time and either freeze them raw for baking later, or keep them in the frig raw for baking the next day. And one bag makes 16 big scones – a bonus! Packaged scones are a great thing to have on hand for a quick tea with the neighbor, a relaxing treat for your afternoon or a wonderful “thank you” gift in a pinch. The Victorian House Scones are an authentic Scottish scone, made with buttermilk. But for those who like to say, “I make MY scones from scratch” – you know, the: “I grew the wheat, dried the wheat, ground the wheat, milked the cow, churned the butter, separated the cream AND got the eggs from our chickens” kinda gals – ok, so you got the ingredients at the store and put them into the mixer! Whatever – it’s homemade! – here is a recipe for you. These scones are fluffy and light and just keep you wanting more. This recipe is my own recipe that I have developed over many, many attempts at scones. And yes, if I should ever decide to market the mix, I WILL have to kill you. 🙂 This recipe uses the dried orange zest from a couple of posts ago. And these are the English type of scone. So here you go:
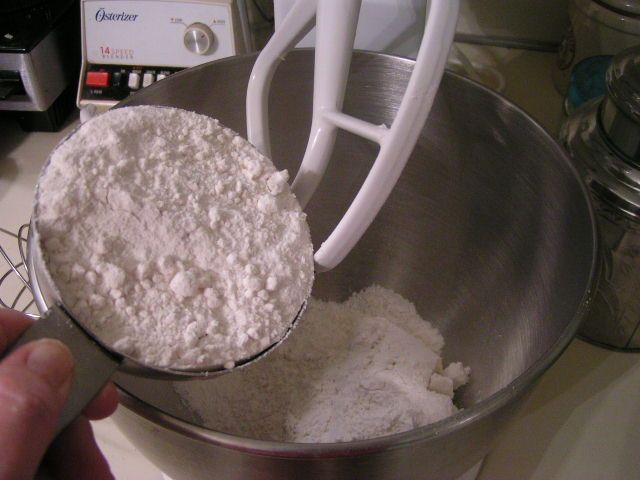 Add flour to mixing bowl 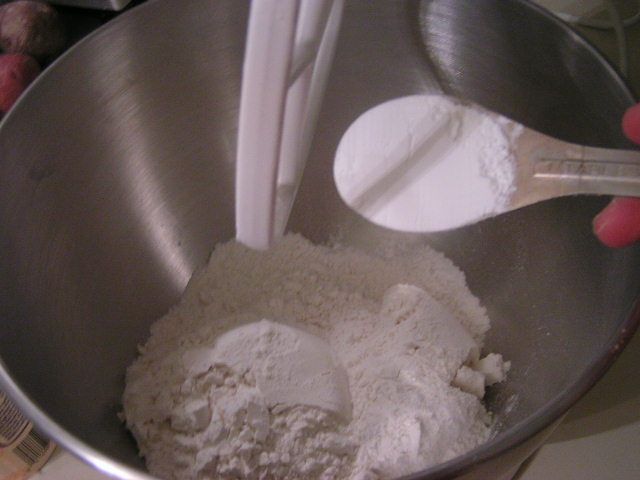 Add Baking Powder 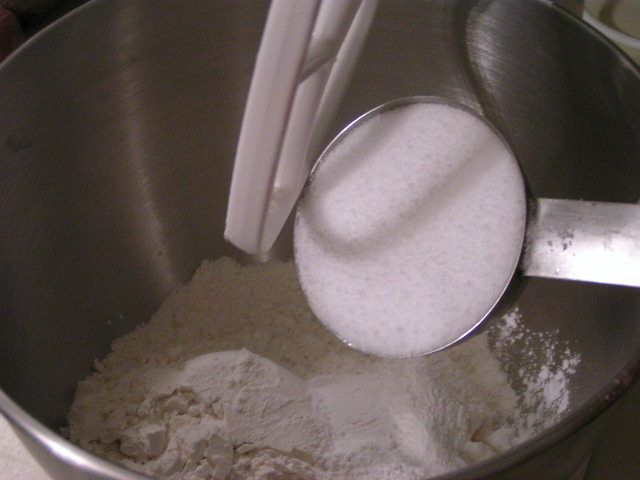 Add sugar or Splenda. If using Splenda add powdered milk. 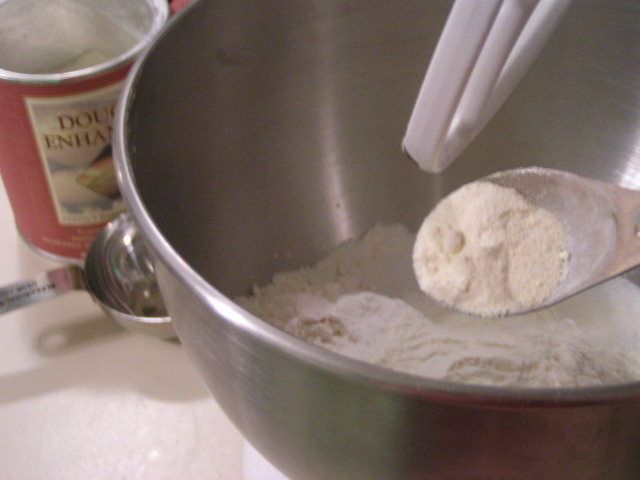 Add dough enhancer – this is optional 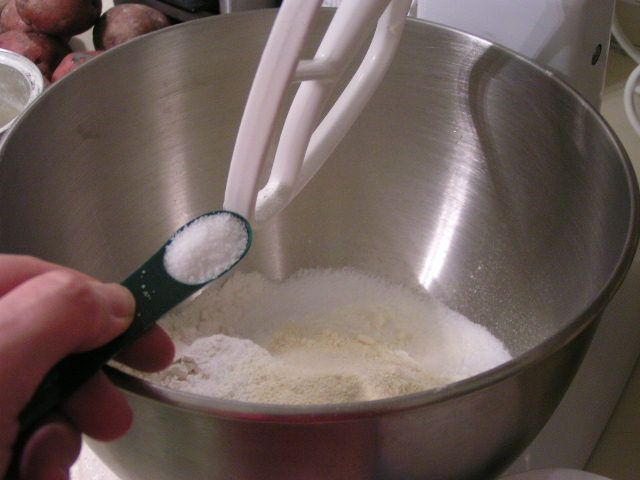 Add salt 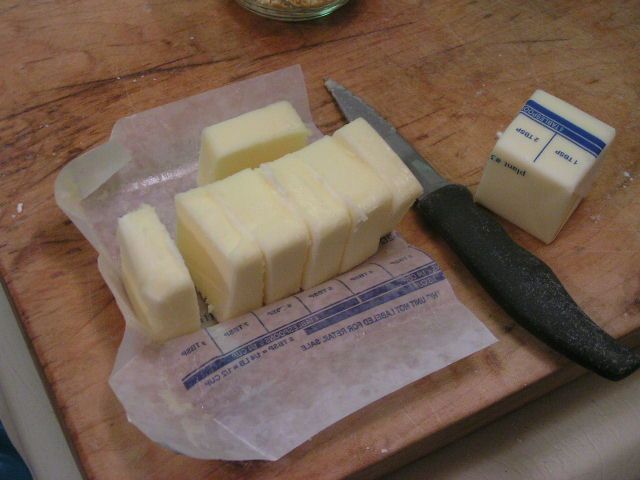 Cut butter into pieces 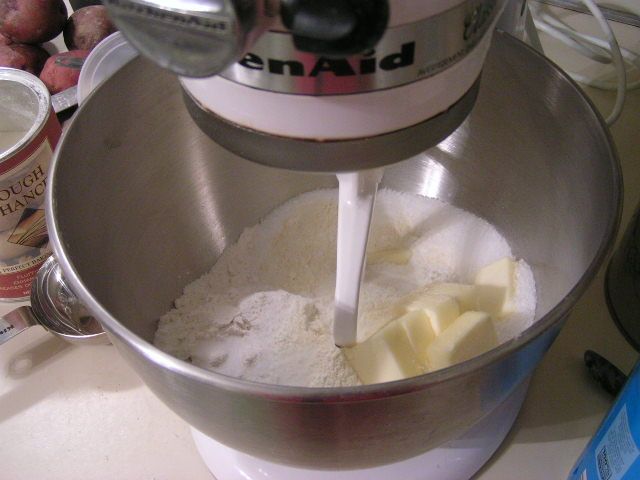 Using mixer or dough blender, cut butter into flour until the mix resembles small peas. 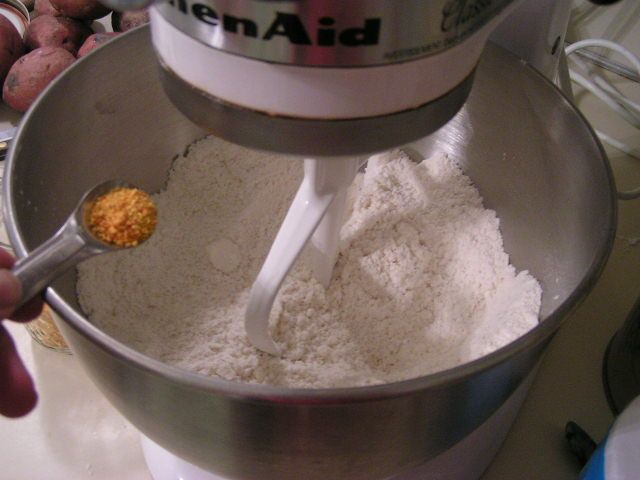 Add orange zest. 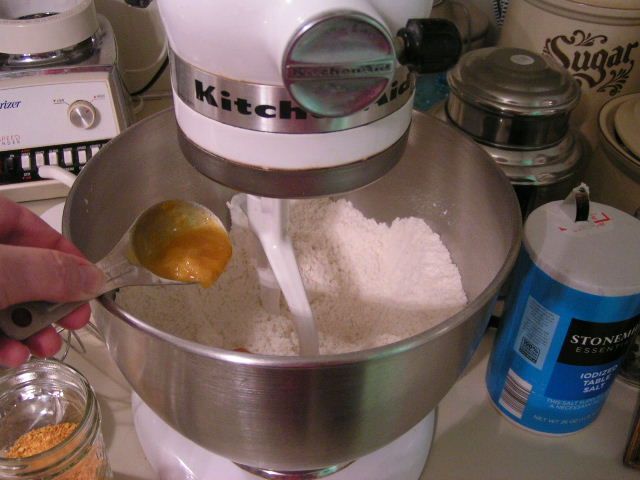 Add 2 -3 tbsp frozen orange juice concentrate to the mix depending on how much of an orange flavor you prefer. Stir in 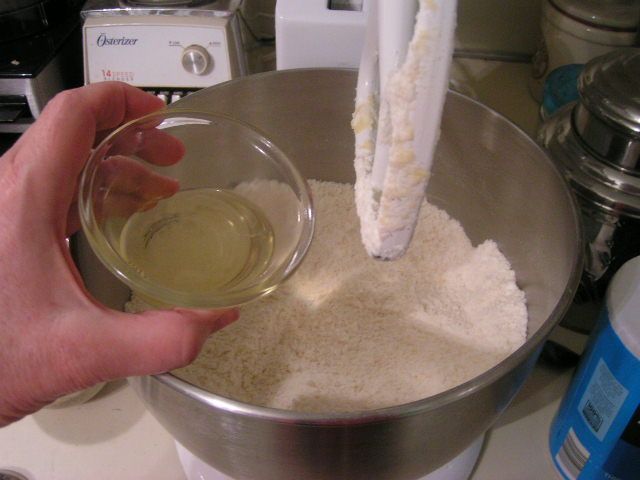 Add egg white and stir (you can use a whole egg if using Splenda for more moistness) 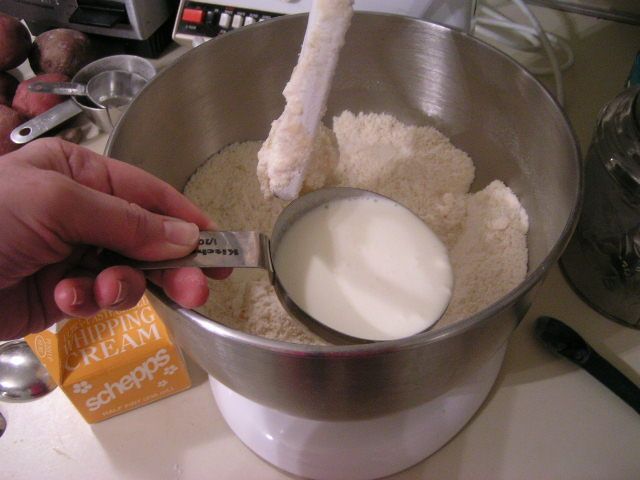 Add cream 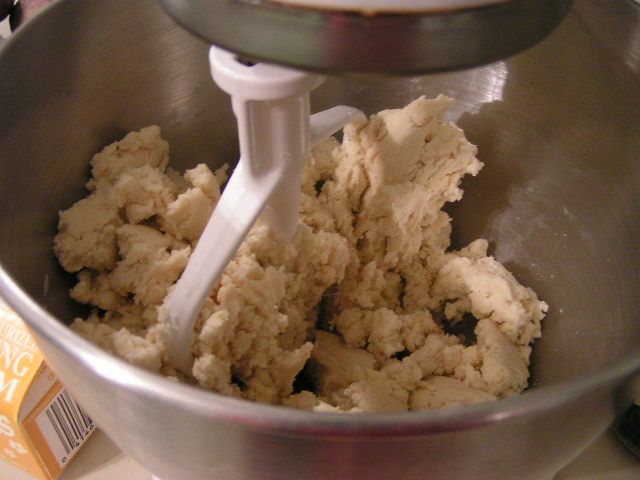 Mix until dough just holds together 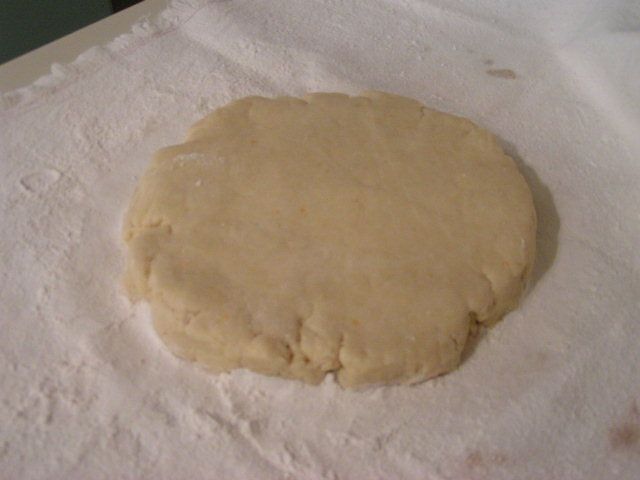 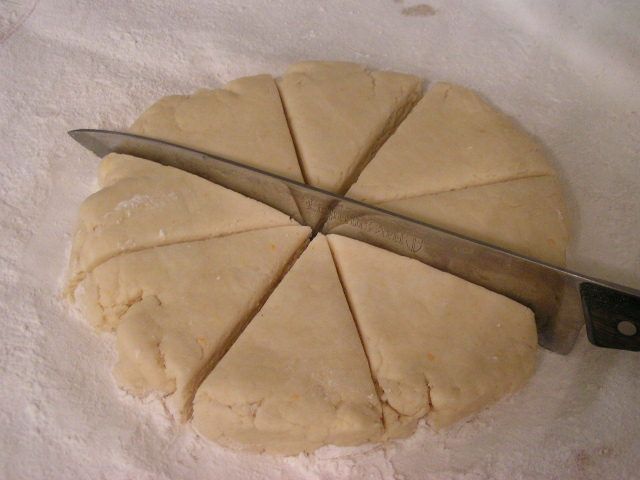 Place dough on a floured surface like the The Oklahoma Pastry Cloth™. Pat the dough out into an 8″ circle and cut into 8 triangles 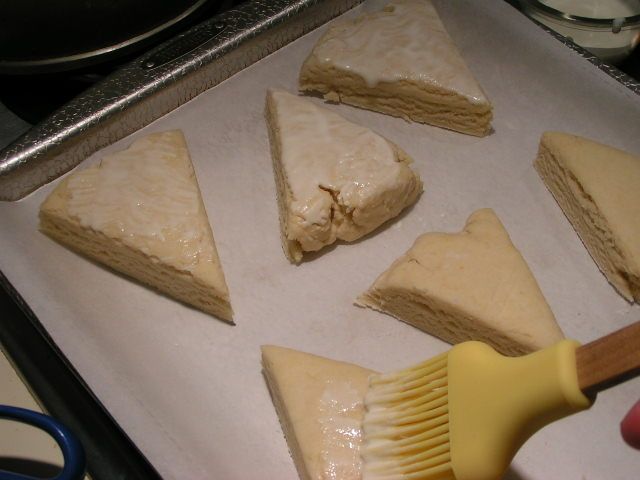 Place scones on a cookie sheet that has been lined with parchment paper and brush with a mixture of the reserved egg yolk and 3 tbsp cream. 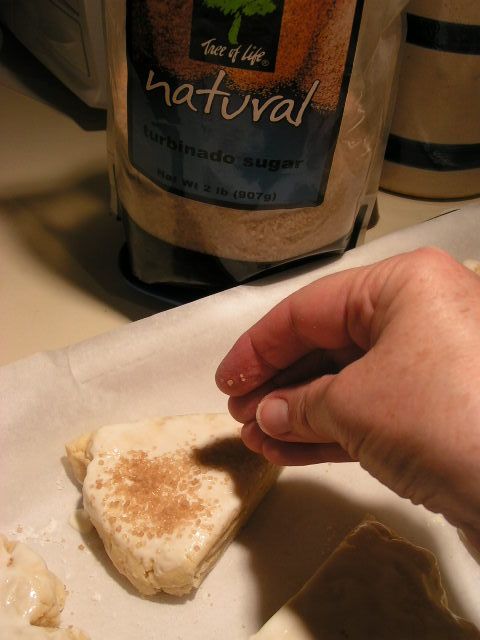 Sprinkle with raw sugar. Bake for 15 – 20 minutes depending on how fast your oven is. You want them to be golden brown. If you would like, dip the tops of the freshly baked scones in the following icing:
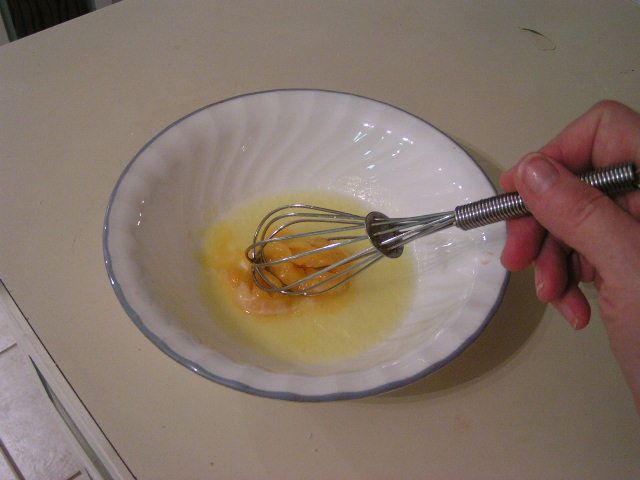 Stir orange juice concentrate into melted butter 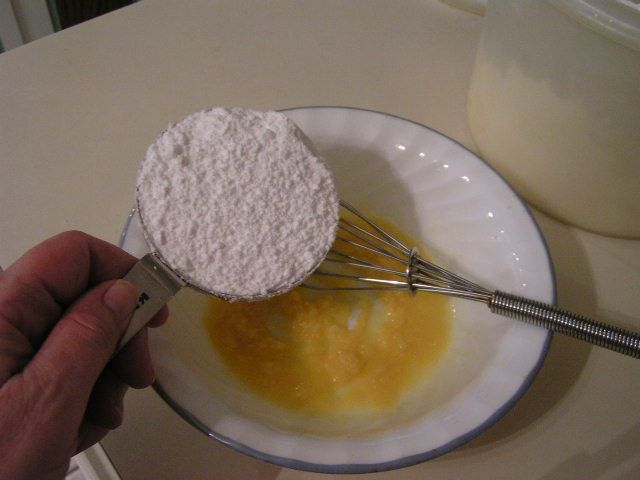 Add powdered sugar and stir. Add milk and continue stirring until smooth. Add more powdered sugar if it is too runny. 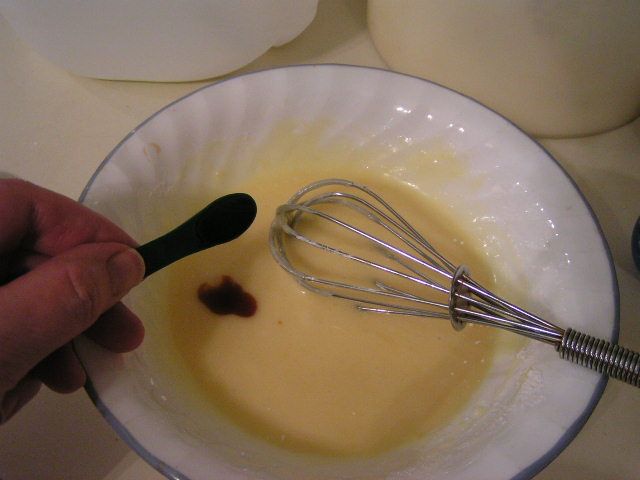 Add vanilla 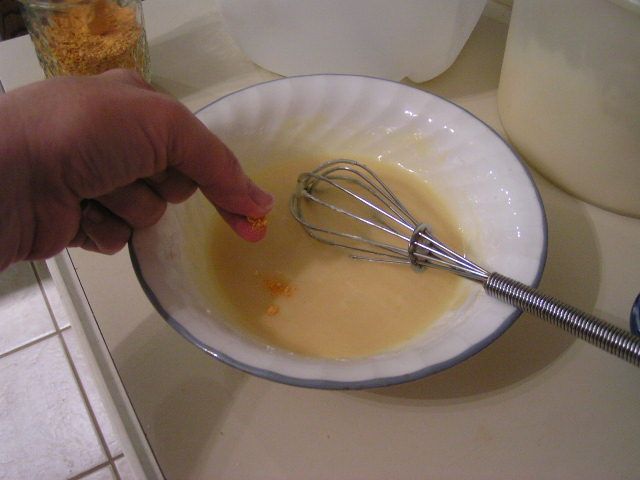 Add pinch of orange zest. Stir and then dip the tops of the scones into the icing. 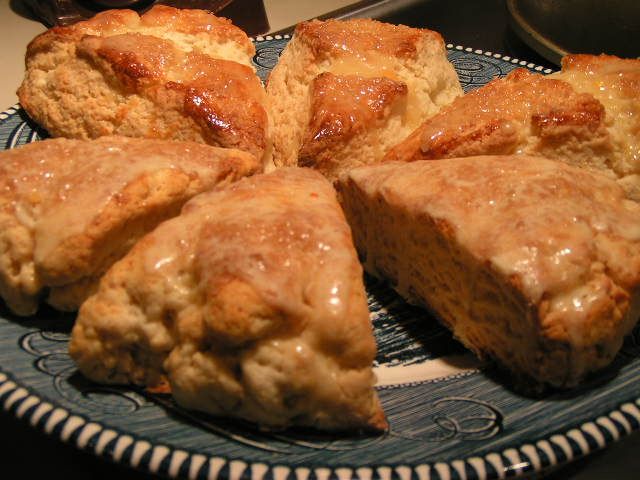  Serve warm or cold. The scones in the forefront are the ones made with Splenda. They are a little heavier and hold their shape. The ones in the background are made with sugar and are lighter and more puffy. Serve with tea and lemon curd and you are set!! |
|
Oklahoma Pastry Cloth™ Company on Facebook
|
 |
“Time To Make The Donuts”
Tuesday, March 29th, 2011
|
  My dear friend and reader, Mrs. B., did it again. Not only did she gift me with my wonderful Bosch mixer, but she alerted me to the newest post at one of my favorite and linked blogs, New Life On a Homestead with the recipe for donuts to mix in my new Bosch mixer. The recipe originated at Enola Gay’s Paratus Familia and then Kendra made an edition at her blog. The pictures of the donuts at both sites made Mr. Fix-It drool and since I was tired of wiping up spit from the kitchen floor, I asked him if he’d like me to attempt the confections. You know the answer! And so I did the recipe, as written, with one change. I substituted potato flakes for some of the flour. I used home ground, whole wheat flour that I sifted and sifted but added potato flakes because I know that is the secret ingredient for a famous donut. I figure, what could it hurt? I make potato rolls and bread, so why not potato donuts? The home ground flour works great, but all purpose is fine too. So that’s what I did and the following is the result. The recipe made 27 small donuts + 27 holes. Also, I used a thin glaze and only dipped one side to make them not so sweet. They were just right. We shared these gems with our neighbor up the road and one of the sons said that he loved them because they were not too sweet.
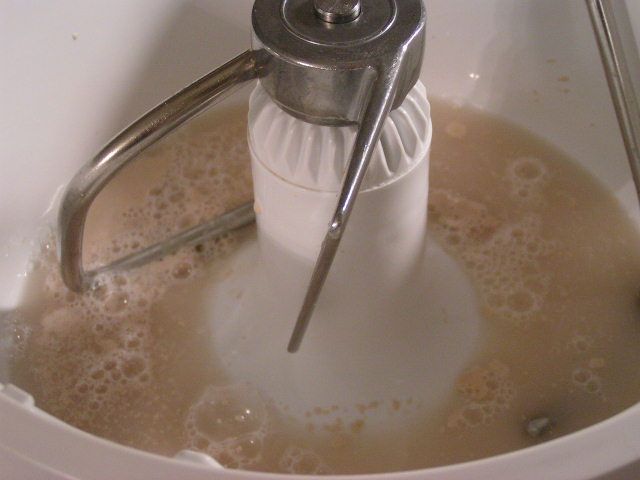 I used my Bosch but you can use any mixer with a dough hook. Of course, you can do this by hand as well. Add 1 3/4 cup warm water and 1 tsp sugar and sprinkle 1 Tbsp yeast over the surface, allowing to ‘proof’. 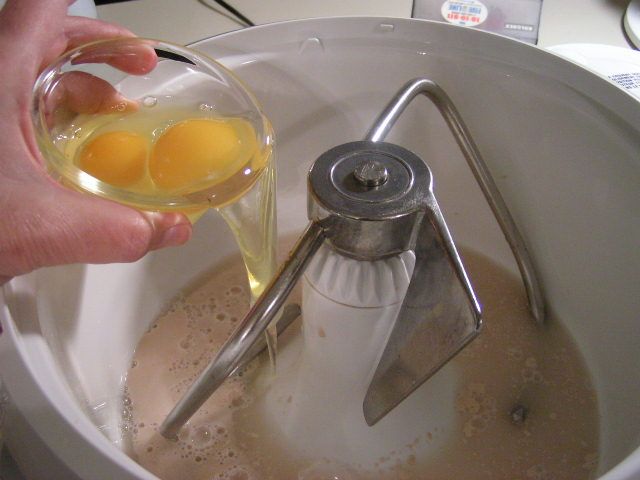 When the yeast water is bubbly,add 2 eggs… 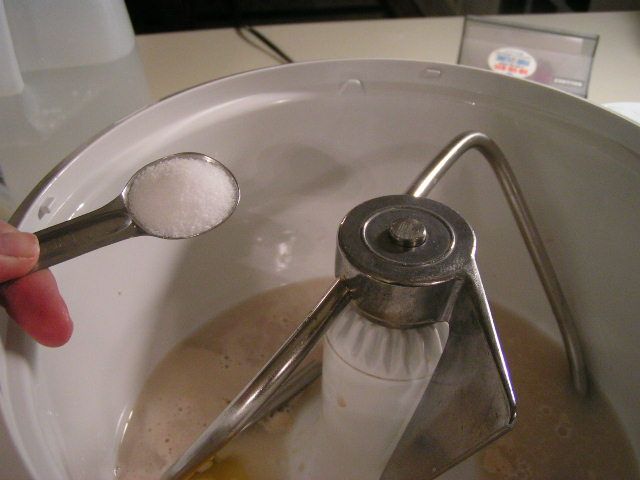 …and 1 tsp salt 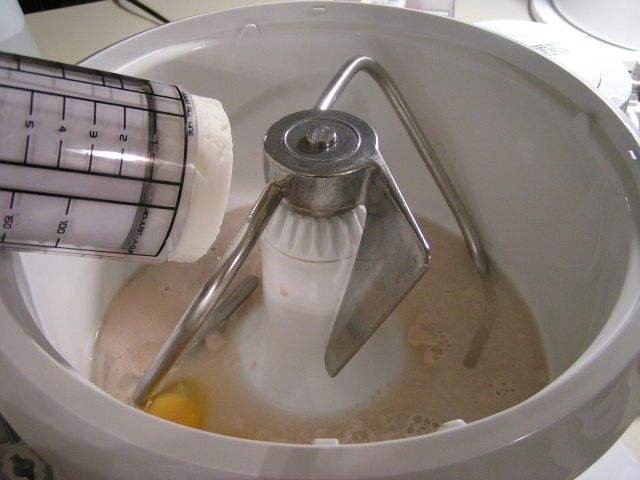 …and 1/3 cup shortening. 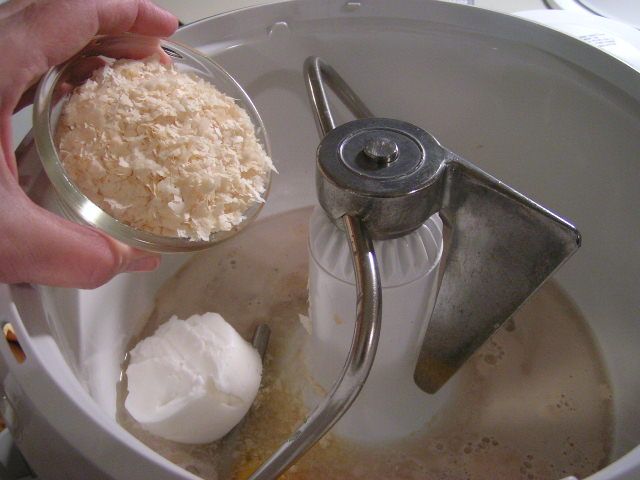 I added 1 cup of potato flakes. 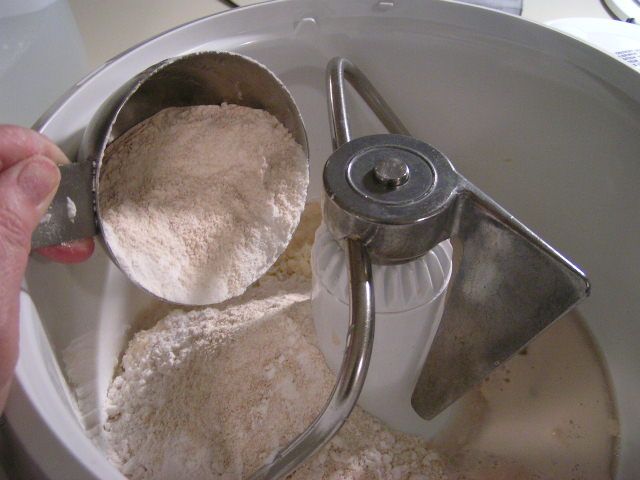 Add two cups of the flour. I am using whole wheat ground from Prairie Gold Hard White Wheat. 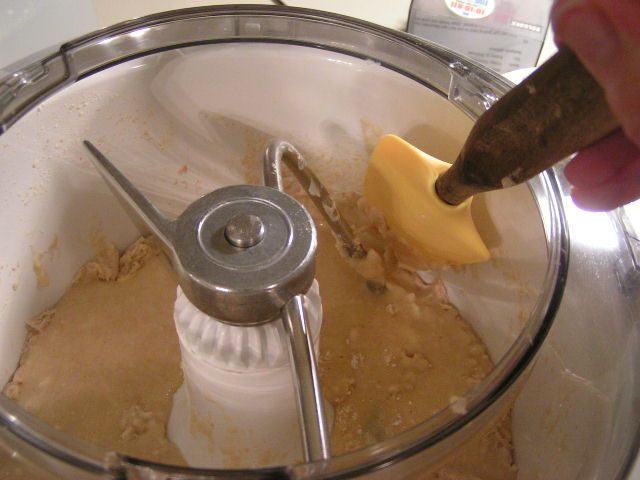 Mix and scrape the sides. 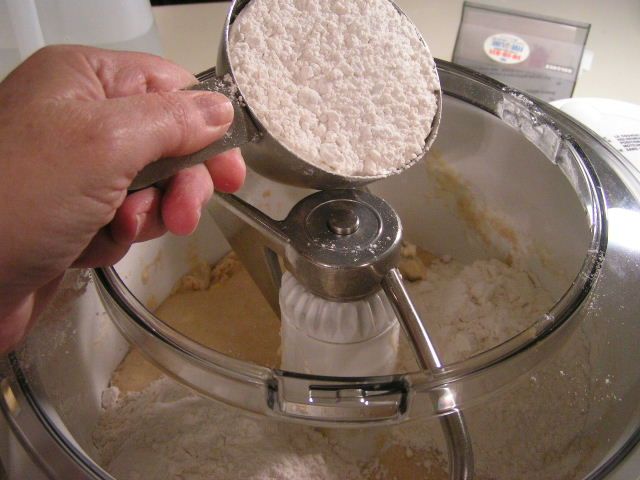 Add another cup of flour and mix. 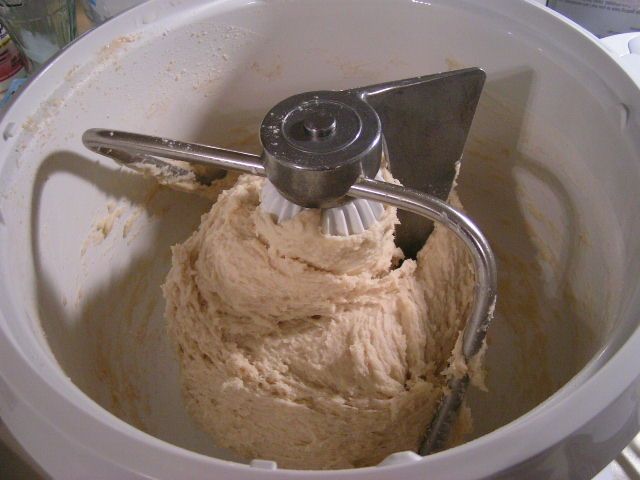 Continue adding flour by the cup until the dough pulls away from the side of the bowl but is still nice and soft. I used a little under 4 ½ cups of heavily sifted flour. Continue mixing on low for 8 minutes to knead. 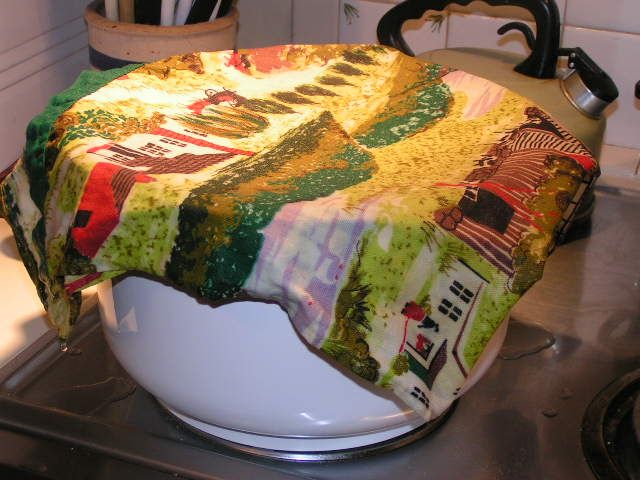 Let the dough rise until double – about an hour if it is in a warm place. Here, I am just leaving the dough in the mixer bowl, covering it with a damp cloth and then it is going into the oven which has been preheated to 150º and turned off.
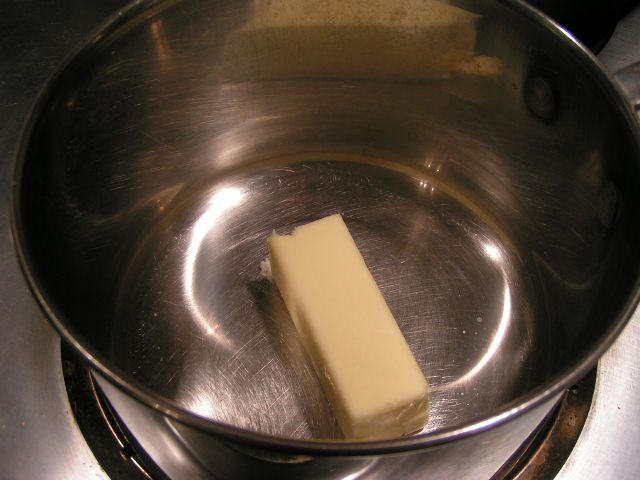 While waiting for the dough to rise, I made the glaze. Melt 1/3 cup butter in a saucepan. 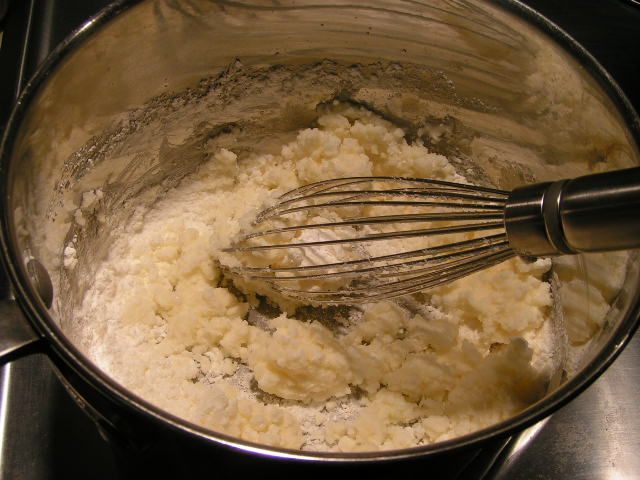 Add 2 cups powdered sugar and stir 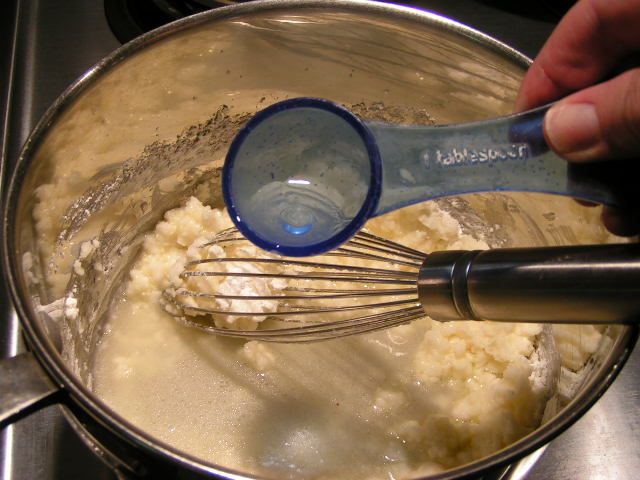 Add 4 Tbsp hot water. I added a little more water because I wanted a thin glaze. However, if you want a glaze that is thicker,1 1/2 or that you can spread, use more powdered sugar. 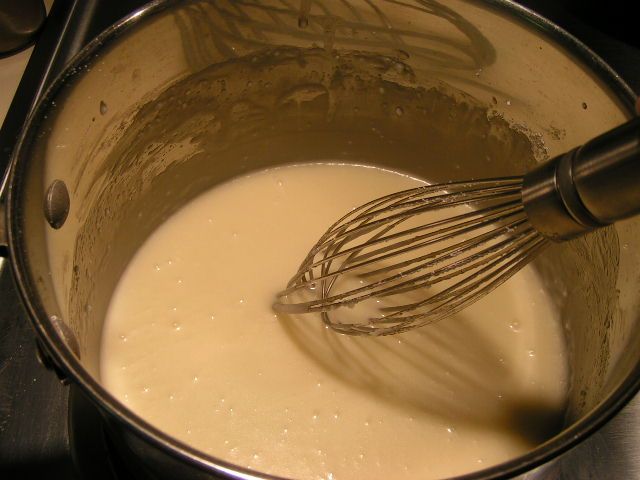 Stir until smooth 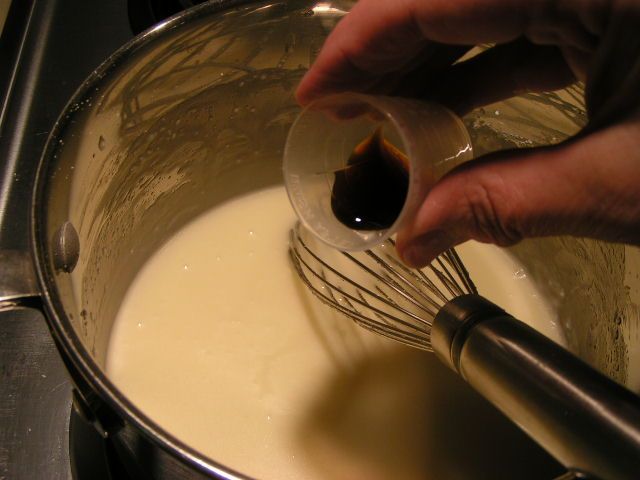 Add vanilla and stir until mixed. Set aside on a warm eye. I did it this way because I grew up with Krispy Kremes and have watched them glaze their donuts. The glaze is kept warm and thin and it doesn’t take much to glaze a donut. I decided to kind of replicate the process. 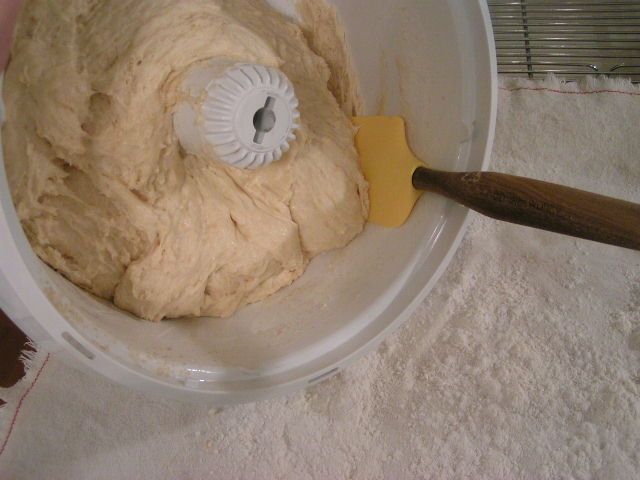 When dough has risen, scrape out onto floured surface. I am using one of the spatulas available on the Shopping Page as well as an Oklahoma Pastry Cloth™. 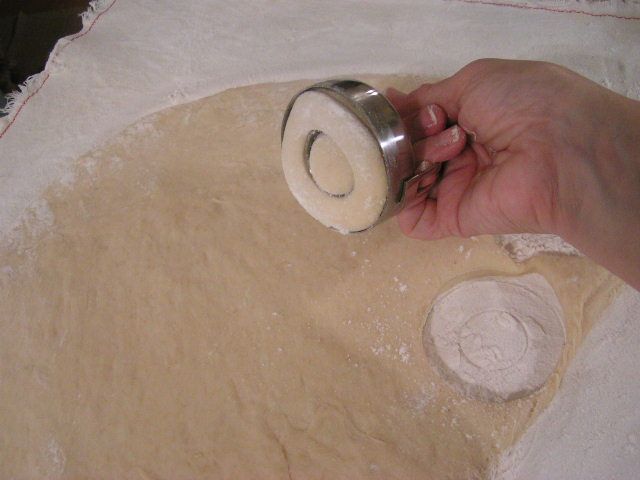 Roll out dough to about ½”. I used a rolling pin. Here I am cutting the donuts with a two part donut/biscuit cutter. It is wonderful because the center is removable so that the gadget becomes a biscuit cutter. 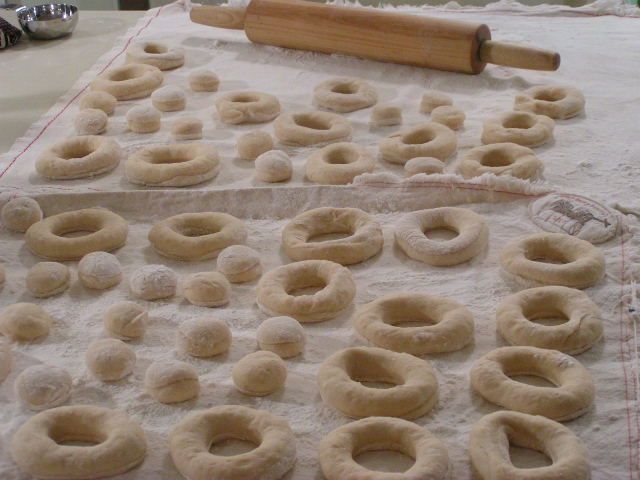 Place the donuts on the floured surface and cover with a damp cloth to rise until double. 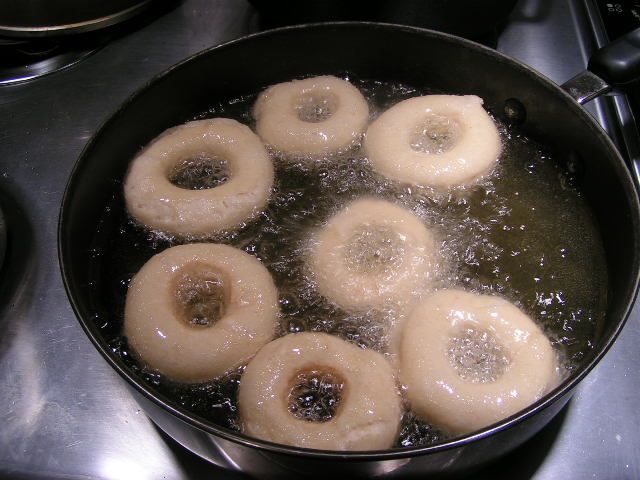 When donuts have risen, carefully place them in oil that has been heated to 350º.  A wooden chopstick is great to turn donuts to their other side when browned on the first side.  Cooked donuts placed on a rack from the oil, waiting to be glazed 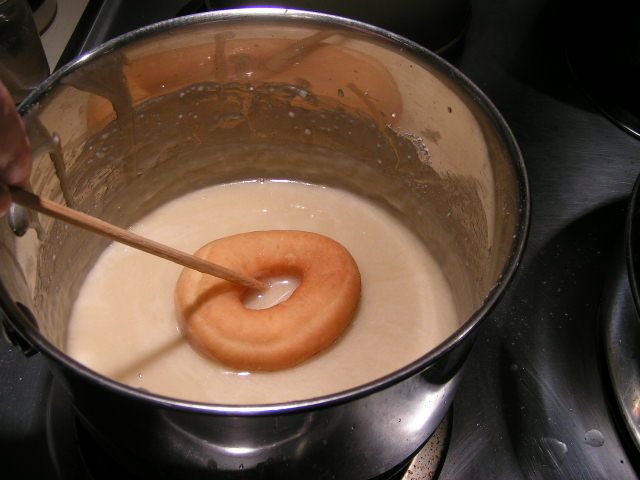 Using a chopstick or other utensil, place the donut in the warming glaze. 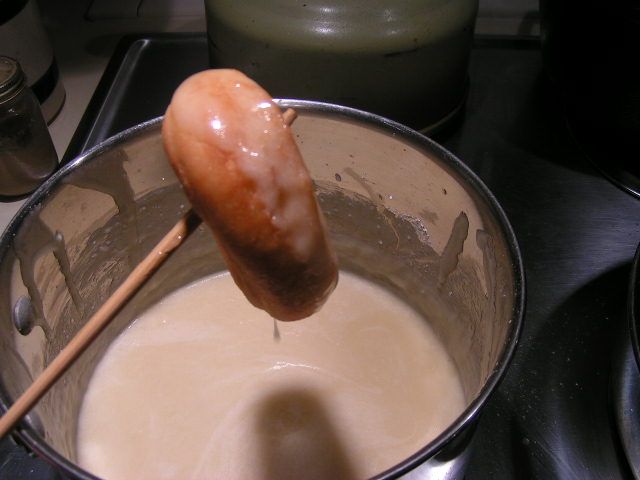 Lift the donut out of the glaze and place on rack or cookie sheet.   Don’t you just want to dive in? We did!!
|
|
Oklahoma Pastry Cloth™ Company on Facebook
|
 |
Canning Chicken and A Recipe
Thursday, March 10th, 2011
  Buying chicken on sale is a wonderful thing if you have the room to freeze it, but what do you do when chicken is on sale for a matter of cents per pound and you want to stock up for a good, long time? Freezer longevity for chickens is just a few months and so unless you eat chicken every night, it would be hard to make use of a large number of frozen birds. Canning is your option! Shoot, canning is ALWAYS an option because there’s just very little that can’t be canned! 🙂 And so, here are the steps to canning a whole bird followed by a rather surprising recipe – I thought it was surprising, anyway! The method that I am using here is called the “raw pack” method and does not involve cooking the chicken first. 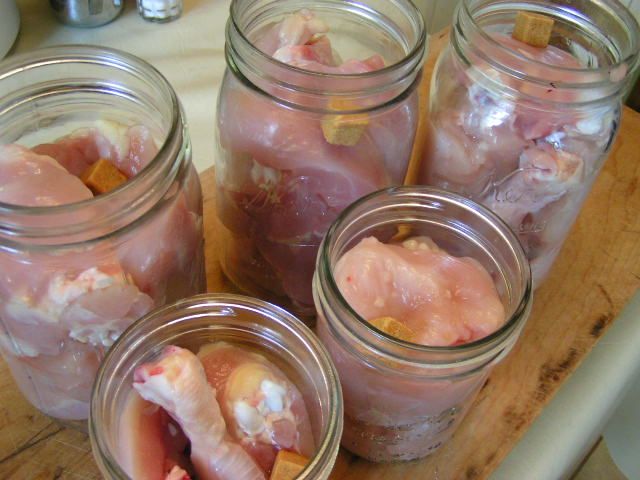 After cutting up the chicken, place it into warm, wide-mouth jars that have been washed and sterilized in the dishwasher or boiled in a large pot. It is important that they are widemouth in order to get the chicken out without tearing it apart. I can get one half of a chicken into a quart jar (minus the back which I use for stock). I also place just the wishbones together sometimes, in a widemouth pint jar, to use for recipes like enchiladas that call for just white meat chicken. I also skin all of my chicken to cut down on fat. I place one cube of chicken bouillon per jar. 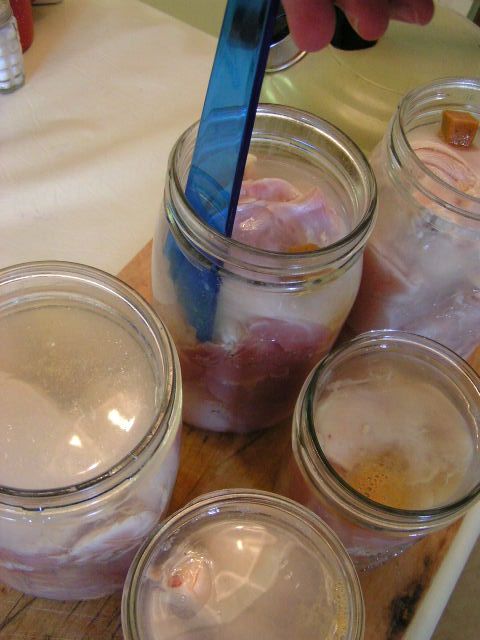 Meanwhile, I have a kettle of water boiling on the stove and slowly pour the hot water over the chicken to leave a 1/2″ headspace. Using a canning spatula or knife, move around the inside perimeter of each jar to release any airbubbles. 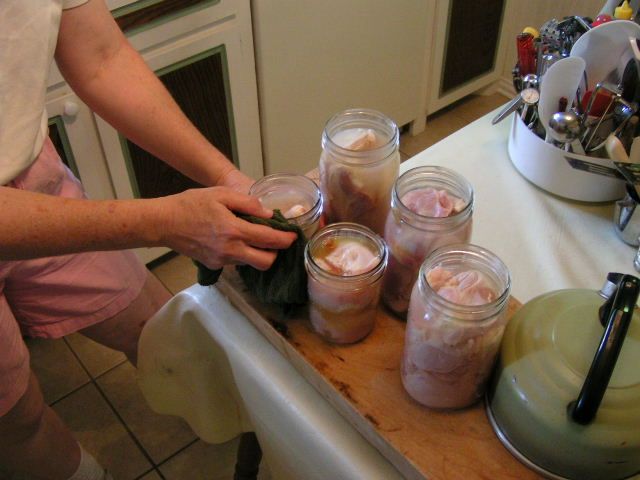 Wipe the top edges of the jars with a wet cloth to remove any chicken juice or oils. 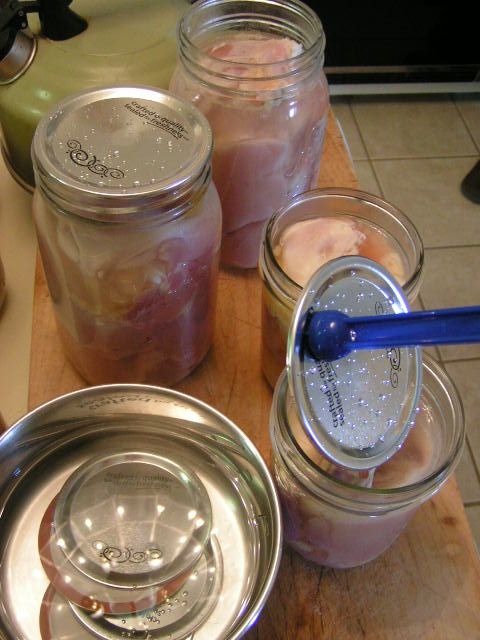 Place lids that have been warmed in a pot of nearly boiling water onto the jars and add rings. Tighten slightly. Place in a pressure canner just like I demonstrated in the post on canning chicken broth. Process for 75 minutes for pints and 90 minutes for quarts once your canner has pressurized. 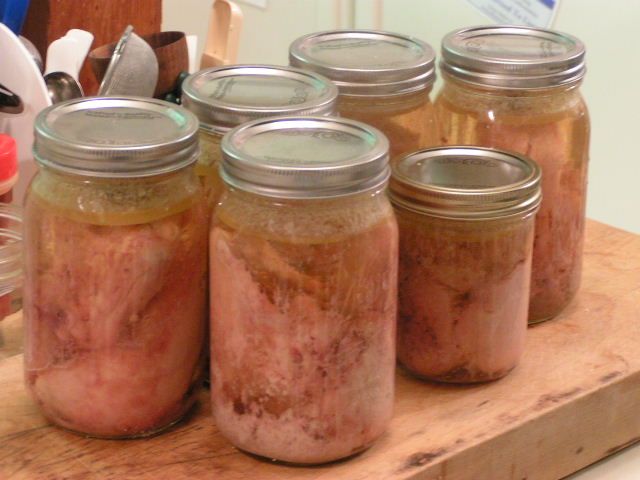 I have to admit that of all the things one may can, chickens make the UGLIEST presentation. The jars just aren’t pretty. There’s no getting around it. Once they come out of the canner and cool, it is a good idea to remove the rings and wash the jars (with the chicken in them) in warm, soapy water and then wash the rings to get any oil off that may have escaped in processing. Let the rings dry and then you can replace them or leave them off, whichever you prefer. Once your chicken is canned, it will last for at least a year. And it is so great for fast meals. Dump a couple of jars into a pot with some onions and broth and bring to a boil and then add dumplings. But that is just normal. How about different? 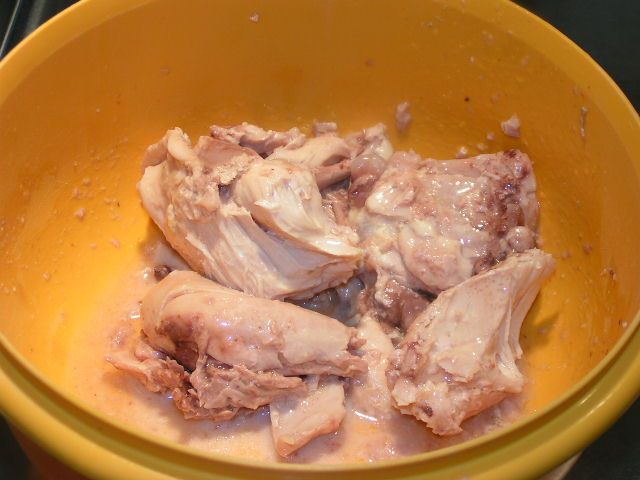 Last night, I opened one quart jar of chicken, drained the broth and carefully slid the chicken pieces into a large bowl. I sprinkled milk over the pieces. 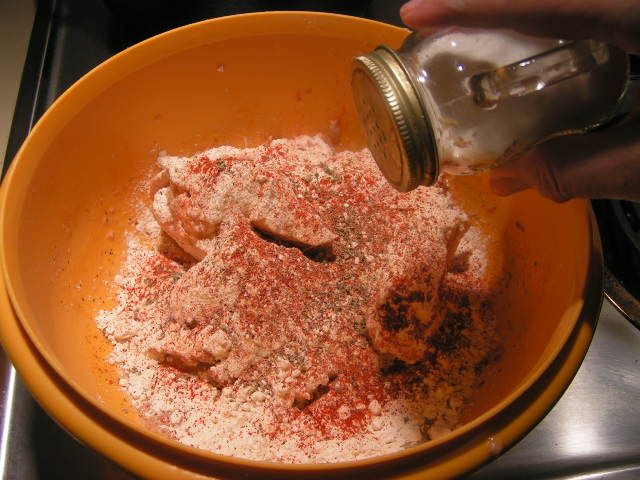 I added a cup of flour, about 1/2 tsp paprika, 1/4 tsp garlic powder, 1/4 tsp thyme, 1/2 tsp sage, 1/2 tsp black pepper and carefully rolled the pieces in this mixture. I salted the pieces at that point. Again, you have to handle the pieces gently or they will fall apart on you. If they do, it’s ok. Just dredge the parts in flour too.  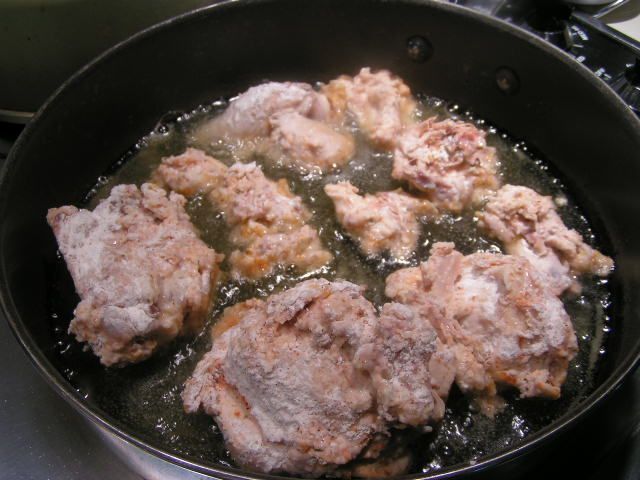 Next, I put just enough canola oil in a skillet to cover the bottom well and heated on medium high. Light olive oil would be fine too. Anything to get those good fats, people! When the oil was hot, I gently placed the floured pieces of chicken in the oil to “fry”. 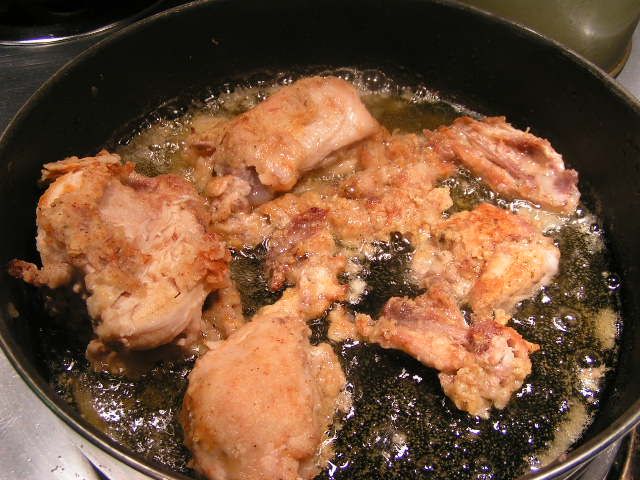 I carefully turned the pieces to brown on the other side. When browned, I transferred the pieces to a cookie rack placed over a cookie sheet and placed in the oven at 250º while I cooked the rest of the meal. This keeps the meat warm, but also lets excess oil drip off of the chicken so that it isn’t too greasy. 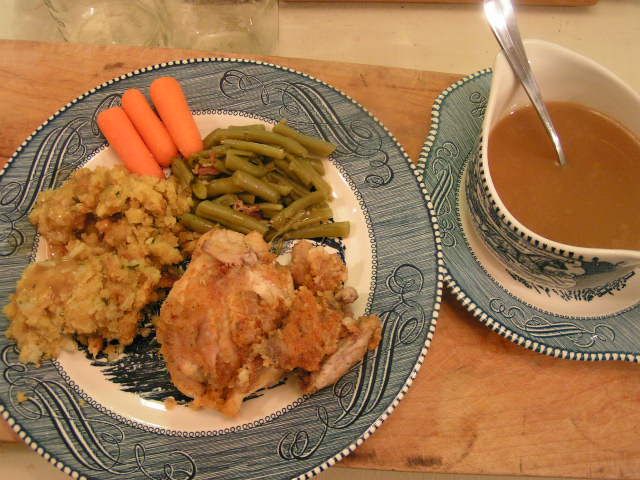  You can make gravy with the broth out of the jar and cornstarch or use a packaged mix. And I added stuffing to this plateful. Since the chicken has been pressure cooked in the canning process, it is tender and falling off the bone even before frying, so frying just gives these tender morsels a crispy covering. Mr. Fix-It was licking his chops and said that the chicken was superb! He’s my most honest critic. So see? You can use canned chicken in all kinds of ways! |
|
Oklahoma Pastry Cloth™ Company on Facebook
|
Canned Broth
Saturday, February 26th, 2011
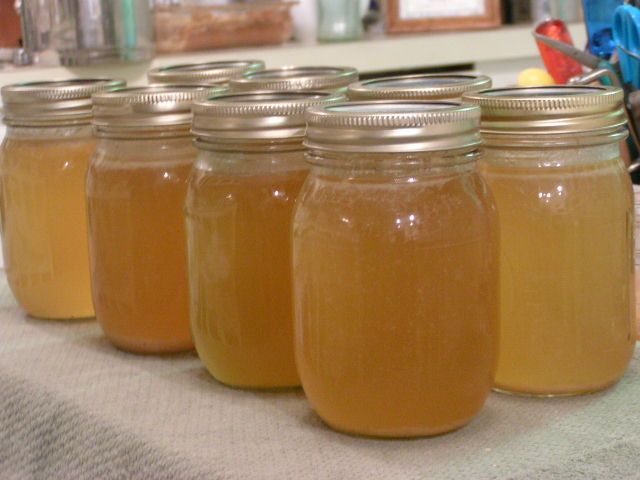 A reader of the very informative blog Rural Revolution, A. McSp, shared a wonderful recipe for chicken stock to be used for cooking pinto beans, soups – you name it. I decided to try it and am in love. First, the smell that permeates your house while cooking this stuff is enough to call Glade and ask if they make Chicken Stock in a Can Air Freshener, second, the flavor is so rich that it makes everything to which it is added have more body, and third, it’s canable – oh wait – that’s not a real word unless you’re talking about creepy hungry people and can’t spell. How about this: It can be canned! You know that always gets me right here (pointing to my heart now). I’m afraid that I was so involved in the process that I didn’t do my normal photo session and so I’m just going to have to give you the recipe with only a few photos and a video. Sorry for my brain freeze. I did get a couple of shots! Here are the steps to this amazing chicken stock! 1. When you cook a chicken, save the carcass, skin and all and if you aren’t going to make stock immediately, put it in the frig until you are ready, no more than a couple of days. 2. Cut or break the bones up into pieces using kitchen shears. 3. Put the bones and skin into a stock pot and cover with water, about a gallon plus. 4. Add 1-4 stalks of celery. I used my dried celery! 4 tbsp to equal 4 stalks. I love my dried celery! 5. Add 1/2 medium onion 6. Add 4-5 cloves of garlic 7. Add parsley if you have it 8. Add 1/2 tsp dill seed if you have it 9. Now here she said to add 1/2 tsp dried orange peel, but I didn’t have dried so I used 1 tsp of fresh orange zest. Oh my. I think I prefer that to the dried!! 10. Add 3 tbsp white vinegar and the juice of one half lemon or lime 11. Add salt and pepper to taste (side note: If you want an even more robust chicken flavor add 1/2 – 1 tsp granulated chicken bouillon per pint jar of stock) Bring to a boil and stew on low heat for two to three hours. The vinegar and the lime or lemon juice pull the calcium out of the bones and so your broth is rich in calcium. As the stock stews, I add a little water to maintain the water level. When the cooking time is reached, I pour the broth, bones and veggies into a colandar that is sitting over a large bowl or another stew pot, to strain the broth. I press the stuff left in the colandar with a potato masher to get out all of the liquid and flavor into the stock in the bowl. At that point, I ladel the soup into jars, leaving a 1/2″ head space, clean the rims of the jars, attach the lids and rings and put them into a pressure canner of hot water (the jars of liquid are hot and will crack in cool water) to be processed for 20 minutes at 10 lbs pressure. One chicken gives me 10 pints of broth. 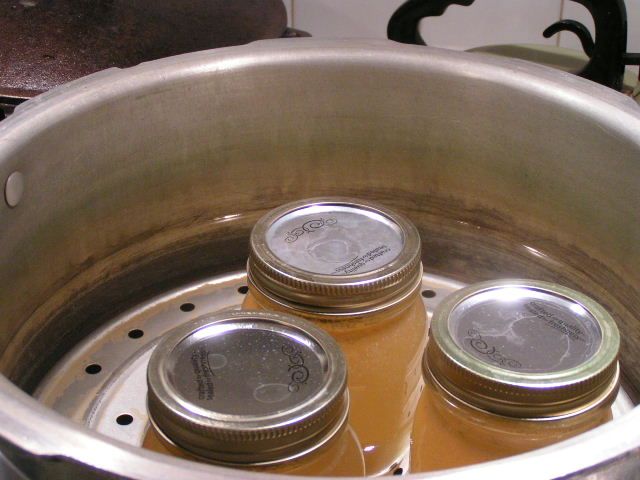 Unlike waterbath canning, the water level in a pressure canner is only about 2″ deep. 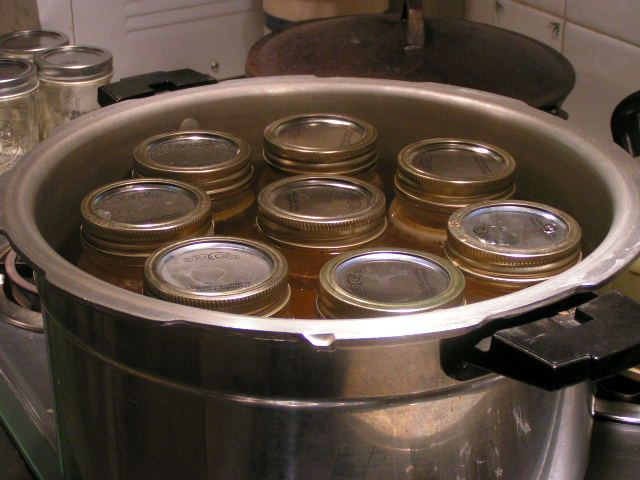 The jars sit in the water, but are not covered by it as in a waterbath. I did a video of the pressure canner as it was doing it’s thing this afternoon. I’ve had several people ask me how it is supposed to sound. If you will notice, it jiggles for a bit and then stops and then jiggles and stops. That is the rhythm that you want to achieve to keep an even pressure. I start out on high heat and when the weight starts vibrating, I start turning the heat down until I get a uniform rhythm. I bought this canner in 1977! It has been a jewel. Pardon the noise of the microwave in the background. Halfway through I realized it and turned it off! Last night, I made pinto beans with two pints of broth, two tbsp brown sugar and a slice of home-cured country ham. Oh my. I’m still grinning. |
|
Oklahoma Pastry Cloth™ Company on Facebook
|
Egg and Muffin Sandwiches
Monday, January 3rd, 2011
|
“De-Serve” (A Recipe To Serve!) OK, so that was kind of a crazy thing to write, but I was thinking about that place with the golden arches and their old slogan. Remember? It was that catchy song about what you deserve – you know – like a break today? However, as I grow older and older I am finding that what I think I deserve ain’t all it’s cracked up to be! I bet you can’t get that song out of your head now, can you? 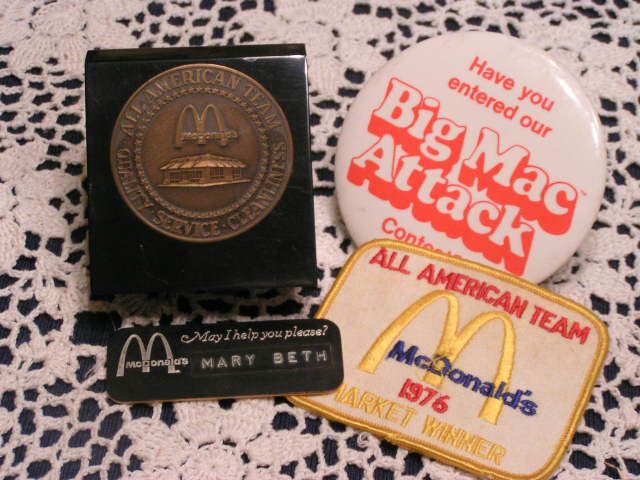 In my youth, I had the “prestigious” honor of being a “crew member” of the McDonald’s Restaurant team – aka, a “hamburger flipper”. I lived, breathed and literally ate McDonald’s. I don’t know how it is now, but back then, McDonald’s was run like the army and there was a real pride in the job and a sense of ownership in the company. Each year there was a competition for all crew members in order to become part of the “All American Team”. The more All American Team members at a store, the more prestigious the store in the eyes of the corporation. Competition was fierce and hard and not just a little scary. It was like participating in the Olympics, only instead of swimming you were waiting on and serving customers in under a minute, or in place of throwing the shot put, you were assembling, wrapping and tossing cheeseburgers onto a warming tray to a stop watch. The competition went on during the day while customers were actually being served and “The Suits” were there watching your every move. The one year that I decided to take the plunge, I competed at the cash register and outside the restaurant in grounds cleanliness. I won. I have proof. But I’m still waiting for the endorsement offers.  Now, I need to remind you that cash registers at the time were not the electronic wonders they are today. Computers were something only ‘brainiacs’ even considered and, as far as we were concerned, still occupied an entire room with magnetic wheel thingys (my hubby tells me they were called column tape units and he would know) whirling synchronistically . If that isn’t a real word, it sounds good – can’t you just see it?? Yep, the cash box on which I registered counter sales was an upright mechanical monster with round, brown keys in rows all down the front of the unit. The first vertical row was for the cents, the second, tens of cents, the third, ones, the fourth, tens and so on. The number totals showed up in white on black placards, side-by-side, in a window above the buttons. In order to put in a monetary amount, one had to punch each row of places matching the numbers of the entry. I remember starting out punching one button at a time with one finger as the customer stood there looking at me like, “You moron, can’t you work any faster than this? My Big Mac is gonna mold before I get it.” However, I eventually mastered the beast and could use multiple fingers to put in a total all at once – three fingers for “$1.99” and the thumb and first finger to “enter”. I thought I was hot stuff. And, oh yes, I was there when the Big Mac was first introduced. I had a “Mac Attack” on a regular basis.  I learned to count back change. Those cash registers only told you what the total due was, not the total cash back. A $20 bill for that $1.99 order? A penny – two dollars, three dollar bills – three dollars, four dollars, five dollars, a five dollar bill – ten dollars, and a ten dollar bill – twenty dollars. Give a clerk today, if there is no computerized cash register, a ten dollar bill and a nickle for a $1.95 purchase and watch him slowly come unglued trying to figure out how much money you should be getting back!!! Crew members were required to be “versatile” and one’s pay scale and evaluation was based on just how many things one could do in the restaurant. That meant that I didn’t just work the front, but I cooked too and I loved it. It was a fascinating process and I am here to tell you that a McDonald’s hamburger or French fries are no more unhealthy for you than a hamburger or French fries that are fried at home. Food is food and frying is frying. Back then, however, there was one breakfast ingredient that seems to be missing these days and that was butter. But I’m getting sidetracked – back to versatility. Another job that was a requirement back then was being a morning host or hostess. That has gone by the wayside too, apparently, but it was a fun job that involved making sure tables were clean, visiting with the customers, refilling coffee and bringing extra food items requested. It is a job that taught me the value of a servant attitude. I found that the more gracious I was and the more willing I was to do for the customers, the kinder they were and the more appreciative they were. Even when I would get a real grouch, I found that if I didn’t take offense and just treated them kindly, their grouchiness didn’t bother me and they seemed to leave a little less grouchy. It’s a lesson to practice every day.  I never would have picked McDonald’s as my career of choice at that time. I was fresh out of college with a degree in Fine Arts, but there weren’t any jobs out there in “Art” even if one did think that one’s art was “Fine”. McDonald’s was the only job I could land. I found out however, that even though I was not getting what I thought I “deserved”, I was learning an enormous amount of information and wonderful skills that would serve me the rest of my life. I’ve found that to be true in everything I’ve done that hasn’t jived with what I thought I had to have. I have figured out that I really don’t know what is always best for me and that I just have to chill and let God do the leading to whatever “best” is. It has led to a much more peaceful life, believe me!! We are at the beginning of a new year and stress is pretty heavy in the country and in the lives of many individuals. Seeking to serve rather than to be served is a heck of a way to deal with stress. When we seek to serve, rather than focusing on what we think we “deserve”, there is a change in attitude and actions for everyone involved. Anyway, because with any life’s lesson there really has to be food involved, it is time for a recipe. The following is my way of using the homemade English Muffins, from the last post, for egg and muffin breakfast sandwiches. Your kids will love you for them! Sandwiches Per Sandwich: 1 egg or two egg whites 1 English Muffin 1 slice American Cheese 1 slice Canadian Bacon or 2 slices thin-sliced Smoked Ham Melted butter or olive oil 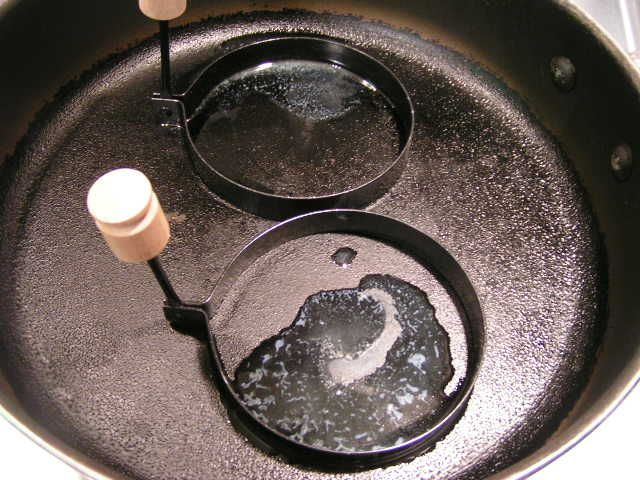 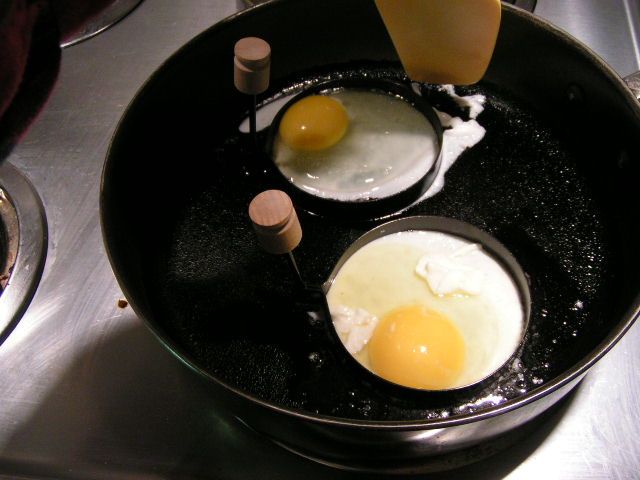 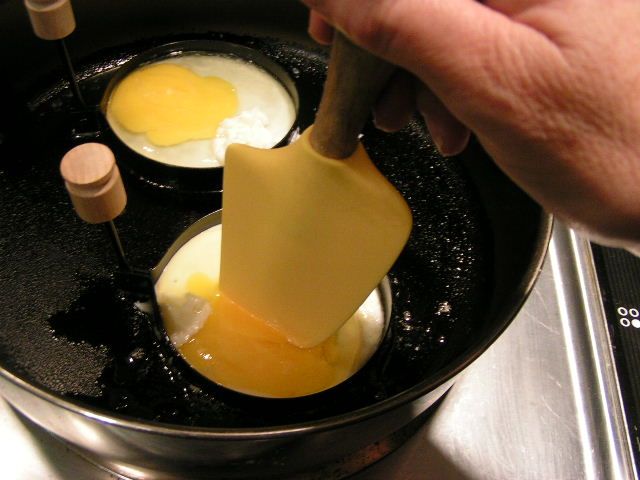 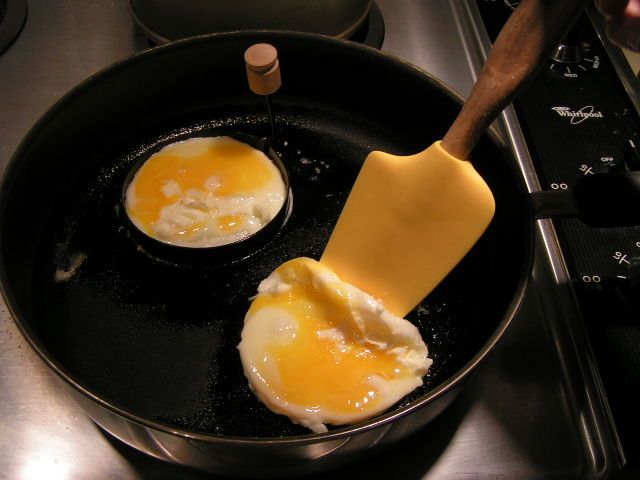 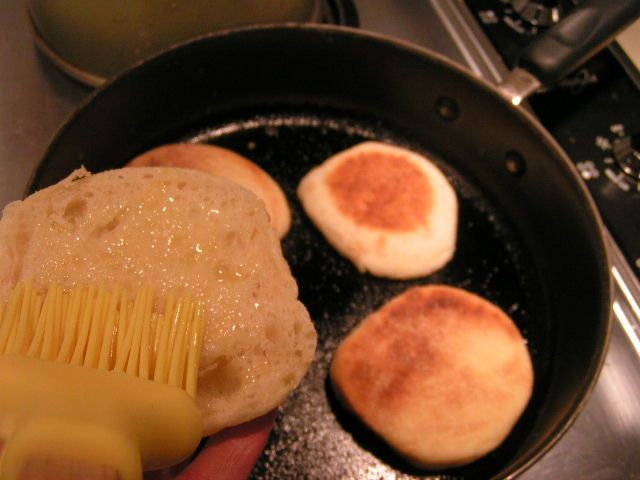 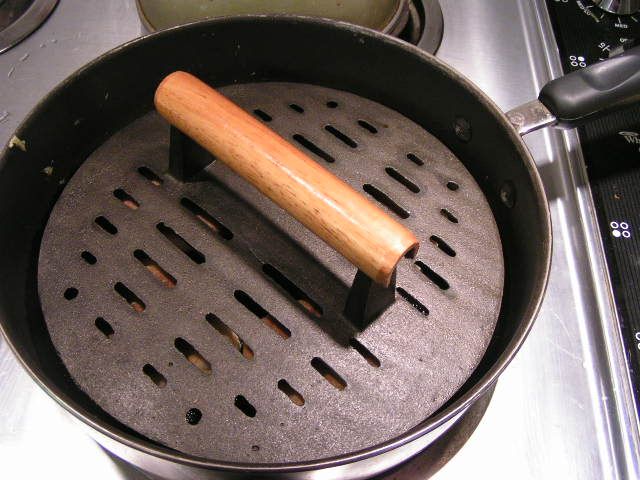 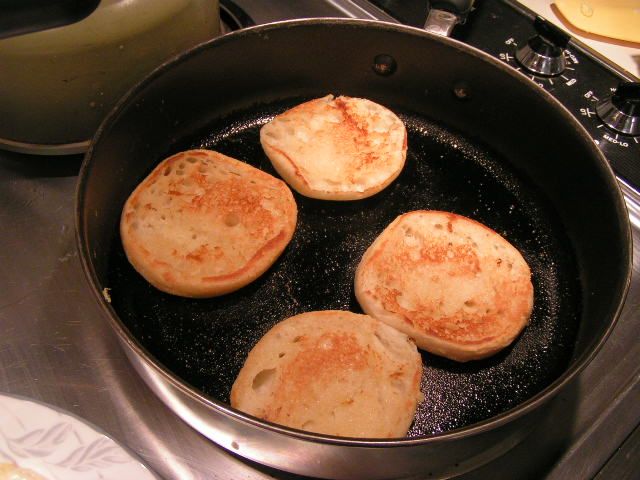 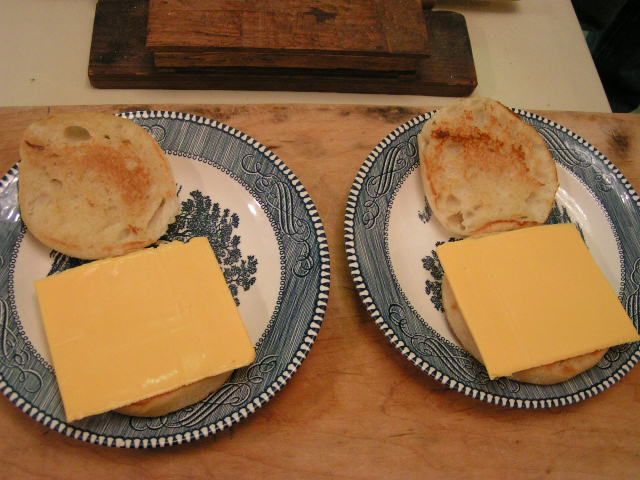 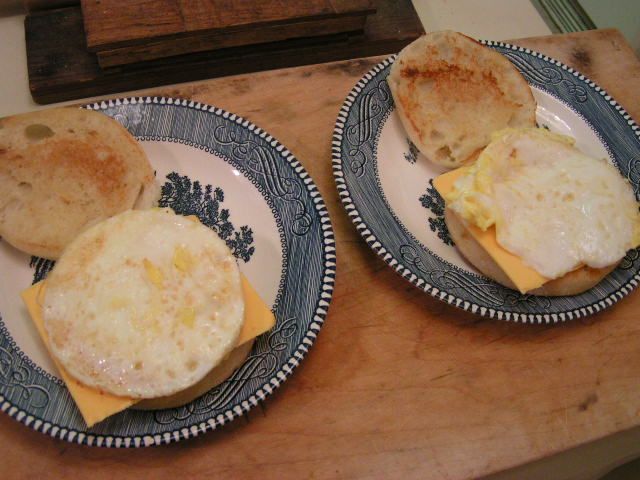  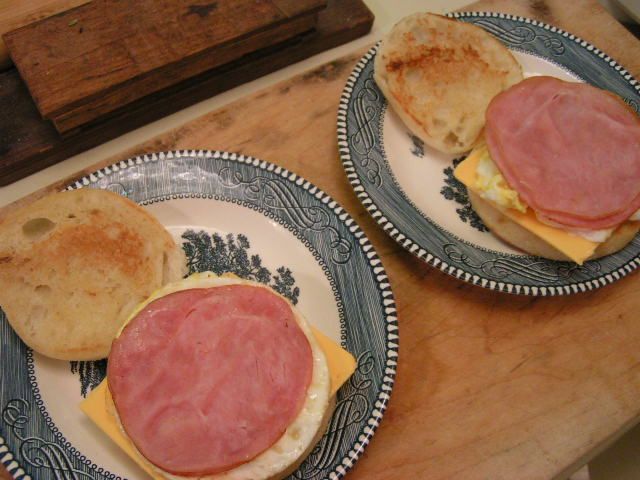  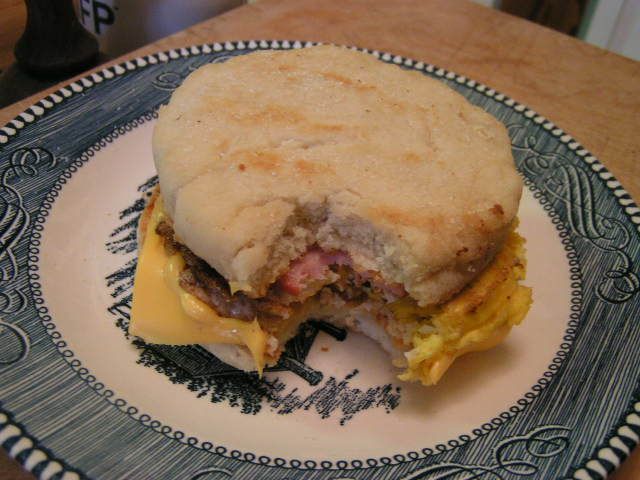 |
|
Oklahoma Pastry Cloth™ Company on Facebook
|
|
|
Thanksgiving 2010
Saturday, November 27th, 2010
|
Thanksgiving is over – it was wonderful for us – and time to move on to the next big meal at Christmas! I think that this time of year is measured as time between meals or maybe, as pounds gained? Whatever, the food just seems to taste better during the 37 or so days between Thanksgiving and New Year’s. While it appears that everywhere from Colorado to Idaho to California experienced a freezing, snowy Thanksgiving, those of us in sunny Oklahoma felt some nippy temps but still had trees with painted leaves as a background, through the window, to our massive dinner spread. 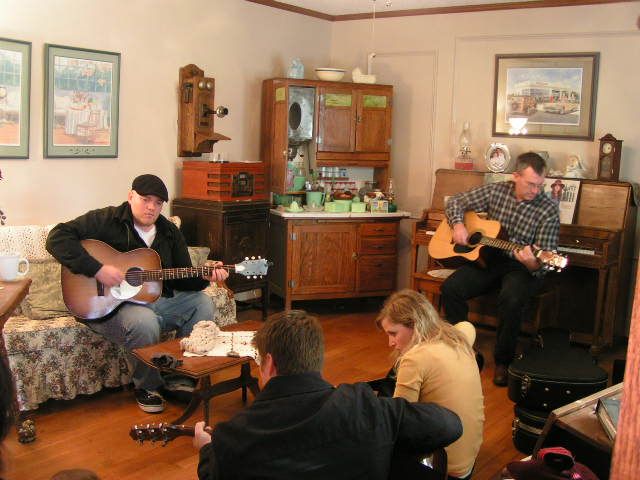 We enjoyed a houseful of guests, four of whom sported guitars, and so a lovely day was spent eating and then listening to the soulful strains of Hank William’s “So Lonesome I Could Cry”, the harmony of gospel songs and the catchy beat of the eldest son’s original creations. Having two professional musicians in the family, along with a whole slew of amateurs makes for a toe tapping, knee slapping concert whenever we all get together. Our dinner consisted of the usual turkey, oiled up and totally covered with smoked paprika, baked in a separate roaster for a much more tender, juicy bird. Cornbread dressing, mashed potatoes and gravy, candied sweet potatoes, sweet potato casserole, green beans, corn on the cob, 7 layer salad and my pasta salad (recipe follows) accompanied the bird of the hour. Just for the heck of it, I decided to see what everybody had to say about the sauerkraut and so I sliced up smoked sausage and baked that on a bed of the kraut. If I may brag, everyone went nuts over it and several ended up carrying home a jar! Yay. I suppose I’ll have to find cabbage at 10 lbs for $1 again and get busy. 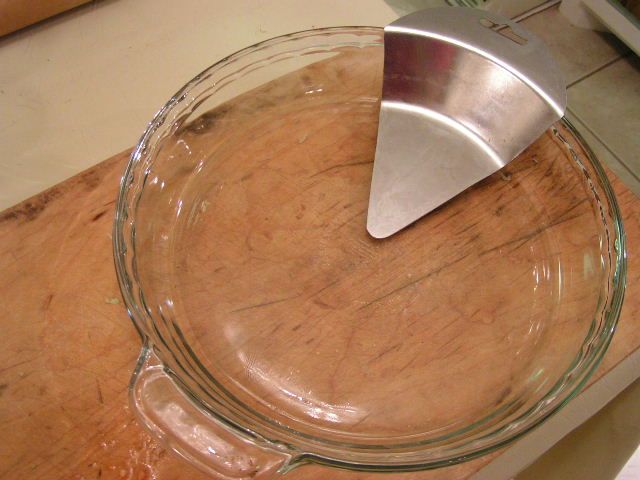 I have to admit to a huge, red-faced mistake, however, before I give you my recipe for a pasta salad. My favorite pie in the whole world is pecan pie. I am a terrible American because I can’t stand pumpkin pie. However, because I love my family I do make a pumpkin pie each year and I generously let them have every single bite! For the pie cook, one of the kitchen utensils that we carry at the Oklahoma Pastry Cloth™ store is the First Slice Out Pie Spatula and it is the handiest little thing. It is placed into the pie plate and then the pie shell is placed on top of it. Once the pie is filled and covered, it is baked and the first slice out is easily achieved by cutting around the spatula and just lifting it up. 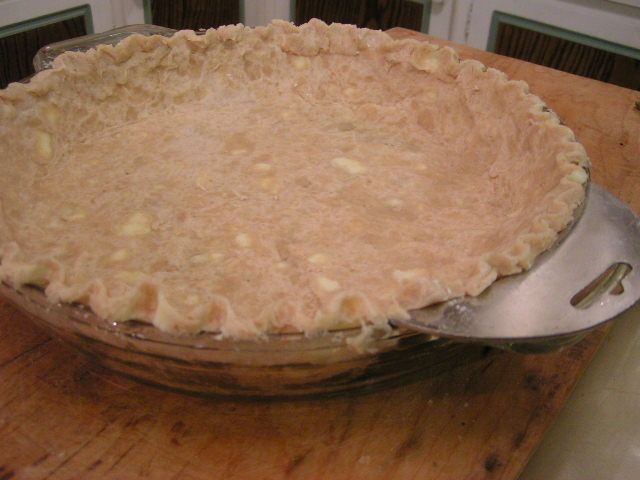 Sounds brilliant, right? Well, it is – that is unless a runny, sticky, custard pie filling and large, glass pie plate are involved. It works like a charm for apple or cherry or such in a standard pie tin, but a pecan pie is a whole ‘nother kettle of fish. Well, not that pecans and fish have anything in common. Bad metaphor. Never mind. Anyway, it seems that when the sticky, gooey mess that is pecan pie filling is poured into the shell, if there is ANY kind of crack in the crust, some of it WILL seep under the pie shell at the edge where the spatula and crust meet. The baked result is a pie spatula that is adhered to the pie pan with the strength of Super Glue. I sheepishly pried under the spatula with a knife to no avail to get that first slice out and everyone gathered around to watch me battle with my genius utensil, each giving their own suggestions based on obviously more engineering know-how than I possessed. Finally, my dear son-in-law who is so smart, took the knife from my feverish fingers and gently rocked the spatula back and forth until, with a great sucking sound, it lifted off of the surface of the pie pan, bringing strings of oozing mess with it. He popped the mess into his mouth and announced that it tasted like taffy candy. Lovely. My pie was a dug-out disaster, but it tasted like taffy! It may have been the ugliest pie at the buffet, but it DID taste good. So word of warning: The pie spatuala works best in a standard pie pan and make sure that your crust is thick and perfect if you are going to use a custard filling! 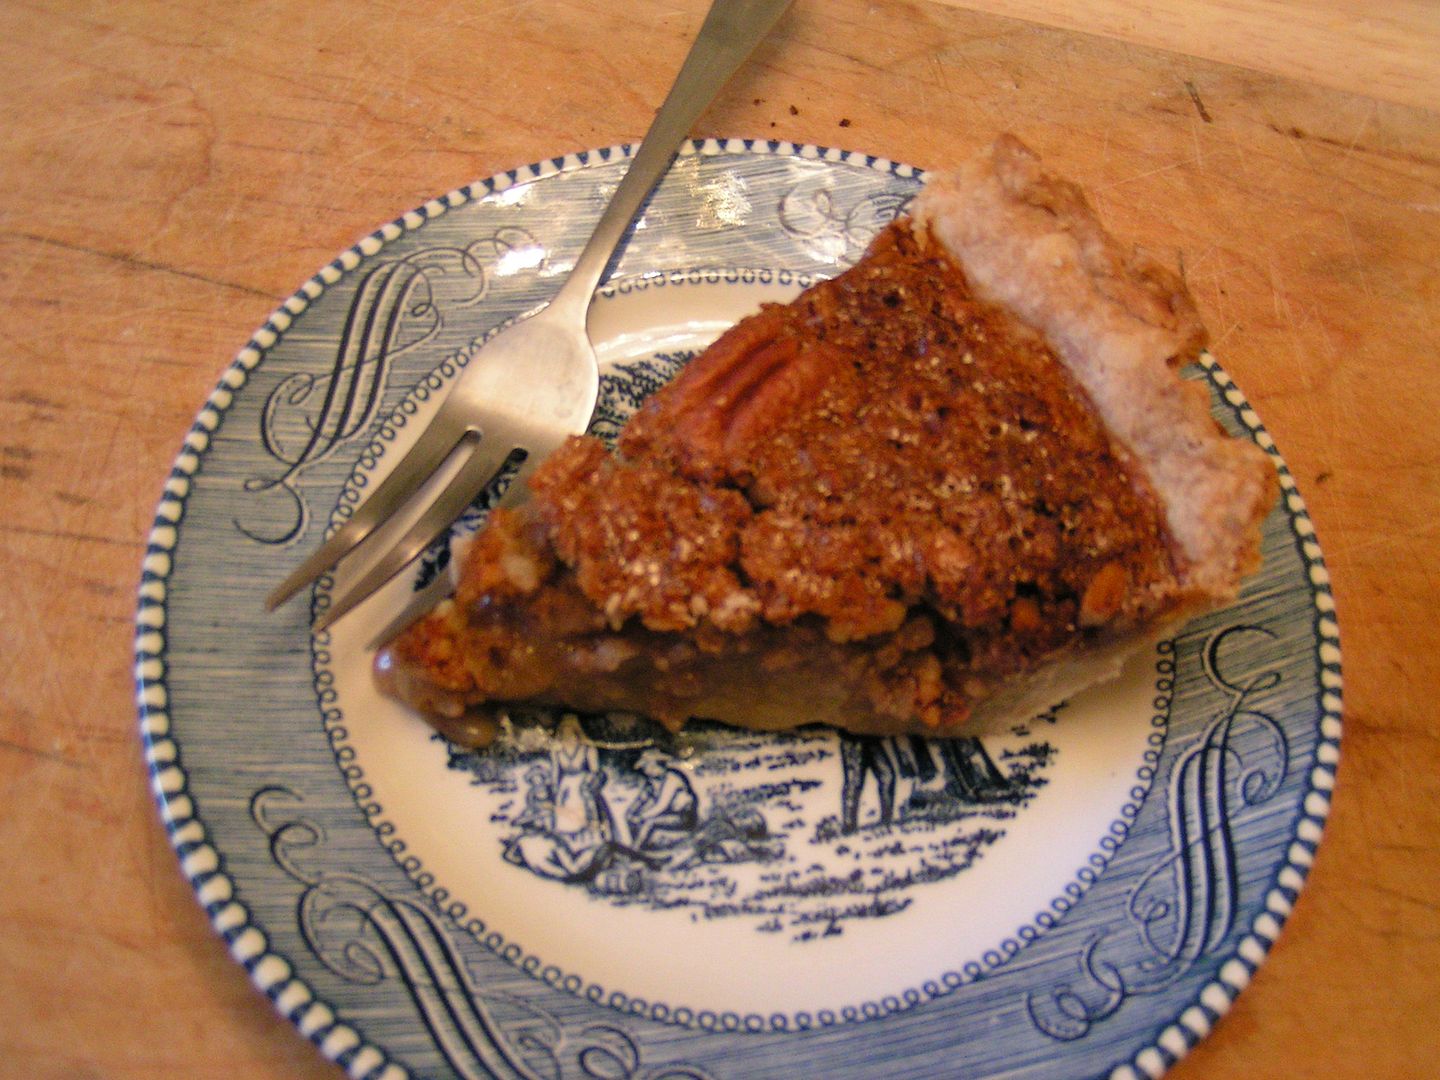 Our Thanksgiving Day was just that – a day of thanks. However, for us here at the Oklahoma Pastry Cloth™ homestead, every single day is a day of thanks for all that God has provided and for the strength and wisdom He offers. There is good in every situtation, no matter how bad it may look to us. Growth can always be had if one will focus on what God is teaching rather than what the circumstances seem on the surface. We pray that, for you all, this time is one of love, joy and personal growth. 1 1/2 cups uncooked pasta 2 tsp olive oil 3 stalks celery 1/2 cup sliced carrots 1 small head broccoli cut up 1/2 med. onion chopped 1/2 cup black olives, chopped or sliced 1/4 cup green olives, chopped or sliced 1/2 c. mayonnaise (light or fat free is fine) 2 tbsp + 1 tsp sugar 3 tbsp vinegar 1/4 cup any type Italian salad dressing 1/4 cup parmesan cheese 1/2 tsp oregano 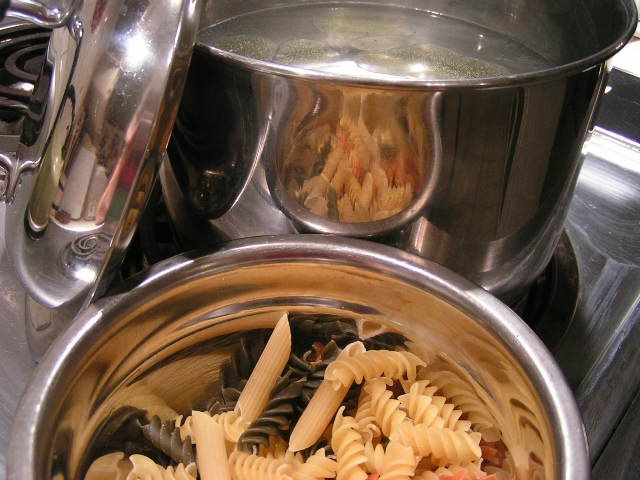 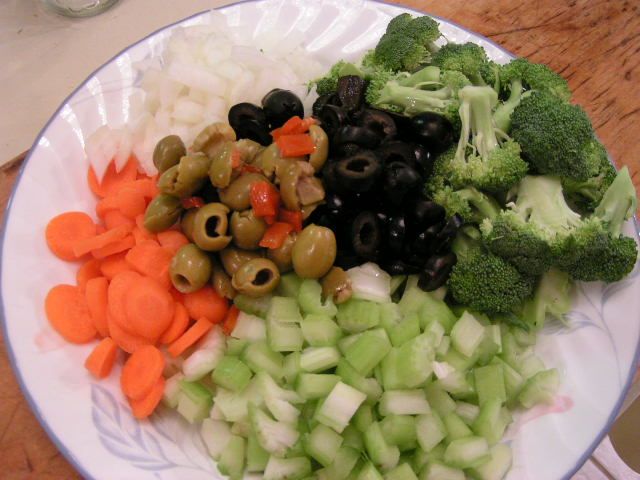 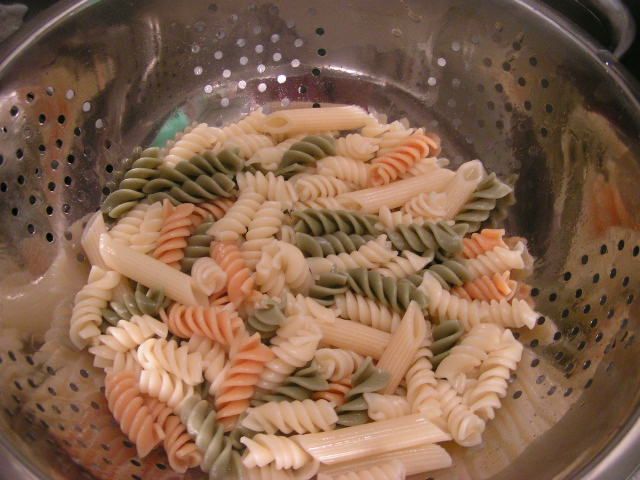 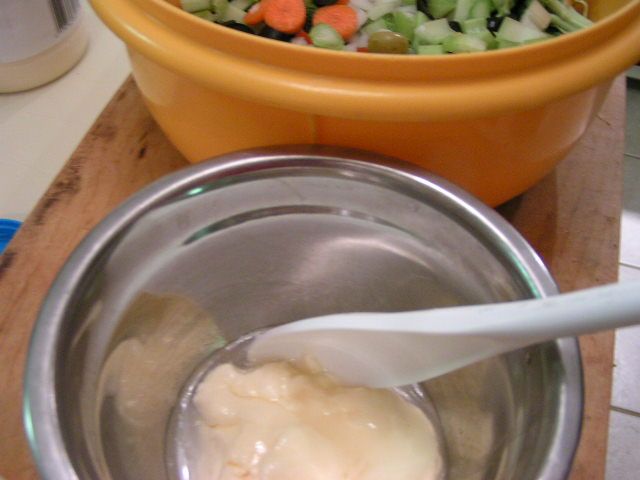 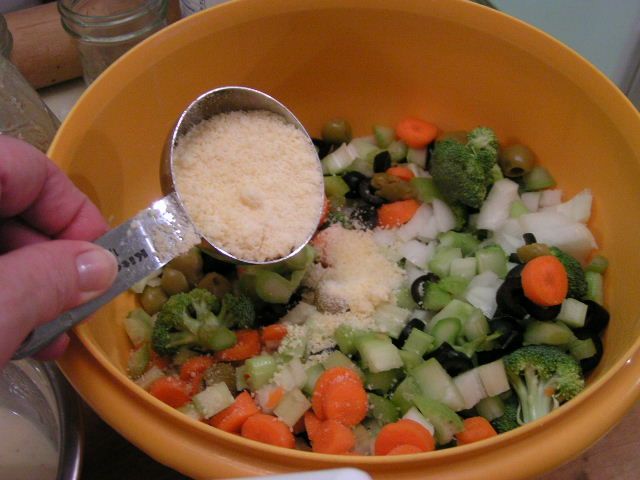 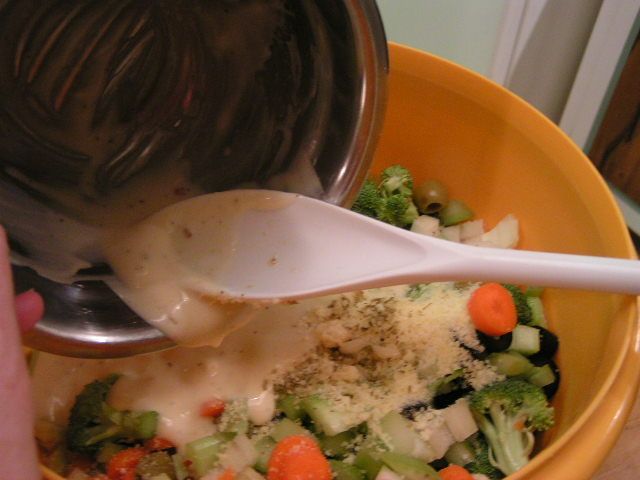 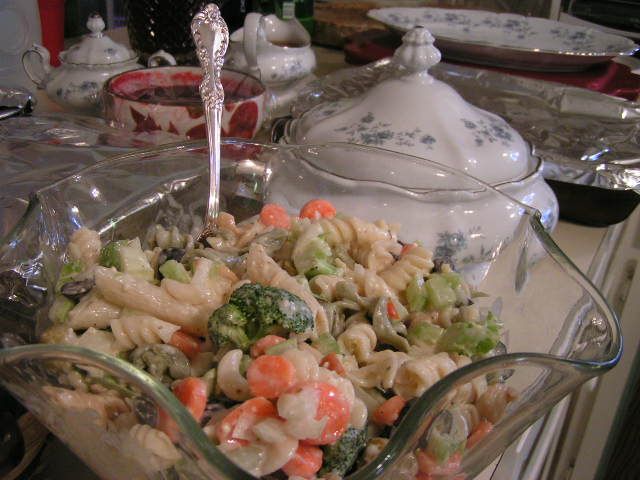 |
|
Oklahoma Pastry Cloth™ Company on Facebook
|
Sweet Cornbread
Sunday, October 3rd, 2010
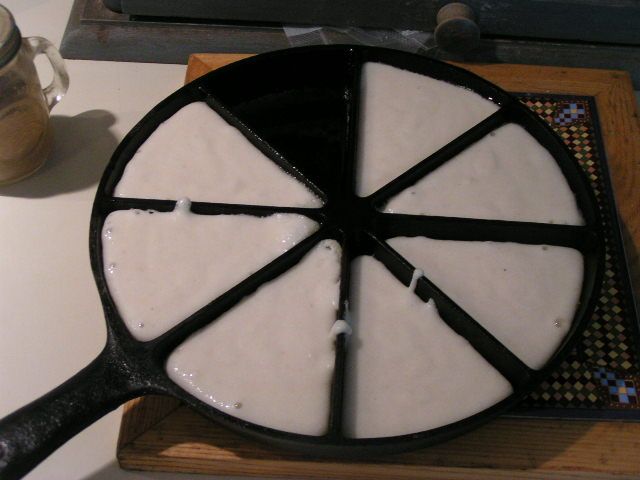
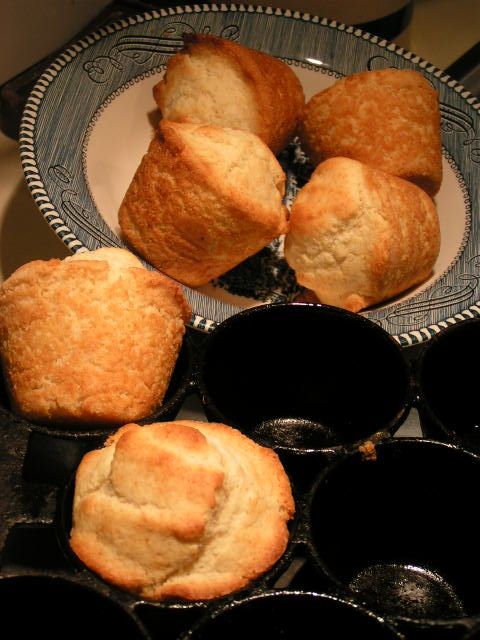
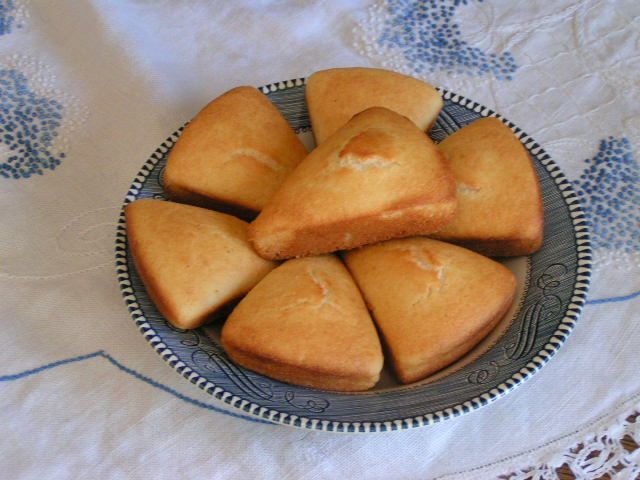 In answer to a request by reader, Marcie, here is my recipe for cornbread that I have used for years and years. I love it because it has just a tad bit of “sweet” to it, it is firm and is just tasty. The trick to it, though, is the pan I use. You can find these pans at hardware stores, Bass Pro Shop and I have even seen them at Walmart. A new skillet must be “seasoned” before use – wiped with a thick coat of cooking oil and baked upside down on a cookie sheet in a 350º preheated oven for 1 hour. This should be repeated often after cooking, until the surface becomes nonstick. If you want to go the “authentic” route, you can look in antique stores. I have two of these cornbread pans. One was my grandmother’s and the other was found at a junk shop. These cast iron skillets have dividers to make 8 pieces of cornbread. The secret to baking amazing cornbread in them is to put shortening in the bottom of each section and to place the pan in a 450º oven to melt the shortening. Have the cornbread batter ready when the skillet is removed from the oven and then pour the battle into the piping hot pan to fill each section 1/2 to 2/3 full. The batter will sizzle and bubble. Of course, you can do this same process with a regular cast iron skillet, and then slice your bread yourself. Melted shortening in the cast iron skillet also helps to keep it seasoned for the next batch. To wash the pan, just wipe out with a paper towel or damp cloth and let air dry. Cornbread Recipe 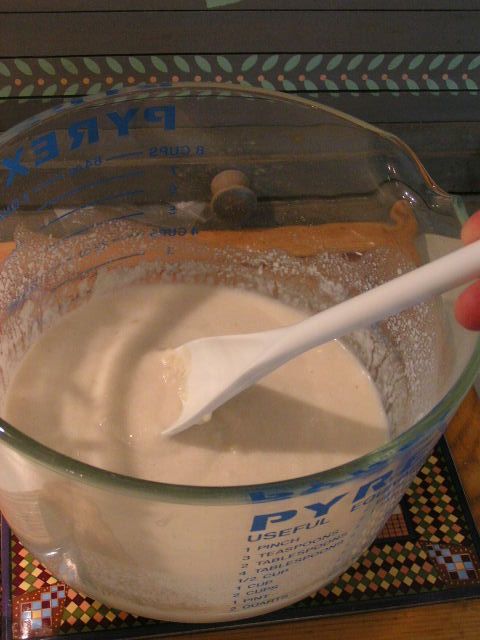 |
 |
 Happy Cooking! MB Oklahoma Pastry Cloth™ Company on Facebook
|
Sourdough Bread on the Oklahoma Prairie (and recipe)
Tuesday, November 3rd, 2009Sourdough bread is the oldest kind of leavened bread known to man. It is earliest recorded in Egypt around 1500 BC, but how it was discovered is total conjecture. There are all kinds of good stories regarding the discovery of the potent dough, but it is anybody’s guess how the first person suddenly decided to use wild yeast to make their usual flatbread rise to a fluffy loaf. Of course, with all of the brewed products available back then, like wines and beers, it is conceivable that some might have spilled into flatbread dough or that dough was left out and attracted the plentiful wild yeasts to produce a bubbly sponge, but I’ll leave you to your imagination to come up with “the story” of how sourdough starter was discovered.
My own imagery conjures up a man who stumbles home after a night out with the boys, precariously grasping a clay jar of strong Egyptian beer (brandname Pharoah’s Choice), and occasionally managing to find his lips to take another swig. As he wobbles into his humble abode, he finds his dutiful wife on her knees, mixing a batch of dough to bake for the next day’s flatbread allotment. Mr. Ancient Egyptian lunges toward his wife to give her a drunken hug, as she stands to greet him, and as if in slow motion, the clay jar of suds pitches out of his loose grip, flies through the air and lands squarely on the floor, shattering to pieces and sending waves of dark ale into Mrs. Ancient Egyptian’s bowl of flour and oil. Mrs. Ancient Egyptian lets loose with a string of hieroglyphics and cries over her ruined bread. The mess goes into the trashbin, also made of pottery, and the angry wife stomps off to bed. Next morning, she awakens to find an oozing, bubbly live thing, growing in her trashbin and out of curiosity, the Mrs. pours the doughy sponge into her floured breadbowl because she didn’t have an Oklahoma Pastry Cloth™, picks out any bones that had also been thrown into the trash from dinner the night before, adds some flour and then bakes the dough in her 400 degree brick and mortar oven. Out comes a tall, fluffy confection that she tentatively samples. A smile gradually replaces her angry frown and she comments, (in ancient Egyptian of course) “This bread is tangy and light – a veritable pastry worthy of royalty! I would think that it would be quite good with jam and tea.” As a result, she forgives her husband and encourages him to come home and drop his ale into her bread on a regular basis. I’m sure that it happened that way.
Sourdough starters are made with a variety of ingredients. Depending on the taste desired, milks, potato water, sugars, and various types of flours are incorporated to create a “sponge”. This sponge is continually “fed” to keep the yeast alive and thriving and as it is nursed, it develops its own particular flavor. Personal taste determines which characteristics are desirable or not.
Just a bit of historical trivia: According to www.kitchenproject.com, during the gold rush days in San Fransisco, California, a bakery run by the Boudin family from France used sourdough culture to create a unique and famous bread that miners enjoyed every morning. Since 1849 they have been using the same sourdough culture, which they call a “Mother dough” and the same recipe. So important is their “Mother Dough” it was heroically saved by Louise Boudin during the Great San Francisco Earthquake of 1906. Here in Oklahoma, sourdough starter has been used on the prairie through days of wagon trains, landruns and cattle drives to produce biscuits, pancakes, muffins and bread. It doesn’t take long to find a class here, where one may learn to create these morsels in a dutch oven nestled in the coals of a campfire.
Every sourdough sitter considers their starter to be the best. As in the case above, many starters have been handed down through generations of bread bakers. However, it is possible for you to start your own legacy and tweek it to your own taste. You can make the base recipe that follows, and then divide it to keep some going as a pristine culture and experiment with various additives like milk or potato water instead of just plain water on the rest. Also, as your culture becomes exactly what you like, it is a good idea to pour some onto wax paper and allow it to dry into a flat sheet that can be broken into small pieces and stored in a tightly sealed jar. If something horrible happens to your live culture, you can start over by adding two tablespoons of dried culture with 2 tablespoons of water to reconstitute and bring to room temperature and then start your usual process over again with this base.
If you are not going to use your starter for a time, you can put it in a jar with a tight fitting lid and store it in the refrigerator. I have also had luck with freezing cubes of my starter to then thaw to room temperature and start the process over. And one last tip that I use: I use bottled spring water to hydrate my starter, as city water has chlorine that kills the yeast and well water can have bacterias that ruin the taste.
I have tried a variety of starters and have come up with my favorite that is very, very simple. If you wish to be truly “pioneer”, then you would omit the yeast and let this starter stand for three days, stirring once each day, to capture any wild yeast in the air. When you start seeing bubbles, you start the “feeding” process. I personally like the flavor achieved from adding a little powdered yeast to get started. Again, if you wish to be “pioneer” in making the true, slow, sourdough bread then you would follow my bread recipe, ommitting the yeast and allow your dough to rise for as long as 24 hours, but I am including in the recipe, two teaspoons of yeast in case you do not wish to wait that long to have bread and still have the sourdough flavor.
Starter Recipe
3 tbsps whole wheat four
2 1/2 tbsps warm water
1 tsp powdered yeast
In a crock container or other opaque glass jar, mix ingredients with a wooden or plastic spoon. Do not use any metal utensils or containers. Allow to stand overnight, covered with cheese cloth. Next day, stir in 2 more tbsps of flour and 1 1/2 tbsps water. Stir and let stand overnight. Continue this process each day of using 2 tbsps flour (you can use white flour at this point) to 1 1/2 tbsp water until you have approximately 1 1/4 cups of starter. At that point, you have enough to make a loaf of bread. You must have enough starter to be able to remove 1 cup and still have some left to continue feeding for the next time. As the starter grows, it should be bubbly and pungent. Overnight, if a liquid rises to the top, just stir it in and continue feeding. Each time you make bread, it is a good idea to transfer all of the starter into a clean jar or bowl and wash the container that houses the starter to keep mold from ruining it. Dry the container and return any culture that is left after removing a cup and start the feeding process again.
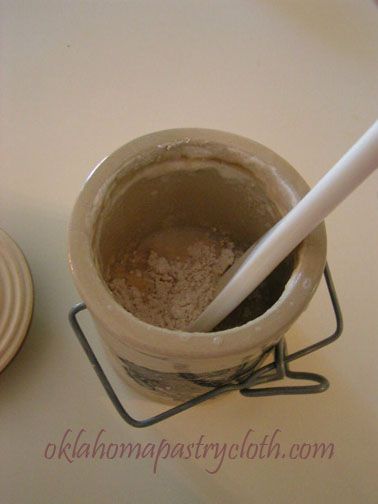
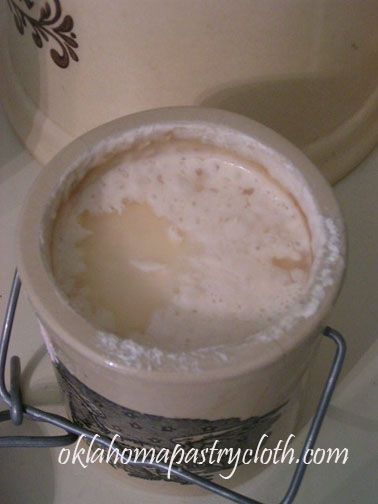
To make bread:
1 cup sourdough starter at room temperature
3/4 cups warm water
2 tsps yeast
2 tbsps honey or sugar
1/4 tsp baking soda
2 tsp dough enhancer (lecithin)
3 cups high gluten flour either whole wheat or white or combination of both
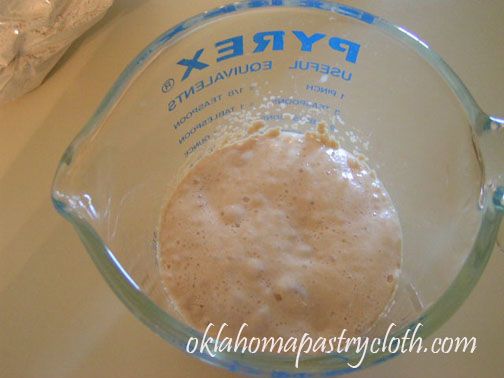
Sprinkle yeast over the surface of the 3/4 cups warm water and allow to “proof” or dissolve in the water and bubbling to the top.
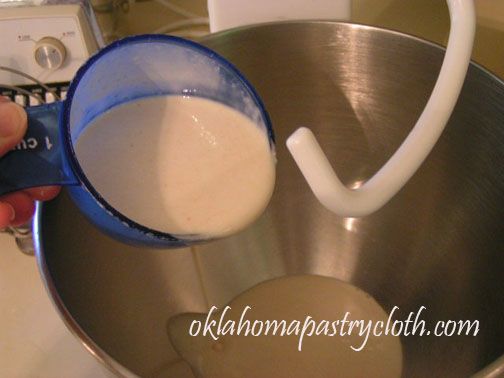
In a mixer with a dough hook, place starter, honey or sugar and yeast water along with one cup of flour, salt, enhancer and soda. Mix to blend.

Dough enhancer can be purchased at Sonrise Grains
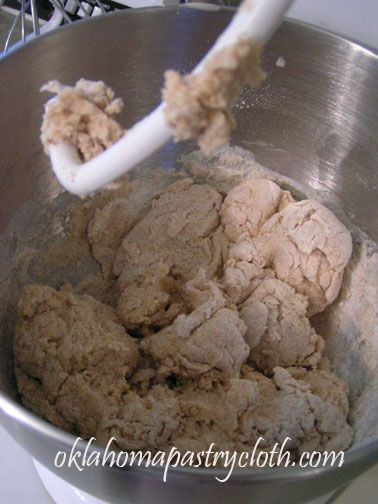
Gradually add second cup of flour. Continue mixing. Add third cup in stages because you may not need all of it. The thickness of your starter will determine how much flour you use. Your dough should pull away from the sides of the bowl. If it does not, add more flour. If it appears too dry, you may add a little more water. This picture shows the dough too dry.
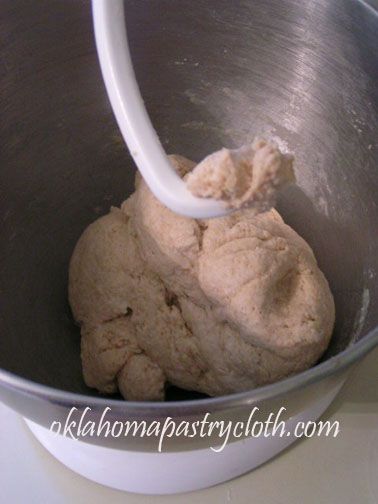
This is better
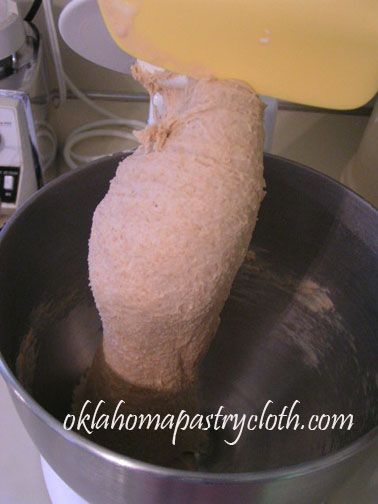
Using the dough hook on low speed, knead the dough for 8-10 minutes. It should be smooth and easily formed into a ball.
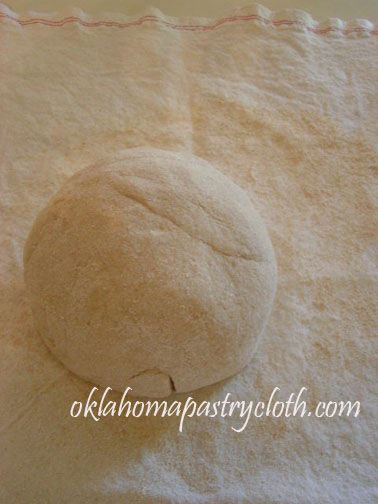
Put the dough out onto the Oklahoma Pastry Cloth™ and form into a ball. Wrap in plastic wrap and allow to rest for 10 minutes.
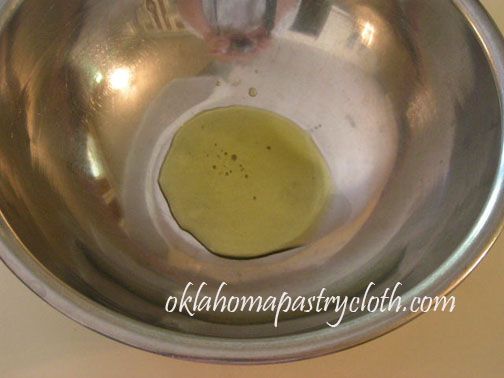
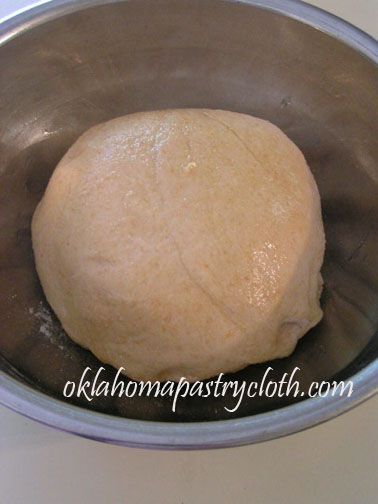
In a bowl, pour a tablespoon of olive oil into the bottom and place the dough, topside down, into the oil. Turn right side up to coat the dough ball in oil.
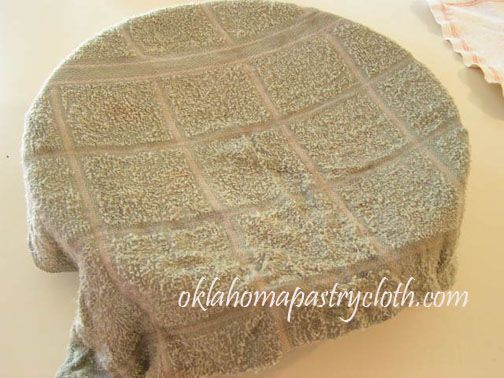
Cover with a warm, damp towel and allow to rise until doubled. If not adding yeast, allow to rise in a bowl that is covered with a wet towel and then covered in plastic wrap. Rise for anywhere from 8 -12 hours until doubled. The longer the rise, the stronger the flavor.
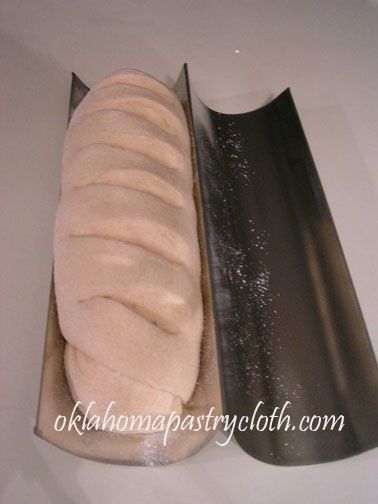
When risen, punch the dough down and put out onto pastry cloth and pat out to 1 inch thick. (If not using yeast, knead in a little flour.) With oil on your hands, wipe the dough with oil and then begin rolling toward you like a jelly roll, firmly pressing the edges into the dough. Continually oiling your hands, continue rolling until loaf is created. Tuck ends under. On a cookie sheet or Italian loaf pan, oil the pan and sprinkle with corn meal. Place loaf onto cookie sheet or into pan and cut diagonally with scissors to make slashes. Cover with warm, wet towel and let rise until double. (If not using yeast in the recipe, cover with towel and spray water mist onto the towel occassionally to keep it moist as it rises for 1 to 4 more hours.)
Preheat oven to 400 degrees. Spray the bread with a mist of cold water before placing into oven and then bake for 20 minutes until browned. Turn bread over in the Italian loaf pan and bake 4 minutes longer to brown bottom.

Remove from oven and cool on rack. While hot, you can brush melted butter over the bread. Cover bread with towel as it cools for 30 minutes to make the crust soft yet crunchy.
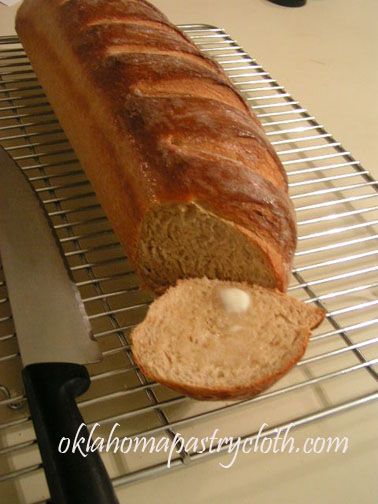
Slice and serve. And it IS good with jam and tea!!





 Homestead Revival
 Paratus Familia
 Rural Revolution