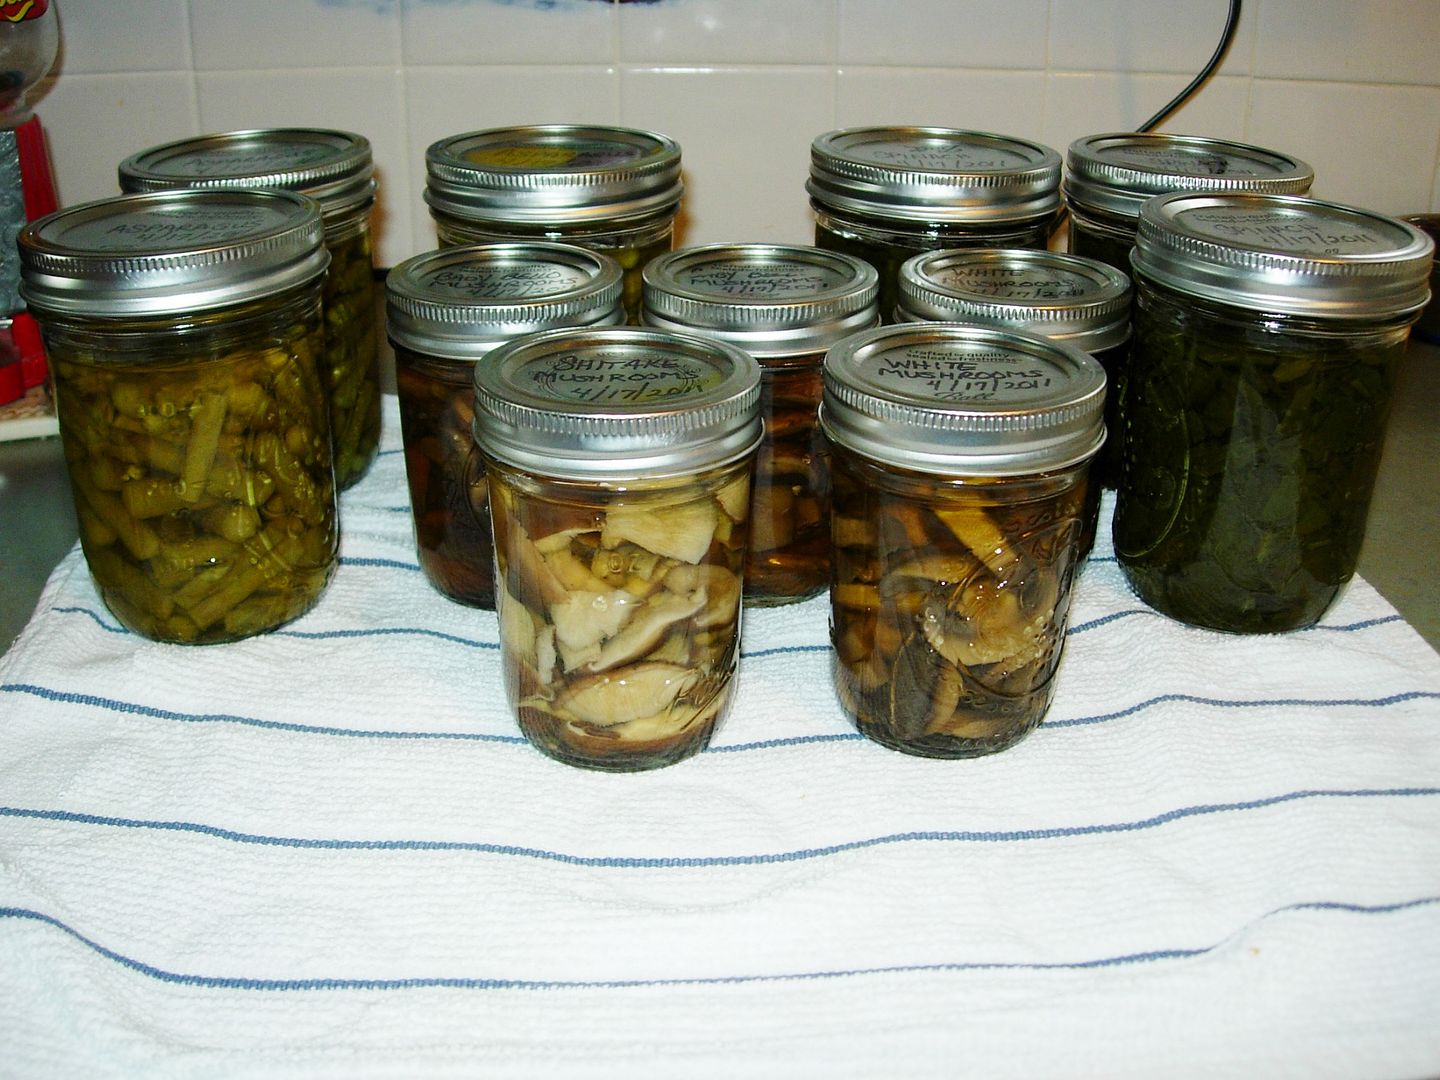
 It is always exciting to hear from a reader who has jumped with both feet into the wacky world of canning! I love to hear the stories and see the results because it is wonderful to know that the art is being passed on. As I hear the excitement in the notes attached to photos, it takes me back to my early days of canning with visions of my first little kitchen, its unfinished concrete floor, boxes of bottle lambs in the corner and my brand, spankin’ new pressure canner gleaming on the stove. That was a long time ago. I received this photo from reader, Carol, who really took on some unusual produce to attempt her first experience in pressure canning. She wrote the following: “The farmer’s market started last Saturday and bought some nice fresh asparagus and spinach and had some mushrooms from the grocery. I took my pressure cooker for a test drive then I commenced to canning! 3 pints of asparagus, 3 pints of spinach, 4 1/2 pints of mushrooms. I am so excited. I have always wanted to do this. ( I know, I need to get a life) I have never canned or used a pressure cooker before. My family is terrified of pressure cookers after my Grandma exploded one while cooking stew and for years they found splats of stew around they kitchen and it took forever to get it all off the ceiling…” So I am offering a “congratulations!!!” to Carol for overcoming the family phobia and successfully processing some really unique items! 🙂 Yay! |
|
Oklahoma Pastry Cloth™ Company on Facebook
|
 |
Posts Tagged ‘canning’
A New Generation of Canners!
Tuesday, April 19th, 2011
Kudos!!
Sunday, April 10th, 2011
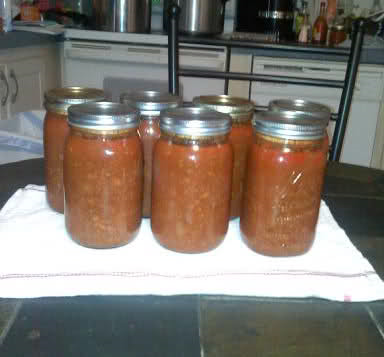 I’d like to give a shout out and kudos and ‘atta-girl’ and ‘way to go!’ (can you think of anything else?) to reader, Debbie, who sent in this photo of her first attempt at canning chili. It was such a success that she is moving on to canning soup for her very large family. Congrats, Debbie!! We are so proud of your success and eagerness to plan ahead for your family. If you have a success story or ideas that you would like to share, please email us with your pictures and story. Again, congrats, Debbie!! |
|
Oklahoma Pastry Cloth™ Company on Facebook
|
 |
Canned Broth
Saturday, February 26th, 2011
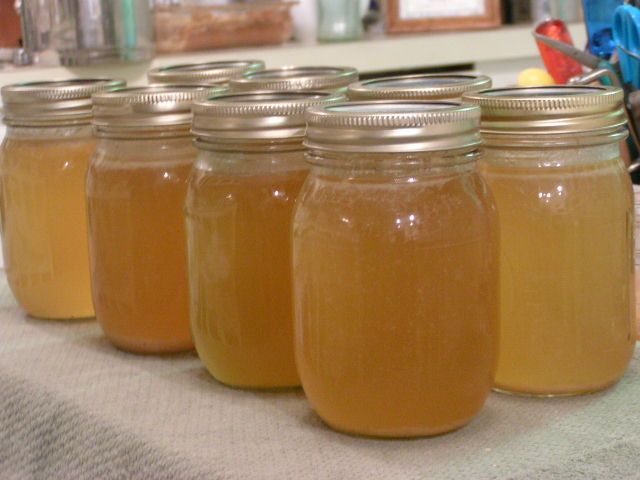 A reader of the very informative blog Rural Revolution, A. McSp, shared a wonderful recipe for chicken stock to be used for cooking pinto beans, soups – you name it. I decided to try it and am in love. First, the smell that permeates your house while cooking this stuff is enough to call Glade and ask if they make Chicken Stock in a Can Air Freshener, second, the flavor is so rich that it makes everything to which it is added have more body, and third, it’s canable – oh wait – that’s not a real word unless you’re talking about creepy hungry people and can’t spell. How about this: It can be canned! You know that always gets me right here (pointing to my heart now). I’m afraid that I was so involved in the process that I didn’t do my normal photo session and so I’m just going to have to give you the recipe with only a few photos and a video. Sorry for my brain freeze. I did get a couple of shots! Here are the steps to this amazing chicken stock! 1. When you cook a chicken, save the carcass, skin and all and if you aren’t going to make stock immediately, put it in the frig until you are ready, no more than a couple of days. 2. Cut or break the bones up into pieces using kitchen shears. 3. Put the bones and skin into a stock pot and cover with water, about a gallon plus. 4. Add 1-4 stalks of celery. I used my dried celery! 4 tbsp to equal 4 stalks. I love my dried celery! 5. Add 1/2 medium onion 6. Add 4-5 cloves of garlic 7. Add parsley if you have it 8. Add 1/2 tsp dill seed if you have it 9. Now here she said to add 1/2 tsp dried orange peel, but I didn’t have dried so I used 1 tsp of fresh orange zest. Oh my. I think I prefer that to the dried!! 10. Add 3 tbsp white vinegar and the juice of one half lemon or lime 11. Add salt and pepper to taste (side note: If you want an even more robust chicken flavor add 1/2 – 1 tsp granulated chicken bouillon per pint jar of stock) Bring to a boil and stew on low heat for two to three hours. The vinegar and the lime or lemon juice pull the calcium out of the bones and so your broth is rich in calcium. As the stock stews, I add a little water to maintain the water level. When the cooking time is reached, I pour the broth, bones and veggies into a colandar that is sitting over a large bowl or another stew pot, to strain the broth. I press the stuff left in the colandar with a potato masher to get out all of the liquid and flavor into the stock in the bowl. At that point, I ladel the soup into jars, leaving a 1/2″ head space, clean the rims of the jars, attach the lids and rings and put them into a pressure canner of hot water (the jars of liquid are hot and will crack in cool water) to be processed for 20 minutes at 10 lbs pressure. One chicken gives me 10 pints of broth. 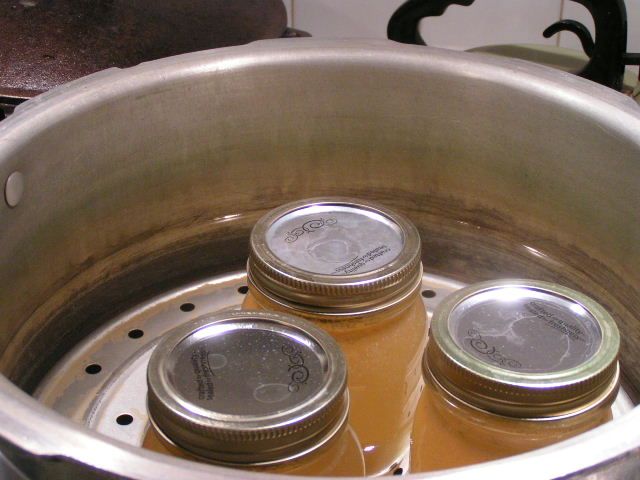 Unlike waterbath canning, the water level in a pressure canner is only about 2″ deep. 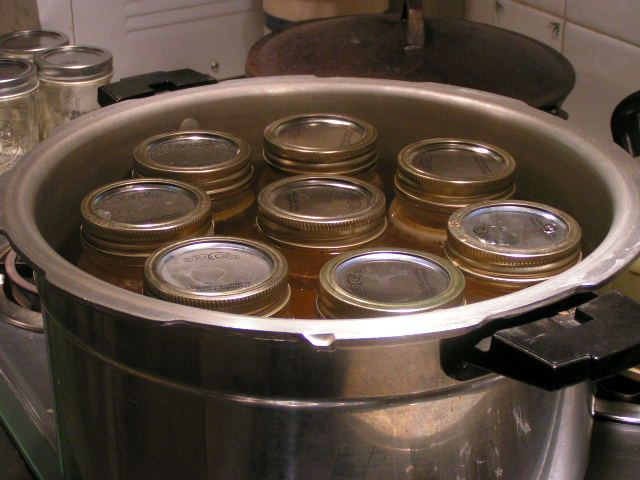 The jars sit in the water, but are not covered by it as in a waterbath. I did a video of the pressure canner as it was doing it’s thing this afternoon. I’ve had several people ask me how it is supposed to sound. If you will notice, it jiggles for a bit and then stops and then jiggles and stops. That is the rhythm that you want to achieve to keep an even pressure. I start out on high heat and when the weight starts vibrating, I start turning the heat down until I get a uniform rhythm. I bought this canner in 1977! It has been a jewel. Pardon the noise of the microwave in the background. Halfway through I realized it and turned it off! Last night, I made pinto beans with two pints of broth, two tbsp brown sugar and a slice of home-cured country ham. Oh my. I’m still grinning. |
|
Oklahoma Pastry Cloth™ Company on Facebook
|
Canning Butter
Thursday, February 24th, 2011
|
I have a question. If milk is nature’s most perfect food, as we ALL learned in our science classes many years ago and have heard on many a dairy commercial, why isn’t butter perfect too? Why has butter gotten such a bad rap when it is simply the richest part of the milk that has been whipped to a frenzy? All I know is that butter is all-natural and has to be a whole lot better for you than the fake spreads that marketers have tried to pawn off on us as the nutritionally better alternative. We humans seem to always go down the road of trying to improve on what comes naturally and then wind up right back where we started, concluding that the original product isn’t so bad after all.  I have admitted my affinity for butter in past posts but I am in no way an addict to the stuff. Really. I can quit using it anytime. Really. I use it in moderation mixed with olive oil and am known to spread it sparingly on a slice of fresh homemade bread. Really. But there is simply no substitute for the stuff when it comes to sauces, cajun cuisine and toast.  So did you hear about the solar flares that scientists are afraid are going to destroy the earth? Well, not destroy exactly…just leave us in an electronic lurch which would pretty well destroy the majority of us who can’t live without a cell phone, computer or electric toothbrush. How in the world can I keep my precious butter from spoiling if our refrigerators aren’t running? Well, I can it, silly! I gathered all of the info I could from several sources on the internet and have started canning part of my butter when I find it on sale. The Indians in India have been canning clarified butter, called ghee, for ages and ages. I like to can my butter whole. Take a peek at what is working for me: 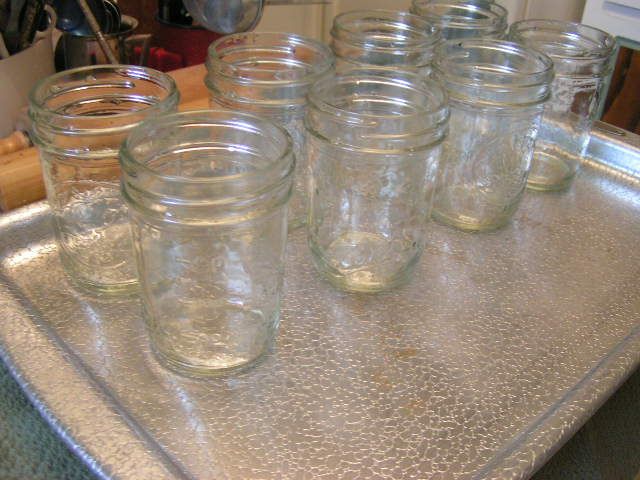 Wash jars in hot soapy water and boil in a large pot or wash on the sterilize cycle in the dishwasher. Place the jars on a cookie sheet. Here I am using 8 oz jars which hold about 1 1/3 sticks of butter. In this run, I used 9 – 8 oz jars for 12 sticks of butter or 3 lbs. Put the cookie sheet of jars into a 250º oven and heat for 20 minutes. 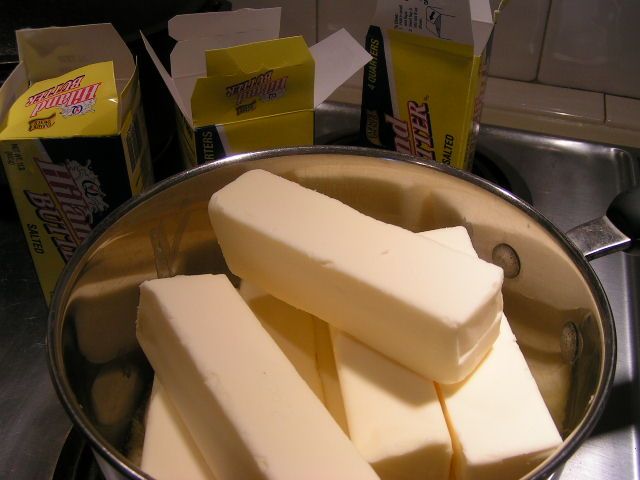 Place sticks of salted butter in a large pan. I do about three pounds at a time simply for ease. The larger pots get too heavy to manipulate and butter gets everywhere. 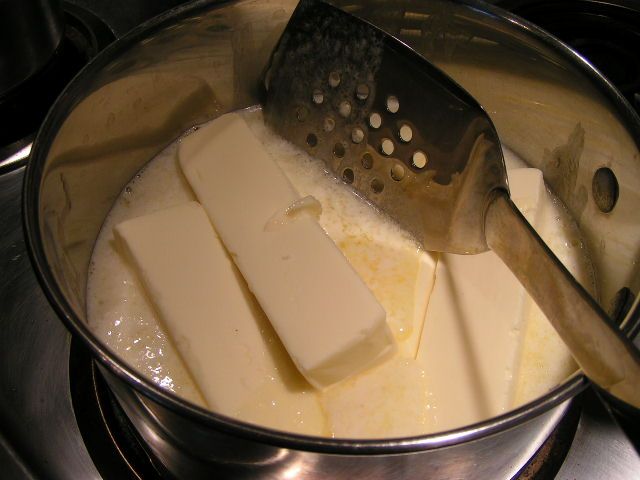 Slowly melt the butter on medium heat, stirring constantly with a metal spatula to keep from scorching on the bottom. A spatula with holes is ideal because the melted butter is pushed through the holes during stirring and helps to keep it uniform. 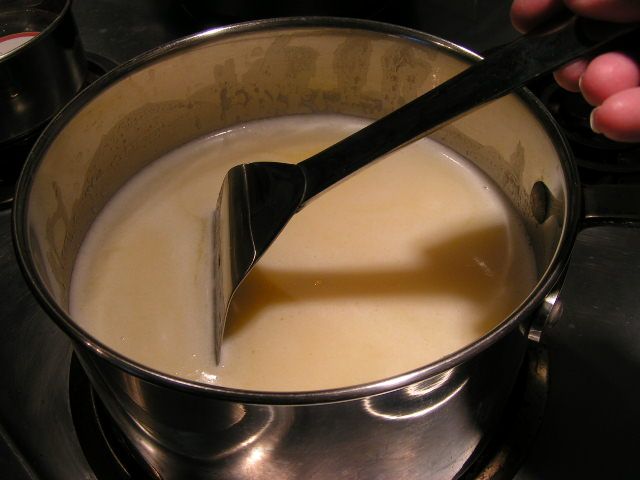 When the butter is totally melted but not quite boiling, continue to stir and allow to simmer for 10 minutes. A thick, white foam will appear. 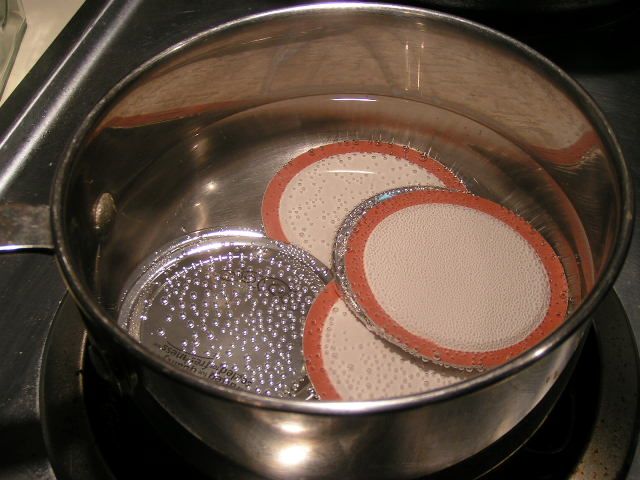 While melting the butter, place lids in a pot of water and bring to a near boil to prepare lids. Turn heat down to keep lids warm. 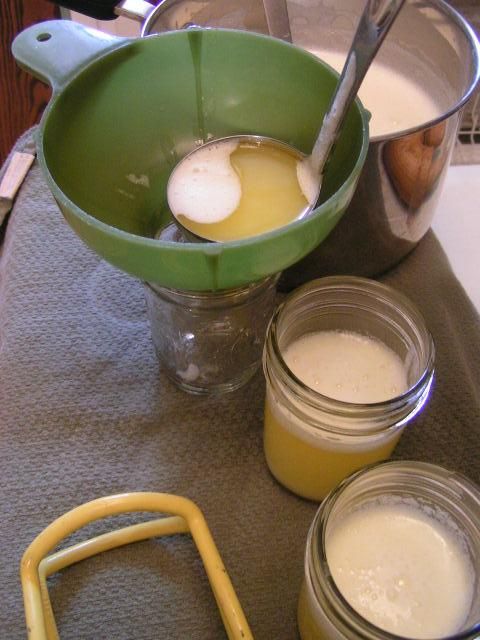 Remove jars from oven and immediately ladel butter into the jars, using a canning funnel. Be sure and stir the butter around and dip deep, pulling up, in order to keep the butter uniform, as it separates. Fill to leave a 3/4″ head space. 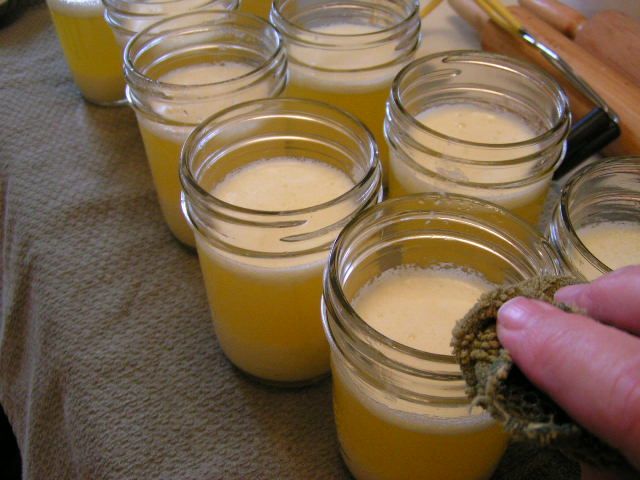 Carefully wipe the edges of the jars with a damp cloth to remove any butter. Butter on the rims will cause the jars not to seal. 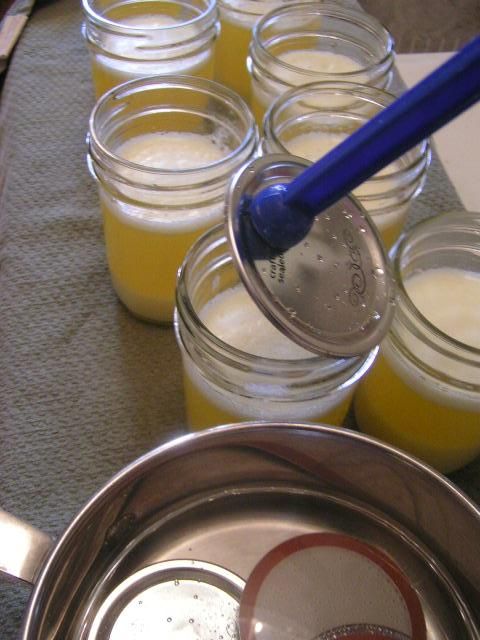 Place the lids on the jars and attach rings, tightening slightly. Place jars into a waterbath canner that has water already heated and enough to cover the jars 1″. The water needs to be heated because the jars of butter are hot and will crack in cool water. As soon as water begins to slowly boil, set timer for 15 minutes. 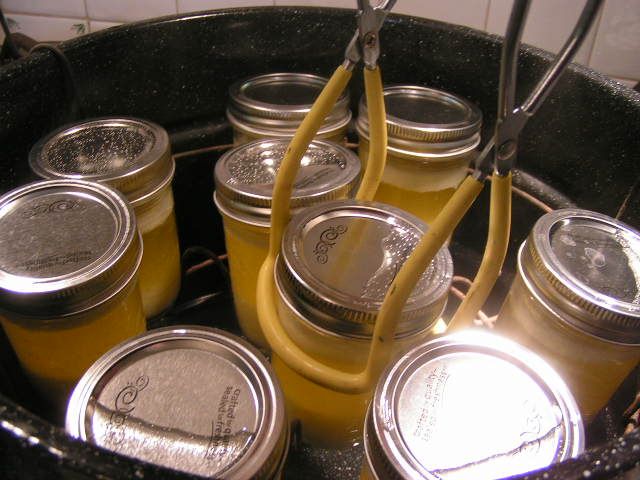 When jars have been processed for 15 minutes, turn off heat and allow to cool down in the water for another 10 minutes. Then, lift the rack to top of canner and remove jars with canning tongs. 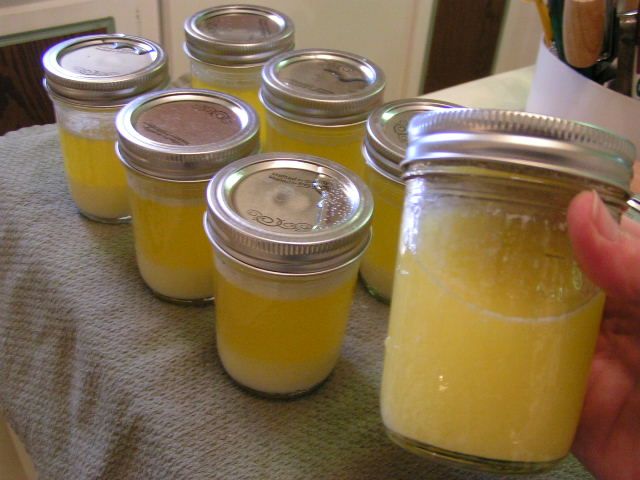 When the jars are cool enough to handle, now comes the tedious part. Every few minutes shake the jars up and down in order to make the butter uniform. If you notice in this photo, the jars to the left have sediment on the bottom and foam on the top. Shaking incorporates this into the clarified portion. Go about your business, but about every 5 minutes, stop and shake the jars. As they cool, they will stay more and more uniform. I set a timer to remind myself so that I can do clean-up. 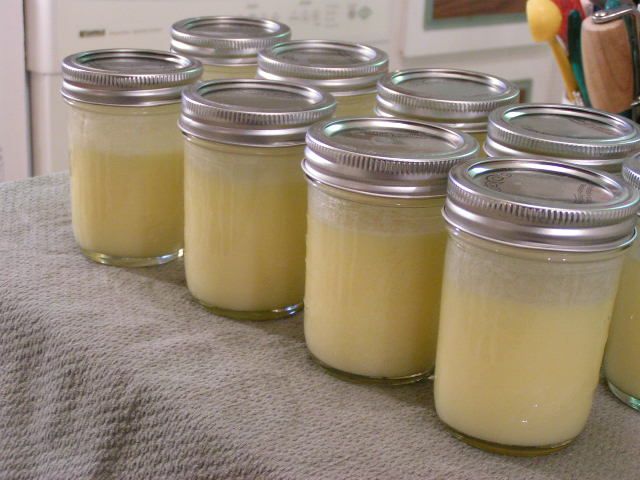 This butter is totally cooled and ready to store in the pantry. Aren’t they pretty? I read one homesteader’s take on canning butter and she said that they actually opened some from 1999 and it was still good. Don’t think I would keep it THAT long, but it wouldn’t matter because it wouldn’t last that long around here anyway!! 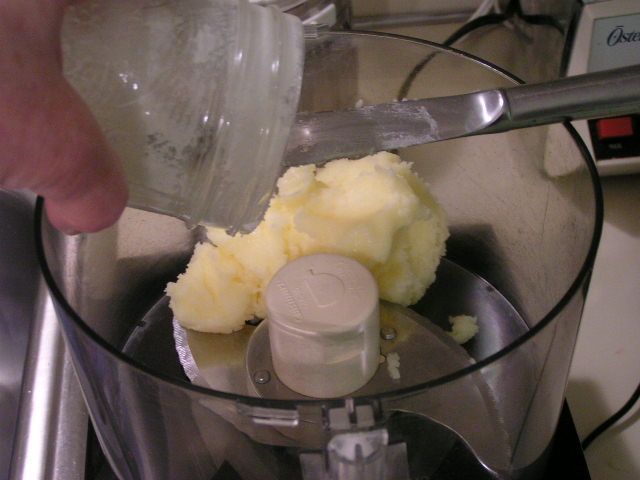 Canned butter is not quite as smooth as fresh butter, but if you are wanting a smooth, healthy spread, you can make the same recipe posted earlier with olive oil or canola oil. Just scrape butter from an 8 oz jar into the food processor or blender. 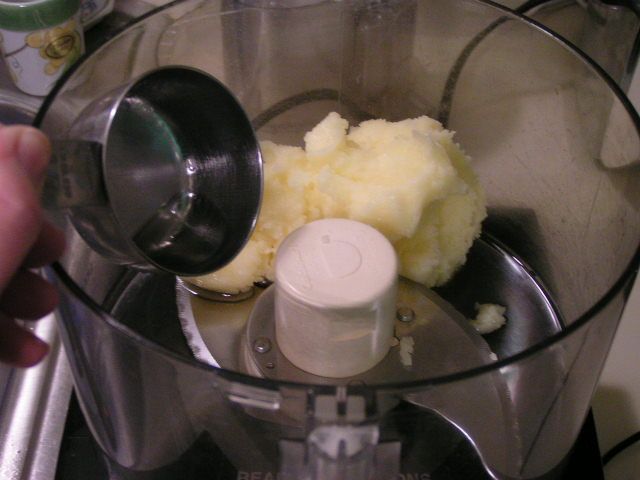 Add 1/3 cup oil. If you have canned your butter in larger jars, adjust amounts of oil. For example, a 1 pt jar of butter would require 2/3 cups of oil. 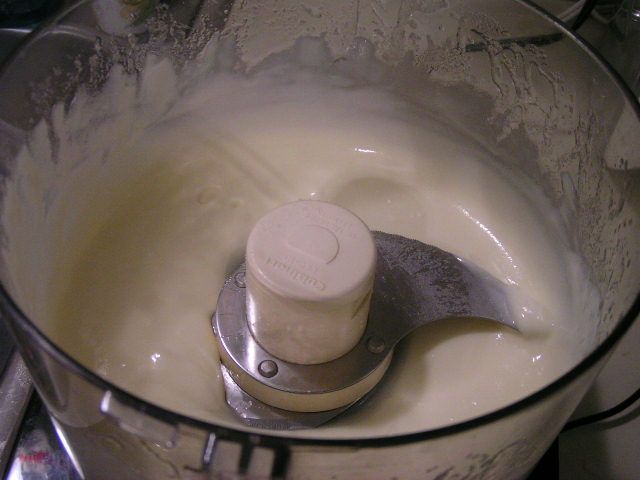 Process until smooth 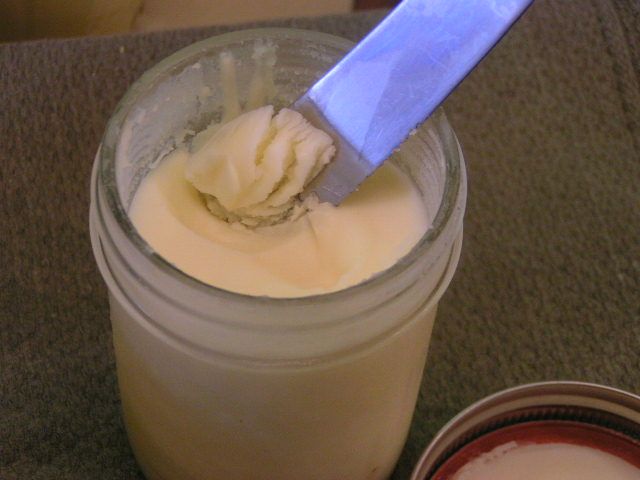 Pour back into jar and allow to harden in the frig. It will go back to the consistency of smooth, spreadable butter. Pass the Lobster, please!! |
|
Oklahoma Pastry Cloth™ Company on Facebook
|
Yep!! Canning Cheese
Wednesday, February 9th, 2011
 I’ve always heard that “necessity is the mother of invention” but I also think that it is “the mother of learning something new”. Such was the case recently after a productive trip to our local grocery which is owned and operated by the Absentee-Shawnee Indian Tribe. On this particular day I discovered that the store had block cheese on sale; 1 8oz block for $1. Never one to pass up a good deal, I decided that if one block of cheddar was good, 20 blocks of a variety of cheese was phenomenal! I tossed mild cheddar, mozzarella, sharp cheddar, pepper jack and cojack into my cart and trotted on down the isle. To my surprise, I found that Velveeta was on sale too. Oh joy. Now, I must digress here for a sec in defense of Velveeta cheese PRODUCT. Although I realize that Velveeta is the plasticized version of cheese, it is a must for any kitchen simply because it melts sooooo smoothly. It is wonderful for cream soups. It is true that nobody REALLY knows where Velveeta comes from. And while we are told that it is made from milk, it could be guinea pig milk for all we know. However, while we ponder how one milks a guinea pig, the rest of America is enjoying its queso made with Velveeta, picante sauce and maybe some ground beef flavored with taco seasoning. Velveeta is to the cheese world what Spam is to the ham world. Each has its purpose. And so, I got my Velveeta and checked out. On my way home, it occurred to me that all of this cheese had to have a place to go to stay fresh. I usually grate my hard cheese, put it into bags that I can vacuum on my FoodSaver sealer and then freeze it, but this was going to be an enormous amount of grated cheese. What if I wanted sliced cheese? My experience with freezing blocks of cheese for slicing had been less than successful. I had been totally unhappy with frozen Velveeta, so what to do? What to do? Thank goodness for the Internet. Enola Gay at Paratus Familia had the solution. Can it! Can cheese? Really? She showed how to can hard cheeses and that got me to thinking about canning the Velveeta too. I researched and researched and found several ways to do that as well. I wound up with what I think worked best for me. So first, I’ll show you how I canned the hard cheeses and then the Velveeta. Talk about handy. You can’t believe how wonderful it is to have canned cheeses. You can shred and slice the hard cheese and the Velveeta is just as good as if it were in the box. I suppose at this point I should throw in the disclaimer that I haven’t found anything that indicates the government watchdogs have given their seal of approval to this, but then, they don’t like us canning apple pie filling either. From everything I have read, these canned cheeses last up to two years. 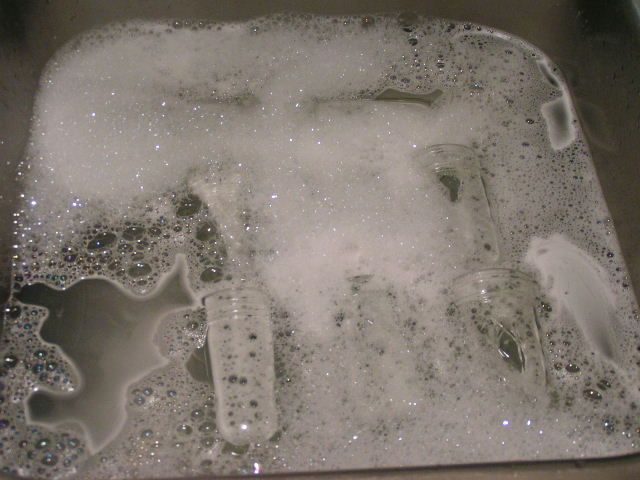 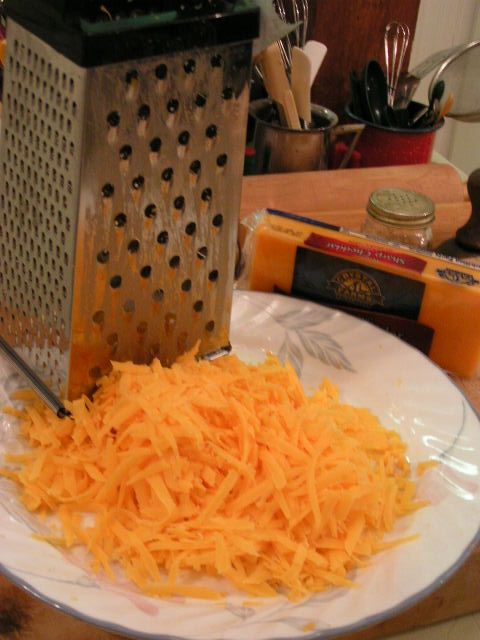 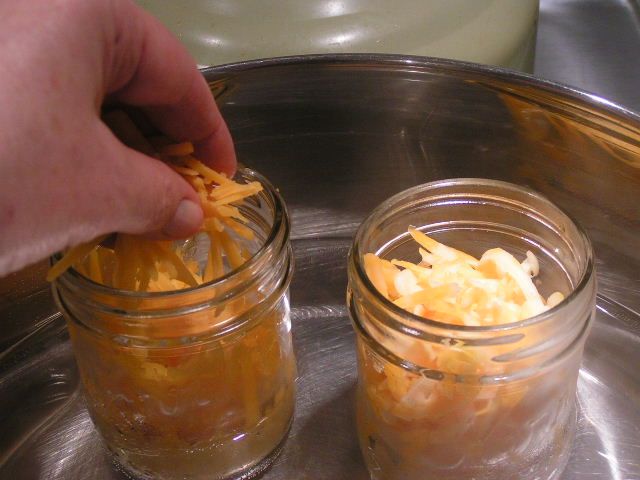 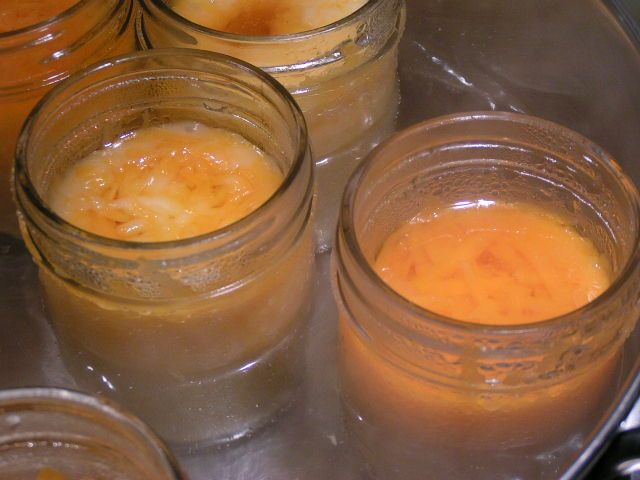 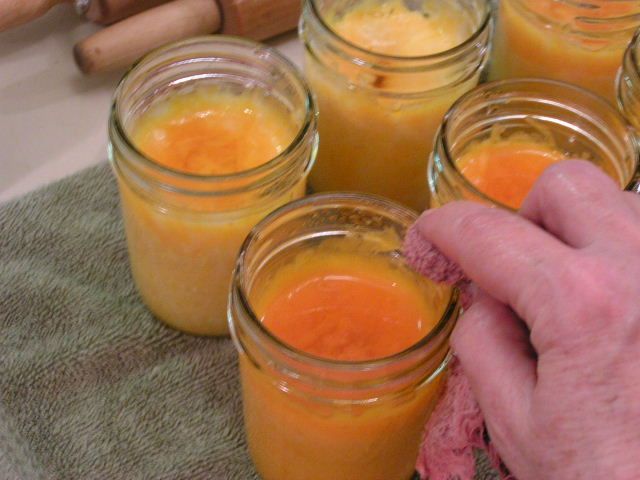 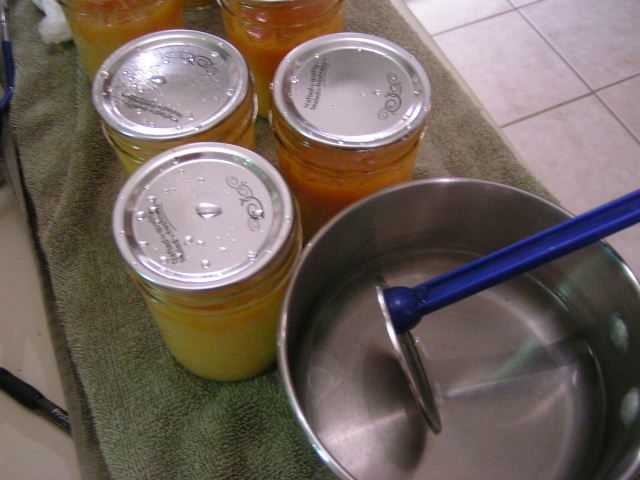 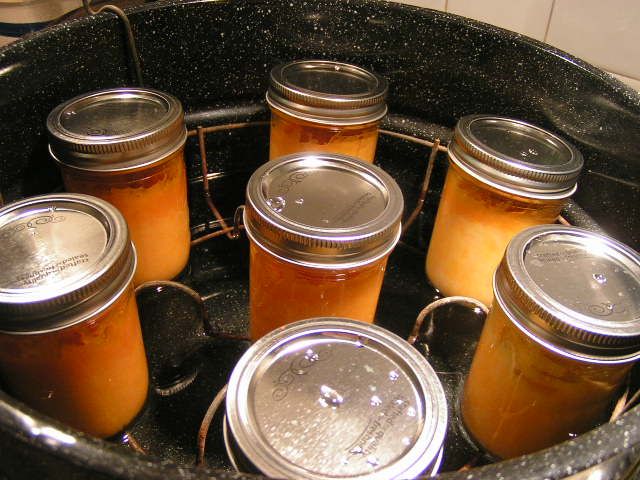 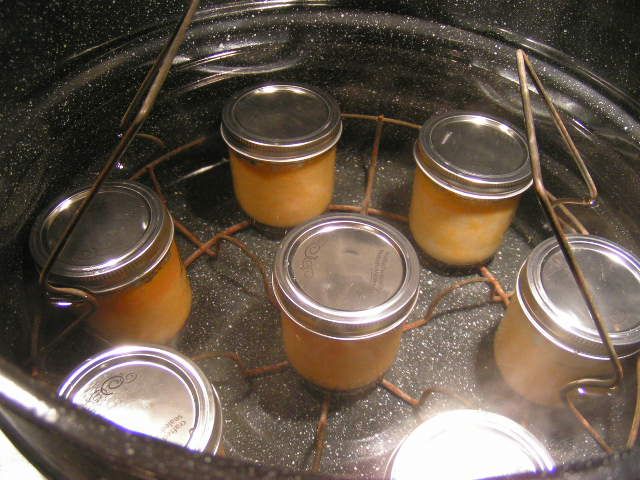 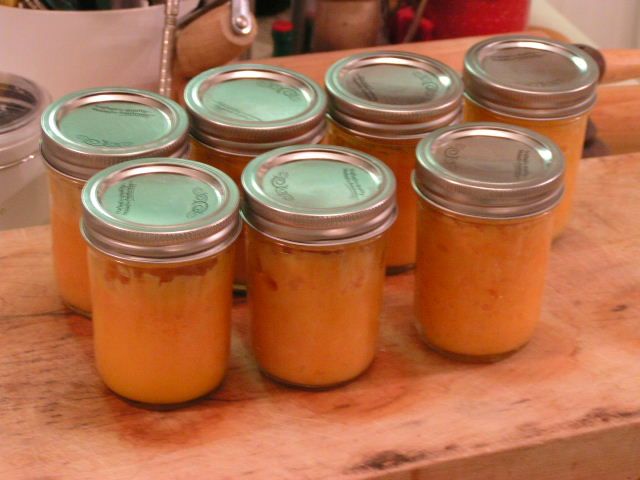 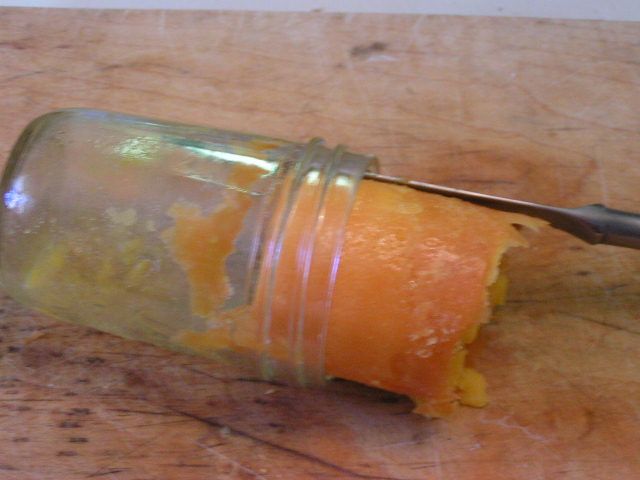 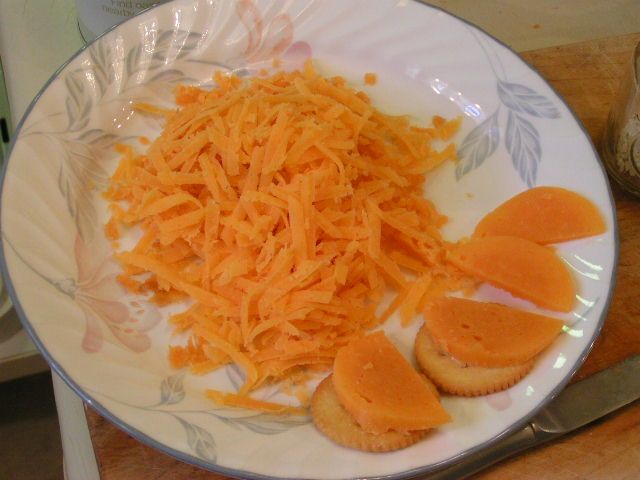 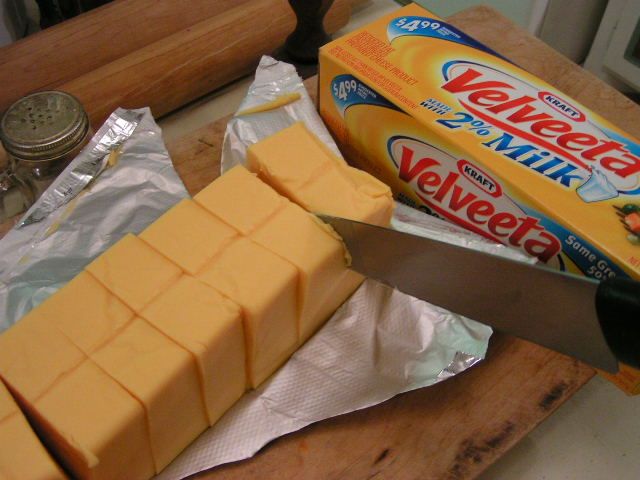 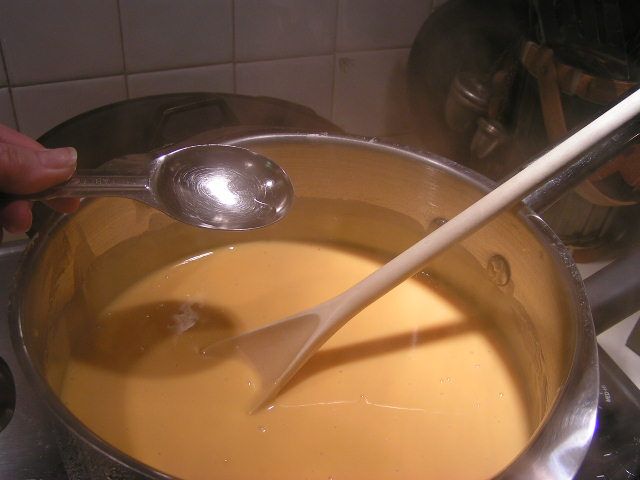 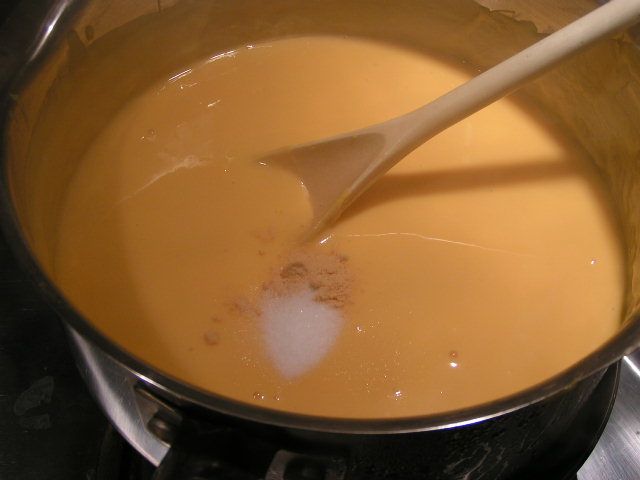 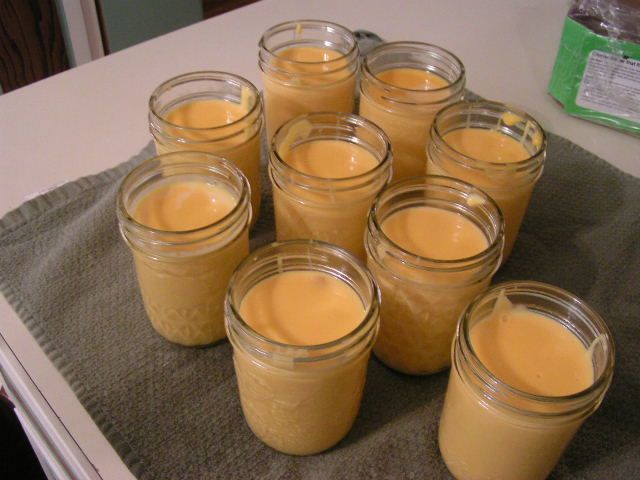 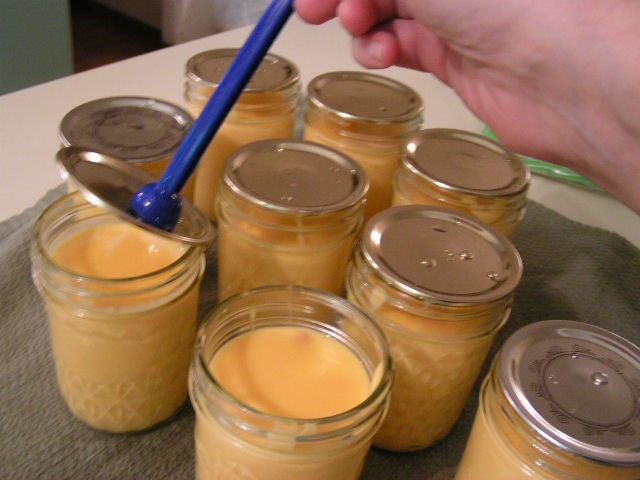 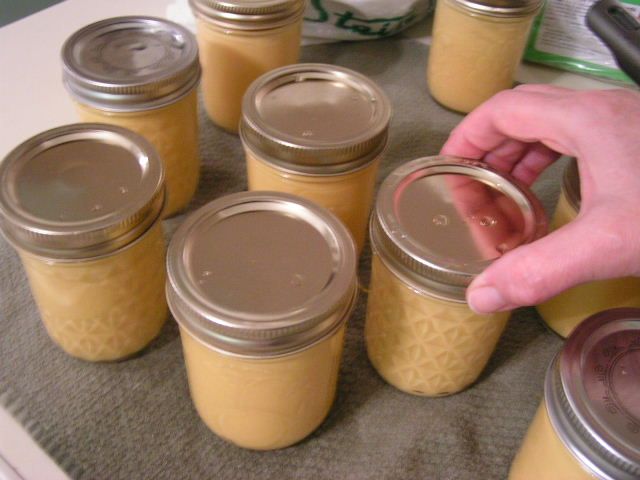 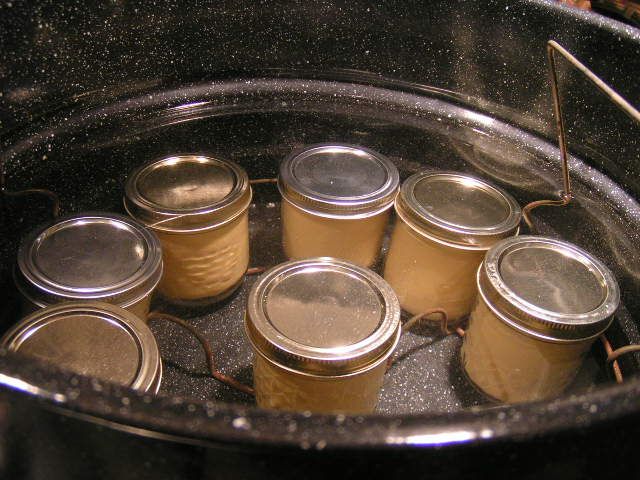 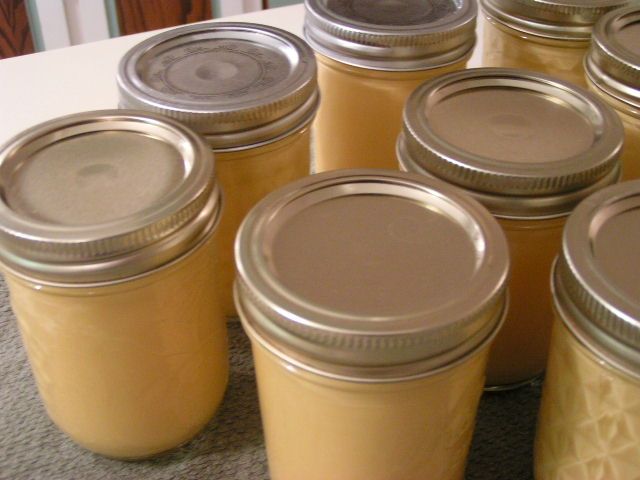 Oklahoma Pastry Cloth™ Company on Facebook
|
Making Sauerkraut
Sunday, November 14th, 2010
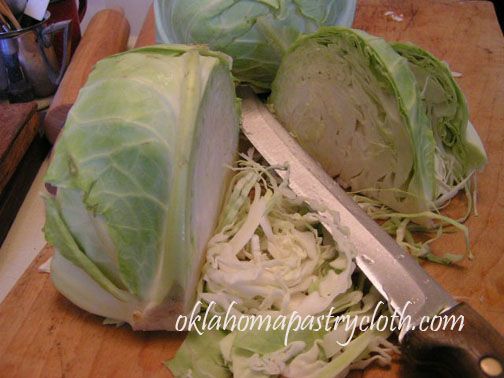 Well, I think that I will venture into the world of German Cuisine and explain the exciting experiment that was performed in the Oklahoma Pastry Cloth™ laboratory. We made Sauerkraut!! That may not sound exciting to most people, but to me it was a journey into my ancestral past. My grandmother made Sauerkraut in crocks and I have two of those crocks. I’ve been told that they had the additional use of being her knife sharpener. She would turn the crocks over and sharpen her knives on the bottom like on a stone, but I digress. I never got to watch my grandmother make her Sauerkraut, but I have heard the stories and so, as much as I love the stuff, I decided to see if maybe making it is in my genes! This experiment was prompted by a sale on cabbage at the Firelake Grocery owned by the Absentee Shawnee tribe nearby. 10 lbs for $1! Now THAT’S a sale. I knew that I had to have that cabbage. So what if I had no idea what to do with it? I had to buy it because it is such a steal and it’s wrong to pass up a steal. As I loaded my buggy, I remembered my grandmother’s crocks and my adventure was set. |
|
According to Wikipedia, Sauerkraut probably originated in the north of China among the Mongols. That would make sense because one of my favorite Korean dishes is Kimshe which is simply Korean Sauerkraut. Anyway, Sauerkraut was brought to Europe by migrating tribes. Eastern Europeans, eat a LOT of sauerkraut. In Europe, the Jews adopted sauerkraut as part of their cuisine and are thought to have introduced it in the northern countries of Western Europe and then to the United States. Sauerkraut is a staple of the winter diet in Germany and the Netherlands. While sauerkraut is usually prepared with pork, the Jewish people customarily use goose or duck meat. |
|
Now came the part in the research that kinda got me. When we had our sheep farm, we raised Sudan Grass and cut it and chopped it and put it into a silo to ferment for the sheep and cows to eat. According to Wikipedia, it’s the same process that is used for Sauerkraut. We’re eating silage!! No wonder those sheep and cows burp so much. Anyway, when making Silage – I mean – Sauerkraut, you have to be very careful to monitor the temperature of the area where it is fermenting. The USDA says to use more salt than is traditional, but that makes it way too salty. So, in order to avoid food poisoning if using traditional amounts of salt, you must keep the temperature at the correct level. Depending on who you talk to, this should be anywhere between 40 and 70 degrees. 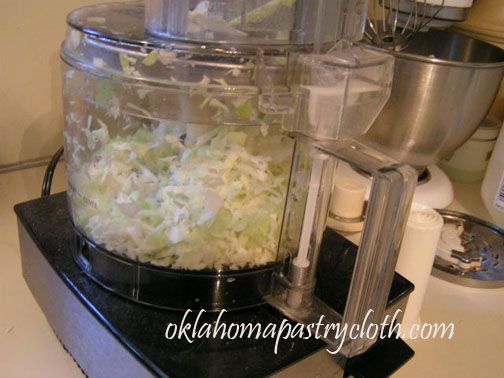 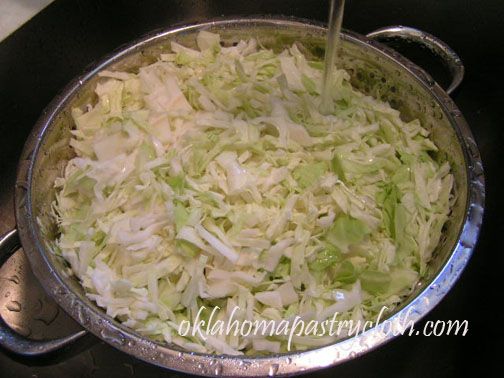 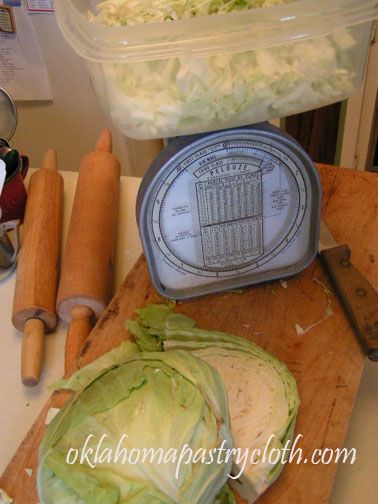 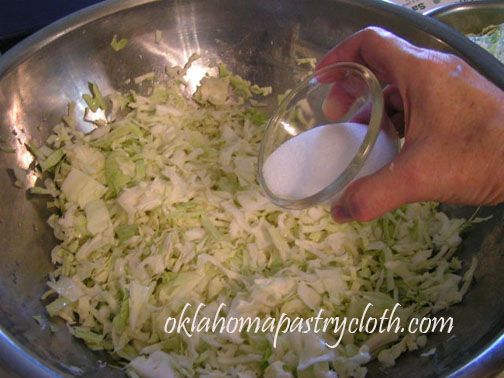 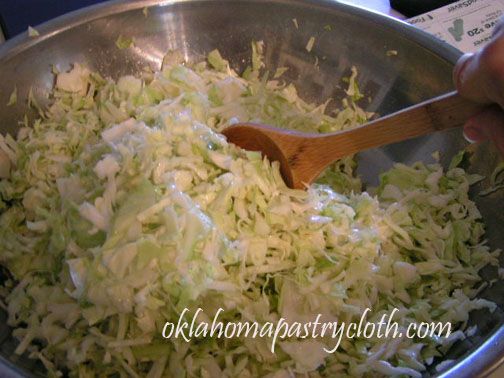 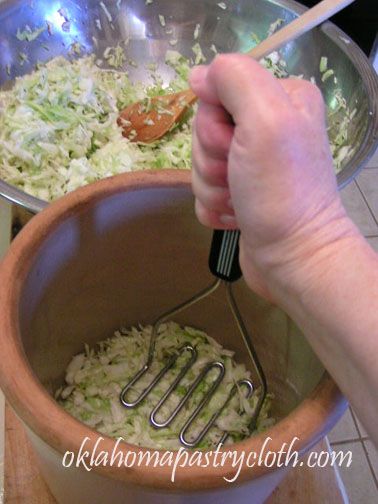 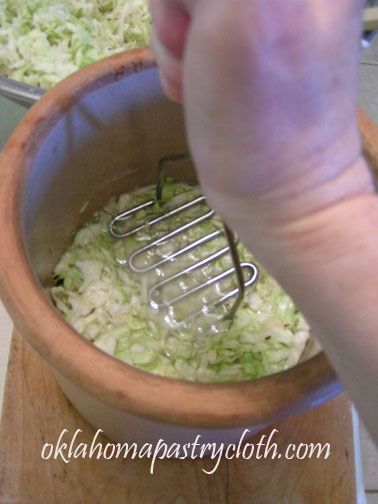 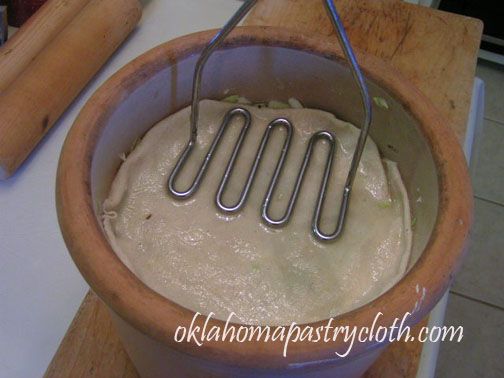 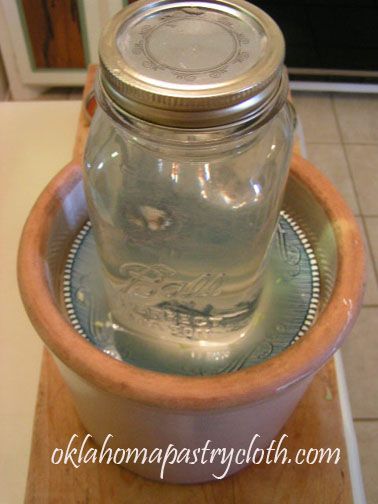 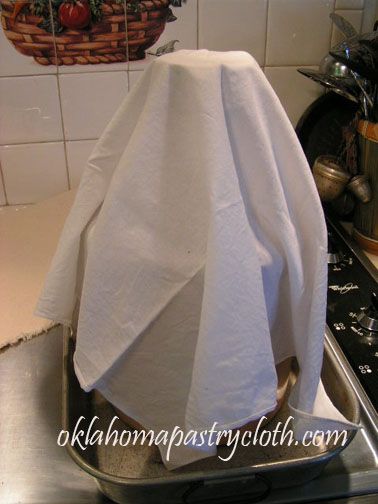 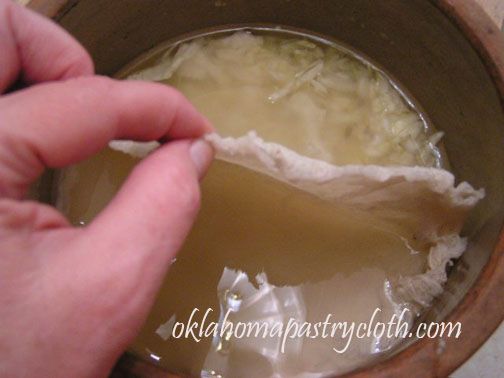 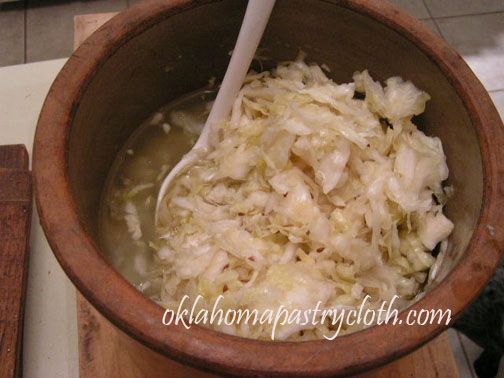  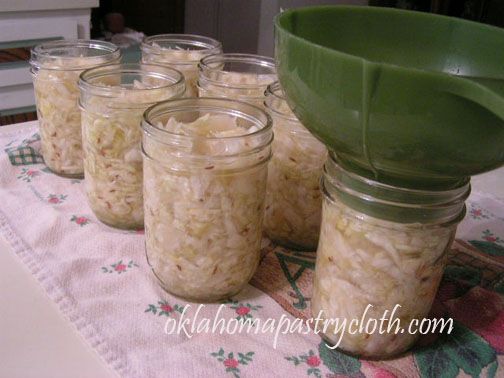 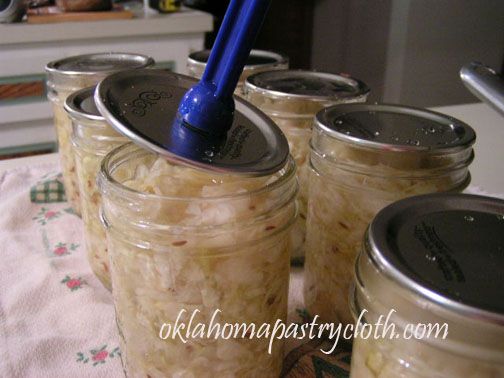 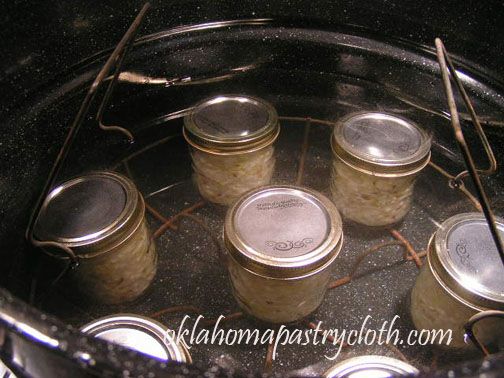 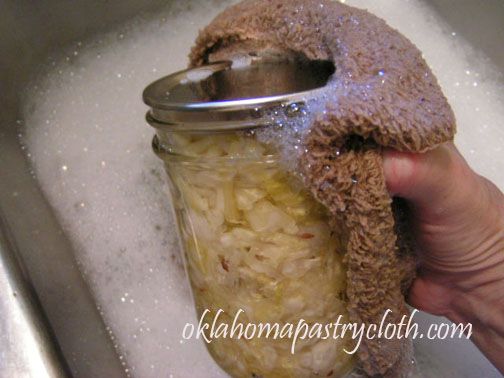 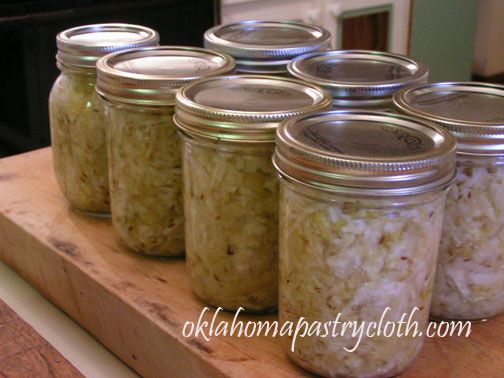 
|
|
Oklahoma Pastry Cloth™ Company on Facebook
 |
You Say Tomato; I say To-mah-to
Wednesday, July 29th, 2009
Many years ago, when I was in high school, my family, on their way to a summer in Maine, stopped to visit The Brotherhood of Christians also known as The Bruderhof, in Rifton, New York. At that time, any visitor joined in with the work that was the life sustaining neccessity required of every member of the community. The community produced and processed its own food, had its own school, and had a toy factory that manufactured very special and well-made wooden toys. The atmosphere was pleasant, friendly and quiet, but my sisters and I – looking forward to proms, graduation and meeting friends at the mall – were unsure about this way of life that was so alien to us. We were city girls who had no concept of being shut away from the world.
I truthfully have just scattered memories of the time spent at this community of The Bruderhof. Men and women dressed in the same style of dress, small apartments and a huge community ‘mess hall’ where all shared a meal at noon – a dish that we dubbed ‘Community Casserole’ that was a delicious combination of sauteed onions, celery, ground beef and rice, tea time, my father returning from a day in the toy factory all covered in sawdust and a farm of livestock and gardens that fascinated me, comprise the main of my recollections. However, spending a day peeling tomatoes for ketchup production stands out the most in my memory. I had never seen so many tomatoes in one place and I had never experienced peeling blanched tomatoes; skins slipping off of not-quite-soft whole tomatoes, juice running between fingers, across palms and down the forearm to drip, elbow as a spigot, onto the floor, into the lap or by happenstance into the bowl. To me, it was hillarious that I was even doing it and it has since become a family laugh. I’m pleased to remember that I threw myself into the work with gusto and considered that I was playing an important role in the continuing existence of this group of people…ok…so I’m pleased to remember it that way, but I’m pretty sure that I was not all that altruistic or enthusiastic.
It was the copper kettles that form my vision of the day the most. In the large room where we worked, a huge copper kettle over flames contained boiling water into which fresh tomatoes were dropped for an instant and then retrieved to put into ice water. These cooled tomatoes were transferred to us, peelings split and curling, ready for our knives to help continue the process of removing the skins and cores. The naked tomatoes were then sent to other large copper kettles where they were boiled down with spices and vinegar to make ketchup. It was my introduction to “canning” and left an indelible impression of heat, moisture and the overpowering smell of warm tomatoes. Those sensations revisit me every year as I now produce my own tomato products from the juicy, red jewels gathered from my garden. Who knew back then, that this city girl was a farm girl at heart?!
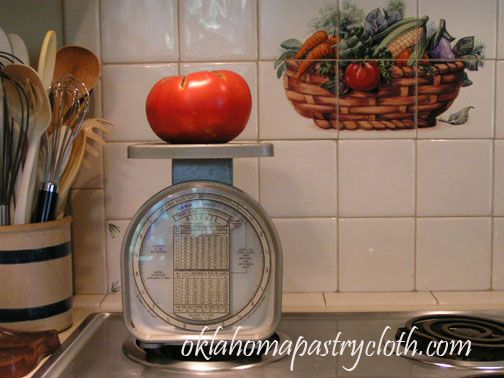
And so, with this post, I thought that I would invite you into my kitchen for a quick lesson on canning tomatoes. I have had a bumper crop this year with several “pounders” or larger, with an average size of nearly 3/4 pounds per tomato. I have had no hornworms or aphids and the typical fungus prone to Oklahoma seems to be in check. Blossom-end rot appeared at first, but was nipped in the bud (pun intended) by a healthy dose of lime and I have had no need for any kind of pest control at all. What a great year! I feel pressed to make use of every garden gift, wasting nothing, realizing that in Oklahoma next year may be a total bust!
Canning Quartered Tomatoes
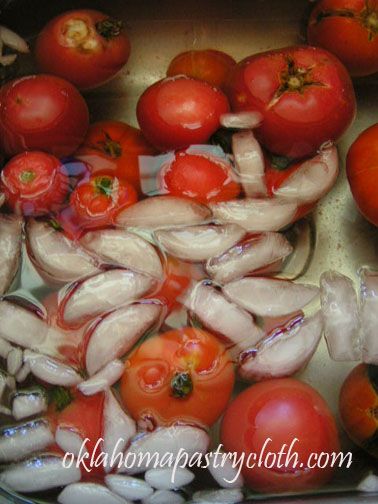
Step 1: Wash fresh, firm tomatoes and leave whole. Bring water to a boil in a large stockpot and drop in tomatoes until full. Allow water to return to a boil, but watch for tomatoes as skins begin to split. Remove those tomatoes one by one and drop into iced water.
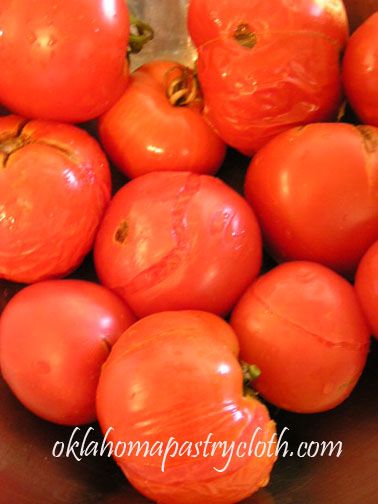
Step 2: In order to catch extra juice, over a large bowl remove the top center of each tomato with stem and lift peel off of the fruit. Place refuse into a second bowl. Quarter the tomatoes and place into the large bowl.
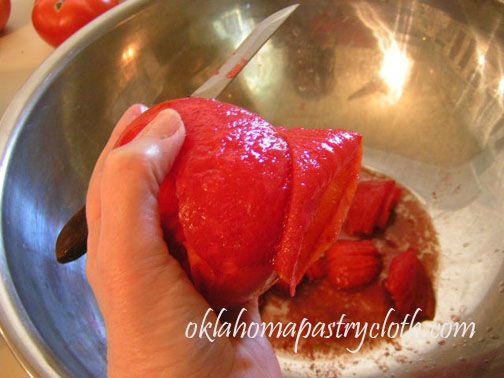
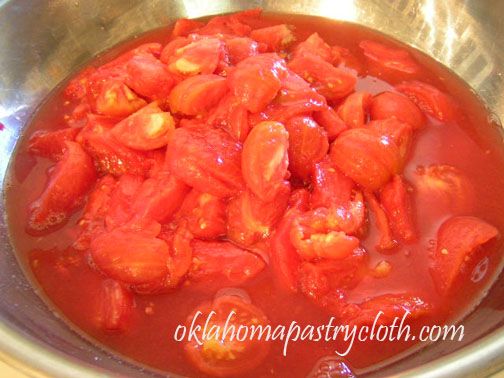
You can also juice the tomatoes and can just the juice if you like. My GreenLife Juicer makes quick work of the tomatoes.

Step 3: Place tomatoes and juice into canning jars to within 1/2″ of the top of the jar. Add 1/2 tsp. canning or uniodized salt to each pint or 1 tsp to each quart. Use a knife to gently move around the inside perimeter of the jar to remove any air bubbles.
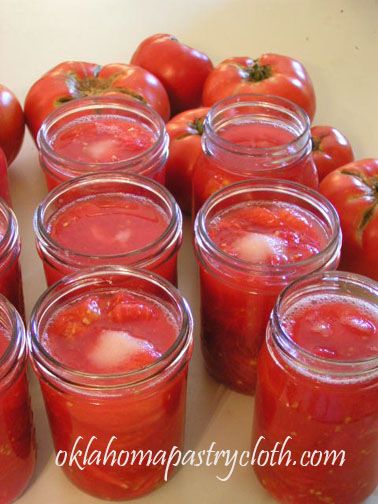
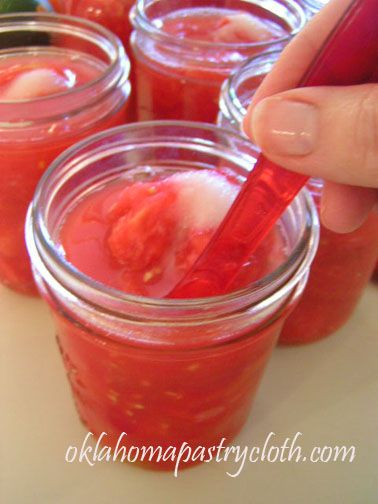
Step 4: With a damp cloth, wipe the tops of the jars to remove any juice, salt or pulp. Using lids that have been boiled and then kept warm in the water, place lids and rings onto jars and tighten, but not too tight.
Step 5: Because tomatoes are so acidic, they do not have to be pressure-canned like green beans and other low acid foods. The process used to can tomatoes is called ‘waterbath canning’ and is much less time consuming. A waterbath canner is simply a stainless or enameled large stock pot with a rack. Fill the canner about halfway with cool water and balance the rack on the top edge of the pot out of the water. The rack has handles that help to accomplish this. Place the jars into the rack and, when full, lower the rack of jars into the water. If the water level is not one inch over the tops of the jars, add more water. Bring the water to a boil and at the point of boiling, set a timer for 10 minutes. When the timer sounds, turn off the heat and using tongs to catch the handles and oven mits to protect hands, carefully lift the rack out of the boiling water and replace onto the top edge of the canner.
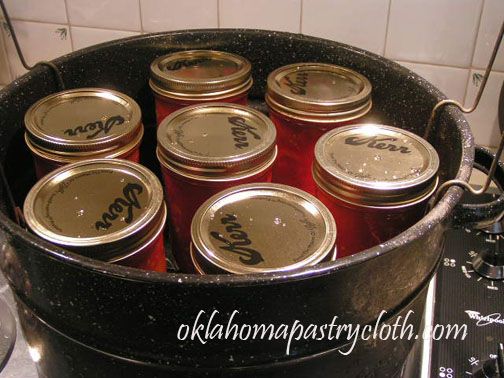
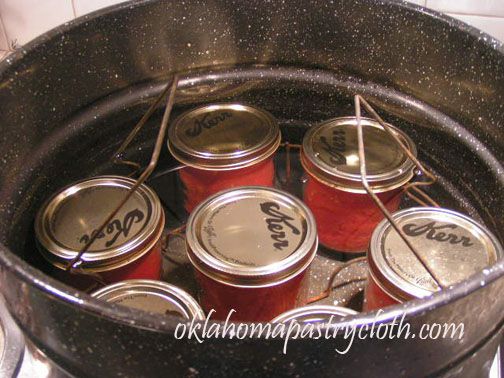
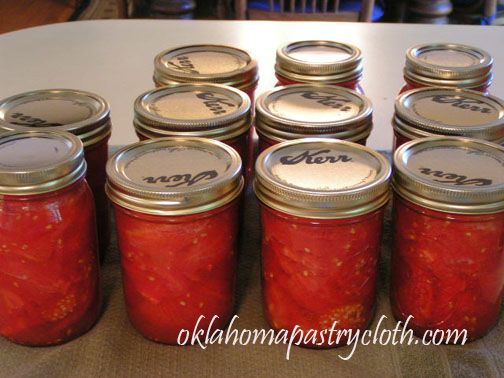
Step 6: Using canning tongs, remove jars from rack and place onto a kitchen towel on a counter to cool. Listen for the pingy pop that indicates that the vacuum has completed. Make sure that when the jars are cooled that the lids are flat with no give. If a lid has a bump in the center and pops when pressed, the jar did not seal and must be refrigerated or used immediately. Store vacuumed jars in pantry.
Step-by-Step to Canned Green Beans
Sunday, July 12th, 2009
I’ve been out in the garden gathering green beans and processing them for the winter. The plants are huge this year and the leaves are so large, there is no more distinguishing rows. I always plant Bush Blue Lake beans because they do not have to be staked and they produce stringless beans. This year has offered a bumper crop with the cool, early, summer temps and late arriving heat.

There is nothing more relaxing than sitting on the porch or in the den with a big bowl of beans in your lap, snapping them into another bowl. Pop – pop – pop! You get into a rhythm and your mind is soothed by the tempo. And that fresh smell!! Every so often, you just have to sample one of the sweet, juicy pods and you eat the whole thing raw! Can’t get any healthier than that!
Below, I have dedicated this post to a pictorial demonstration on canning green beans using the raw pack method. Because beans have a low acidity, all beans must be pressure canned at 10 lbs pressure for at least 65 minutes. A pressure canner with a guage or a weight is required. They can be purchased at hardware stores, WalMart and other similar stores and online.
Step 1: Wash green beans several times until all dirt, sand and old flowers are removed. Snap the pods to create uniformly, bite-sized pieces.
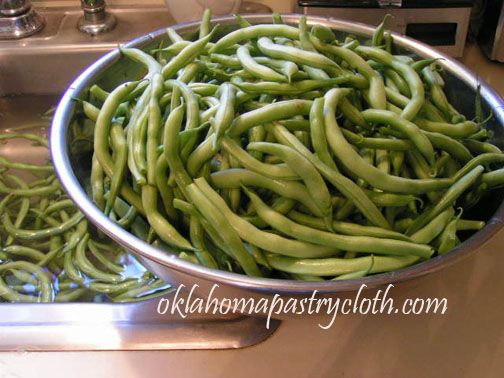
Step 2: Wash all jars and lids in very hot, soapy water and rinse in hot water. Dry.
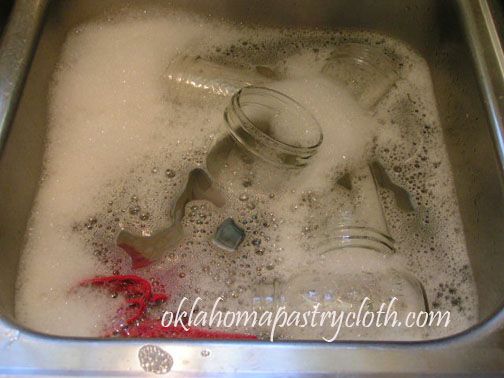
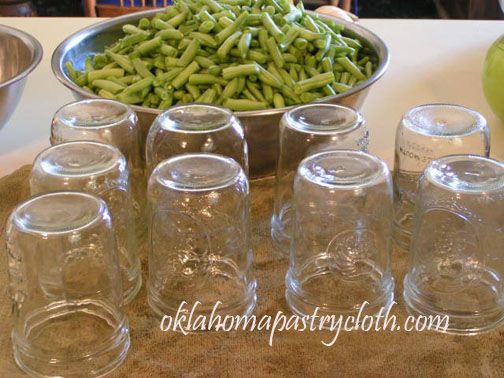
Step 3: Put raw green beans into jars to within 1/2″ of the top of the jar and include 1/2 teaspoon of canning salt or uniodized salt if desired. Shake the jars as you put in the beans to make the beans gravitate to the bottom evenly.
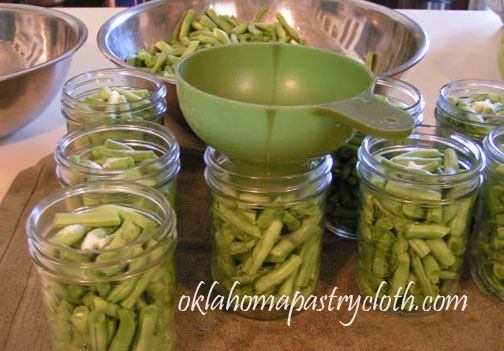
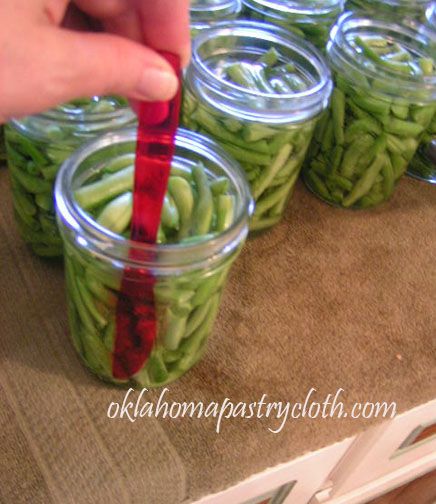
Step 4: Pour boiling water into each jar and over the beans to within 1/2″ of the top of each jar, leaving a 1/2″ head room. Run a plastic knife down the inside side of the jar to remove any air bubbles.
Step 5: Use a clean, damp cloth to wipe the edges of the jars. In a saucepan, cover the lids with water and bring them to a boil and remove from heat. Using tongs, carefully place the hot lids on the jars and put a ring in place. Tighten the rings just enough to call them tight. Too tight can cause problems!
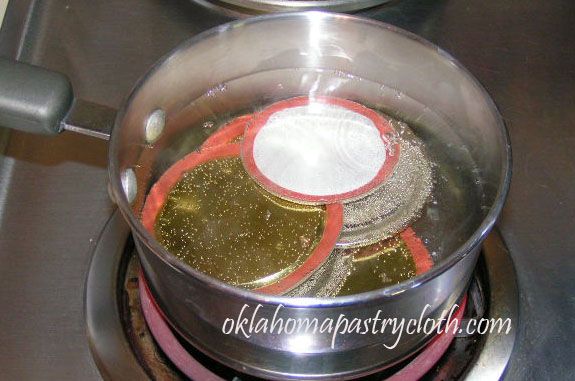
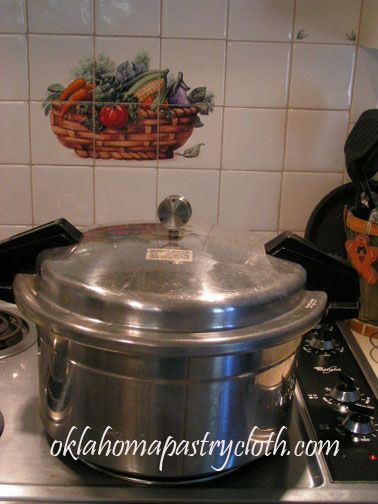
Step 6: Place about 2 inches of hot water in the canner and place the rack on the bottom. Fill the canner with jars according to the capacity of your particular canner. Tighten the cover and if a weight is used, put the weight in place. I like a canner that uses a weight because it is more accurate and does not need to be adjusted. If using a canner with a gauge, please follow the instructions that come with your canner. Turn the heat on high and wait until the weight begins to jiggle. At this point, reduce the heat to medium-high and monitor the weight, which should jiggle about every minute or so. Set the timer for 65-75 minutes and continue to monitor the pounds of pressure by listening to the weight.
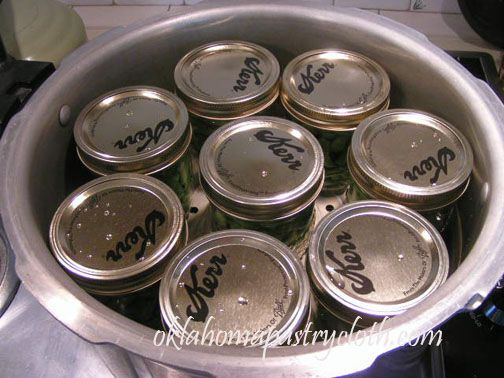
Step 7: When the beans are finished processing, turn off the heat and allow the canner to cool, unmoved, until the pressure has completely dissipated. It is very easy to get very severe steam burns if the canner has not been allowed to cool properly. When the canner has depressurized, remove the lid and carefully remove the jars, using jar tongs with one hand and holding the bottom of the jar with an oven mitt on the other. Soon, the pinging pop of jar lids completing a seal makes you smile because you know that you have been successful.
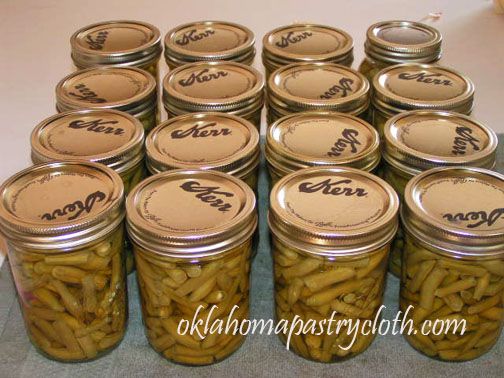
There is something very satisfying in neat rows of freshly canned produce in sparkling jars with golden lids. These are ready for the pantry and will be enjoyed for sure this winter!! I hope that you will take a stab at canning beans. If you don’t have your own garden, the local farmer’s market, health food store or grocery store has fresh beans that will work fine. Just make sure that they are crisp and not limp. Happy canning! It’s bean fun. 🙂

 Homestead Revival
 Paratus Familia
 Rural Revolution