 I assure you that this is going to be one, clean post. And yes, it’s about bars, but not the drinkin’ kind. I had so much fun the other day, I left in a lather. And, ok, I’ll stop now. What am I talking about? Last week, some of my friends and my daughter and I took a soap making class at the headquarters of Laughing Rabbit Soaps, under the tutelage of Charlotte Hayer. Charlotte is funny, excited about her craft and 100% on a mission to get others in Oklahoma to join her in soapmaking. For $25, we joined in the process of making 30 lbs of soap, each getting one pound to scent and color however we chose. One pound makes 4 bars of soap. And of course, you know me – I threw myself into the project with complete abandon, camera shutter flying. I am so excited about making a first attempt on my own. At that point, I’ll do a step-by-step. I am seeing all kinds of possibilities for soaps!! Just to let you see what we did, here are a few pictures. 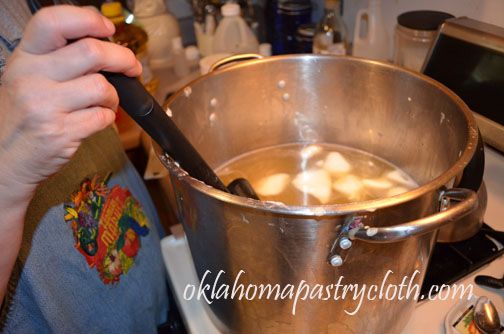 First, Charlotte melted a mixture of solid fats and liquid fats in a large stockpot on the stove. She uses tallows or olive oil, palm oil, shea butter, cocoa butter, sweet almond oil, etc., depending on what type of soap she is making. She used a thermometer to determine that the temp of the oils was correct. 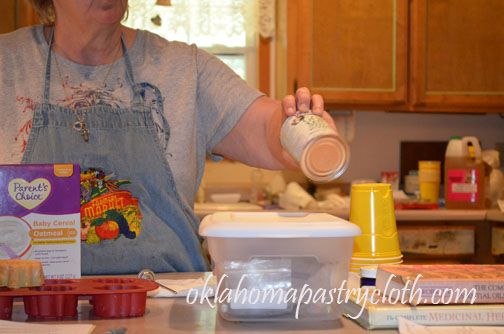 She showed us that there are all kinds of additives that one may use in soaps, including goats milk which should be added cold or frozen. She said that canned or cartoned goats milk can be employed if one does not raise goats. 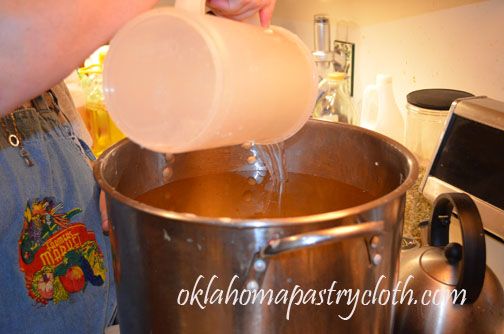 Charlotte had mixed her lye into three separate containers of water several hours prior to our arrival in order for it to cool She did the three containers because she was making a triple batch of soap. She made sure that we understood that one always adds lye to water – not water to lye. The lye water was added to the oils. 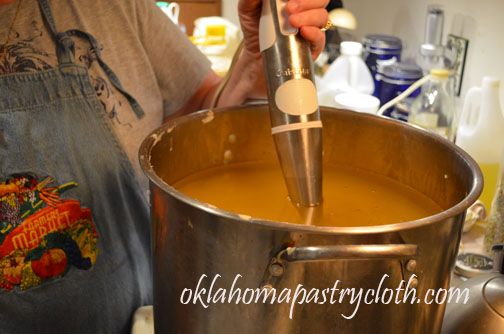 Here’s something that I’m going to have to find because it works soooo well!! – A stick blender or wand blender to some people. The mixture of oils and lye were mixed together until it began to thicken and “trace”. 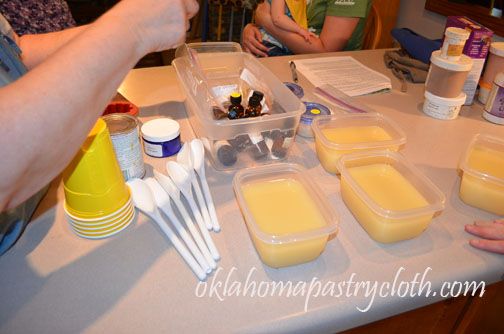 At this point, Charlotte filled plastic refrigerator containers with the liquified soap – one for each one of us. 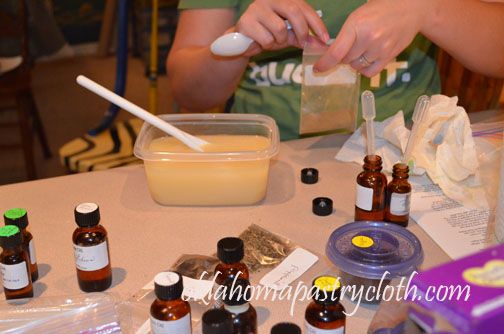 We were given bottles of many types of essential oils, bags of ground flowers, herbs, cocoa and colorants. We used pipettes to transfer the oils to the soap and spoons for the dried materials and we just guessed at amounts. 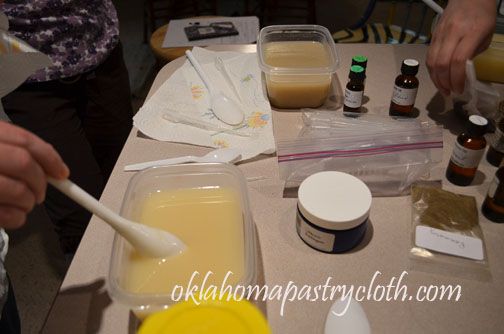 As ingredients were added, the soap was stirred. I was amazed at how forgiving the soap is. We had plenty of time to make choices and experiment. 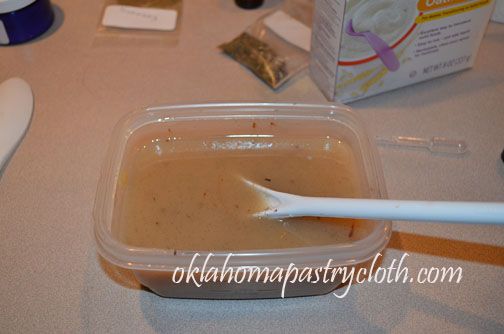 I added oatmeal baby cereal for gentleness, rosemary and peppermint essential oils, chopped vanilla bean for specks and cocoa for color. 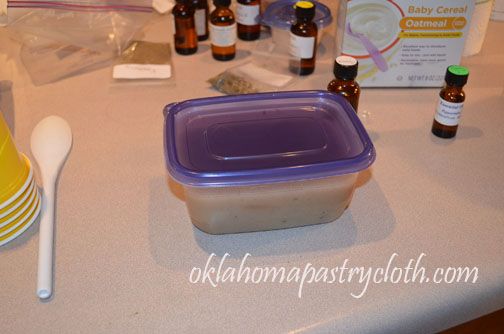 The soap was covered to allow to cool slowly. 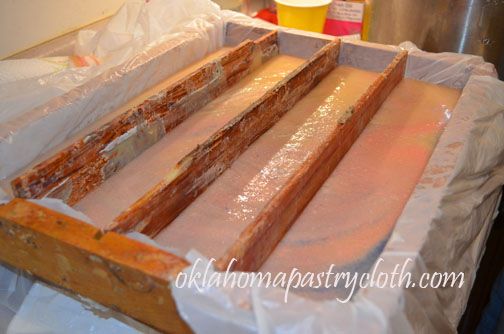 Charlotte used the leftovers to pour into one of her large molds. She colored her soaps with blue and pink, swirled. Very pretty. 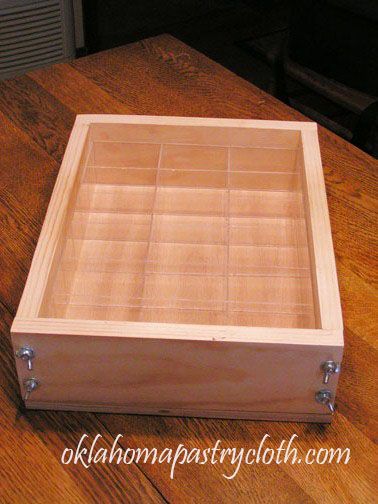 Of course, Mr. Fix-It remains my hero. He helped me make my own mold for my first soap project and I think it is just pretty nifty. This mold will hold 4 lbs of soap and we will be making another one to match. I’m thinking of making a larger one as well. I have found my new adventure!! Stay tuned.  |
|
|
Oklahoma Pastry Cloth™ Company on Facebook
|
|
 |
|
|
Tags: essential oils, lye, soap, wand mixer

Wow! Your pictures and explanation are greatly detailed. I feel like I was actually there! Nice post!
STCJ, just wait until I actually do it myself. Then it will be REALLY detailed – pictures and all. 😉
What a soap opera!
I’ve been wanted to take a class in making soap but can’t find one yet. It looks so fun and all the cool stuff you can make. Can’t wait to see some of your creations. Here’s a blog in which the gal make some fun soap too.
midlifefarmwife.blogspot.com
I’m giggling, Herdog. Yep, soap opera without the music. I am getting ready to make my first attempt. Have rendered the fat to a pretty, white stuff and just need to find a wand mixer. I will check out the site! Thanks!
You are too cute – that opening paragraph was a hoot :). Great class!
Cool!
Why, thank you Jennifer! Glad you enjoyed my silliness. 🙂
Really enjoyed the experience with you. I have been wanting to try making soap for the pleasure of it and all the pictures really help. Glad I found your website
Jackie, thank you so much for stopping by. I hope you will be a regular!! 🙂
i would like mr. fix-it’s directions for making soap molds with a list of materials.
i thought lye soap had to be poured into wood, that it was too hot for plastic. did it have to cool to a certain temperature before being put into the plastic?
thanks, deb
Deb, actually, Mr. Fix-It is thinking about selling his mold or plans. It is in the works as he is working out some bugs. The soap that we made was only warm when it went into the molds and we actually poured it into cheap, plastic frig dishes. It did great. And the teacher said that you never put the soap directly against wood, but line the molds with plastic bags, which do not melt, so I think that the heat comes prior to pouring and not during the molding.