 Three posts ago, I showed you how to render tallow from beef fat for soap making and for old-fashioned candle making as well. The tallow can be used for incredible biscuits and pie crust too and the same process is used for rendering lard from pig fat for the same purchase. On Friday and Saturday, I cooked down 30 lbs of beef kidney fat to render about 15 lbs of beautiful, white tallow that went into the freezer. And it was when I finished the second run that I had a “well, duh” moment. As you saw from the photos, there is a lot of fat globules left over from the process and dumb me had thrown that away. As I was staring at my most recent by-product mess, it dawned on me that our bird feeders have cages for suet and we spend money every year on the stuff. Here, I had tons of the makings for suet cakes right in front of me. 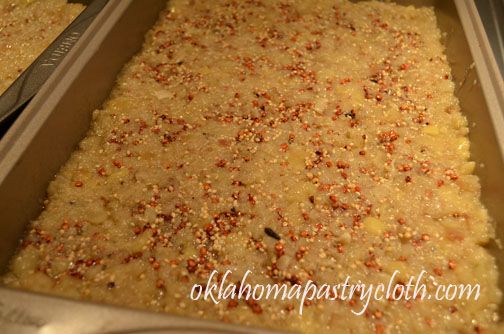 Sooooo, I grabbed a bunch of my square and rectangular cake pans and poured the fat leftovers into the pans and evened out the surface. Then, I sprinkled bird seed on top and patted it down into the fat. The pans went into our big, anique Dr. Pepper cooler to cool down overnight. 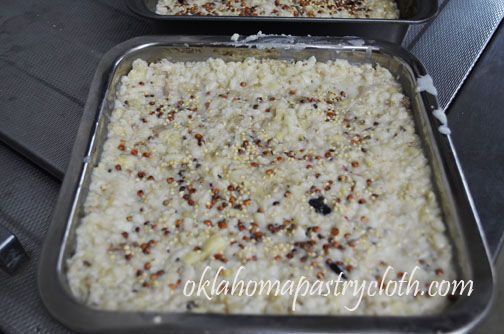 The fat hardened nicely 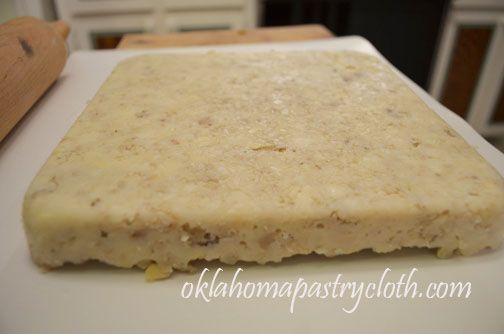 When the suet was hard, I ran hot water over the backs of the pans and the suet popped right out onto a cutting surface. 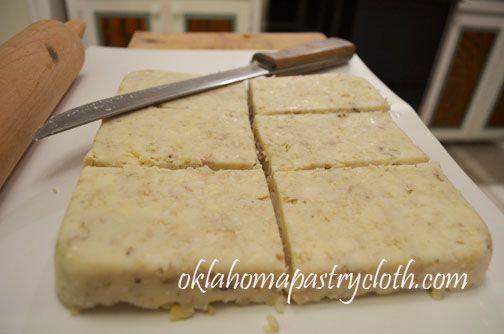 A long blade knife worked perfectly to slice the block into squares that fit our bird feeders. 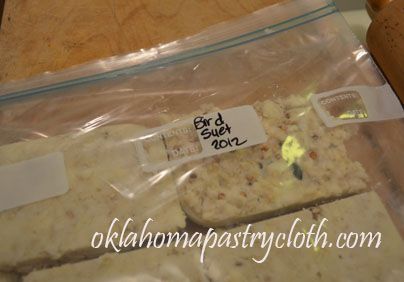 Those squares went into freezer bags and are now stored in the freezer until winter. So I got the tallow and some suet too!! I’m thinkin’ we are gonna have some pretty happy birdies!!  |
|
| |
|
Oklahoma Pastry Cloth™ Company on Facebook
|
|
 |
|
|
|
Archive for September, 2012
Suet For The Birds!
Tuesday, September 25th, 2012
Fair Food At Home!!
Thursday, September 20th, 2012
 Well, it’s that time of year. Fair time…and in Oklahoma, as the song states over the radio, ♪♪ It’s a great state of a-fair! ♪♪ Okies look forward to the Oklahoma State Fair. Even in this hoity-toity, modern world, the exhibit buildings are still full of canning and garden entries, photography contests and the tasty baked goods from home cooks itching for a ribbon and winner cash. The barns overflow with show cattle, sheep, pigs and horses and the drone of announcers instructing showmen in the rings permeates the agriculture part of the fairgrounds. And of course, every tornado shelter company, shop building firm and hot tub emporium has a display of their particular pride and joy features, not to mention the thousands of home product hawkers housed in the fairgound’s numerous, spacious expanses of concrete and skylights. This year, Mr. Fix-It and I got to spend a day at the fair with the daughter, son-in-law and 9 month old granddaughter. Now THAT was a trip!! Watching my little grandbaby taking in all of the sights was pretty funny. And sights there were. Oh my goodness. I crawled out of my cave and noticed today’s fashions, evidently for the first time. I’ve decided that the fair is the excuse for any human being to leave home without ever looking in a mirror or even opening their eyes to judge their clothing before walking out the door. Older men and women in jeans obviously from a time when they were in high school and 200 lbs lighter, thought nothing of leaning over to expose bare buttocks and rotund waists. Lace shirts over brightly colored underwear and shorts with holes so big that I wanted to run to the rescue with a safety pin to help them avoid any humiliation – which they obviously felt none. We giggled at men with the dumbest hats, won at various arcades, and they wore them proudly to the chagrin of their wives or girlfriends. Of course, the callers at the arcades wore the same, dumb hats.  The strangest piece of clothing we saw came in the form of boots worn by a boatload of men. I’ve never seen them before. Back in “the day” here in the midwest, we used to have pointy-toed cowboy boats called, “Roach Killers” because one could trap a roach in a corner and squash it with the very pointed toe of the boot. But these new boots defy explanation, as the toes are so long that the longer worn, the more they curl back toward the ankle. We saw one pair of candy apple red and cream boots that curled so much, they looked like jester’s shoes. And I thought our 70’s fashions were weird! 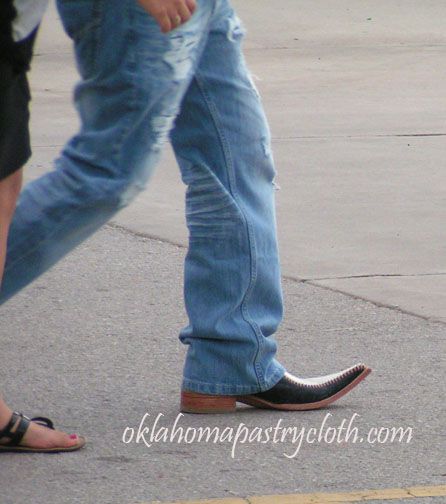 The dirty little secret about going to the fair, though, is that inside every fair-goer’s heart is this lame excuse to go berserk over foods that no ordinary individual would consider logical, let alone healthy! And my daughter is the fair-goer food officianado. She enters the front gate, brushing past the ticket taker with a wave of her receipt and a single-minded purpose in her eyes – heading toward the various food shrines like a teenager preparing to pay homage to Lady GaGa. My daughter walks the entire length of kiosks that stretch for a 100 miles (it felt that way to my feet anyway), to assess what kind of damage can be done to one body in the form of calories, grease and salmonella. Then, she maticulously makes a list in her mind ordering which confection will be first and which will be last. Sweet always comes first and protein comes last. 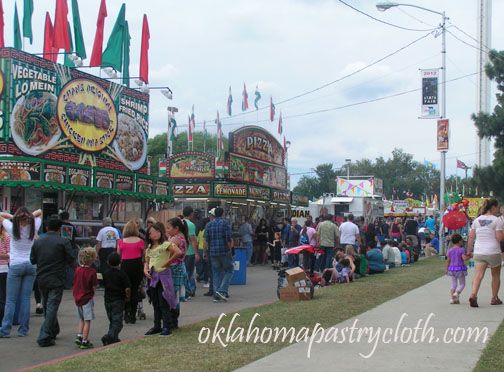   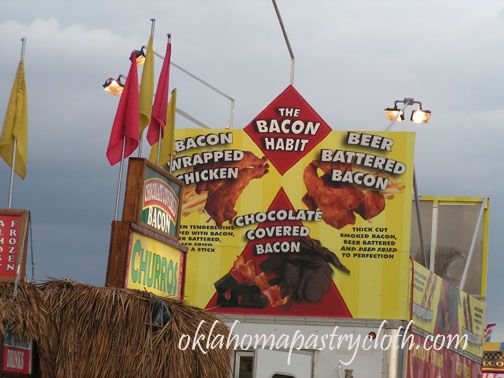   One of the fair treats that is of lesser offense to the health conscious psyche is the funnel cake. The batter is very basic and if cooked in a healthy fat and dusted with just a little powdered sugar, one can share a fair-sized cake with nine or ten people and really feel smug over the idiot eating the chocolate bacon! 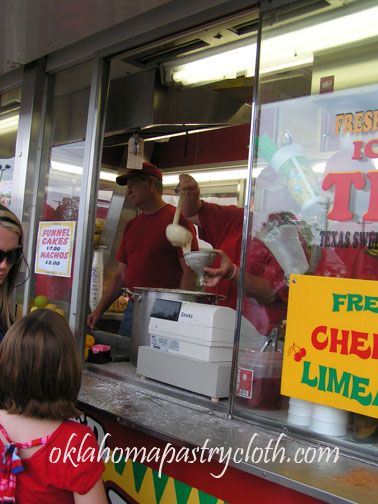 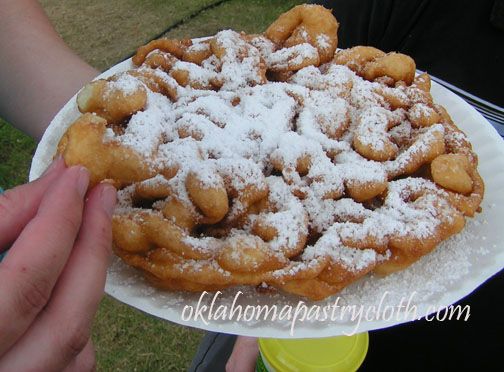 The batter is poured into a funnel and then evenly distributed in concentric rings into a deep vat of hot peanut oil to achieve the characteristic pile of crisp and tender bread dusted with powdered sugar. For extra money, the cooks will add fresh strawberries topped with whipped cream to make this confection so much more healthy. I said that it’s fruit, right?!! Well, funnel cakes are something that this cook has been making at home for years. The kids loved them and it was a treat that I could give them on occassion without having to fork over $100 for tickets to go have someone else make them at the fair. I thought that I’d share my recipe with you and that way, you can have your own fair experience at home, just in case you don’t make it to the real thing!! Ingredients: 2 cups milk 2 eggs 1 tsp baking powder 1 tsp salt 1/2 tsp vanilla 1 tbsp melted butter 2 to 2 1/2 cups sifted flour Directions: 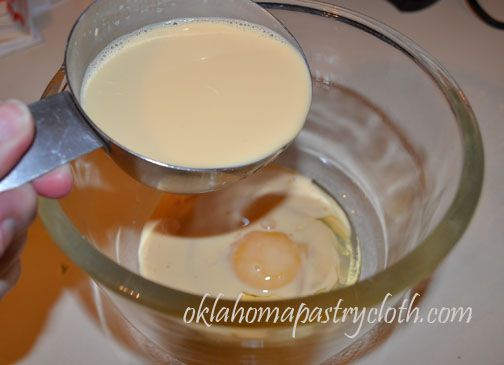 Add milk to eggs and beat until frothy. I use my small, electric hand mixer. 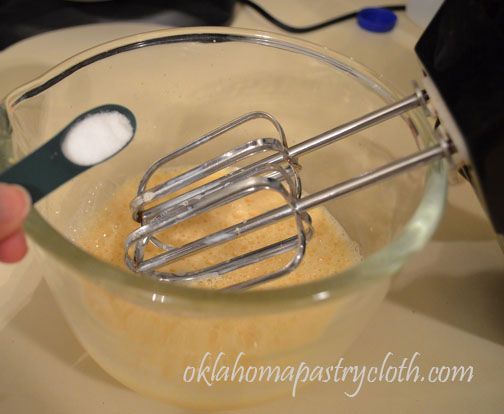 Add salt 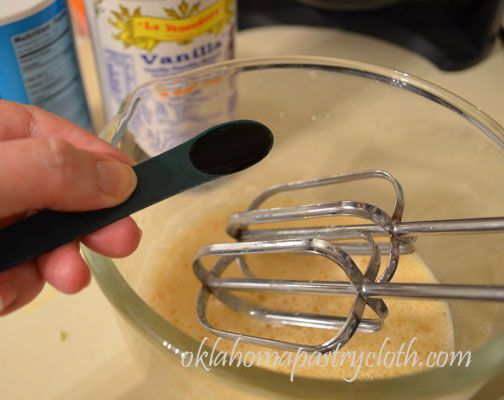 And vanilla 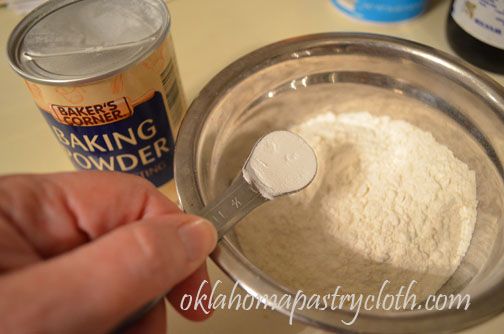 In a separate bowl, mix 1 cup of flour with baking powder. 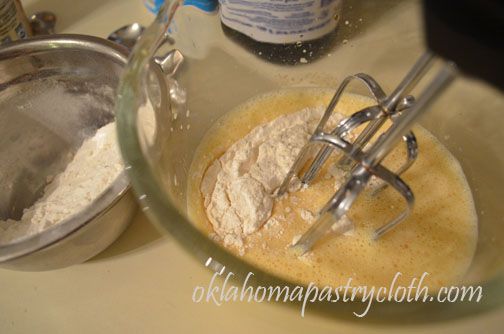 Add the one cup of flour and baking powder, a little at a time, to the egg mixture and continue to beat. 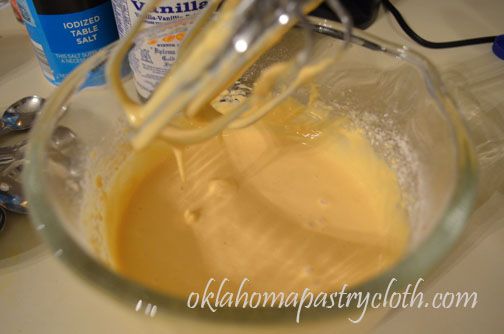 Continue to add second cup of flour, slowly, until batter has the consistency of a thin pancake batter or pudding. Add more if needed, but do so slowly so as to not add too much. 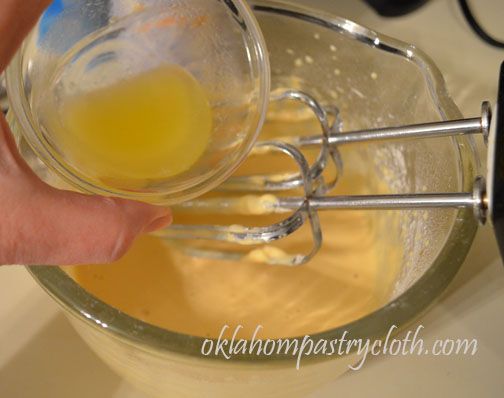 Beat in melted butter 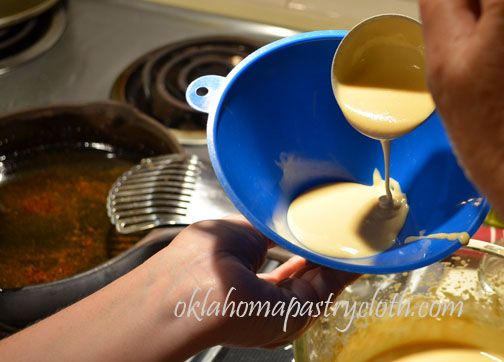 Pour batter into a medium sized funnel, keeping the tip of your finger over the funnel end to prevent any batter from running through. 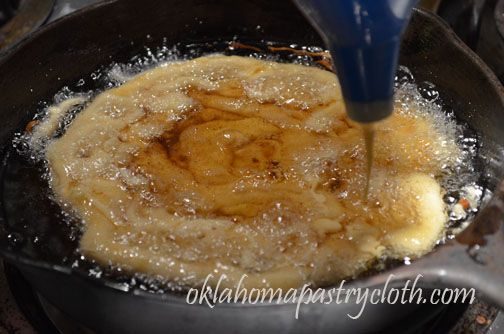 Over a skillet of 1/2″ to 1″ oil – peanut or coconut oil is good – heated to 350º, remove finger from the end of the funnel and move the funnel around to create concentric circles in the hot oil. After getting the size cake you want, bring the batter back over the cake to add more circles. 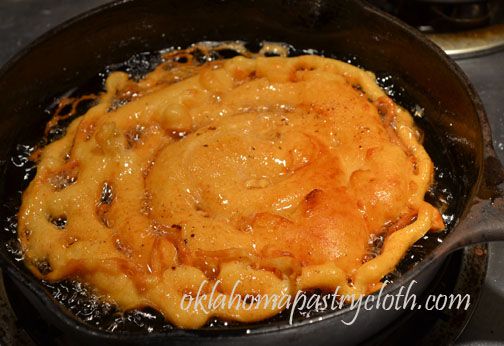 Turn the funnel cake when browned and cook the other side. 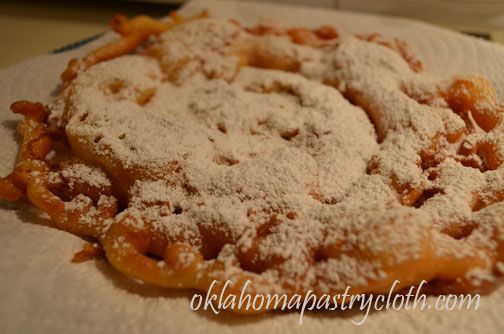 Remove and drain on a paper towel. Sprinkle with powdered sugar, using a shaker or sifter. Serve hot. For an added tasty treat, put fresh, sliced and sweetened strawberries on top and a dollop of whipped cream. I hope the fair is coming near you!!  |
|
| |
|
Oklahoma Pastry Cloth™ Company on Facebook
|
|
 |
|
|
|
Tutorial on Making Soap
Friday, September 14th, 2012
 Whew. Got lots of pictures for this one and it has taken a bit to get them cropped, size-adjusted and signed to get them up. Sorry for the delay. But here we go! First off, I won’t be giving a recipe here simply because I am not at liberty to give this particular one. It is actually a copyrighted recipe that I doctored for my purposes. However, if you go online and look up recipes for Castile Soap, you will find lots of them and you can just choose which one you would like to try. The process is still the same. This is true for vegetable oil based soaps too. This process is the same, no matter what oils you use. The trick is to stay within exact weights of ingredients, according to each recipe. The oils might include coconut oil (which gives a nice lather), shea butter, olive oil, grapeseed oil, almond oil, etc. Experiment and see what you like. At first, I wasn’t worried about a recipe. I was hesitant to try making soap because I needed to see the step-by-step process so that it wouldn’t be quite so intimidating. I’m a visual learner. So, I decided that I would put the process up in pictures for anyone out there who, like me, needs to see what the steps look like. Tools you will need: A large, stainless or enamel cooking pot Making the lye solution: This soap is made with a lye and water solution. The solution gets extremely hot – dangerously so. When ready to use for making soap, the lye water will need to be between 95º and 98º and so it is fine to make it the day before to allow it to cool down. It is much easier to then raise the temperature back up from room temperature then it is to wait around for it to cool down from 200º to the correct temperature. 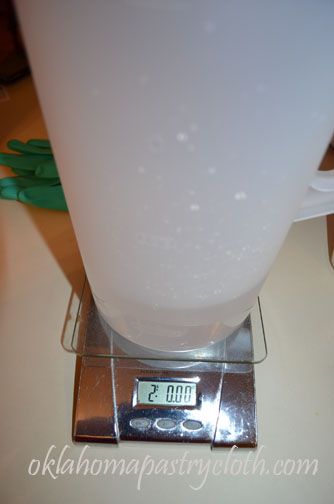 Everything in soapmaking is done by weight. For example, if a recipe calls for 32 ounces of water, that actually means 2 pounds by weight. Or 8 ounces means 1/2 pound, not one cup. I use a digital scale to measure because it is so easy to adjust for the weight of the recepticle in which ingredients are placed. To measure the water, I place the pitcher on the scales before they are turned on. When I hit the “on” button, the scale accounts for the pitcher and zeroes out the weight. I can now add the water and get the exact weight of water I need without getting confused by the weight of the pitcher! 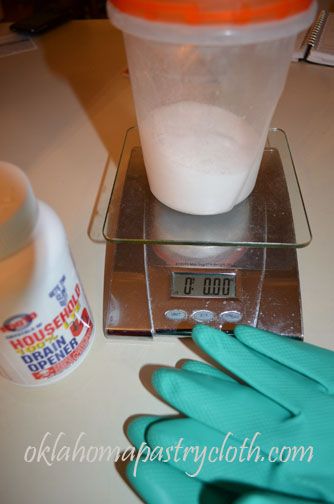 Lye can be found at Ace Hardware stores, but you have to ask for it. They keep it locked in a back room. There are other stores where it can be purchased too, and if you are making lots of soap, there are chemical companies that will sell it in large quantities. The chemical name for lye is sodium hydroxide. Lye is very caustic and very dangerous, so treat it with respect. Wear old clothes, an apron, rubber gloves and a shirt that will cover any exposed arm. Safety goggles are a good idea too, to avoid burning your eyes. In a separate container with a lid, weigh out the amount of lye listed in the recipe that you will be using. Do not touch it!! 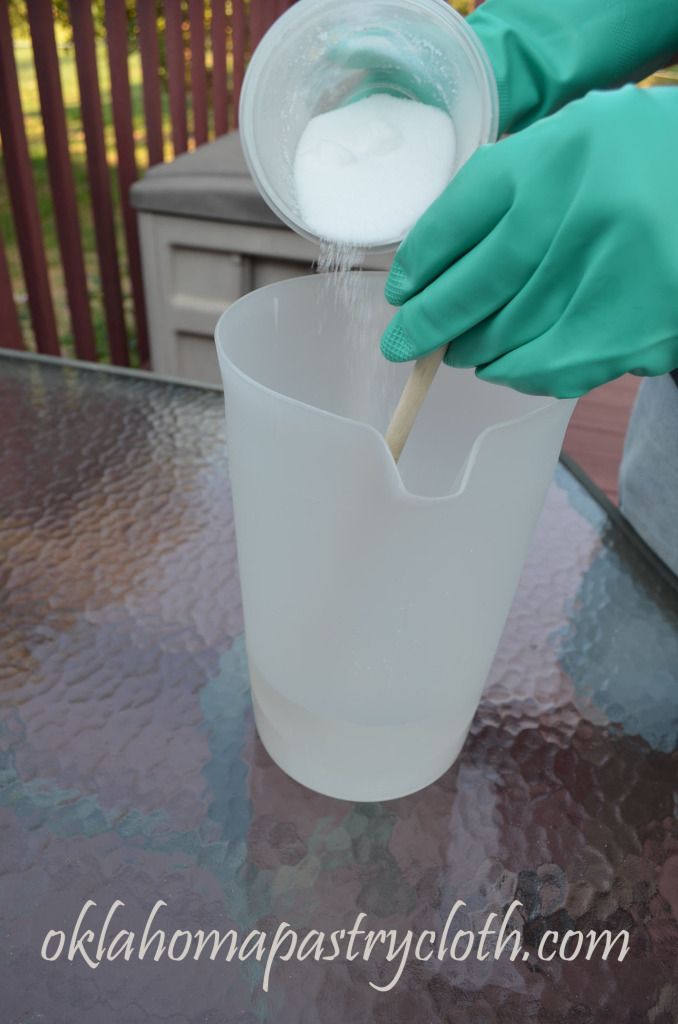 Making the lye solution is best done outside or in a garage with good ventilation. Adding lye to water causes a chemical reaction that emits the most noxious fumes that can overcome you. Keep your face from being directly over the pitcher and if you have to, wear a face mask to filter the fumes. Some people are quite allergic to them. Lye is always added to the water, not the other way around. If water is added to the lye, it can cause an explosion kind of like a volcano and then you are in real trouble!! Lye will eat whatever it touches, (ok..so that isn’t very scientific terminology – it corrodes!) including your skin. So remember: Lye to Water!! If you happen to get some lye mixture on you by accident, immediately run cold water over the area and wash with vinegar to offset the reaction. Now, to make the lye water, pour the premeasured lye into the premeasured water in a steady stream, stirring as you pour to dissolve it well. The mixture will start giving off a vapor and will get extremely hot. You will not be able to touch the pitcher. Continue to stir until the lye is dissolved and then place the lid onto the pitcher, turned so that the spout is open to vent. Either leave the mixture outside on a place where no child or animal can reach it, or put into a shed or garage where there is no danger of disturbance. If there are other people in your household, label the pitcher before use with a skull and crossbones, a big red “Danger” and “Poison” so that nobody mistakes it for anything other than what it is!! Note: Occassionally check your solution and give it a stir to make sure that the lye remains dissolved. It can settle to the bottom and leave a hard block that is difficult to break up if you do not stir it once in awhile. 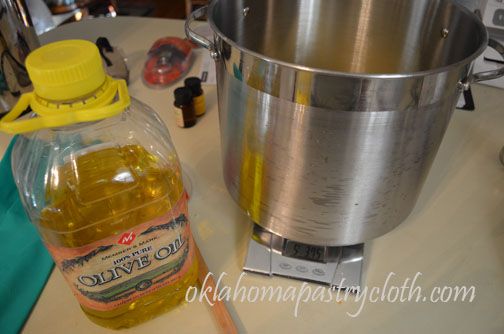 Prior to making soap, everything should be prepared, weighed and ready before anything else is done. You won’t have time to do that once the process has begun. Weigh all tallow and/or oils into the stainless pot. Then, if you are using essential oils or fragrance oils, have those measured and ready and off to the side. If you plan on using goat’s milk, have that measured and it helps if it is partially frozen or at least very, very cold. It doesn’t hurt to have it in a small container that sits in a bowl of ice, to keep it cold until use. Just a hint: I freeze the goats milk in mini muffin tins that equal 1/4 cup each and then pop them out and store in a freezer bag. I can then grab however many I need for a recipe and place in a bowl ready for use. If you plan on using herbs or colorants or spices, those all need to be weighed ahead of time as well. Line your items up in order of placement according to your recipe to make it easy to grab and dump. You will be working fast and some of the essential oils may cause you to have to really work fast as they accelerate tracing in the soap. 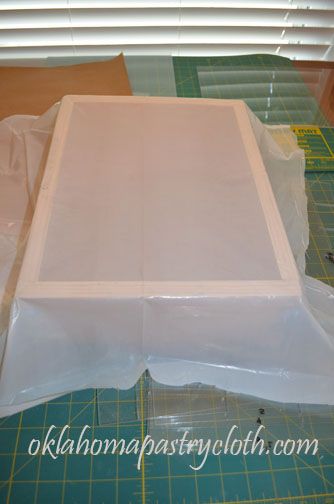 Molds must be prepared ahead of time as well. You can use practically anything for a soap mold! Here, Mr. Fix-It made me a high-falutin’ contraption that is great, but you can use a cardboard box, like shoe boxes. Or you can use a lenth of guttering with ends put in place for a fluted soap bar. Use your imagination! Whatever you choose to use must be lined with plastic and one side of a white trash bag or a cut up large, plastic shopping bag works great. Here, I am laying the bag over the mold to press it down into the mold. I will do that by putting the plexiglass pieces that Mr. Fix-It cut for the inside of the mold. When the soap is firm, the plastic acts as a handy way to lift the soap out of the boxes or other items. 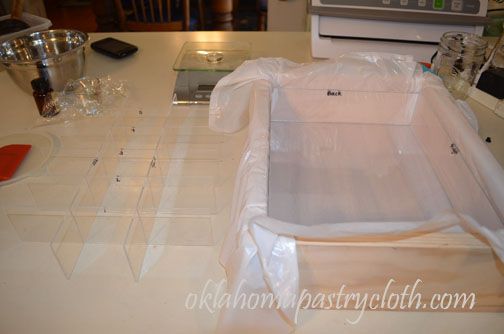 The lining is in place and the dividers are set to the side to put in after the soap is poured into the mold. 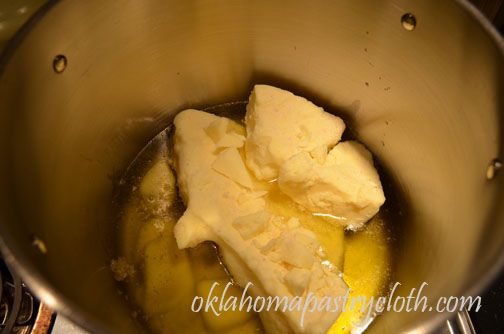 Now for the fun!! Heat the tallow and/or oils on low heat to melt slowly. Don’t heat too fast because then the oil gets too hot. Stir occassionally to break up any tallow chunks. When most, but not all, of the tallow is melted, remove the pot from the stove and allow the rest of the fat to melt off of the heat. The mixture will be hot enough to do that and you can stir it some to continue the process. Using a thermometer, check the temperature. It will probably be over 100º so there will be some cooling time required. 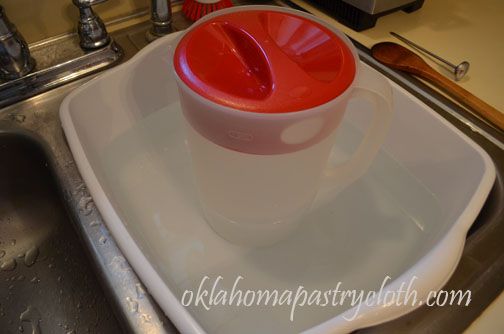 In the meantime, place hot water in the sink or in a dish pan and put the pitcher with the lye solution (that will be at room temperature), into the water. I keep a tea kettle of boiling water available to add to the dishpan to raise the temperature of the water, if need be. Using the thermometer, check the temperatures of the lye solution and the fats, aiming for between 95º and 98º. I know this sounds tedious and complicated, but you would be surprised how fast it goes. It isn’t that difficult to get both temperatures in sync. 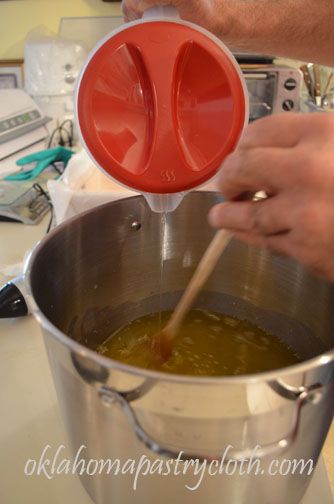 When both the fat and the lye solutions are between 95º and 98º, begin pouring the lye water into the fat, stirring with a long handled wooden spoon and making sure that the lye water is pouring in a steady stream. Don’t dump it in all at once. Here, Mr. Fix-It is helping so that I could take pictures and he refused to wear my gloves, but it is a really good idea to wear rubber gloves so that you don’t get splashes on your hands. Continue stirring and pouring until the pitcher is completely emptied. Keep stirring and stirring. Go around the edges of the pot, stir into the middle, go back and forth – you are getting the lye solution well incorporated and you don’t want there to be any pockets of lye that are not mixed. The lye and the fat will start reacting with each other and the mixture will become pretty hot at first, hence the long-handled spoon!! 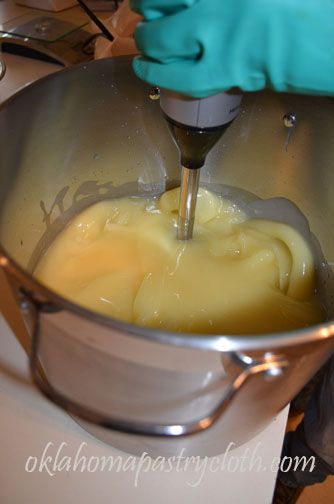 This is where an immersion blender comes in really handy. The blender really incorporates the lye solution into the fat well. You can blend for a minute and then stir and then blend, etc. because you don’t want to get your blender overheated. Move it around the pot like you would the spoon and cream all areas of the mixture. 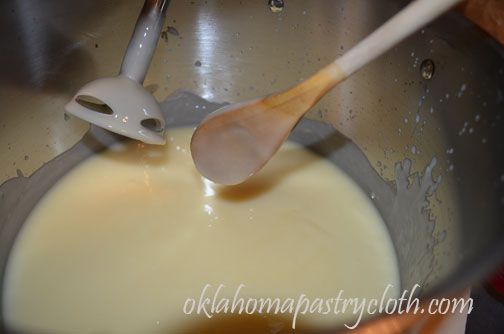 The soap will begin to thicken, kind of like pudding. The term ‘tracing’ describes what it looks like when you take the spoon out of the mixture and drips and runs stay on top of the surface or you can draw a circle in the surface and it doesn’t disappear, like the surface of hot pudding. 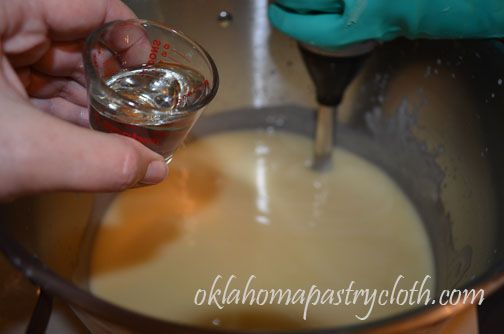 At this point, you are ready to add the goats milk, essential oils, fragrance oils, herbs and colorants. I add the milk first and then the oils, using the immersion blender to blend well. 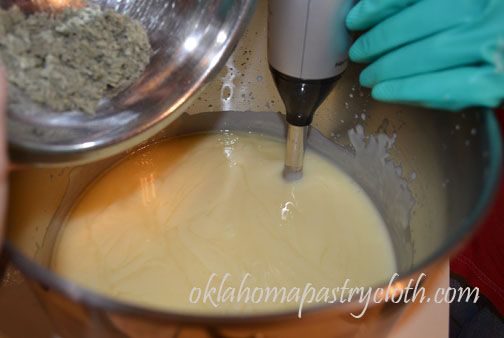 Next goes in the herbs or flowers and colorants. Here, I am adding some dried and rubbed sage from our garden. If you want to add color, you can use natural items to achieve that without having to use commercial colors. Cocoa works well to make a soft brown while paprika makes a neat orangish tint. Tumeric is another spice that colors. You can also add oatmeal pieces for a soothing soap. 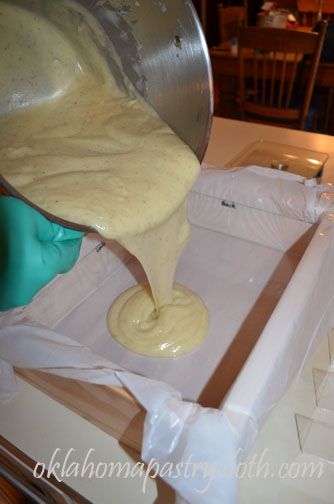 The soap is now poured into the mold or molds and I use a silicone spatula in the pot to accomplish this. 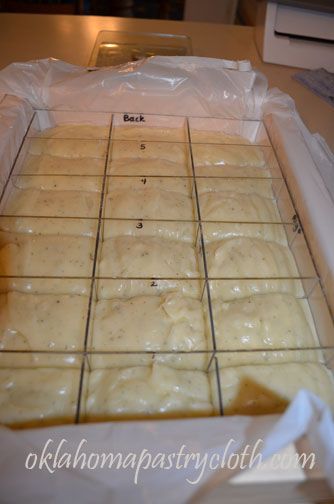 The dividers are added into the mold and I am having to work fast because this recipe sets up fast. 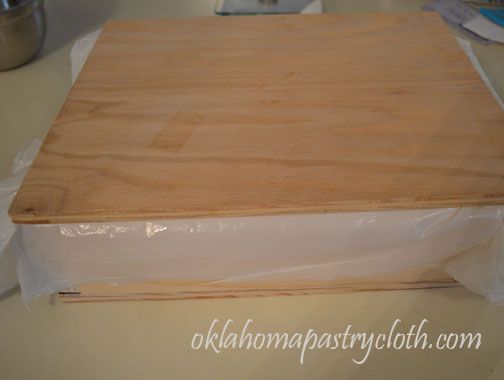 The lid to the mold is immediately put into place and I tap the whole mold onto the counter to evenly distribute the warm soap. If you are using a box or other item for a mold, you can use a piece of cardboard with a towel placed over it to cover your mold. The purpose of the cover is to let the soap cool very slowly. Do not lift the lid to peek. Leave the mold alone for 24 hours, at which time you can open it and lift the soap out by pulling up on the edges of the plastic liner. If you are making some of the vegetable oil soaps, hardening may take longer than 24 hours. My mold releases the ends of the mold and I can slide the whole soap block out and then separate each bar from the dividers. The soap will be very soft, so you have to be careful. At this point, you can cut your soap into bars and you can slice the very tops off where a soda ash residue may have collected, to make a nice, smooth surface. You want to remove the soda ash because it is hard on your skin. Again, vegetable oil based soaps may not be ready quite this quickly to cut. 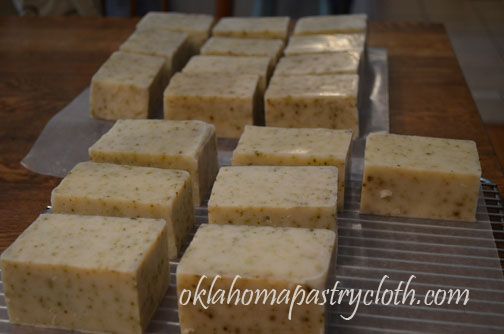 And voila! Soap! These bars will cure for about three to four weeks before they will be used. As the bars cure, the chemical reaction continues and improves the quality of the soap. You can carve the edges of your soaps for a softer look if you like. So there you go. Isn’t that neat? I feel like my great-grandmother, only she used a big, cast iron pot and made enough soap for a year in one batch!!  |
|
| |
|
Oklahoma Pastry Cloth™ Company on Facebook
|
|
 |
|
|
|
On This Day, Remember
Tuesday, September 11th, 2012
  September 11, 2001 is a day which none of us, as Americans, will ever forget. And the main thing with which we must come away is that our faith is in God – not in our government, not in our security systems, not in our first responders, not in anything except God, for without Him, all of the rest is just flawed human effort. There is a scripture that has been used on this day in speeches by politicians and is even engraved on the beam at the NYC memorial. It is Isaiah 9:10 which states: “The bricks have fallen down, but we will rebuild with dressed stone; the sycamore trees have been felled, but we will replace them with cedars.” as a defiant statement to the world that we will not be crushed. Unfortunately, those who quote this scripture have not read what precedes this verse, especially the line just prior: “…who say with PRIDE and ARROGANCE OF HEART, ‘The bricks have fallen down, but we will rebuild…etc’ ” This scripture is God’s word against the nation that turns from Him toward their own strength and resolve without Him. Today is the day that we must kneel before God, thank Him for His power and glory, repent and seek His guidance and mercy instead of showing the world steely resolve in our own strength. Isaiah 8:13 seems more appropriate: “The Lord Almighty is the one you are to regard as holy, he is the one you are to respect; he is the one you are to dread and he will be a sanctuary.”  |
|
| |
|
Oklahoma Pastry Cloth™ Company on Facebook
|
|
 |
|
|
|
Rendering Tallow For Soapmaking
Thursday, September 6th, 2012
|
This weekend I finally did what I’ve been wanting to try for over a year. I made soap! Not in a class. Not at a farm. In my own home with Mr. Fix-It at my side. It was awesome!! I now have 36 bars of soap that smell divinely of peppermint, rosemary and real sage. I seem to be that kind of person who has to have the lightbulb go off (In the words of Mork from Ork, “The time is right. The Gestault is now!”) before I can do anything new. There is something in me that is afraid to dive into the unknown unless I have all my ducks in a row. (I didn’t mix those two metaphors too badly. Ducks dive. OK?) I have to be ready, no matter how long it takes. Well, it took me a year to make soap and in that year, I watched videos, read books and still required actually seeing it done right in front of me to give me the courage to take a stab at it, myself. Just as an aside, my attempt at learning to drive in high school comes to mind as an example of my light bulb theory. My dad had bought a brand new 1965 Beetle bug – known to all you young’ns as a small, round, Volkswagen car. It was a soft green with black, rubber interior that never lost that rubber smell. It was a 4 speed manual in the floor and only knew ‘roll backwards’ when paused at a red light on a hill. My dad worked and worked with me, attempting to run me through the gear changes without eliciting a painful grinding that was a combination of the car’s innards and my father’s teeth. Every outing erupted into my father yelling in abject terror and me crying buckets of tears at my obvious stupidity concerning vehicles. I hated that car and I hated the lessons. Finally, I refused to ever learn to drive the monster. A few months later, I was sitting in my room, doing homework, while my parents had gone doing what parents determine to do in town. As I sat at my desk, I put my hand down beside me and made an ‘H’ – Forward: First gear, Backward: Second gear, To the right and forward: Third gear, now backward: Fourth gear. Press down and back: reverse. I tried it again in the air beside me. Hmmmm. I trotted downstairs to the key holder beside the garage door and grabbed the keys to the Beetle. Inside the car, I put my foot on the clutch and practiced first, second, third, fourth, reverse. First, second, third, fourth, reverse. I opened the garage door and started the car. I backed that car out as pretty as you please and tootled all over the subdivision without a hitch!! And then, I put the car back into the garage, went back upstairs and continued to study. My parents never did know what happened. I just started driving the car and drove it for years. I loved that car! So now, I’m hooked on soap making. It is just fun. Addictive is more like it. I took pictures and thought I would do this in two posts. This first is on how to render the tallow that is used in many soap recipes. There are also recipes that use other oils instead, but I wanted to make a nice, firm Castille soap with a tallow base because of its quality and longevity of use. I get fat from a local packing house and at the suggestion of a lovely soapmaker, Linda, I always ask for the kidney fat because it is the most pure. Start off with at least twice the number of pounds of fat as tallow that you want to produce. So if you need 4 lbs of tallow for a recipe, start with at least 8 or 9 lbs of fat. And it doesn’t matter if you make too much. The tallow can be frozen and kept for another batch of soap or mixed with butter for an unbelievable pie crust or biscuits if you don’t care about calories (unlike me)!! And birds like it too. They need the calories worse than I do. 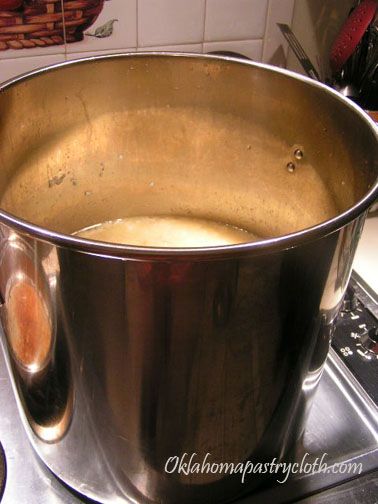 Cut the fat into small pieces. If you have a meat grinder or if the packing house will grind it for you, this works great and makes the fat render so much faster. In a large stock pot, add a quart of water with 2 tbsp. salt. Heat on medium-high to high heat and start adding the fat, a little at a time, stirring as you go. Bring to a boil and cover with a lid, leaving the lid a little off to the side to allow air to vent. If you can’t get all of the fat in at once, just add as the fat starts to melt and leaves more room. 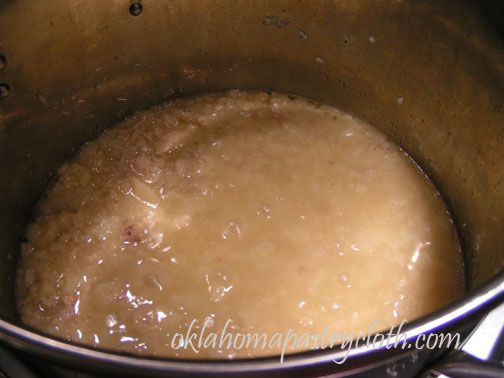 When the fat starts to rise to the surface, lower to the heat so that the mixture is at a low, slow boil, occassionally stirring things around and pressing big pieces to squash them. Cook for at least 4 hours to get plenty of tallow separated. I just let it go and do other things, checking occassionally. I do add a little water if it gets too dry. Be sure that your heat is not too high so that nothing burns or scorches. 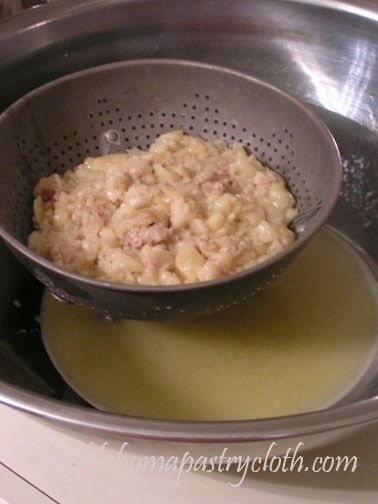 Pour the contents of the pot into a colander in a large bowl or pot or plastic container, a little at a time, to strain. 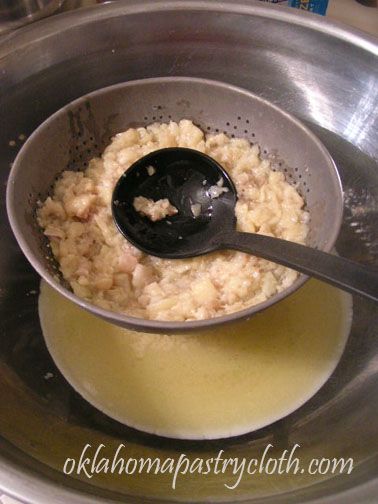 Press the fat in the colander with a spoon to release any extra liquid. Toss the globby fat. 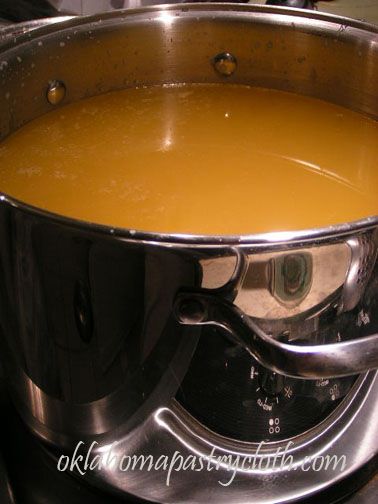 Allow the liquid to come to room temperature. Once cooled, place in the frig covered with plastic wrap or a lid. Refrigerate until the next day. 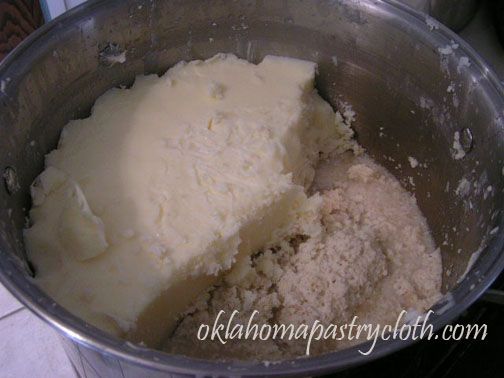 The next day, the mixture will have separated with the tallow at the top, some gray, yucky stuff in the middle and water at the bottom. Lift the solid matter out of its recepticle and throw away the liquid. 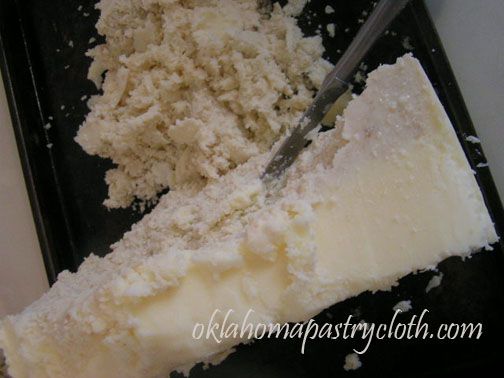 Scrape off the gray matter to separate the pure tallow. 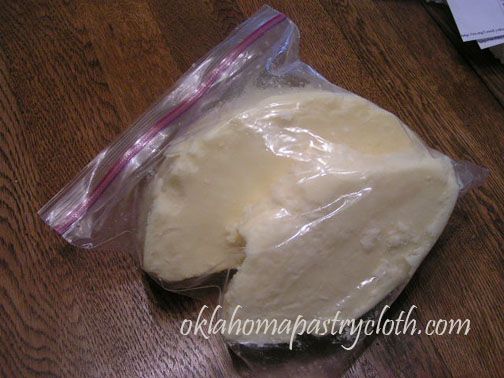 Store the tallow in freezer bags in the refrigerator for up to two months or in the freezer indefinitely. Now you are ready to make soap, candles or anything else that requires tallow! It’s Little House on the Prairie time!! MB |
|
|
|

 Homestead Revival
 Paratus Familia
 Rural Revolution