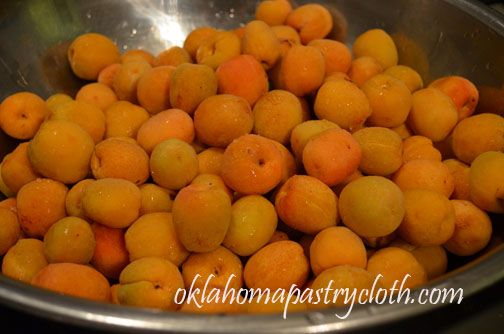
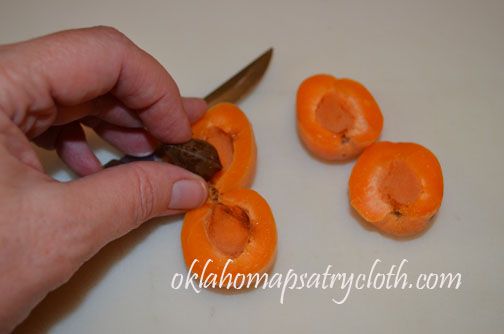
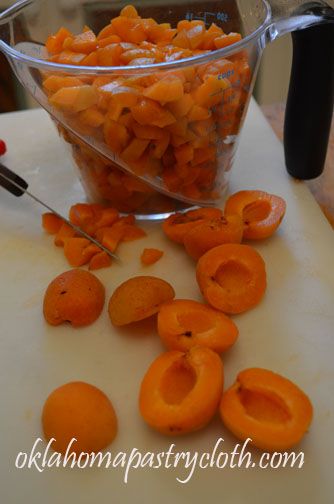
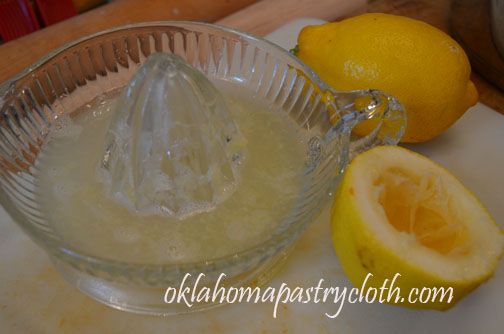
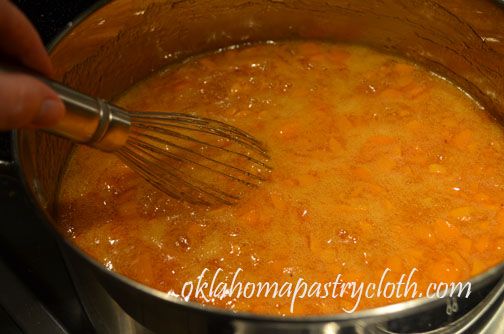
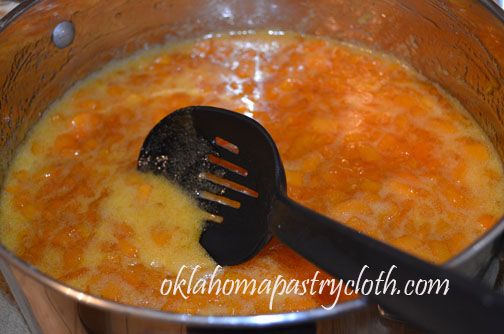
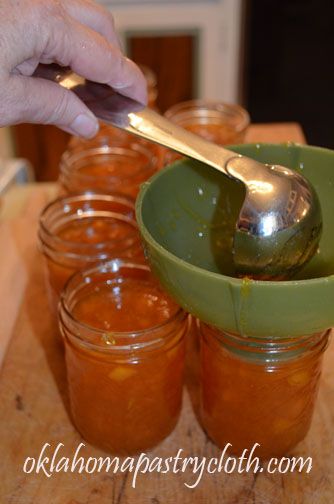
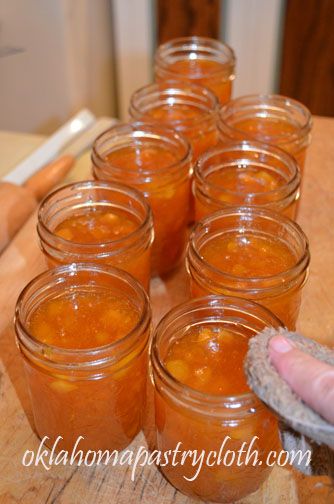
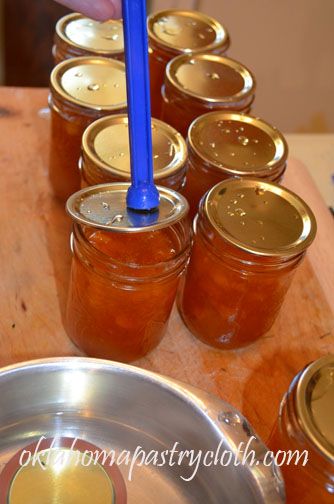
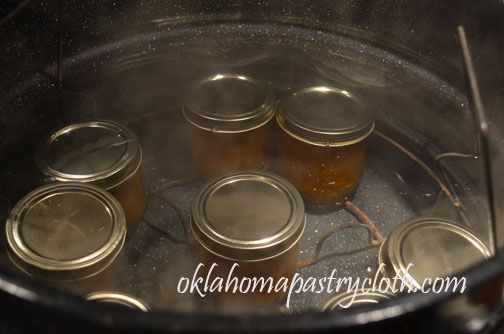
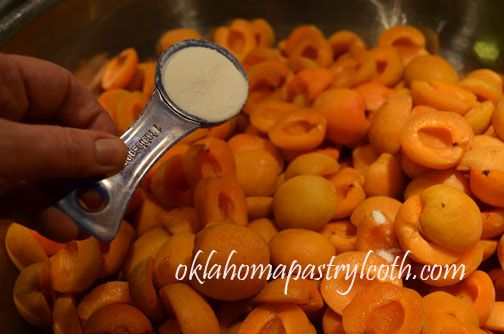
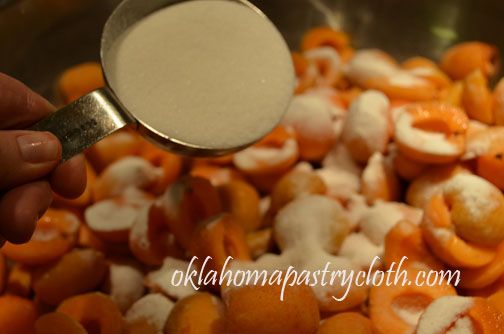
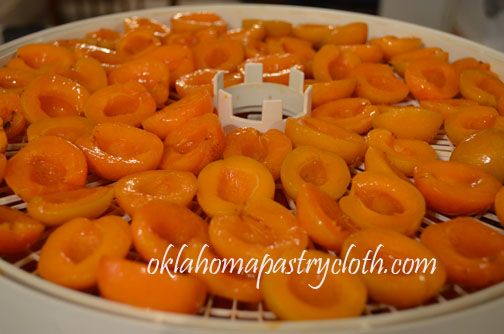
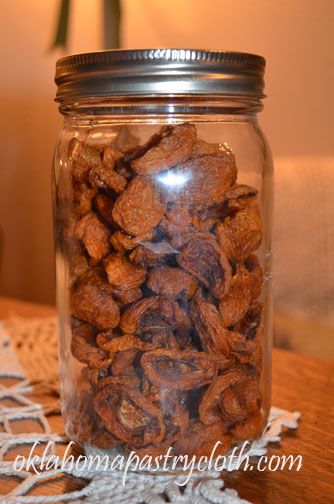
Well, it appears that my internet is totally hosed for who-knows-how-long. It has been down and I have waited patiently for a reawakening, only to find out that the company is down all the way into Kansas!! Somebody cut a cable. Dear Mr. Fix-It got me hooked into a mobile unit and so I get to write a really fast post!! Today, the subject is “Apricots”. Growing up, I loved dried apricots. We kids would get a bag and devour them instead of candy. I still love them today and I still call them what we used to call them, “Dried Ears”. Seeing my cousin recently, she affirmed that THEY call them dried ears as well! You can’t deny that dried apricots look like something some faraway, cannibal tribe collected from unsuspecting captives, not to mention that which Van Gogh sent to his lady love. OK, so now I’ve really made them appetizing, eh? Apricots are a member of the same family as peaches, plums, apples and pears but are most closely associated with plums. They grew wild in China as long ago as 2000 BC and it was the Chinese, through the silk and spice trade, that brought the fruit to the Middle East and Mediterranean countries. Romans made the apricot trees part of their culture around 100 BC as did the Greeks who called them, “the golden eggs of the sun”. By the Middle Ages, apricots were being cultivated throughout Europe. The Spanish brought the fruit trees to the New World, first planting in Mexico and later in what is today’s California, which is the leading producer in our country today. Because of our climate in Oklahoma, apricot trees produce quite well and quite prolifically. If you remember from the past post on the bunnies, Sir Flying Ace’s dog found those bunnies in an underground nest beneath his apricot tree. Last month, I joyfully emptied that tree of as many of the jewels as I could reach and then Sir Flying Ace brought me another sack that he had gathered. Mr. Fix-It and I have a young apricot tree, but it will not be ready to produce for another two years. From Sir Flying Ace, I got enough apricots to make some amazing jam, some baby food for the grandbaby and a goodly amount of dehydrated halves for snacks and dried apricot fried pies. I thought I’d give a few pictures of what that included. Apricot Jam 5 exact cups diced fruit (about 3-1/2 lb. fully ripe apricots) 1/4 cup fresh lemon juice 7 cups sugar, measured exactly into a separate bowl 1 box SURE-JELL Fruit Pectin 1/2tsp. butter or margarine Apricots are easy, easy to prepare. They are used – minus the pit – skin and all. All you have to do is make a cut all the way around the fruit, to the pit, and then pull the halves away to lift out the pit. The pit doesn’t even stick. I use a food processor to chop my apricots. I use the pulse feature so that I don’t liquify them and make the pieces too small. The chopped apricots are put into a large pot with lemon juice and the SureJel is sprinkled onto the fruit and stirred in until well dissolved. The butter is then added to keep frothing down. On medium-high to high heat, the fruit is brought to a rolling boil. At this point, the sugar is added consistently and quickly as you stir. I use a wire whisk to stir the jam as I pour in the sugar. It is important to have the sugar measured out ahead of time because you will not have time to do that once the fruit has started boiling. Anyway, once the sugar is stirred in well, bring the jam back to a rolling boil and boil for one minute. After one minute of boiling, remove the pot from heat and skim any froth off of the top with a spoon. You can put the froth into a bowl and use for jam yourself. Removing the froth just makes the jars prettier. Ladle the hot jam into sterilized jelly jars to 1/2″ head space. Wipe rims of jars with a warm, wet cloth to remove any drips or oils from your hands. Place lids that have been warming in hot water onto the jars. Add rings and tighten and then back them off a smidge. Place in a waterbath canner of warm water and process for 15 minutes. I also dehydrated a bunch of apricot halves. First, I cut the halves into a very large bowl and tossed them with a couple of tablespoons of Fruit Fresh. The apricots are not skinned. I then toss about 1/2 cup of sugar into approximately two gallons of apricot halves because I like for there to be a little bit of a glaze when they are dried. The halves are placed on the dehydrator trays. The trays have been sprayed with olive oil to keep the apricots from sticking. I store the dried apricots in quart jars that have been vacuum sealed with a FoodSaver. |
|
| |
Oklahoma Pastry Cloth™ Company on Facebook
|
|
|
|
|
Archive for July, 2012
Dried Ears
Tuesday, July 31st, 2012
Learning To Make Soap!
Monday, July 16th, 2012
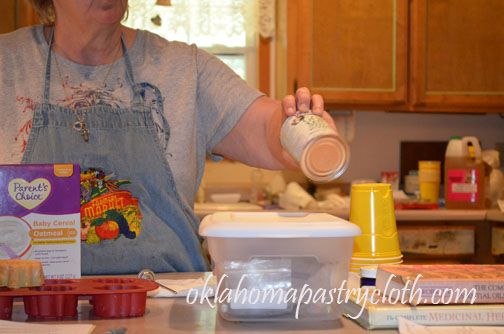
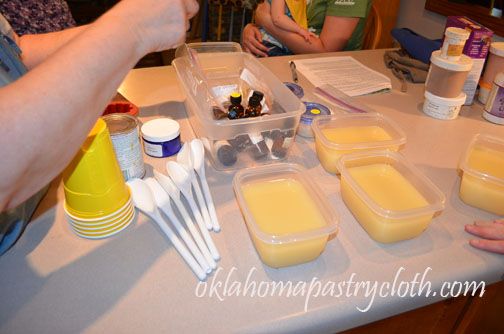
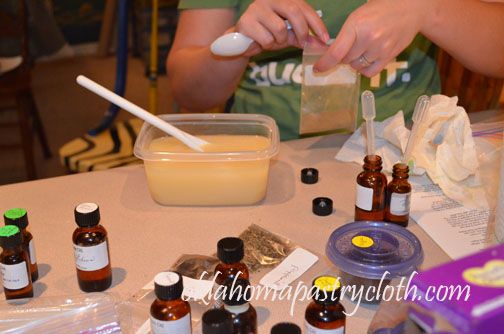
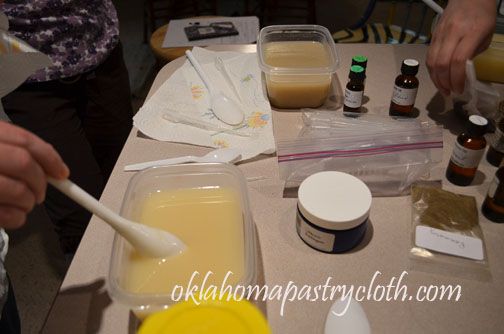
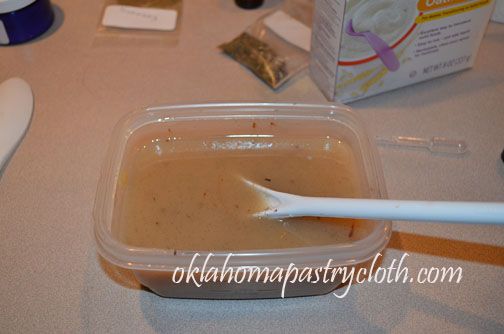
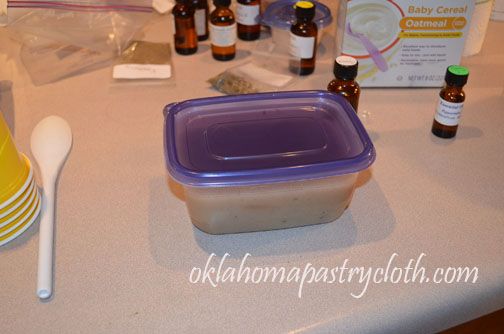
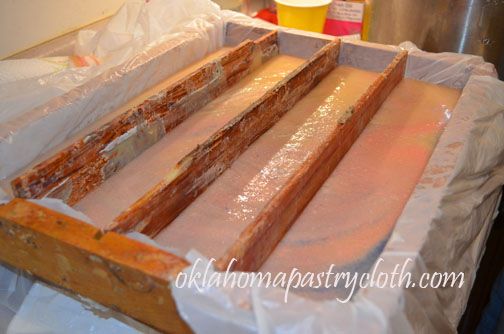
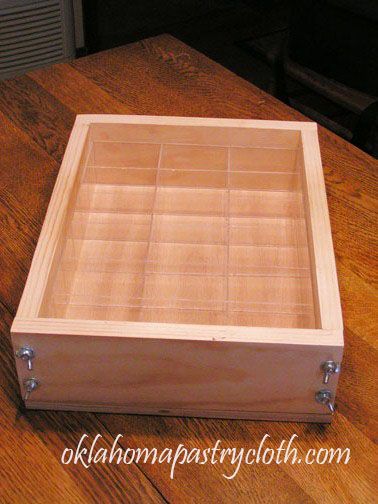
I assure you that this is going to be one, clean post. And yes, it’s about bars, but not the drinkin’ kind. I had so much fun the other day, I left in a lather. And, ok, I’ll stop now. What am I talking about? Last week, some of my friends and my daughter and I took a soap making class at the headquarters of Laughing Rabbit Soaps, under the tutelage of Charlotte Hayer. Charlotte is funny, excited about her craft and 100% on a mission to get others in Oklahoma to join her in soapmaking. For $25, we joined in the process of making 30 lbs of soap, each getting one pound to scent and color however we chose. One pound makes 4 bars of soap. And of course, you know me – I threw myself into the project with complete abandon, camera shutter flying. I am so excited about making a first attempt on my own. At that point, I’ll do a step-by-step. I am seeing all kinds of possibilities for soaps!! Just to let you see what we did, here are a few pictures. First, Charlotte melted a mixture of solid fats and liquid fats in a large stockpot on the stove. She uses tallows or olive oil, palm oil, shea butter, cocoa butter, sweet almond oil, etc., depending on what type of soap she is making. She used a thermometer to determine that the temp of the oils was correct. She showed us that there are all kinds of additives that one may use in soaps, including goats milk which should be added cold or frozen. She said that canned or cartoned goats milk can be employed if one does not raise goats. Charlotte had mixed her lye into three separate containers of water several hours prior to our arrival in order for it to cool She did the three containers because she was making a triple batch of soap. She made sure that we understood that one always adds lye to water – not water to lye. The lye water was added to the oils. Here’s something that I’m going to have to find because it works soooo well!! – A stick blender or wand blender to some people. The mixture of oils and lye were mixed together until it began to thicken and “trace”. At this point, Charlotte filled plastic refrigerator containers with the liquified soap – one for each one of us. We were given bottles of many types of essential oils, bags of ground flowers, herbs, cocoa and colorants. We used pipettes to transfer the oils to the soap and spoons for the dried materials and we just guessed at amounts. As ingredients were added, the soap was stirred. I was amazed at how forgiving the soap is. We had plenty of time to make choices and experiment. I added oatmeal baby cereal for gentleness, rosemary and peppermint essential oils, chopped vanilla bean for specks and cocoa for color. The soap was covered to allow to cool slowly. Charlotte used the leftovers to pour into one of her large molds. She colored her soaps with blue and pink, swirled. Very pretty. Of course, Mr. Fix-It remains my hero. He helped me make my own mold for my first soap project and I think it is just pretty nifty. This mold will hold 4 lbs of soap and we will be making another one to match. I’m thinking of making a larger one as well. I have found my new adventure!! Stay tuned. |
|
Oklahoma Pastry Cloth™ Company on Facebook
|
|
|
|
|
Homemade Ice Cream Like No Other!
Thursday, July 5th, 2012
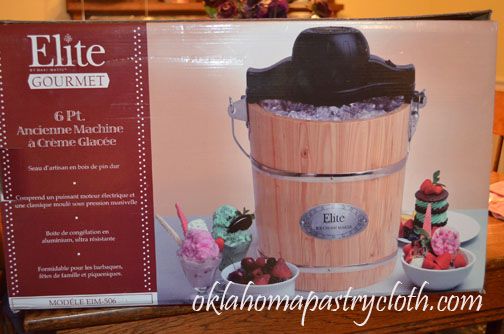
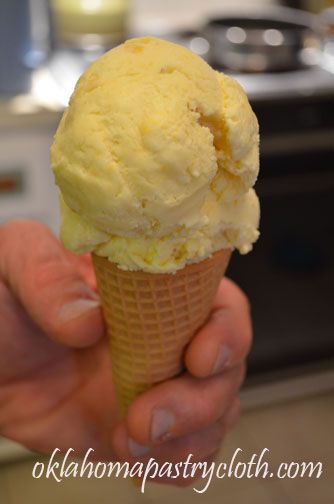
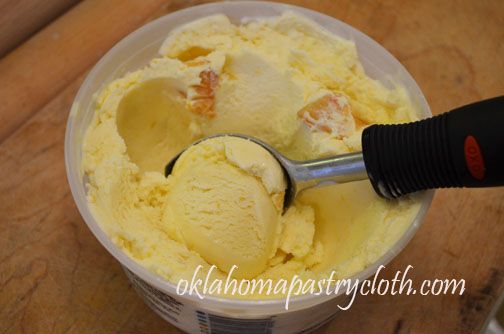
Happy July 4th week. We had such a special day. We got to spend it with the oldest daughter, her husband and their little girl – yep – that grandbaby again!! We ate and talked and ate and watched old home movies and ate and shot off fireworks (since we live way out in the country) and then stopped eating. The grill got fired up for bratwurst, hot dogs and luscious hamburgers infused with olive oil, liquid smoke, garlic powder, salt and worchestershire sauce. Dinner was good. But dessert was better! Now, I have to interject here that I have never – and I seriously mean never – made a decent batch of homemade ice cream. In fact, I can truthfully say that I’ve never EATEN a decent batch of homemade ice cream. I grew up on the stuff and, I suppose I need to apologize to family, but I always hated it. Just hasn’t ever been my cup of tea – well – bowl of ice cream. It was always so fragile that it turned into soupy stuff too fast, was grainy with ice crystals and was just too, too sweet. Putting chocolate syrup on top of that made it sickly sweet. And then, when leftovers were frozen, the result was a brick the shape of the container that no jackhammer could chip! Just a big waste of ice, salt and electricity to me! Last Father’s Day, we got Mr. Fix-It a fancy, schmancy wooden ice cream freezer that can either be used with a hand crank, or made so much easier with an electric crank. Sadly, the gift had never left its box and so on the 4th, Mr. Fix-It announced that he wanted homemade peach ice cream, made with peaches from our trees. I was bound and determined to find a recipe that would knock his socks off. AllRecipes.com came to my rescue!! In order to make this recipe, you have to plan ahead because the base needs to chill in the frig overnight. That is very important. I made the base at about 9 in the evening on July 3rd, poured it into a bowl and allowed it to cool for 20 minutes, putting it in the refrigerator to cool thoroughly all night and even about half of the next day. When we poured the custard mixture into the hopper of the ice cream freezer, Mr. Fix-It was a little nervous at the amount. It looked like there was very little in the barrel. However, as it churned, that amount doubled and then tripled and believe me, we had plenty of ice cream! When the ice cream freezer stopped, we packed the canister in ice for two hours before serving. I was amazed at the result. It was the creamiest, most solid, not too sweet confection I’ve ever tasted. I was ecstatic. My daughter and son-in-law had two helpings each and oohed and ahhed over its creamy texture. However, Mr. Fix-It was not a happy camper. I had not made the fragile, soupy, ice crystal laden, ice milk with which we had all grown up. He was so disappointed. He was visably disappointed. But tasting that creamy peachiness, I just couldn’t feel bad. I was so excited over my results that I just couldn’t feel bad. However, I guess that next time, I’m will get two machines going: one with junket-style, old-fashioned, ice milk style stuff and the other with this new recipe!! I can tell you ahead of time which one will disappear first! Mr. Fix-It will be happy to have one ice cream freezer all to himself! So, try this out on your next hot weekend and let me know what you think. Thanks, AllRecipes.com!! 1 cup heavy cream 3 cups half-and-half cream 8 egg yolks 1 cup white sugar 1/8 teaspoon salt 1 tbsp vanilla (I added 2 tsps Mexican vanilla because it is so strong) Optional: 1 cup pureed fruit like peaches, apricots, strawberries, raspberries, bananas, etc. or 1/2 cup cocoa can be added to the egg mixture in the second step for flavored ice cream. Instructions: 1. Pour the heavy cream and half-and-half cream into a heavy saucepan, place over medium-low heat, and heat until barely simmering, stirring frequently. Turn the heat down to low. 2. In the meantime, whisk together the egg yolks, sugar, and salt in a large bowl until thoroughly combined. (Make any additions here) 3. Slowly pour about 1/2 cup of hot cream mixture into the egg yolk mixture, whisking constantly. Repeat three times more, for a total of 2 cups cream added, whisking thoroughly before adding each additional 1/2 cup of hot cream to the egg yolk mixture. Pour the egg yolk mixture back into the saucepan with the remaining hot cream, and whisk constantly over medium-low heat until the mixture thickens and will coat the back of a spoon, 5 to 8 minutes. Do not let mixture boil. 4. Pour the ice cream base into a bowl and allow to cool for about 20 minutes; place in refrigerator and chill overnight. The next day, pour into an ice cream maker, and freeze according to the manufacturer’s directions. Remove the ice cream, pack into a covered container, and freeze for 2 hours or overnight before serving. At this point, I removed the paddle and packed the canister in ice instead of removing the ice cream to another container. I only put the leftovers into a plastic container to store in the freezer. Even after freezing overnight and the next day, it is still just as creamy as can be. |
|
Oklahoma Pastry Cloth™ Company on Facebook
|
|
|
|
|
Canning For Baby
Monday, July 2nd, 2012
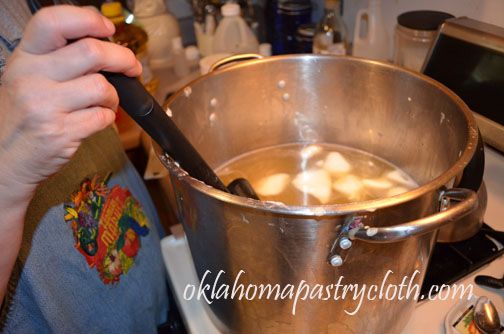
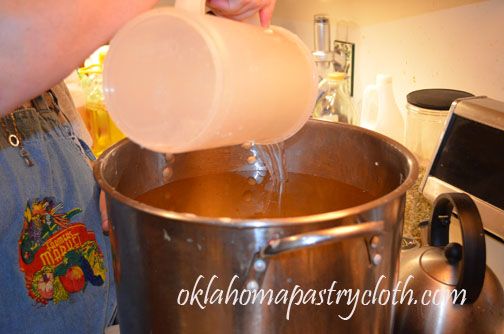
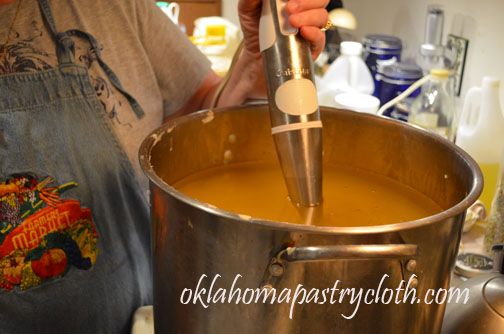
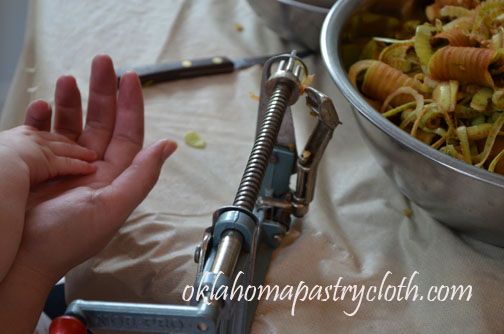
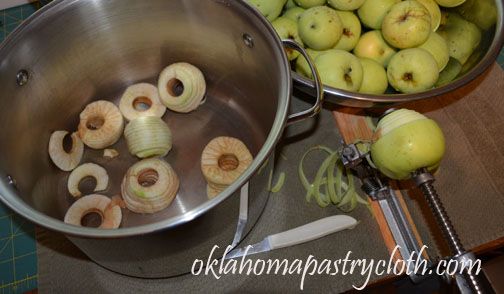
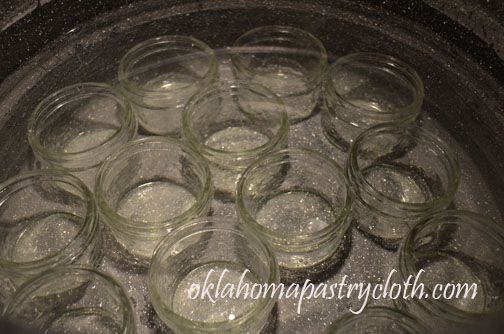
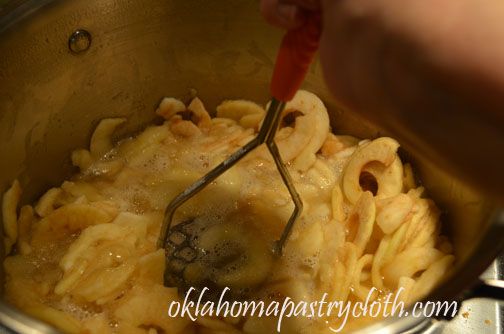
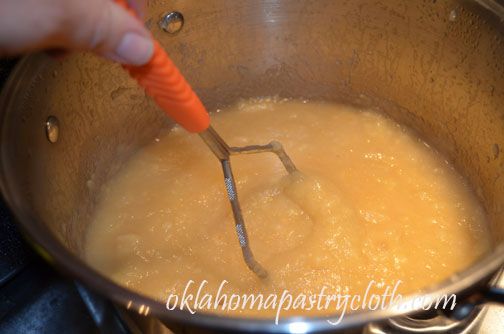
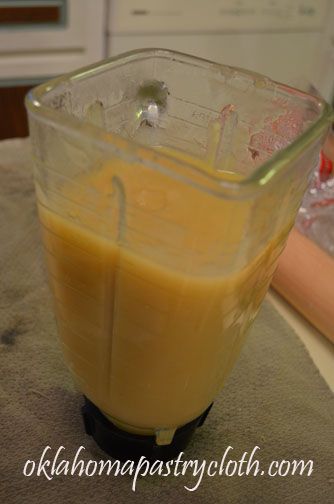
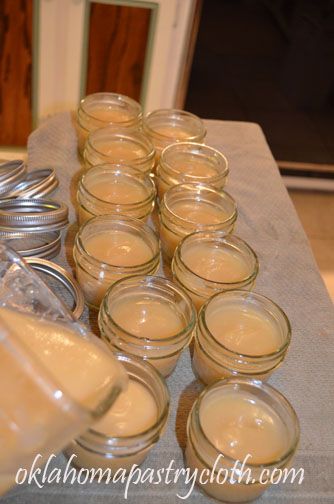
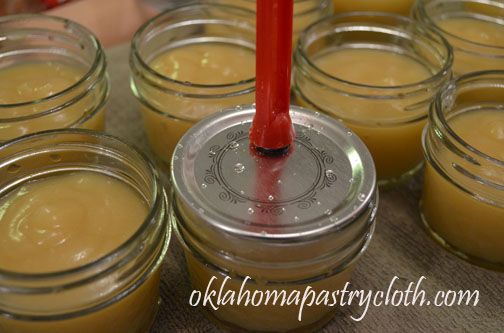
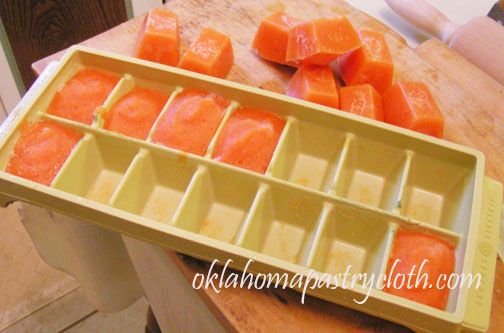
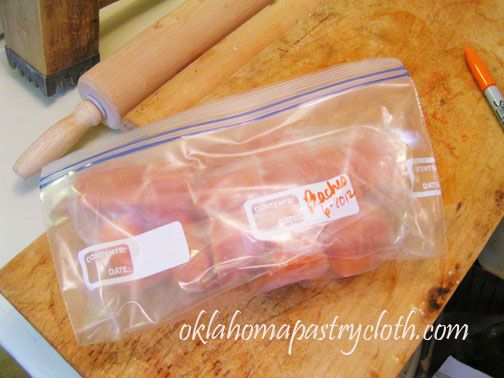
The fruit overfloweth. Oh my. I have been covered up with apples, peaches, apricots and peacherines. The apricots came first and those went into jam and dried apricots. Then came the apples. These are my apples from our Lodi tree which are only good for apple butter, applesauce and apple juice. So, I made apple butter first, and had help from my daughter. Next, I made applesauce and half of that went into babyfood applesauce which I canned for my little granddaughter. You should see how she eats it, smacking her lips and licking every last drop. She loves her applesauce. I have been making baby food since my children were little and it is a joy for me to have the opportunity to help my daughter in that preparation, now. We both make foods that are frozen and I do the canning for some so that there will be plenty of food in the waiting. Apricots, peaches and applesauce make up these, so far, because our Little Bit is just starting to eat solid food. No meats yet – just fruits, cereal, sweet potatoes, green beans, brocolli and squash. So, I thought that I would show you new mothers out there, what I do with apples and other fruits. Wash and peel fruit and place in a large stock pot. Sterilize jars, boiling in a large pot or by running through the sanitize cycle in the dishwasher Simmer fruit over medium heat and press with a potato masher. Mash until a pulpy sauce. This is for fruits like peaches, plums, apples, apricots, etc. Veggies, like green beans, brocolli, sweet potatoes and squash are cooked in water until they are soft and then pureed. (Bananas are just mashed without the cooking.) When pulp is pretty uniform, bring that to almost a boil and hold it there for 5 minutes to pasteurize. Pour about half of the pulp into a blender and puree. I have found that the blender is better over the food processor. The food processor does not necessarily remove all of the lumps and liquify like the blender. If, like our apples, the fruit is very sour, I use a little bit of Agave Nectar to cut the sourness. I checked to see if babies can have agave nectar and they can have small amounts. In order to keep the fruit from browning, I also add just a tad bit – about 1 tsp per pint – of fruit fresh or lemon juice. You can’t add much because the citric acid can upset babies tummy. Pour the pureed fruit into 4 oz mason jars. I like the four oz because it is enough for two servings without the leftovers having to remain in the frig too long, gathering bacteria!! Wipe the rims of the jars with a warm, wet rag to remove any drips and place lids, which have been warming in hot water, onto the jars. Add rings and adjust. Waterbath jars submerged in warm water. Start timer for 15 minutes when water begins boiling. When timer goes off, remove jars to a towel on a table to cool. Listen for the “pop” of the lids sealing. Do not store any jars that have not sealed. Just use immediately. My daughter and I also freeze food for our Little Bit and ice trays really come in handy for that. Each section of a large ice tray holds roughly one ounce of pulp. The food is placed in the sections, frozen and then popped out like ice. Storage in freezer bags or in FoodSaver bags works great in the freezer. To serve, just place cubes in a microwave-safe bowl and lightly microwave to thaw or place the cubes in a small jar and place the jar in hot water to thaw. She may not be able to say, “Thank you” yet, but it isn’t required! Her smacking lips and smile say it all!! |
|
Oklahoma Pastry Cloth™ Company on Facebook
|
|
|
|
|