Archive for September, 2009


πr²? – no – Pie r Round

Monday, September 28th, 2009

It’s Fall and that means that Thanksgiving is on its way! And Thanksgiving makes me think of pies. Yes, most people would say that they think of turkey – I’m sure that’s #1 on the board on Family Feud – but I think of pies – well – and yes – sweet potatoes.

I love pie. I won’t go out of my way for a cake, but give me a pecan pie or an apple crumb pie and I’m grinning. One of the readers asked for a good pie crust recipe and so I thought that this would be a good time to jump into the subject. Time to roll up our sleeves and prepare for the coming feast and to give thanks for God’s provision and grace no matter what our situation. These times are hard, but we can know joy in spite of hard times when we realize that God has it in His hands. Make this Fall and Thanksgiving one that your family remembers with fondness and joy! Good food helps!

Pie dough is really easy to make. The secret to great pie crust is in the shortening – plenty of shortening. You can’t be stingy. Of course, my grandmother, and probably yours, made the flakiest, lightest crusts because she used lard, but with today’s sermons on cholesterol I won’t even go there! Ask any southern cook, though, and they’ll all tell you that a crust isn’t a crust without lard.

So I use the next best things – Crisco and butter – real butter. It is also important to keep the ingredients cold. Having an Oklahoma Pastry Cloth ™ in the freezer is a plus! My recipe makes enough for quite a number of crusts and can be kept in the freezer to be measured out in 1 cup measures per pie shell or top. My recipe is an adaptation of one given to me by my mother many years ago, which I then recorded in the back of my grandmother’s Fannie Merritt Farmer Boston Cooking School Cookbook of 1951. Below, you will find the recipe and directions with pictures and then the directions for some wonderful tarts made with the pie dough.

Pie Crust Mix
4 1/2 cups flour
1 cup shortening – cooled in refrigerator
1 cup butter – also kept cool
2 tsp salt
6 tablespoons ice water (to be added to 2-3 cups of mix for double crust)
1 tsp white vinegar
Photobucket

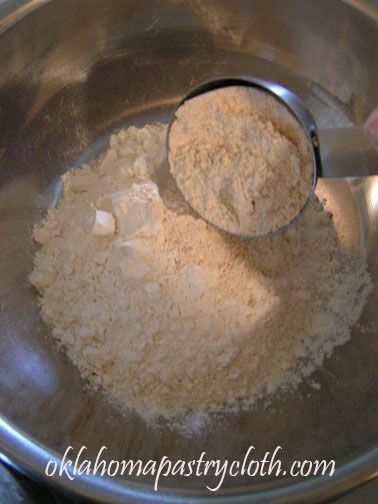
Put 4 1/2 cups flour into a large bowl. Add salt.


Photobucket

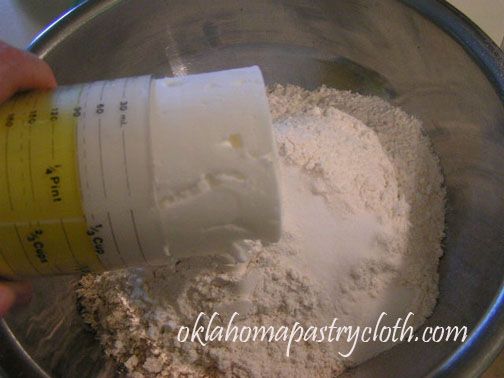
Add shortening. Here, I am using the handy Adjust-a-cup that will be available on the shopping page in just a few weeks.


Photobucket

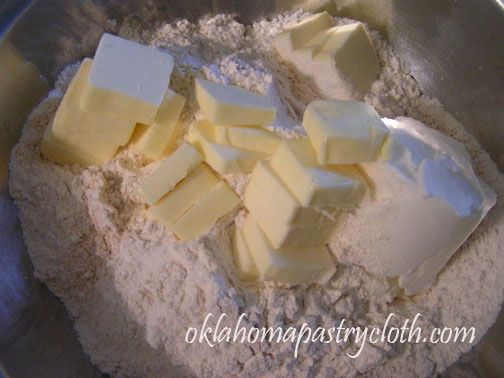
Cut butter into small slices. Add to flour, salt and shortening.


Photobucket

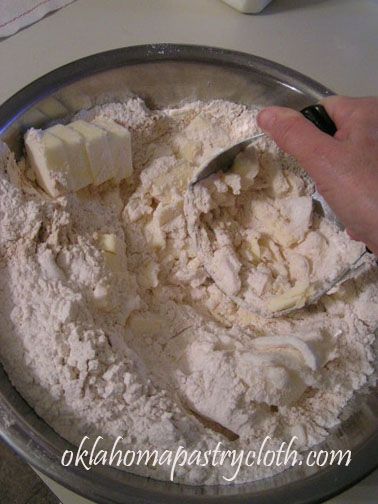
Using a pastry cutter (available at the shopping page) cut the butter and shortening into the flour.


Photobucket

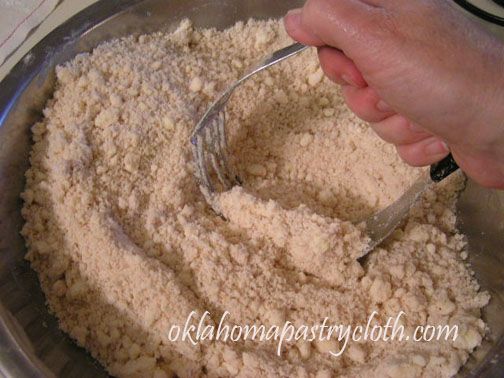
Continue cutting until the mixture resembles small peas.


Photobucket

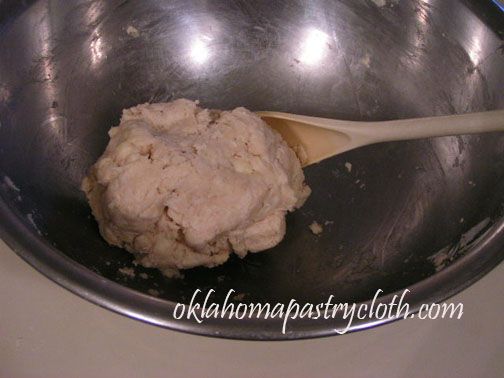
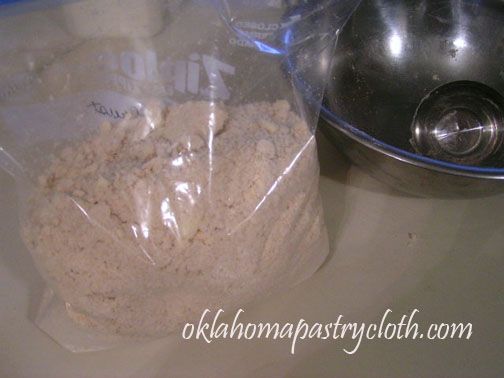
This mixture can be stored in a freezer bag in the freezer and used as needed. 1 – 1 1/2 cup = 1 pie crust round (depending on the size of your pan) so 2 to 3 cups for a bottom and top crust. Add 6 tblsp ice water with the vinegar added, a few at a time and stirring until dough pulls away from the side of the bowl and forms a ball. (Don’t be afraid to make it a little sticky. You don’t want your dough to be too dry)


Tarts

4 oz cream cheese
1/2 cup powdered sugar
1/2 cup cool whip
1 1/4 cup strawberries
4 tbsp glaze


Photobucket


Photobucket


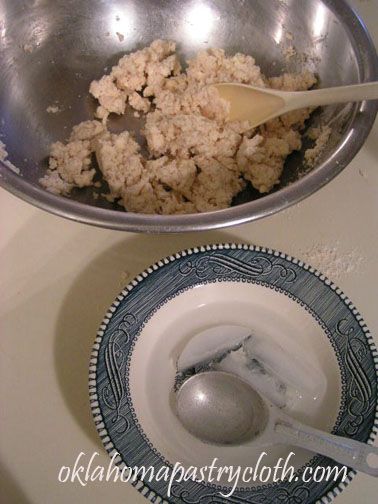
Measure out 1 3/4 to 2 cups pie crust mix and in a bowl, add one tablespoon at a time of ice water to equal six tablespoons along with 1 tsp vinegar and mix until a soft dough is formed as you stir.

Photobucket


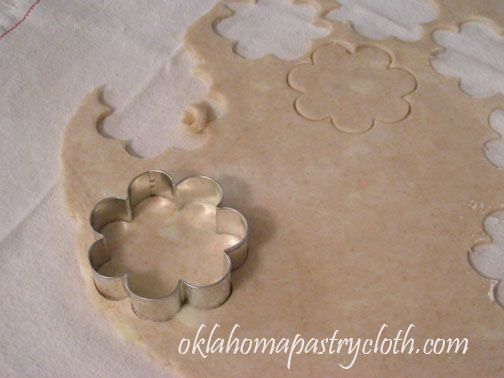
Roll pie dough onto Oklahoma Pastry Cloth™ to about 1/8″ thick. Cut with flower shaped cookie cutter. This one is 3″ across and an entire set of them is coming your way with the other utensils. Check the shopping page in a couple of weeks!

Photobucket

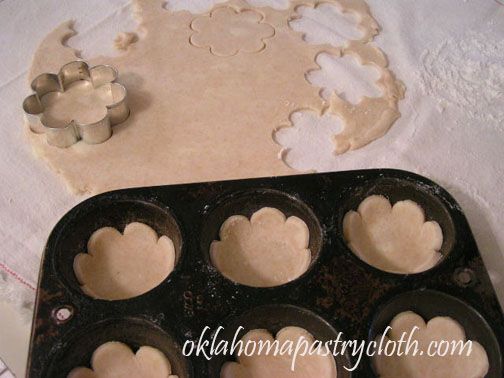
Place “pie flowers” into Pam-sprayed muffin tins. Bake at 400° for approximately 8 minutes or until browned on the edges. Set aside to cool.

Photobucket

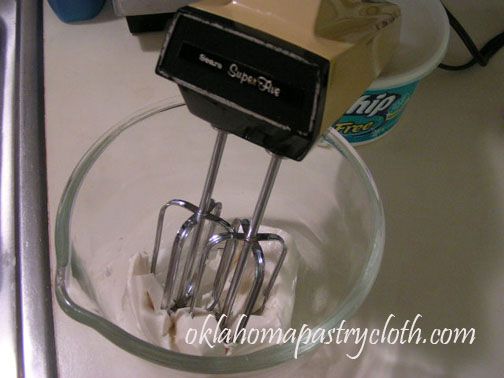
In a mixing bowl, place 4 oz cream cheese and mix until creamy. I like to use my old Sears hand mixer. It’s that 60’s-70’s retro gold color and still works like a charm. There’s just nothing like the high whine of an old hand mixer.
Photobucket

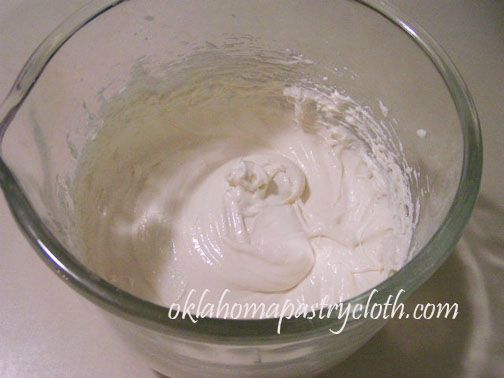
Add powdered sugar and cool whip. Blend until creamy. You will use around half of this for the tarts or double the number of tart shells to use all.
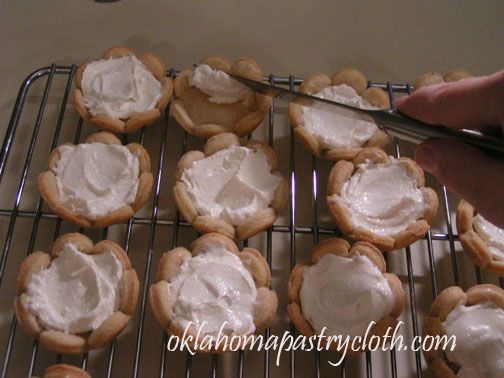
Photobucket

Spoon mixture into the bottom of the cooled tart shells. For more stability and to avoid breakage, this can be accomplished while the shells are still in the muffin tins.
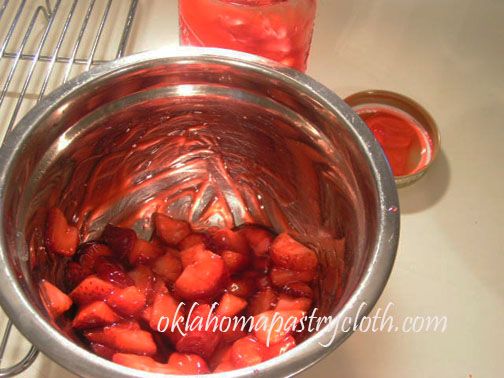
Photobucket

In a bowl, place fresh strawberries and toss with strawberry glaze. Or you may also use any type of canned fruit pie filling.
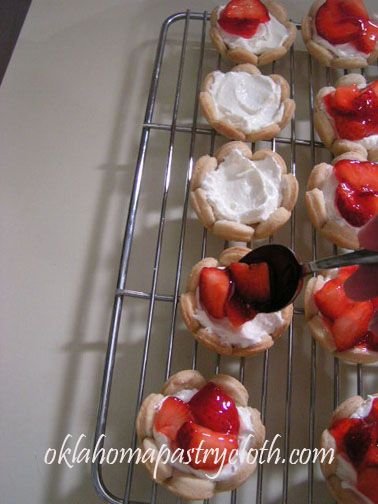

Photobucket

Spoon fruit mixture over cream cheese mixture. Makes approximately 18 tarts
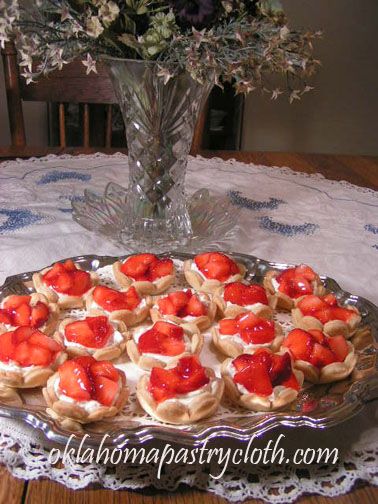

Photobucket


Arrange on tray and serve. Aren’t they pretty? They taste wonderful too!
Thanks to Kathy, for donating her tart recipe.

Peter Piper, Pickled Peppers Aren’t Picked Pickled

Tuesday, September 8th, 2009

A History Lesson on Peppers and A Photo Session/Recipe on Pickling Peppers

“Peter Piper picked a peck of pickled peppers.” This child’s poem seems to have first appeared in Peter Piper’s Practical Principles of Plain and Perfect Pronunciation” by John Harris in England in 1813. The little book included a tongue twister for every letter of the alphabet. However, according to The Oxford Companion to Childrens Literature by H. Carpenter and M. Prichard, the Peter Piper poem was actually recited for many years before the publication of the book.

The preface to Harris’ book is pretty funny. It reads: Peter Piper, without Pretension to Precocity or Profoundness, Puts Pen to Paper to Produce these Puzzling Pages, Purposely to Please the Palates of Pretty Prattling Playfellows, Proudly Presuming that with Proper Penetration it will Probably, and Perhaps Positively, Prove a Peculiarly Pleasant and Profitable Path to Proper, Plain and Precise Pronunciation. He Prays Parents to Purchase this Playful Performance, Partly to Pay him for his Patience and Pains; Partly to Provide for the Printers and Publishers; but Principally to Prevent the Pernicious Prevalence of Perverse Pronunciation.

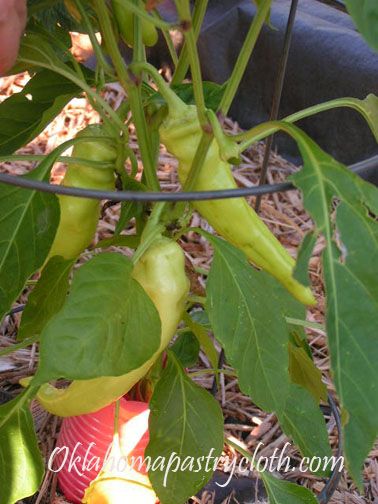
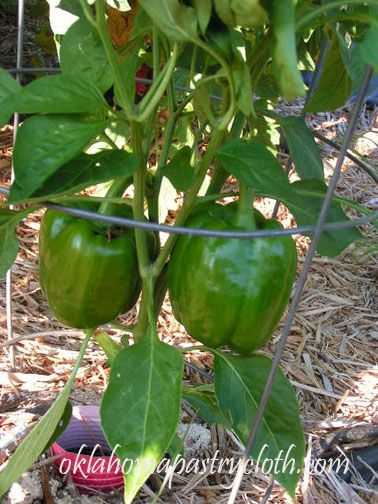
And speaking of peppers, they are a wonderful and useful addition to any garden. We always include a variety of bell peppers, banana peppers and jalapenos. When I am in the mood for hotter peppers, I include habeneros as well.

Photobucket

Photobucket

bell peppers and banana peppers

Peppers are a member of the nightshade family of plants which include potatoes, tomatoes, eggplant and tobacco of all things! The Nightshade plant, itself a member of the family, is deadly. It looks like a miniature tomato plant. The peppers are of the species Capsicum and contain capsaicin which is a chemical that produces a burning sensation in the mouth, the skin and the digestive tract. It keeps animals from eating the peppers, but doesn’t seem to bother birds which then spread the seeds. Capsaicin is used in medicine as a pain reliever and to stimulate circulation.

Peppers are native to Central and South America and were taken to Spain in 1493. Their use and cultivation then spread to Europe and Asia. Supposedly, Christopher Columbus misnamed them “peppers” or pimento in Spanish because peppercorns were so valuable and he mistakenly thought the peppers were of the same family. He seemed full of mistaken assumptions!! Wrong continent and wrong plants.

One interesting name that I have heard my Missourian father use in reference to bell peppers is “mango”. This label for peppers is also used in parts of Kentucky, Ohio and Pennsylvania. But since the real mango fruit has become so popular, this old term for peppers is fading.

(thanks to the New World Encyclopedia!)

We pickle peppers at our home every year. However, we use a whole different approach. I took my grandmother’s recipe for bread and butter pickles, tweaked it a bit and have come up with my own recipe for “Sweet-Hot Peppers”. You can find my grandmother’s pickle recipe in the cookbook for sale on the shopping page.

Following is a photo instruction and recipe for my “Sweet-Hot Peppers.”

Ingredients:
4 quarts of bell, banana and jalapeno peppers. The ratio of jalapenos to the other peppers will determine how hot your relish will be. Your choice. Also, I throw in a few jalapenos that have turned red or a red bell pepper to add color.
6 medium white or yellow onions
1/3 cup non-iodized salt or canning salt
3 cups white vinegar (5%)
4 1/2 cups sugar
1 1/2 tsp tumeric powder
1 tsp celery seed

Photobucket

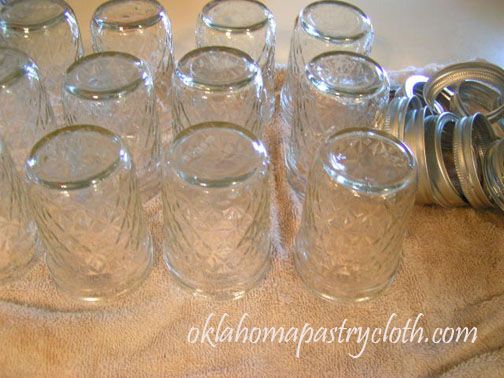
Wash and dry jars and rings. Boil lids and turn down heat to very low to keep the lids warm.

Photobucket

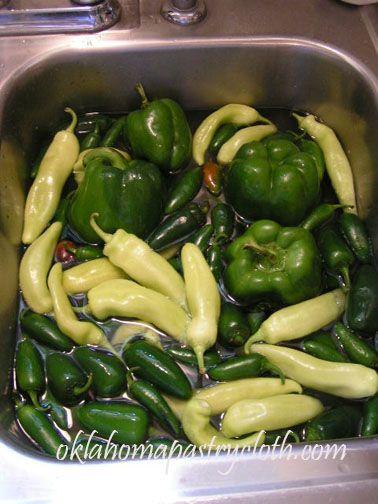
Wash peppers

Photobucket

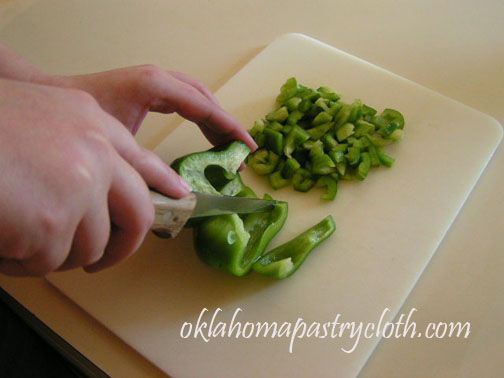
Core, seed and chop bell peppers into small pieces.

Photobucket

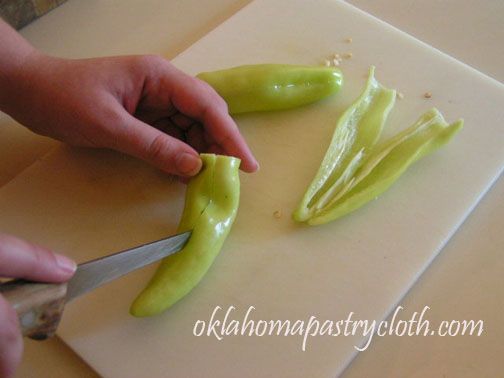
Slice banana peppers down the center of one side. Lift out seeds and discard and chop into thin strips.

Photobucket

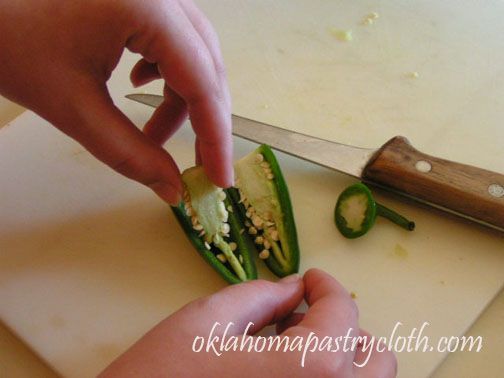
Slice jalapenos in half. Lift out seeds and discard and slice peppers into pieces or half rings. You may require rubber gloves to keep fingers from burning and to help you avoid accidently rubbing the capsaicin in your eyes or nose.

Photobucket

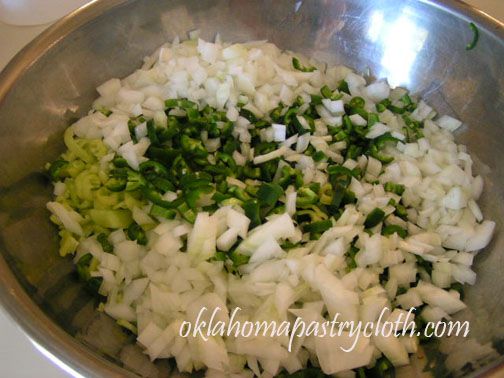
Chop onions into small pieces and put all peppers with onions into a large stainless steel or glass bowl.

Photobucket

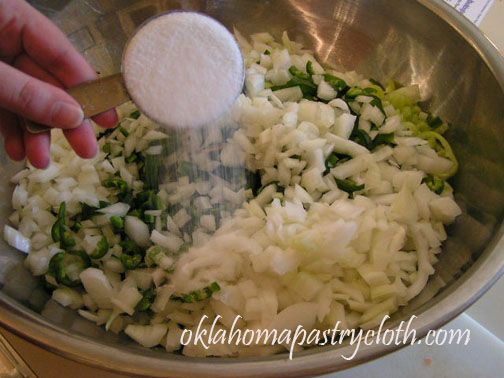
Sprinkle 1/3 cup non-iodized salt over the vegetables

Photobucket

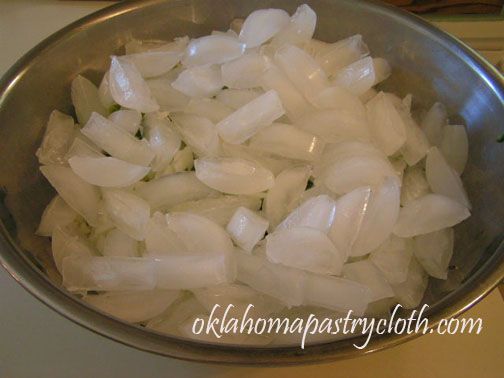
Cover with plenty of ice cubes.

Photobucket

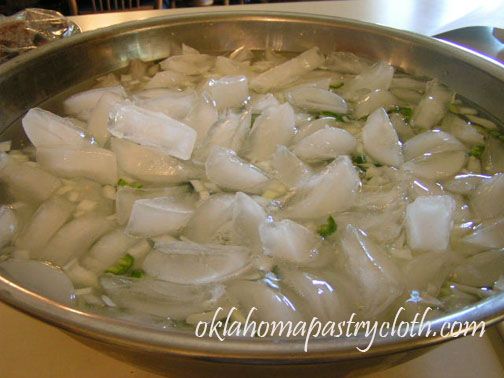
Add water to cover all of the vegetables and let sit for 3 hours. After 3 hours, remove any remaining ice cubes and drain off all water. DO NOT RINSE vegetables.

Photobucket

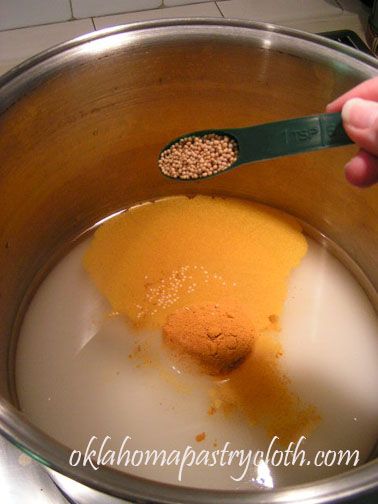
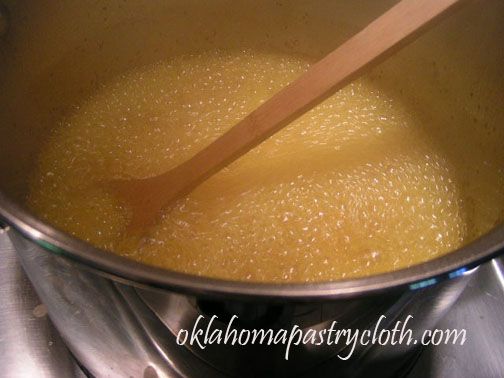
In a large stock pot, pour in vinegar, add sugar and stir in tumeric, mustard seed and celery seed.

Photobucket

Stirring, bring to a rolling boil.

Photobucket

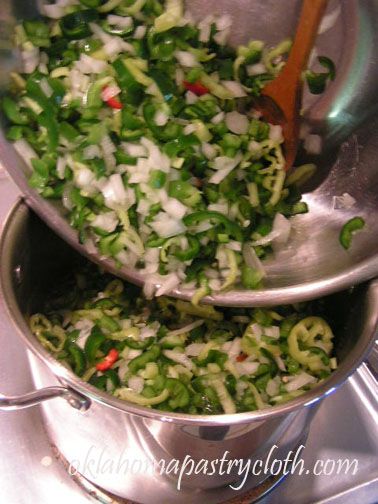
Pour vegetables into boiling syrup and turn off heat.

Photobucket

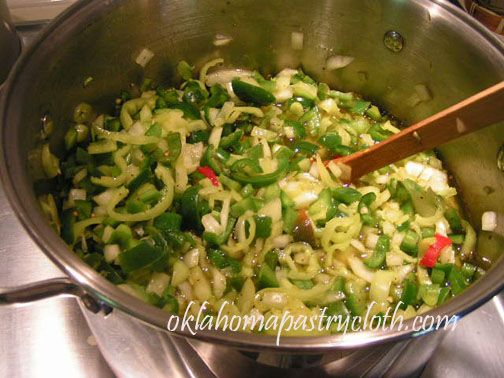
Stir to coat all vegetables and remove pot from burner. Because peppers are more delicate than cucumbers, you do not want to heat them too much like bread and butter pickles. You want the peppers to be more raw and crisp.

Photobucket

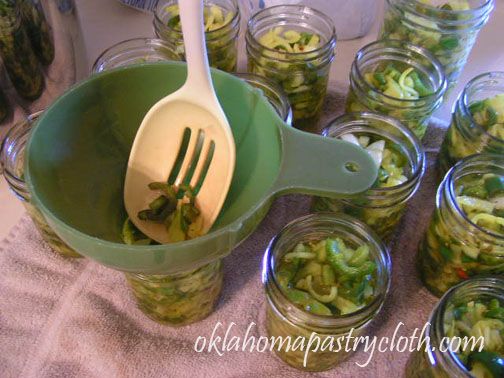
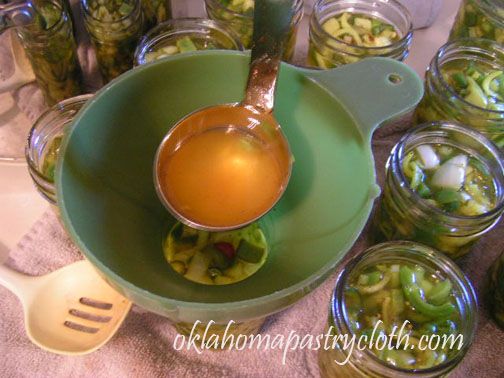
Immediately spoon pepper mix into jars to 1/2 inch from top. Pack in as much of the vegetable mixture as possible. You can add more liquid later.

Photobucket

Add leftover liquid to 1/2″ from top.

Photobucket

Photobucket

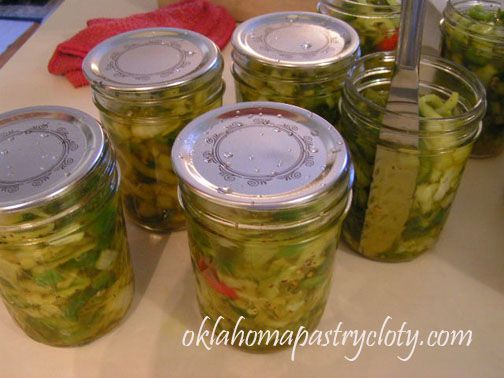
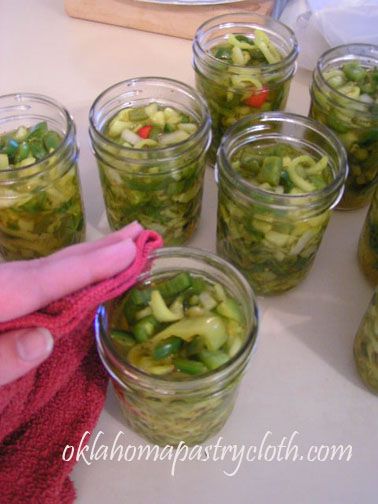
Using a knife, run around the inside perimeter of the jars to release any air bubbles. With a damp cloth, wipe the edges of the jars to remove any sticky residue. Add lids and rings and tighten rings but not too tight.

Photobucket

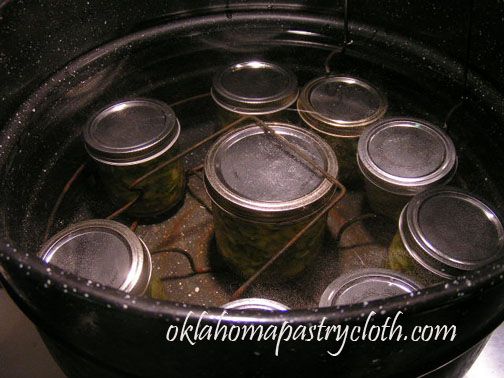
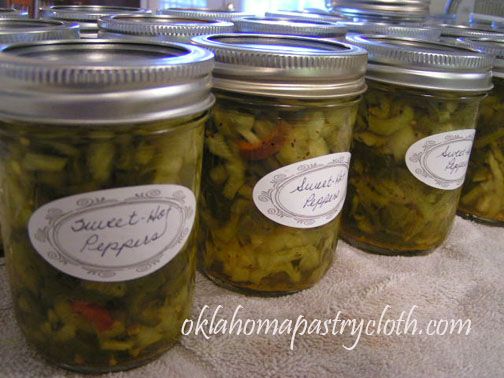
Place jars into waterbath cannner and cover jars with water, 1 inch over the tops of the lids. Bring to a boil and process for 10 minutes and no more. Remove from canner and allow to cool. Wash and label.


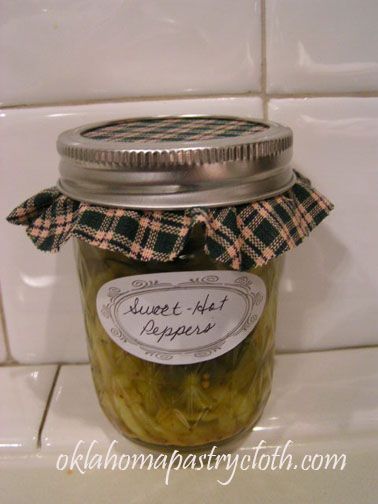
Now you are ready for pepper gifts and a wonderful condiment for your scrambled eggs, sandwiches, pinto beans, soups and anything else you can think of!!

Photobucket

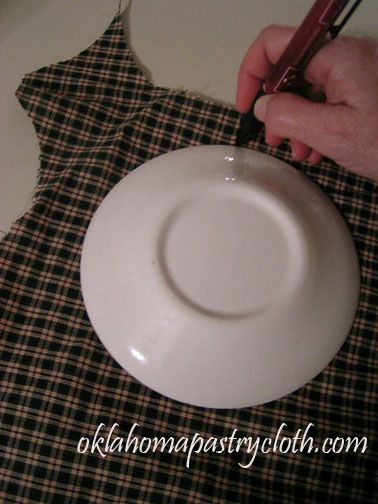
To make your gift jar, use any kind of cotton material and draw a circle using a small saucer as a guide.

Photobucket

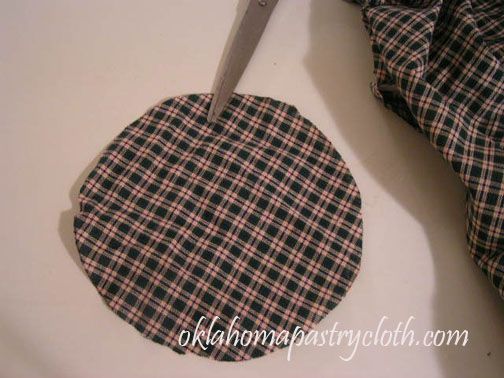
Cut the cloth circle from the fabric

Photobucket

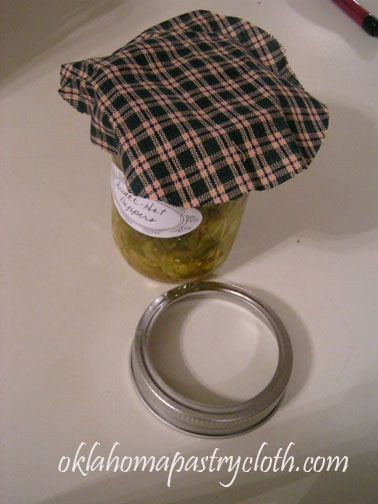
Remove the ring from the jar and place the cloth circle on top. Replace ring and tighten.

Photobucket

There you go!!