 The Ranch, But…..   The beauty of living in Oklahoma is all of the different kinds of foods found across the state. Meals are impacted by the influences of the early pioneer and by the German influence and the Polish influence and the Swedish influence and the Italian influence and the Native American influence and, of course, the Mexican influence. No matter, where you go in the state, depending on the early settlers’ cultural background of the area , the foods are sensational and different. When talking restaurant foods influenced by the Latino culture we have Mexican, Tex/Mex, New Mexico/Mex and American/Mex but “At Home Mex” is a favorite at our home! And since breakfast is our favorite meal, I think that I need to share my own version of Ranch Style Eggs, also known as Huevos Rancheros. They are gooey, cheesy, luscious eggs that will start your day off with a bang or can make you a hit at a potluck brunch with friends. Since our tomatoes are still producing, I use my fresh tomatoes. However, you can use canned tomatoes and they are just as good. The recipe makes three eggs but you can double or triple the recipe into a larger casserole dish and do just fine. Ingredients:
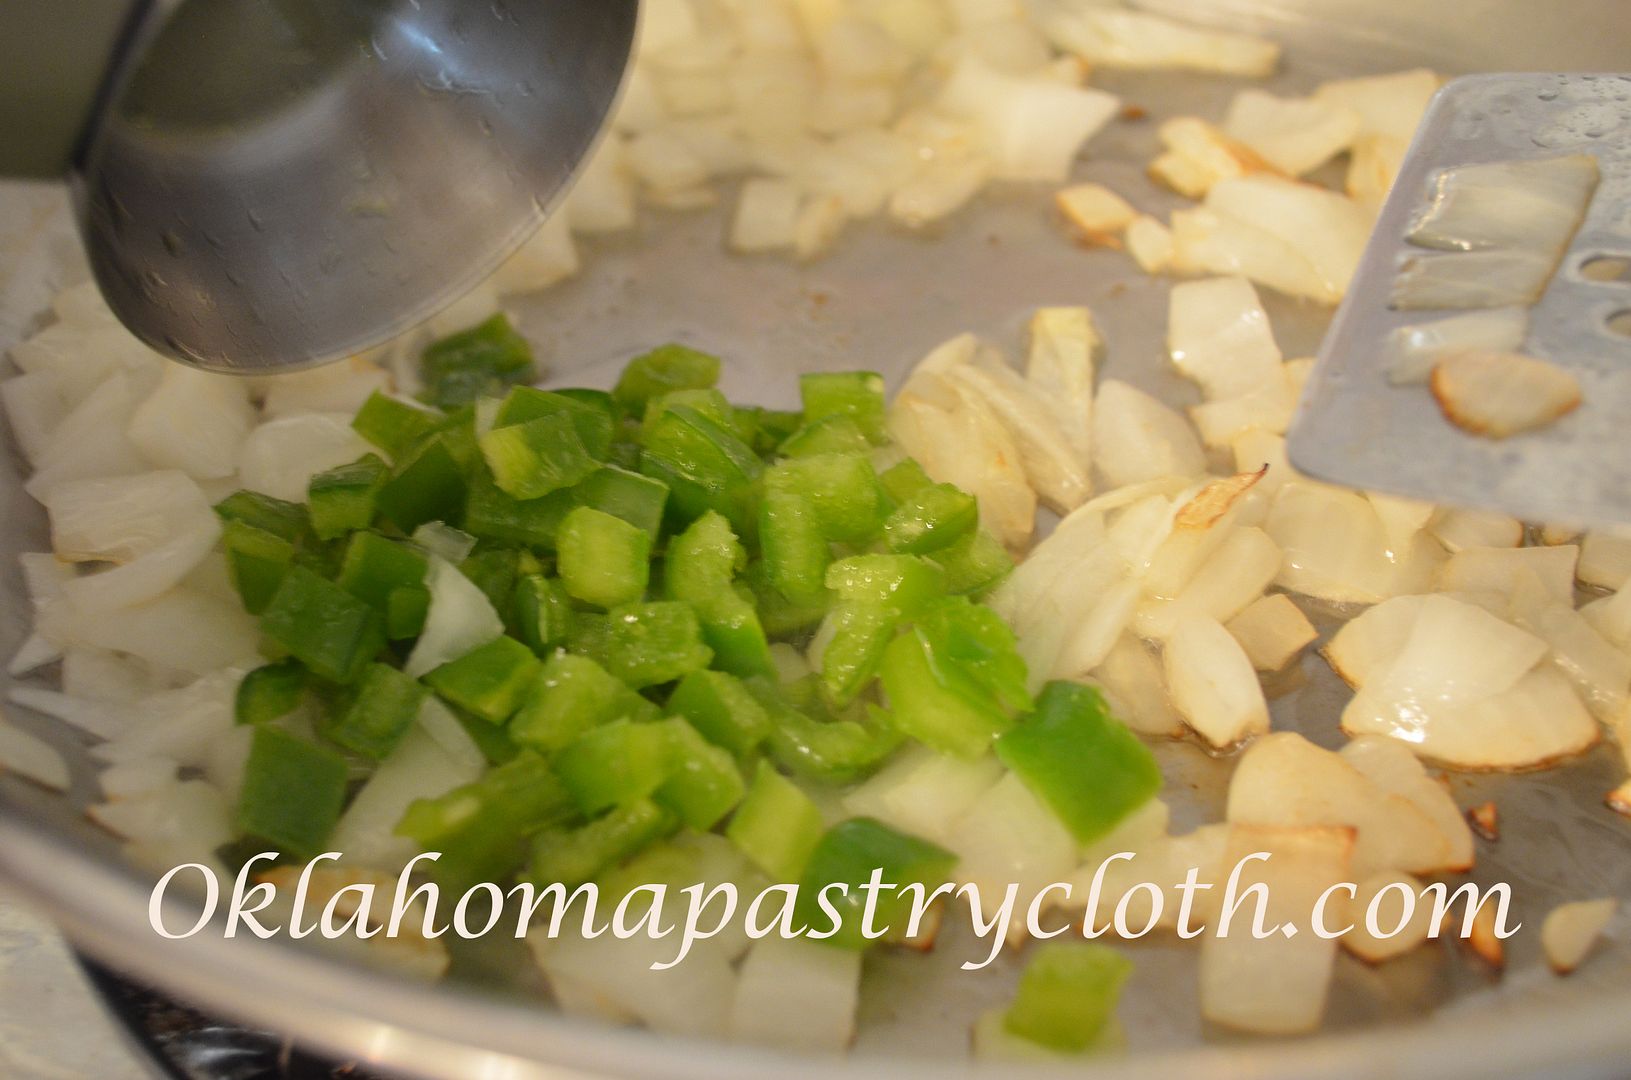 Saute onions in 1 tbsp olive oil with 1 tbsp melted butter until onions are just clear. Add green peppers and saute. 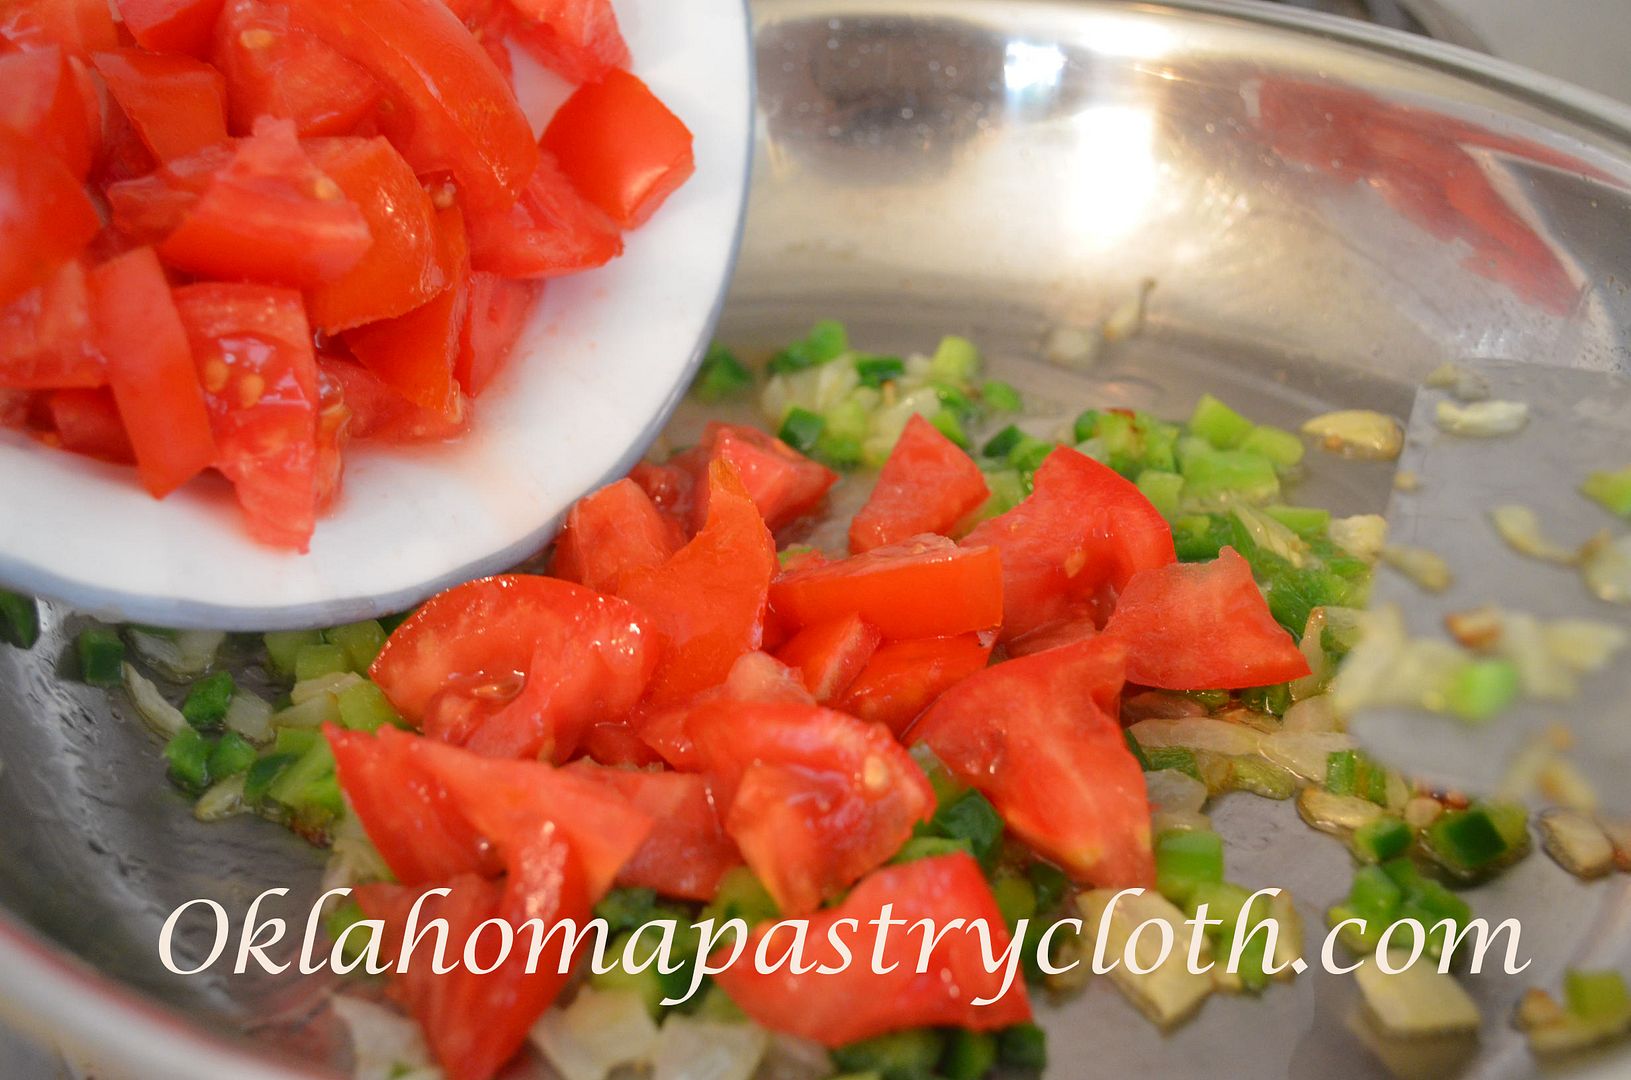 Add either diced fresh tomatoes  or add canned tomatoes. Stir and simmer. 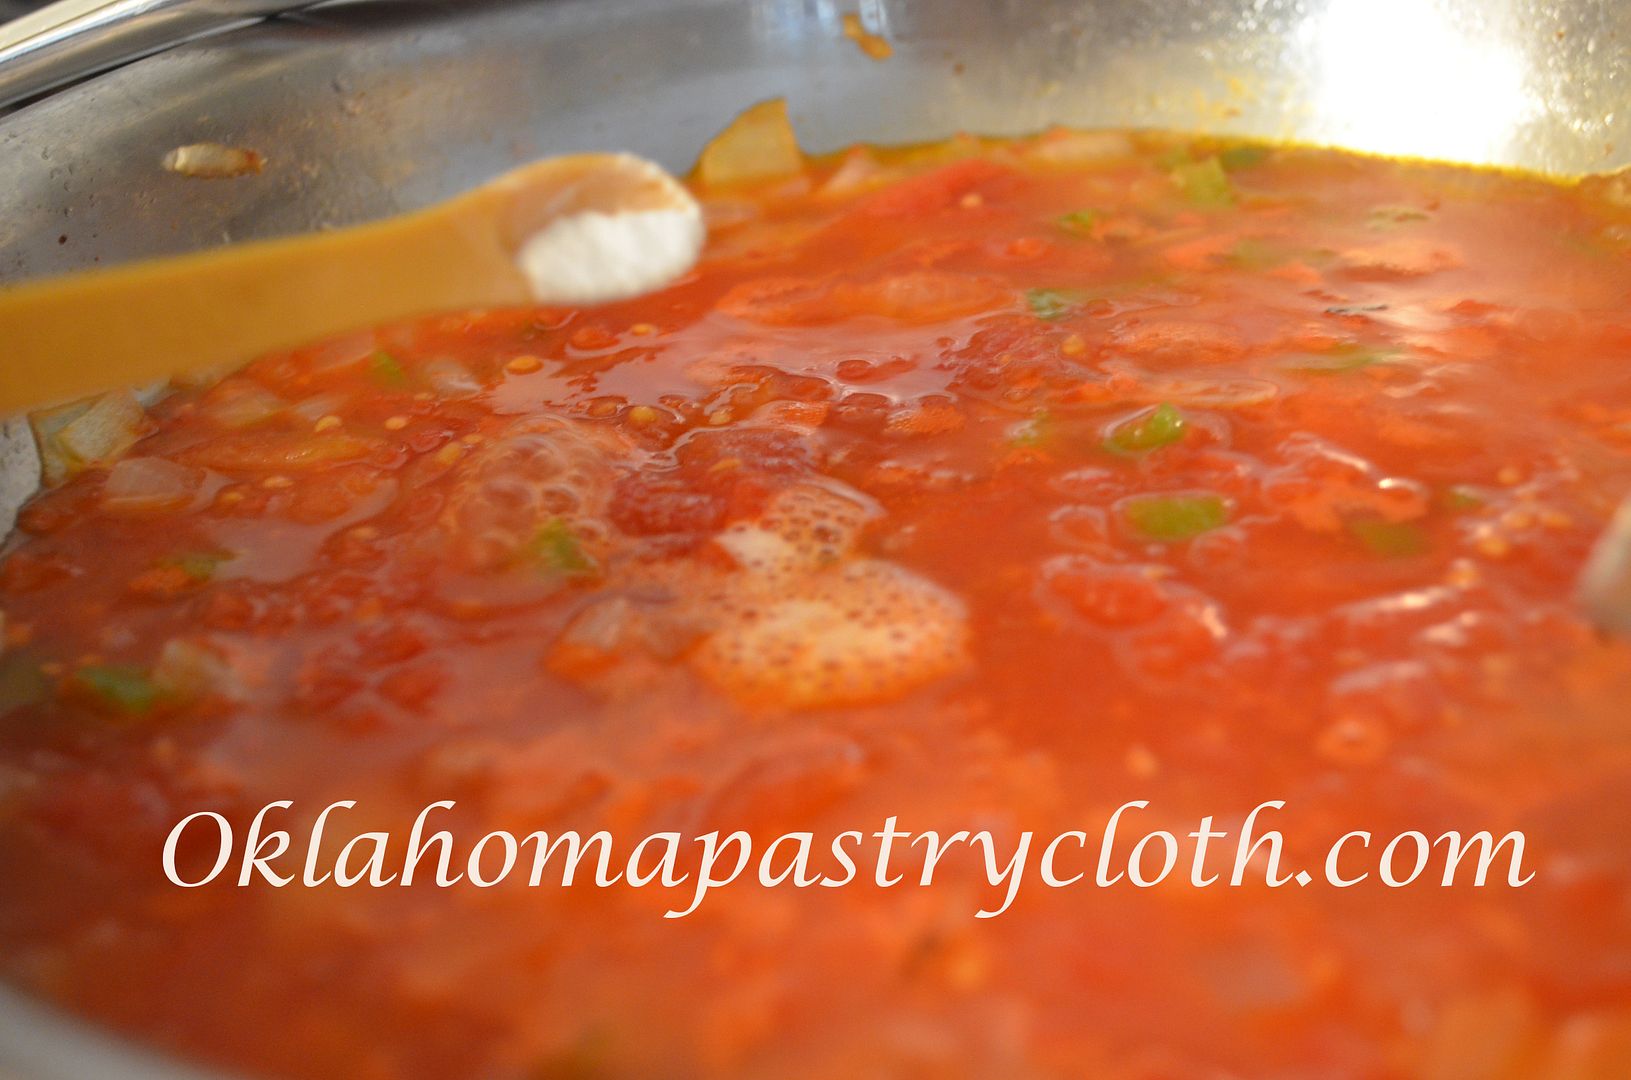 Add soda and stir. A foam will form and just stir it down. The purpose of the soda is to cut the acid and any bitterness of the tomatoes. Add all of the spices and stir. Cook down until thick – about 20 minutes. 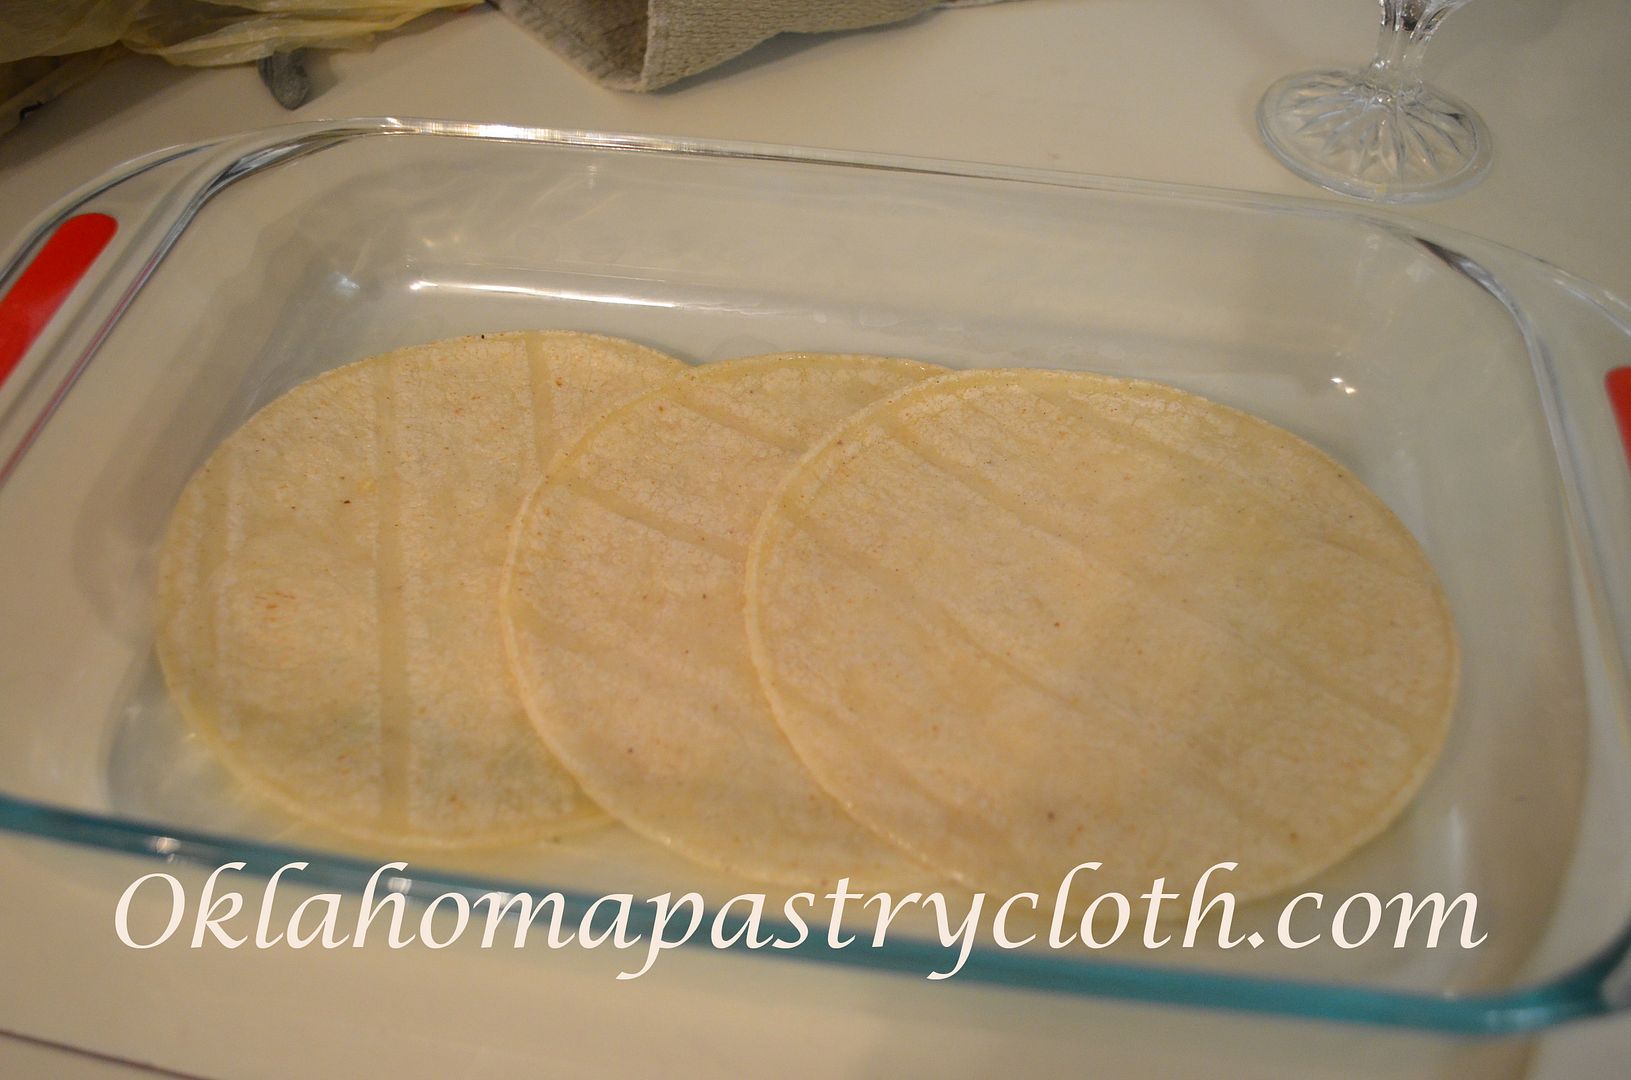 While the tomatoes are simmering, brush tortillas on both sides with olive oil and place into a casserole dish, overlapping to fit. 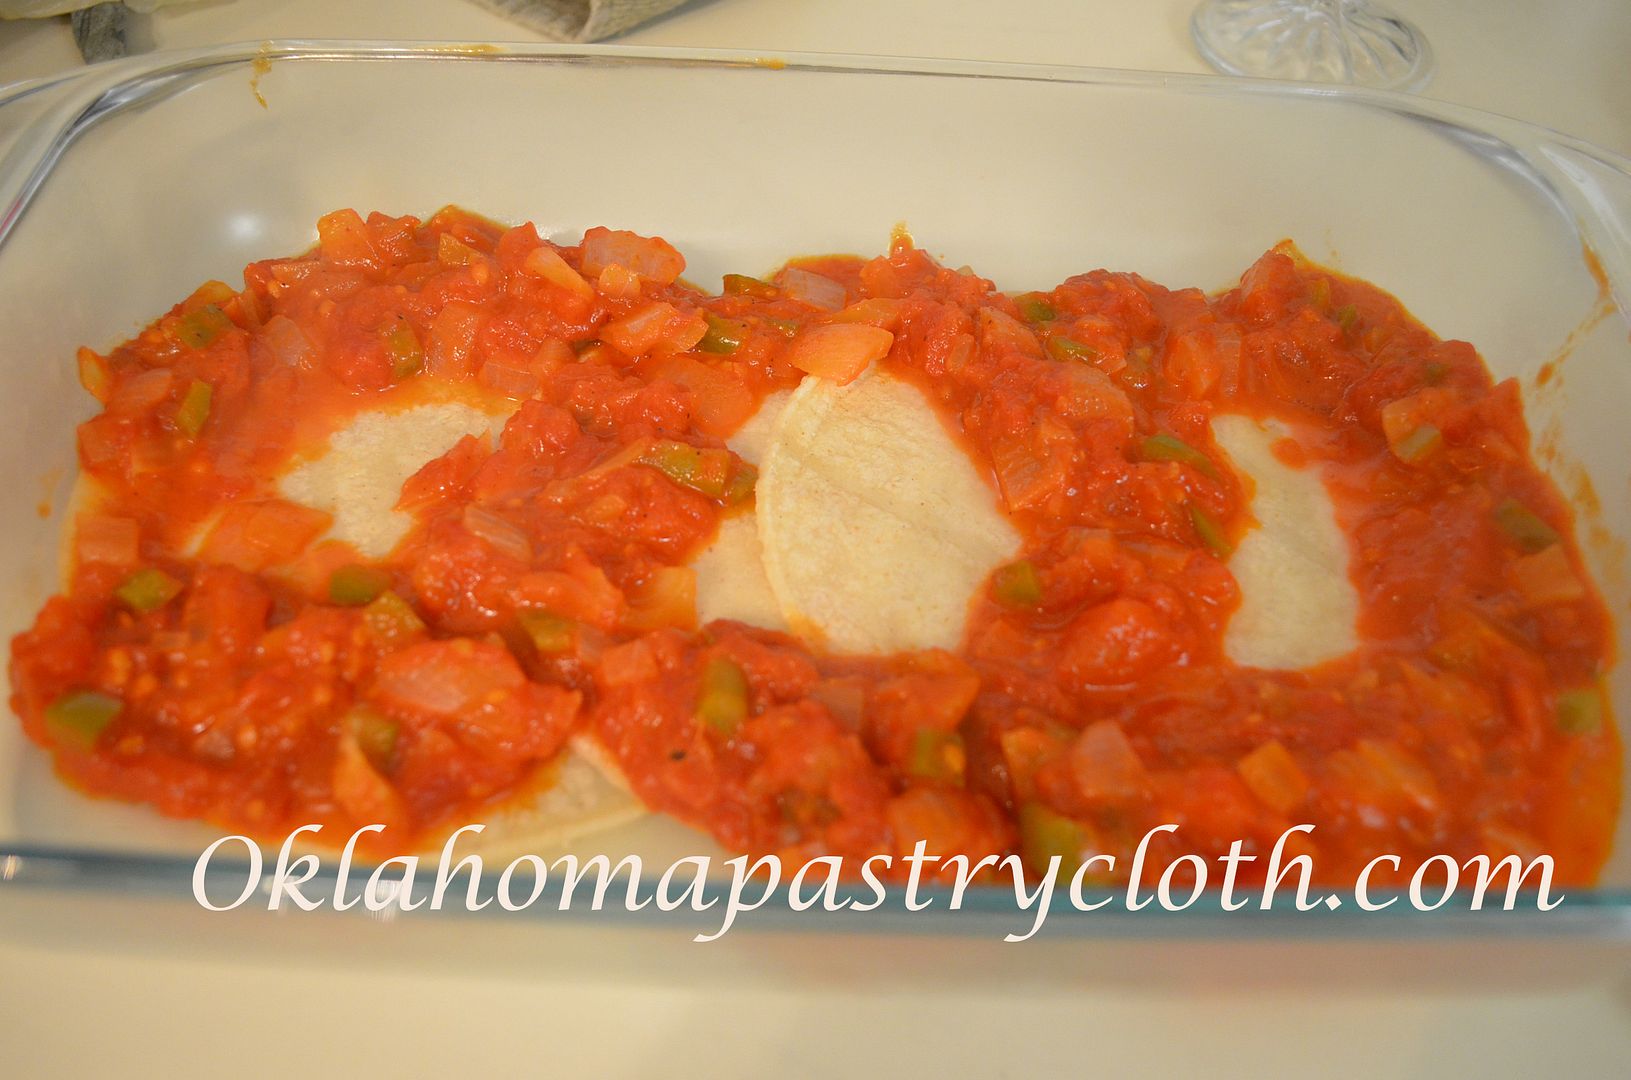 Evenly distribute the tomato mixture around the tortillas, leaving a well in the center of each tortilla. Make sure that the tomatoes form a circular barrier for the eggs that you will be adding. 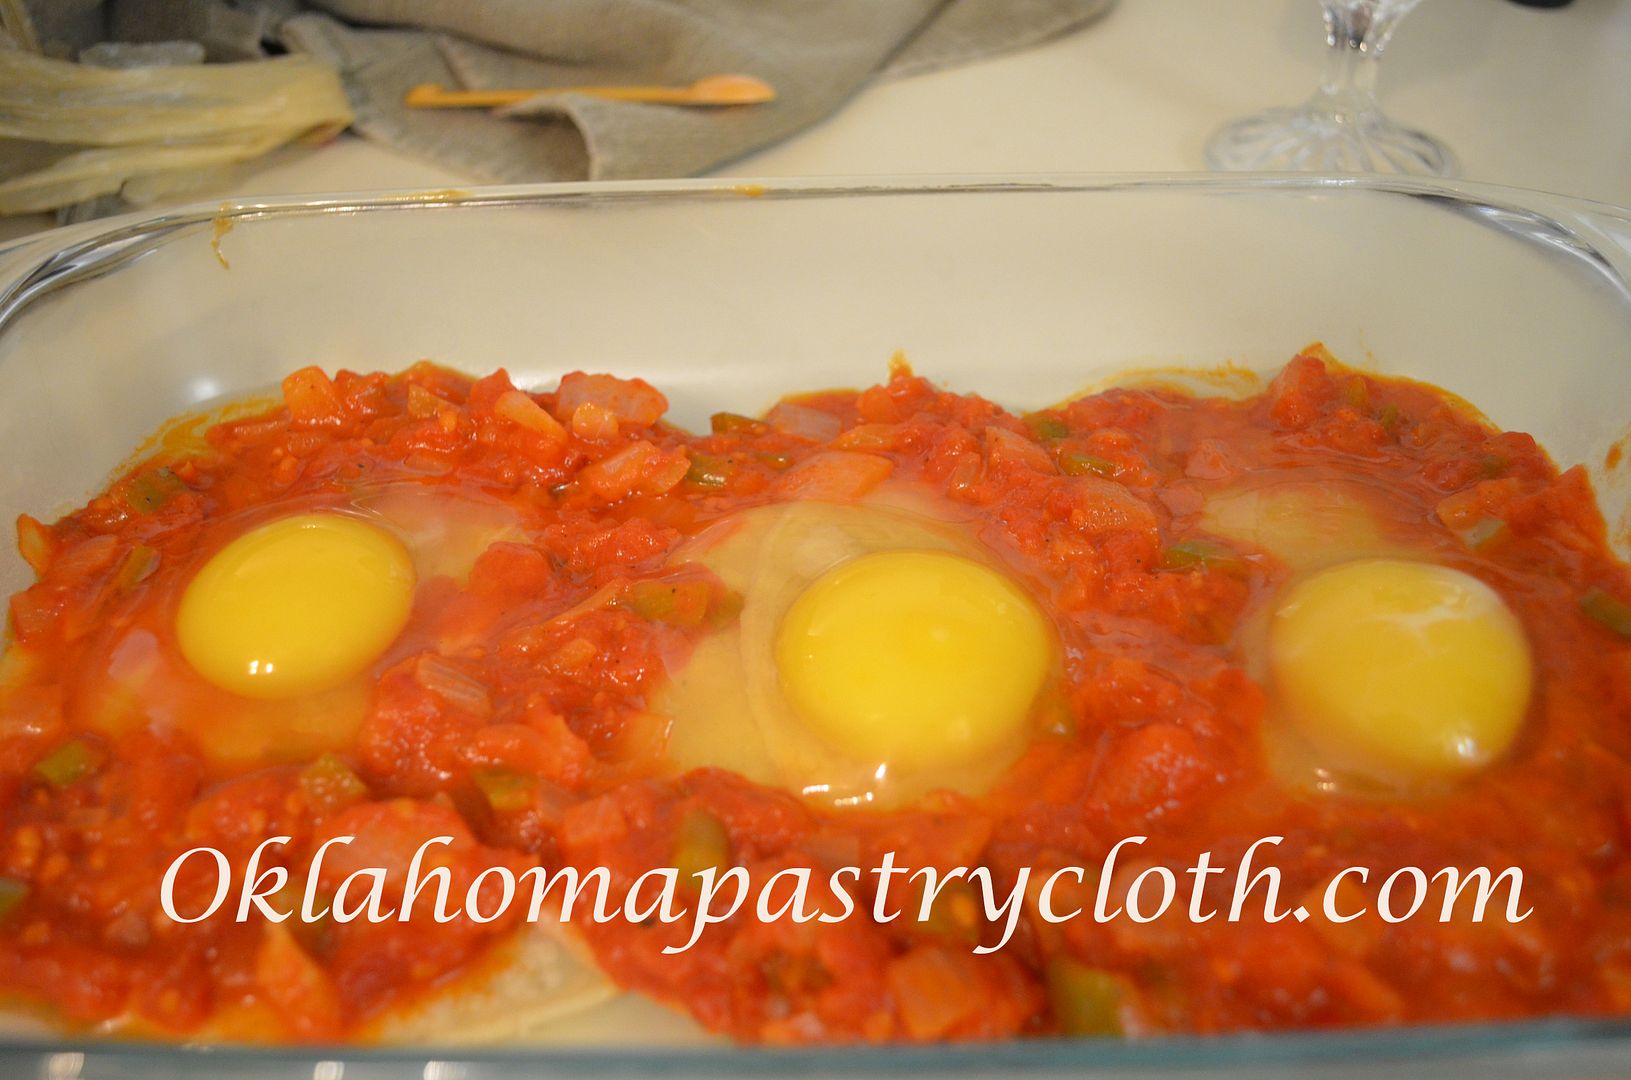 Break eggs, one at a time and gently into the center of each tomato well. 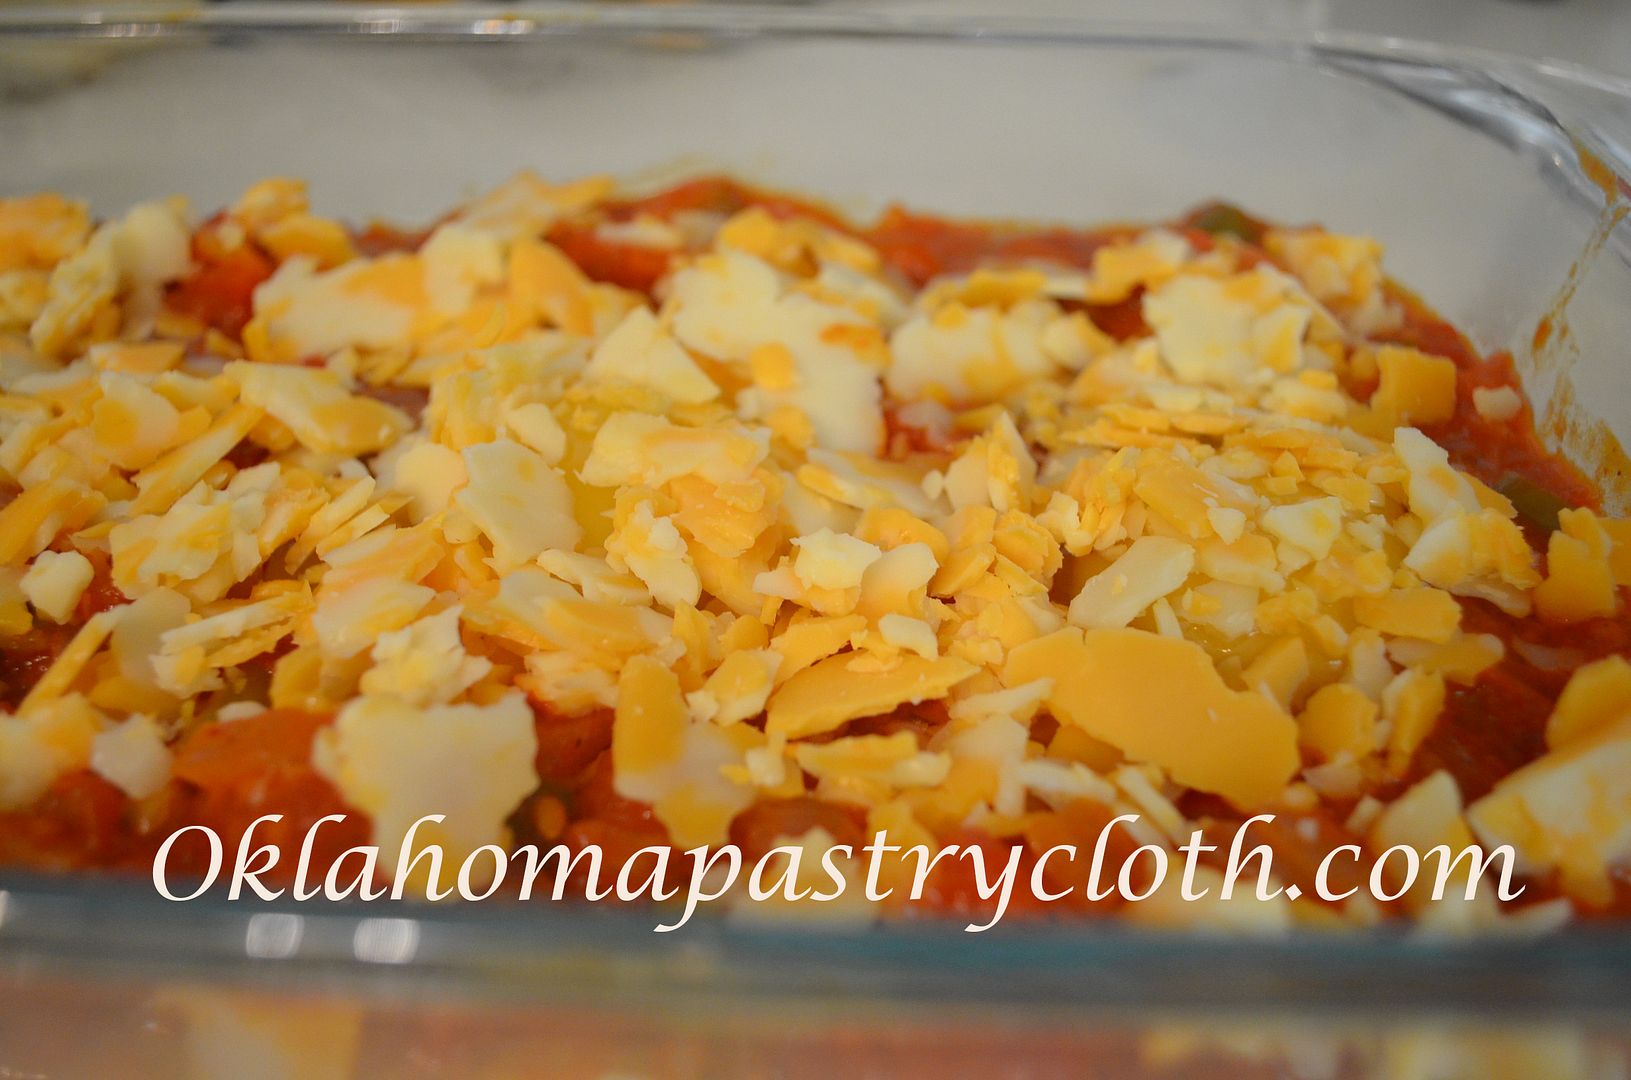 Cover the eggs and tomatoes with cheese. I am using crumbled cheese here, but you can use sliced or shredded cheese as well. Bake in a 400º oven for 10 to 20 minutes, depending on how firm you like your eggs.  Serve hot with sausage, bacon or ham.  |
|
| |
|
Oklahoma Pastry Cloth™ Company on Facebook
|
|
 |
Archive for the ‘Breakfast’ Category
Ranch Style Eggs
Monday, August 14th, 2017
Ham and Egg Tostadas
Tuesday, July 21st, 2015
 Last week, I shared with you the fact that, though one can think that one has all things under control, the reality usually rears its ugly head and one finds out that one has NOTHING under control! My dad used to tell about a professor at the University of Kentucky, back in the 1950s, who used to quip that as soon as you think you have control over anything, just take a big rock, hold it over your foot, drop it and then WILL it to stop. That will cure you of that illusion. BUT….I also have been taught to make lemonade out of lemons, or in this case, ham and egg tostadas out of ham that I didn’t get to serve! We love these breakfast yummies and the ham that I had to can after the disaster at our son’s rehearsal dinner has come in really handy! They are wonderful for a brunch as well and look so pretty on the plate. 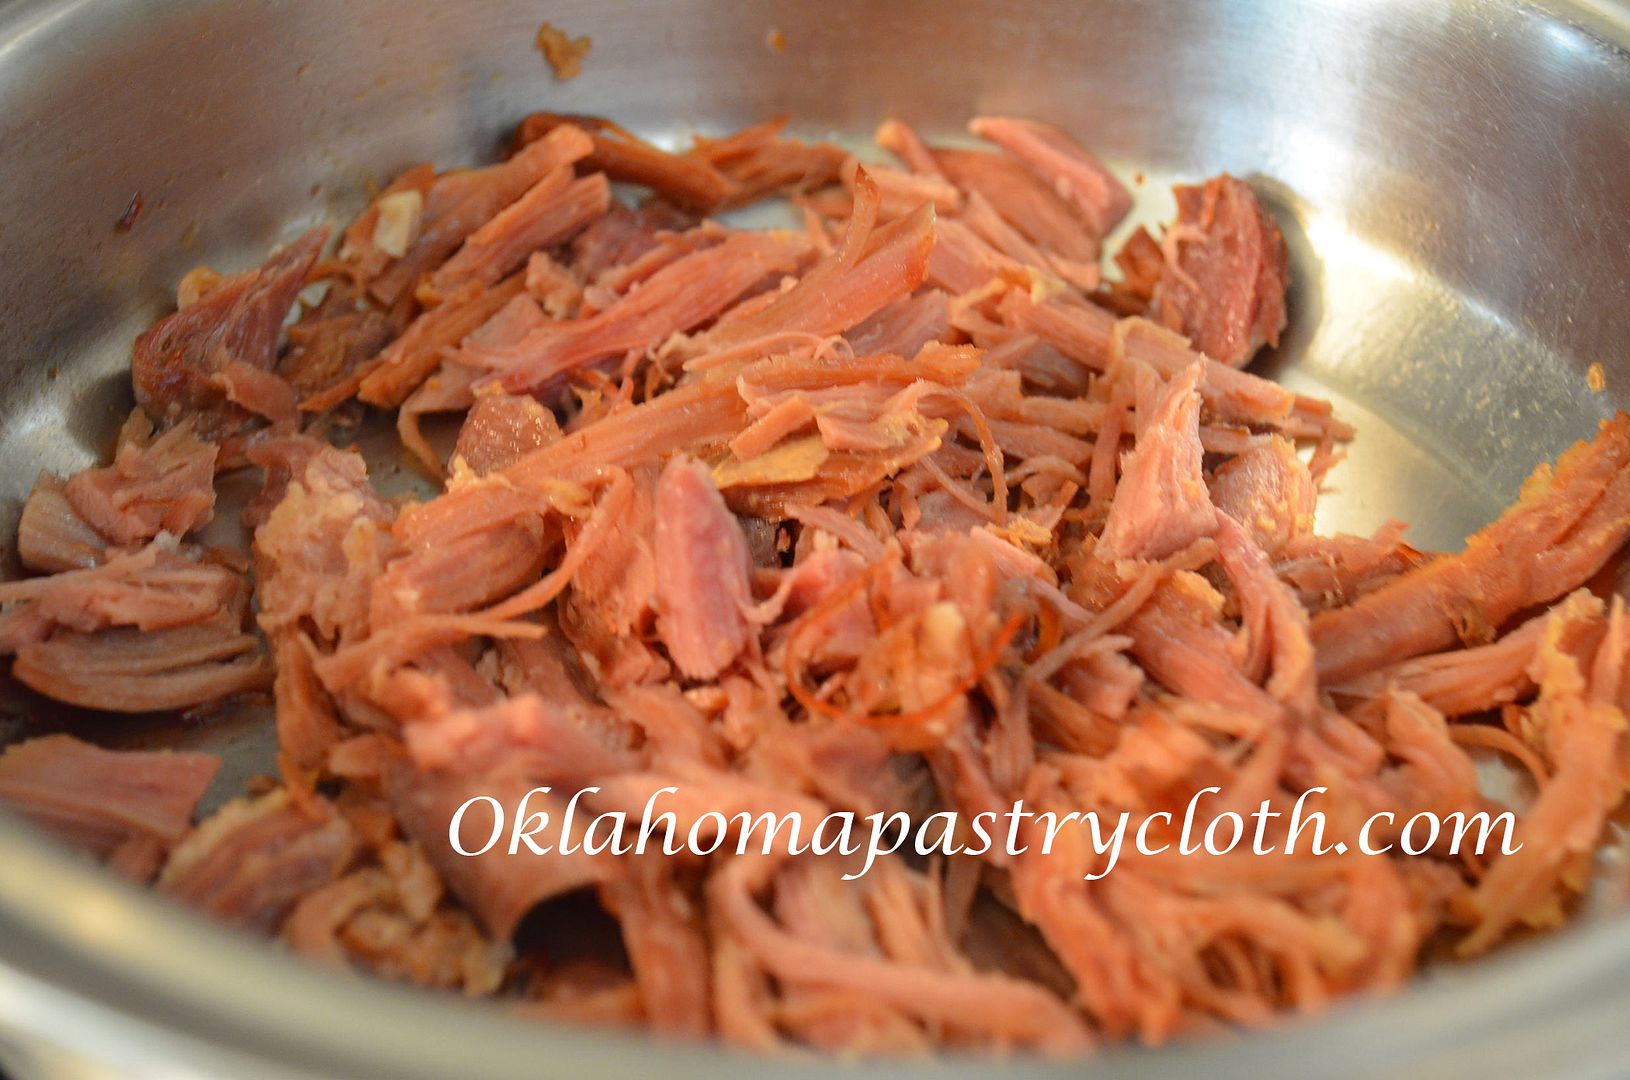 Home canned ham is wonderful for this breakfast treat, but you can used any kind of ham you like. It just needs to be shredded or chopped. Toss 1/2 cup of ham, per person, into a hot skillet that has been wiped or sprayed with a little olive oil and toss until thoroughly heated. Remove ham to a bowl or plate and place in a slightly warmed oven.  Ingredients: 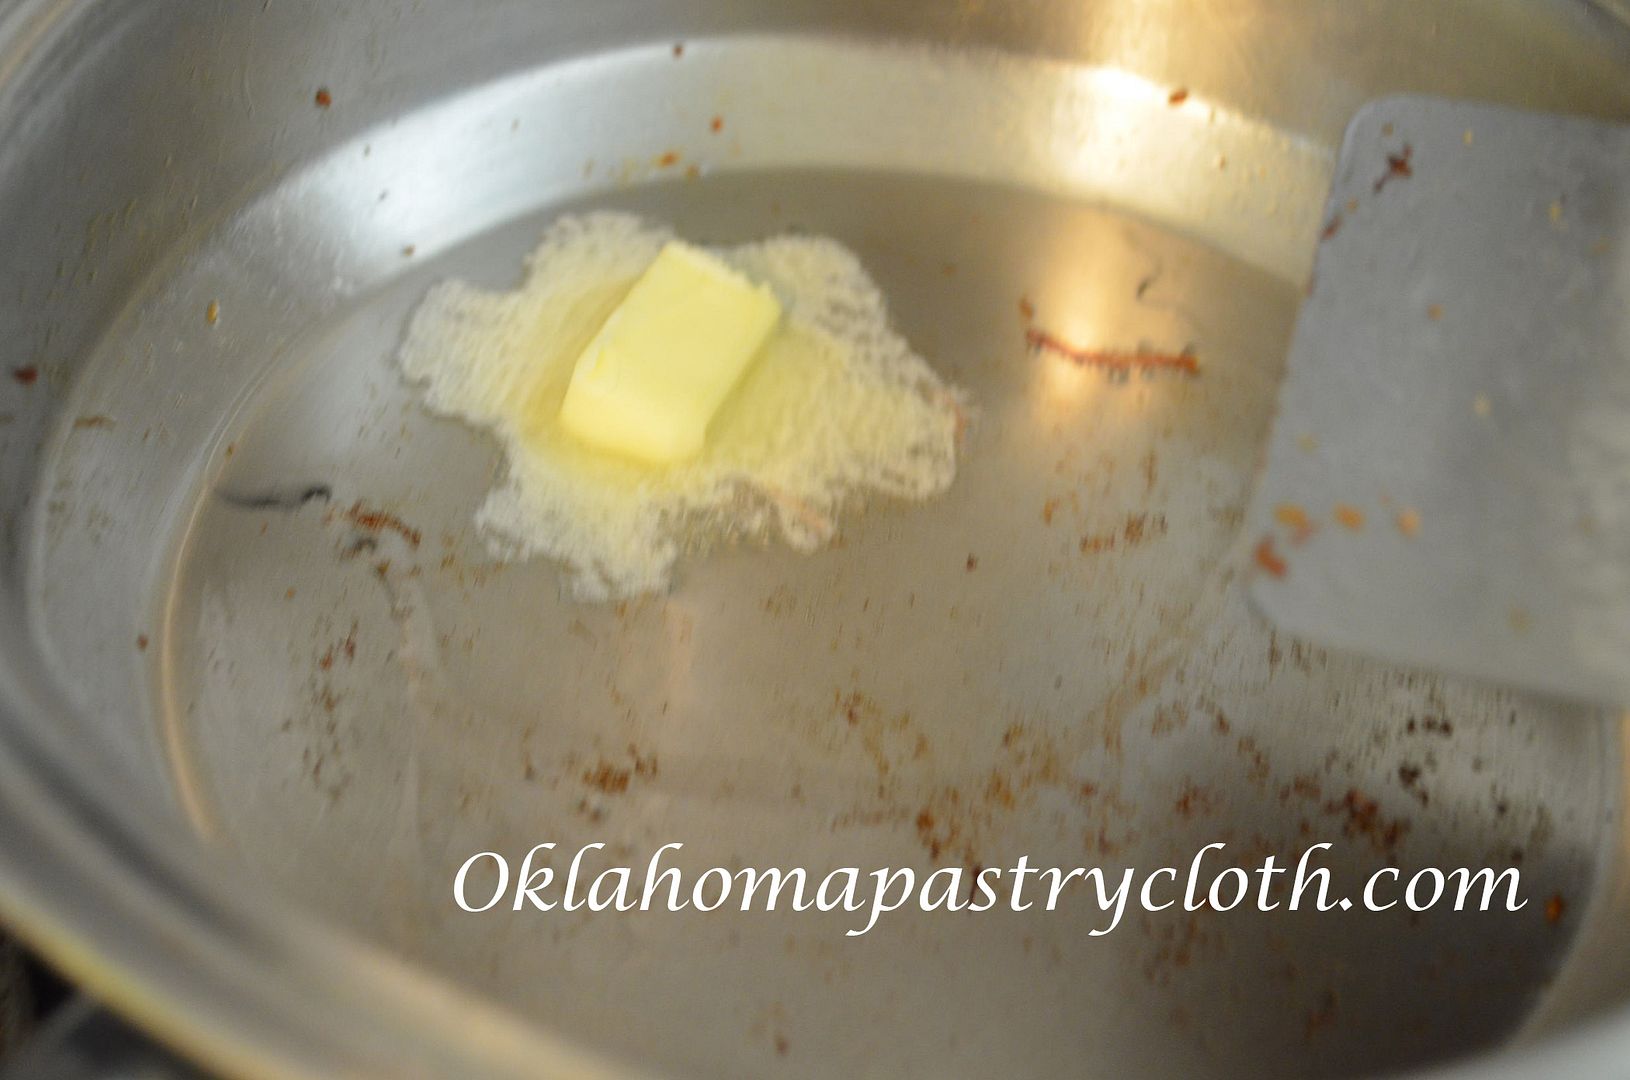 Add a tbsp. of butter and a tbsp. of olive oil to the skillet and heat until butter is melted. 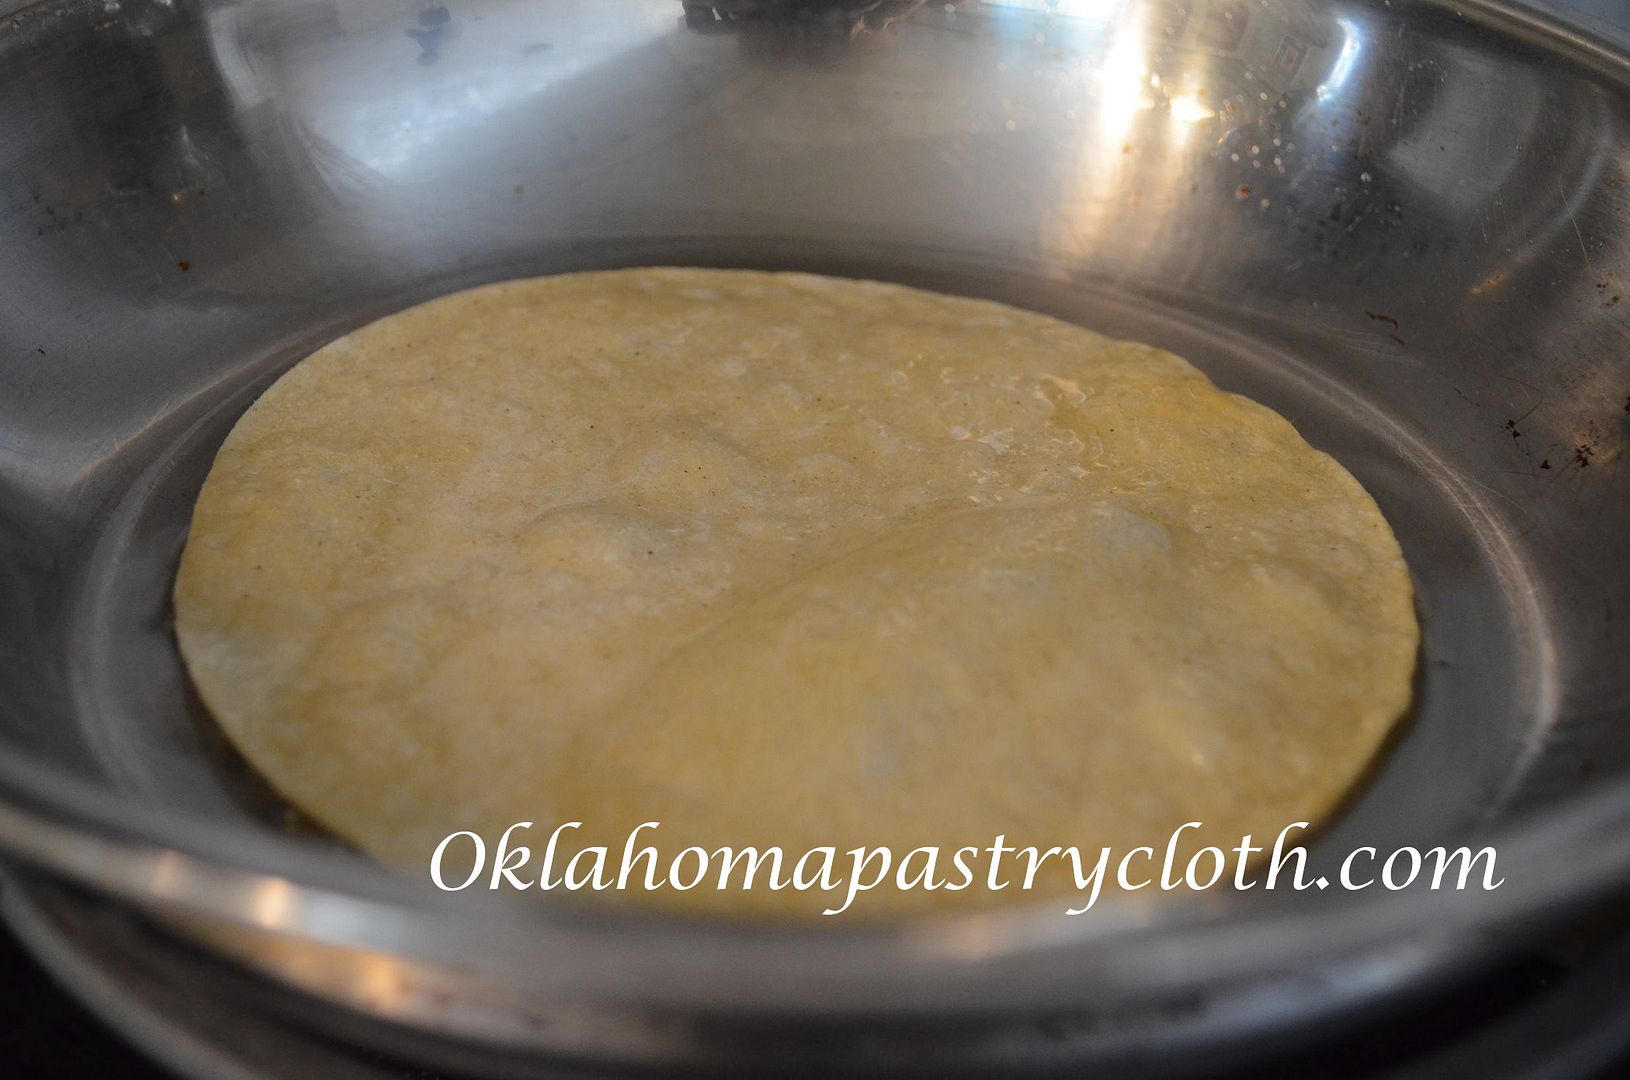 Prepare one corn tortilla per person and place into hot oil for about 30 seconds. Quickly flip and allow to cook until puffy places start appearing. Pick up with tongs and transfer to a paper towel and pat to remove excess oil. Repeat until all tortillas are cooked. You want the tortillas to be tender, not crispy. Add more oil and butter as needed. Stack on a plate and place into the warmed oven as well. 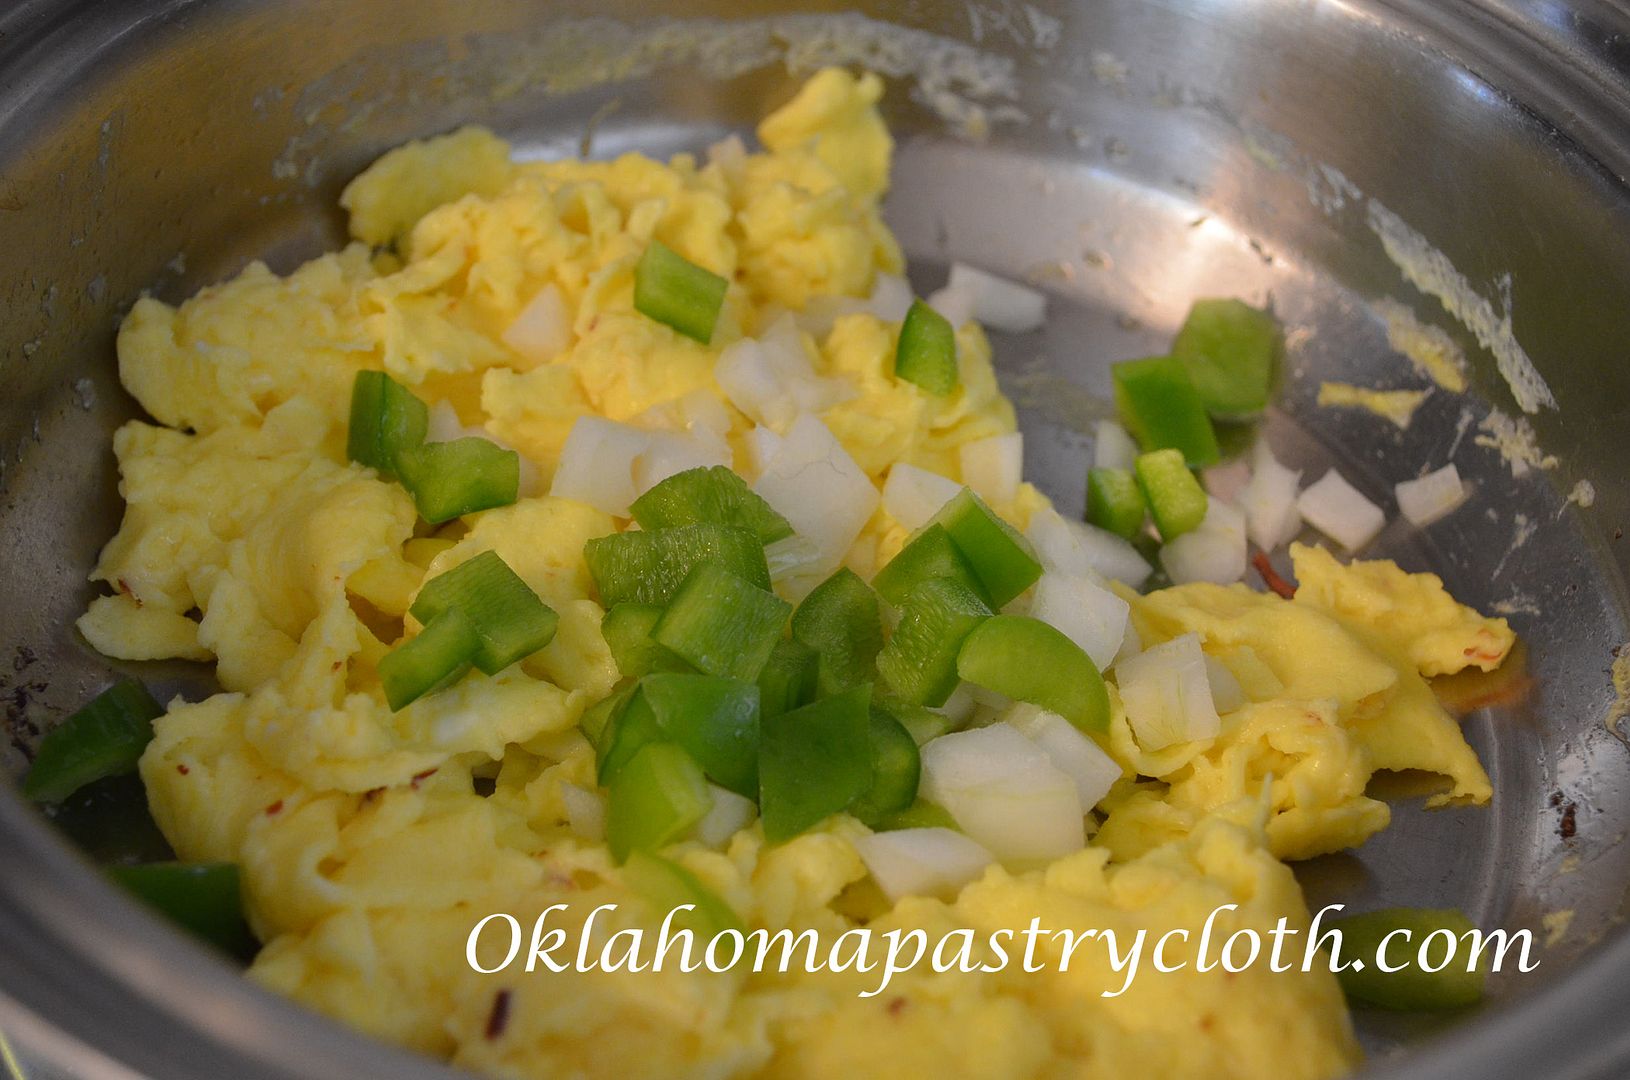 In a bowl, add one to two eggs per person with 1 tbsp. of milk per egg. Add a dash of salt and pepper and whisk until well-scrambled. In the skillet that is still hot and has the remaining oil and butter in it, add eggs and stir to cook. When about half-cooked, add onions and green peppers. Continue stirring and tossing to scramble the eggs.   On each plate, place one tortilla in the center and top with 1/2 cup of ham. Add eggs, onions and green peppers on top of the ham. Sprinkle shredded cheddar or Monterey jack cheese over the surface of the eggs. If the cheese doesn’t melt right away, microwave for a few seconds to melt it. Add freshly chopped tomatoes and picante sauce. Garnish with fresh cilantro and sour cream or guacamole if desired.  |
|
| |
|
Oklahoma Pastry Cloth™ Company on Facebook
|
|
 |
|
|
|
I Am Woman!!
Thursday, February 7th, 2013
 Don’t forget to leave a comment to enter the Valentine’s Day Giveaway! Winner will be chosen on Monday, Feb. 11, for a basket of Prairie Blessings Soaps, handmade right here at the Oklahoma Pastry Cloth™ digs. 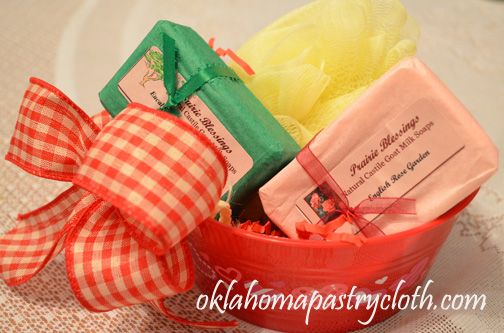 It was time to go to the chiropractor – a part of my week to which I aways look forward. I feel soooo good after a visit to Dr. Ryan and so it is no effort to make the long drive to his office. But I got into my car – my relatively new car – and turned on the key to absolutely no sound at all. No click. No whir. No nothing. The battery was dead. Why was the battery dead? Because there just has been no battery invented, to my knowledge, that stays charged when the dumb driver leaves the key turned to auxillary for a couple of days. Of course, Mr. Fix-It wasn’t here. In fact, he wasn’t even in the near city. He was two hours away. I called him on his cell phone and he asked what all men ask: “Why is the battery dead?” And I actually thought about spinning a yarn of an alien spaceship that landed in the front yard and sent out weird electronic waves that killed every battery in the area…”I KNOW dear. That’s just crazy isn’t it? I wouldn’t have believed it if I hadn’t seen it with my own eyes!!” But I didn’t. I told him the truth and took my lumps of typical male explanations on how I must be more careful and observant about taking the key out of the ignition. Which I should. We discussed my options, including an attempt, on my part, to roll the car onto the driveway next to my son-in-law’s sporty Monte Carlo that is visiting us on vacation due to a blown head gasket (I’m pretty sure that’s worse than a dead battery) – problem being, that the Monte Carlo’s hood is the equivalent of a slab of granite and can only be lifted by a pair of Olympic weightlifting champions. My fate was sealed to pedestrianism, 40 miles from the doctor’s office and 25 miles from any semblance of civilization. My friend pointed out that I could call the insurance company and make use of the ‘roadside assistance plan’ for which we pay. She was so logical in her reasoning, “It’s what you pay good money for!” However, I was experiencing a twinge of that sin that has brought down complete societies in one, fell swoop…..Pride. I did not want to have to drag some poor schlub all the way out to the boonies for a 5 minute job required by a stupid female who doesn’t pay attention. Now, there is nothing more inventive or creative than a woman in trouble. If the government would just put a group of women in a room and tell them that the national debt will cause chocolate to become nonexistent by the end of the year, within two weeks, those women would have the debt paid off, the credit card cut up and Washington, D.C. employees eating mashed potato sandwiches from sack lunches. So when I discovered a car battery sitting on a work bench, my little brain began to form a plan. While the Monte Carlo hood is granite, a car battery is a close second in weight. Those suckers are heavy….and dirty…and oily. I donned a full apron to protect my clothes, which added a floral accent to my situation, and tried to lift the square box. It did not budge. I quickly figured out that one must emit that same “arrrhhhh” that weightlifters’ grunt at the point of assuming full impact of a heavy object in order to make it move. I did so, and lifted the battery into my arms, struggling on buckling legs to transport it in front of my little Nissan Versa. Realizing that I could not hold the battery and bend over to place it on the floor, without dropping it and sending acid all over me and my pretty, floral apron, I looked for a “stand” on which to place it. Fortunately, there was a stack of boxes of canning jars and so this acted as my table on which to place the battery. Next, came the job of opening the hood and as I had never done that to this particular car, I had to get a flashlight and then use the engineering skills that I don’t have, to figure out how-in-the-world the latch worked. Of course, it couldn’t be just a simple latch. No. It had to be one that had multiple levers that acted in concert with the movement of the main clamp, which had to be pressed in a direction that made absolutely no sense. Finally, getting the hood up, I couldn’t find that little stick thingy that holds the hood in place. I searched everywhere, with the blood draining out of my arms while I held the hood above my head to keep it from slamming down on my body for someone to discover the hideous picture of a car that had eaten its owner. That engineering skill, that I don’t have, whispered to me to find the hole in the hood and then trace that directly below to the frame where the stick had to be in order to fit into the hole. I searched and searched on the hood for that recepticle and probably looked directly at the little stick thingy, clamped across the hood, at least a dozen times. It finally screamed at me, “I’m right here, stupid!!!” and I managed to support the hood. Then came the scariest part: Electricity. I had the jumper cables ready, and I knew that black went to black and red to red and that black is negative and red is positive which is soooo confusing since in the business world, black is positive and red is negative (just try to run a bank account in the red and convince your bank that’s a positive thing – well – yeah – the government does that). I carefully placed the clamps on the posts of the two batteries, gritting my teeth in expectation that I was about to arc weld the frame of my car to every steel component of the motor. Surprisingly, there wasn’t even a spark and when I turned the key in the ignition, the car started!!! I did my best imitation of a “goal post dance” and wanted to growl like Tool Time Tim. Yessss! I might as well have invented the automobile with the sense of achievement I felt. And speaking of a sense of achievement. I discovered something rather wonderful this week. Most of you are probably not as ancient as I, and probably don’t remember Dannon’s Fruit On The Bottom Yogurt. That was a staple for me throughout my college years. I would go to the student union cafeteria and load up on cups of Dannon Apricot and keep that in my little frig for late nights at the Art Barn or studying for a test. But Dannon Fruit In the Bottom Yogurt went away. There was something about that yogurt with the tart chunks of apricot and the lumps of yogurt that burst in your mouth between smooth and creamy spoonfuls. Anyway, the other day, in making yogurt, a brilliant idea hit me. I have tons of apricot jam made from the bounty of Sir Flying Ace’s apricot tree. I put a couple of tablespoons of that jam into the bottom of my yogurt cups. Then, in my pan of warmed milk, I added vanilla and stevia to flavor the milk and then did my usual adding a little warmed milk to the starter, pouring that mixture back into the milk. I poured the milk and starter mixture over the jam into the cups and placed the cups in my yogurt maker. Oh my gosh!!!! When cooled in the frig and then gently mixed to bring the fruit up from the bottom, that yogurt tasted exactly like that which I ate in college. It is wonderful. I have now tried it with homemade strawberry and blueberry jams as well. 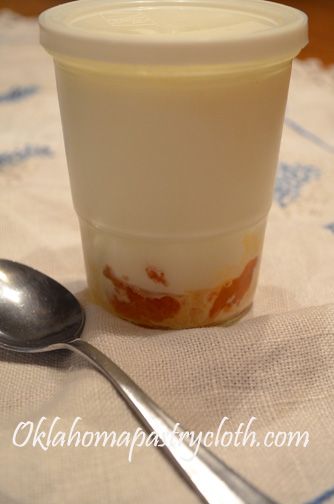 But to beat everything, I was out of buttermilk the other day and on a whim, decided to use that yogurt instead, for a batch of pancakes for Mr. Fix-It. I sustituted exactly the same amount of the fruit yogurt for the amount of buttermilk I would have used. Mr. Fix-It has said that he wants me to make pancakes that way from now on. They were amazing. So here is my recipe. I am sure that you can use just plain yogurt the same way, but that fruit really made some wonderful flapjacks!! One note: The yogurt must be live culture. The blended yogurts and those with additives won’t work. Ingredients: 1 large egg 1 1/4 cup yogurt 1/2 tsp soda 1 1/4 cups sifted flour 1/2 tsp vanilla 2 tbsp melted butter 1 tsp baking powder 1/2 tsp salt chopped pecans (optional) Printable Recipe Sift together flour, baking powder and salt and set aside. In a mixing bowl with a whisk, beat together egg and yogurt until smooth. Add baking soda and mix. Add flour mixture and stir until smooth. Add vanilla and butter. If batter is too thick, add enough water to give it the consistency of hot pudding.  Pour batter onto a hot, well-oiled griddle, heating to around 350º. Sprinkle with chopped pecans. Cook until brown and turn to cook the other side. 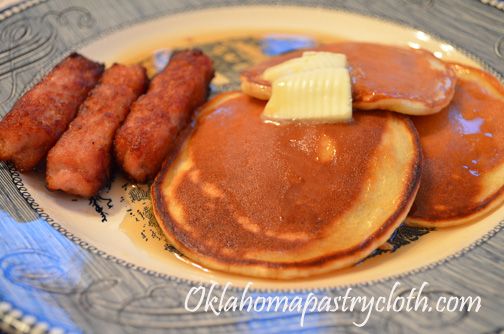 Serve with butter and syrup. Good eatin’!!!  |
|
| |
|
Oklahoma Pastry Cloth™ Company on Facebook
|
|
 |
|
|
|
Cheesy Hashbrown Bake
Friday, August 26th, 2011
|
We all know why they call it comfort food. It’s because once you’ve eaten it, you have to unbutton your pants to get comfortable!! We southerners seem to think we’ve cornered the market on that kind of vittles and southern cooking has become synonymous with comfort. Southern comfort is more than just the name on a bottle of alcoholic spirits! Unfortunately, as Paula Deen has documented, southern cooking can be a little heavy on the fat and sugar and gargantuan on the portions. I have learned to cook with the same flavors, just not quite so much fat, and my portions are drastically cut. “Moderation in all things!”I say. Having to unbutton those pants is not necessarily a good thing. One of my favorite things for breakfast or as a side, is hasbrowns. Cheesy hashbrown casserole is even better than plain ‘taters. But so many of the casseroles have as much as a stick of butter and then pure cream – you know – the works. In order to satisfy my craving for these spuds laced with cheese, I’ve developed my own way to get the flavor without all the calories. Now, I will say, there IS a difference. You can’t cut out that much butter and cream and still have the same thing. However, this recipe makes me happy and that’s all that counts. Right? It’s all about me -and you too – because you’ll like, I’m sure.
 I use new potatoes from the garden and shred them in my food processor. Regular Idaho potatoes are fine too, or you can use frozen hash browns.  If you are shredding your own, put the hashbrowns in a bowl and wash them in cold water until the water runs clear. Pat them dry with a towel and either weigh or measure them.  In a large bowl, place potatoes, cheese and onions and toss until well mixed  In a separate bowl pour chicken broth…  add two tablespoons of the butter, melted  Whisk in the garlic powder  And the salt  And the milk and pepper to taste.  Pour the liquid mixture into the bowl of potatoes, onions and cheese. Toss until all of the dry ingredients are coated.  In a 2 quart cast iron skillet or casserole dish, melt the remaining tablespoon of butter. spread evenly over the bottom surface of the pan.  Pour the potato mixture into the pan…  and lightly pat down the surface.  Bake at 350º covered for 20 minutes. Remove cover and bake 25 to 35 minutes until potatoes are tender.  Serve hot for breakfast or dinner! |
|
|
Oklahoma Pastry Cloth™ Company on Facebook
|
|
 |
|
|
Honey Walnut Cream Cheese
Wednesday, August 17th, 2011
|
I have had numerous emails and comments from yesterday, regarding my cruel nature which is evidently exhibited in my posting pictures of the Cinnamon Crunch Bagels I attempted. Any emotional pain was purely unintentional on my part and if you drowned from over-salivation, I can’t take responsibility. Unfortunately, you are responsible for controlling your own saliva glands. However, as friend Kathy pointed out to me yesterday, Cinnamon Crunch Bagels, as appealing as they appear, are useless without some kind of Honey Walnut Cream Cheese with which to slather them in sweet and creamy goodness. Not one to be scared of a challenge, I pulled out my trusty food processor, ripped open a package of cream cheese, and determined to make my own version of this spread. The following is a step-by-step tutorial of the results and trust me, if you think you had problems with the photos of the bagels, you may not want to proceed further for fear of losing all sense of propriety. However, if it makes you feel any better, my sense went out the window a long time back and I drool on command.  Put an 8 oz package of cream cheese into the food processor. I used fat free to make me feel like I am being health-concious. If you will notice, I am using the blade attachment. This is so I can chop the nuts when they are added. Add 1/4 cup of honey and process until smooth.  Add 1/3 cup English Walnuts either whole or chopped  Process until nuts are finely chopped, not pureed. Place in a refrigerator dish and refrigerate until firm and spreadable.  Use as spread on the Cinnamon Crunch Bagels. To die for! |
|
|
Oklahoma Pastry Cloth™ Company on Facebook
|
|
 |
|
|
Popovers
Monday, August 8th, 2011
  Don’t you just love to go through old family albums, giggling over moments frozen in time through a cameral lens, stretching your brain to the limit while trying to remember dates, places, faces and what you were thinking when you were sure colorful striped bellbottoms with a plaid, ruffled shirt made you look like an Ives St. Laurent model? The camera had to be one of the best inventions of all time – well, next to chocolate. At my age, I’ve seen cameras evolve exponentially. Movie cameras too. Note: I have movies – 8 millimeter mind you – that show a third grade me dancing around with my sisters in our ’60’s dresses (we wore dresses alot back then) pretending we were the Three Little Pigs. There is no sound and every second or so a flash of yellow or green runs across the picture indicating aging film. Among my vintagge pictures are the 3″ x 3″ photos from my dad’s Argus camera, a heavy black and chrome metal invention, housed in a real leather case. He bought it when he got home from the army after WWII. I used that camera in college and now my daughter has it. Remember the Brownie cameras? – Oh! Oh! And the Polaroids. Now those were cool. The photographs were nearly instant and you didn’t have to wait a week while the film was being developed! There was such excitement, pulling the film paper out of the camera and counting the minutes before carefully pulling back the cover sheet to reveal a very over-exposed likeness of your cousin making faces. Polaroids went by the wayside and I can’t imagine why. Slides were a big deal in the 1960’s and it was every television sitcom’s joke for a family to be invited to dinner only to be imprisoned on the couch while the host presented a slide show of the family vacation to Disneyland. “Yep. That’s Carol kissing Goofy. No, that’s Goofy on the left. Carol is the one on the right!” The guests would endure 40 gazillion slides of everything from standing in line at the Flying Teacups to standing in line for an ice cream cone and then the guests would look at their watches and say, “Oh dear! Look at the time. We have to let the cat out!” I remember the projectors where the slides were placed one at a time in a rack and then pushed into the projector to view. Then came the carousel projectors and we thought those were amazing. They were even remote controlled. When my family got one of those, I thought we were Up Town. 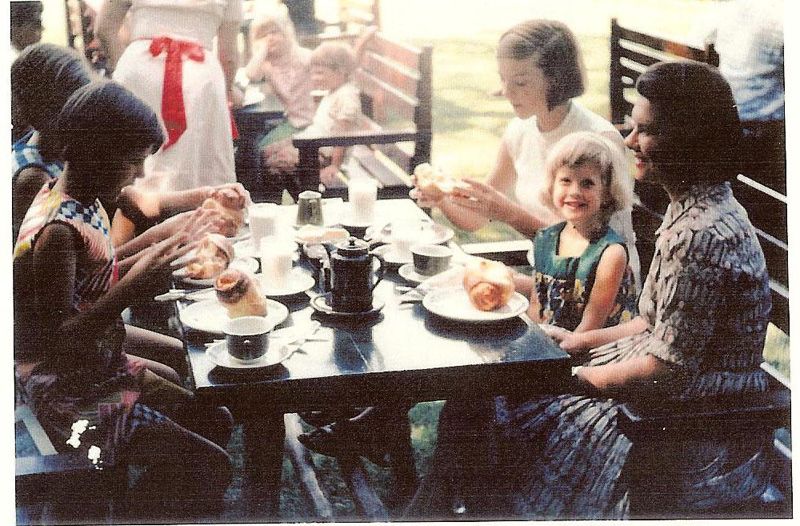 My parents were so wonderful to take tons of pictures of our childhood and our family life in general. We really do have a grand collection of memories on film. One of my favorite memories includes a tea house that my family frequented many a summer. My father was a college professor and during many of the summers of my growing up, he taught at the University of Maine as a visiting professor for the summer sessions. He and my mother introduced us girls to a treat with which we absolutely fell in love – the Popover. The tea house at Jordan Pond at Acadia National Park was our first experience with these hot, puffy pockets of air and the eating was only made more fantastic by the rustic outdoor tables overlooking a gorgeous lake with mountains in the background. Hot tea, coffee or milk accompanied our orders, as well as fresh strawberry jam and fresh butter. Delightfully, the tea house is still in operation and we were able to gather there again during a family reunion for my parents’ 50th anniversary a number of years ago, making memories with our own children. Of course, at that point I had to learn how to make popovers so that I can now eat them anytime I choose right here in Okieland. I thought I’d share what I learned with a recipe and directions. 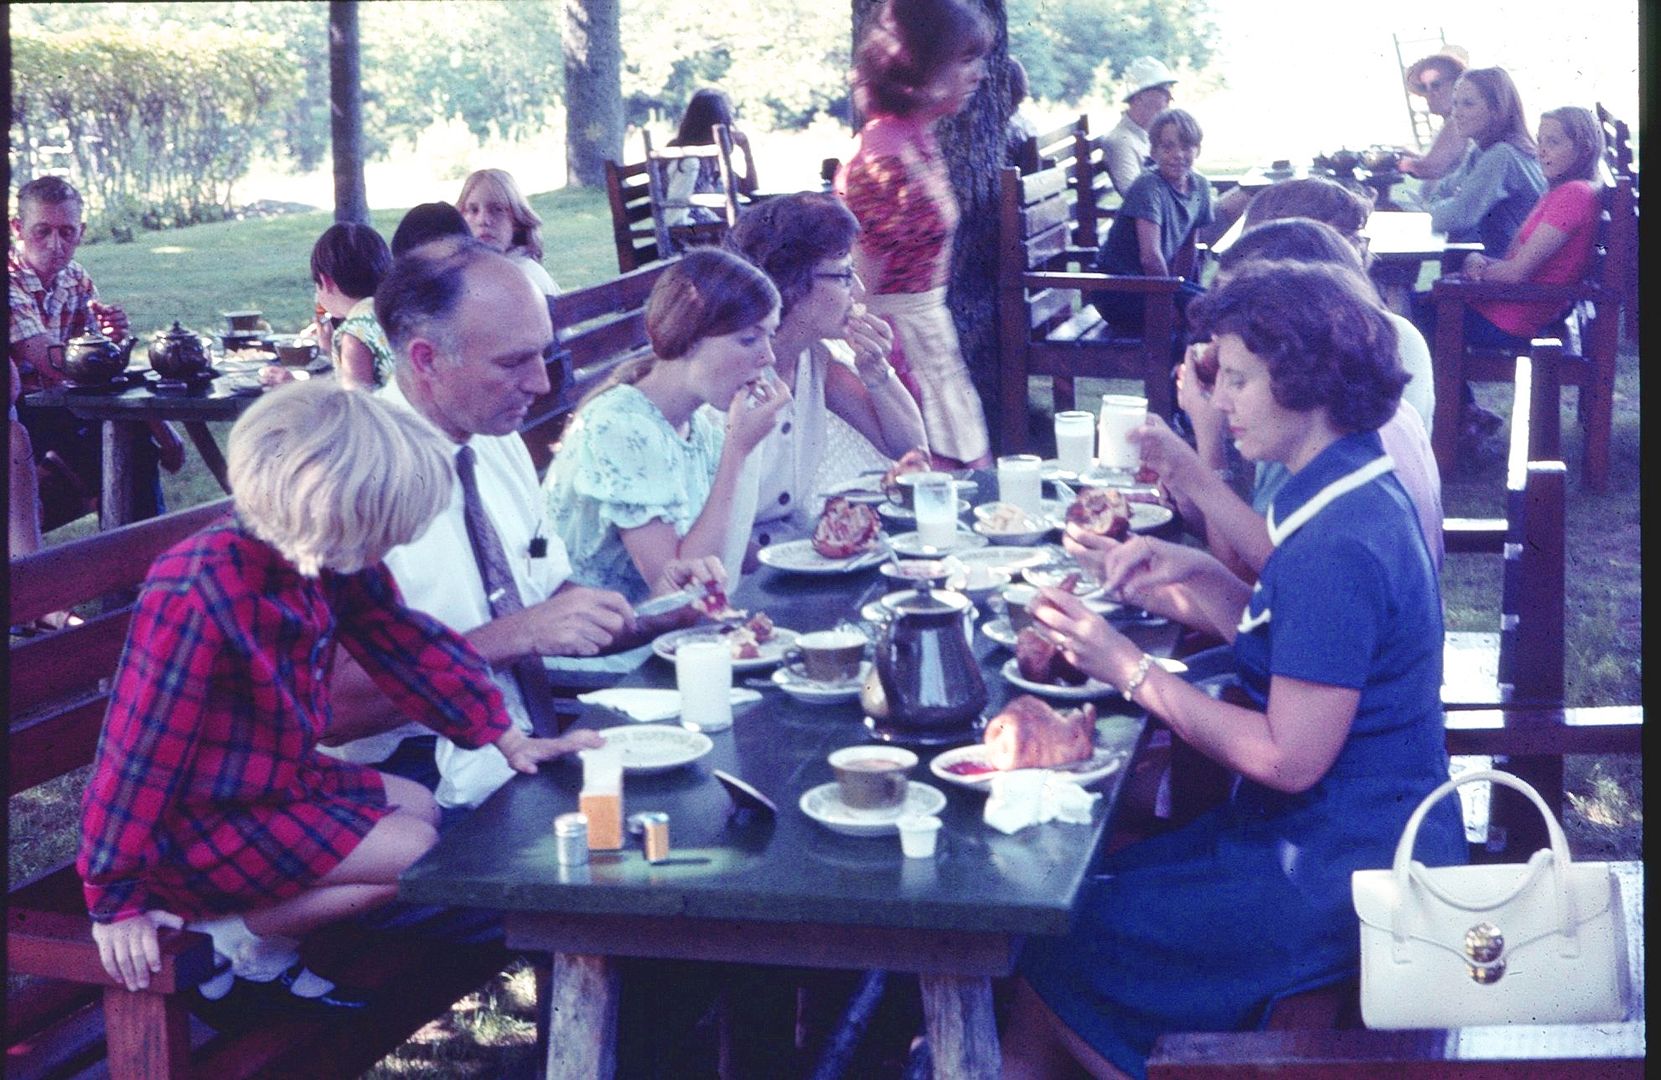 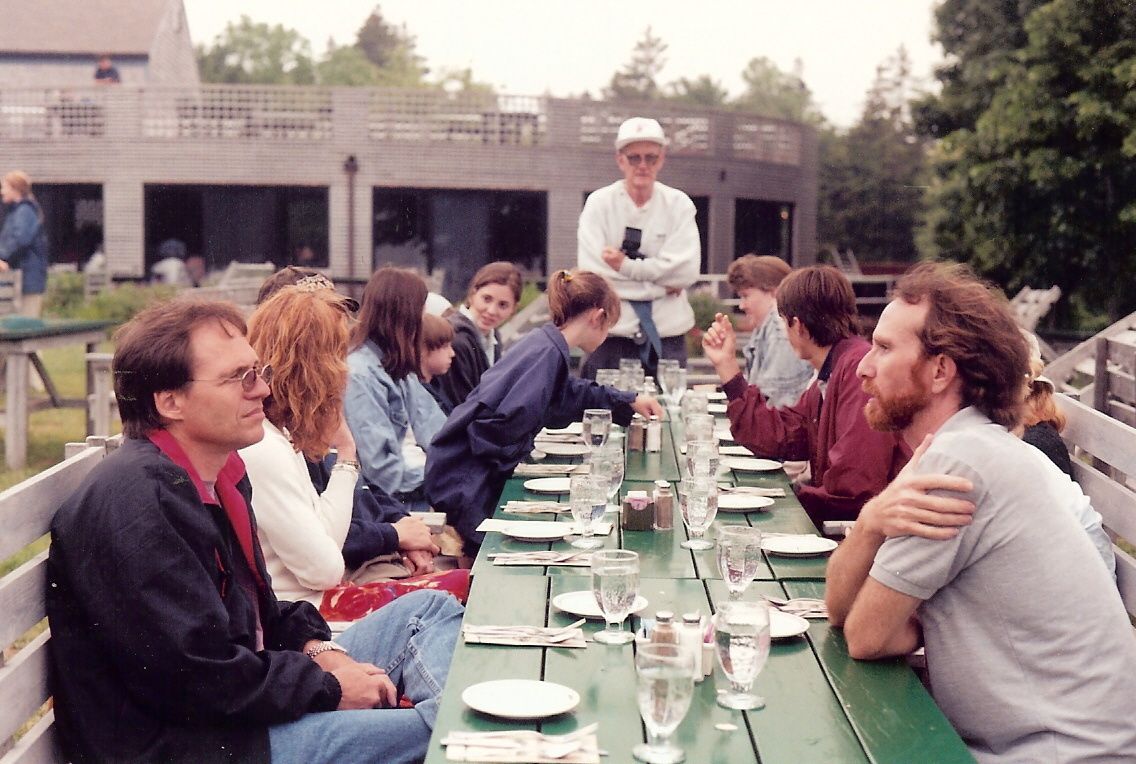 Of all the things my parents gave me, my memories with family are what have stay with me to this day. Those memories are made more vivid by the lovely photographs and movies taken by my parents and grandparents. They have been given to me and to my sisters to share recollections with our children and grandchildren, in the same way that our parents shared with us from their childhoods. It is a way to stay connected with our heritage. Take time to make memories with your family. Take trips, have picnics, sing songs and laugh together. All of the trinkets in the world will never be remembered like time spent together.
 Preheat oven to 425º and lightly grease a 6 cup popover pan with either shortening or butter. You can find popover pans online and I found a very inexpensive one for you to check out here. JUST A NOTE: You CAN put all of the ingredients into a blender and just blend the fire out of the batter. But if you do not have a blender or would rather use the more traditional method, follow the directions below: 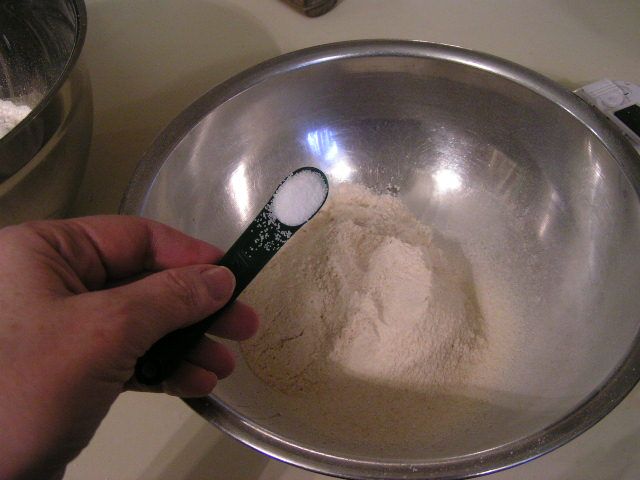 In a shallow bowl, add flour and salt. Set aside. 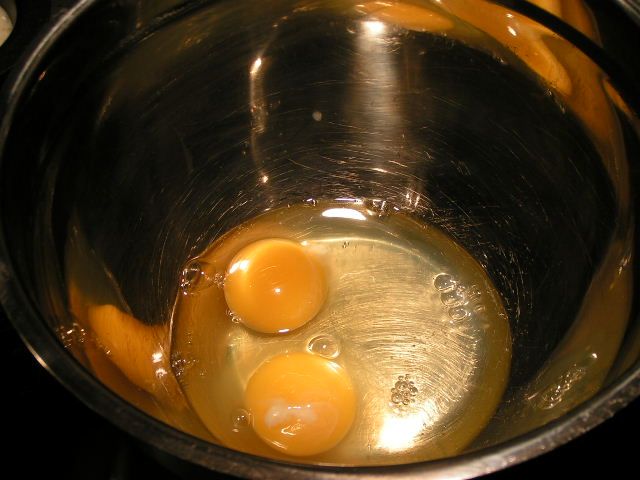 In another shallow bowl, break two large eggs that have sitting at room temperature 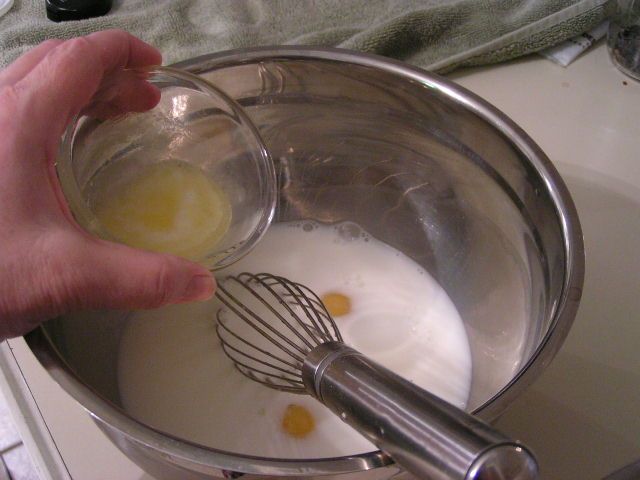 Add milk or half and half and melted butter 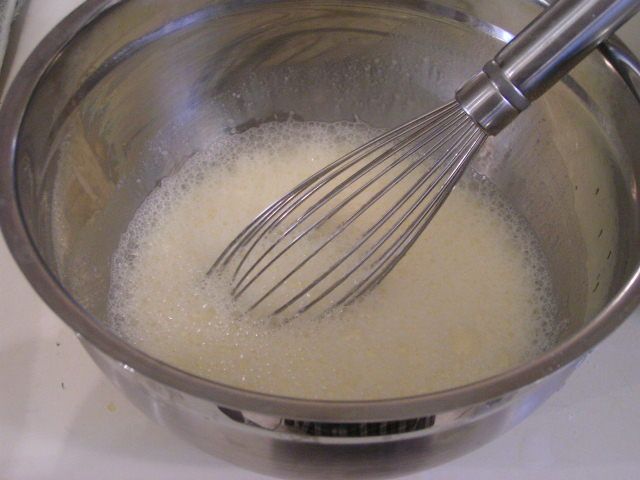 Vigorously whip the egg mixture until it is light and frothy. 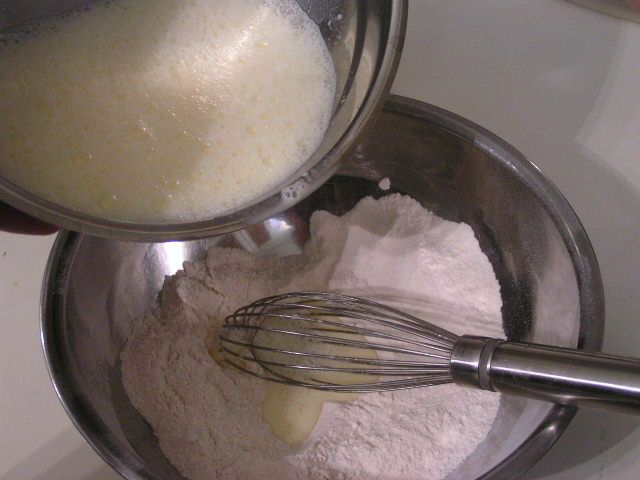 Add whipped egg mixture to flour mixture 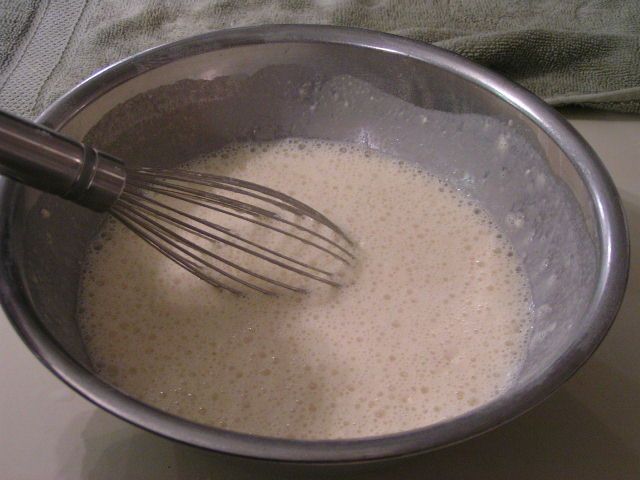 Whip the fire out of the batter! 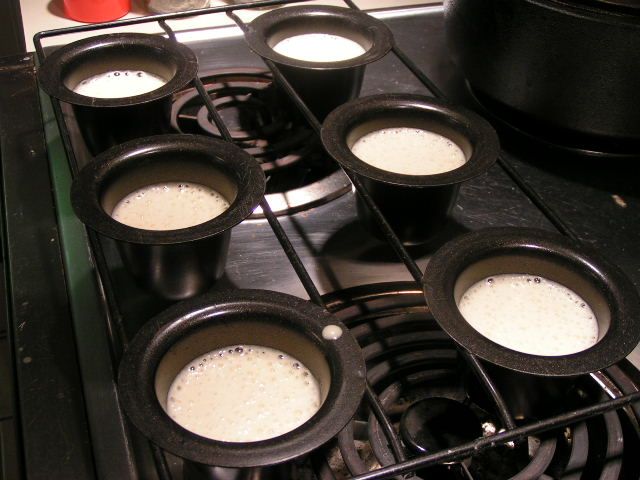 Now here, you can try both methods and see which works best for you. Some people heat the popover pan in the oven for 5 minutes and then pour the batter into the hot cups. Or you can use a cold pan and evenly pour the batter into the greased popover cups 1/3 to 1/2 full. 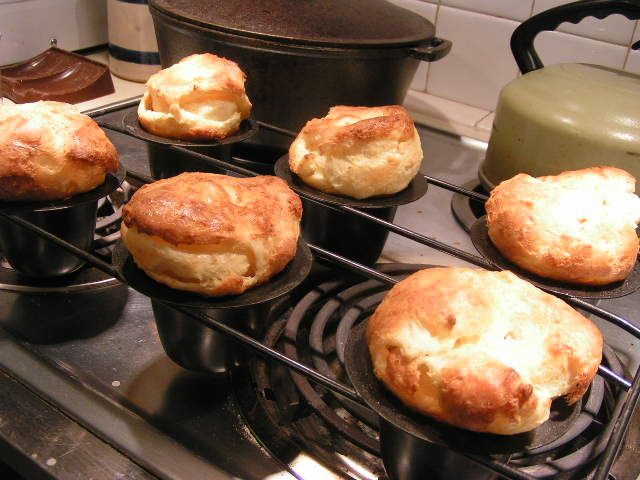 Bake on the center oven rack for 15 minutes and then turn down the oven temp to 350º and contine baking for 20 – 25 minutes until golden brown. Turn off the oven. Using a sharp knife, pierce the top of each popover to allow the steam to escape. Leave in the oven 30 seconds. 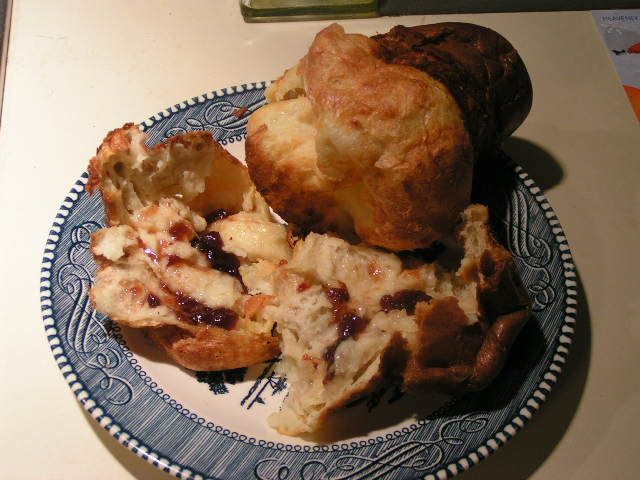 Serve immediately with butter and jam. Great for breakfast. |
|
|
Oklahoma Pastry Cloth™ Company on Facebook
|
|
 |
|
|
Eggs Benedict From Scratch!
Thursday, August 4th, 2011
 OK. Put on your white gloves and your pursed lips and practice your hoity-toity vernacular – you know, like “Raww-thuh!” and “Well, ah say!” and “Candlelight Suppahh”. It’s time to chow down – oops, I mean – partake in the breakfast delicacy called Eggs Benedict. I’m sure you know that ALL Oklahomans consider this to be a staple of Okie cooking. Why, just the other day I heard a camouflage-clad gentleman tell his wife, “Honey, I invited Benedict ta come real early fer breakfast before gettin’ out to the deer stand. Let’s have eggs.” Eggs and Benedict in the same sentence – what’d I tell you? This favorite-of-mine breakfast dish is also great as a brunch treat or a light luncheon surprise and Mr. Fix-It and I like it for dinner on 113 degree evenings!! I promise, if you fix this, your family and friends will think you’ve been sneaking out to the local culinary institute. They’ll have no idea that you’ve really been hitting the Dunkin’ Donuts across town. For the best flavor and the most impressive effect you must make this dish from scratch. However, if you are a weenie or tired or frustrated, have worked all day, have screaming children, did not sleep well the night before, have broken your leg or have just found out that the moon landing was totally staged, there is “store-bought” for most of it to make it easier.  The trick to any meal like this is to have your breads made ahead of time. Many people have “baking day” where they make the different breads, desserts and other baked treats that will be used for the week. Patrice Lewis at The Rural Revolution did a lovely picture study of her baking day of English Muffins, pies and quiches. For Eggs Benedict, you need those English Muffins. It’s ok if you want to use those old, sorry, dry, tasteless excuses for bread from the store, but if you want REAL taste, make your own. My recipe and picture directions are found HERE This recipe makes anywhere from a dozen to 14 muffins. Put them in a plastic bag in the frig and they are ready for you to use when you need them. First, I’m going to give you the recipe and instructions for the Hollandaise sauce needed, which can be used on more than just the eggs. Asparagus, broccoli and other steamed veggies are great with this topping. The recipe is easy and takes just minutes. Leftover sauce can be stored in the refrigerator or in the freezer and reheated with a little water to thin. However, if you are in a hurry, McCormick’s makes the best substitute and you can find it in most groceries on the mixes isle. (And it’s low in calories) Finally, I’ll give the instructions for putting the Eggs Benedict together.  So get out your chef hats and let’s get started: Serving for 4
 Melt butter in a bowl in the microwave or in a small pan on the stove. Set it aside to cool slightly.  You can use a double boiler and I have one, but I prefer to do a shallow, stainless bowl over a pot of boiling water because it makes it easier to whip the eggs and there are no crevices that can’t be reached. In either case, fill the lower pan to halfway with water and bring to a slow boil.   Place egg yolks into a bowl or into the top section of the double boiler. HINT: Freeze egg whites in ice trays and pop out when frozen, storing in a freezer bag. You can thaw them for meringue, to add to eggs for scrambled eggs or to use in recipes.  Add cold water  Scramble the eggs and water until light and frothy  Place the bowl or double boiler top over the pan of boiling water and immediately begin whisking vigorously. When the eggs start to thicken begin slowly adding melted butter, continuing to whisk to keep from lumping. If there are any lumps, just keep vigorously whisking.  Continue to slowly add butter  Whisk until light and smooth. Turn the heat down to low  Add lemon juice 1 teaspoon at a time and continue stirring. Taste between teaspoons to check the flavor. You may not like as much lemon as I do.  Add chicken bouillon and stir until dissolved. Cover the sauce with plastic wrap and leave over warm water on low.
 Poach eggs. I am using a vintage Salton poacher here, but you can actually poach them by just pouring a large egg into boiling water that you have stirred quickly. I am only doing two eggs here, but there is enough sauce for four.  Meanwhile, using a fork, split English Muffins  Either toast them or butter them and place them butter side down on a hot skillet. Cook until golden brown. Place muffins on plates.  Fry Canadian bacon or smoked ham on a hot skillet for 15 – 20 seconds on each side and then place on one side of each English Muffin  Place egg on top of Canadian bacon or ham  Pour sauce over the center of the egg and down the sides of the muffin. Pepper to taste. Serve with fruit and other muffin slice, buttered and with jam if you like. |
|
|
Oklahoma Pastry Cloth™ Company on Facebook
|
|
 |
|
|
Blueberry Season In Full Swing
Sunday, June 5th, 2011
 The blueberries are coming in with a bang this year. They are so big and juicy! Oklahoma’s gonna compete with Maine, I’d say!! When I was a girl, my family would go to Cadillac Mountain in Maine and pick wild blueberries to our heart’s content. Wild raspberries and strawberries could be found as well. There was just nothing like standing on that high mound of granite that was covered in short blueberry bushes, loaded with small, ripe berries. The book Blueberries For Sal was a favorite of ours. Now, I harvest Oklahoma blueberries – large, plump and sweet. The bushes are much larger than those of the Maine wild blueberries. The berries are wonderful for jelly, muffins, scones and coffee cake and today, I thought I’d share a yummy coffee cake recipe that we like. Canned blueberries work fine in this recipe too. Enjoy! For Cake:
 Cream butter, sugar and eggs together  Add vanilla and either lemon or orange zest and mix  Add sour cream and mix in  Add flour that has been mixed with soda, salt and baking powder. Stir  Add fresh blueberries that have been tossed with sugar or use canned blueberries  Grease a 9” round or square pan with Crisco or other shortening. I use a paper towel to do this. I find that it covers more surface than a brush.  Flour the pan by shaking flour around the surface of the pan until all areas are covered. Shake out excess flour. In cookbooks, this is what is meant by “greasing and flouring “ your pan.  Meanwhile, melt stick of butter over medium heat and remove from heat  Add white and brown sugars and stir  Add cinnamon and stir until completely blended  Stir nuts into the batter  Add flour and stir until everything is totally incorporated. It will be crumbly and sticky.  Pour batter into baking pan and crumble topping over the surface of the batter  Crumble the topping all the way to the edge of the pan. Place in a 350º preheated oven and bake for 40 – 55 minutes. Test for doneness with a knife or a toothpick. It should come out clean.  Allow to cool for 10 – 15 minutes and sprinkle with Confectioners sugar. Serve warm. Leftovers can be cut up and frozen. |
|
Oklahoma Pastry Cloth™ Company on Facebook
|
 |
Strawberry Muffins II
Saturday, May 21st, 2011
|
As in the previous post, at the request of OPC Facebook Fan, Melissa, and because the strawberries are rolling in, I’m posting two separate recipes for strawberry muffins. The first one is Mr. Fix-It’s favorite and is pretty basic while this one is more along the lines of a soda banana bread. They are larger than the previous muffins with a different flavor. They are quite light for muffins.
 Preheat oven to 375º. Place strawberries in a bowl and use 2 tablespoons of the sugar to toss with the berries. Set aside  In a batter bowl or large mixing bowl, place butter and shortening  Add flour and cut butter and shortening into flour until it resembles course crumbs  Add soda and salt  In a separate bowl, whisk together eggs, buttermilk and sour cream  Whisk until smooth  Add strawberries to flour mixture  Stir until strawberries are coated with flour  Add strawberry extract flavoring to the egg mixture  Stir egg mixture into dry ingredients.  Continue stirring until all ingredients are incorporated. Do not over stir.  Mix Turbinado sugar and cinnamon in a small container  Evenly distribute muffin batter between muffin tins. Sprinkle tops of muffins with sugar mixture. Bake at 375º for 25 – 35 minutes on the center rack. Depending on your oven, 25 minutes is usually long enough, but test with a toothpick or knife for doneness.  As you can tell, these muffins are larger. They have a unique taste and are very flaky. They also may be frozen and reheated. |
|
Oklahoma Pastry Cloth™ Company on Facebook
|
 |
Strawberry Muffins I
Saturday, May 21st, 2011
|
At the request of OPC Facebook Fan, Melissa, and because the strawberries are rolling in, I’m posting two separate recipes for strawberry muffins. This first one is Mr. Fix-It’s favorite and is pretty basic. These muffins are easy to freeze and heat up nicely. They are scrumptious with butter and if you really want to “gild the lily” get out some of that strawberry jam you’ve just canned and spoon some on!
 Preheat oven to 400º and grease two 6 cups or one 12 cups muffin tins with shortening. (I use a paper towel to get a good coat of shortening.) These are my favorite tins, as you can tell!! I use the shortening because nonstick pans and oil sprays do not give the same crisp outside texture that we like.  Toss strawberries with 1 tblsp sugar and set aside  Add 1/2 cup sugar to 1 1/2 cups flour  Add 2 teaspoons baking powder  And 1/2 tsp salt  Measure 1/4 cup shortening into a microwave proof container. Microwave until melted  Add strawberries to flour mixture  Toss until berries are covered and incorporated   In a separate bowl, whisk together egg, milk and strawberry flavoring.  Pour into the flour mixture, the milk/egg mixture and melted shorting  Stir well until all dry ingredients are moistened and incorporated. This batter is very heavy and stiff.  Spoon batter equally into muffin cups.  Sprinkle Turbinado sugar over the tops of each muffin, about 1 tsp each. Bake in 400º oven for 20 – 25 minutes on center rack  Serve hot with butter or butter and jam. Enjoy!! |
|
Oklahoma Pastry Cloth™ Company on Facebook
|
 |

 Homestead Revival
 Paratus Familia
 Rural Revolution