 Previously, I showed you photographs of the worn and ragged Rumford Cookbook that served as my grandmother’s journal and recipe collection. She evidently never cooked out of the book, but used it to record family events and geneologies and favorite recipes which consisted almost totally of desserts! Now I know where I get my sweet tooth. 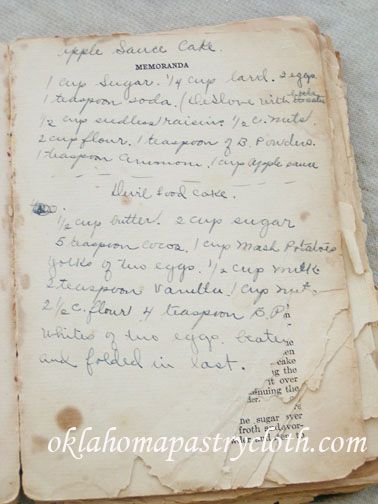 It is a precious thing to have this book with my grandmother’s writing scribbled throughout, but to make it even more special, my father, who will be 84 on July 4th, wrote a book about his early life in Missouri and his experiences in Germany during the WWII era and it includes the story of the Rumford Cookbook. Dad’s book is a volume of memories that I can pass on to my grandchildren and great-grandchildren in a way that my parents, grandparents, great-grandparents, aunts and uncles will never be forgotten. They will always be alive in words and photographs. Here is an exerpt from the book that I thought you might enjoy: According to the old saw, some people eat to live, meaning they aren’t particular about what they eat or how it is prepared. Well, I think it is fair to say my family “lived to eat.” We enjoyed food!! It may not have been prepared in a fancy way, but it was fixed with love. Don’t ask me why but the folks said “fixed” instead of “prepared” as in “I’ll have supper fixed directly.” Mom, Grandmother Hightower and other members of the family prided themselves on being good cooks and well they should. Light rolls were high and light. Fried catfish was crisp on the outside and moist on the inside. Steak was tender enough to cut with a fork. And who could stop with just one piece of red devil’s food cake with fudge icing? 1/2 cp butter 2 cups sugar 5 tsps cocoa 1 cup mashed potatoes 2 eggs, separated (beat whites to fluffy) 1/2 cup milk (I used half and half) 2 tsps vanilla 1 cup nuts 2 1/2 cup flour 4 tsp baking powder Icing 2 squares chocolate 2 cups sugar 2 tbsps syrup (I assume Karo White but I used plain old pancake syrup and it was great) 1/2 cup milk (I used half and half) 2 sticks butter 1 tsp vanilla powdered sugar to thicken if needed 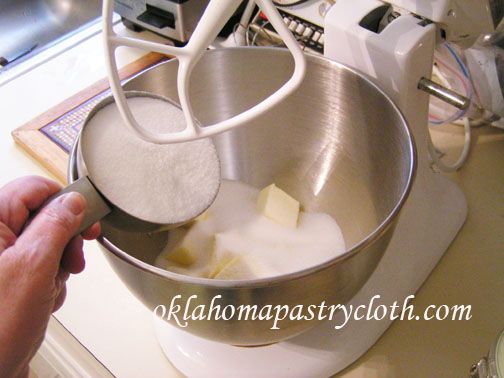 Cream sugar and butter until fluffy 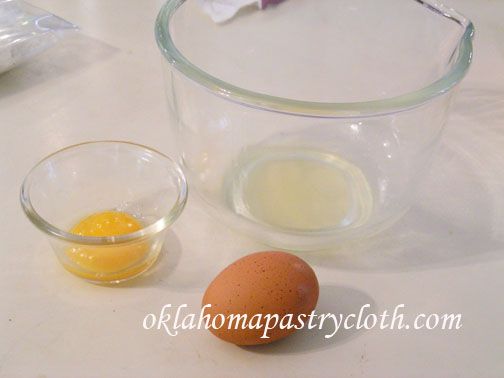 Separate eggs and place egg whites into a bowl to be whipped. 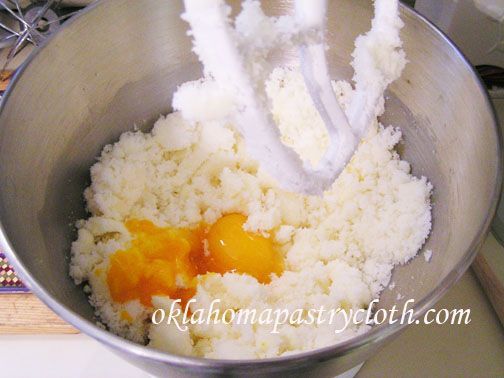 Add yolks to the sugar and butter mixture and mix 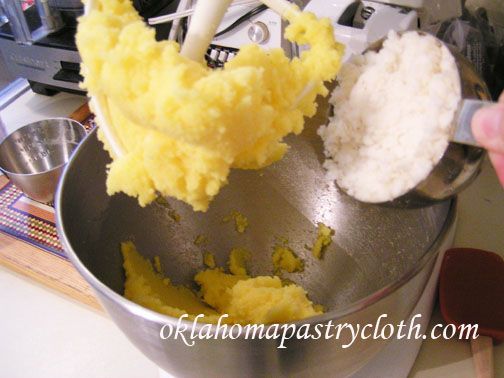 Add potatoes and beat 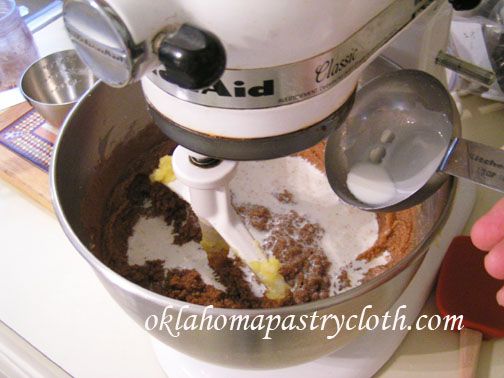 Add cocoa and milk and mix thoroughly 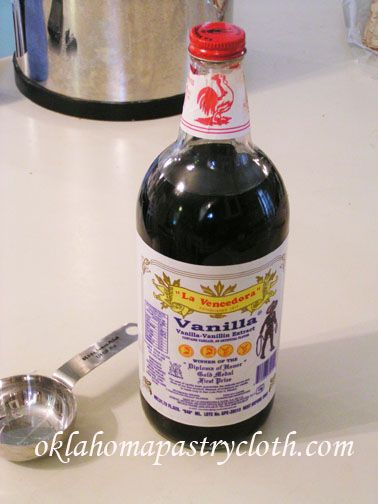 Add vanilla 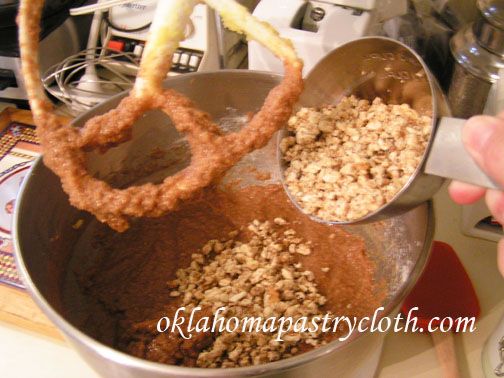 And nuts..I used English walnuts, but pecans would be great too. 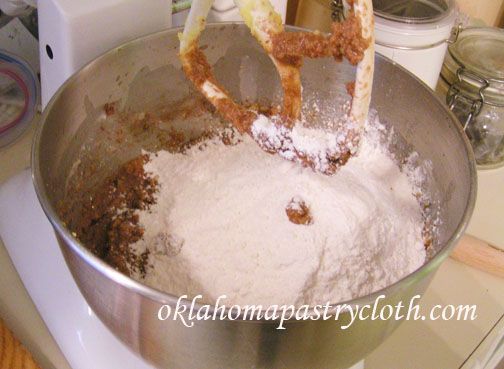 Add the flour that is mixed with the baking powder. Now here, I will caution that because of all of the different flour types, the 2 1/2 cups may be too much with certain types. If you grind your own wheat and are using a soft, white wheat pastry flour, you will definitely not need the full amount. I suggest that you add the flour 1/2 to 1 cup at a time until the consistency is smooth and not too dry. This batter is not a thin batter like we are used to with boxed cakes. It is almost the consistency of whipped icing. 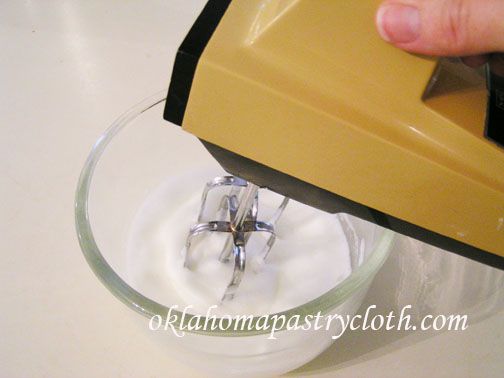 Beat the egg whites until stiff and fluffy 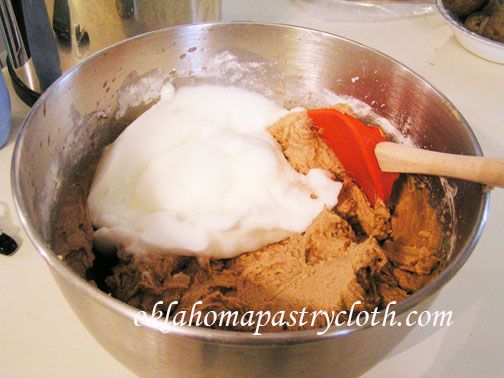 Fold in the egg whites with a spatula by gently turning the batter over on top of the whites again and again until the egg whites are incorporated into the batter. 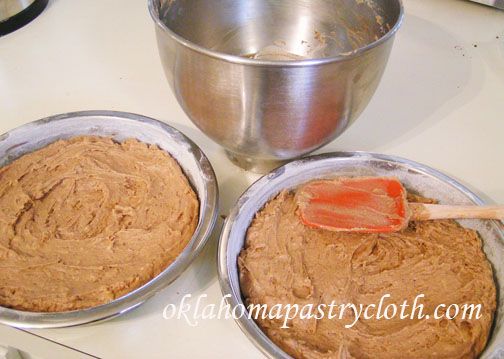 Divide the batter equally between two greased and floured 9″ round cake pans. Bake in a preheated 350º oven for 30 – 35 minutes. Test with a toothpick or sharp knife to make sure it comes out clean. DO NOT OVERBAKE. Check at 30 minutes and if it is not quite done add a minute at a time. 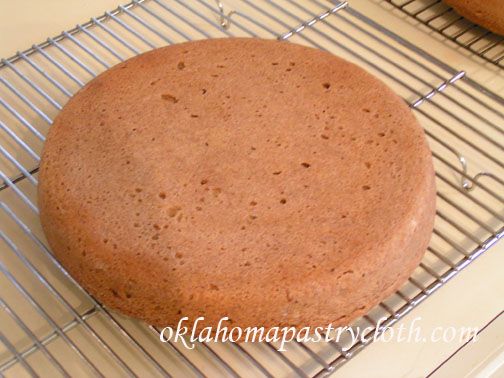 Invert cakes onto cooling racks and allow to cool 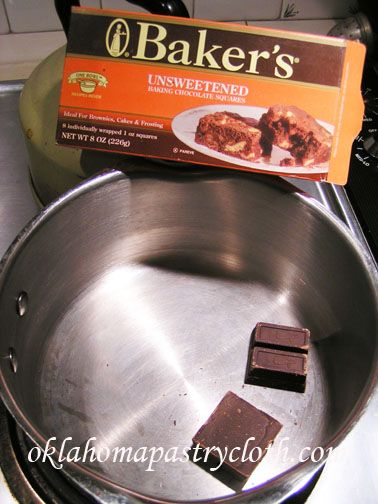 Meanwhile, place two squares of Baker’s Chocolate into a 1 1/2 quart saucepan.  Add sugar and milk or half and half and stir, with a whisk, over low heat until sugar is dissolved. Turn up the heat and, continually stirring, as the chocolate melts and the mixture comes to a low boil. 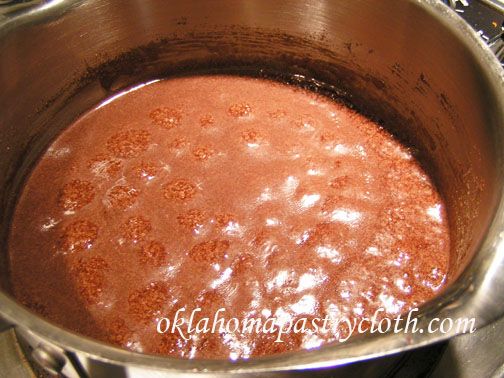 Stop stirring mixture and allow to boil for 2 full minutes. 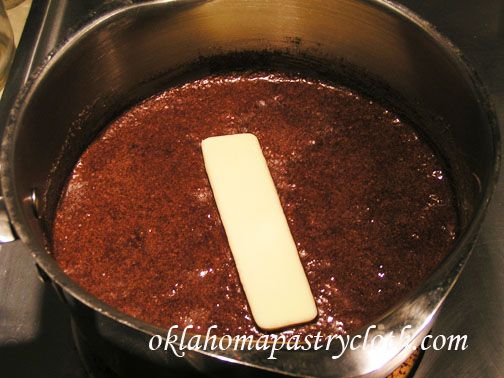 Remove from heat and add butters and vanilla. Stir until butter is melted and incorporated. Cool until the icing becomes hard. Stir to whip to spreadable consistency. If you want a thicker spread then you feel you are getting, add powdered sugar, 1/4 of a cup at a time until you reach the consistency you want. 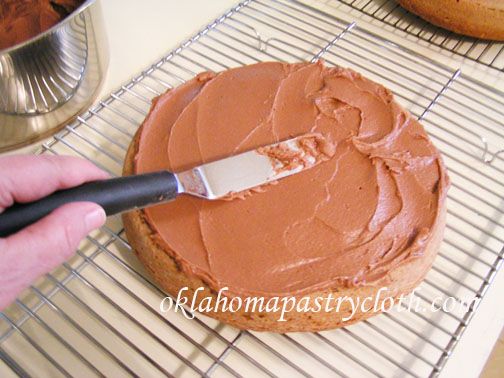 I like to place my bottom layer of the cake onto a piece of wax paper. Then, I can slide the cake onto a cake plate after I am finished icing, for a nice, clean look. Ice the top of the bottom layer of the cake with a thick layer. Place the top layer of the cake onto the bottom layer and make sure they are centered on top of one another. 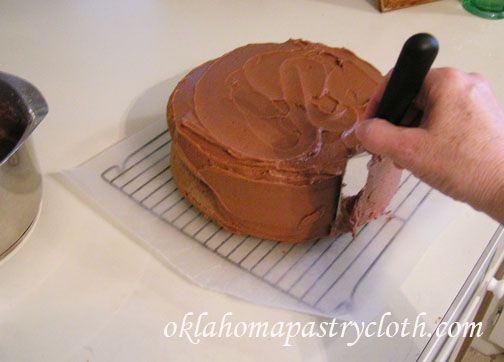 Ice the tops and the sides of the cake 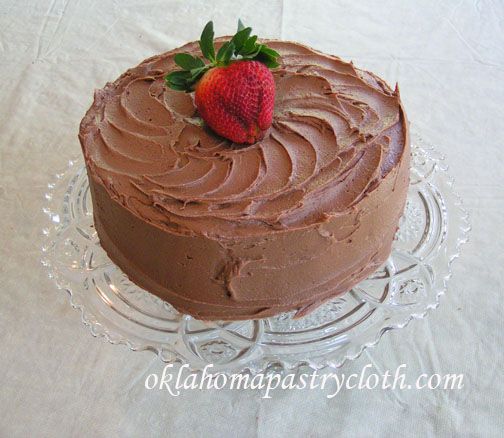 Garnish with a strawberry or chocolate shavings. 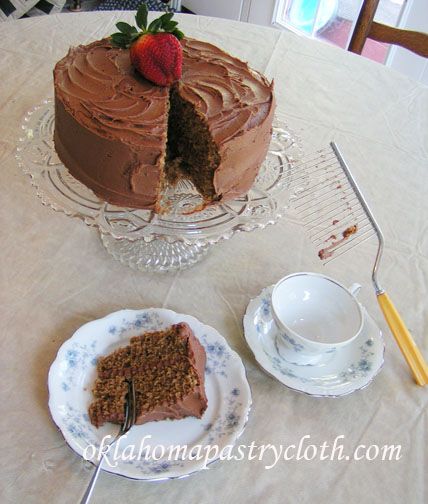 Of course, I had to use my vintage cake cutter that I found at an antique store. It is just like the one that I grew up with that my mom used to cut her cakes. It beats a knife to smithereens!! The cake is tasty, especially with strawberries and the longer it sits, the more most it seems to get. Next time, I’ll do the Red Devil Food Cake that Dad talked about and we will see what it is like!  |
|
|
Oklahoma Pastry Cloth™ Company on Facebook
|
|
 |
|
|
Archive for the ‘Desserts’ Category
Cooking In the 1930’s Part II
Monday, April 2nd, 2012
Cooking From the 1930’s – Part I
Wednesday, March 14th, 2012
 Don’t forget to leave a comment to enter the Bread Pan Giveaway to win two unique bread pans. The winner will be chosen on St. Patrick’s Day I’ve had an interesting week and it isn’t even over yet! My sister, from the Dallas area, flew here to spend time with me and to meet my little granddaughter for the first time. We had a blast taking care of my granddaughter for two solid days. She is three months old, is grinning from ear-to-ear and is making every sound in the world in an attempt to communicate. And as all grandmothers are supposed to do, I worked hard to teach her the kinds of things that three month olds are supposed to know, especially how to make a sustained “ahhhh” while grandmother bounces a finger over baby’s mouth to make a vibrating “ahhhh”. Of course, I made a video and of course I put it on Facebook for the family. It is amazing to me that I am a grandmother. I remember my times spent with my grandmothers and it is just mind-boggling how time marches on from one generation to another. Someday, this little, budding personality in my arms will be a grandmother too and I’ll be long gone. However, my name and my memory will carry on just as my grandmothers’ names and memories carry on for me in my memories, my stories, my pictures and in my cooking. It is such a daunting task, but such an honor, to be able to pass on faith, values and lessons to the little ones. Recently, my cousin sent me a treasure from the past that is most dear. She had, in her possession, the Rumford Complete Cookbook that my grandmother (on my father’s side) had used from the early 1930’s until she died in the early 1970’s. The funny thing is, there is not one, single recipe in that cookbook that any of us remember my grandmother fixing. She did not use those recipes! She used the book, and its many blank pages, to record in her distinctive pen, her own favorite recipes, accounts of everyday life, and geneologies. When family would come for a visit, family members wrote their own observations of the time too. It is a precious collection of moments in time. 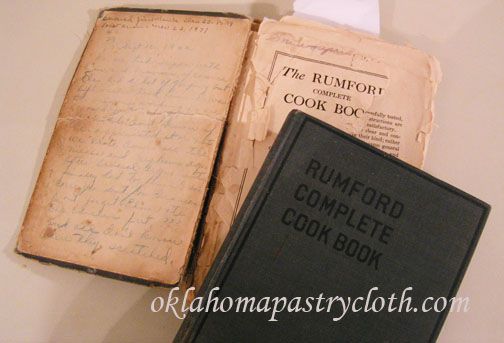 On the inside of the front cover is a combination of my grandmother’s handwriting recording the first snow in 1939 (December 23) and the first snow in 1971 (November 22) and then below, my great-aunt Suzie wrote the oddest entry: “Sept 16 1942 We all took supper with Chas. and Frances [my grandparents], of course. Chas did a lot of griping but after all I told him he was the only one working so we would just not [illegible]. Don’t know if he appreciated it or not. We wrote down all the nieces and nephews ages after several arguments finally had to finish up correspondent for Frances. Don’t forget Elmer ate the chicken feet and all – don’t know where they scratched.” Elmer was my great-uncle Elmer and he was worried about where the chicken feet he’d just eaten had been while on the chicken!! 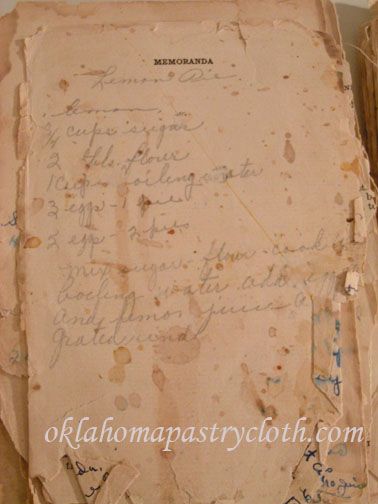 I decided that since I did a series on my mother’s mother’s cookbook of 1914, I would do one on my father’s mother’s cookbook of 1931 as well. Only, instead of using the recipes printed in the book like “Codfish Fritters” and “Perfect Fish Balls”, I’d use the tried and true recipes that my grandmother recorded and actually made. And since today is “Pi Day” (It’s March 14th – 3.14 – silly!!) I thought that I would make Grandmother Thurman’s lemon pie. I can remember her whipping one out at the stove while I watched. She dearly loved anything lemon, especially lemon sour candy, but her pies were not to be outdone. 1 Pie shell, baked 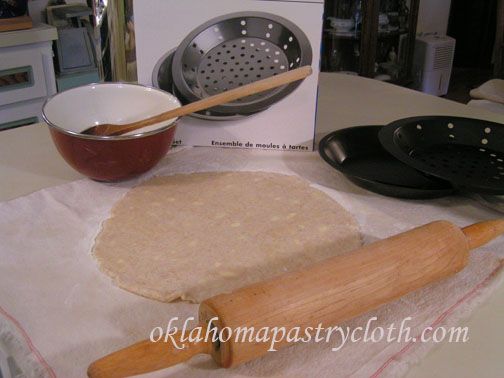 I keep my pie crust mix in the freezer, take out enough to make however many pie crusts I plan and let the mix thaw for a little while before mixing with water. Having it cold makes it much flakier. Roll out your pie crust, of course on an Oklahoma Pastry Cloth™! Place the pie crust in your tin. I am using a tin that you can find at the shopping page that has a perforated insert to keep the crust from shrinking. 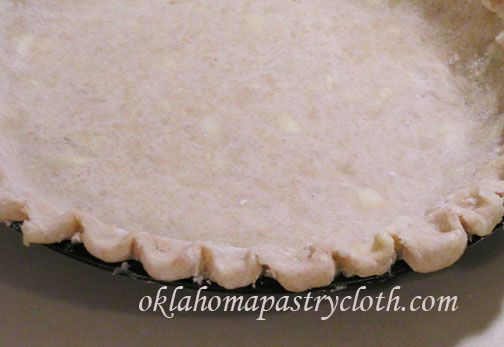 I like to flute my crusts 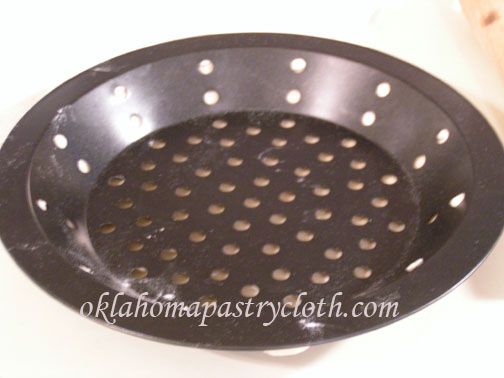 When using the additional perforated tin, it is placed into the pie tin over the crust. Bake the crust at 400º for 15-20 minutes and allow to cool 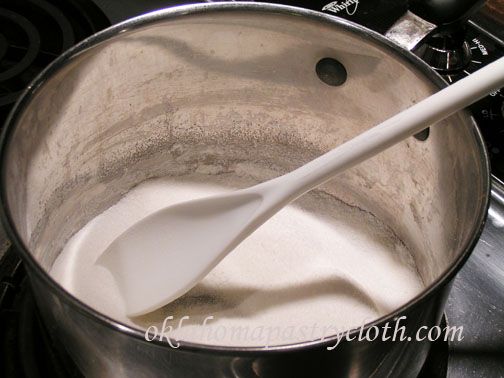 In the meantime, place sugar and flour into a medium saucepan and stir to mix  Add cup of boiling water very slowly and stir to make a creamy mixture and heat to boiling  Slowly add beaten eggs, whisking as you pour. 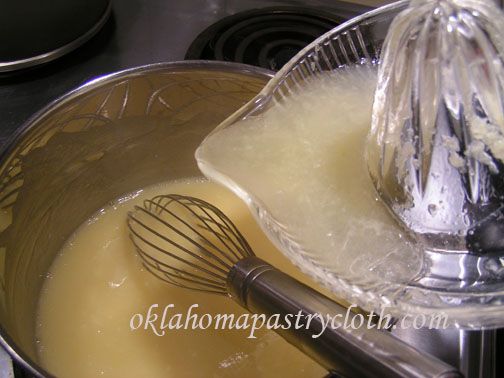 Add lemon juice and lemon zest.  Stir until thickened to a pudding texture  Pour the custard into the baked pie shell. Chill in the refrigerator until cold all the way through. There will be enough room in the pie shell to also add a topping  Slice and serve topped with freshly made whipped cream or canned whipped cream. I don’t like the flavor of Cool Whip with it. Or you can make meringue to place on top and bake until lightly browned. I’m not a big pie meringue fan but lots of people are!  |
|
|
Oklahoma Pastry Cloth™ Company on Facebook
|
|
 |
|
|
For follow button place this after Click Here To Comment and above the
:

Vintage Cooking Pt. III
Monday, January 16th, 2012
 I have been doing a series of posts from my grandmother’s high school, 1914 edition of “Domestic Science” and visualizing working in a vintage kitchen with wood cook stove and Seller’s or Boone kitchen cabinet complete with sifter and flour drawers. Included in each lesson have been etiquette rules that follow each recipe in the book. Many of these rules have been passed on to the children of today, (I hope!!) but there is one issue of etiquette that I know they did not consider back then. That rule concerns the public use of cell phones.  Friday, I was sitting in the waiting room of a certain preventative testing clinic for women, minding my own business and not really caring about anybody else’s, when the woman sitting across from me accepted a call on a cell phone that was playing some really annoying jingle. She was on oxygen and so her conversation was a series of loud words stilted by the short gasps of her oxygen machine. In a voice equal to what we used to call an “outdoor voice” she carried on a conversation with the person on the other end and gave all of us in the room the inside scoop of what she was planning for the day. Meanwhile, the cellphone of the women to my left and right simultaneously whined different songs and both women loudly answered, “Hello?” Then the woman to my left said, “You’re going on a cruise?! When are you leaving? Alrighty! They kind of keep everything in and she’s the one asking about the birds and she’s just going to snap. I’m at the place to get a mammogram.” Oh my. That word and the picture it paints. Is nothing secret anymore? All three women continued to converse in mucho decibels when the Latino man across the room, waiting on his wife, made a call and in Spanish yelled over the other voices to explain something. I caught “Mañana” and “ocho” but that was the extent of my eavesdropping since the only other language I know is French. The other bored husband in the room accepted a call, about that time, and made an order for decking and something else in frustrated tones. But it was when the lady to my right took it up a notch and put her phone comrade on speaker phone that I almost lost it in gails of laughter at how ridiculous this situation was. I couldn’t hear myself think and it amazed me that these people could concentrate on what they were saying with all of the other conversations going on. I stifled a giggle as this woman said, “Oh, you know. She told us that her father kicked her out, but I found out that was a lie. I think she must be drinking.” (we REALLY needed to know that!) And the lady on the other end squawked out a reply. But I guess the fact that I was taking notes by that time, thinking, “Blog material!!”, that I got noticed because the speaker phone got cut off quickly. My name was called at that point and I sauntered into the tiny dressing room, still snickering at the sitcom into which I had just been dumped. I sat to wait my turn because I was in that place to get a you-know-what (I still have Victorian limits). A muffled voice came through from the dressing room next door, “Oh I know!! You should have seen what she made. She didn’t do it the way she was supposed to, but it turned out cute. Looks like snowflakes. I’ll show it to you tomorrow.” I had to smile at that one. Obviously a young mother or a grandmother proud of her little daughter or granddaughter. And so, before I move on to the next vintage recipe, which is to die for, by the way, I will insert a modern code of manners into the mix by reminding all that while we like to stay connected, there is a limit to that connection when it comes to public places. Those around us really don’t care about our personal lives – unless they are robbers who are taking down your plans. There is a reason for texting!! Mr. Fix-It insisted that I try this recipe next. Oh my gosh. Incredible doesn’t even come close. As I looked at the amount of chocolate used, I thought that it couldn’t be enough. I realize that back then, chocolate was really, really special and expensive and so I upped the amount a tad. Also, while I am including the original hard sauce recipe, I decided to use MY hard sauce recipe that’s a bit – harder – shall we say? Yes, it has rum in it, but it’s cooked and it made an already wonderful dessert, something to brag about. Here you go: 2 cups dried bread crumbs or 4 slices 3/4″ thick bread, dried and sliced 4 tblsp butter (1/2 stick) 3 cups scalded milk 2/3 cup sugar 1/4 cup melted chocolate (I used 1/3 cup chocolate chips) 2 eggs 1/2 tsp salt 1 tsp vanilla dash of cinnamon Hard Sauce 1/3 cup butter 1 c powdered sugar 2/3 tsp vanilla Sauce Directions: 1. Melt and cream the butter thoroughly. 2. Very gradually add the sugar, creaming constantly. Add the flavoring and set aside to cool. My Hard Sauce 1 stick butter 1 cup sugar 1 egg beaten 1/8 tsp vanilla 1/2 to 1 jigger of rum according to taste Directions and photos to follow.. 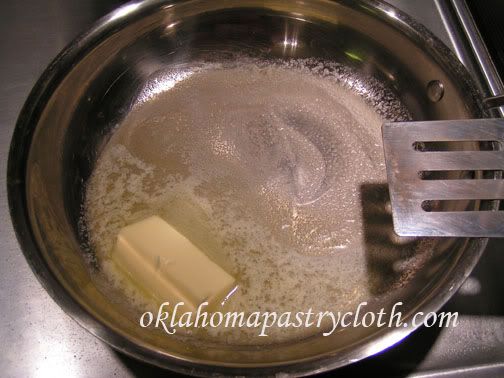 Melt butter in a skillet. 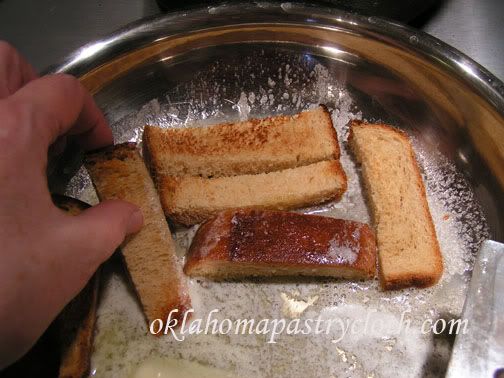 Dredge bread crumbs or sides of bread stips in the butter until all butter is gone. Note: I am using homemade whole wheat bread here. I toasted 4 thick pieces, sliced and then put in the oven on 200º for about 30 minutes to dry it out. This really made a good pudding because the bread has such body. And you can convince yourself that this is healthy because there is fiber?! 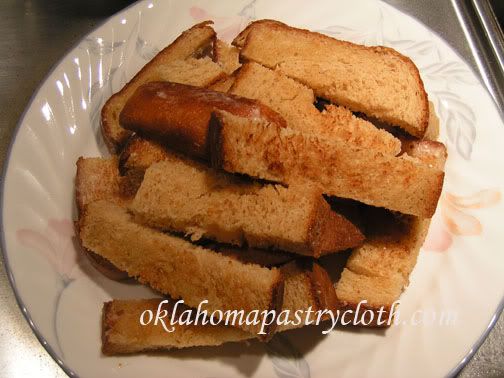 Place the bread on a plate and set aside 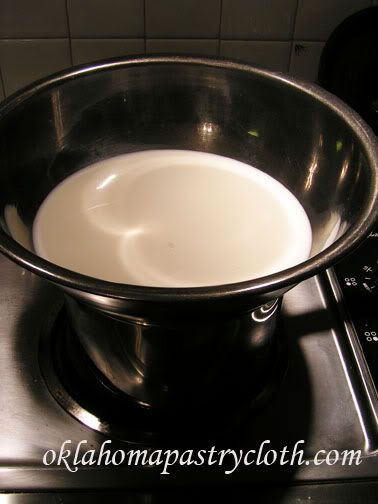 In a large double boiler (mine is too small so a stainless steel bowl over a pan of boiling water works great) pour the milk and scald to just under boiling.  Pour bread into milk and allow to soak until bread is soft. 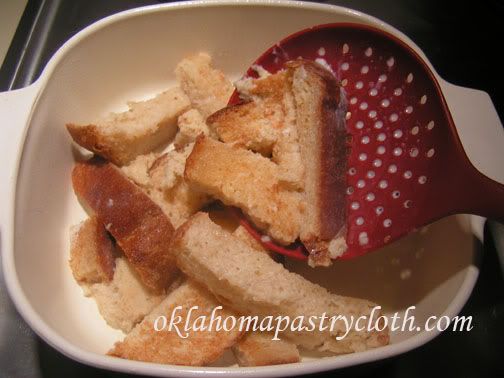 The directions say to spoon the bread into a buttered or greased ‘pudding dish’, but I looked up what that would be and I do not have one. It is made of ceramic or pottery and can be either oval or round and has a design on the bottom. So, I used the tried and true Corningware casserole dish! I sprayed my dish with spray olive oil. 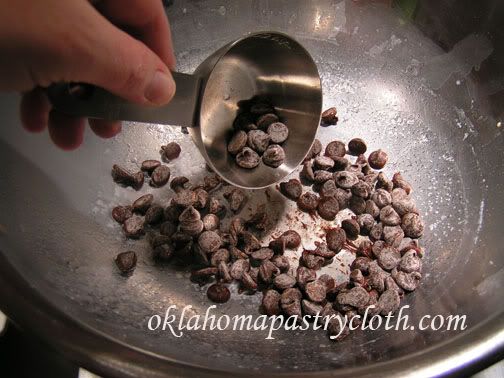 Pour leftover milk into a bowl and set aside. Place chocolate into the bowl.  Melt chocolate or chocolate chips in the bowl over boiling water.  Add just enough of the scalded milk to the melted chocolate to blend into a smooth mixture.  Add rest of the milk and blend. Add dash of cinnamon.  Add half the sugar and blend 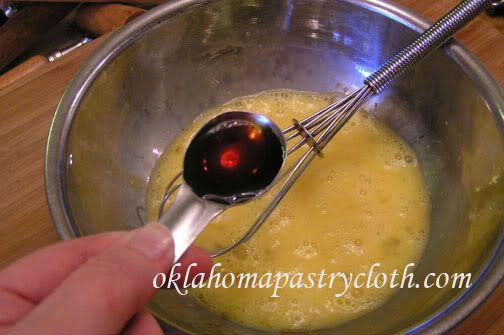 In another bowl, beat two eggs and add salt, sugar and the rest of the sugar and beat until creamy 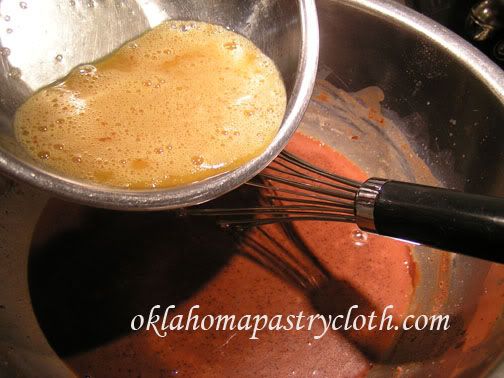 Gently pour, little by little, the egg mixture into the chocolate mixture whisking continually to keep the eggs from curdling. Stir until the mixture is smooth.  Pour chocolate mixture over bread pieces in the baking dish. Now this is where I had to do some guessing because it said, “Bake in a moderate oven until done.” I figured 350º for 45 minutes. That worked great. I have to remember with these recipes that the old stoves were more of a guess than a thermostat! 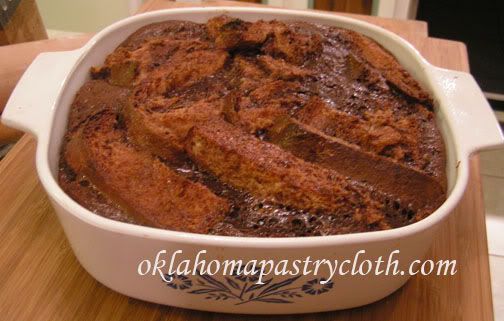 Test with a sharp knife or toothpick to come out clean. Allow to stand for a few minutes. The sides of the pudding will pull away from the sides of the dish. Serve warm with warm hard sauce that follows. 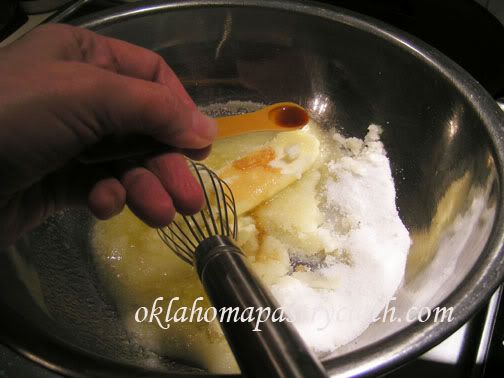 In a clean bowl over boiling water, or in a small double boiler, melt butter and add sugar and vanilla.  Stir until mixture is smooth and then gently add beaten egg, whisking continually to keep the egg from curdling. 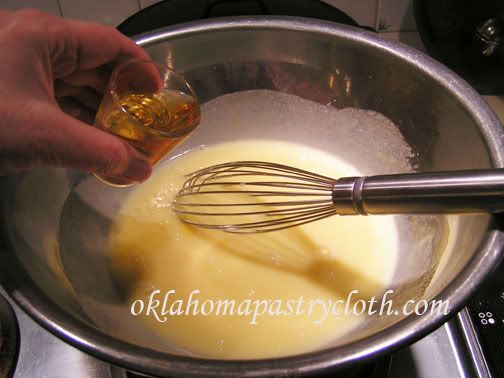 Add rum and stir.  Cook for about 10 minutes until sugar is completely dissolved and sauce is thick and smooth 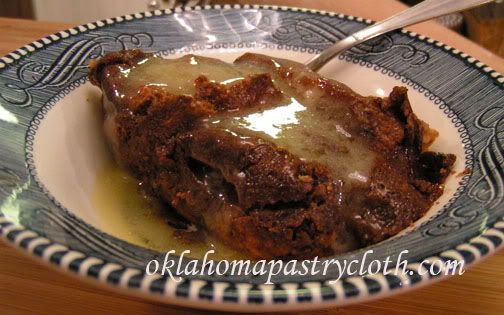 Spoon each serving of warm chocolate bread pudding in a bowl and ladle sauce over it. I promise, you will sit there and just sigh with joy. Leftovers of both sauce and pudding may be reheated. Table Manners:
 |
|
|
Oklahoma Pastry Cloth™ Company on Facebook
|
|
 |
|
|
No Gluten – No Sugar – Yeah, Sure
Thursday, September 29th, 2011
 This is more information than you probably need, but my spine looks like an “S”. Now back in grade school, it was a really cool thing to say, “I have SCOLIOSIS!” and grin as friends looked at me with the admiration of comrades who had absolutely no idea what I was talking about. But now, it isn’t so cool and my back can give me fits. No more horseback riding, no more high impact aerobics, no more motorcycle riding – ok, so I’ve never gone motorcycle riding but you get the point. Now, my days are spent in the office of Dr. Ryan Hanson, chiropractor extraordinaire and I have to say, I AM getting better. The goal is to straighten me out even though Mr. Fix-It has devoted his life to that project. I’m thinking that he’s going to find that even after Dr. Ryan has done his job on my back, I still won’t be straightened out in Mr. Fix-It’s world! Dr. Ryan’s office (we call him Dr. Ryan because he is in with his dad, the other Dr. Hanson), is totally devoted to a healthy lifestyle that includes healthy eating. Every so often, on customer appreciation days, his lovely assistants provide snacks for us patients. Now I am relatively new to the office and so I was shocked at my first customer appreciation day to see chocolate cupcake muffins adorned with tiny mounds of whipped topping and a fresh raspberry. Health-conscious fanatics don’t eat chocolate muffins with tiny mounds of whipped topping and a raspberry. Well, that is unless it’s carob. Yuck. Dr. Hanson encouraged me to be sure and grab a muffin before I left and I was assured there was no carob in the recipe. I went through my regular routine, and then, as I was preparing to leave, grabbed a cupcake and headed to the car. Sitting in the seat, I gently pulled back the cupcake paper and gingerly sampled a tiny bite. Oh my. It was sweet, chocolate heaven with a firm, white cloud on top. And so, after savoring the rest, I ran back into the office and demanded the recipe. Anything that good, that was supposedly healthy (which I doubted seriously) had to have an available recipe for my dessert repertoire. I got back to my car with recipe in hand, got situated, turned on the car and just glanced over at the recipe. The first thing on the ingredients list was black beans. BLACK BEANS?? What?? I searched for flour. None. I searched for sugar. None. There was no way in the world that the chocolate treat I had just inhaled was made of black beans. I had to go home and give it a try to prove the recipe to myself and to surprise Mr. Fix-It. I have this mean streak in me that likes to play tricks on my husband. I made them and they were a success – until I told him about the beans. He still had to admit that they were good, though. I even shared them with a friend. She wasn’t too keen on the fact that there were beans in the making either, but she admitted that they were good, as she licked the last crumbs from her fingers. So if you are trying to lose weight or eat more protein, cut back on sugar or cut out gluten, these little jewels are just for you. They are wonderful for kids’ snacks and healthy as all get out. But they taste sinful!! Here’s is the recipe. Try them and let me know what you think!! 1 – 15 ounce can of unseasoned black beans drained Coconut Milk Whipped Cream Nutritional Info  I must begin with an explanation that the recipe called for all kinds of separate actions like beating the eggs, etc and then adding to the bean mixture, but I am a lazy cook in many ways and I just tossed all those ingredients into the blender and blended the fire out of them. First, I added the beans. And they were cheap beans.  Next I added the 5 eggs  …and salt  I used coconut oil, but I bet butter is awesome too  Then I added the xylitol and stevia which can be purchased at any healthfood store or online  Next came the cocoa, baking soda and baking powder  …and the water. Then I blended and blended and blended until I had a smooth, consistent batter.  I put cupcake papers into muffin tins for 18 cupcakes and carefully poured the batter in to fill about three fourths full. Bake at 350º for 20 – 25 minutes or until toothpick comes out clean  Top the cupcakes with either the coconut milk whipped cream or the chocolate frosting and garnish with a raspberry. At first I thought that I liked the chocolate topping best, but I realized that you have to let the cupcakes with the whipped cream set up in the frig before eating. Makes the topping harden up and I decided that I like it better than the chocolate at that point but they are both good. To make the whipped topping, open a can of coconut milk that has been refrigerated overnight. The water will have separated from the solids and you will have a big chunck of white solid in the can. Drain out the water and add the solid to a bowl. Add xylitol and whip until well mixed. Put about a half to one tablespoon onto each cupcake. To make the chocolate icing, place xylitol into blender and blend until it is powder. Cream xylitol and butter together. Add salt and vanilla and then slowly add cocoa. Slowly because it will explode into a big poof if you don’t. Add coconut milk and then slowly add regular milk until a good consistency to spread. You can add the egg yolk if you want a more traditional, glossy icing. Spread on top of the cupcakes.  |
|
|
Oklahoma Pastry Cloth™ Company on Facebook
|
|
 |
|
|
Old-Fashioned Southern Chocolate Pie
Monday, August 22nd, 2011
|
Friday, I had the pleasure of seeing the movie, “The Help”, at our incredible Warren Theater in Moore, OK. The Warren Theater is a step back into the nostalgic mid-1900’s of Art Deco, complete with plush curtains over the screens, raised at just the right moment in pleated velvet splendor, personnel dressed in brass-buttoned waistcoats, taylored pants and white gloves and even a large balcony dinner theater for dinner and a movie. One can spend a Fall afternoon in that particular entertainment venue, munching on hotdogs and chips while watching an OU football game live on the big screen. “The Help” is a wonderful combination of humor, drama, tears and intrigue all wrapped up in a visual treat of 1960’s decor (“Oh look!! There’s our family’s old coffee table!”), vintage cars, 5¢ bottles of coke and amazing home cooking. Without revealing too much, I’ll just say that a central theme throughout the movie kind of revolves around one character’s chocolate pies. Minny is portrayed as the best cook in town and her pies are a specialty. I left the theater wanting an ice cold coke in a bottle and a piece of old timey Southern chocolate pie. Yesterday, I could stand it no longer and so, while I didn’t get that coke, I did get that chocolate pie. Rich!! Oh honey. You can only eat a small slice. But yuuuuumy!! Mr. Fix-It is now stuffed with pie and ready to go see the movie, himself, so I get to see it again! So here you go with a recipe for after you see it. Oh! And you can use my first recipe for pie crust found here, or you can use your own favorite pie crust recipe or I have provided a new one below that was given to me by a friend, Kathy.
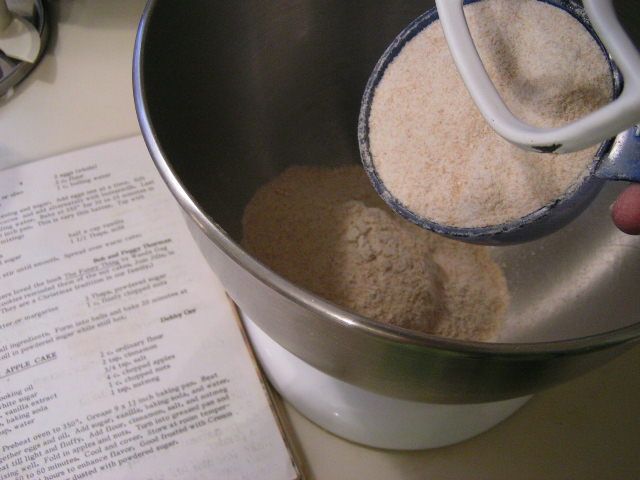
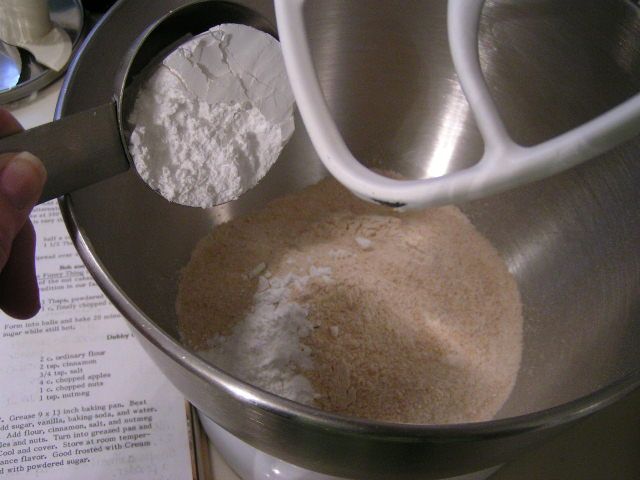
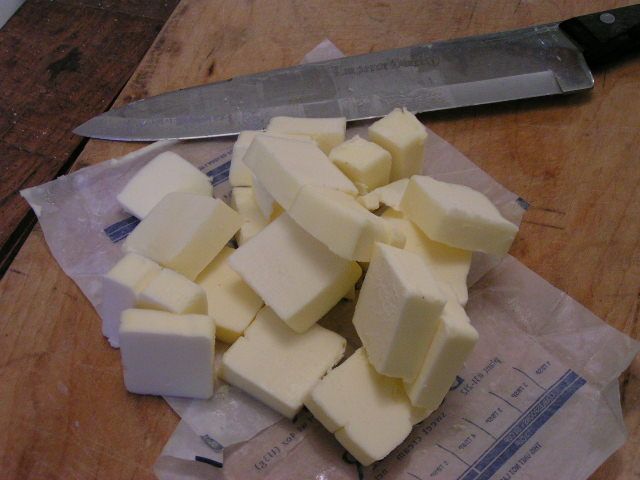
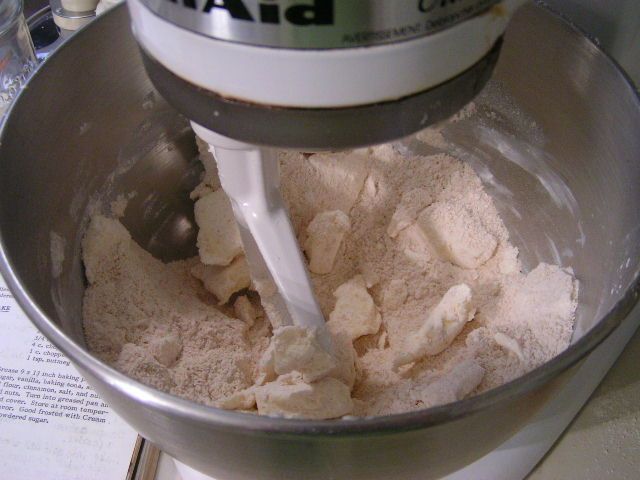
 In a bowl, place 3 cups of flour. I am using home ground whole wheat pastry flour here, but you can use all-purpose and that is great.  Add shortening to the flour.  Add salt to the flour and shortening and cut in the shortening with either a mixer and blade or with a hand pasty cutter.  In a separate bowl, combine egg, water and vinegar and whisk until beaten. Add to the flour mixture and stir or mix until a ball forms.  Divide dough into two equal balls. (I use a scale and weigh) One will be used for a large pie shell. Store the rest in the frig for another shell. Or for small pie pans, you can get three single pie shells from this recipe.  For a slightly sweet desert crust, sprinkle powdered sugar on the bottom of the pie plate or tin  Roll the dough on your Oklahoma Pastry Cloth™ to just a little smaller than your pie pan. Place the crust into the pie pan and then press to mold into the pie pan and leave an edge.  Flute the crust using a knife and forcing the crust edge between two fingertips. Place the pie pan and crust into the frig while you prepare the pie filling.
 In a small sauce pan, place chocolate chips  Add canned evaporated milk  Add butter. Heat on medium heat and stir until all ingredients are melted and incorporated into a smooth sauce. Remove from heat and cool slightly.  In a separate bowl – I’m using my McCoy bowl to go right along with the movie. Look for one just like it in one of the scenes – add sugar, flour, nuts, salt and vanilla.  Stir ingredients until nuts are coated.  Slowly stir in chocolate and mix until all dry ingredients are incorpoated with the liquid ingredients.  Whisk in egg quickly until smooth  Pour batter into prepared pie shell and bake at 375º for 40 minutes or until firm.  Cool completely  Cover with either whipped cream or meringue. (I use whipped cream. Not a big meringue fan) |
|
|
Oklahoma Pastry Cloth™ Company on Facebook
|
|
 |
|
|
Cookies and Counsel
Thursday, August 11th, 2011
 This post is going to be a little different. I’ve been thinking and that is always dangerous. I tend to wax a little philosophical when I think and that’s not always a good thing. However, it’s possible this time I might have stumbled onto something that I can actually pass along. I have discovered that I am WOMAN and that all other ladies are too. You may be asking at this moment whatever prompted me to this absolutely astounding discovery. And of course, you KNOW I’m going to tell you. Well, it started like this: Yesterday, I had the pleasure of entertaining some friends from Tennessee who were passing through on their way home from dropping off a military son at our nearby Army base. These are friends from wayyyy back and we’ve shared many jokes, hijinks and dinners over the years. The wife is mucho talented in sewing, embroidery and interior design. Her sense of color is just amazing. I’ve always been in awe of her seamstress abilities and have learned so much from her to apply to my own sewing projects.  This husband and wife entered the OPC™ digs and immediately noticed the row of freshly canned beef stew and dog food lined up on a towel from the soapy washing I had just put them through before storage. The first question was, “What’s that?” and then the second was, “Why?” I explained how I make stew and soup for the winter, as well as other tasty concoctions (this does NOT include the dog food) and we began talking canning and dehydrating which then led into grain grinding and bread baking. The long and the short of it is that, while my little group then visited with another friend on the same topics, the friend commented that I can do anything and my two friends from Tennessee nodded their heads in serious agreement, as if they could not. Now I know..I take that as a compliment. HOWEVER, I don’t do everything and the truth is that all of them and all of you can do anything you put your energies toward. The secret is having the desire to try. I have to say that it is so gratifying to hear this desire in so many of you readers and it excites me to no end. When I have an email from you with questions or with excited descriptions of your successes, it just makes me grin. You teach me too and I am discovering all kinds of wonderful projects compliments of readers. Each of us has unique talents, but all of us also have the ability to learn new things. When we branch out into new and out-of-our-comfort-zone adventures in homemaking, we add a whole new dimension to what others try to paint as “hum-drum”. To me, there is nothing more exciting than learning how to do things that provide for family and friends. And for me, in my walk with God, it is one of the ways that I can honor Him – by honoring other people through homemaking skills. There are two scriptures that are the basis of this particular desire in my life and those are Titus 2 and Proverbs 31. Titus 2:3-5 is easier for me because I’m older (check), I love to talk and teach (check), although I am quick to give my not-so-important opinion even when it isn’t wanted (not an attribute sanctioned by that particular scripture!), and I truly want to do for younger women what older women did for me when I was young. Proverbs 31, however, used to make me feel like the worst female on earth. The Proverbs 31 woman is Superwoman. Then I realized that I was looking at her the way my friends were looking at me the other day. I have all the makings of a Proverbs 31 woman and just have to be willing to let God guide me in trying all of those things that will make me His Proverbs 31 woman. I may not sell “purple” but I can paint a purple flower and sell it!! She is a guide – a map – not a checklist. So, put on those aprons, or pearls, or overalls or dresses and dive into something new. And be sure that after you learn to do that something new, pass the knowlege on to someone else. Teach, encourage and lift up! I am WOMAN! Hear me roar! I can hear you roaring too!! 🙂  And now I am going to do a shameless commercial. I’d like to introduce you to what can be done with my Aberdeen Shortbread Cookie Mix! You can find it at the shopping page.  All you add is melted butter to the mix  And mix it  I’m using ceramic molds here and have liberally oiled them. You can use cookie cutters or plastic molds to shape your cookies.  Then the ceramic molds are floured and the cookie dough is pressed into each one  After baking, the cookies are cooled and the edges gently smoothed  Decorate and give as gifts. Or purchase a bag of our Aberdeen Shortbreak Cookie Mix and tie a cookie cutter with a ribbon to it and give that as a cute gift. |
|
|
Oklahoma Pastry Cloth™ Company on Facebook
|
|
 |
|
|
Fresh Coconut Pie – How to Crack A Coconut
Thursday, July 14th, 2011
|
Coconuts have always held a fascination for me. They’re like big, round, oversized Brazil nuts with hair and if you look at them square on, they look like little spider monkey faces! My father used to bring home coconuts for us to open, letting each of us 4 girls crunch on a chunk of the white meat as we watched him crack the next ones. Mom would deal with the rest, grating it and freezing it for use in baked products. It had to be baked because my father was dangerously allergic to fresh coconut and fresh coconut milk. But he liked coconut as long as it was cooked. Fresh coconut has a totally different taste from commercially shredded and bagged. It is crunchier, lighter tasting and not very sweet, hence sugar on the bagged stuff. I found some coconuts on sale at our local grocery for 50¢ each and so I grabbed three. Fresh coconut pie was calling my name. Mr. Fix-It loves coconut pie, so what better way to impress him than to make it straight from the tree?!  Mr. Fix-It assumed the responsibility of cracking open my grocery prizes and poked the “eyes” with a washed nail setter to open holes for the juice to escape. It’s a “He-Man” job after all.   As I counseled him to wrap each coconut in a towel before tapping with a hammer, (well, that’s the way WE did it when I was growing up) he gave me that “I dun’ need no stinkin’ towel” look. He proceeded to break the heavy hulls of the nuts in several places and proudly pointed out that he had not sent pieces flying. OK, so he’s good, but if you want to save a mess, wrap your whole coconut in a towel before breaking.  By sliding a table knife between the shell and the meat, the meat easily pops out with some of the shell membrane still attached.  Using a paring knife, peel off remaining shell – only don’t do it like Mr. Fix-It, who is cutting toward himself!!  Using a hand grater or the grating wheel on your food processor, grate coconut. 
 Bake a pie shell and set aside to cool  Put the sugar, cornstarch and salt into a saucepan that is not heating.  Pour coconut milk into a large measuring cup and finish to level 3 cups with cows milk.  Pour the milk mixture into the saucepan and stir until sugar and cornstarch are dissolved.  Beat egg yolks and add to the saucepan, stirring mixture to fully incorporate  Bring mixture to a boil over medium heat, stirring constantly to keep from sticking and from getting lumpy. As mixture thickens, let boil one minute.  Remove from heat and stir in butter…  and flavorings  Add coconut  Stir coconut into filling mixture  Pour filling into pie shell  Cover with plastic wrap and tap with your hand so that wrap touches the filling. Place in the frig to cool for at least 2 hours.  Remove from frig and cover with whipped cream or cool whip and sprinkled with toasted coconut.  For an extra zing, add grated chocolate. It’s a Mounds Bar flavor! |
|
Oklahoma Pastry Cloth™ Company on Facebook
|
 |
Summer Treat
Monday, June 20th, 2011
 Continuing on my journey, I’ve moved from the red clay of Georgia to the Smoky Mountains of Tennessee. Oh my. How beautiful they are. It kinda gives the ol’ gut a wrench when I take in those cloud-covered peaks, old and worn, green and inviting. These are my old stomping grounds, but now I’m a ‘flatlander’. It’s ok, though. I don’t have to deal with this traffic out in the plains of Okie land!!!  I am staying in the mountain guest home of a wonderful family neighbor who has been so gracious to open their doors. I’ll be heading back to the Great Plains with pots of spearmint and pineapple sage from Brennan’s garden. I figure they will be great additions to homemade soaps. It is Father’s Day and I got to spend it with my dad (and Mom!). 850 miles is too much distance for sure, but I made it! Sunday worship at my folks’ church, a wonderful meal at a Japanese restaurant and an afternoon just sitting around and making memories completed the day. You see, my dad is all about making memories and when my family gets together we share those memories with lots of humor. My dad is an amazing cook and many of those memories have a backdrop of meals that he prepared. One of my memories is of Sunday summer nights, after “Training Union” and the Sunday night service at church, with the six of us – parents and four daughters – elbow-to-elbow around the table, munching on a fruit plate of watermelon, canaloupe, fresh cherries, oranges, peaches or nectarines, pineapple and grapes with maybe some cheeses and most definitely with orange or pineapple sherbert. That was supper! We thought it was wonderful. Dad and Mom worked side-by-side to put together a pretty arrangement of goodies for all of us. And so, tonight, when I caught my father, at 84, putting together a similar concoction for our Sunday night dinner, I decided to grab it in pictures, his hands still deftly slicing fruits in a labor of love.  Bananas, oranges, grapefruit and pineapple went into a bowl  Crunchy Red Delicious apples were added  Red grapes added more color  A dollop of smooth and creamy vanilla yogurt and a plate of Oatmeal Cranberry Walnut cookies (Mom’s version of my Georgia aunt’s ‘rock’ cookies) made for a healthy meal of fruits, whole grains, and protein. Yep. We know how to live! And memories have been made afresh. Oven: 375 degrees 10 – 15 minutes Cream shortening and brown sugar. Add eggs and beat well for 2 minutes. Combine dry ingredients. Then alternate with sour cream and add to creamed mixture. Add vanilla extract. Add raisins, oats and nuts and mix with spoon. Drop by teaspoon on cookie sheet. Bake in 375 degree oven 10 minutes for soft cookies and 12 to 15 minutes for “rocks” if you like crunchy cookies. Remove from pan to cooling racks immediately. |
|
Oklahoma Pastry Cloth™ Company on Facebook
|
 |
Lemon Curd
Monday, May 30th, 2011
  A number of posts ago, I put up my own, special scones recipe and intended to post my favorite lemon curd recipe shortly thereafter. As good intentions usually go, mine disappeared into the oblivion of a ‘To Do List’. Does anyone ever really do what’s on their ‘To Do List”? I mean, my list grows to at least three pages and then I see something on page three that should have gone onto page one and the next thing I know, the list is in the trash and I’m digging around for something to eat. I know. You’re supposed to just list the most pressing items in the manner of “How do you eat an elephant? One bite at a time.” However, I’ve never even thought about eating an elephant and I’m not all that good at determining which is pressing, which is nagging and which is “get it done now or the IRS is coming to put you under a bright light for interrogation!!” And so my list grows exponentially and I get sidetracked. I’m easily diverted. Take for example, today, while working in the garden. I had a mental “To Do List” that was at least five pages long and I decided to tackle #2 on page four – weed the onions. We’ve had some good rain and a really strange grass has grown up for the first time ever in my onion rows. My onions have been coughing and gasping for help and so I felt that this might be a “pressing” matter. I began weeding and had that wonderful sensation of accomplishing something as foot after foot of dark, rich dirt became exposed and completely clean around my Texas 1015’s. I had finished row two when a bright red color caught my eye. Two beds over, more raspberries were ripe! Oh! And blueberries too. I had to go get a bag to pick them and left my other rows of onions helplessly begging me to please continue the weeding. Ignoring them, I picked berries, sneaking a lucious bite on occassion, and finally headed in to wash them and get them laid out onto cookie sheets for freezing. As I patted the raspberries and blueberries dry, they made me think of making jam, which made me think of things on which to put jam, which made me think of scones, which made me think of lemon curd which reminded me that I had not posted my favorite recipe. Add to that, a gentle reminder from one of my readers to post it or else (actually, it was my sister-in-law but she’s a reader), and lemon curd went to the top of my ‘To Do List’ that really doesn’t exist. And so, the onions have been left for another day. Hopefully, you are more disciplined than I, but I have to say, it’s not so bad. Mr. Fix-It says that I wake up each day to a whole new world. That’s good, right? VARIATIONS: Substitute Lime juice and lime zest or raspberry juice and 1 tbsp crushed raspberries or concentrated orange juice and orange zest 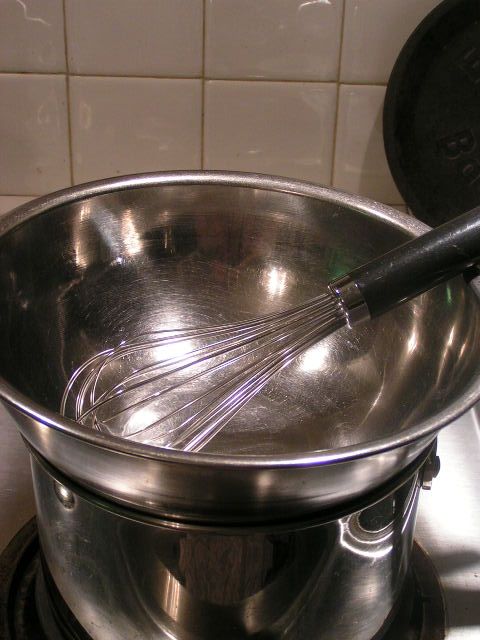 I have a double-boiler and you can use one if you like, but I like to use a shallow stainless steel bowl over a pan of boiling water in which to make my curd. It makes it easier to whisk the entire area of curd without having to deal with the side crevices of a pan. This gives me a much smoother curd that does not have to be strained for lumps. 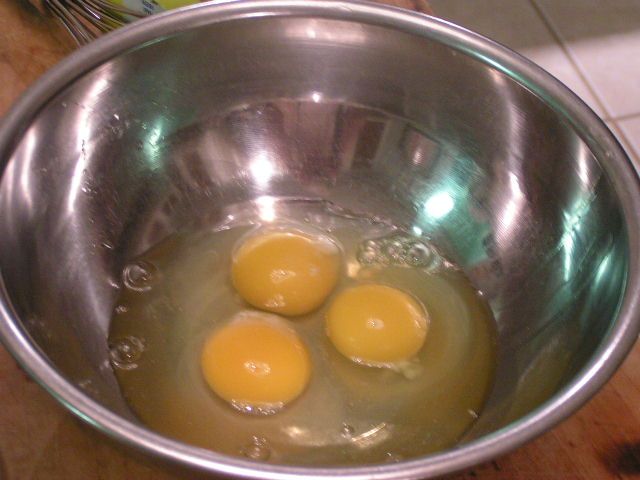 Place three large eggs into the bowl or double boiler 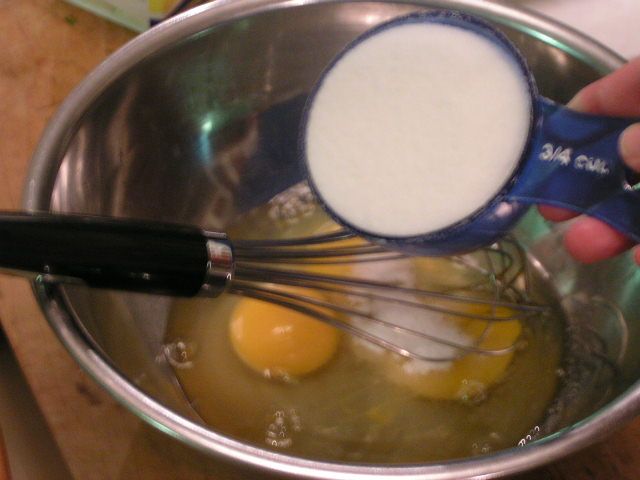 Add 3/4 cup of sugar 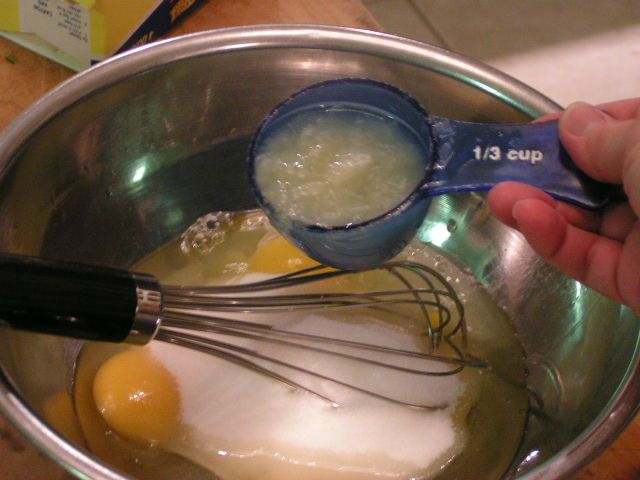 And 1/3 cup of lemon juice 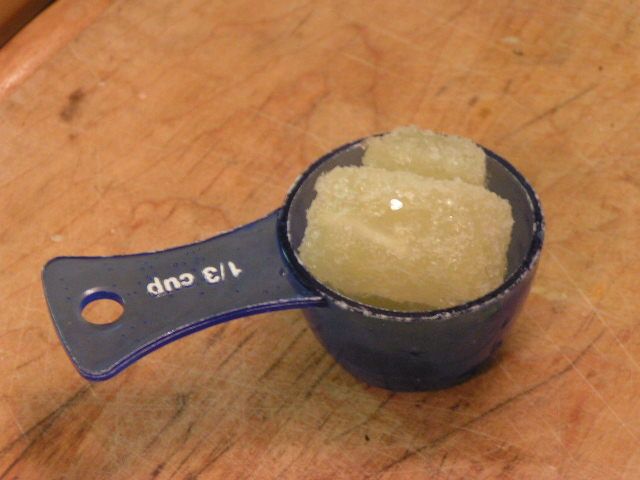 Just as a hint, I buy my lemons in bulk when on sale and juice them all, freezing the juice in ice cube trays. I pop them out and store them in the freezer in bags. I freeze the leftover rinds for easier zesting. This is one recipe where my dehydrated lemon zest is just not as good. I melt the frozen juice in the microwave 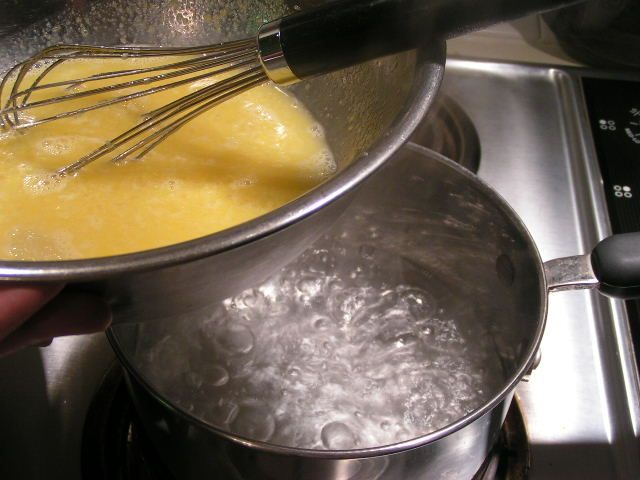 Place bowl over boiling water and immediately begin whisking 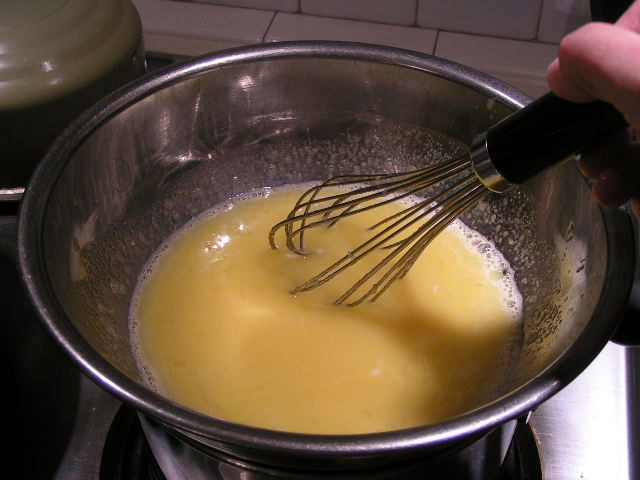 Continually stir with the whisk and do not let the curd stand idle at all in order to keep from getting lumpy 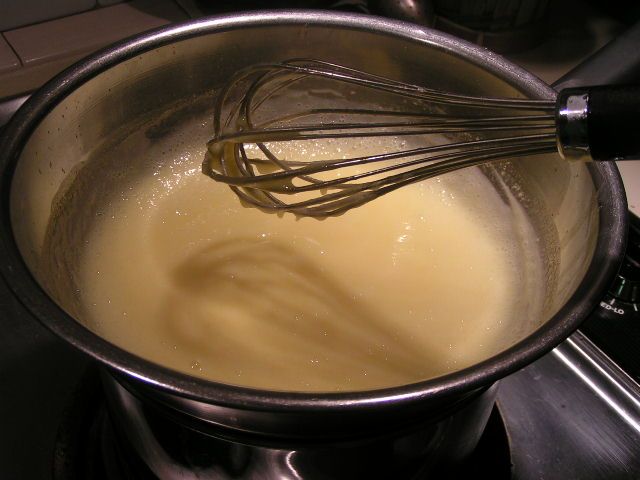 The curd will begin to thicken to the consistency of thin pudding. This takes about 7 -10 minutes. If your curd gets lumpy, you can strain it through a strainer. 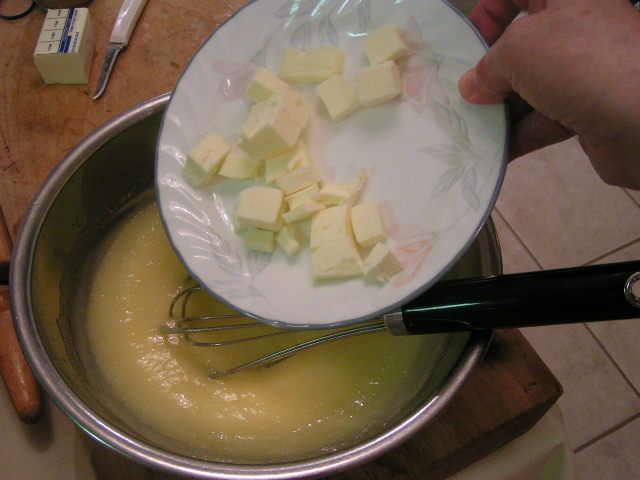 Remove from heat and immediately add butter 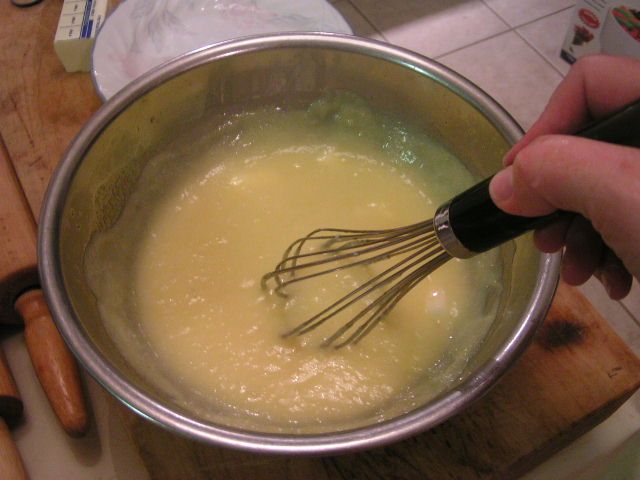 Stir until melted 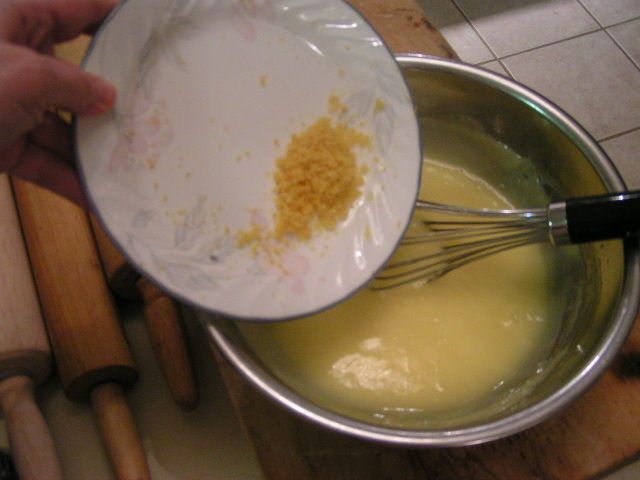 Add lemon zest and stir in 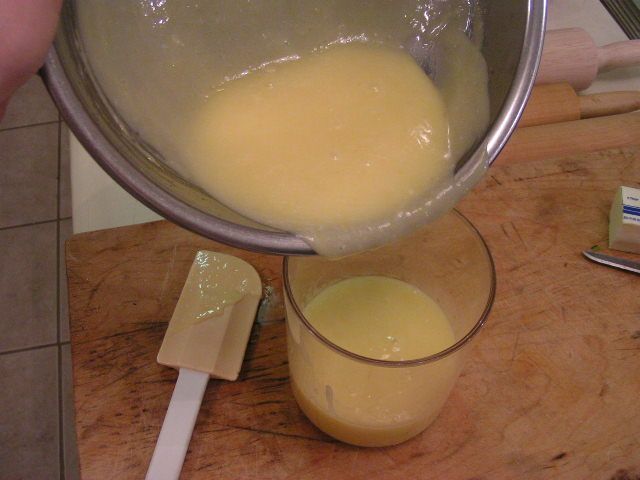 Pour into a container and allow to cool. Place in frig. If you do not plan on eating all of the curd right away, you can pour it into ice cube trays or small refrigerator dishes to be frozen. Remove from freezer and allow to thaw about 20 minutes before serving. 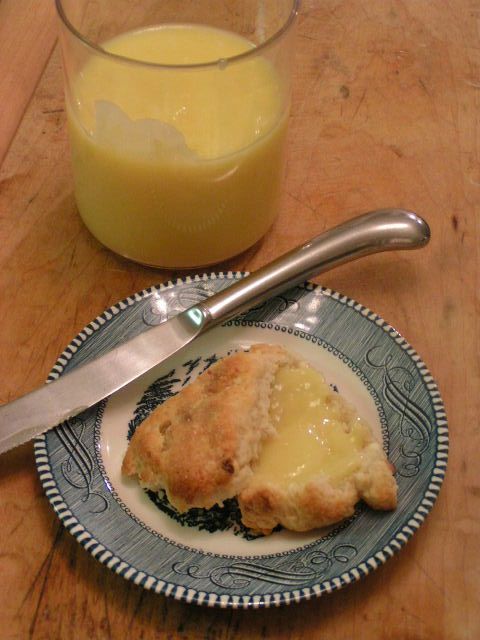  There is just nothing like lemon curd on scones. Here, I am serving our Victorian House Scones made with 1/2 cup white chocolate chips and 1/2 cup Craisins added. The Victorian House scones are wonderful to keep on hand when you don’t have time to make them from scratch. One package makes 16 large scones. Check them out at the shopping page. |
|
Oklahoma Pastry Cloth™ Company on Facebook
|
 |



 Homestead Revival
 Paratus Familia
 Rural Revolution