Archive for the ‘Canning and Food Processing’ Category


All That Flowers is Not Hibiscus

Wednesday, August 26th, 2009

Photobucket
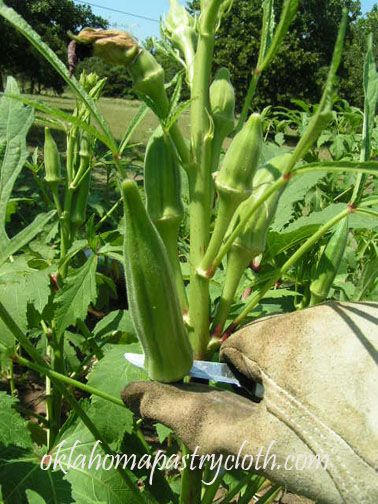
Cutting okra requires gloves and a long-sleeved shirt.

Photobucket
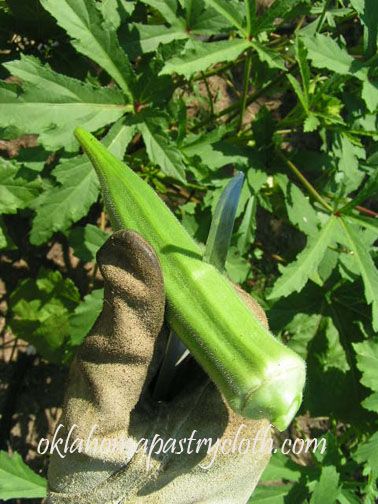
To test for toughness, make a slight cut into the pod. The knife should easily slice through the surface.

Photobucket
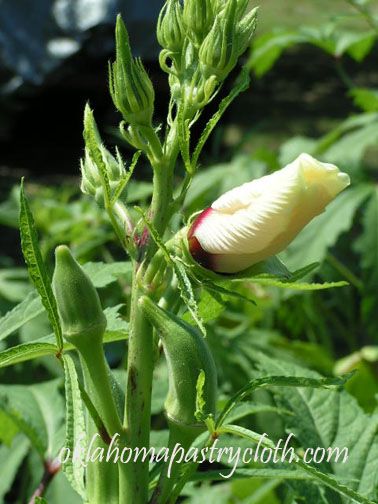
Okra flower

Photobucket
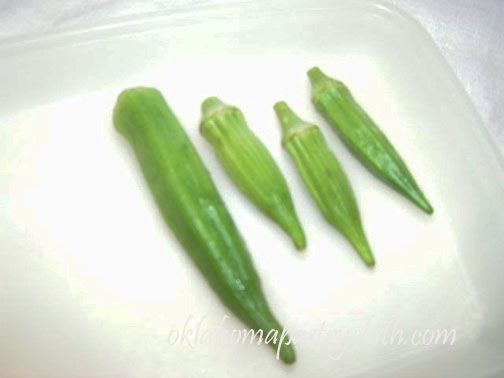
The okra pods will be various sizes and you can separate them according to the sizes for particular cooking methods. The smaller pods are great for boiled okra with butter and salt. The medium sizes are great for pickling and all sizes are suitable for frying and soups.

Photobucket
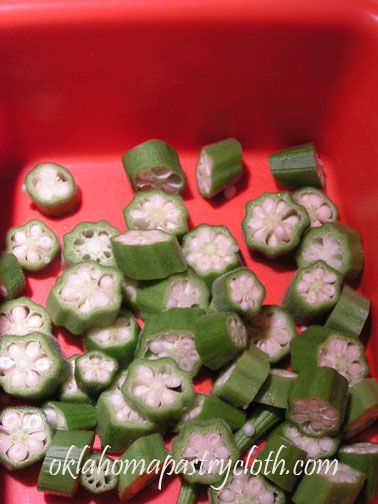
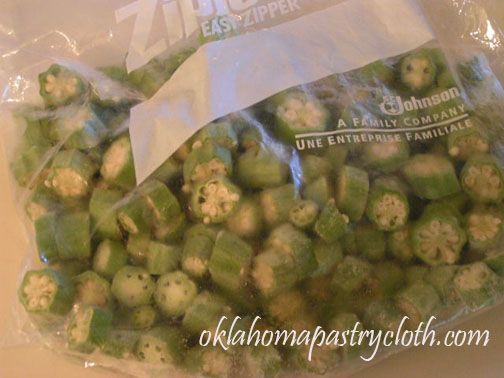
To freeze your okra for frying, cut the pods into bite sized pieces and place into a deep container that can be covered.

Photobucket
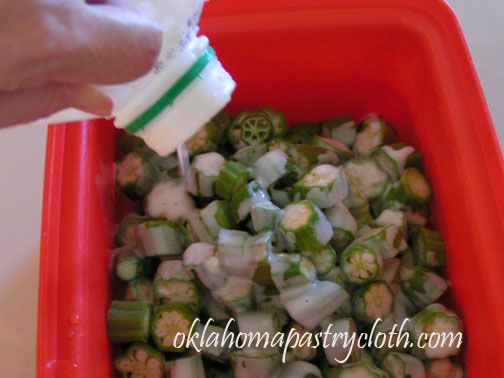
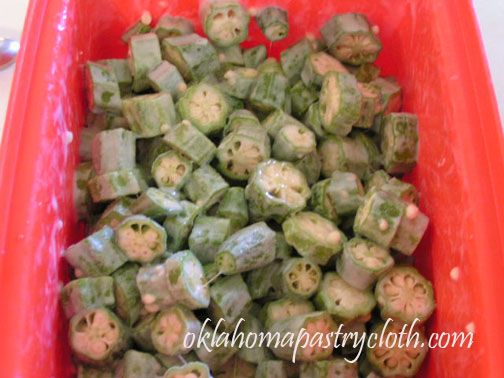
Add enough milk to the container to coat the pieces. I like to use buttermilk. Don’t worry about using too much, because you can drain off any excess.

Photobucket
Cover and shake to coat.

Photobucket
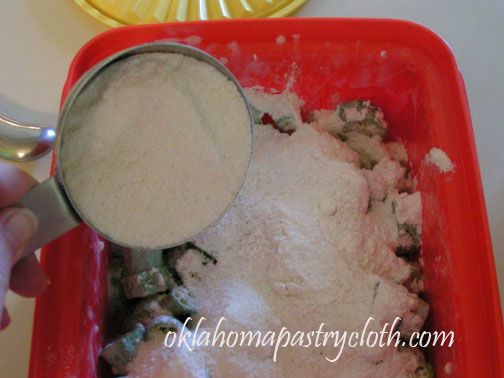
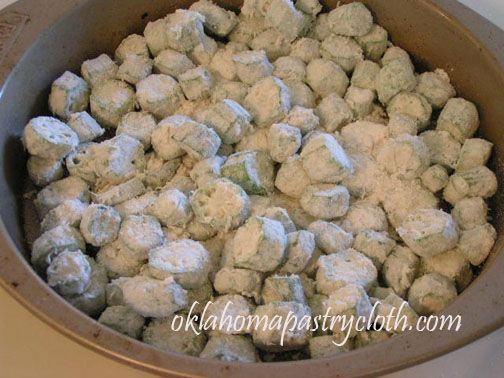
Next, add half a cup of flour and a half a cup of cornmeal. Cover the container and shake to coat the okra pieces.

Photobucket
This okra needs more covering so I will add equal amounts of more flour and cornmeal. I do not add salt until after I have cooked okra because salt can make the crust tough.

Photobucket


Photobucket
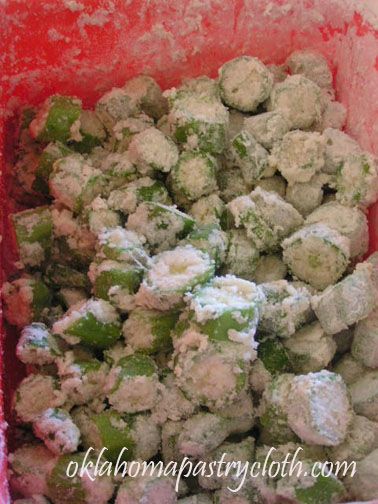
Cover and shake again. This okra is adequately coated.

Pour okra into shallow cake pans for small freezers, or onto cookie sheets for larger freezers and spread evenly over the surface. Freeze.

Photobucket


Photobucket

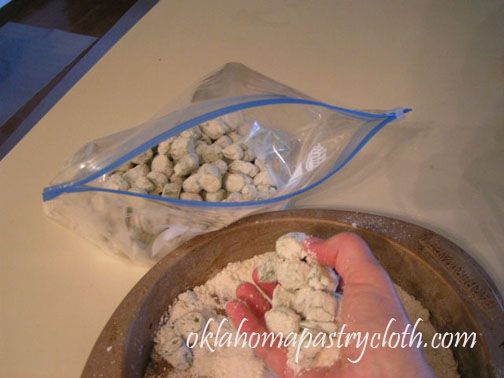
When the okra is frozen hard, using hands or slotted spoon, sift frozen okra and place into freezer bags and label. Freeze leftover coating for future okra.

Photobucket

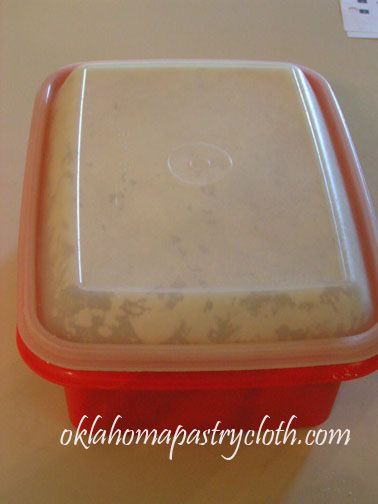
Uncoated okra can be frozen the same way for soups and for the recipe that follows. Do not pre-scald okra to freeze, but just freeze it fresh off the stalk. Placing the pieces on a shallow dish to pre-freeze makes it easy to take out only the amount that you wish to use for each meal. The pieces are not clumped together in a big mess.

One of my favorite ways to make okra was taught me by my mother-in-law who never measured anything. She just brought a basket of goodies in from the garden and started throwing things together. Her version of “Okra and Tomatoes” is great. She used fresh tomatoes, onions, garlic and okra from the garden, but “store-bought” is just fine.

You need one good-sized tomato per person, chopped into small pieces
Around 6 medium okra pods per person
1 medium onion, finely chopped
1 clove garlic, minced
1 tbsp real butter or 1/2 tbsp olive oil
1/4 to 1/2 cup of grated or shredded parmesan cheese, depending on taste
Salt to taste

Photobucket
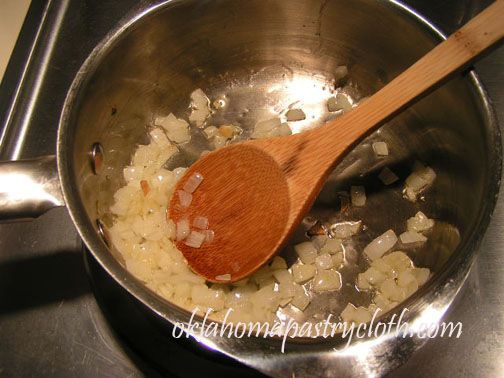
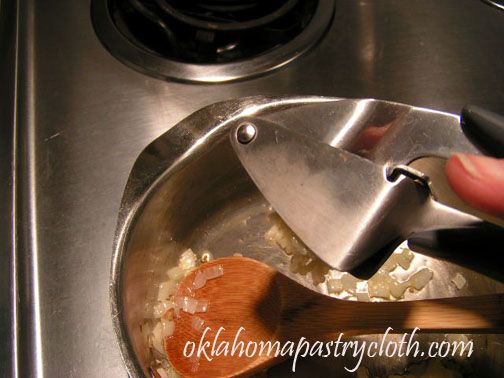
In a saucepan, saute onion in butter or olive oil until onions are transparent. I use olive oil.

Photobucket
Add garlic and stir.

Photobucket


Photobucket
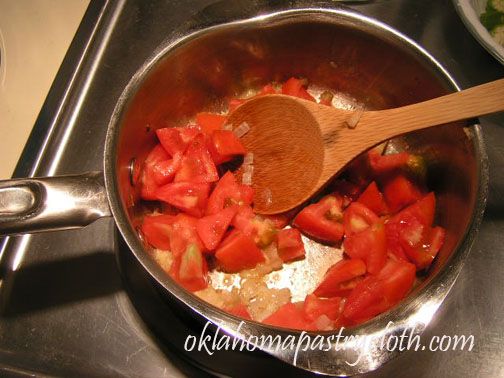
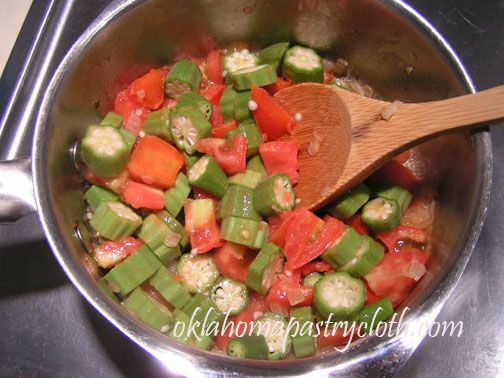
Add tomatoes and okra and stir until heated.

Photobucket
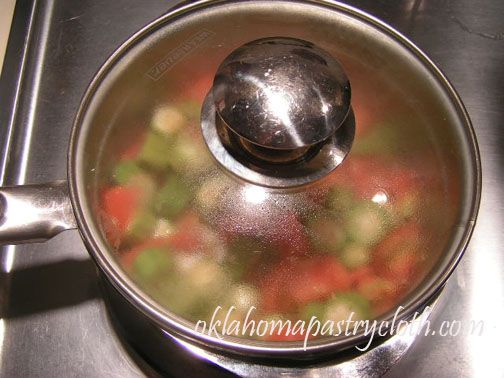
Lower heat and cover to simmer until okra is tender – about 15 minutes. (a little longer for larger amounts)

Photobucket


Photobucket
Add salt to taste and quickly toss with parmesan cheese to taste. Immediately remove from heat and serve as a side vegetable.

Photobucket
Yummy! Dig in!


You Say Tomato; I say To-mah-to

Wednesday, July 29th, 2009

Many years ago, when I was in high school, my family, on their way to a summer in Maine, stopped to visit The Brotherhood of Christians also known as The Bruderhof, in Rifton, New York. At that time, any visitor joined in with the work that was the life sustaining neccessity required of every member of the community. The community produced and processed its own food, had its own school, and had a toy factory that manufactured very special and well-made wooden toys. The atmosphere was pleasant, friendly and quiet, but my sisters and I – looking forward to proms, graduation and meeting friends at the mall – were unsure about this way of life that was so alien to us. We were city girls who had no concept of being shut away from the world.

I truthfully have just scattered memories of the time spent at this community of The Bruderhof. Men and women dressed in the same style of dress, small apartments and a huge community ‘mess hall’ where all shared a meal at noon – a dish that we dubbed ‘Community Casserole’ that was a delicious combination of sauteed onions, celery, ground beef and rice, tea time, my father returning from a day in the toy factory all covered in sawdust and a farm of livestock and gardens that fascinated me, comprise the main of my recollections. However, spending a day peeling tomatoes for ketchup production stands out the most in my memory. I had never seen so many tomatoes in one place and I had never experienced peeling blanched tomatoes; skins slipping off of not-quite-soft whole tomatoes, juice running between fingers, across palms and down the forearm to drip, elbow as a spigot, onto the floor, into the lap or by happenstance into the bowl. To me, it was hillarious that I was even doing it and it has since become a family laugh. I’m pleased to remember that I threw myself into the work with gusto and considered that I was playing an important role in the continuing existence of this group of people…ok…so I’m pleased to remember it that way, but I’m pretty sure that I was not all that altruistic or enthusiastic.

It was the copper kettles that form my vision of the day the most. In the large room where we worked, a huge copper kettle over flames contained boiling water into which fresh tomatoes were dropped for an instant and then retrieved to put into ice water. These cooled tomatoes were transferred to us, peelings split and curling, ready for our knives to help continue the process of removing the skins and cores. The naked tomatoes were then sent to other large copper kettles where they were boiled down with spices and vinegar to make ketchup. It was my introduction to “canning” and left an indelible impression of heat, moisture and the overpowering smell of warm tomatoes. Those sensations revisit me every year as I now produce my own tomato products from the juicy, red jewels gathered from my garden. Who knew back then, that this city girl was a farm girl at heart?!

And so, with this post, I thought that I would invite you into my kitchen for a quick lesson on canning tomatoes. I have had a bumper crop this year with several “pounders” or larger, with an average size of nearly 3/4 pounds per tomato. I have had no hornworms or aphids and the typical fungus prone to Oklahoma seems to be in check. Blossom-end rot appeared at first, but was nipped in the bud (pun intended) by a healthy dose of lime and I have had no need for any kind of pest control at all. What a great year! I feel pressed to make use of every garden gift, wasting nothing, realizing that in Oklahoma next year may be a total bust!

Canning Quartered Tomatoes

Step 1: Wash fresh, firm tomatoes and leave whole. Bring water to a boil in a large stockpot and drop in tomatoes until full. Allow water to return to a boil, but watch for tomatoes as skins begin to split. Remove those tomatoes one by one and drop into iced water.
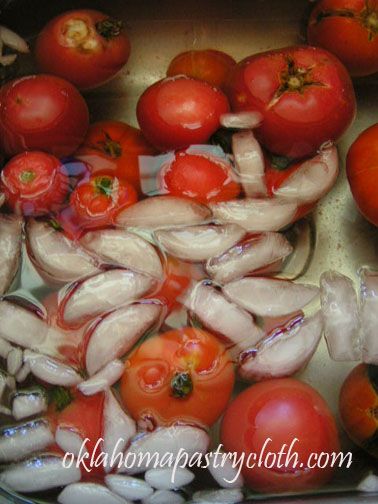
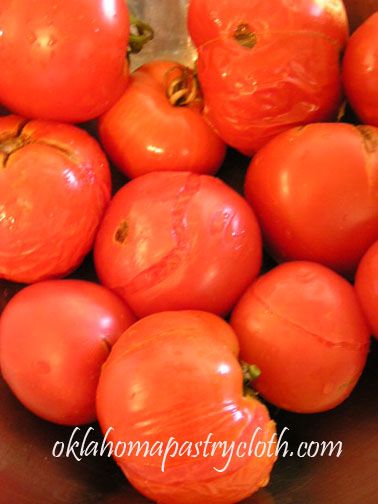
Photobucket


Photobucket

Step 2: In order to catch extra juice, over a large bowl remove the top center of each tomato with stem and lift peel off of the fruit. Place refuse into a second bowl. Quarter the tomatoes and place into the large bowl.
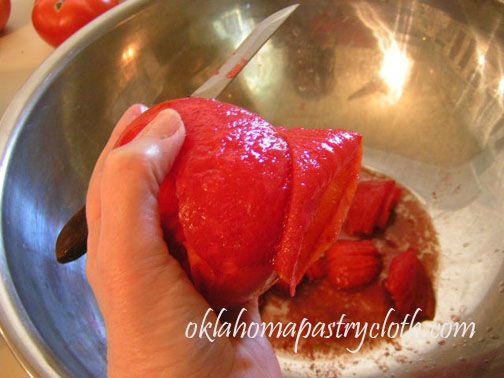
Photobucket


Photobucket

You can also juice the tomatoes and can just the juice if you like. My GreenLife Juicer makes quick work of the tomatoes.

Photobucket

Step 3: Place tomatoes and juice into canning jars to within 1/2″ of the top of the jar. Add 1/2 tsp. canning or uniodized salt to each pint or 1 tsp to each quart. Use a knife to gently move around the inside perimeter of the jar to remove any air bubbles.
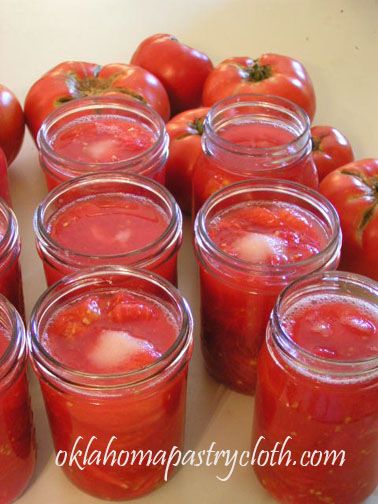
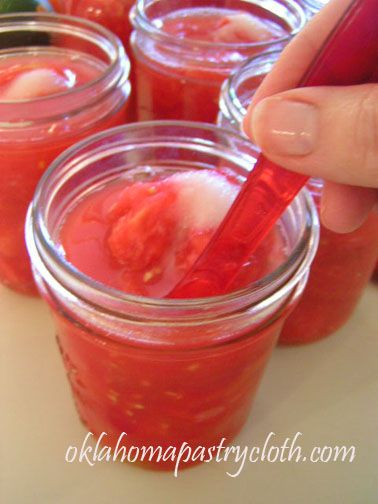
Photobucket


Photobucket

Step 4: With a damp cloth, wipe the tops of the jars to remove any juice, salt or pulp. Using lids that have been boiled and then kept warm in the water, place lids and rings onto jars and tighten, but not too tight.

Step 5: Because tomatoes are so acidic, they do not have to be pressure-canned like green beans and other low acid foods. The process used to can tomatoes is called ‘waterbath canning’ and is much less time consuming. A waterbath canner is simply a stainless or enameled large stock pot with a rack. Fill the canner about halfway with cool water and balance the rack on the top edge of the pot out of the water. The rack has handles that help to accomplish this. Place the jars into the rack and, when full, lower the rack of jars into the water. If the water level is not one inch over the tops of the jars, add more water. Bring the water to a boil and at the point of boiling, set a timer for 10 minutes. When the timer sounds, turn off the heat and using tongs to catch the handles and oven mits to protect hands, carefully lift the rack out of the boiling water and replace onto the top edge of the canner.
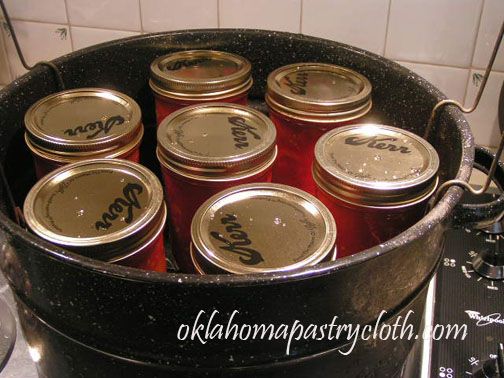
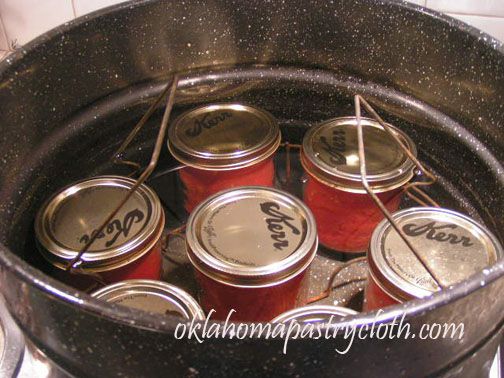
Photobucket


Photobucket

Step 6: Using canning tongs, remove jars from rack and place onto a kitchen towel on a counter to cool. Listen for the pingy pop that indicates that the vacuum has completed. Make sure that when the jars are cooled that the lids are flat with no give. If a lid has a bump in the center and pops when pressed, the jar did not seal and must be refrigerated or used immediately. Store vacuumed jars in pantry.
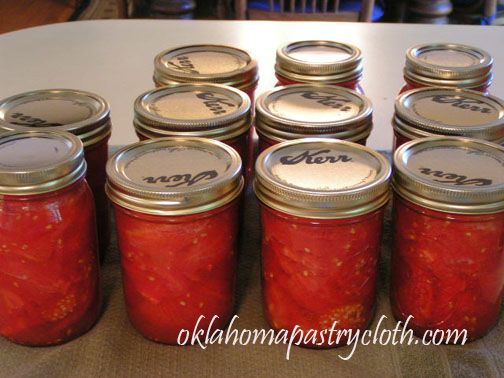
Photobucket

Aren’t they pretty?

Photobucket

A 1 1/4 pounder!
Step-by-Step to Canned Green Beans

Sunday, July 12th, 2009

I’ve been out in the garden gathering green beans and processing them for the winter. The plants are huge this year and the leaves are so large, there is no more distinguishing rows. I always plant Bush Blue Lake beans because they do not have to be staked and they produce stringless beans. This year has offered a bumper crop with the cool, early, summer temps and late arriving heat.

Photobucket

There is nothing more relaxing than sitting on the porch or in the den with a big bowl of beans in your lap, snapping them into another bowl. Pop – pop – pop! You get into a rhythm and your mind is soothed by the tempo. And that fresh smell!! Every so often, you just have to sample one of the sweet, juicy pods and you eat the whole thing raw! Can’t get any healthier than that!
Below, I have dedicated this post to a pictorial demonstration on canning green beans using the raw pack method. Because beans have a low acidity, all beans must be pressure canned at 10 lbs pressure for at least 65 minutes. A pressure canner with a guage or a weight is required. They can be purchased at hardware stores, WalMart and other similar stores and online.

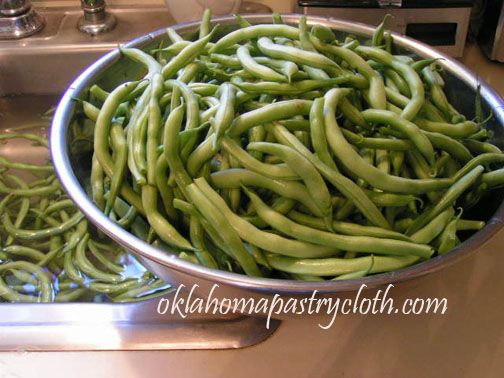
Step 1: Wash green beans several times until all dirt, sand and old flowers are removed. Snap the pods to create uniformly, bite-sized pieces.

Photobucket

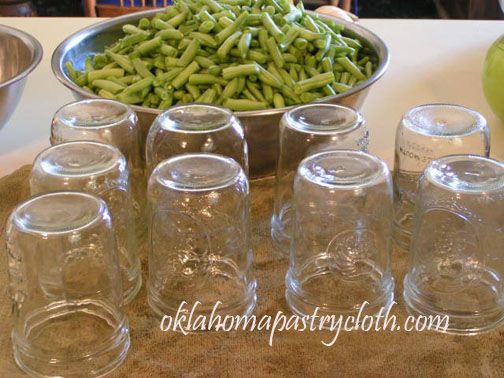
Step 2: Wash all jars and lids in very hot, soapy water and rinse in hot water. Dry.

Photobucket

Photobucket

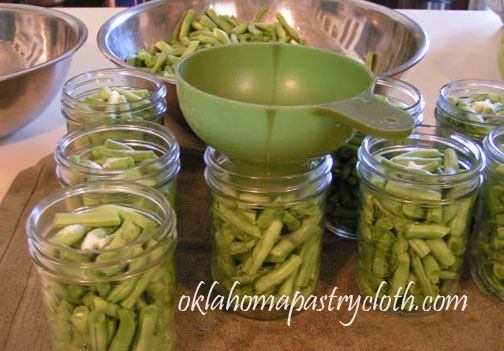
Step 3: Put raw green beans into jars to within 1/2″ of the top of the jar and include 1/2 teaspoon of canning salt or uniodized salt if desired. Shake the jars as you put in the beans to make the beans gravitate to the bottom evenly.

Photobucket

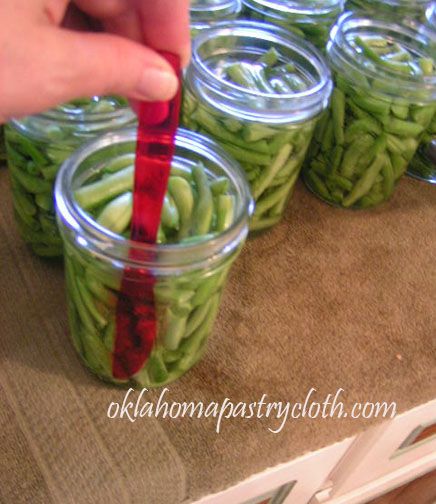
Step 4: Pour boiling water into each jar and over the beans to within 1/2″ of the top of each jar, leaving a 1/2″ head room. Run a plastic knife down the inside side of the jar to remove any air bubbles.

Photobucket

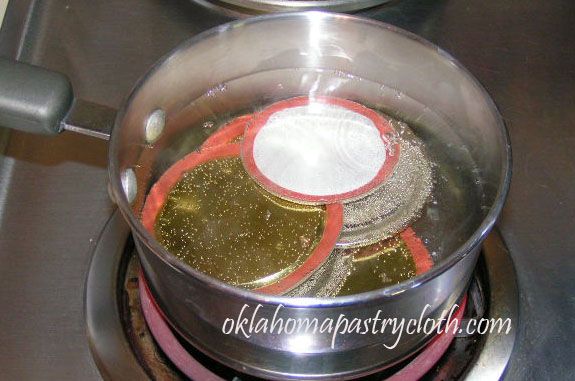
Step 5: Use a clean, damp cloth to wipe the edges of the jars. In a saucepan, cover the lids with water and bring them to a boil and remove from heat. Using tongs, carefully place the hot lids on the jars and put a ring in place. Tighten the rings just enough to call them tight. Too tight can cause problems!

Photobucket

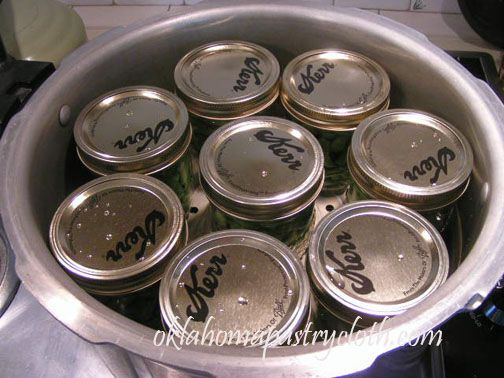
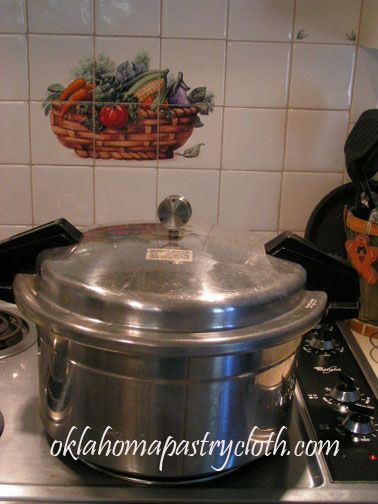
Step 6: Place about 2 inches of hot water in the canner and place the rack on the bottom. Fill the canner with jars according to the capacity of your particular canner. Tighten the cover and if a weight is used, put the weight in place. I like a canner that uses a weight because it is more accurate and does not need to be adjusted. If using a canner with a gauge, please follow the instructions that come with your canner. Turn the heat on high and wait until the weight begins to jiggle. At this point, reduce the heat to medium-high and monitor the weight, which should jiggle about every minute or so. Set the timer for 65-75 minutes and continue to monitor the pounds of pressure by listening to the weight.

Photobucket

Step 7: When the beans are finished processing, turn off the heat and allow the canner to cool, unmoved, until the pressure has completely dissipated. It is very easy to get very severe steam burns if the canner has not been allowed to cool properly. When the canner has depressurized, remove the lid and carefully remove the jars, using jar tongs with one hand and holding the bottom of the jar with an oven mitt on the other. Soon, the pinging pop of jar lids completing a seal makes you smile because you know that you have been successful.

Photobucket

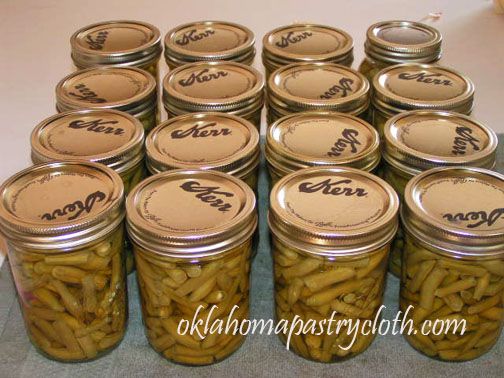
There is something very satisfying in neat rows of freshly canned produce in sparkling jars with golden lids. These are ready for the pantry and will be enjoyed for sure this winter!! I hope that you will take a stab at canning beans. If you don’t have your own garden, the local farmer’s market, health food store or grocery store has fresh beans that will work fine. Just make sure that they are crisp and not limp. Happy canning! It’s bean fun. 🙂

Photobucket