|
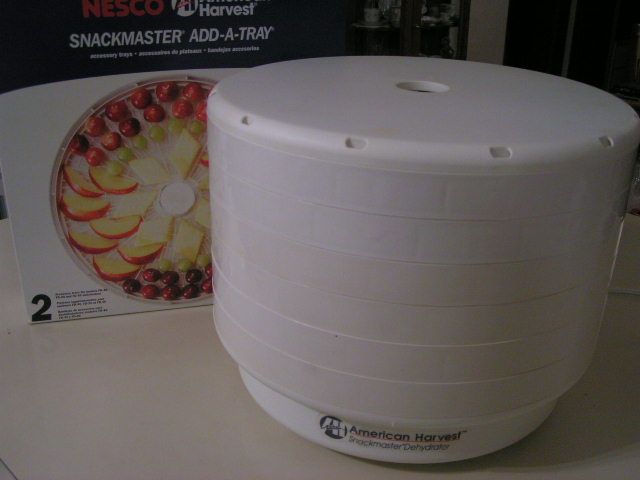
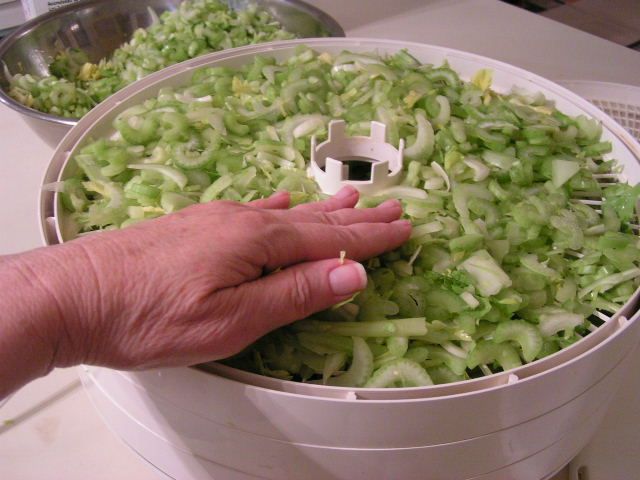
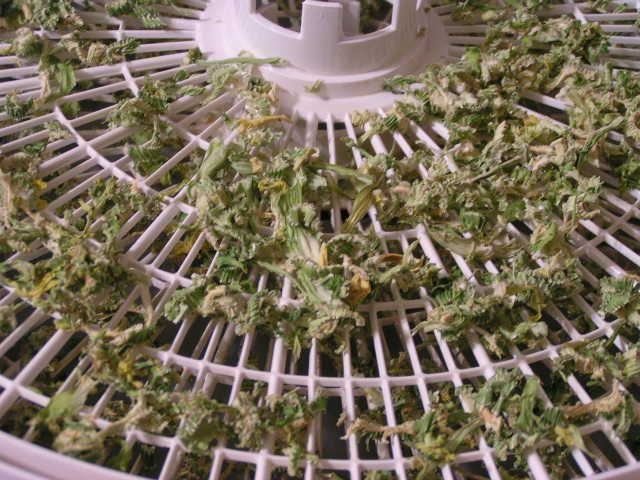
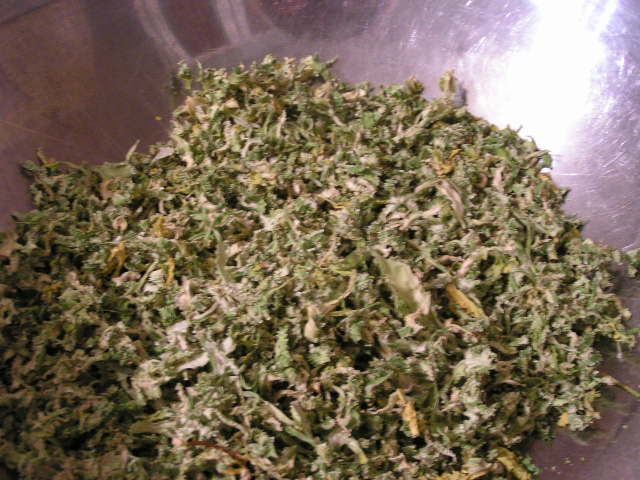
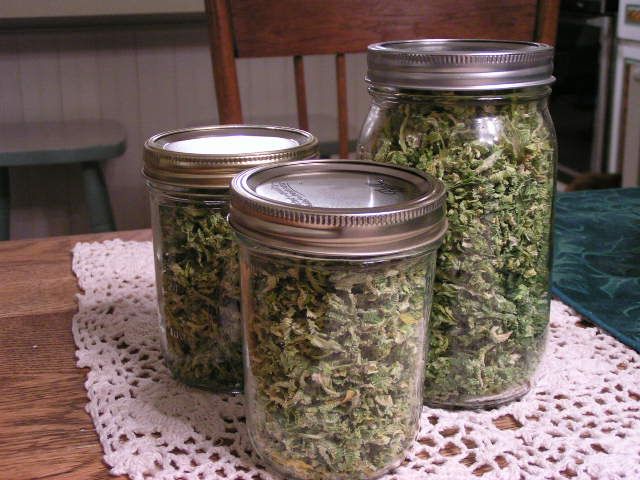
Part I Part II Pepper  Another vegetable that is fast and easy to dry is the bell pepper. All peppers can be dried, including jalopenos, but that is one pepper you will want to process in the garage or outside. Your eyes and nose won’t be able to stand the fumes while drying!! Here’s a fast rundown on drying peppers.       Oklahoma Pastry Cloth™ Company on Facebook
|
Archive for the ‘Canning and Food Processing’ Category
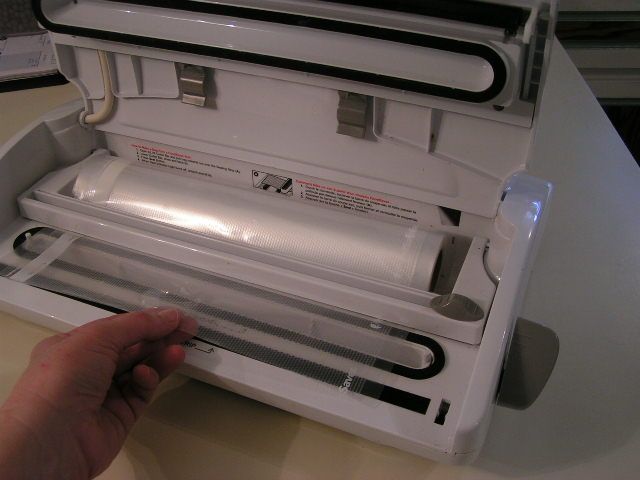
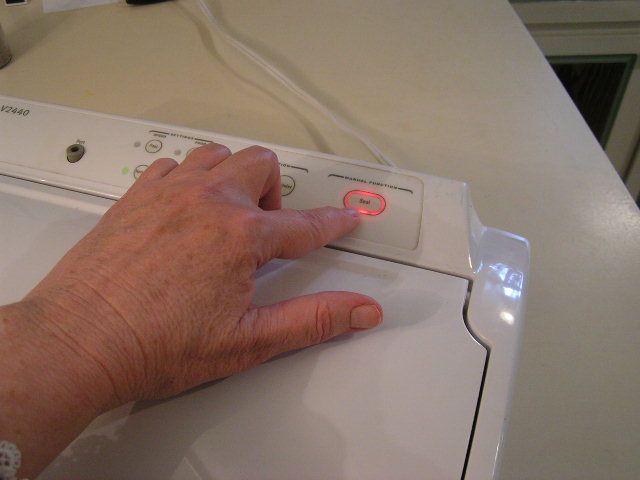
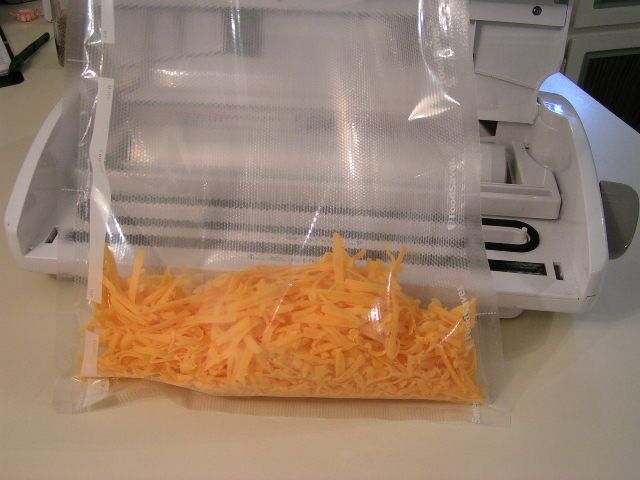
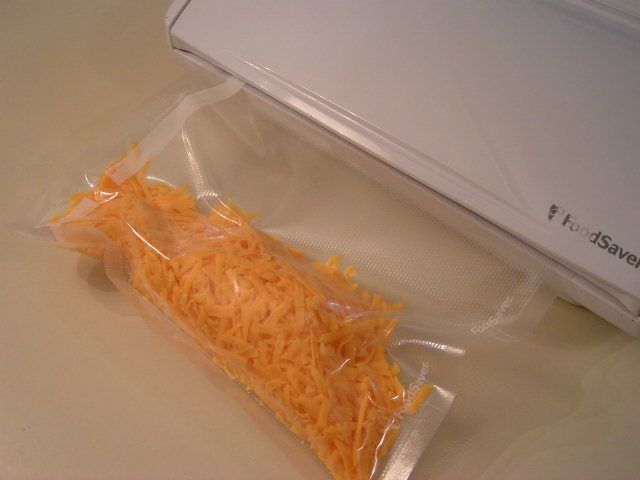
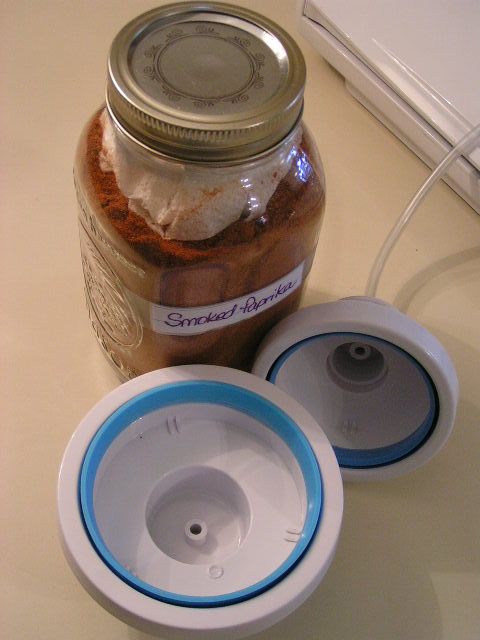
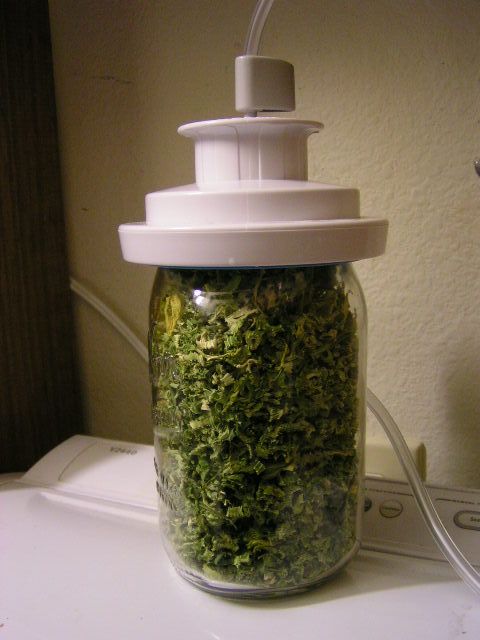
Vacuum Sealing Jars
Saturday, January 15th, 2011
|
          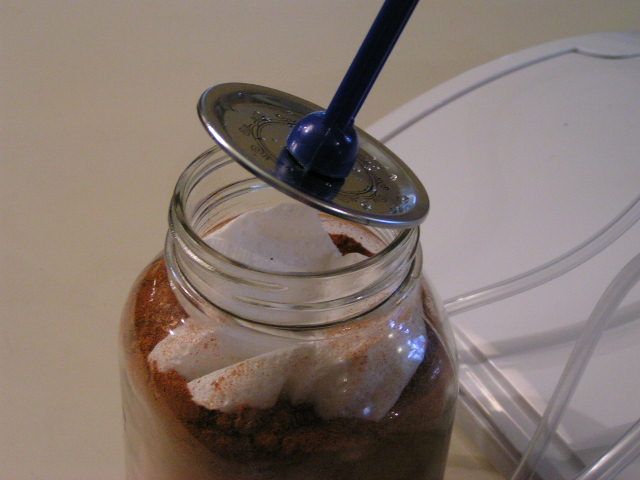 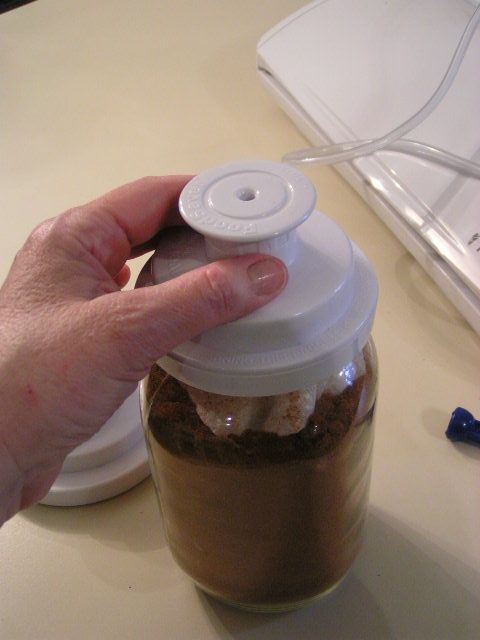 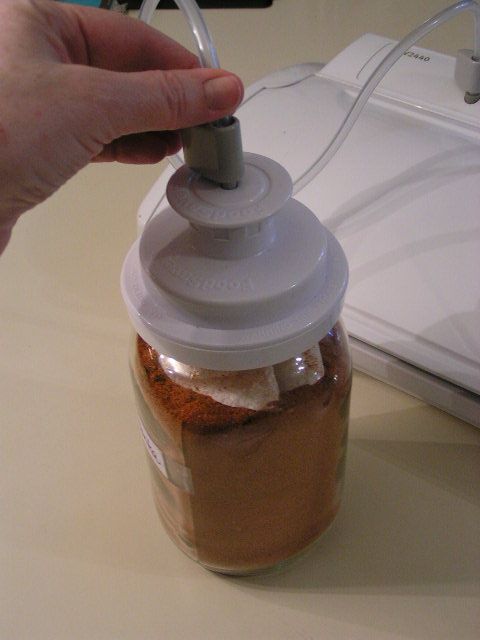  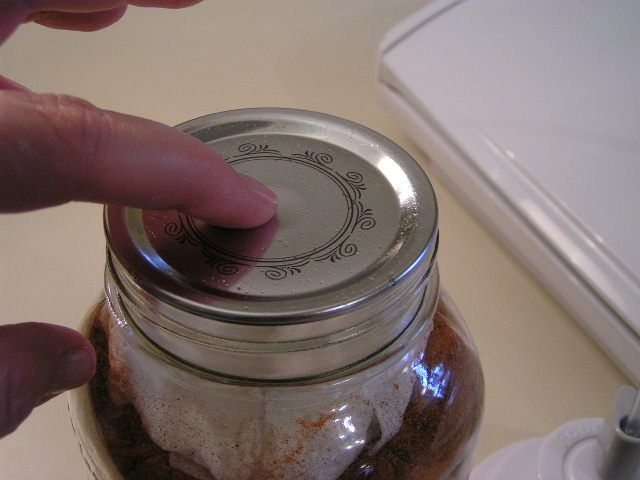  |
|
Oklahoma Pastry Cloth™ Company on Facebook
|
|
|
Dehydrating Series Pt II – Potatoes
Thursday, January 13th, 2011
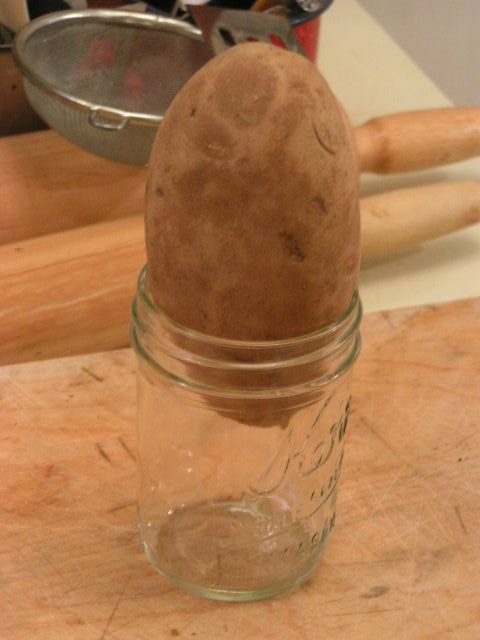 I’m going to get right to the point today as a continuation of Part I with photos of how to dry potatoes. Potatoes are one of my favorite garden items and I devote an entire bed to both red and Yukon Gold spuds. These “new” potatoes take a little longer to dry than the traditional Russetts which I am demonstrating here. Also, at the end is a recipe in which to use the sliced and dried potatoes. My next post will be about drying peppers and then you’ll get a recipe for broccoli cheese soup made from all of your dried veggies that will have your family licking the pot. So keep following! 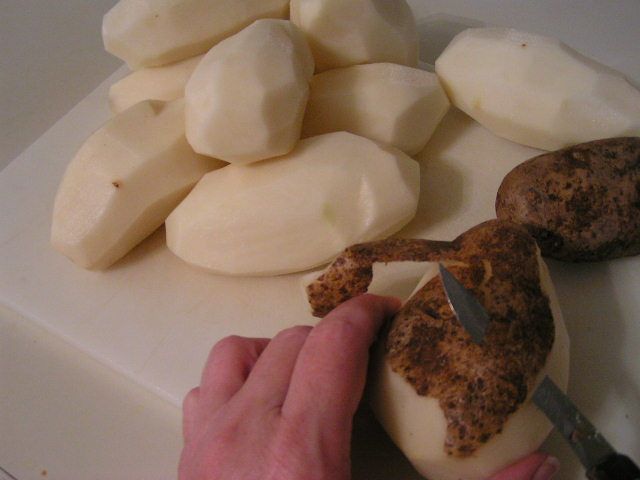 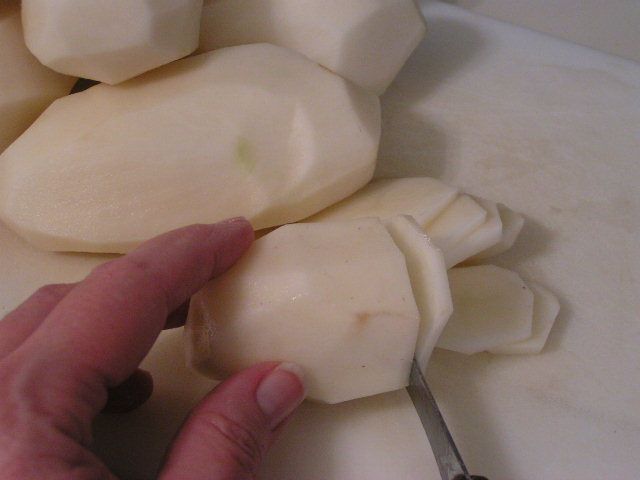 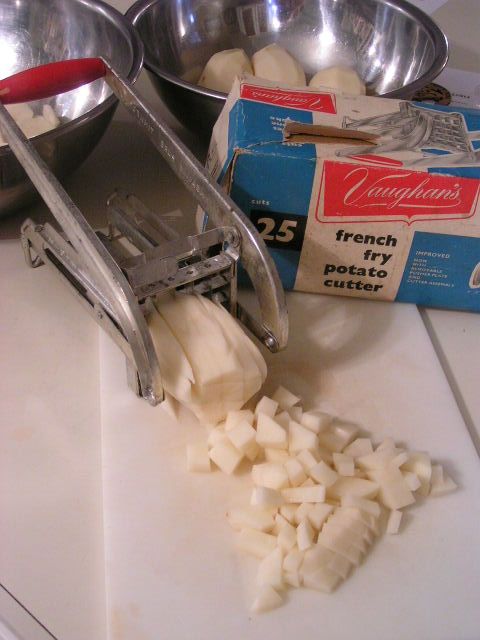 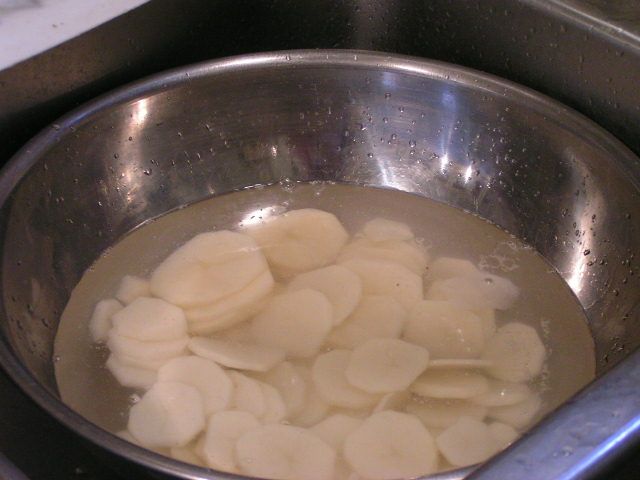 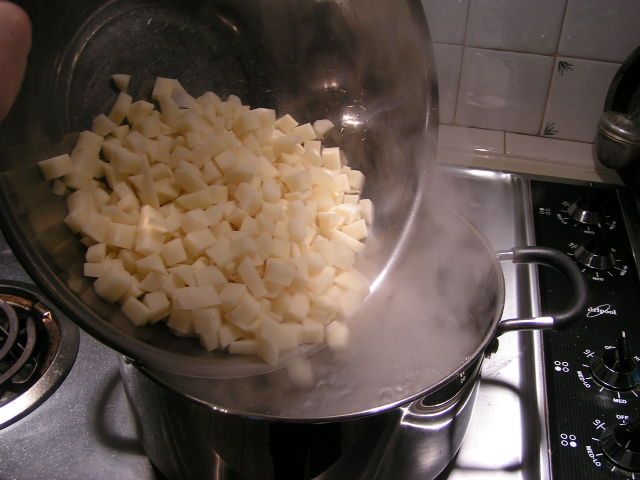 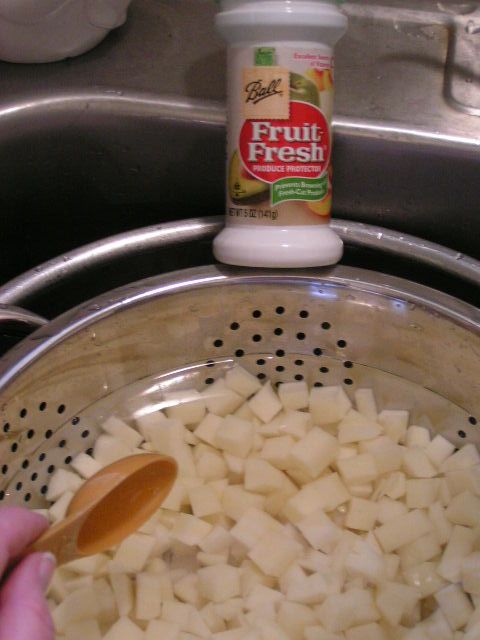 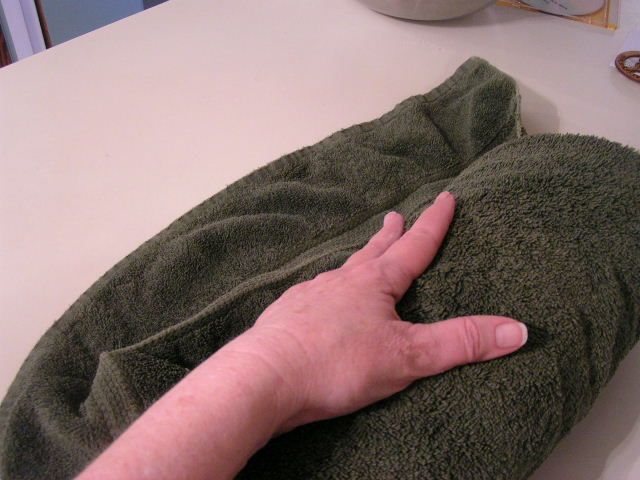 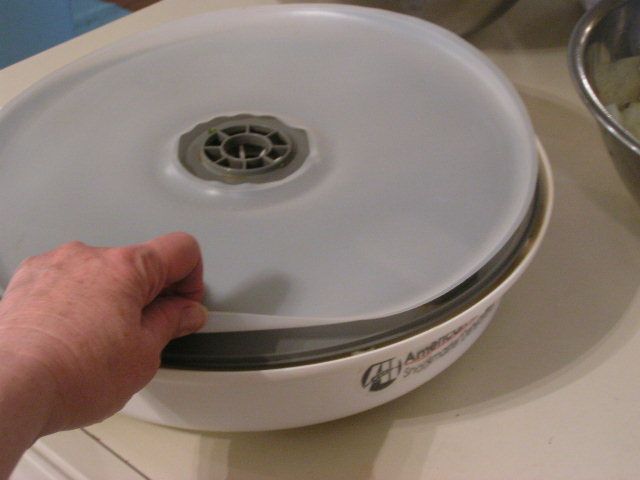  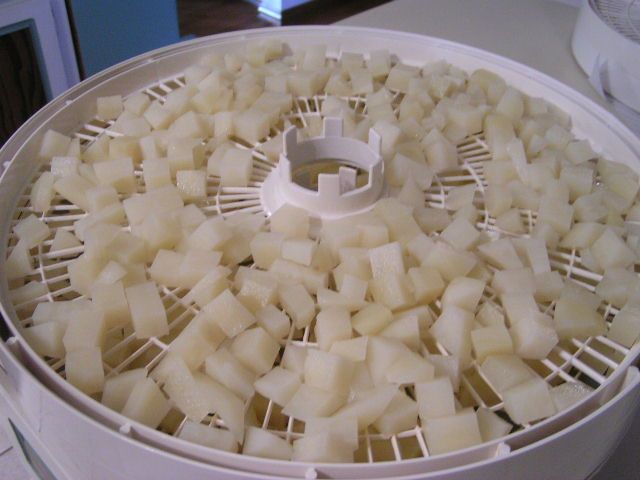 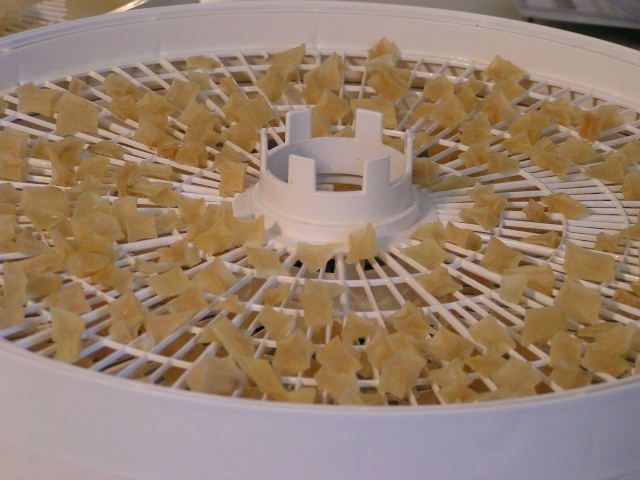 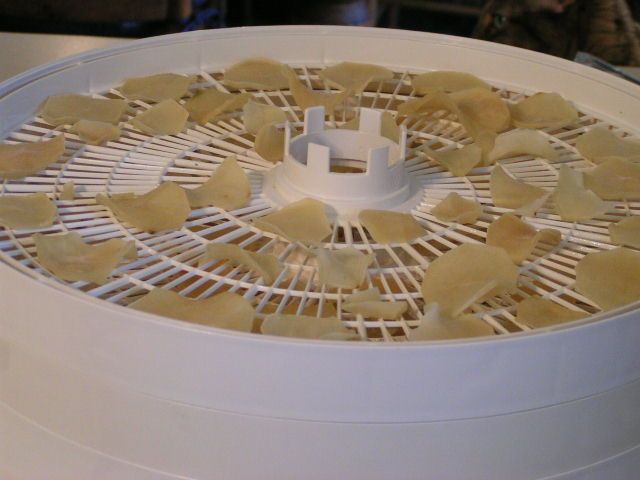 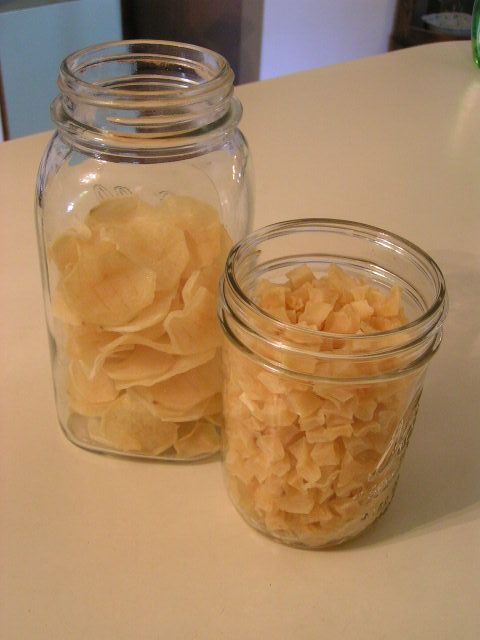 (Or as my friend Janis calls them, “Old Rotten Potatoes”) 1 pkg Shawnee Mills Country Gravy Mix 2 1/4 cups water OR make 2 cups of your own white sauce from your favorite recipe 1 cup dried sliced potatoes 1/2 medium onion 1/2 cup shredded cheddar cheese 2 tbsp Hormel Real Bacon Bits or 3 slices bacon chopped into pieces French’s French Fried Onions 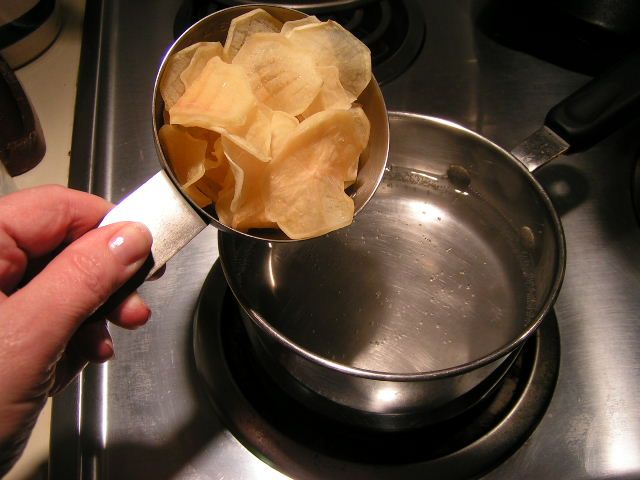 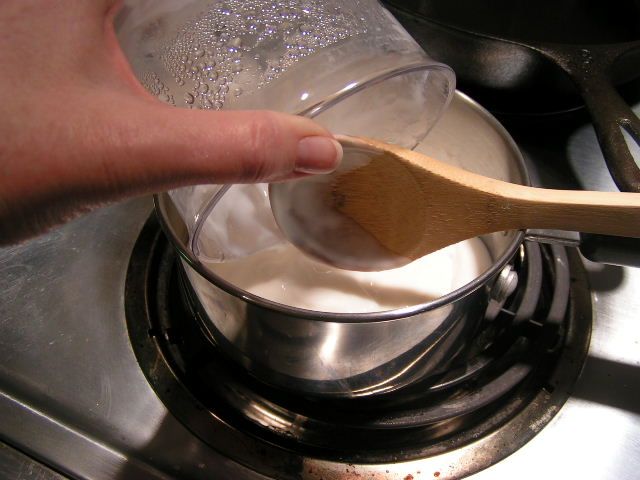 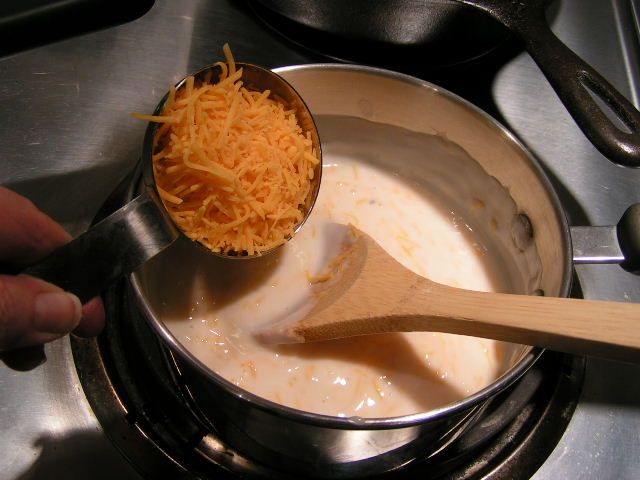 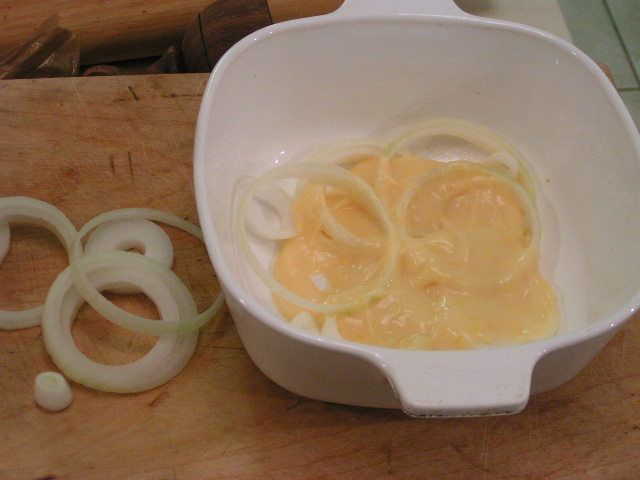 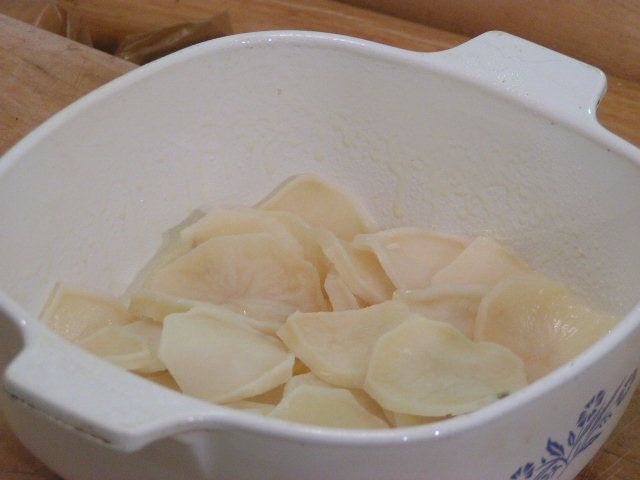 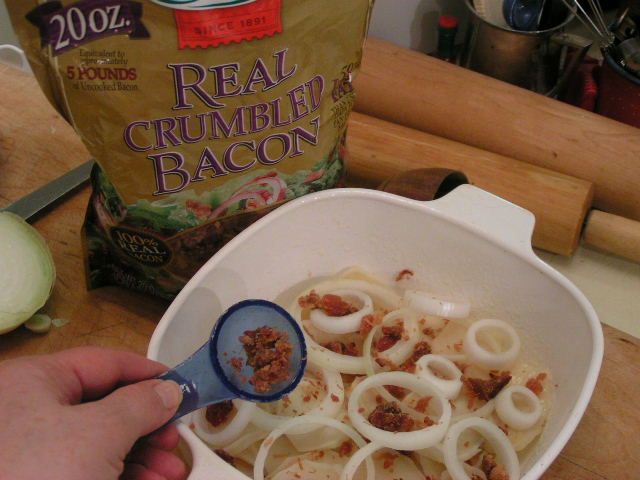 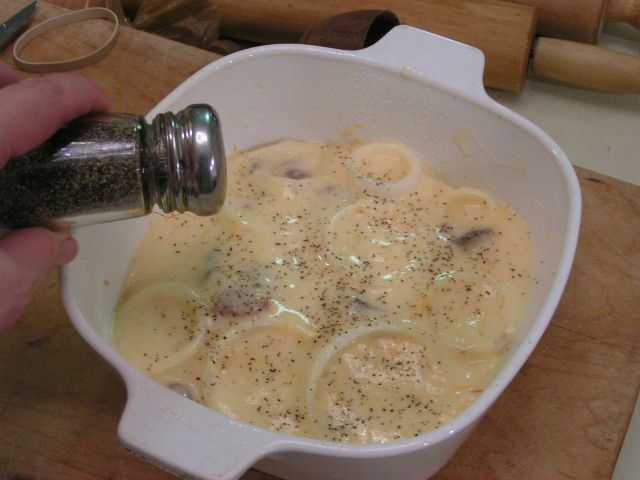 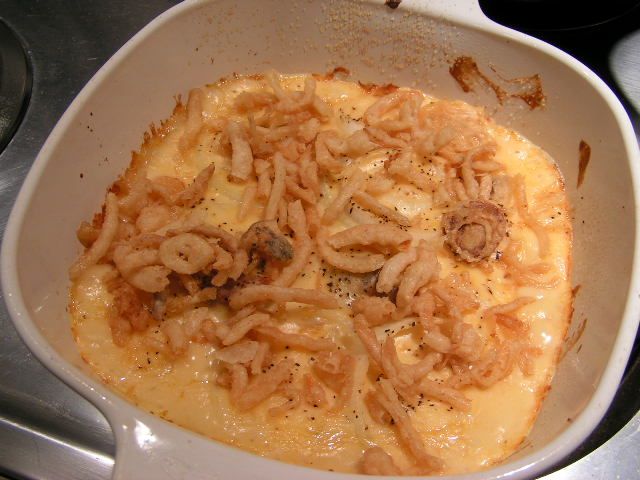 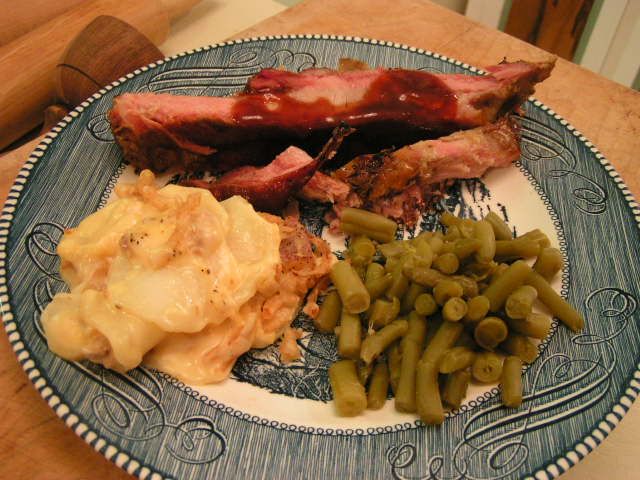 |
|
Oklahoma Pastry Cloth™ Company on Facebook
|
|
|
Making Sauerkraut
Sunday, November 14th, 2010
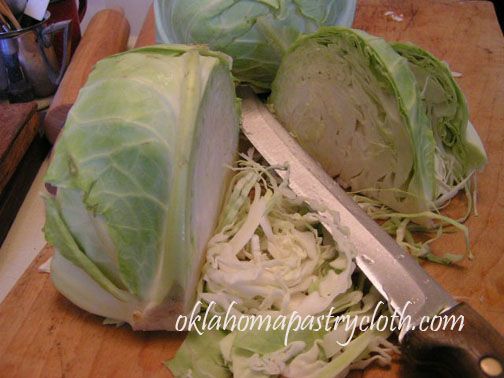 Well, I think that I will venture into the world of German Cuisine and explain the exciting experiment that was performed in the Oklahoma Pastry Cloth™ laboratory. We made Sauerkraut!! That may not sound exciting to most people, but to me it was a journey into my ancestral past. My grandmother made Sauerkraut in crocks and I have two of those crocks. I’ve been told that they had the additional use of being her knife sharpener. She would turn the crocks over and sharpen her knives on the bottom like on a stone, but I digress. I never got to watch my grandmother make her Sauerkraut, but I have heard the stories and so, as much as I love the stuff, I decided to see if maybe making it is in my genes! This experiment was prompted by a sale on cabbage at the Firelake Grocery owned by the Absentee Shawnee tribe nearby. 10 lbs for $1! Now THAT’S a sale. I knew that I had to have that cabbage. So what if I had no idea what to do with it? I had to buy it because it is such a steal and it’s wrong to pass up a steal. As I loaded my buggy, I remembered my grandmother’s crocks and my adventure was set. |
|
According to Wikipedia, Sauerkraut probably originated in the north of China among the Mongols. That would make sense because one of my favorite Korean dishes is Kimshe which is simply Korean Sauerkraut. Anyway, Sauerkraut was brought to Europe by migrating tribes. Eastern Europeans, eat a LOT of sauerkraut. In Europe, the Jews adopted sauerkraut as part of their cuisine and are thought to have introduced it in the northern countries of Western Europe and then to the United States. Sauerkraut is a staple of the winter diet in Germany and the Netherlands. While sauerkraut is usually prepared with pork, the Jewish people customarily use goose or duck meat. |
|
Now came the part in the research that kinda got me. When we had our sheep farm, we raised Sudan Grass and cut it and chopped it and put it into a silo to ferment for the sheep and cows to eat. According to Wikipedia, it’s the same process that is used for Sauerkraut. We’re eating silage!! No wonder those sheep and cows burp so much. Anyway, when making Silage – I mean – Sauerkraut, you have to be very careful to monitor the temperature of the area where it is fermenting. The USDA says to use more salt than is traditional, but that makes it way too salty. So, in order to avoid food poisoning if using traditional amounts of salt, you must keep the temperature at the correct level. Depending on who you talk to, this should be anywhere between 40 and 70 degrees. 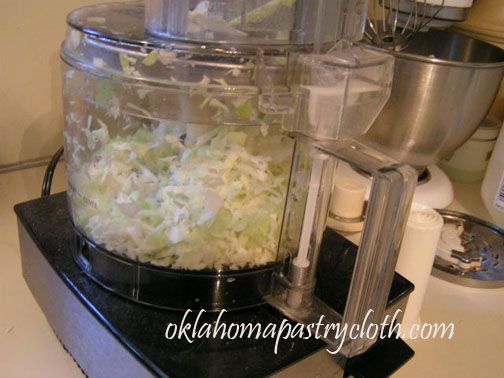 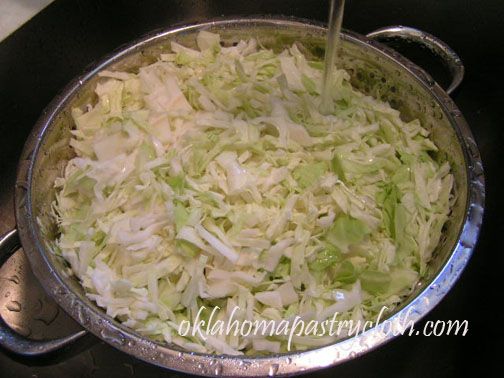 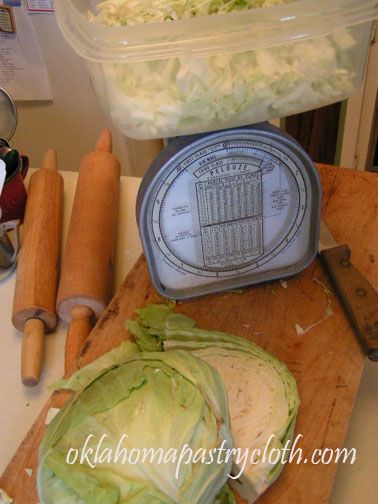 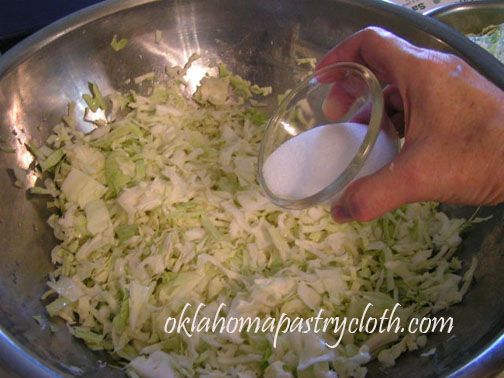 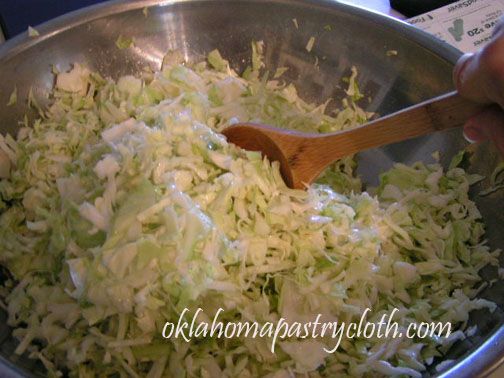 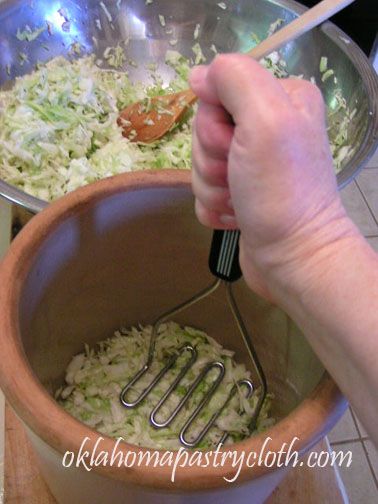 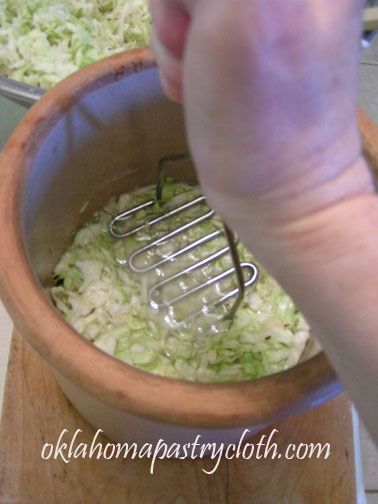 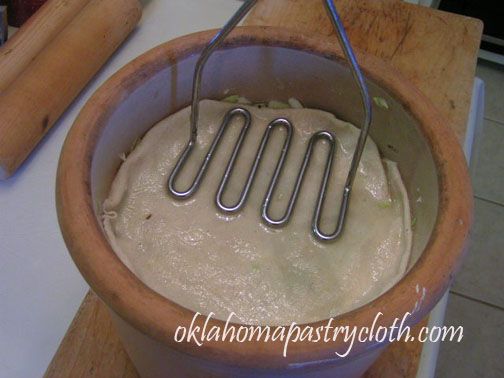 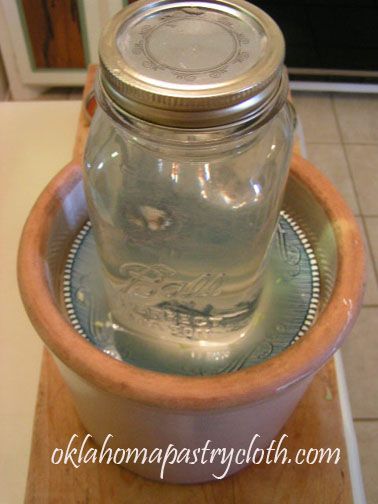 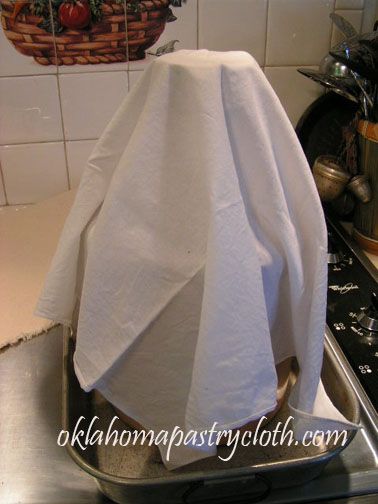 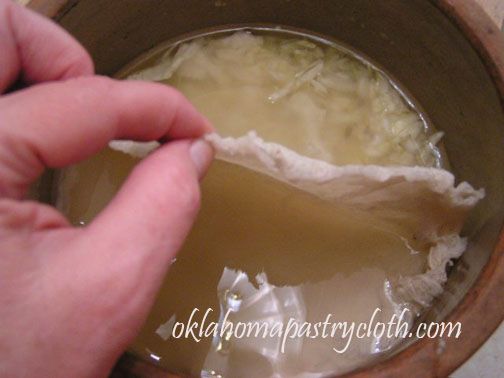 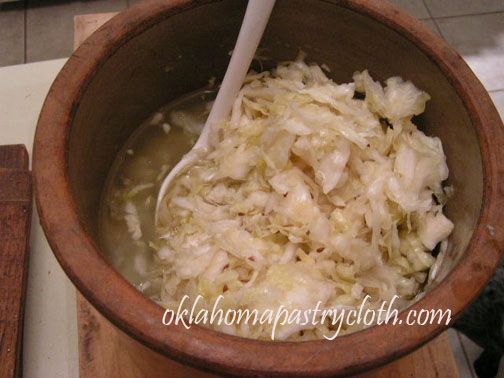  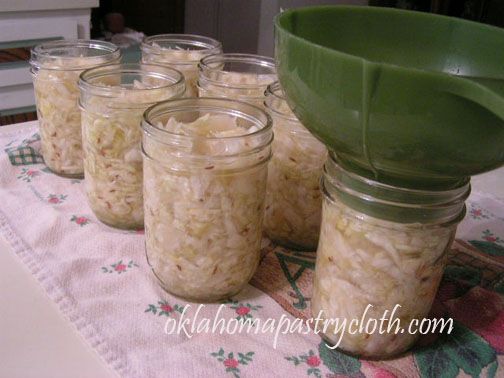 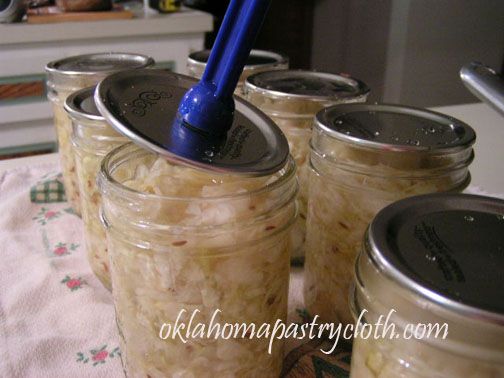 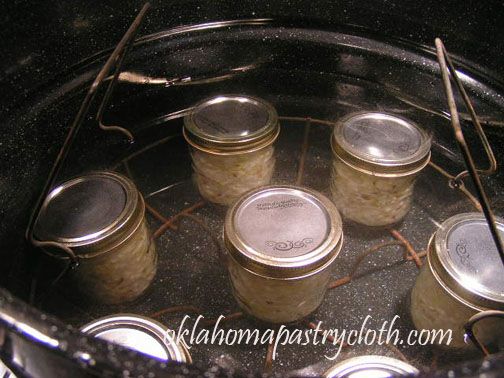 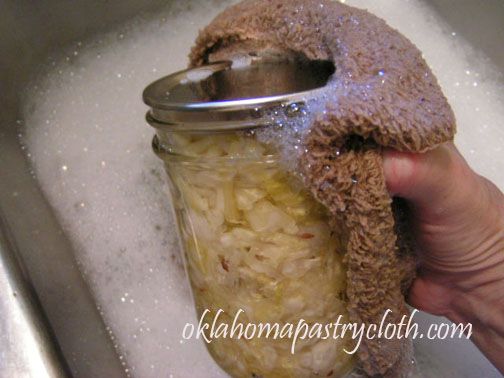 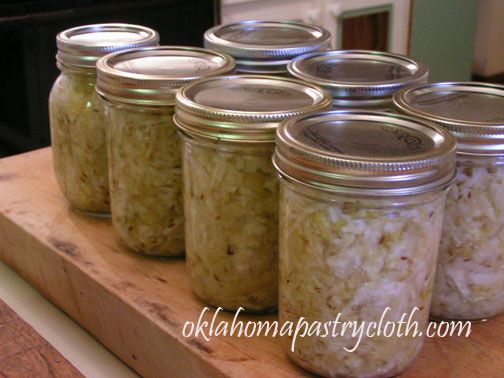 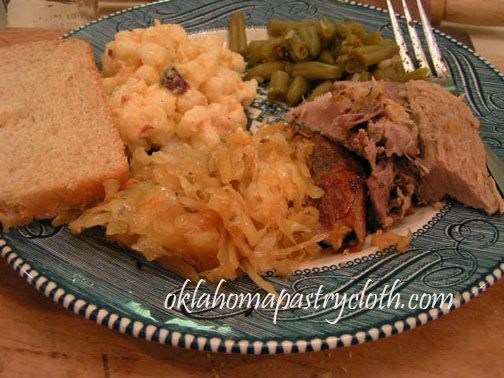
|
|
Oklahoma Pastry Cloth™ Company on Facebook
 |
Canned Apple Pie Filling
Tuesday, November 9th, 2010
 |
|
OK, time for pie stories. My favorite one has been told by my mom and dad for years. Seems that when they were first married, my mother, wanting to please her new husband, decided to bake his favorite pie – cherry. She went to the store to buy fresh cherries and worked her fingers to the bone creating a pie that looked like a picture. She placed a slice at my father’s place and he eagerly dug in to sample her achievement. He nearly broke a tooth as he bit down on several pits. It was then that my mother learned that cherries had seeds that had to be removed!!! My worst pie story happened years ago when some friends decided to “set me up” with a friend of theirs. My girlfriend and her husband had me over for dinner to meet this guest and insisted that I help make the meal by making dessert – specifically an apple pie. I had no doubt that they were trying to force that way to a man’s heart thingy. I asked her what kind of apples I was using and she said, “I dunno. They’re from the tree out back.” I peeled and sliced the apples and put them into my homemade crust and stuck it in the oven for an hour at 400º. I figured that would be plenty of time. Shortly before the arrival of this guest whom I was supposed to be impressing, we pulled out the pie and discovered that the apples were barely cooked! Oh no. Either her oven was wrong or those apples were really firm! I was NOT serving that pie and so I ran to the store and got the makings for Bananas Foster! After dinner and after the Bananas Foster, the guest mentioned that he’d been told that he was having apple pie made by yours truly and that he thought he’d smelled one when he’d walked into the house. I was slowly sinking under the table. Finally, my friend explained what had happened and the guest replied that they had told him I made a good pie and he wanted to try it anyway. I decided this person was purposely trying to annoy me and of course, I was looking for any way to escape. My friend took the pie out of the oven where she had placed it to stay warm at 200º. It had been in there for a couple of hours. She sliced it and put pieces on plates and served them. I couldn’t believe my eyes. The slices were just beautiful and the apples were perfect. I took a bite and savored the flavor. The guest said, “What’s wrong with this pie?? It is fantastic.” It had continued slowly cooking at 200º unknown to my friend and me! I was saved! And no, the guest didn’t steal my heart!!! 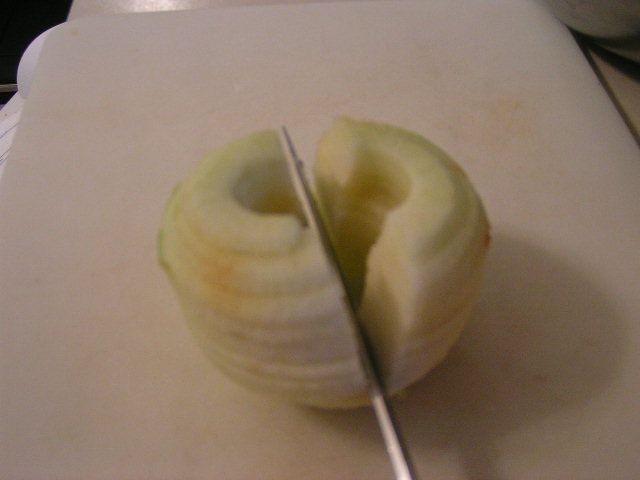
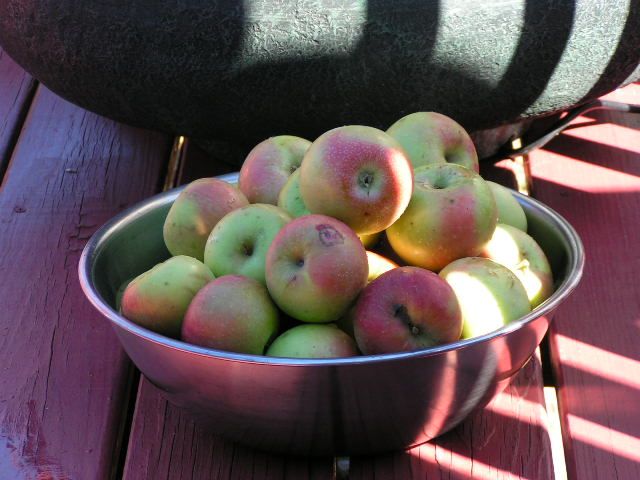
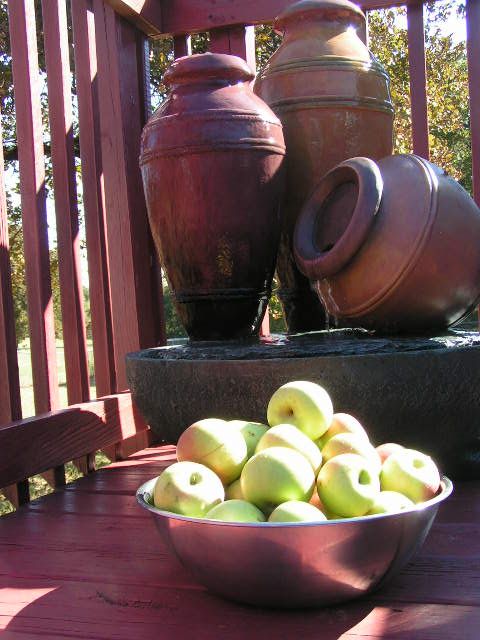 In the Oklahoma Pastry Cloth™ kitchen, apple pie is the favorite of all pies. Therefore, I have to plan on making quite a number through the year, especially during this season. It is also always a favorite of guests that can be whipped up at a moments notice if you have the pie filling already made as well as the pie crust mixed and ready to form a dough. And how do you do that? Just follow the instructions below and you’ll be one happy camper. And if you need a testimonial, last Christmas for a dinner party that we attended, I brought an apple pie using this recipe and our pie crust mix recipe. Overheard was one of the young boys asking his father, “Have you tasted this??!! This is a KILLER pie.” I knew that I had finally arrived! Canning Apple Pie Filling 6 lbs apples 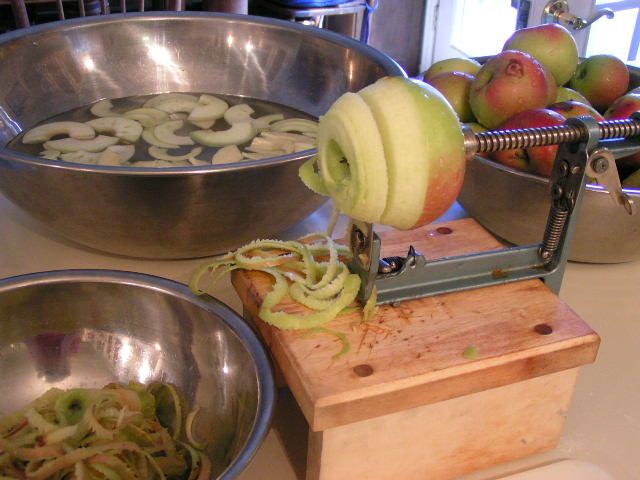 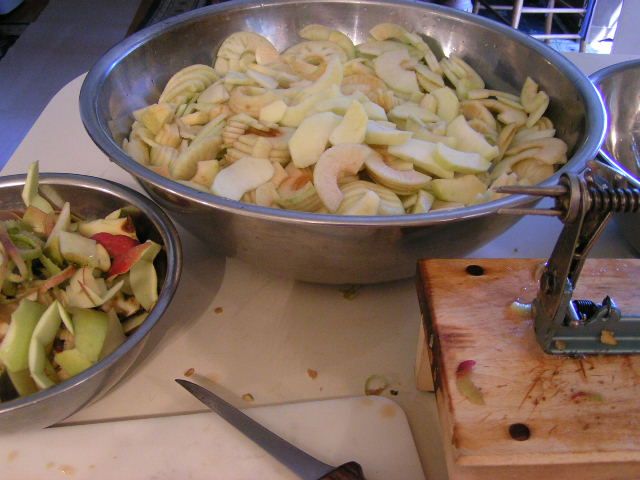 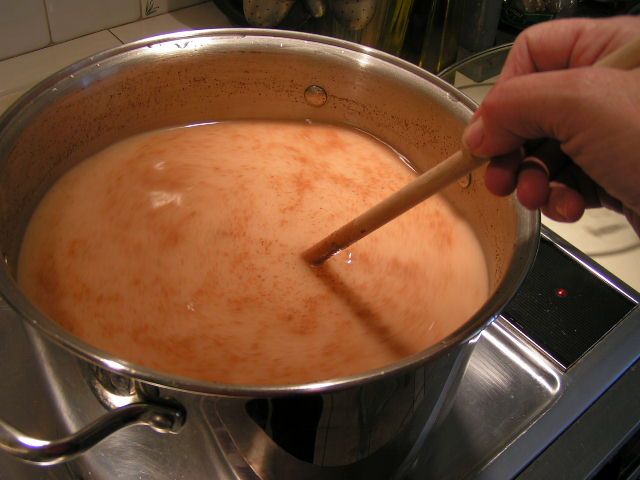 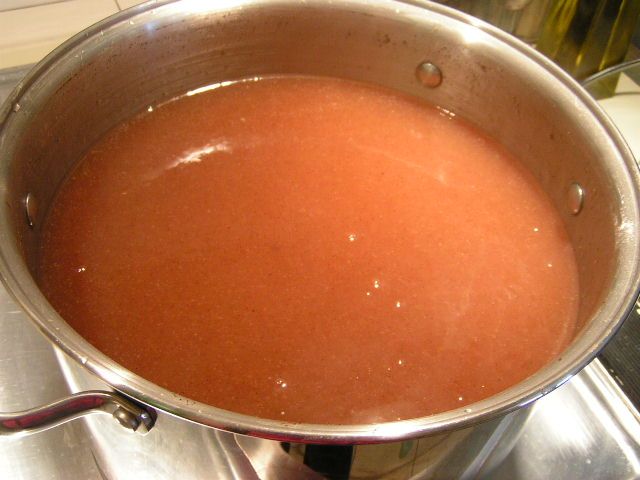 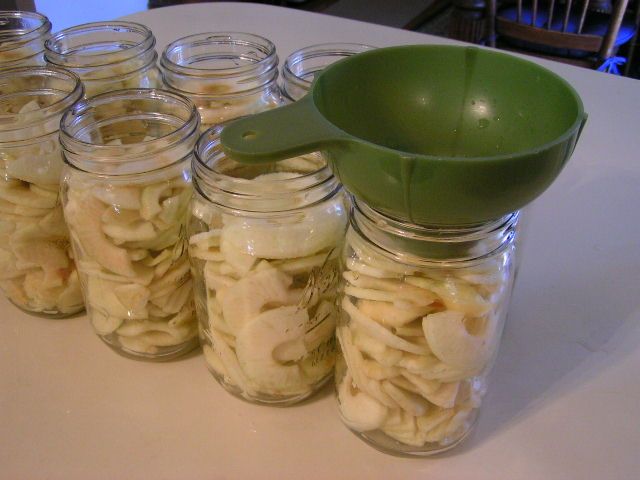 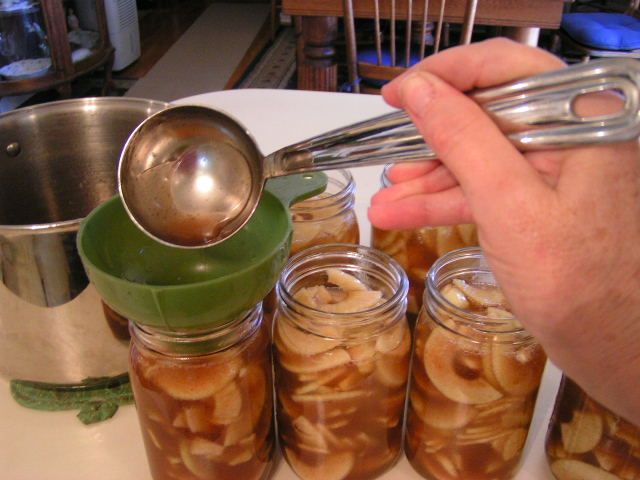 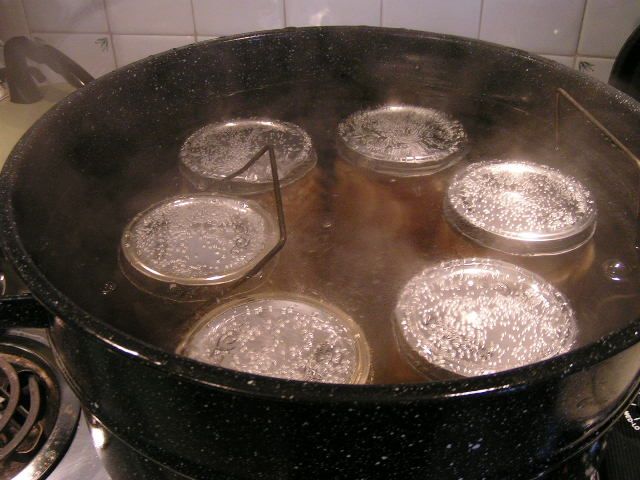 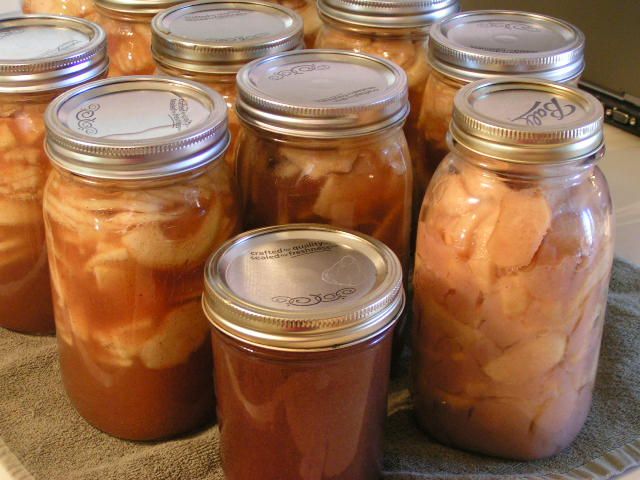 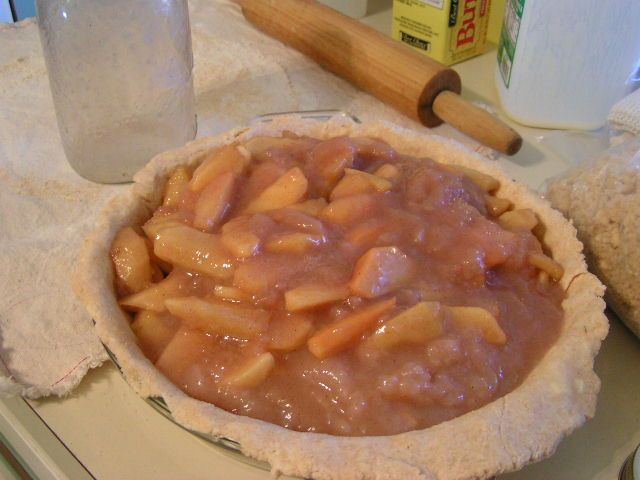 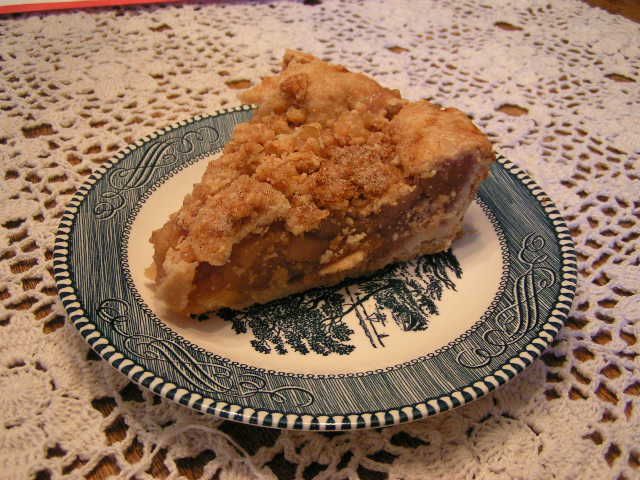 I use two quarts for one large pie, 1 1/2 quarts for a smaller pie pan. You can do either a regular crust or a crumb crust. For the crumb crust I put a regular crust on first and then mixed 1/2 cup of my pie crust mix with 1/2 cup sugar and a half tsp of cinnamon and then sprinkled it on top of the crust. Bake at 400º for 45 minutes to 1 hour. 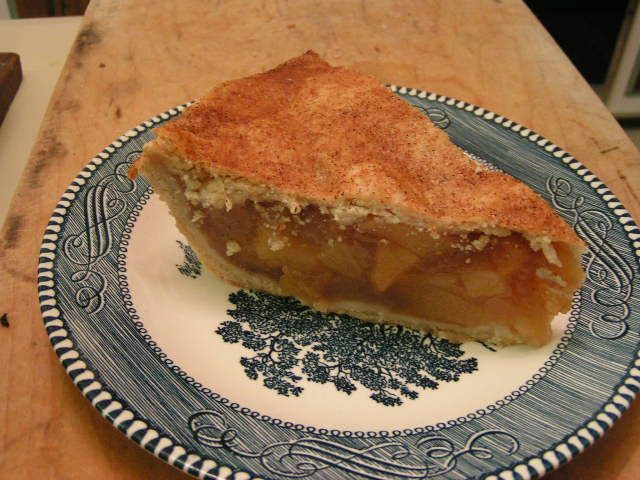 And here is one of my pies with a regular crust. This pie filling always cuts such a pretty piece when it is cooled! |
|
Oklahoma Pastry Cloth™ Company on Facebook
|
Home Canned Apple Butter
Wednesday, November 3rd, 2010
 |
|
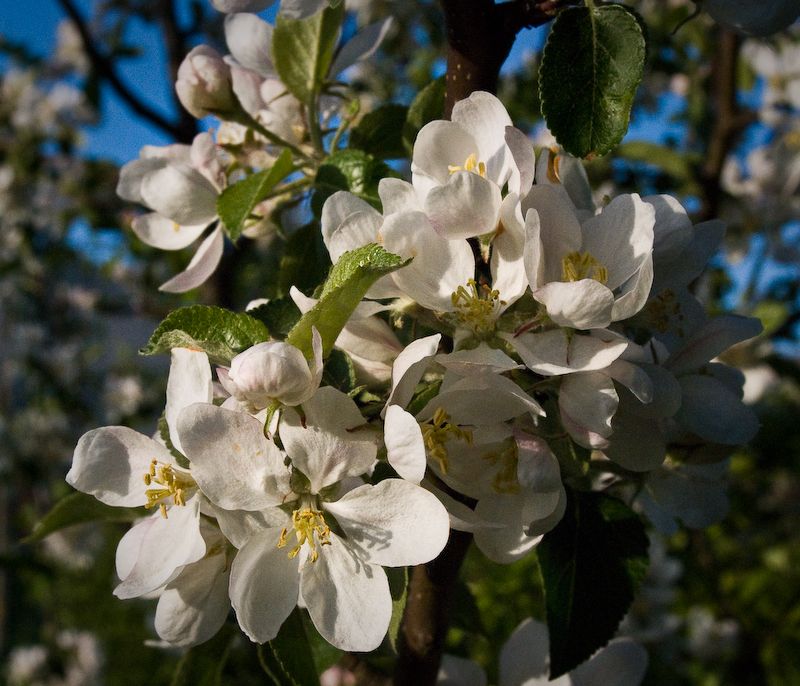
In Deuteronomy 32:10, we are told that God protected Jacob as “the apple of His eye”. The Greek word for apple in this verse actually means “pupil” of the eye. The pupil of the eye is what actually sees and focuses on an object. God saw Jacob and made him His focus. Isn’t it neat to know that God sees us and focuses on us? Nothing in our lives is missed and we are encircled just as the pupil is encircled by the iris. Of course, when we are going through things that are so tough, if we could only remember that God sees it all and surrounds us, we might learn to be content no matter what our circumstances. God focuses on you and me like the pupil of His eye. We aren’t some insignificant part of the universe. We are loved! 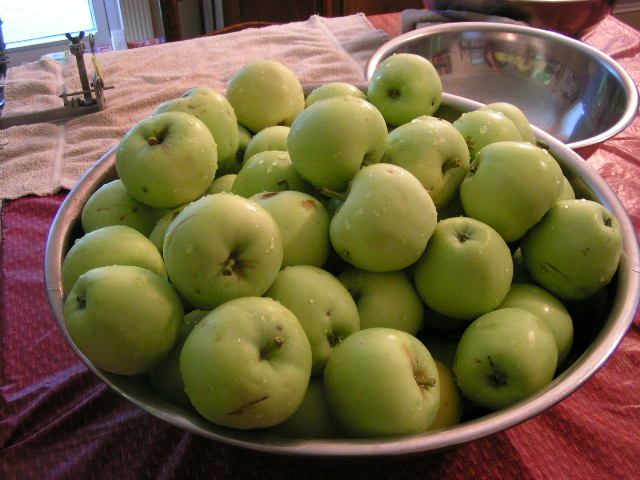 But speaking of apples, today I’m going to deal with apple apples. We all know that,“An Apple A Day Keeps The Doctor Away.” Or so every child has been told since Johnny Appleseed. Apples are high in fiber, vitamins and they just plain taste good. Now that it is Fall, apples are in abundance. Apple bobbing at Halloween or caramel apples and candied apples at fairs and bazaars are a yearly treat. There are so many varieties of apples that it is hard to keep up with what’s what. My favorite eating apple is the relatively new Gala Apple and among our apple trees, we have one Gala. My second favorite is the Yellow Delicious and we have several trees of that variety. Add in a Red Delicious and a Lodi and we have our own mini orchard. It is so fun having apple trees and when planting, it is nice to consider both summer and Fall varieties of the fruit. Our Lodi, which is a California apple and very prolific, is a summer apple, ripening in June. The Lodi apple is a cooking apple and is pretty doggone tart. I use them for applesauce and apple butter. They are also good for drying for snacks. The Fall apples are more for eating and using in pies, cakes and other baking. They can also be dried. Nice, firm, crunchy apples are best for pies because they hold their shape while cooking. The Lodis cook down to mush and a pie of Lodis winds up being an applesauce pie!! I think that I will use two posts over the next few weeks to offer you some ideas for using your apples. In this post, you will find my recipe and photo directions for making apple butter. I use our Lodi apples, but you can use any type you like as long as they are relatively tart apples. Apple butter has a lot of sugar in it and so you want nice tart apples to give it the tangy flavor characteristic of good apple butter. Lodis require little mashing or running through a colander. Apples that are more firm may require that step in order to make a nice, uniform applesauce base. Also, some cooks leave the skins on the apples for more flavor, but that requires a lot of colander work to separate the skins. I will just have to admit that I have a lazy bone but my apple butter gets rave reviews even without cooking any skins! And if you’ve never had apple butter on a hot, buttery biscuit, you just haven’t lived! 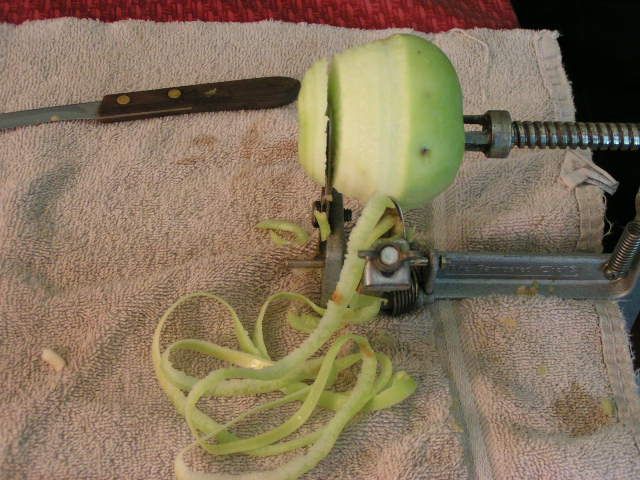 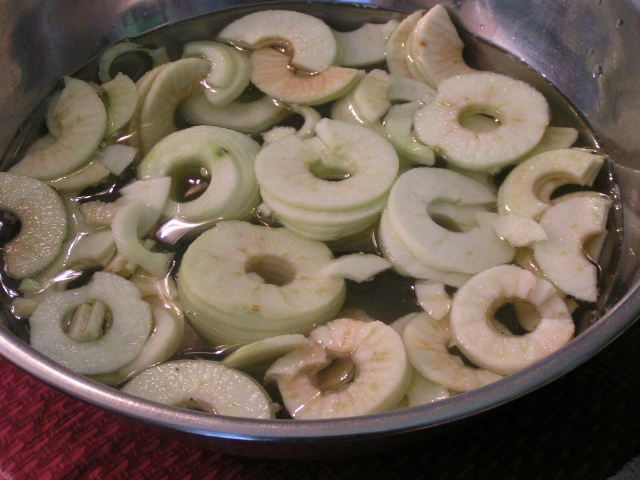 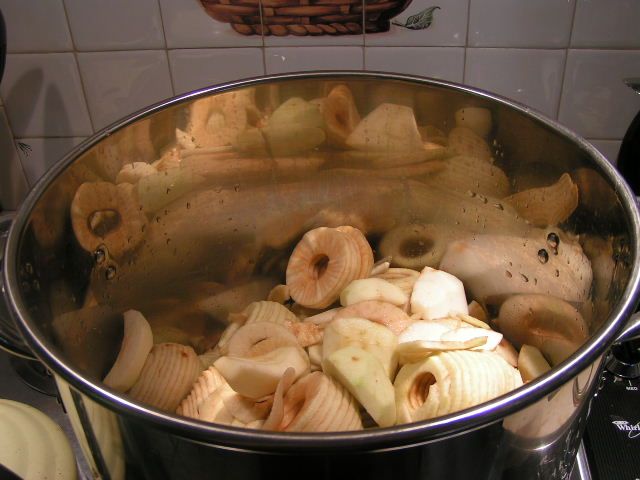 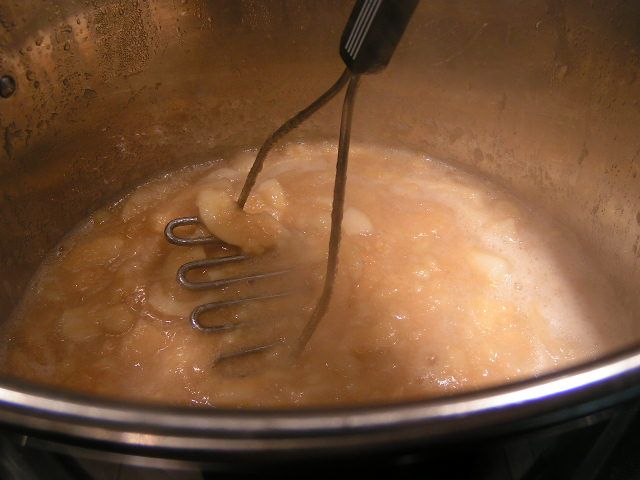 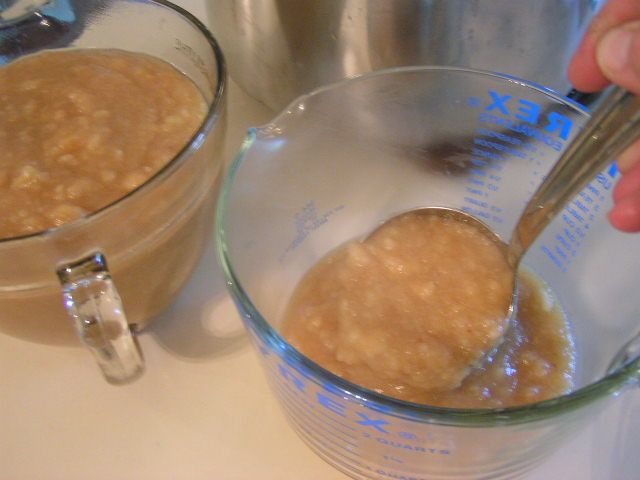 1/2 Cup Sugar 3/4 tsp cinnamon 1/4 tsp cloves pinch of allspice pinch of salt For example, 20 cups of pulp require 10 cups of sugar, 5 tbsp of cinnamon, 4 tsp clove, 2 tsp allspice and 2 tsp salt. Cover and cook until sugar dissolves. 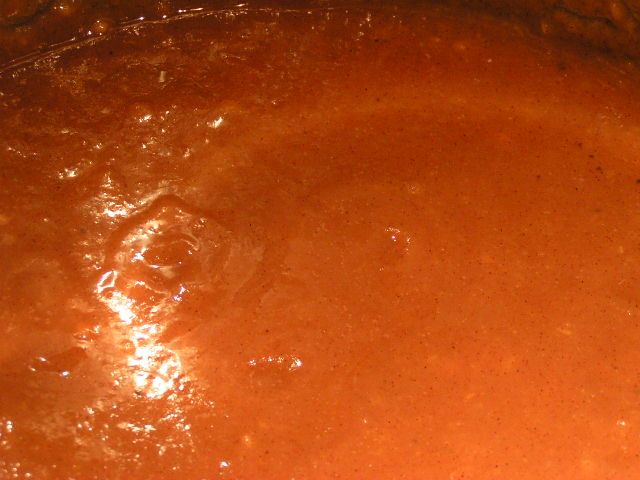 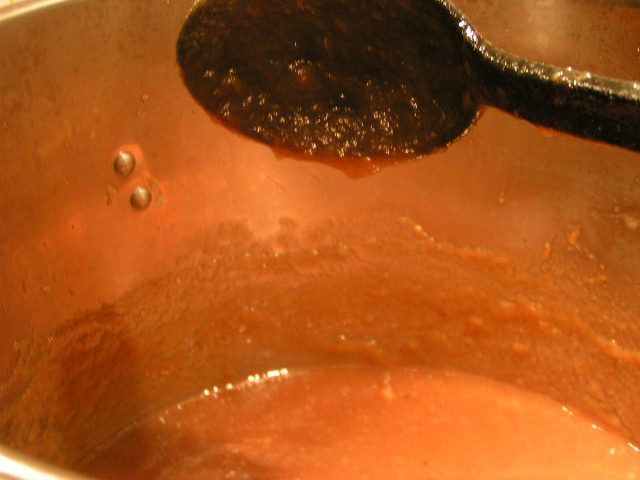 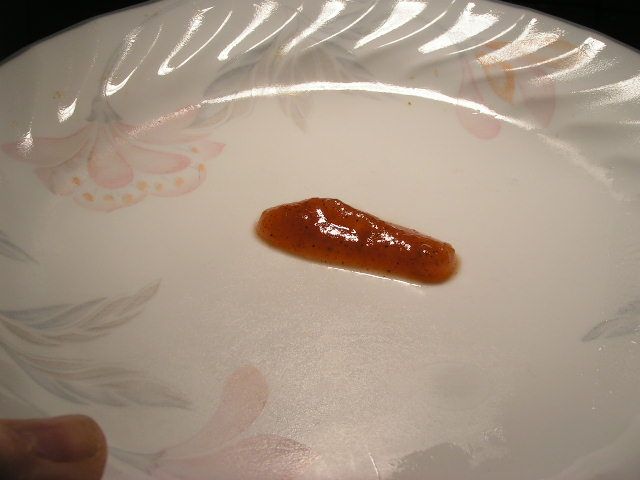 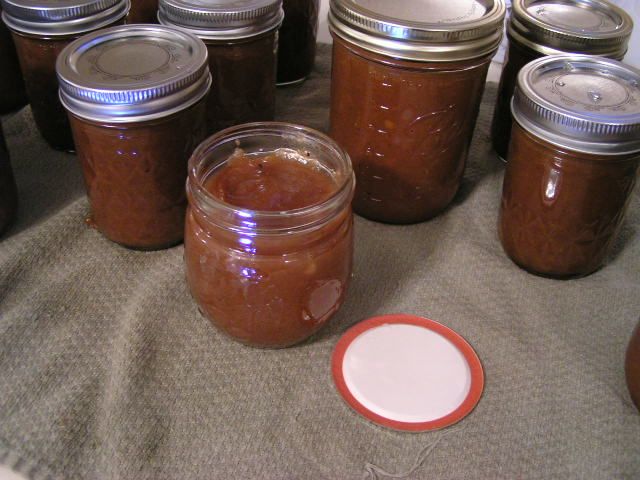 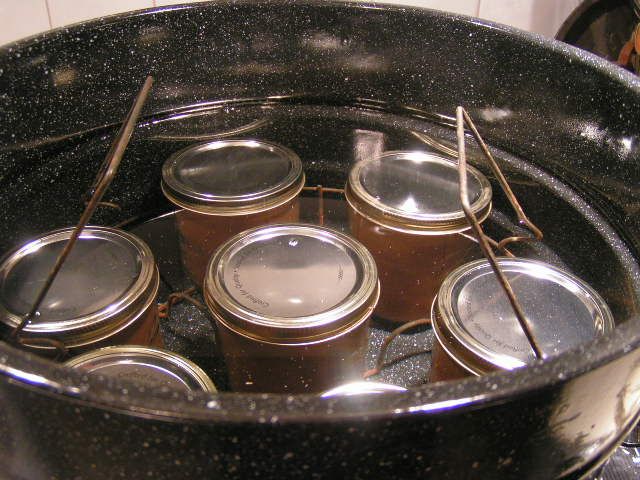
MB |
|
Oklahoma Pastry Cloth™ Company on Facebook
|
Beef Vegetable Soup
Wednesday, September 1st, 2010
 No, I am not going to give you a recipe for scorpion soup. Is there such a thing? Could be. It would make sense. I mean, just think about it. Who was the first person who dragged a lobster out of the sea and said, “Wow. I bet this thing would be good with drawn butter!!” For every thing that is edible, there is someone who considers it a delicacy. But no, today I will not give you such a recipe. |
|
3 lbs meat 1 cup onions 1 cup celery 2 cups diced potatoes 2 cups corn 2 cups peas, canned or frozen 2 cups green beans pepper to taste |
2 cans ranch style beans 1 can whole or chopped tomatoes 12 cups water 10 tsp. or 10 cubes of beef bouillon 1 tbsp minced garlic (or more if desired) 2 cups diced carrots 1/2 cup pearled barley 1/2 tsp thyme |
|
The sky is the limit – well, that is, except for scorpions. |
|
|
A Little Hint for Leftovers and Extras
Friday, October 23rd, 2009
(Leave a comment and automatically enter the Christmas Giveaway!)
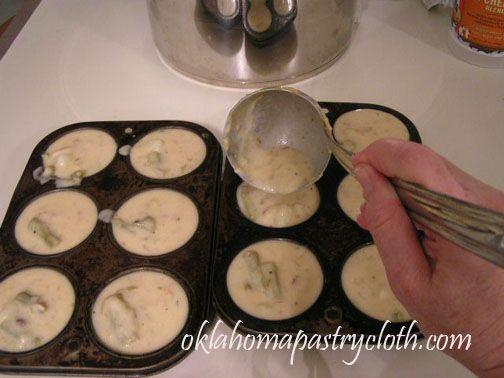
Just a quick note to remind you that even if you are just cooking for two, you can make large recipes and have your freezer full of “prepared meals” that you make yourself. If you love spaghetti or soup or anything liquid like that, you can have your spaghetti and eat too again and again! When I make meals, I usually make a full recipe or even double it and then use either plastic or foil containers to arrange a meal of leftovers that I then vacuum pack in my FoodSaver or that I first freeze in individual servings and then vacuum or put into Ziploc bags. For example, if I have made soup (cream of vegetable with asparagus!), as I did last night – it was cold outside and I do mean cold! – I pour the remainder of the soup into muffin tins and freeze. Then, when frozen, I place the tins in about a half inch of warm water and out pops the soup “muffin-sicles” to be put into freezer bags. I label the bags and I have measured amounts of soup that I can pull out and thaw in a pan. Each “muffin-sicle” is about 1/3 cup of soup and so I can thaw three for a cup for one person.
Finding lemons and limes on sale is a blessing because you can buy 10, 20 or the sky’s-the-limit of fruits, wash them and then cut them in half, ream the juice, put the juice into plastic ice cube trays and freeze the trays of juice. Each juice cube is approximately an ounce of juice. Don’t throw away the empty rinds either, but freeze them in a freezer bag as well and when needing lemon or lime zest, grab however many needed and grate away. They are much easier to grate frozen. I make large amounts of pesto and freeze it in cubes as well or in small jam jars.
In other words, make life easy and think “large quantities” in order to freeze the leftovers to have ready for a day when you are in a hurry. As the holiday seasons approach, those kinds of days may get more and more frequent!! Happy cooking!
Peter Piper, Pickled Peppers Aren’t Picked Pickled
Tuesday, September 8th, 2009A History Lesson on Peppers and A Photo Session/Recipe on Pickling Peppers
“Peter Piper picked a peck of pickled peppers.” This child’s poem seems to have first appeared in Peter Piper’s Practical Principles of Plain and Perfect Pronunciation” by John Harris in England in 1813. The little book included a tongue twister for every letter of the alphabet. However, according to The Oxford Companion to Childrens Literature by H. Carpenter and M. Prichard, the Peter Piper poem was actually recited for many years before the publication of the book.
The preface to Harris’ book is pretty funny. It reads: Peter Piper, without Pretension to Precocity or Profoundness, Puts Pen to Paper to Produce these Puzzling Pages, Purposely to Please the Palates of Pretty Prattling Playfellows, Proudly Presuming that with Proper Penetration it will Probably, and Perhaps Positively, Prove a Peculiarly Pleasant and Profitable Path to Proper, Plain and Precise Pronunciation. He Prays Parents to Purchase this Playful Performance, Partly to Pay him for his Patience and Pains; Partly to Provide for the Printers and Publishers; but Principally to Prevent the Pernicious Prevalence of Perverse Pronunciation.
And speaking of peppers, they are a wonderful and useful addition to any garden. We always include a variety of bell peppers, banana peppers and jalapenos. When I am in the mood for hotter peppers, I include habeneros as well.
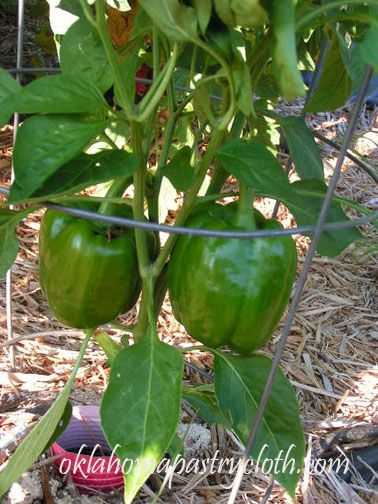
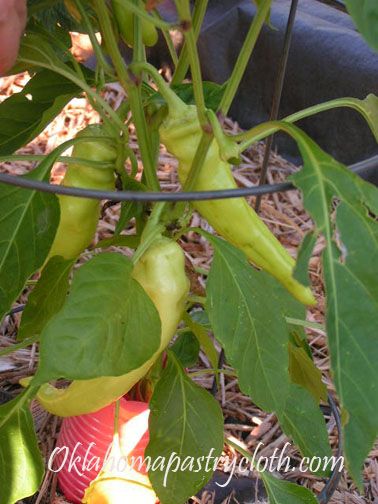
Peppers are a member of the nightshade family of plants which include potatoes, tomatoes, eggplant and tobacco of all things! The Nightshade plant, itself a member of the family, is deadly. It looks like a miniature tomato plant. The peppers are of the species Capsicum and contain capsaicin which is a chemical that produces a burning sensation in the mouth, the skin and the digestive tract. It keeps animals from eating the peppers, but doesn’t seem to bother birds which then spread the seeds. Capsaicin is used in medicine as a pain reliever and to stimulate circulation.
Peppers are native to Central and South America and were taken to Spain in 1493. Their use and cultivation then spread to Europe and Asia. Supposedly, Christopher Columbus misnamed them “peppers” or pimento in Spanish because peppercorns were so valuable and he mistakenly thought the peppers were of the same family. He seemed full of mistaken assumptions!! Wrong continent and wrong plants.
One interesting name that I have heard my Missourian father use in reference to bell peppers is “mango”. This label for peppers is also used in parts of Kentucky, Ohio and Pennsylvania. But since the real mango fruit has become so popular, this old term for peppers is fading.
(thanks to the New World Encyclopedia!)
We pickle peppers at our home every year. However, we use a whole different approach. I took my grandmother’s recipe for bread and butter pickles, tweaked it a bit and have come up with my own recipe for “Sweet-Hot Peppers”. You can find my grandmother’s pickle recipe in the cookbook for sale on the shopping page.
Following is a photo instruction and recipe for my “Sweet-Hot Peppers.”
Ingredients:
4 quarts of bell, banana and jalapeno peppers. The ratio of jalapenos to the other peppers will determine how hot your relish will be. Your choice. Also, I throw in a few jalapenos that have turned red or a red bell pepper to add color.
6 medium white or yellow onions
1/3 cup non-iodized salt or canning salt
3 cups white vinegar (5%)
4 1/2 cups sugar
1 1/2 tsp tumeric powder
1 tsp celery seed
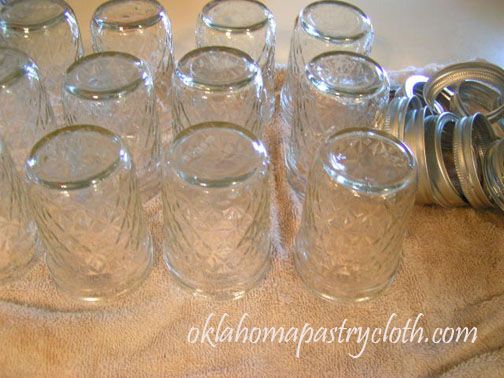
Wash and dry jars and rings. Boil lids and turn down heat to very low to keep the lids warm.
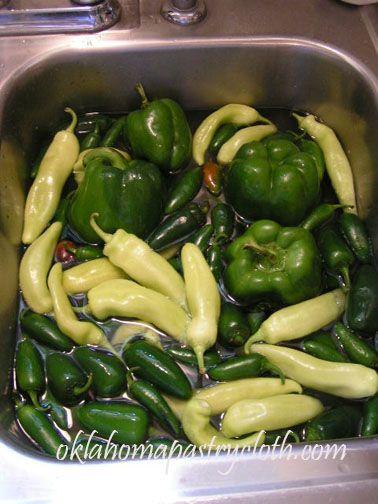
Wash peppers
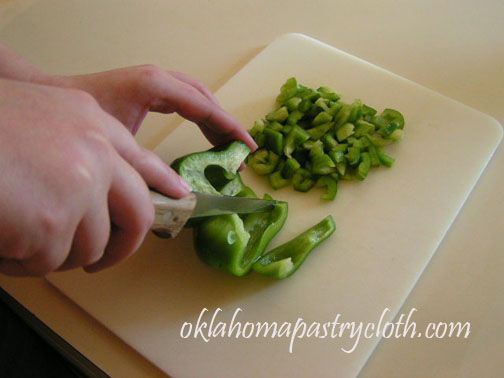
Core, seed and chop bell peppers into small pieces.
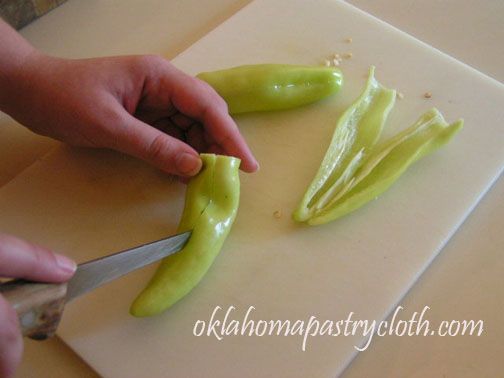
Slice banana peppers down the center of one side. Lift out seeds and discard and chop into thin strips.
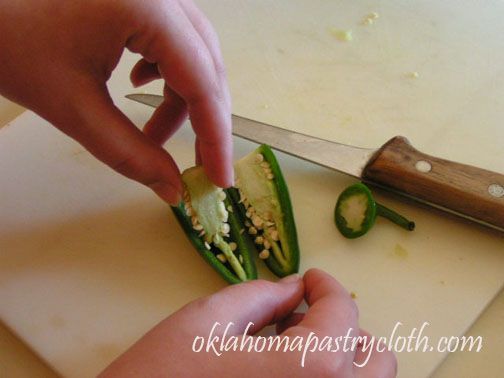
Slice jalapenos in half. Lift out seeds and discard and slice peppers into pieces or half rings. You may require rubber gloves to keep fingers from burning and to help you avoid accidently rubbing the capsaicin in your eyes or nose.
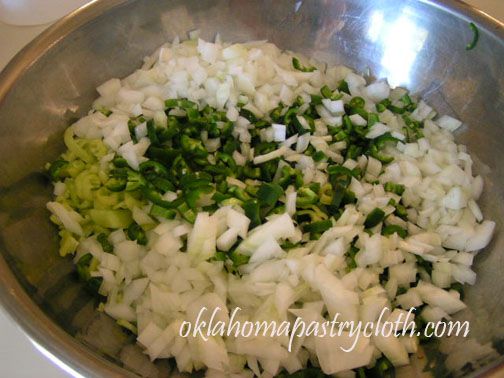
Chop onions into small pieces and put all peppers with onions into a large stainless steel or glass bowl.
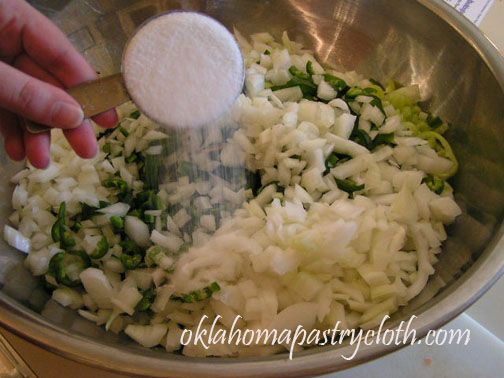
Sprinkle 1/3 cup non-iodized salt over the vegetables
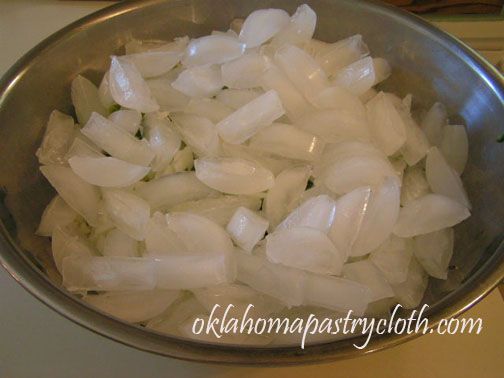
Cover with plenty of ice cubes.
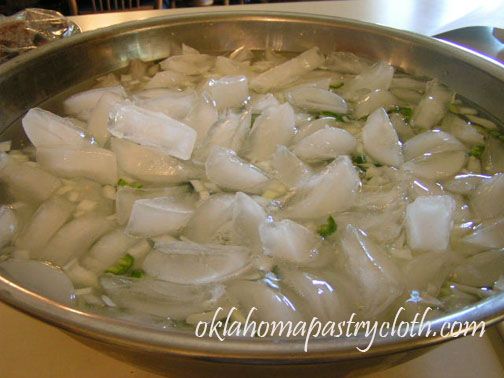
Add water to cover all of the vegetables and let sit for 3 hours. After 3 hours, remove any remaining ice cubes and drain off all water. DO NOT RINSE vegetables.
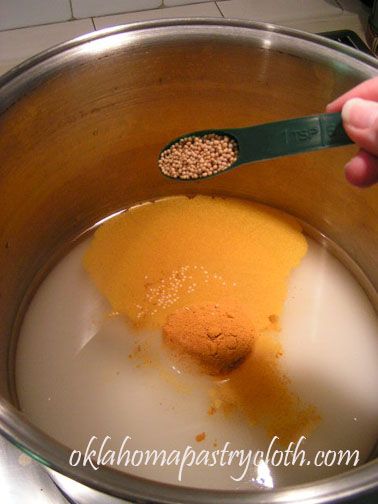
In a large stock pot, pour in vinegar, add sugar and stir in tumeric, mustard seed and celery seed.
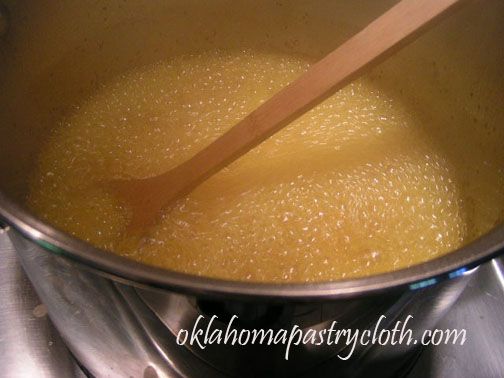
Stirring, bring to a rolling boil.
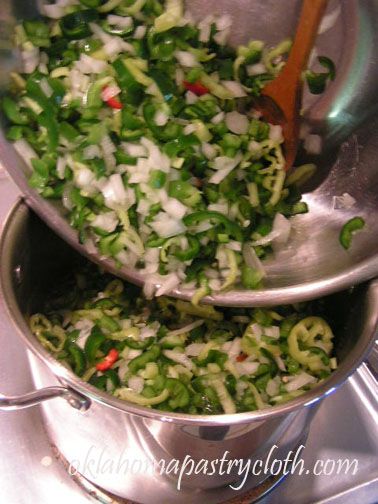
Pour vegetables into boiling syrup and turn off heat.
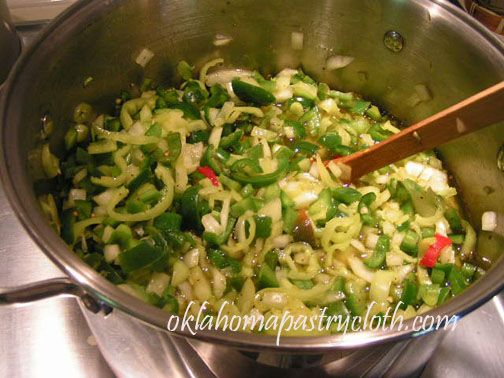
Stir to coat all vegetables and remove pot from burner. Because peppers are more delicate than cucumbers, you do not want to heat them too much like bread and butter pickles. You want the peppers to be more raw and crisp.
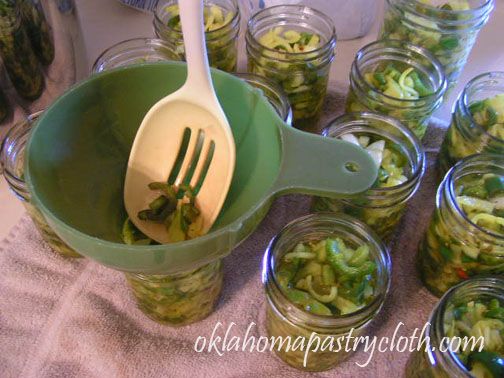
Immediately spoon pepper mix into jars to 1/2 inch from top. Pack in as much of the vegetable mixture as possible. You can add more liquid later.
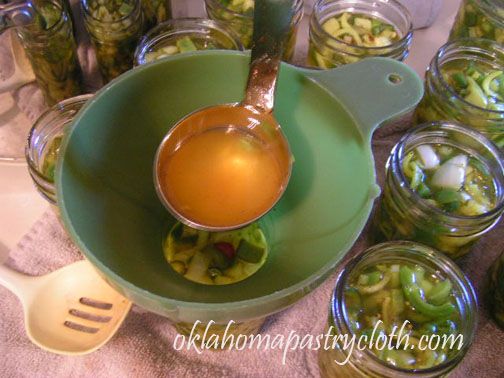
Add leftover liquid to 1/2″ from top.
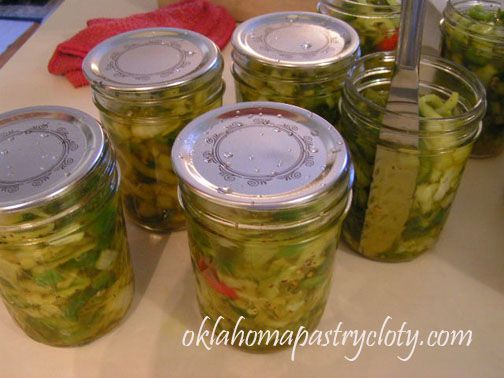
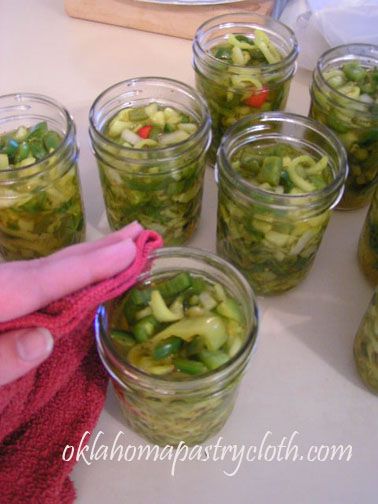
Using a knife, run around the inside perimeter of the jars to release any air bubbles. With a damp cloth, wipe the edges of the jars to remove any sticky residue. Add lids and rings and tighten rings but not too tight.
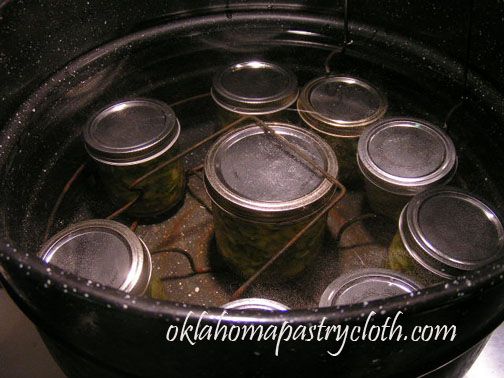
Place jars into waterbath cannner and cover jars with water, 1 inch over the tops of the lids. Bring to a boil and process for 10 minutes and no more. Remove from canner and allow to cool. Wash and label.
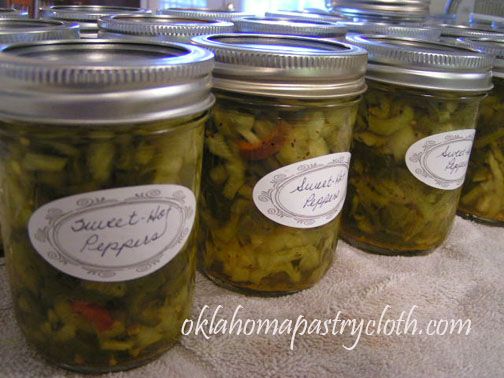
Now you are ready for pepper gifts and a wonderful condiment for your scrambled eggs, sandwiches, pinto beans, soups and anything else you can think of!!
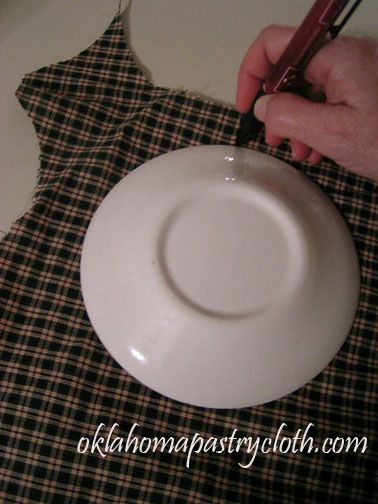
To make your gift jar, use any kind of cotton material and draw a circle using a small saucer as a guide.
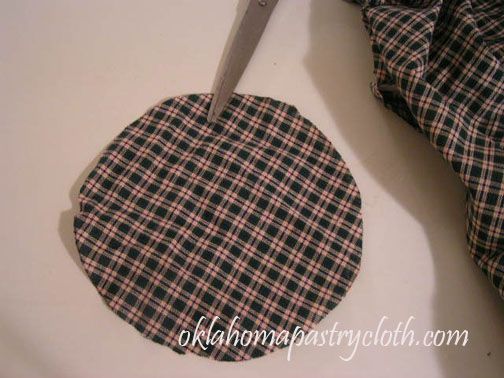
Cut the cloth circle from the fabric
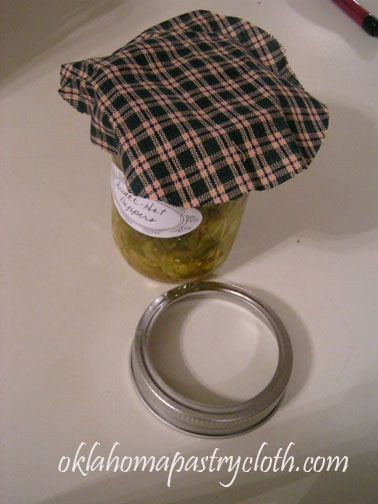
Remove the ring from the jar and place the cloth circle on top. Replace ring and tighten.
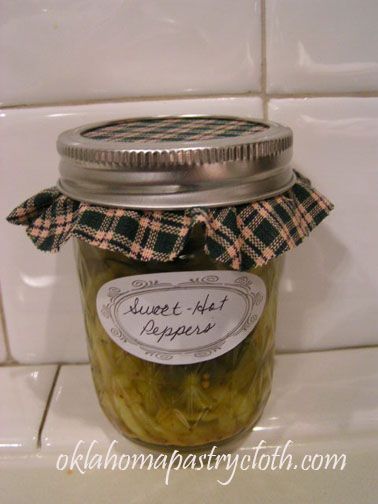
There you go!!




 Homestead Revival
 Paratus Familia
 Rural Revolution