  Do you remember lying in the grass and looking at clouds, while making out the shapes of everything from whales to sailboats? That’s called ‘imagination’. Being a retired home school mom as well as a former art teacher in the public schools, I know only too well how bored children become if they are not encouraged to be creative – to use their imagination – and to be funny. Funny is a plus. Our family has always included humor as one of the pillars of our home structure and be assured that when holidays roll around, stomachs hurt from all of the laughing. When I was growing up, my extended family was the same way and we were encouraged to use our noodle in our humor. A performance of my sister’s original country spoof for all, and I mean ALL, our relatives at a family reunion ranks top silliness in my memory. We had no shame. For our Missouri kinfolk, in our heaviest East Tennessee accent, I and my three sisters belted this ditty that included the chorus: “Oh, a band-aid and some iodine will make yer bruises feel sublime….But ya cain’t put a band-aid on yer heart.” Children love to create if they are encouraged. (After that, you may wonder why in the world my parents encouraged us!) And I know that a youngster’s first reaction to any challenge is, “I don’t know how”, “I can’t” or “It’s too hard.” But if continually encouraged to step out on a limb and try something new without the fear of “not doing it right”, children develop reasoning and cognitive/physical skills that will last them a lifetime. Toward such an end, I used this art project for kids of all ages in my art classes. It challenges kids to pretend, create, draw, and be funny all without there being any “right” answers. No two drawings will be alike. I have done this with young children to high school kids and while the results will depend on the motor skills of the age group, the results are always funny and creative. You will need:
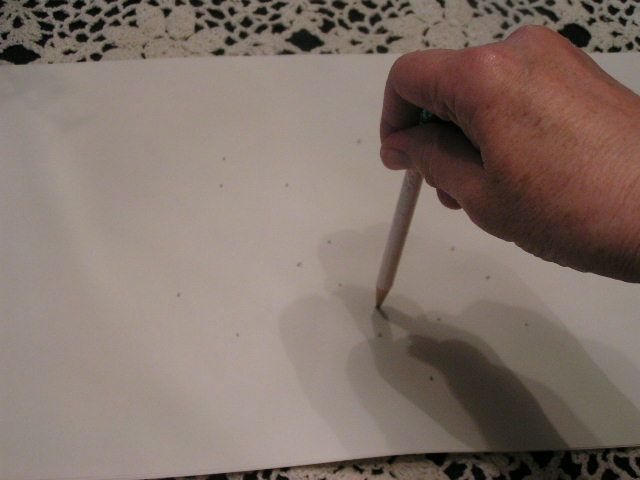 Give each child a sheet of paper and pencil and have them close their eyes. Tell them to make dots on their paper without looking. Establish a particular number of dots. Here I have made 20 dots. For younger children, count with them as they make each dot. 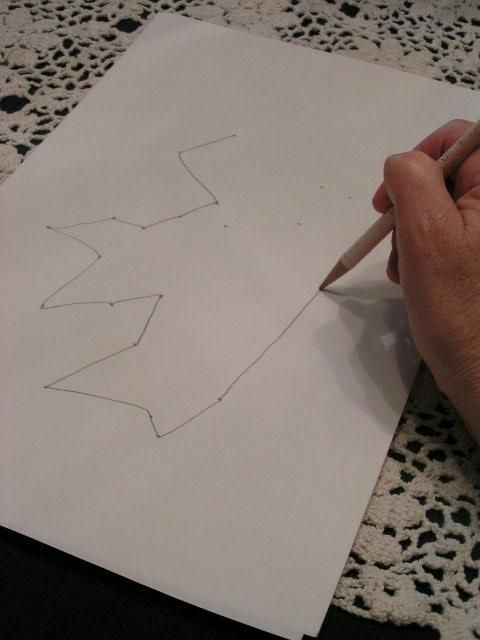 Tell them to open their eyes and to connect the dots without crossing any lines. They are doing an outline. You can use this opportunity to explain the concept of an outline and a perimeter if you like. 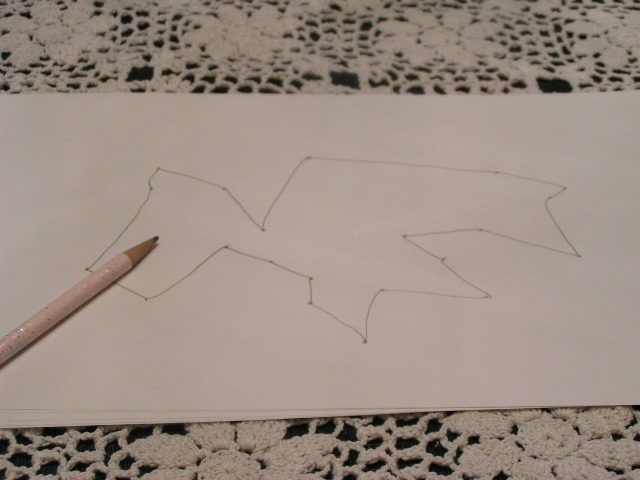 Have them turn the paper different directions to look at the shape they have made from different angles. Tell them to pretend the shape is an animal and to pick out the way that their shape looks most like an animal. On this particular shape, I have settled on this direction because I can see a head and will make the rest work as a body. Tell the children to find the head to their “animal”. 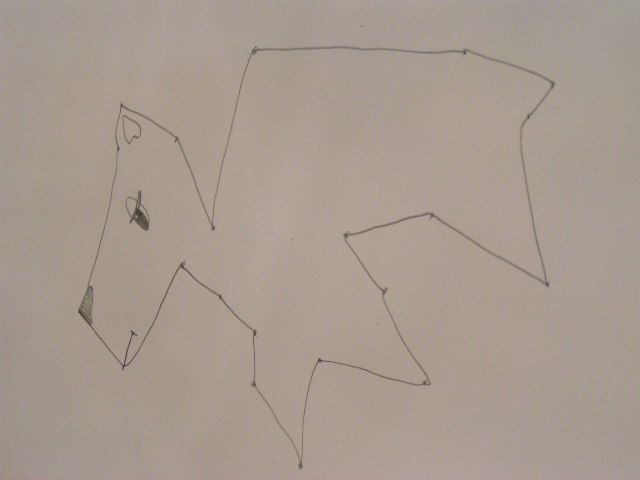 Here I have added a nose, mouth, eyes and an ear to the head. Tell the children to give the heads of their animals these features. 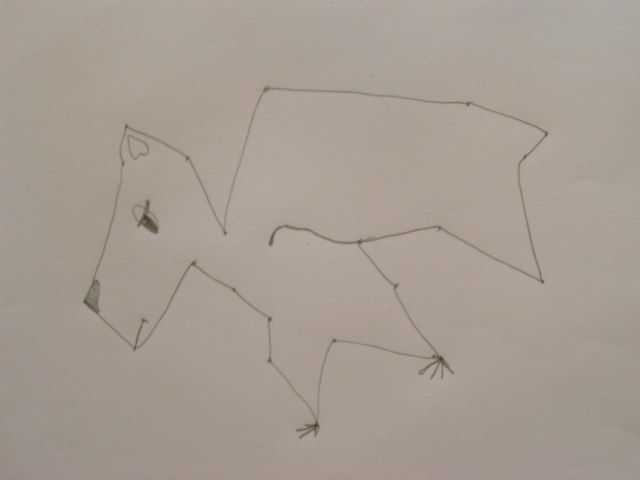 Next, I have decided where the legs will be and have added feet 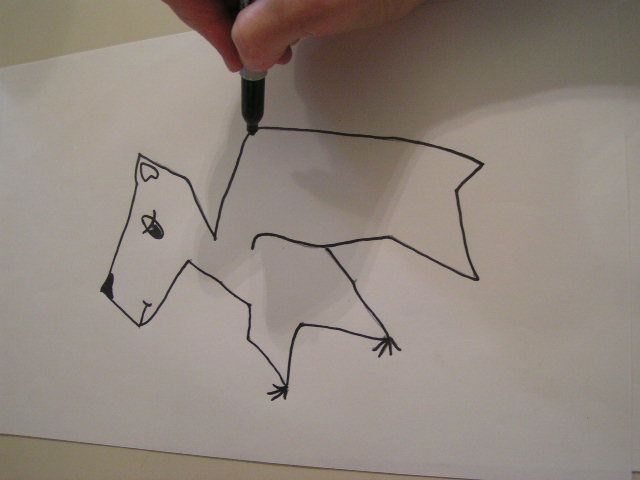 In order for younger children to see their shape better, they can go over their pencil outline with a fine, black marker or dark pen. Older kids like to do this too because it makes their ‘animal’ more cartoon-like.  Have the children color their animal however they like. Remind them that they can put in fur, feathers, scales, teeth, etc. to help define their animal.  When they have finished designing their animal they can get really silly. A name for the animal, where it lives, what it eats and how it sounds are just a few things that can be added to the drawing. 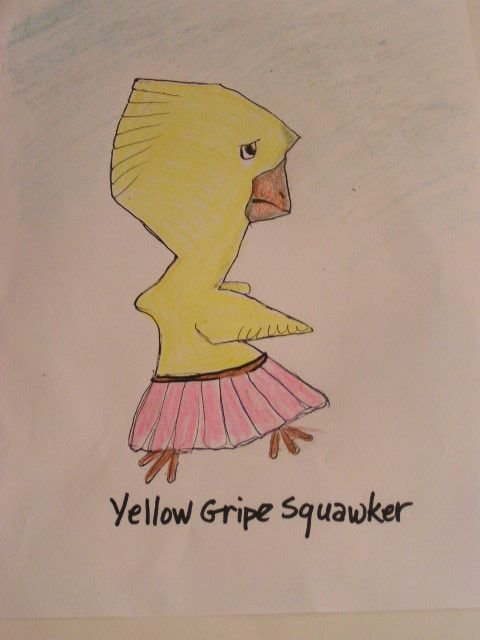 It is fun for a child to keep an “Audubon” style scrapbook of their animals to look at later on. For young children, you can write their descriptions for each animal in large letters, put the papers into plastic sheet covers in a looseleaf notebook and use the book to help your child learn to read! They will have made their own book and learned to read it too.  You can hang the drawings on the frig, or cut the animals out to use for silly decorations. Now’s the time for YOU to get creative!  |
|
Oklahoma Pastry Cloth™ Company on Facebook
|
 |
Archive for the ‘So You Have To Make It Educational!!’ Category
Encouraging Creativity in Kids – A project
Monday, April 4th, 2011
Plantin’ Taters
Friday, March 18th, 2011
 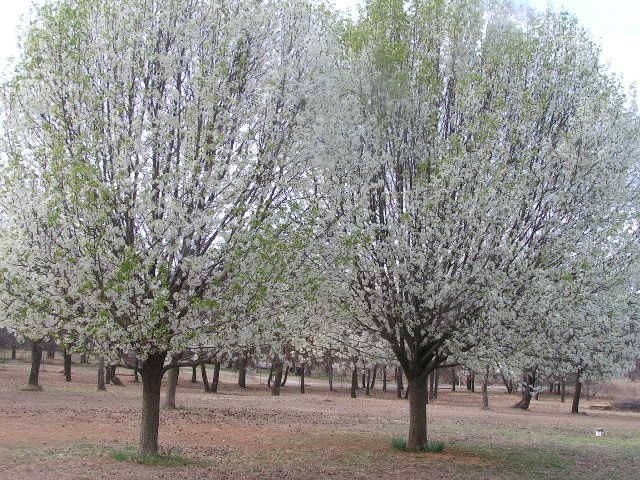 Spring has actually come to Oklahoma! The drab brown of winter is slowly turning into Spring Green! The Bradford Pears are glorious.  Dafodils are peeking out from emerald folage.  Nectarine blossoms seem to have escaped the 21º frosty morning at the first of the week and are lacing the trees as pink, cotton candy flowers. 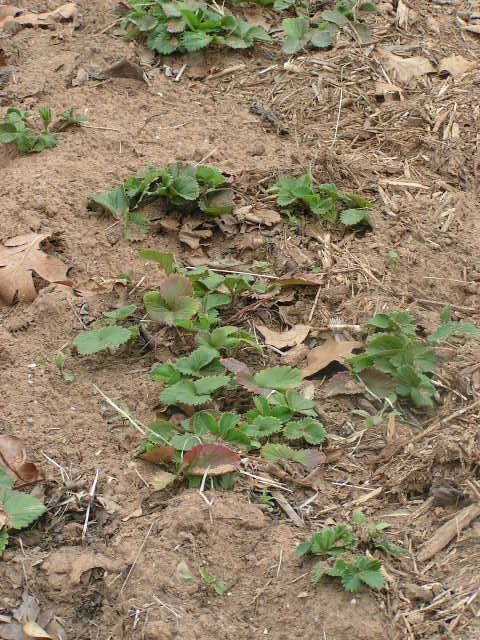 The rows of strawberry plants proved that they could withstand one of the coldest, snowiest winters Oklahoma has seen in a very long time and are starting to grow and spread. 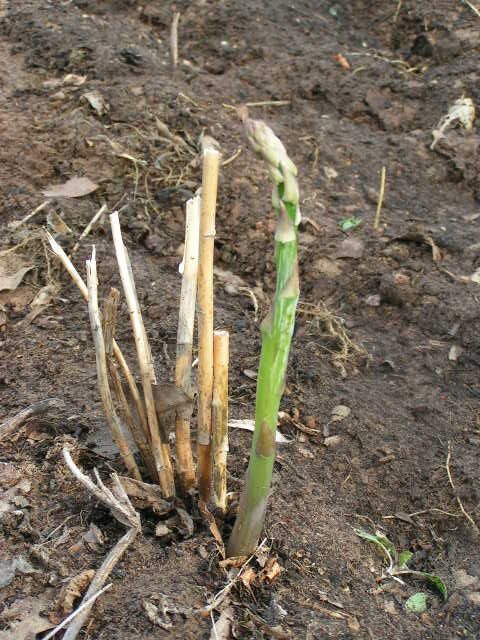 And the asparagus is poking through the soil like a finger testing the wind to see if it’s safe! Here at the Oklahoma Pastry Cloth™ digs – no pun intended! – gardening season has hit with a vengeance. We plant pretty early here in Oklahoma and we can plant tomatoes as early as the first of March complete with water teepees to avoid any late frosts. The plants start early and grow hardy early. We usually have two growing seasons. 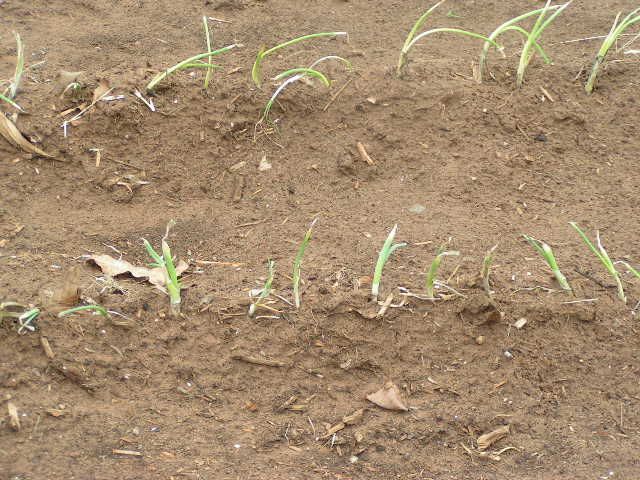 This week, in our garden, potatoes, onions and lettuces were put in while the wind blew 30 mph and out-of-control wild fires raged all around us. It’s been a tough week for many folks here. Our soil is very sandy and it drains really fast. That means that when there is little rain, the bermuda grass becomes the prime fuel for a wayward flame started by some idiot who drops his cigarette butt and pretty soon trees, pastures, houses and barns go up in smoke. After all of these years of fires out here in prairieland, you would think people would learn!! Anyway, here, I’ve planted the onions a little deeper than they will be later because in the sandy loam, it is easy to establish them and then pull the soil away when they have rooted. Planting them deeper helps them stay upright. It’s all these little suckers can do to battle the Oklahoma winds. As I said, the soil is sandy, but we have added, for the past 15 years, horse manure, compost, mulch and peat moss so that it is the richest sandy loam you ever saw. It smells so good!! And it is in that soil that I planted potatoes – a total of 104 cuts or 13 rows. 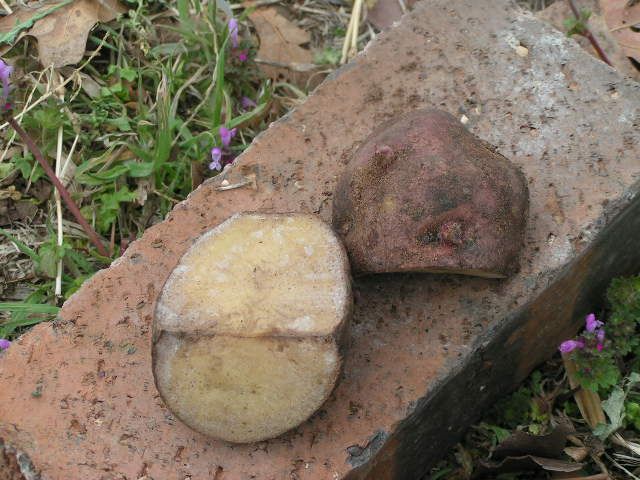 To start off preparing for spud planting, good quality seed potatoes are required. These can be found at any local garden shop and even in some grocery stores. There are all kinds of varieties – Yukon Golds, Pontiac Reds, Kennebec…these are the three that I like. My favorite is just the plain ol’ standard Pontiac Red. A couple of days before planting, I take each potato and locate the “eyes”. These are little indentions that have knobs sticking out of them. These are the buds. I try to get good sized seed potatoes so that I can cut them into pieces with two of the eyes per piece. And the pieces should weigh at least an oz. Cutting them this way, I get more plants per potato than just one. 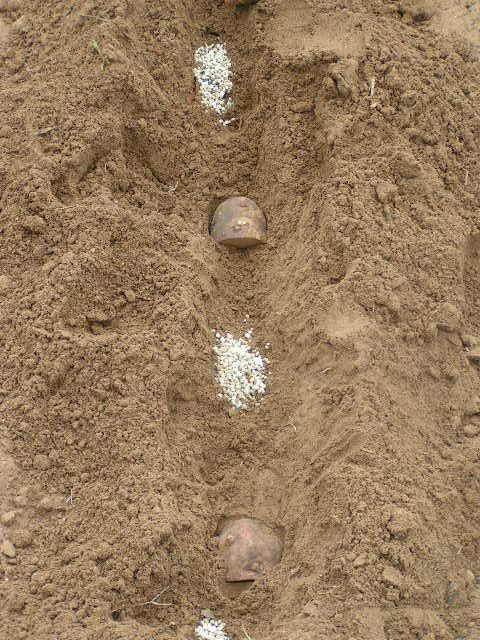 I plant my potatoes differently here in Oklahoma than we did in Tennessee MANY years ago. There, we did mounds that would make for good drainage. Here, in this sandy soil, I have found that rows are more successful. I place each potato cut side or sides face down in the soil about 3″- 4″ deep. This keeps them from freezing if we have a wierd freeze and it keeps them from drying out in our Spring heat. Yesterday, it had already gotten to 86. I place the potatoes about 1 1/2 to 2 feet apart and place about a tbsp of 10-20-10 fertilizer on either side of each potato cut, being careful not to get it too close to the potato which will burn it. 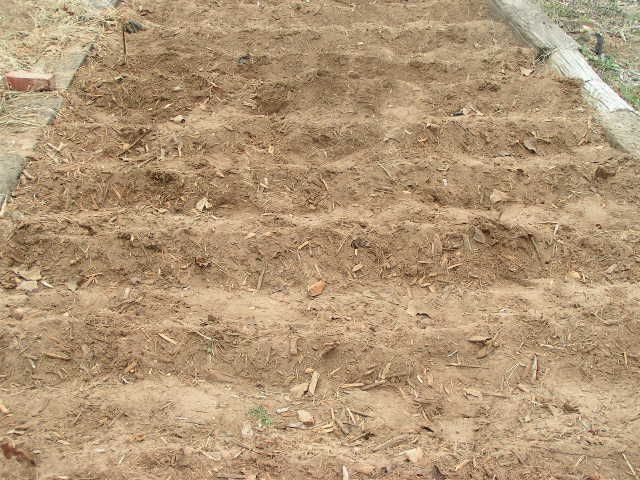 After I get all of the rows done, I go through with a hoe and pull the dirt up to a peak over the potatoes to make an even, covered row. It’s hard to tell in this picture because of the angle, but the rows are also 1 1/2 to 2 feet apart. I’ll keep adding to this post as growing season progresses and you can see how they turn from cut pieces to wheelbarrow loads of potatoes! Stay Tuned! |
|
Oklahoma Pastry Cloth™ Company on Facebook
|
|
|
How To Cut Up A Chicken, Butcher Style
Monday, March 7th, 2011
 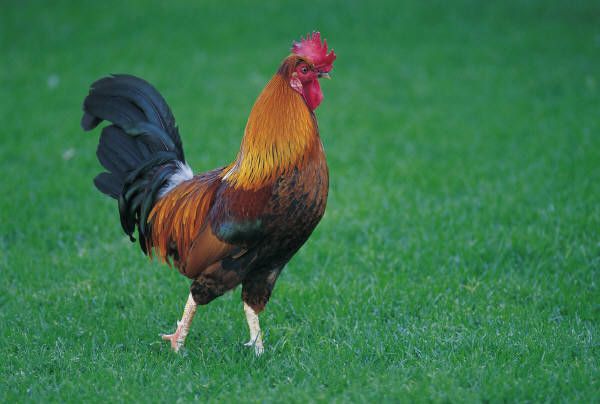 I’ve mentioned in past posts that I worked in the meat department of a grocery store in my previous life. At night, I helped cut and wrap custom beefs, lambs, hogs and deer. During the day, I was a butcher’s assistant, helping to cut, wrap and display all of the meats that were sold in the grocery. It was a fun job, believe it or not, made especially fun because of the people with whom I worked. It was a family operation and they treated their employees like members of the family. Practical jokes and laughs were a daily routine. One time, the butcher and his cousin had me convinced that I had guzzled Hydrogen Peroxide in my tea (the tea was fizzy), put there by a coworker who didn’t know any better, such that I was certain the stomach ache that ensued was due to gastric poisoning. There is a skull and crossbones on the bottle for heaven’s sake!!! I was handed the phone to call the doctor, who had been let in on the joke, and I was only encouraged further down the fantasy road of certain demise right there in the meat department. Finally, the giggles erupted and a bottle of Dr. Pepper was produced. My face could not have gotten any redder. I returnd the prank by heavily lathering the phone earpiece with vaseline and then calling the meat department from the phone at the front of the store. My boss answered the phone. Oh yeah. 🙂 I had to learn fast and hard in this job and being the competitive person that I am, thanks to the genes inherited from my tennis-playing grandfather, I was bound and determined to master whatever I was given to do. One of my first jobs involved wrapping the cuts of custom beefs in freezer paper and labeling the packages. It is a job that I still practice today every single time I freeze our own meats. There IS a method to wrapping! But that is for a later post. In my day job, the first task I was immediately tossed into learning was the job of cutting up a chicken. My first attempt was a joke, but as time went by, I got faster and faster and could finally cut and package a chicken faster than you could say “Cocka-doodle-doo”. This is a skill that has helped me more than you can imagine! Whether raising your own chickens for meat or purchasing yours at the grocery, knowing how to cut them quickly is a blessing. Today, I buy whole chickens on sale and cut them up, dividing them into packages of separate parts. The other day, I found whole chickens for 65¢ per pound. After cutting them, I packaged breasts together, legs together, thighs together, and packaged cut-up wings for hot wings, while cooking the backs, skin and “innards” for broth. A package of breasts for 65¢ a pound? Find THAT in a store near you! So here is the way that I learned to cut up a chicken. I learned from a pro – Greg, the Butcher! Thanks Greg, for all you taught me!! 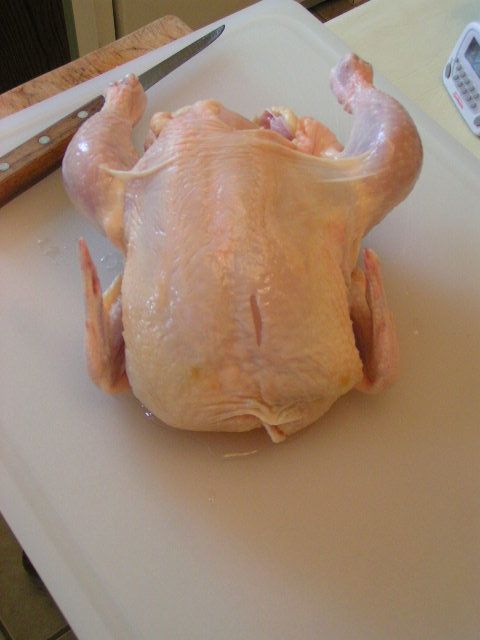 You will need a cutting board that is not wood. Wood soaks up bacteria that is found in chicken and it is very difficult to disinfect afterward. You will also need a good boning knife that is sharp. I use Forschner brand knives which are the brand that we used in the meat department. I like them because the blades are flexible and can bend slightly. Also, if you like, you can do what we used to do in the meat department and use rubber dishwashing gloves. These help you hold the chicken easier to avoid slips, and you are less likely to cut yourself if you do slip. 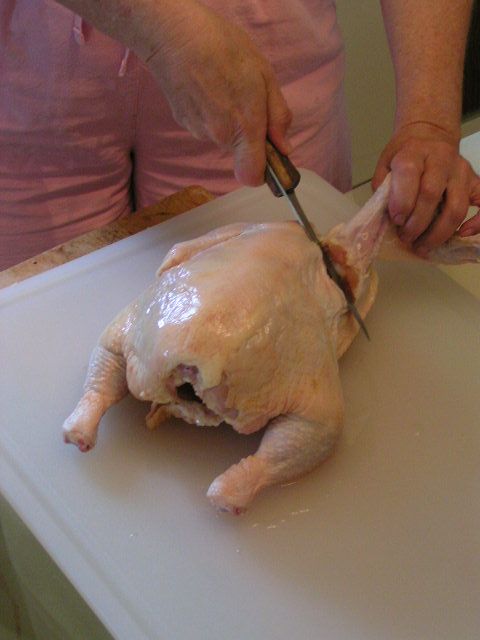 With the breast side down, pull one wing out and away from the body and feel for the main joint. Slice between the two bones of the joint. You will slice down and around the joint bone. 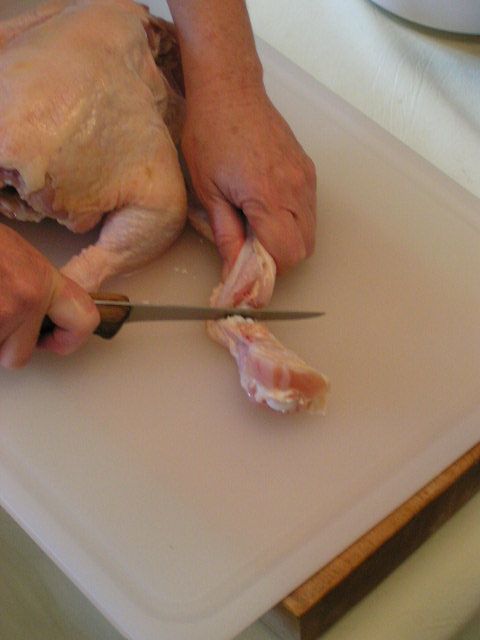 Cut at the joint between the shoulder section of the wing and the “bicep” section of the wing. 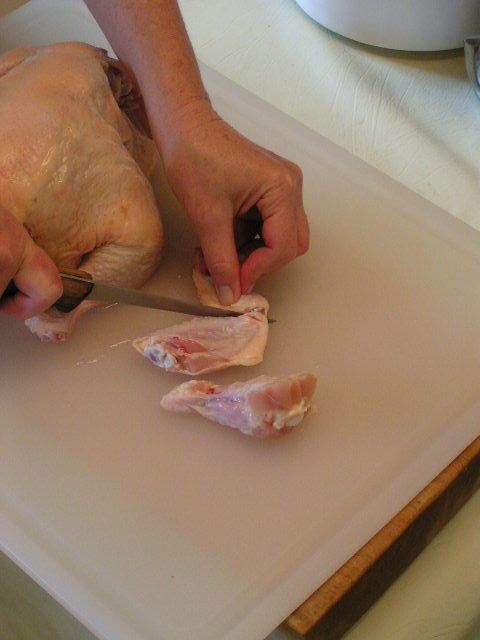 Then cut between the joints that hold the “forearm” of the wing to the “bicep” section. I throw that little front part of the wing in with the back and other excess pieces to stew for broth. The two larger sections are packed together for “hot wings”. 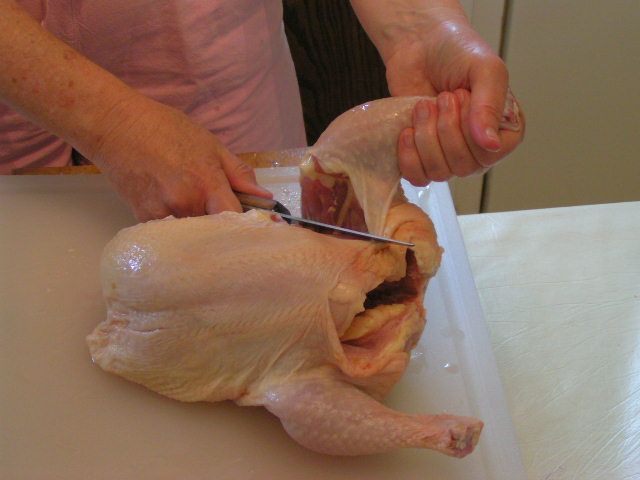 Next, turn the chicken on its side and pull a leg up so that it is pulled away from the body. Slice your knife right through the center of the skin until you hit bone. Stop. 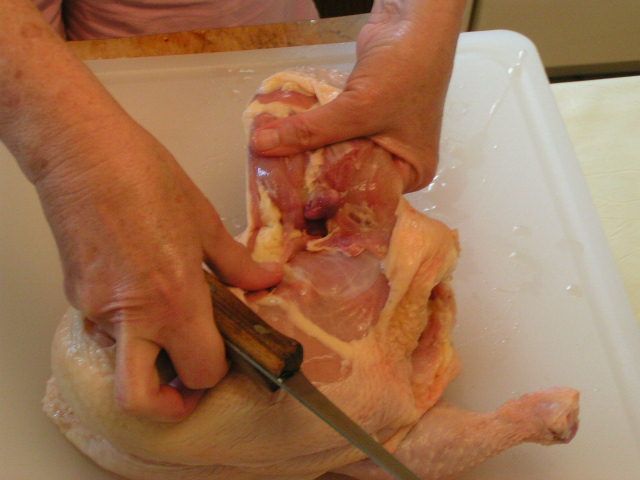 Using both hands, hold the body of the chicken and pop the thigh bone out of joint so that you see the end of it protruding. 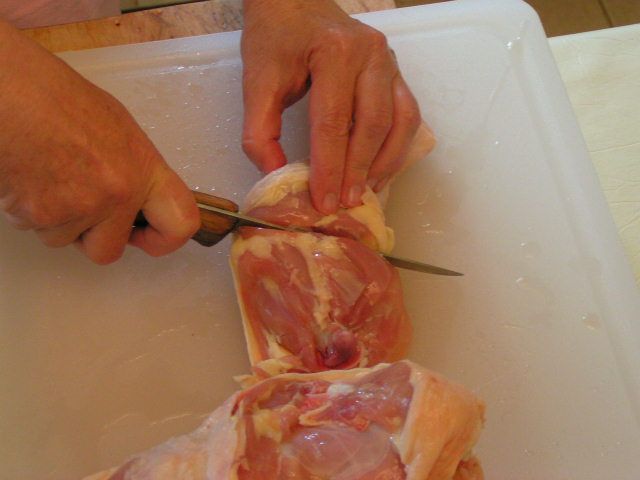 Cut between the round end of the bone and the body to remove leg and thigh section. If you want to separate the leg and the thigh, on the inside of the leg and thigh section, using your first finger, feel for the indention that indicates the joint between the leg and the thigh. Slice between the two bones and separate the leg from the thigh. 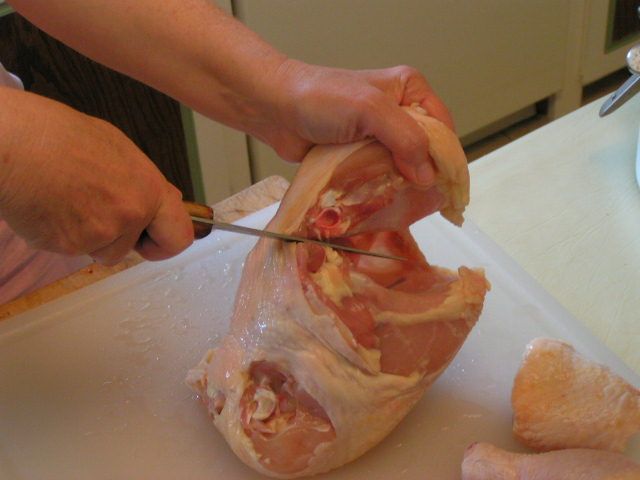 Turn the chicken up on its front end and look for the soft section of skin between the back and the breast section. It is just a flap. Put the knife at a 45º angle to the back and slice in toward the backbone. 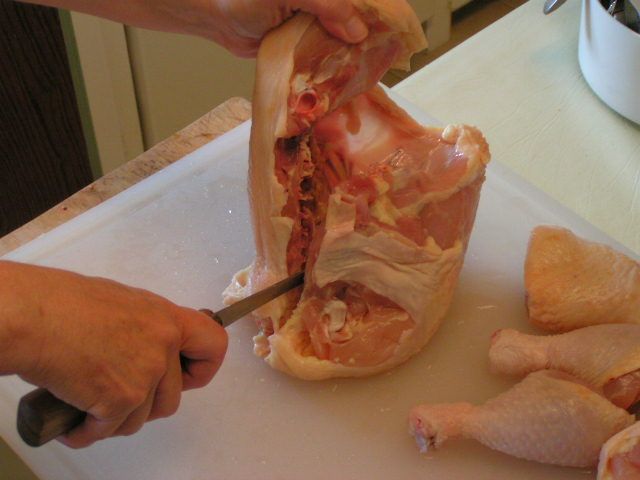 As soon as you hit bone, turn the knife blade down and slide the knife down along and between the backbone and the breast. There will be resistence because you are cutting through soft bone, but just push hard all the way to the end. 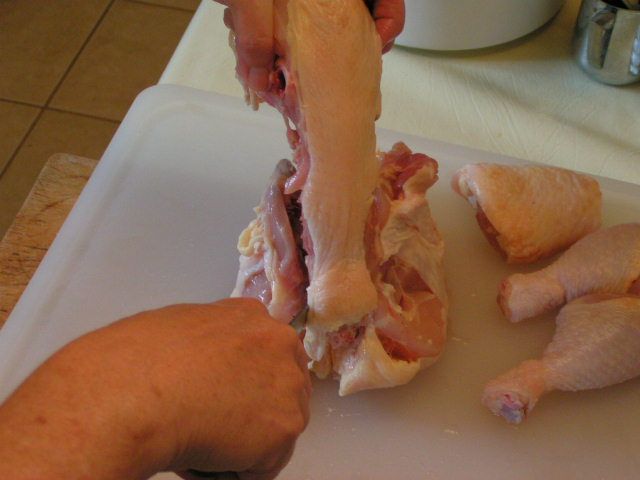 Repeat the same process on the other side of the backbone and lift the backbone out. 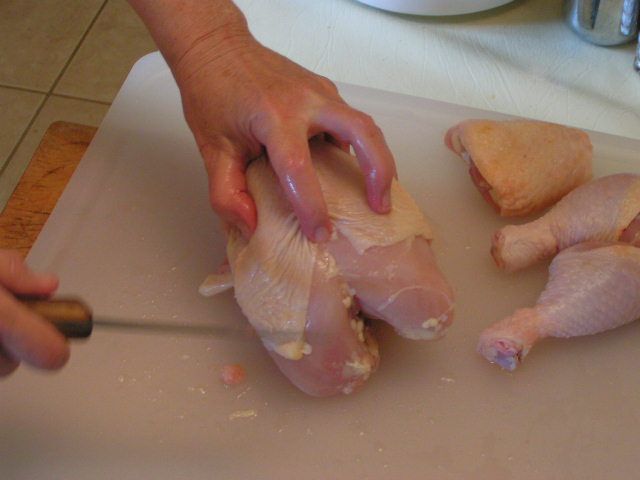 Now you are left with the breast section. If you like the ‘wishbone’ or your kids enjoy breaking it, simply turn the breast section over and slide your first finger down the center until you feel the tip end of the wishbone. 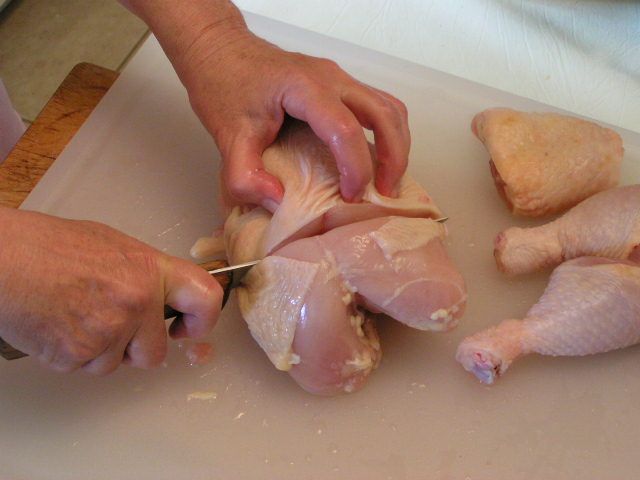 Cut straight down behind the bone tip and between the rest of the breast section and stop when you meet resistance. 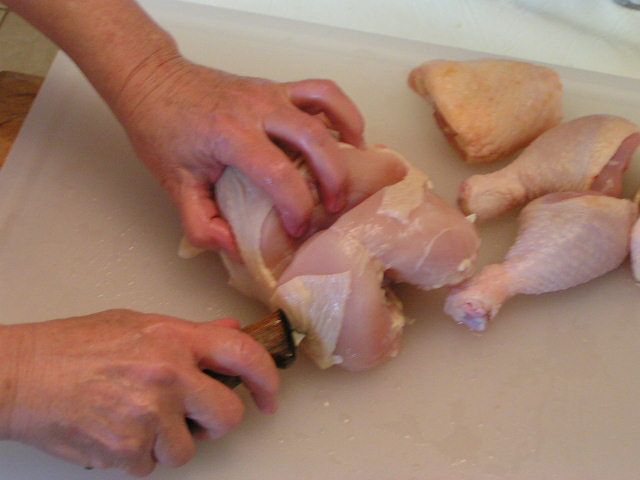 Now turn the knife blade nearly parallel to the cutting board and slice along the front of the breast bone and under the wishbone. 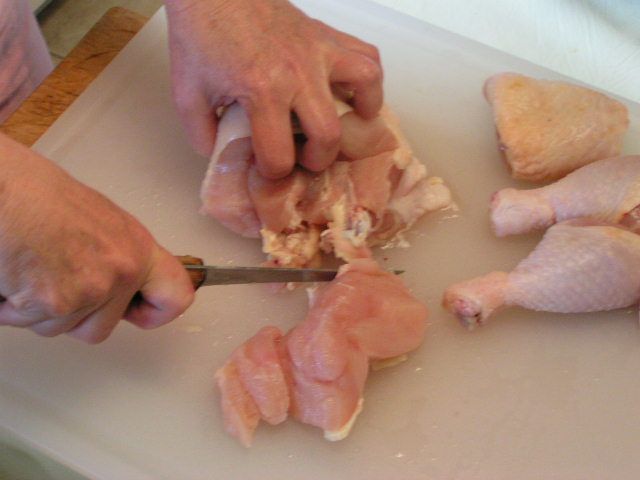 Separate the wishbone from the breast 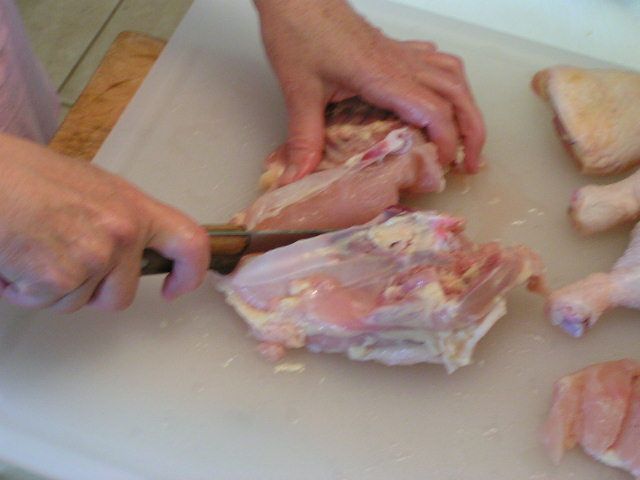 Turn the rest of the breast section on its back and cut right down the middle of the bone. This is soft bone and so with a sharp knife you can cut it. Start by putting the point of the knife down into the bone and press down. It will snap that top of the bone in two and then you can start cutting. 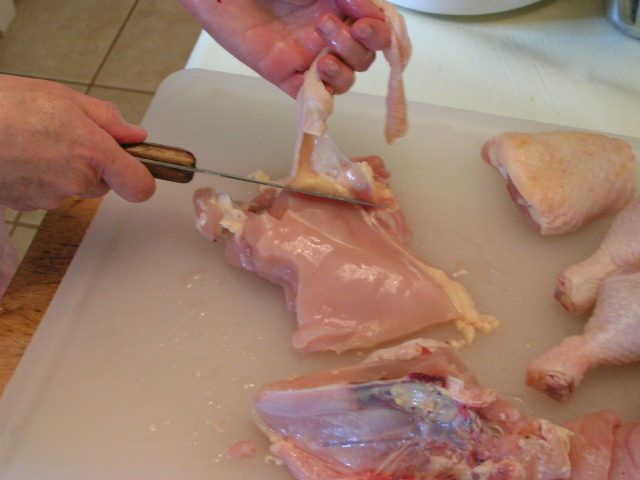 If you are like me and want to cut back on the fat and cholesterol of the skin, you can skin your pieces. This is a simple task, as the chicken skin easily separates from the meat. Just slide the point of the knife under the skin with one hand and with the other, pull the skin up to separate as you cut. And so there you have it – a totally cut-up chicken that you can now cook, can or freeze. I’ll show how I can mine in the next post and how I use it out of the jar. Once you have processed the main pieces, you can boil all of the leftovers into the stock found in this previous post.  |
|
Oklahoma Pastry Cloth™ Company on Facebook
|
Canning Butter
Thursday, February 24th, 2011
|
I have a question. If milk is nature’s most perfect food, as we ALL learned in our science classes many years ago and have heard on many a dairy commercial, why isn’t butter perfect too? Why has butter gotten such a bad rap when it is simply the richest part of the milk that has been whipped to a frenzy? All I know is that butter is all-natural and has to be a whole lot better for you than the fake spreads that marketers have tried to pawn off on us as the nutritionally better alternative. We humans seem to always go down the road of trying to improve on what comes naturally and then wind up right back where we started, concluding that the original product isn’t so bad after all.  I have admitted my affinity for butter in past posts but I am in no way an addict to the stuff. Really. I can quit using it anytime. Really. I use it in moderation mixed with olive oil and am known to spread it sparingly on a slice of fresh homemade bread. Really. But there is simply no substitute for the stuff when it comes to sauces, cajun cuisine and toast.  So did you hear about the solar flares that scientists are afraid are going to destroy the earth? Well, not destroy exactly…just leave us in an electronic lurch which would pretty well destroy the majority of us who can’t live without a cell phone, computer or electric toothbrush. How in the world can I keep my precious butter from spoiling if our refrigerators aren’t running? Well, I can it, silly! I gathered all of the info I could from several sources on the internet and have started canning part of my butter when I find it on sale. The Indians in India have been canning clarified butter, called ghee, for ages and ages. I like to can my butter whole. Take a peek at what is working for me: 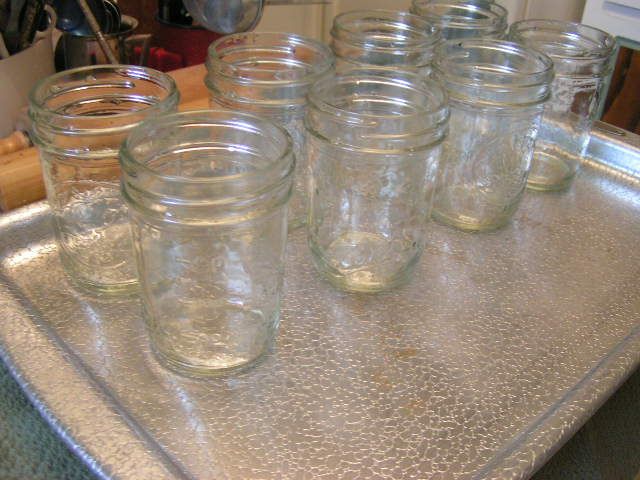 Wash jars in hot soapy water and boil in a large pot or wash on the sterilize cycle in the dishwasher. Place the jars on a cookie sheet. Here I am using 8 oz jars which hold about 1 1/3 sticks of butter. In this run, I used 9 – 8 oz jars for 12 sticks of butter or 3 lbs. Put the cookie sheet of jars into a 250º oven and heat for 20 minutes. 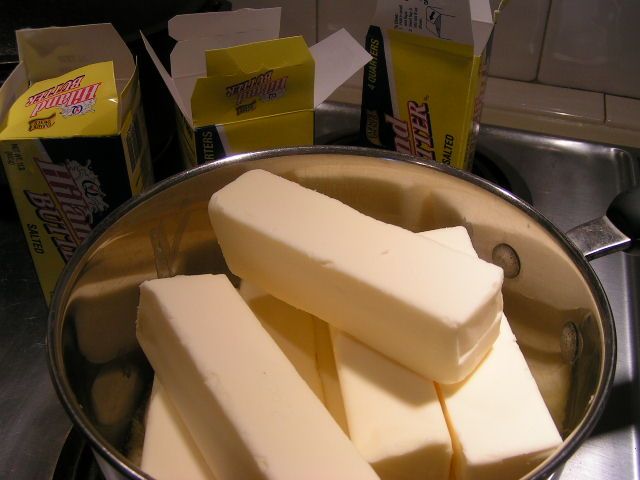 Place sticks of salted butter in a large pan. I do about three pounds at a time simply for ease. The larger pots get too heavy to manipulate and butter gets everywhere. 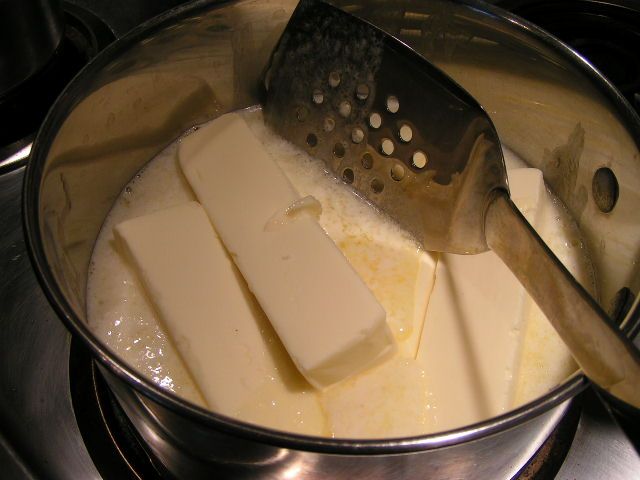 Slowly melt the butter on medium heat, stirring constantly with a metal spatula to keep from scorching on the bottom. A spatula with holes is ideal because the melted butter is pushed through the holes during stirring and helps to keep it uniform. 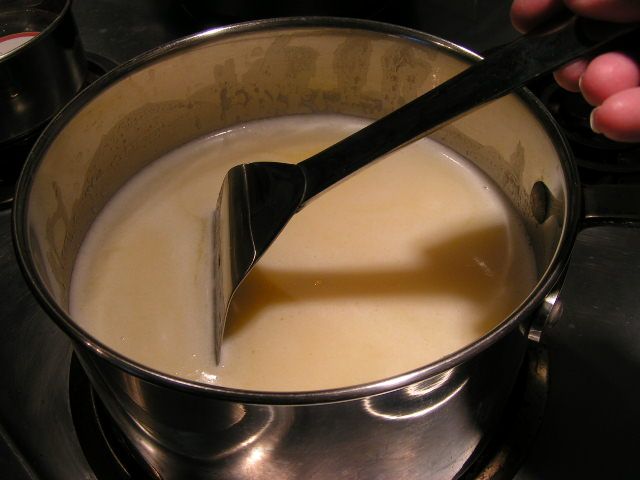 When the butter is totally melted but not quite boiling, continue to stir and allow to simmer for 10 minutes. A thick, white foam will appear. 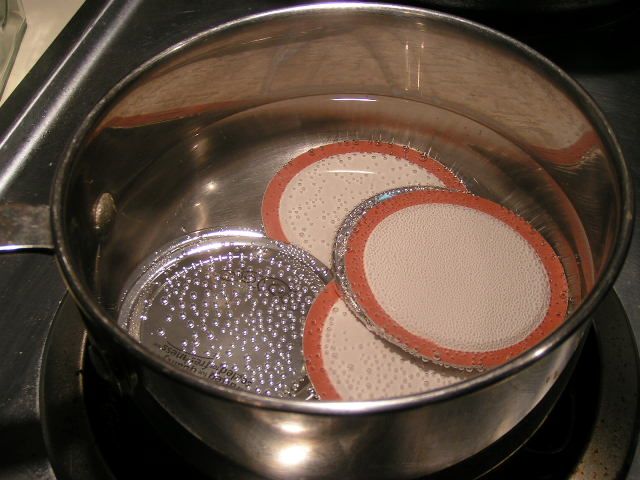 While melting the butter, place lids in a pot of water and bring to a near boil to prepare lids. Turn heat down to keep lids warm. 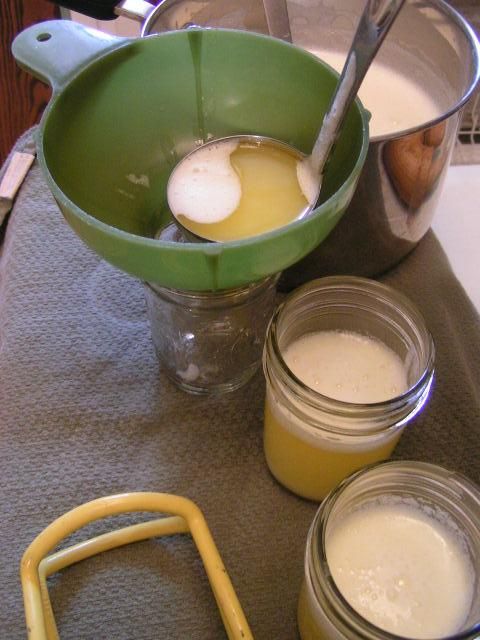 Remove jars from oven and immediately ladel butter into the jars, using a canning funnel. Be sure and stir the butter around and dip deep, pulling up, in order to keep the butter uniform, as it separates. Fill to leave a 3/4″ head space. 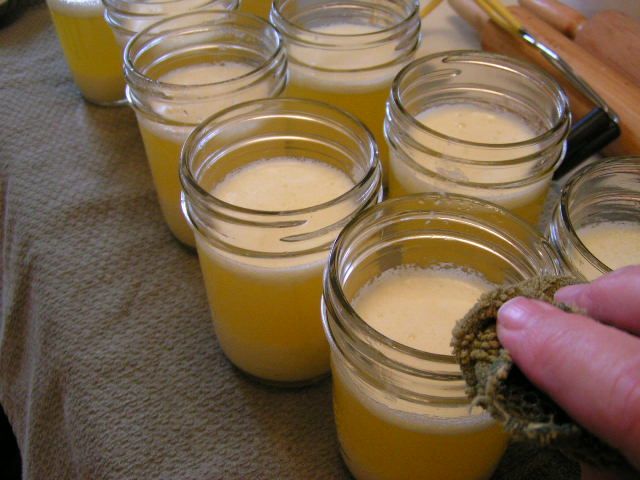 Carefully wipe the edges of the jars with a damp cloth to remove any butter. Butter on the rims will cause the jars not to seal. 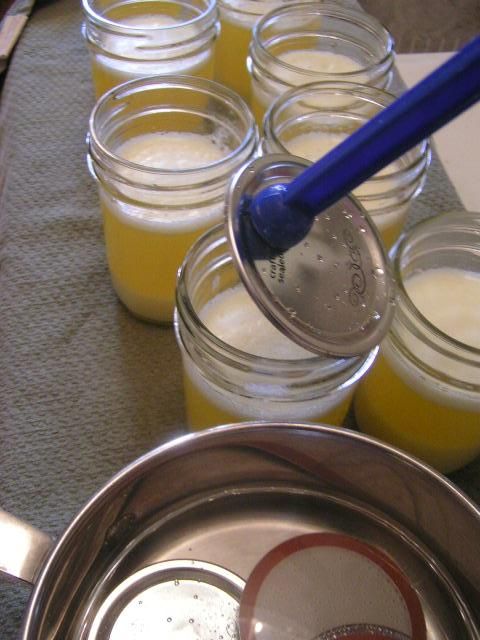 Place the lids on the jars and attach rings, tightening slightly. Place jars into a waterbath canner that has water already heated and enough to cover the jars 1″. The water needs to be heated because the jars of butter are hot and will crack in cool water. As soon as water begins to slowly boil, set timer for 15 minutes. 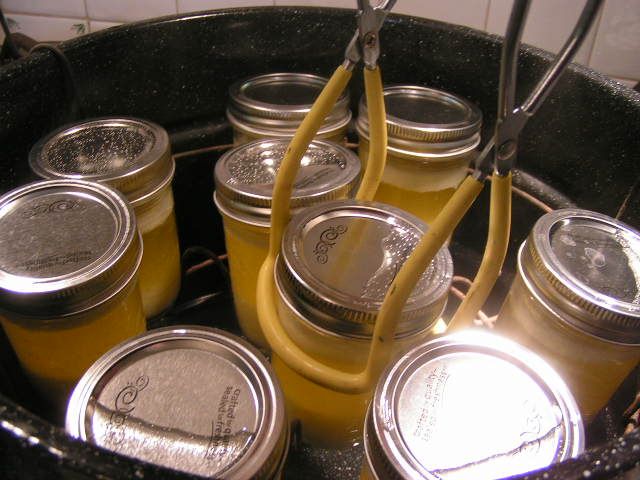 When jars have been processed for 15 minutes, turn off heat and allow to cool down in the water for another 10 minutes. Then, lift the rack to top of canner and remove jars with canning tongs. 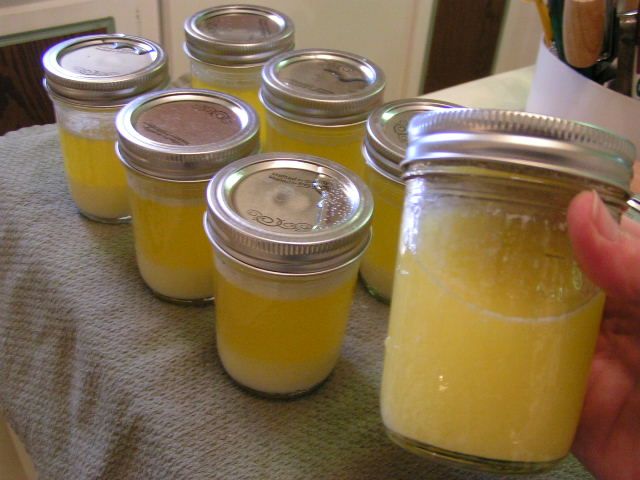 When the jars are cool enough to handle, now comes the tedious part. Every few minutes shake the jars up and down in order to make the butter uniform. If you notice in this photo, the jars to the left have sediment on the bottom and foam on the top. Shaking incorporates this into the clarified portion. Go about your business, but about every 5 minutes, stop and shake the jars. As they cool, they will stay more and more uniform. I set a timer to remind myself so that I can do clean-up. 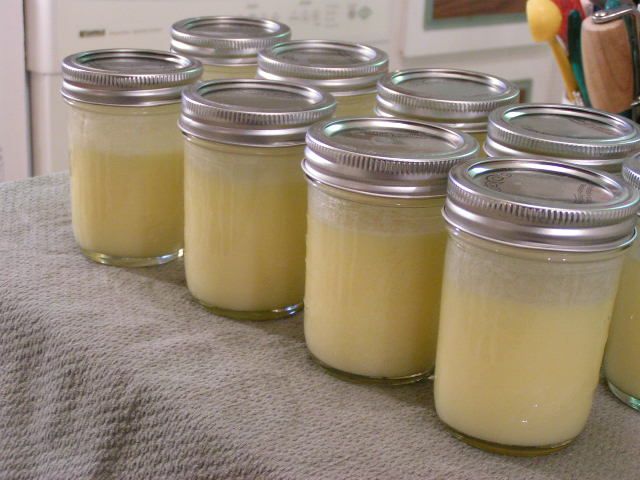 This butter is totally cooled and ready to store in the pantry. Aren’t they pretty? I read one homesteader’s take on canning butter and she said that they actually opened some from 1999 and it was still good. Don’t think I would keep it THAT long, but it wouldn’t matter because it wouldn’t last that long around here anyway!! 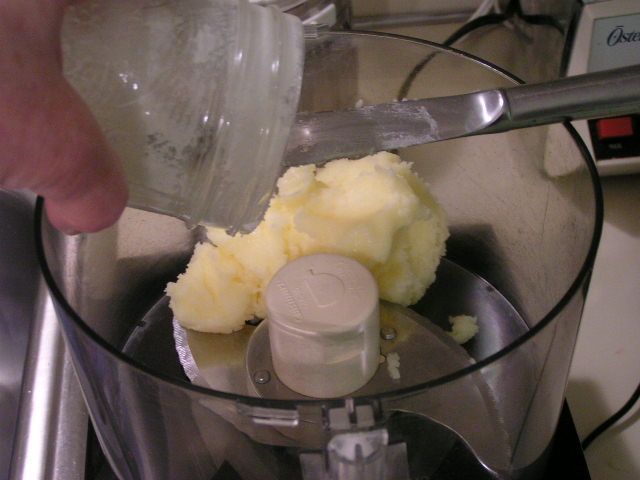 Canned butter is not quite as smooth as fresh butter, but if you are wanting a smooth, healthy spread, you can make the same recipe posted earlier with olive oil or canola oil. Just scrape butter from an 8 oz jar into the food processor or blender. 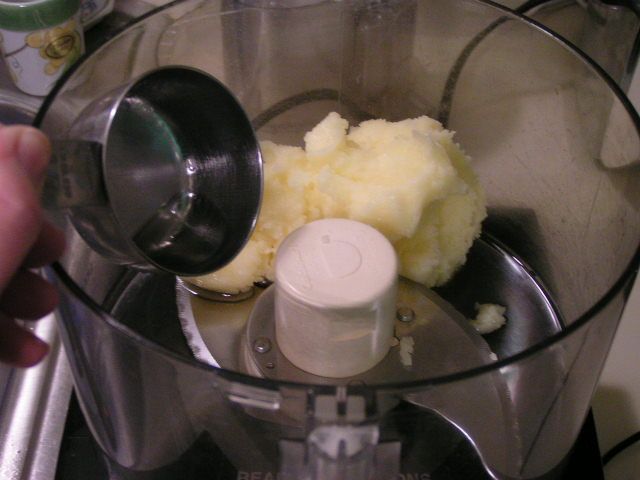 Add 1/3 cup oil. If you have canned your butter in larger jars, adjust amounts of oil. For example, a 1 pt jar of butter would require 2/3 cups of oil. 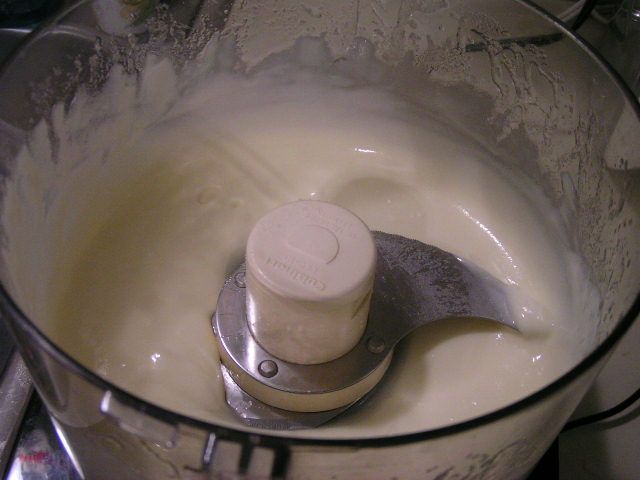 Process until smooth 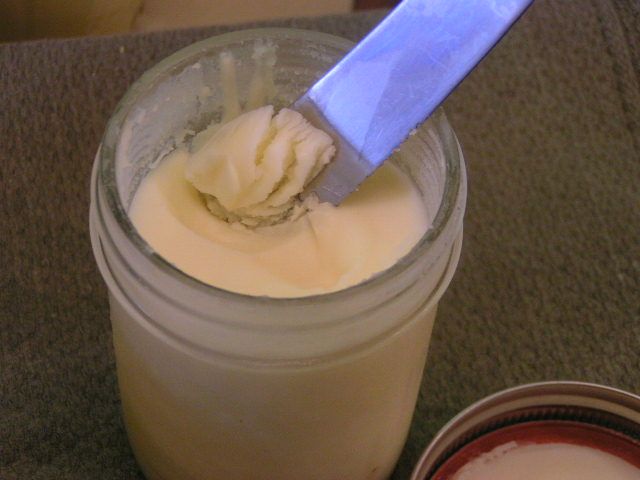 Pour back into jar and allow to harden in the frig. It will go back to the consistency of smooth, spreadable butter. Pass the Lobster, please!! |
|
Oklahoma Pastry Cloth™ Company on Facebook
|
Yep!! Canning Cheese
Wednesday, February 9th, 2011
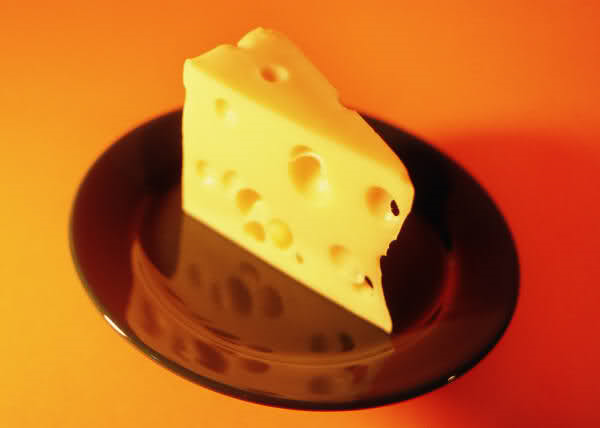 I’ve always heard that “necessity is the mother of invention” but I also think that it is “the mother of learning something new”. Such was the case recently after a productive trip to our local grocery which is owned and operated by the Absentee-Shawnee Indian Tribe. On this particular day I discovered that the store had block cheese on sale; 1 8oz block for $1. Never one to pass up a good deal, I decided that if one block of cheddar was good, 20 blocks of a variety of cheese was phenomenal! I tossed mild cheddar, mozzarella, sharp cheddar, pepper jack and cojack into my cart and trotted on down the isle. To my surprise, I found that Velveeta was on sale too. Oh joy. Now, I must digress here for a sec in defense of Velveeta cheese PRODUCT. Although I realize that Velveeta is the plasticized version of cheese, it is a must for any kitchen simply because it melts sooooo smoothly. It is wonderful for cream soups. It is true that nobody REALLY knows where Velveeta comes from. And while we are told that it is made from milk, it could be guinea pig milk for all we know. However, while we ponder how one milks a guinea pig, the rest of America is enjoying its queso made with Velveeta, picante sauce and maybe some ground beef flavored with taco seasoning. Velveeta is to the cheese world what Spam is to the ham world. Each has its purpose. And so, I got my Velveeta and checked out. On my way home, it occurred to me that all of this cheese had to have a place to go to stay fresh. I usually grate my hard cheese, put it into bags that I can vacuum on my FoodSaver sealer and then freeze it, but this was going to be an enormous amount of grated cheese. What if I wanted sliced cheese? My experience with freezing blocks of cheese for slicing had been less than successful. I had been totally unhappy with frozen Velveeta, so what to do? What to do? Thank goodness for the Internet. Enola Gay at Paratus Familia had the solution. Can it! Can cheese? Really? She showed how to can hard cheeses and that got me to thinking about canning the Velveeta too. I researched and researched and found several ways to do that as well. I wound up with what I think worked best for me. So first, I’ll show you how I canned the hard cheeses and then the Velveeta. Talk about handy. You can’t believe how wonderful it is to have canned cheeses. You can shred and slice the hard cheese and the Velveeta is just as good as if it were in the box. I suppose at this point I should throw in the disclaimer that I haven’t found anything that indicates the government watchdogs have given their seal of approval to this, but then, they don’t like us canning apple pie filling either. From everything I have read, these canned cheeses last up to two years. 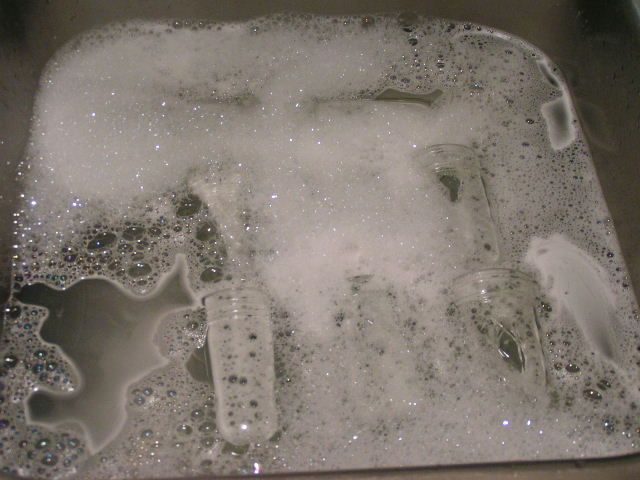 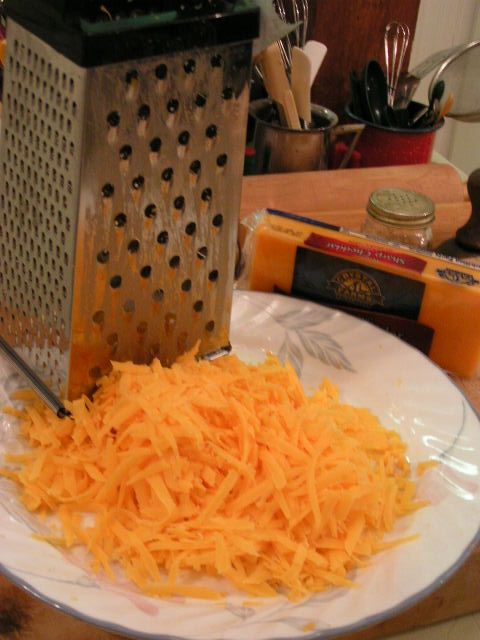 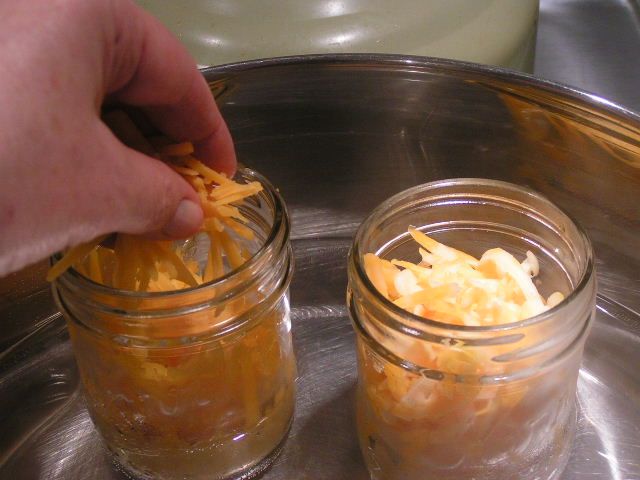 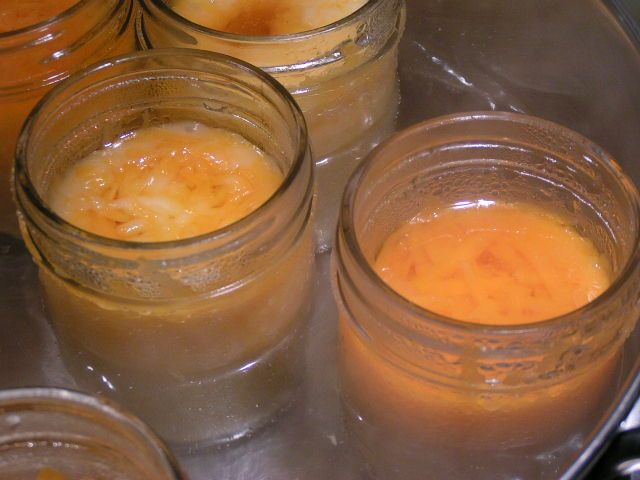 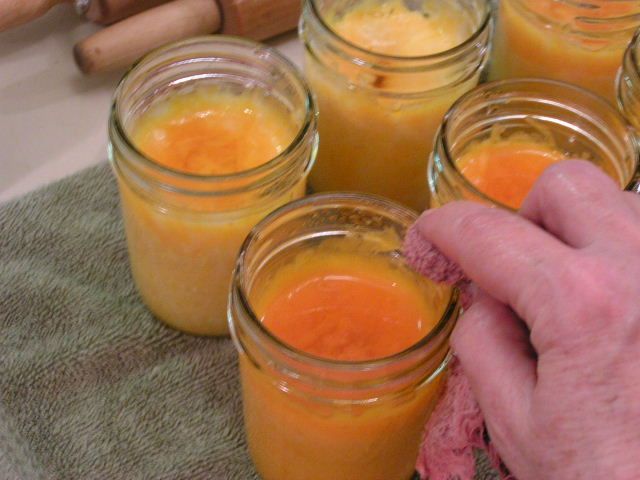 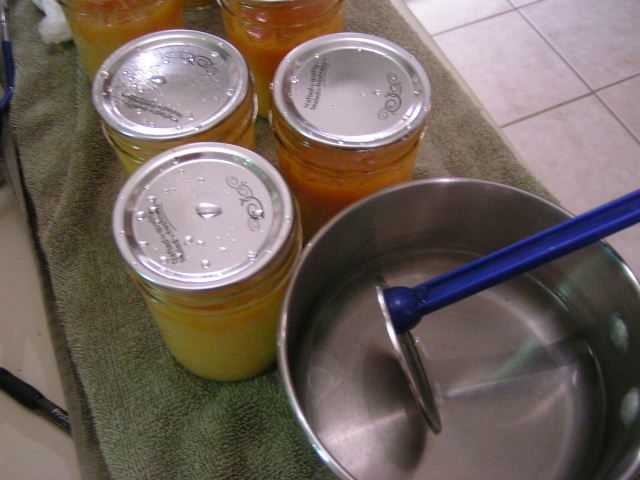 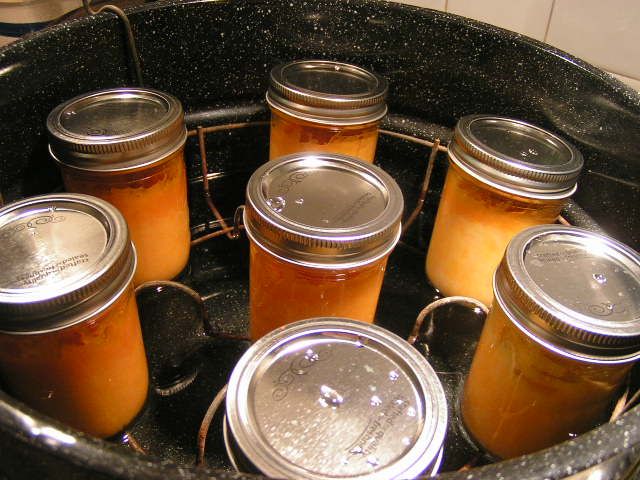 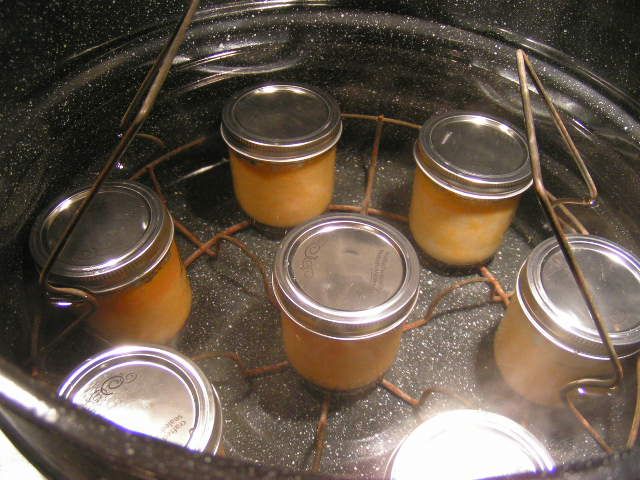 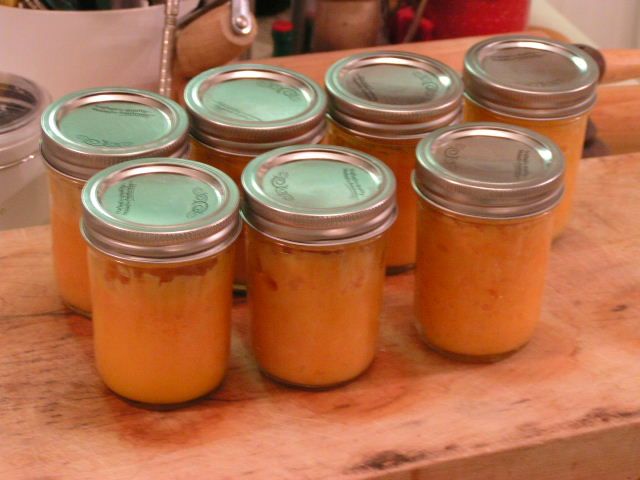 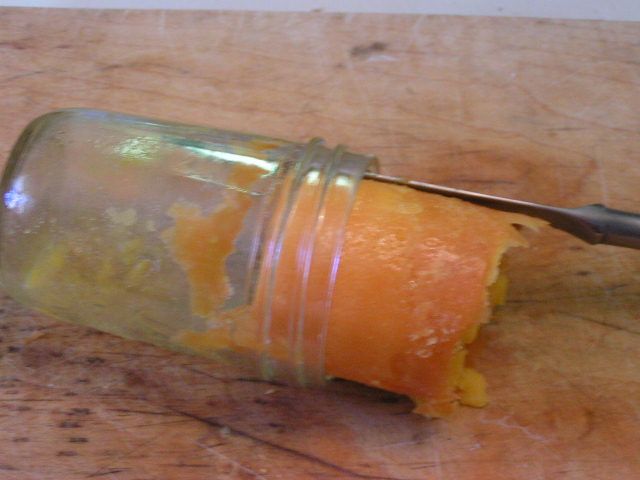 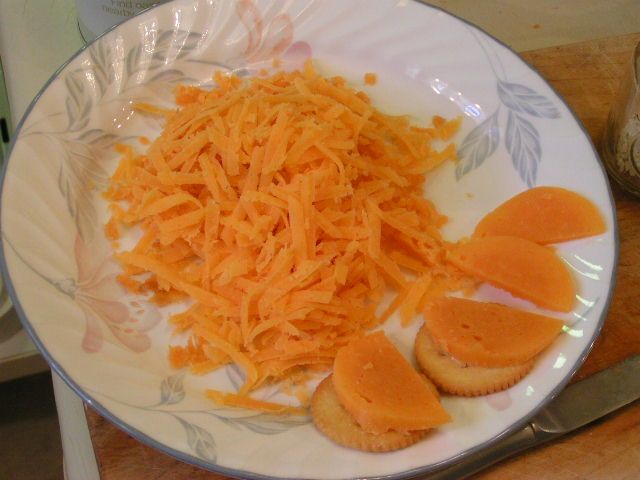 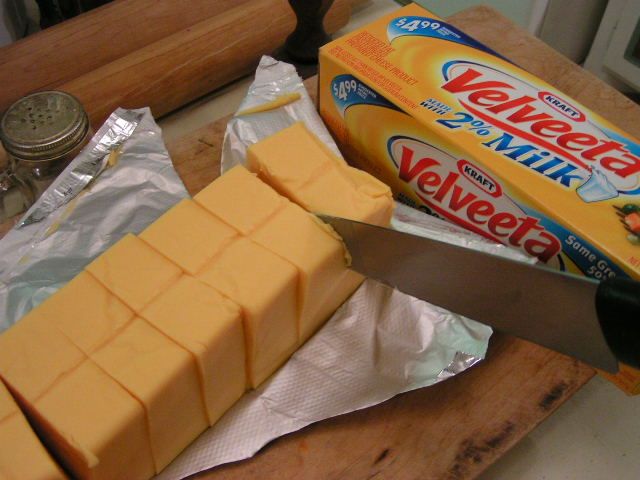 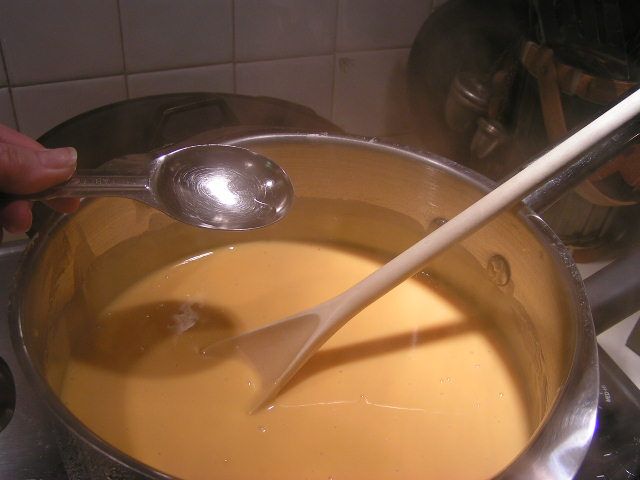 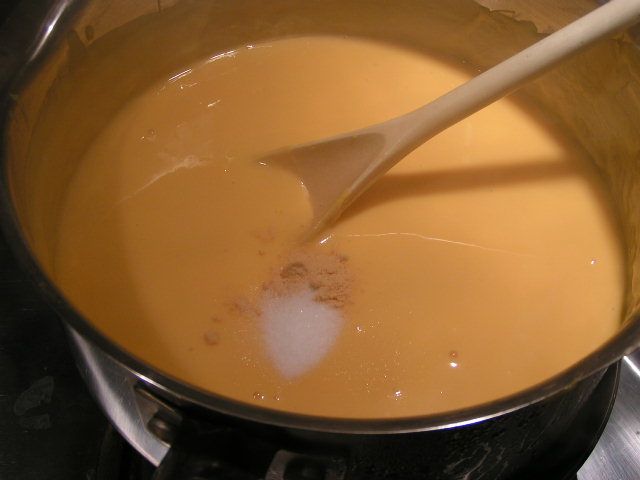 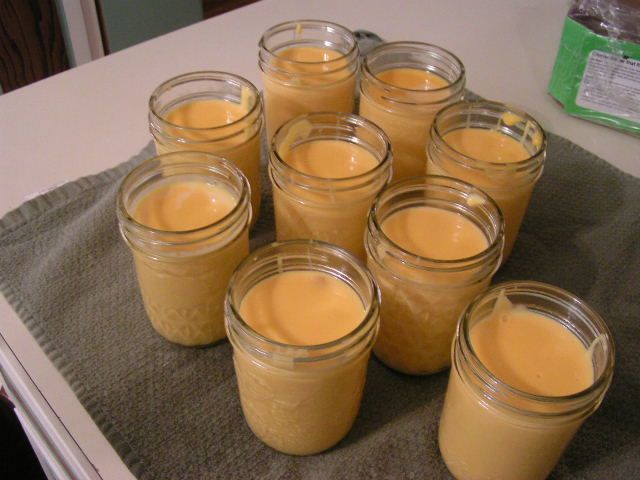 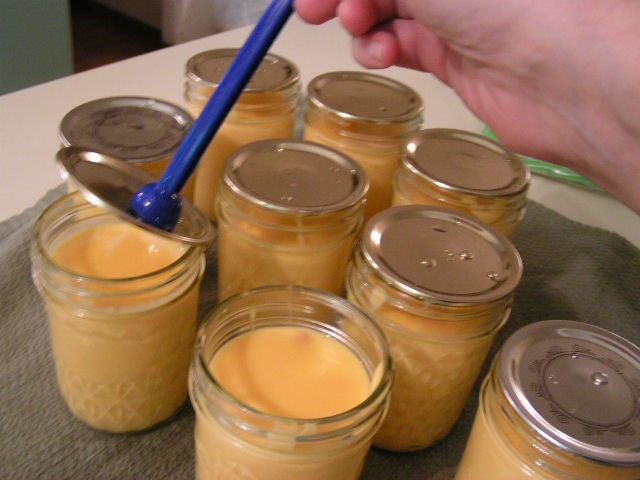 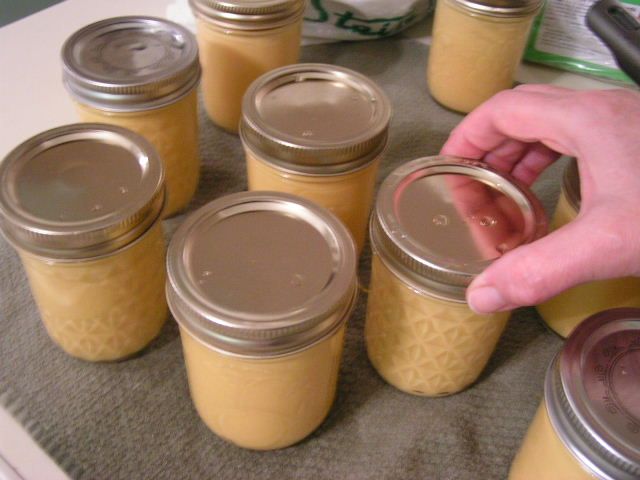 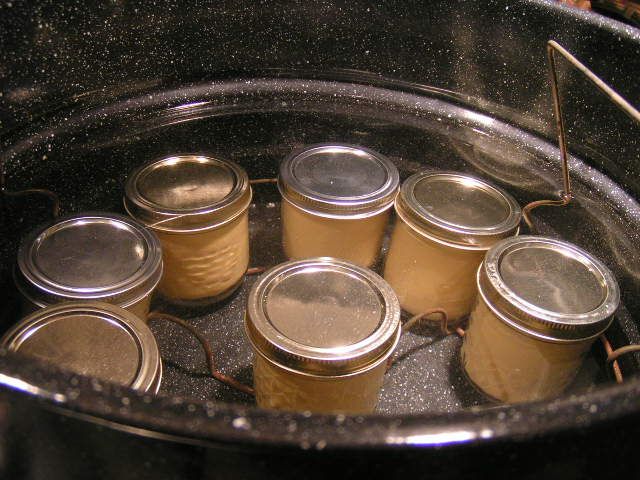 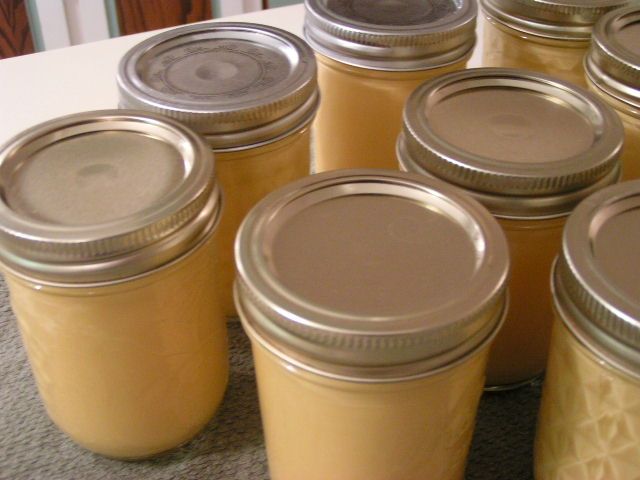 Oklahoma Pastry Cloth™ Company on Facebook
|
Vacuum Sealing Jars
Saturday, January 15th, 2011
|
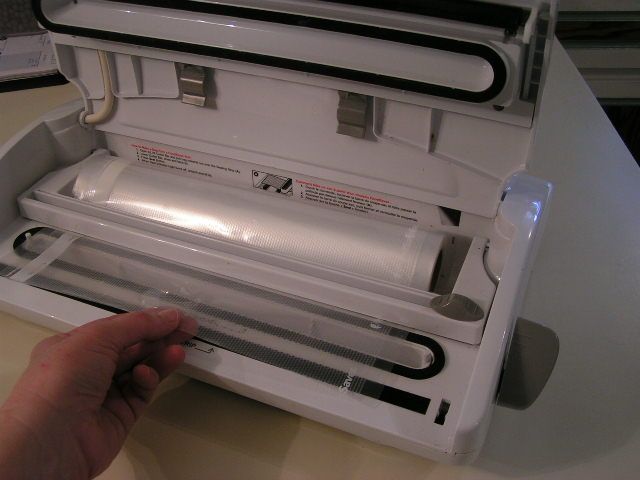 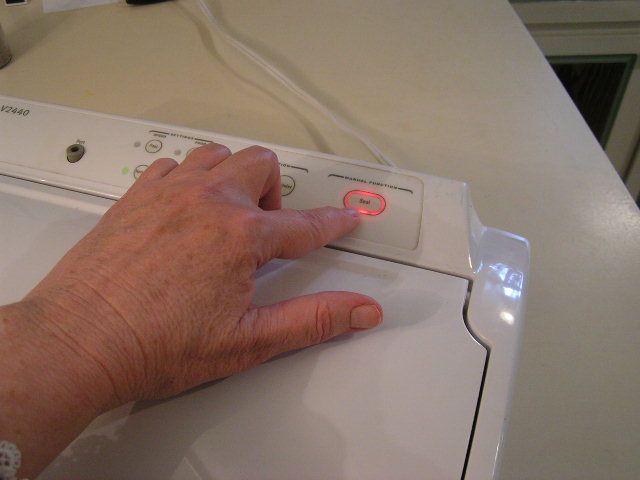 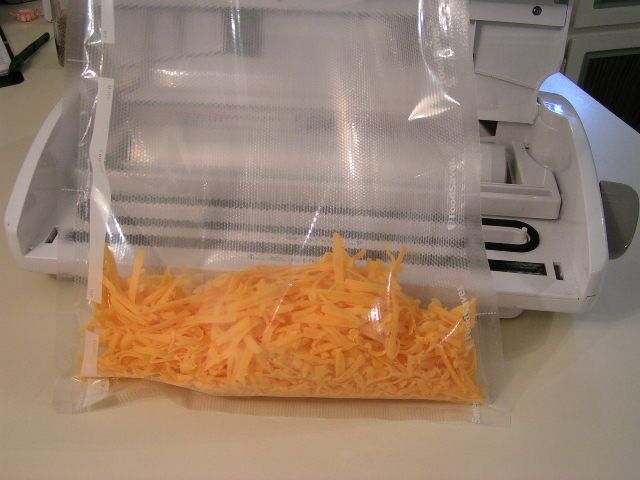 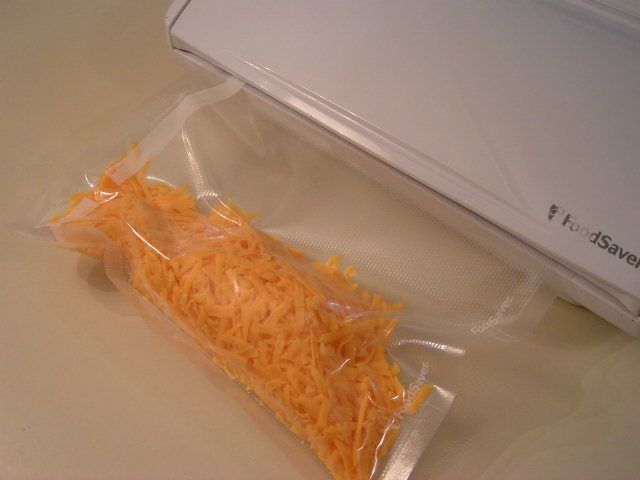 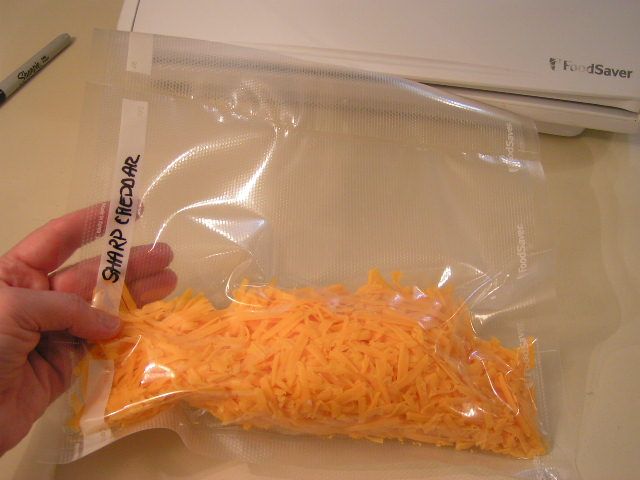 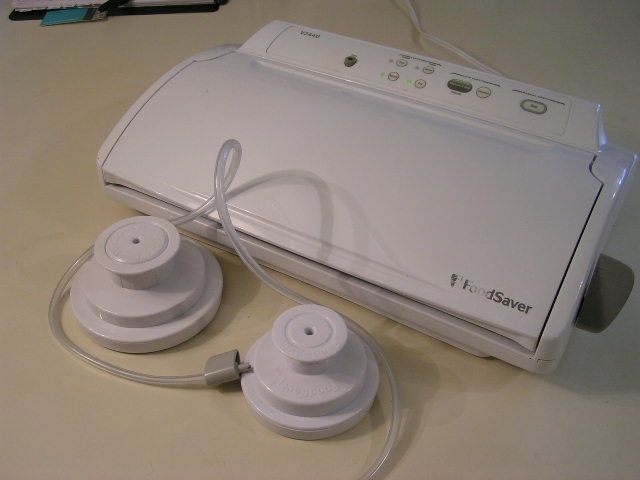  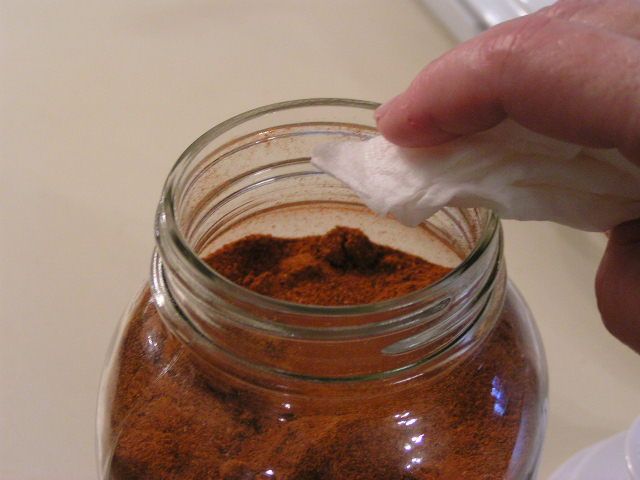 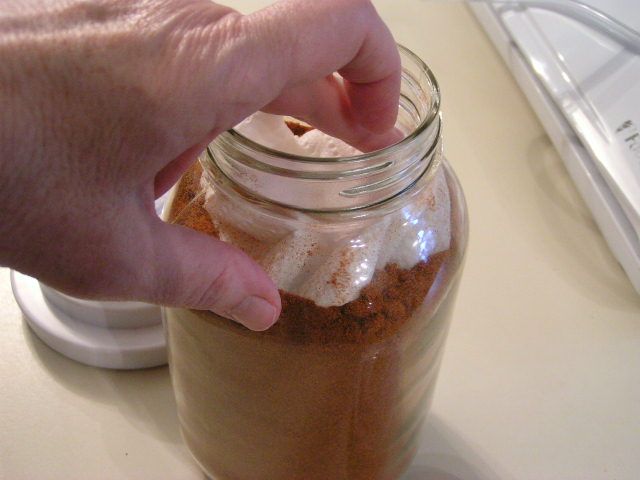 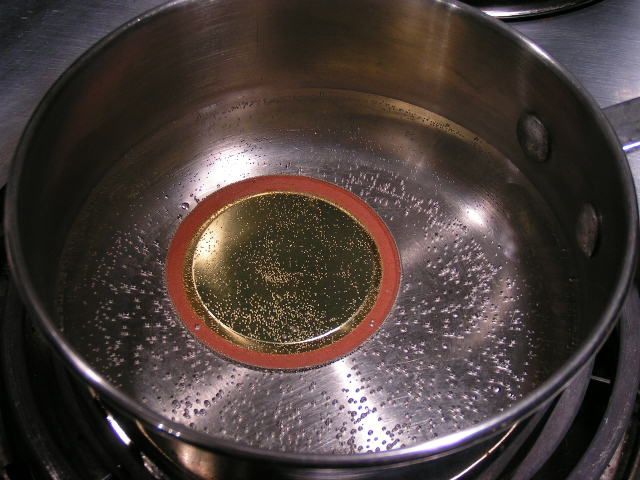 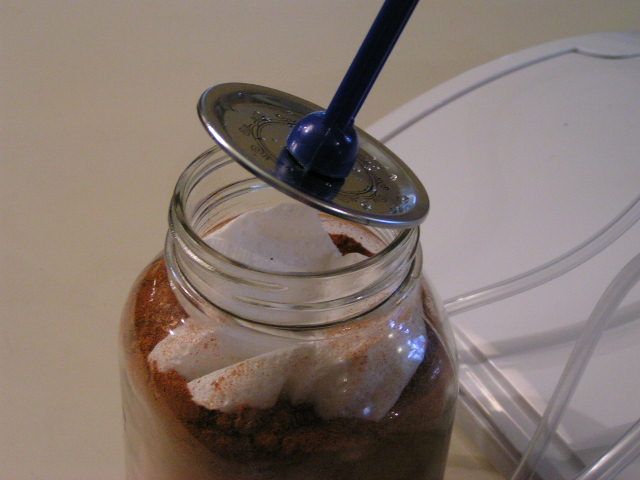 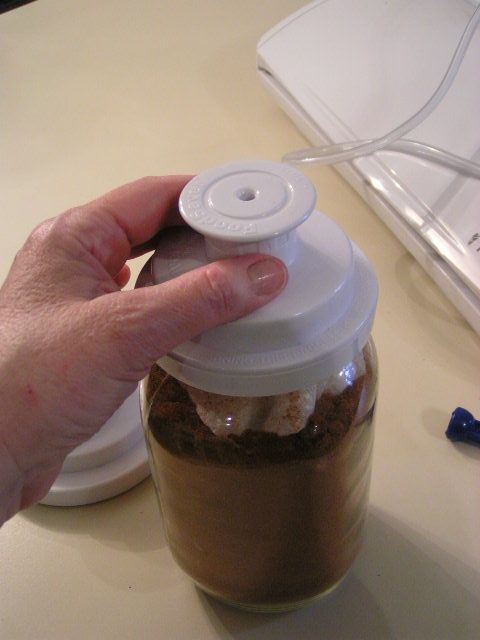 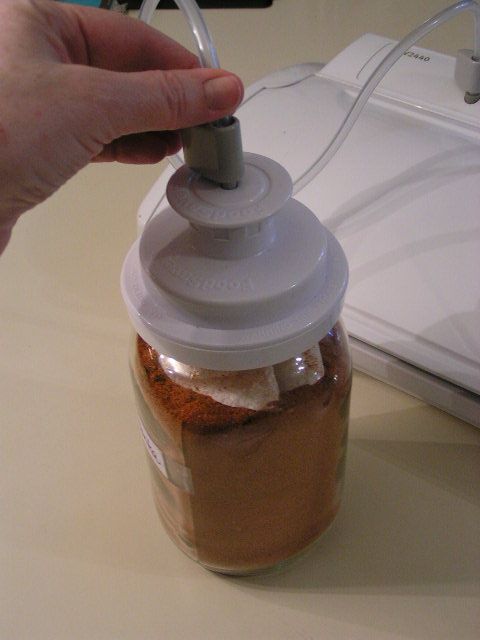 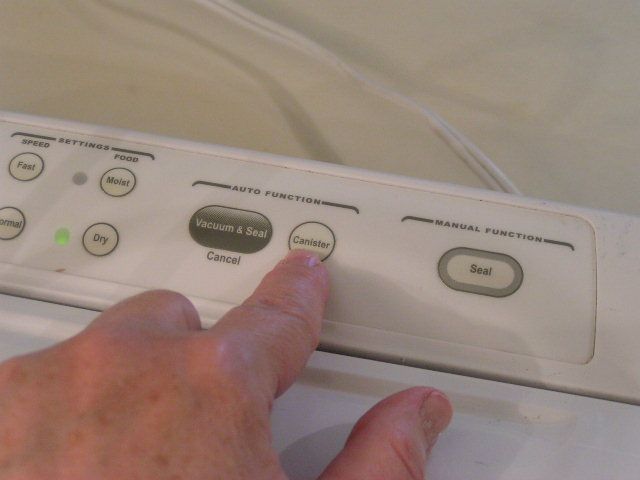 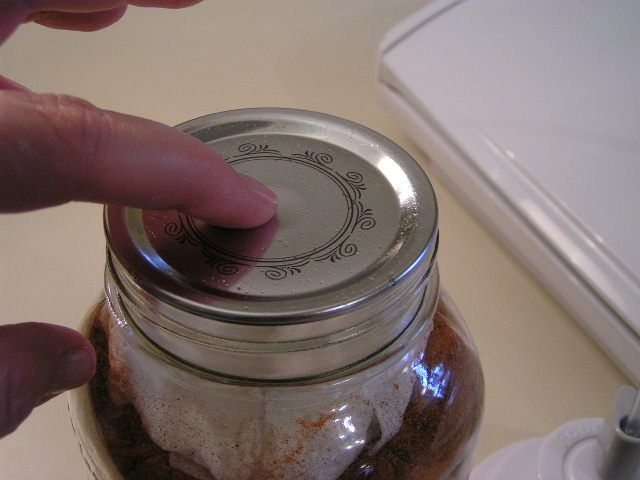 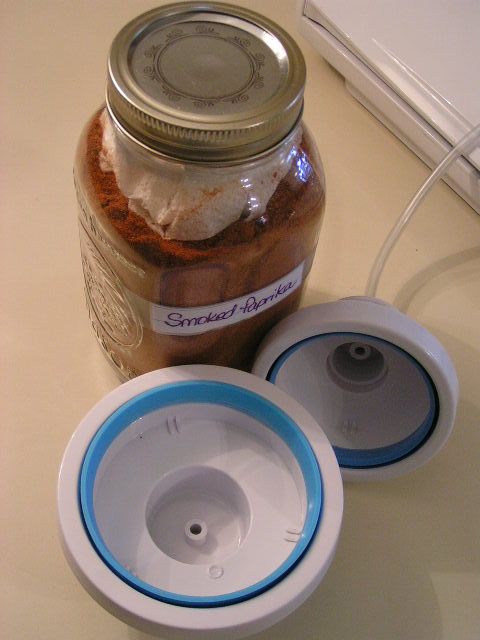 |
|
Oklahoma Pastry Cloth™ Company on Facebook
|
|
|
December In Oklahoma
Friday, December 10th, 2010
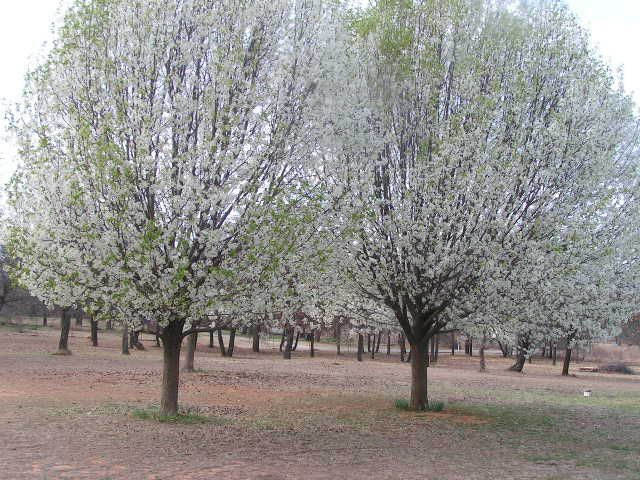 I have decided that every place on earth has its own beauty and every place on earth in any season of the year displays that beauty in many different ways. Oklahoma is no different. From the “mountains” (hills to you Colorado folk) of the eastern and southwestern part of the state, the rivers and forests of the southeastern and southcentral part, to the wide open prairie and sand dunes of the western part of the state, nature shows herself in glorious splendor each and every season. Yesterday, my dear husband and I made a day of it heading out to Altus, OK, home of Altus Air Force Base. From our starting point, the route winds through Chickasha, Lawton and Fort Sill, Cache and Snyder (home of General Tommy Franks) past ranches that spread as far as the eye can see. 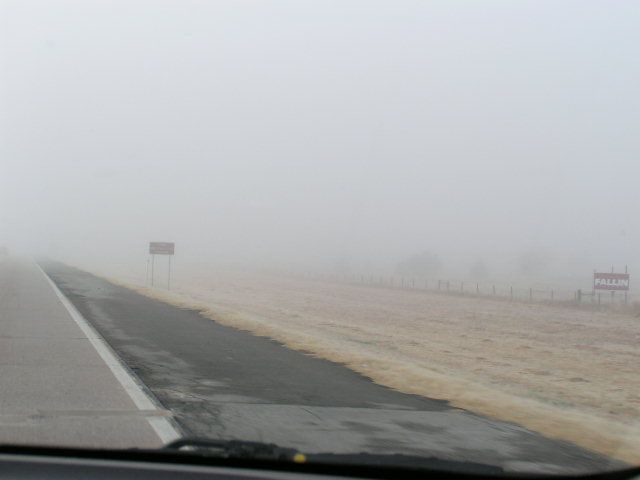 We started out in cold, brisk temperatures hanging around 32º with a dusting of snow on the ground. As we moved south, the cold air had hit warmer air and we were driving in the proverbial “pea soup”.  I thought that you might like to see what our state looks like in the late Fall/early Winter before the heavy snows move in. I took these from the car as we were sailing along at a 70mph clip!  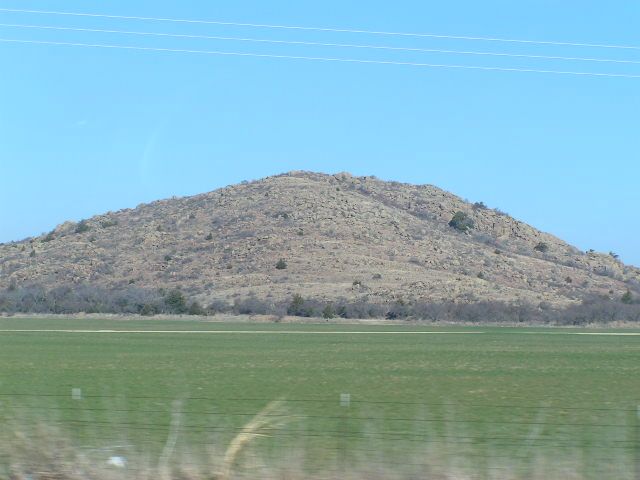 These are the mountains that are evidently keeping Trader Joe’s from coming to Oklahoma. It seems their trucks can’t make it over our “mountains”? Yes, clerks at two different Trader Joe’s stores in two different states shared that secret with me. I’m wondering how they made it all the way to Tennessee from California!! Some of our “mountains” are leftovers from the Dust Bowl days. Large dunes of sand give testimony to those hare and terrible days. I think the view is spectacular. 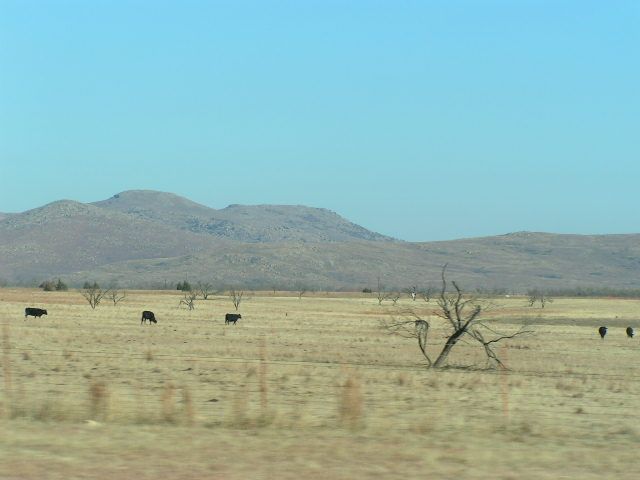  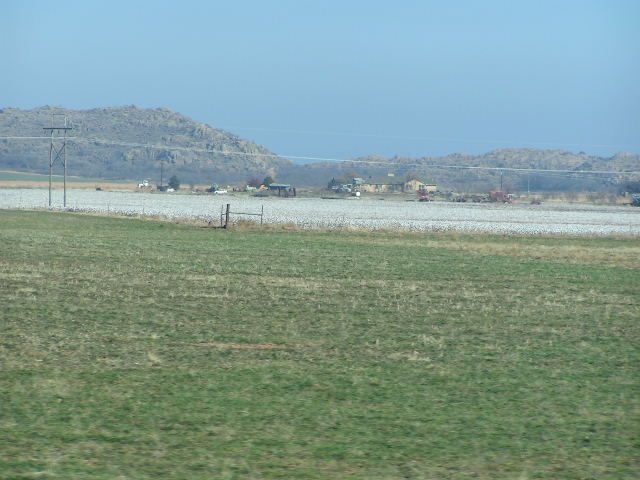 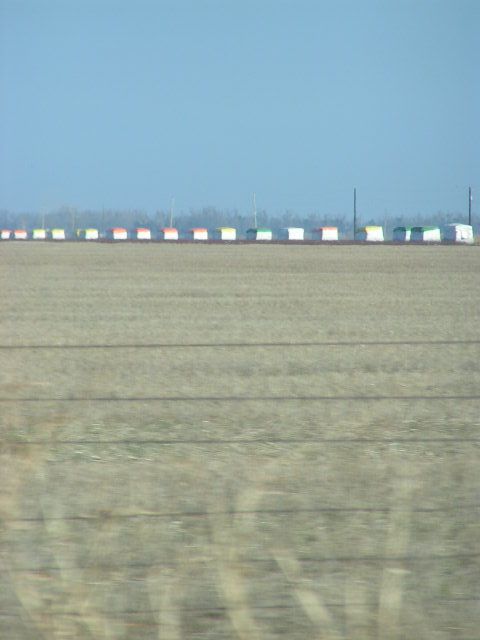 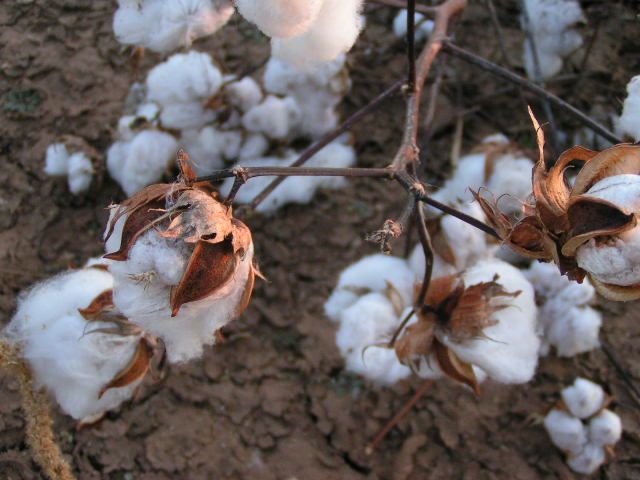 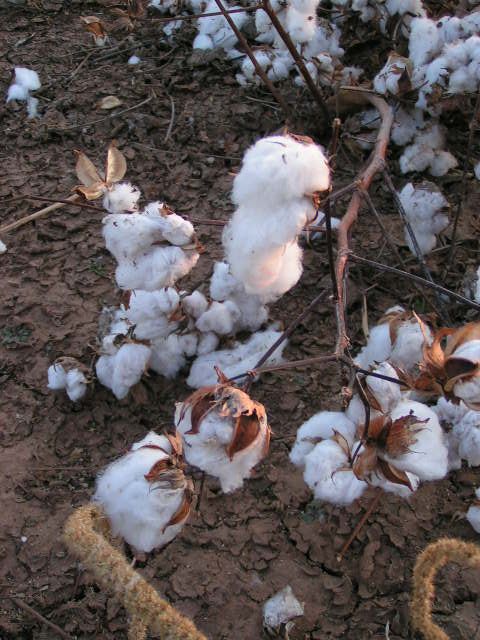  We finally made it to Altus to sun and warmer temperatures. We went by the Air Force Base and it was humming with activity. The monstrous C5 Galaxy planes looked like battleships trying to stay in the air. They are so big that it is just hard to fathom how in the world they fly!!! So there’s a little view into one part of our world on the southwest side of the state. Hope you didn’t get carsick!! |
|
Oklahoma Pastry Cloth™ Company on Facebook
|
Making Sauerkraut
Sunday, November 14th, 2010
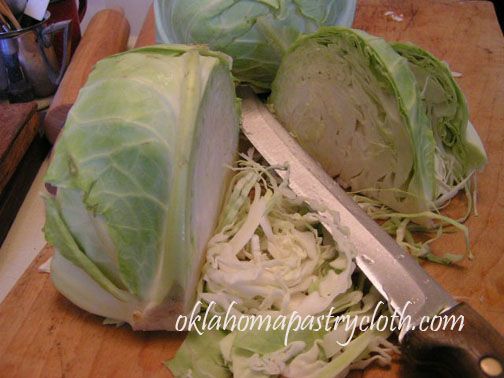 Well, I think that I will venture into the world of German Cuisine and explain the exciting experiment that was performed in the Oklahoma Pastry Cloth™ laboratory. We made Sauerkraut!! That may not sound exciting to most people, but to me it was a journey into my ancestral past. My grandmother made Sauerkraut in crocks and I have two of those crocks. I’ve been told that they had the additional use of being her knife sharpener. She would turn the crocks over and sharpen her knives on the bottom like on a stone, but I digress. I never got to watch my grandmother make her Sauerkraut, but I have heard the stories and so, as much as I love the stuff, I decided to see if maybe making it is in my genes! This experiment was prompted by a sale on cabbage at the Firelake Grocery owned by the Absentee Shawnee tribe nearby. 10 lbs for $1! Now THAT’S a sale. I knew that I had to have that cabbage. So what if I had no idea what to do with it? I had to buy it because it is such a steal and it’s wrong to pass up a steal. As I loaded my buggy, I remembered my grandmother’s crocks and my adventure was set. |
|
According to Wikipedia, Sauerkraut probably originated in the north of China among the Mongols. That would make sense because one of my favorite Korean dishes is Kimshe which is simply Korean Sauerkraut. Anyway, Sauerkraut was brought to Europe by migrating tribes. Eastern Europeans, eat a LOT of sauerkraut. In Europe, the Jews adopted sauerkraut as part of their cuisine and are thought to have introduced it in the northern countries of Western Europe and then to the United States. Sauerkraut is a staple of the winter diet in Germany and the Netherlands. While sauerkraut is usually prepared with pork, the Jewish people customarily use goose or duck meat. |
|
Now came the part in the research that kinda got me. When we had our sheep farm, we raised Sudan Grass and cut it and chopped it and put it into a silo to ferment for the sheep and cows to eat. According to Wikipedia, it’s the same process that is used for Sauerkraut. We’re eating silage!! No wonder those sheep and cows burp so much. Anyway, when making Silage – I mean – Sauerkraut, you have to be very careful to monitor the temperature of the area where it is fermenting. The USDA says to use more salt than is traditional, but that makes it way too salty. So, in order to avoid food poisoning if using traditional amounts of salt, you must keep the temperature at the correct level. Depending on who you talk to, this should be anywhere between 40 and 70 degrees. 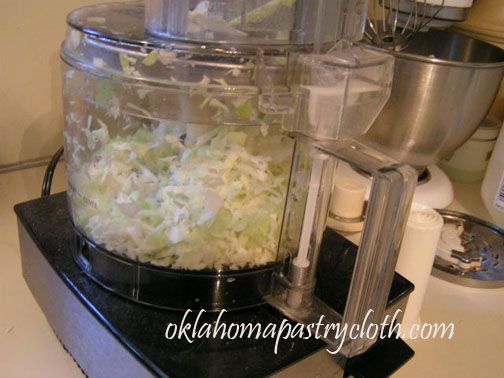 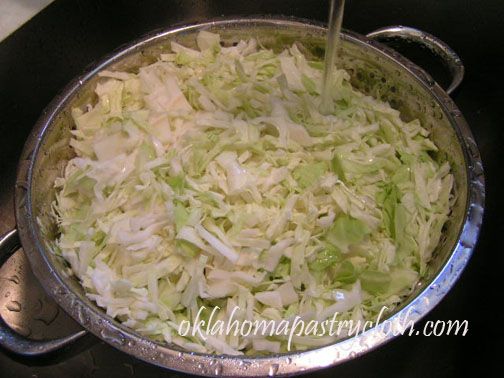 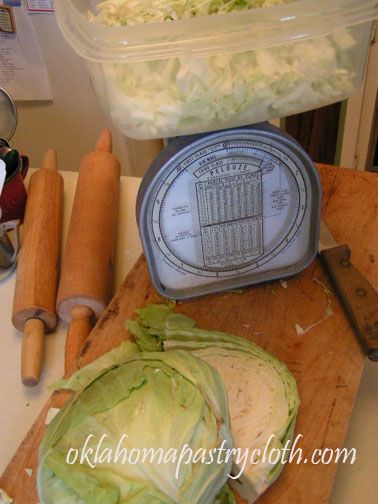 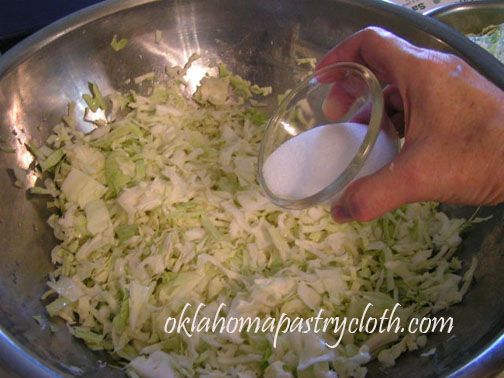 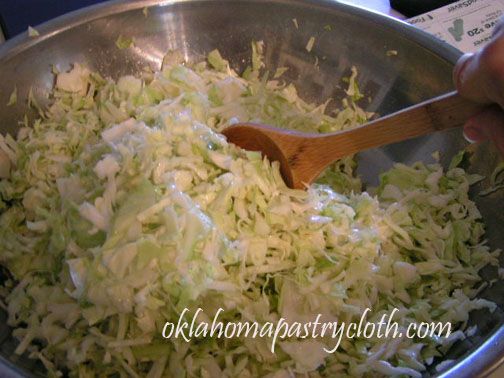 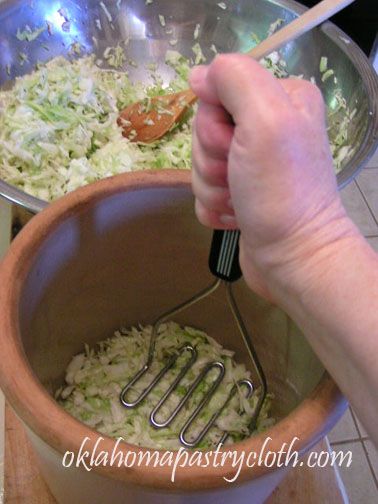 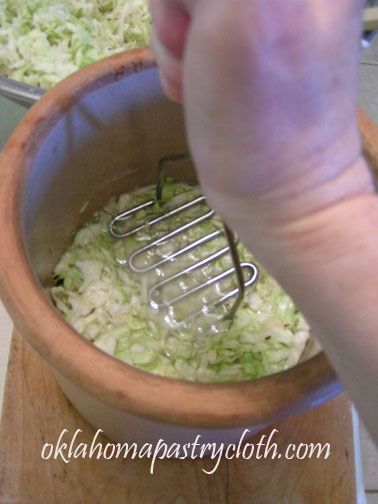 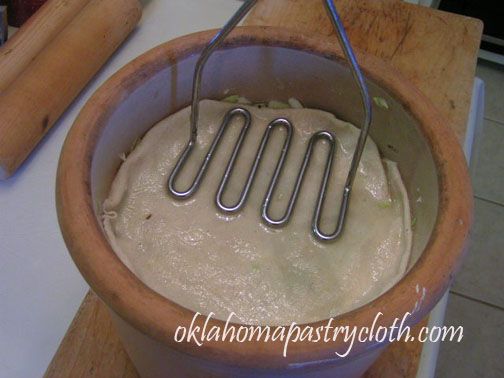 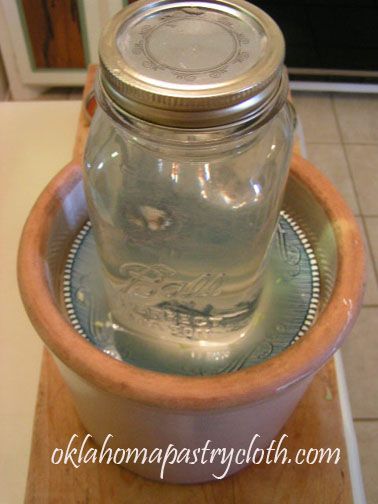 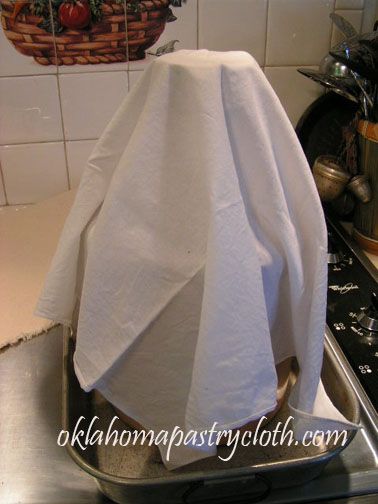 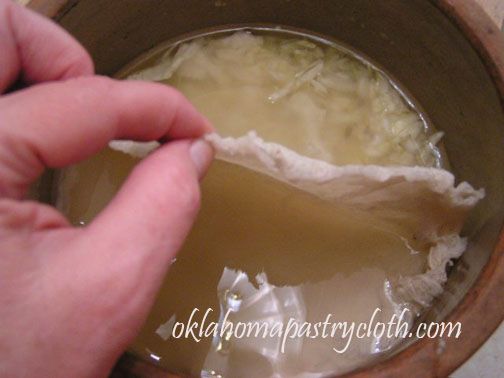 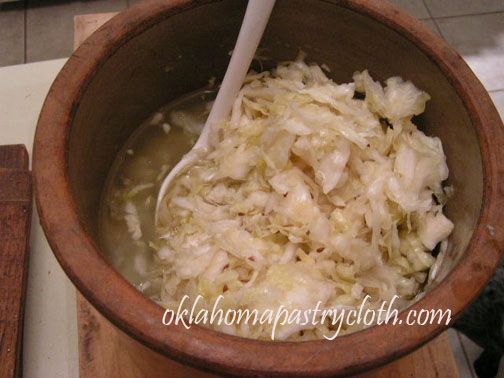  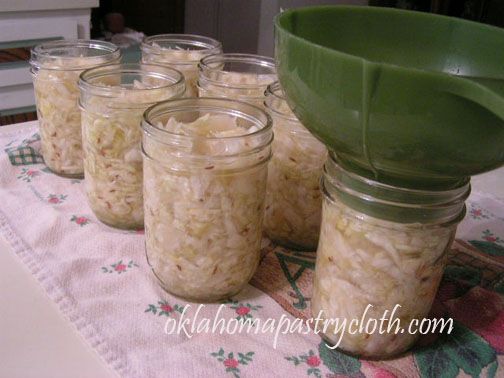 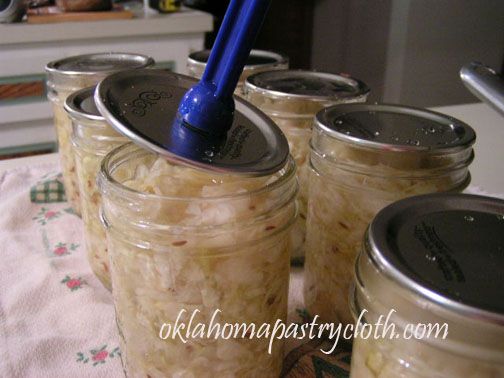 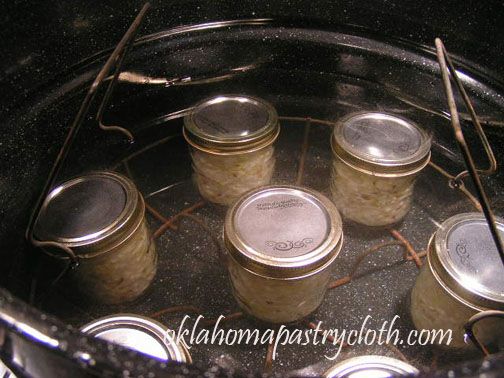 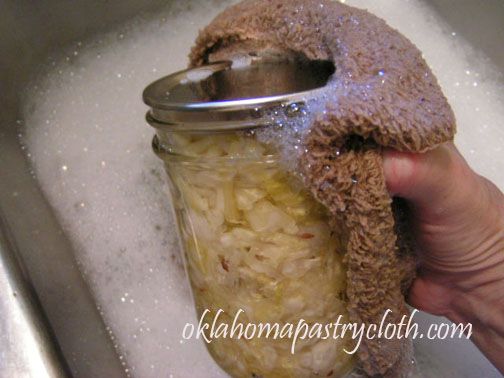 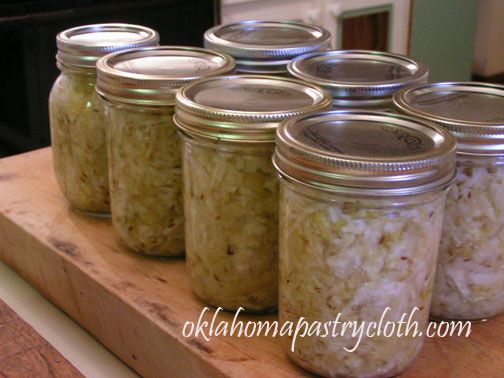 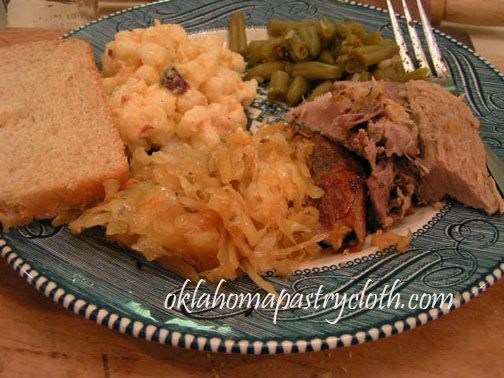
|
|
Oklahoma Pastry Cloth™ Company on Facebook
 |


 Homestead Revival
 Paratus Familia
 Rural Revolution