 Friday afternoon, I had the pleasure of spending time with a precious group of home schooled girls who have formed a group called, “Keepers”. They are all ages and are polite, gentle, giggly and ready to tackle anything that is put in front of them. I was asked to do an art project with them that could be accomplished by all ages, even the very young, and so I decided that mock stained glass windows were just the thing. The beauty about this project is that there is no right or wrong to it and even tiny fingers can paint glue and tear paper. I loaded up the car with supplies, including a roll of newsprint for covering the dining table where we would be working. Most newspaper offices will sell you their end rolls of newsprint which offer you a plentiful supply of the paper for everything from covering tables to long murals for tempera paint. Our office charges by the inch thickness of paper on the roll.
 Cover the table with newsprint or an old tablecloth and place the stained glass pattern onto the table. Lay the plexiglas over the pattern and center. Place tape at either side of the plexiglas onto the pattern to hold the plexiglas in place. Using a Sharpie pen, trace the pattern onto the plexiglas. For thicker lines, go over the lines again. Remove the tape and pattern and turn the plexiglas face side down (side with the drawn pattern down).  Pour Elmer’s glue into small paper cup and add enough water to make it easy to paint – about 3 parts glue to 1 part water. Using a paintbrush, paint the glue mixture onto a portion of the traced pattern on the plexiglas. Tear pieces of tissue paper to fit shapes and lay onto the glue. Paint over the back of the paper, once on the plexiglas, with a thin coat of the glue mixture.  Offer lots of different colors  Continue painting each section of the drawing with glue and add different colors of paper according to what part is being completed. Be sure that the back of the papers are painted with the glue mixture as well.  This is one time that “staying inside the lines” has absolutely no application! Colors can overlap, glue can get splattered. It doesn’t matter.  Young children are really successful with this project because it does not have to be exact.  A dove is starting to emerge!  The youngest one has finished. A damp cloth easily removes any wayward glue. When the glue has dried, hot glue the plexiglass into the frame by placing little dots of hot glue in each inside corner of the frame. Display on a wire easle or add a hanger and hang in the window on a suction cup hanger that can be purchased at Hobby Lobby or Michaels. Be sure and choose a window that does not have direct sunlight as it will fade the colors of the paper.  They all did such a good job, don’t you think? This is an easy and fun project for kids of all ages. I hope that you get a chance to try it. |
|
Oklahoma Pastry Cloth™ Company on Facebook
|
 |
Archive for the ‘Art Projects for Kids’ Category
A Fun Project For the Kiddos
Monday, May 9th, 2011
Encouraging Creativity in Kids – A project
Monday, April 4th, 2011
  Do you remember lying in the grass and looking at clouds, while making out the shapes of everything from whales to sailboats? That’s called ‘imagination’. Being a retired home school mom as well as a former art teacher in the public schools, I know only too well how bored children become if they are not encouraged to be creative – to use their imagination – and to be funny. Funny is a plus. Our family has always included humor as one of the pillars of our home structure and be assured that when holidays roll around, stomachs hurt from all of the laughing. When I was growing up, my extended family was the same way and we were encouraged to use our noodle in our humor. A performance of my sister’s original country spoof for all, and I mean ALL, our relatives at a family reunion ranks top silliness in my memory. We had no shame. For our Missouri kinfolk, in our heaviest East Tennessee accent, I and my three sisters belted this ditty that included the chorus: “Oh, a band-aid and some iodine will make yer bruises feel sublime….But ya cain’t put a band-aid on yer heart.” Children love to create if they are encouraged. (After that, you may wonder why in the world my parents encouraged us!) And I know that a youngster’s first reaction to any challenge is, “I don’t know how”, “I can’t” or “It’s too hard.” But if continually encouraged to step out on a limb and try something new without the fear of “not doing it right”, children develop reasoning and cognitive/physical skills that will last them a lifetime. Toward such an end, I used this art project for kids of all ages in my art classes. It challenges kids to pretend, create, draw, and be funny all without there being any “right” answers. No two drawings will be alike. I have done this with young children to high school kids and while the results will depend on the motor skills of the age group, the results are always funny and creative. You will need:
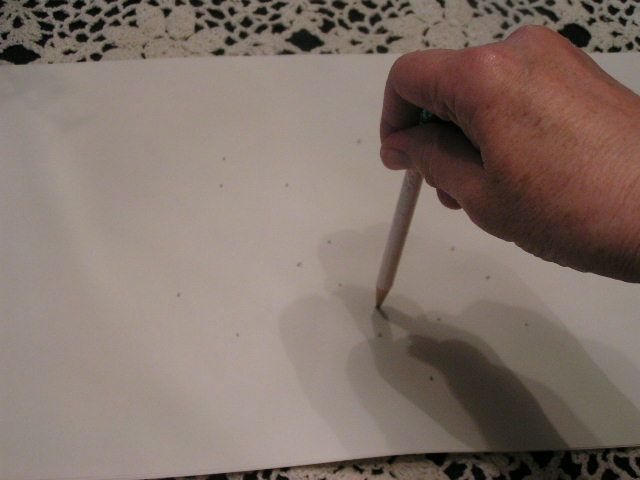 Give each child a sheet of paper and pencil and have them close their eyes. Tell them to make dots on their paper without looking. Establish a particular number of dots. Here I have made 20 dots. For younger children, count with them as they make each dot. 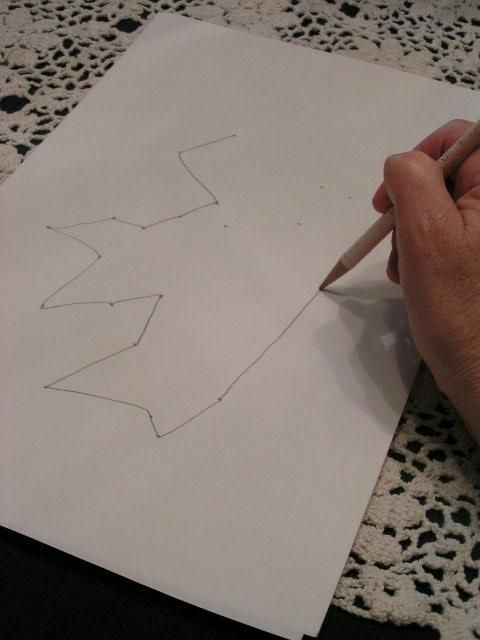 Tell them to open their eyes and to connect the dots without crossing any lines. They are doing an outline. You can use this opportunity to explain the concept of an outline and a perimeter if you like. 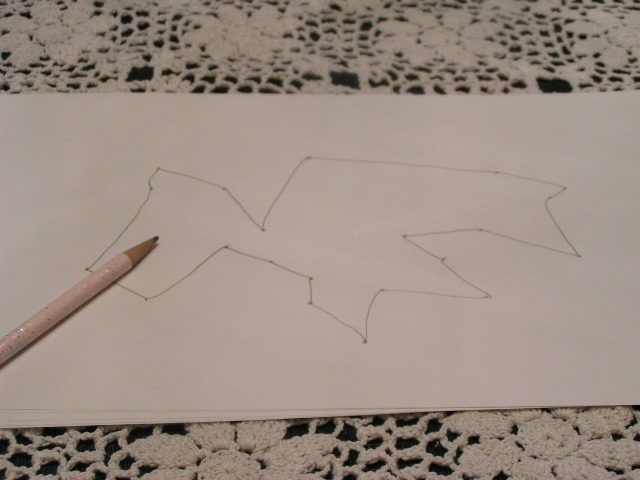 Have them turn the paper different directions to look at the shape they have made from different angles. Tell them to pretend the shape is an animal and to pick out the way that their shape looks most like an animal. On this particular shape, I have settled on this direction because I can see a head and will make the rest work as a body. Tell the children to find the head to their “animal”. 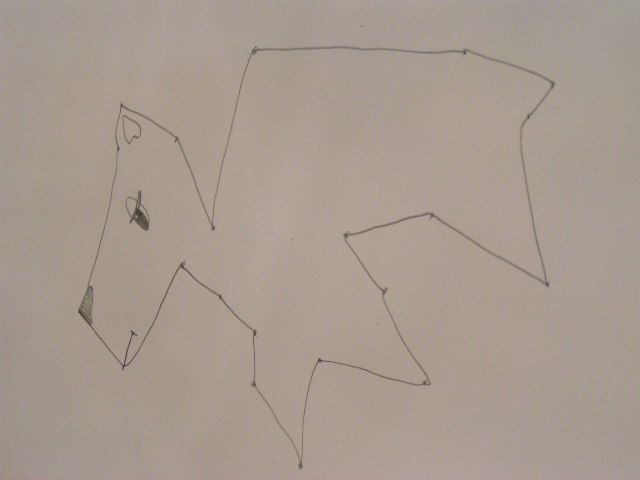 Here I have added a nose, mouth, eyes and an ear to the head. Tell the children to give the heads of their animals these features. 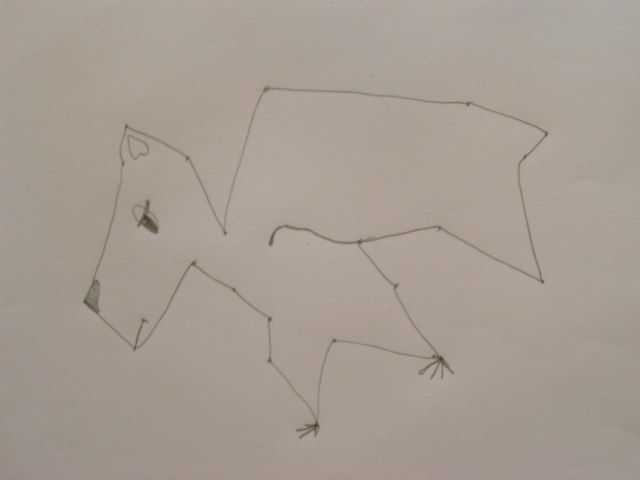 Next, I have decided where the legs will be and have added feet 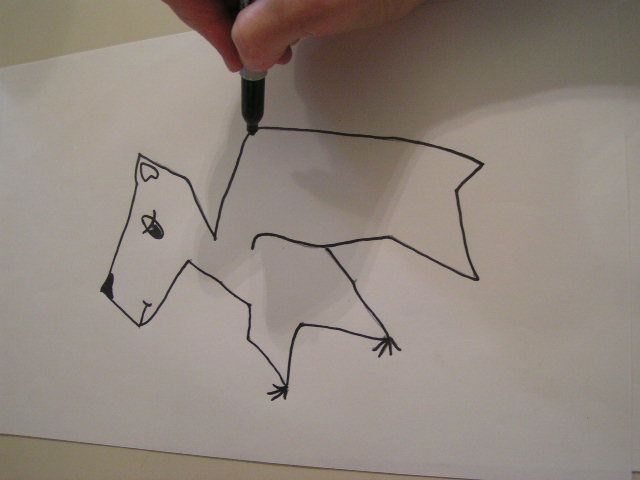 In order for younger children to see their shape better, they can go over their pencil outline with a fine, black marker or dark pen. Older kids like to do this too because it makes their ‘animal’ more cartoon-like. 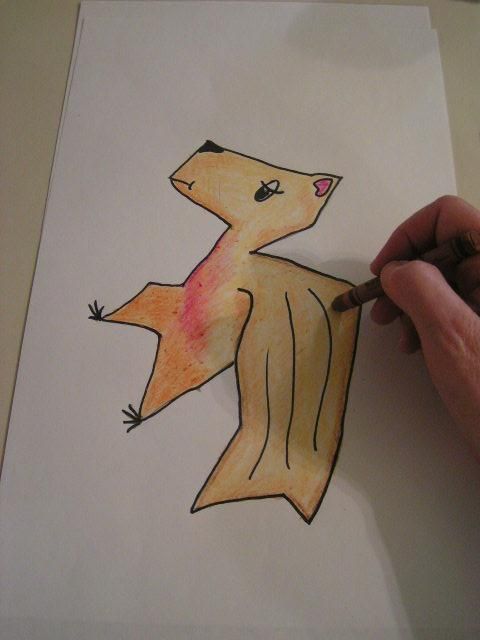 Have the children color their animal however they like. Remind them that they can put in fur, feathers, scales, teeth, etc. to help define their animal. 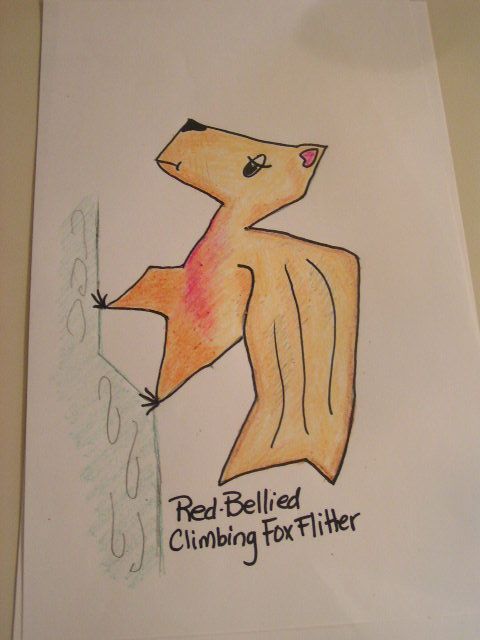 When they have finished designing their animal they can get really silly. A name for the animal, where it lives, what it eats and how it sounds are just a few things that can be added to the drawing. 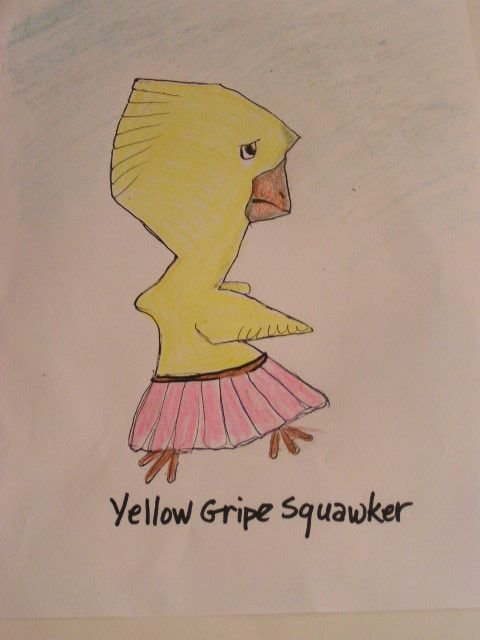 It is fun for a child to keep an “Audubon” style scrapbook of their animals to look at later on. For young children, you can write their descriptions for each animal in large letters, put the papers into plastic sheet covers in a looseleaf notebook and use the book to help your child learn to read! They will have made their own book and learned to read it too. 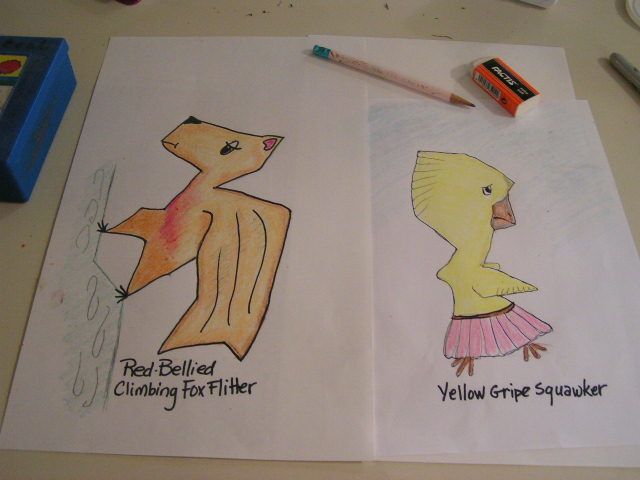 You can hang the drawings on the frig, or cut the animals out to use for silly decorations. Now’s the time for YOU to get creative!  |
|
Oklahoma Pastry Cloth™ Company on Facebook
|
 |

 Homestead Revival
 Paratus Familia
 Rural Revolution