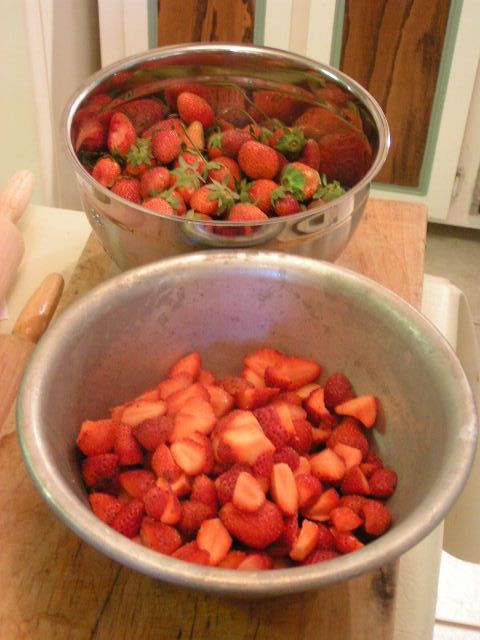
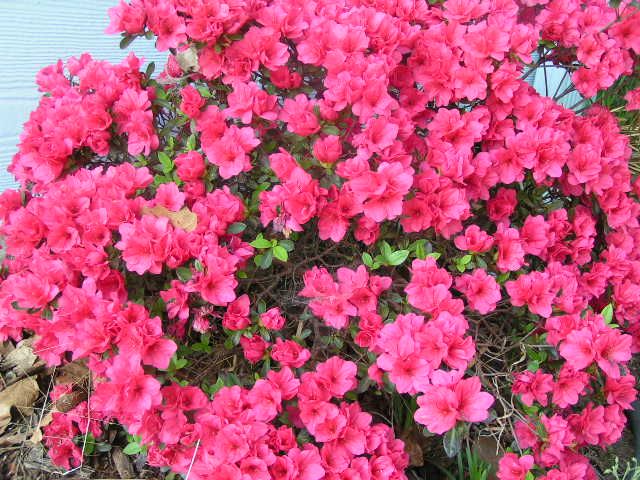
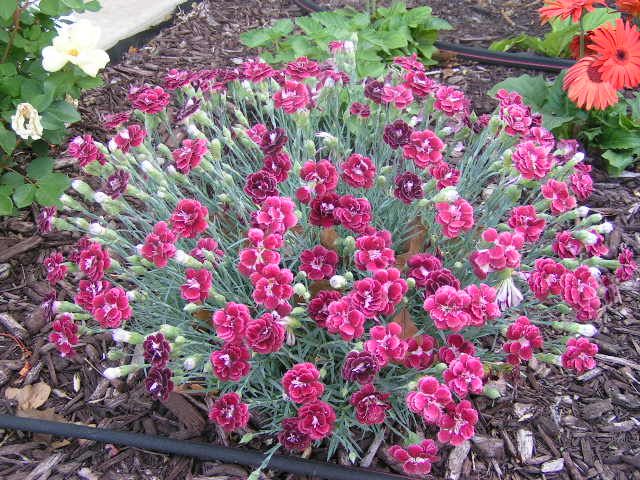
  For those of you who don’t know, the website was down this past week because some icky person in the Ukraine decided to attack it. Nearly 800,000 hits overwhelmed the server and ‘kablam’ – it crashed. Thankfully, a very kind and humorous man at Fatcow.com, the company that hosts this site, spend hours on the phone with me and determined that we had experienced a DOS hit – that’s Denial Of Service for those of you who are computer illiterate. I can say that with a straight face because I’d never heard of it either!!! This man, Chris from Tempe, AZ, took me through a not-so-fascinating, and totally more than I ever wanted to know, trail of logs, files, websites and computerese to discover the IP address that was creating havoc. He was very excited when he found it. He admitted that it does not take much to thrill him. But he then mumbled to himself and me, over the phone, that he was going to look up his favorite website to see if he could trace the addess. While listening to him mumble, I could hear computer keys typing an then Chris said, “Oh no!! My favorite website is down.” “It must be catching,” I said. But Chris replied, “Not to worry! Every good nerd has a backup site!” This man is comfortable in his own skin! He took me to this backup site and, ‘voila’, we could see where the IP address had been given out – from a company in the Netherlands. I typed the address into their search engine and bingo!! The address had been given to somebody in the Ukraine. So, somebody in this far off country is not a nice person! 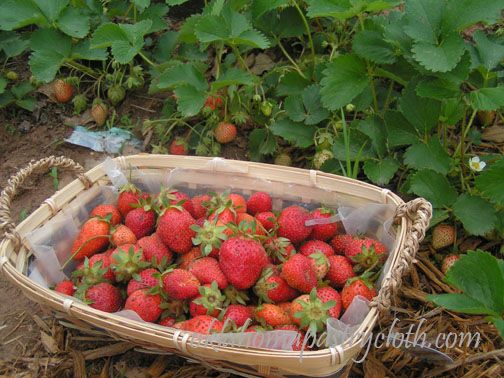 Be that as it may, I am getting on with normal and moving on to appreciate the more simple things in life, like my strawberries. What a bumper crop we are having! Not one, single deformed berry has appeared. No bug bites, no slug bites and no bird bites. This spring has been so awesome that the strawberries have really flourished. I love picking strawberries. They are so friendly! No stickers and no spines, they are just fun to pick. And as I pick, I am constantly thanking God for these amazing, beautiful little jewels. They are so red that it just amazes my artist eye. And as that artist, I realize that it is obvious that God knew what He was doing because he nestled these pretty ruby gems beneath deep, green leaves, knowing that these complimentary colors just bounce off of each other. As you can tell, I love my strawberries. Strawberry Jam will be in the works this afternoon! 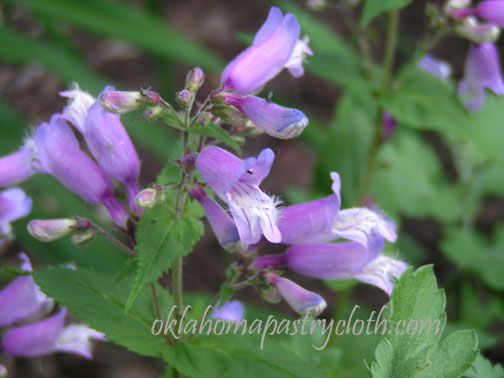 By the way, does anybody know what kind of plant this is? It is in my flower bed and I love it. I would like to see if I can find some more, but have no clue what it is!! UPDATE: Thanks to reader, Cindy, for helping me identify this beautiful flower. It is a broadleaf Penstemon – Penstemon ovatus. The Penstemon is native to Oklahoma. Pretty neat. Thanks, Cindy!!  |
|
|
Oklahoma Pastry Cloth™ Company on Facebook
|
|
 |
|
|
Archive for the ‘Gardening’ Category
The Strawberries Are In!
Saturday, April 28th, 2012
Natural Fruit Moth Killer
Thursday, April 5th, 2012
 I know, I’m side-tracked as usual. I’m supposed to be showing you another cake recipe, but Mr. Fix-It has discovered something that is so cool that I had to share. We have fruit trees – peach, nectarine and a variety of apples. Every year, Mr. Fix-It has tried everything on the market to keep the nasty fruit-ruining moths from using the fruit as incubators for their icky, squiggly progeny. Every year, we have these lovely big peaches and nectarines, only to have them deflate on being picked or covered with gross brown sections. I have no clue where Mr. Fix-It found the recipe, but find it he did, and, as the wonderful, independent man that he is, made up a batch of the liquid himself. He gathered some plastic bottles, cut holes in them, filled them and hung them in the trees. We were both sceptical at first, but oh wow!! Those bottles have been FULL to the top of the liquid with dead moths that never made it to the flowers or fruit and Mr. Fix-It has now made up two more batches of “pesticide” to refill the bottles. I took photos of the most recent fill and already there were moths in the bottles. Ick. And so, we are thrilled and can’t wait to get some normal fruit this year!! I figure those of you in the north are just getting blooms on the trees and so maybe I posted this in time. Those of us in the south have trees that are already full of fruit. The bottles go into the trees as they bloom and stay in the trees as the fruit forms. Moth Killer Recipe 1/4 cup apple cider vinegar 1/4 cup molasses 1/8 tsp ammonia 5 cups of water Mix ingredients together into a container that pours. On a plastic pop, water, syrup or any large type of plastic bottle, cut a rectangle approximately 3″ by 5″ just below the spout with the top of the cut at the spot where the bottle curves up to the spout. Put about 3″ of mixture into your bottle and cut two holes in the top to run a wire through to hang in the tree. Hang one bottle per tree for regular sized fruit trees. Put two in a large tree. Pour out and add more mixture when the bottle is full of moths. 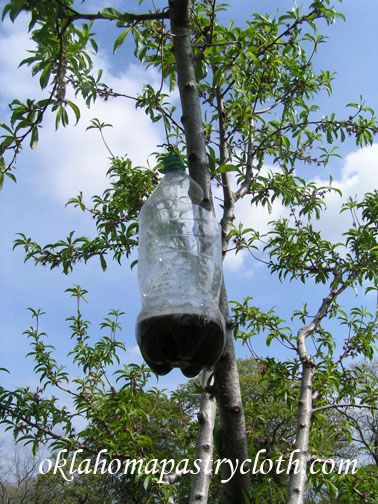 Mr. Fix-It used a pop bottle for a peach tree 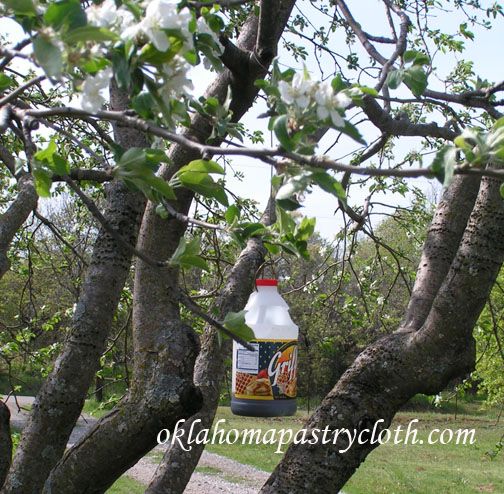 A syrup bottle goes in one of the apple trees. 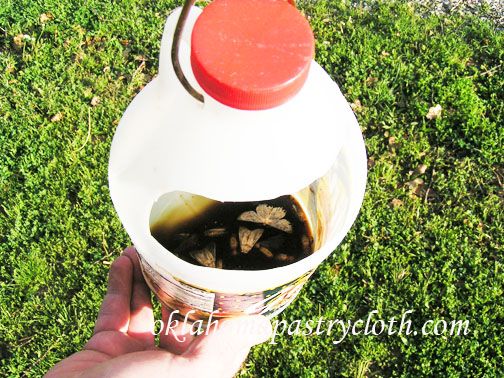 This bottle had just been filled the evening before, for the third round of fluid. Previous rounds had been dumped because there were so many moths in the liquid. Already, new moths were caught. Isn’t that amazing?  |
|
|
Oklahoma Pastry Cloth™ Company on Facebook
|
|
 |
|
|
Bread Makers’ Giveaway and Other Cool Stuff
Tuesday, February 28th, 2012
 Sunday was beautiful this past weekend and the sun was shining, providing warm temps and a soft breeze. I heard the garden calling my name about 2:00 – well, actually, it was Mr. Fix-It beckoning me to the leaf removal/weed pulling – and so, I trundled to the rows of beds with hoe, rake and shovel in hand. I tackled the first bed (asparagus, blueberries and raspberries). Did you know that gardening is the best way to tell that you are totally out of shape and have been eating bon-bons in front of the tv all winter? OK, so I don’t eat bon-bons, but I dream about eating them and that is just as bad. Now I have sore thighs, achey joints and a twinge in my back and I only have three more beds to go! I should be in traction by the middle of March and I will be sure to let you know where to send the cards and flowers!! But in the meantime, I think we’ll have a new giveaway which will go through St. Patrick’s Day with a name being drawn that evening. This time, a winner will receive a set of awesome bread pans that are very unusual. One is a stainless steel number specifically for baking two loaves of French or Italian bread and the other is a perforated, non-stick pan for baking bagettes. Every bread-maker should have one!! So enter as many times as you like by commenting on this post and all following posts through the 17th.  Also, I’d like to ask you to take a trip over to the shopping page to see some of the new things that have been added. I’ll give you a taste here, but you’ll have to run over there to see the rest. First, our Kierston has graduated with a degree in art from the University of Oklahoma and has put up a few of her paintings to be purchased. She is presently doing album covers for a variety of musicians and has been nominated for “Best Album Cover” at one of the country music awards celebrations. You can see her work by clicking on the “original artwork” tab.  Next, a spectacular monogramming and seamstress company called Stitching Designs has created the most gorgeous tea cozies you ever saw. Heavy-weight, they keep tea hot in the tea pot for a really long time. The vibrant colors just make a tea service stand out. What a lovely addition to tea time!! There are two sizes available. Hop over to see the whole collection!   And finally, another addition to the tea gifts section is an exquisite, porcelain tea cup complete with porcelain tea infuser that fits inside the cup and a matching porcelain lid for steeping and keeping tea hot for a single serving. Embossed with a floral motif, each cup is edged in gold and nestled in the satin bed of a beautiful, decorative box. Each cup comes with a free tin of one of our signature teas and is the perfect and unusual gift for your special person.  These items will make great Mother’s Day gifts or birthday or graduation gifts. So take a look at the shopping page and don’t forget to comment below to enter the giveaway!! And join the blog at the right to follow and keep up with all of the giveaways coming up!  |
|
|
Oklahoma Pastry Cloth™ Company on Facebook
|
|
|
|
|
WEEDS!!!
Saturday, June 25th, 2011
|
I say this every year. I vow that I will go nowhere during gardening season. And then…invariably something comes up that requires travel and I come back to a garden disaster. Such was the case with this last business/pleasure trip of two weeks. Two weeks! Would you like to know what weeds do to a garden in two weeks when the gardeners are away?! They say, “Yay!!” and promptly make themselves at home. Mr. Fix-It and I have spent two nights in the strawberry bed trying to find our plants. The picture is of what we have accomplished so far and of what is left to do. See if you can find any strawberry plants in that jungle of grass! Mr. Fix-It very wisely soaks the ground and then we pull while wading in the mud. Makes for easier pulling. A mud pie fight may commence tonight!!  |
|
Oklahoma Pastry Cloth™ Company on Facebook
|
 |
Processing Onions for Long-term Storage
Monday, June 13th, 2011
|
I love onions. Such a mundane little vegetable – but it has such a pleasant shape and flavor, especially the Vidalia variety. Georgia has a right to be proud of that little onion. There is no onion sweeter and you can eat it like an apple – if you like onion flavored apples, I guess! Personally, I think the onion is a necessity in cooking because it makes all the difference in the world…well…second only to tons of garlic. I bet you’d love to have an up close and personal conversation with us at the OPC™ digs, eh? Onions are one of the simplest veggies to put in a garden. Cheap too! A bundle of onions costs around $1.50 to $4 and offers you anywhere from 50 to 100 sets. I usually put out two or three bundles. Row furrows are dug, fertilizer is sprinkled down the center of the furrows and then chopped in and covered to make a raised row. I plant my onions using a stick in one hand to make a hole and then dropping an onion set with the other hand. I then go back and pull the dirt up around each set using both hands (yes, I wear gardening gloves) which also straightens the onions to standing. In my neck of the woods, I have to plant them deeper than usual because our soil is a sandy loam and dries out really fast in our stiff winds. Once the onions are established, I pull the dirt away from them to expose the top of the bulb. Turning the soil between rows can be done by using a hoe, a mantis or a tiller or mulch can be used as well. This year, we had a dickens of a time keeping a really weird grass in check. Hand weeding around each bulb was a not fun necessity, but this has been an unusual year. The only other maintenance that we perform on our growing onions is pinching off any seed heads if they form and a side dress of 10/20/10 fertilizer every three weeks if there has been much rain. Otherwse, a series of soaker hoses does the trick. The nice thing about onions is that you can pick them at any stage of the game. Small onions are great for salads and garnish as ‘green onions’. Medium sized onions are wonderful to throw in with green beans or pintos or they can be left to expand to slicing size.  At the later stage of growth, onions have the soil pulled away from the bulb to allow the bulb free room to grow.  Eventually, the green tops start to fall over.  After the tops fall over, the onions are left for about two weeks before pulling.  Onions are easy to pull out of the ground.  We use 5 gallon buckets to gather our onions. Makes for easy carrying.  I wash my onions a few at a time in a big stainless tub/bowl or in another large bucket. After cutting off green tops no closer than 1 1/2″ from the bulb, I submerge the bulbs in water and use my hand to wash them back and forth.  I separate out sizes of bulbs and freeze the smallest ones for seasoning beans, etc. or cut them up for dehydrating. These I prepare, after washing, by removing the roots, the stem and the outer skin.  The medium to large ones are left whole to cure on racks for use as fresh onions. The roots and the stem will dry up and will be clipped. These onions will stay fresh until as long as November or December, stored in a cool dark place.  The largest are sliced and frozen on cookie sheets covered with wax paper and will be put into freezer bags. These will be used for homemade onion rings, for cooking on the grill and for use in casseroles.  Onions for dehydrating are chopped by hand because the food processor makes the pieces too small. The chopped onion is spead out on dehydrator racks. I start the process outside because the smell is overpowering and keeps you from crying. 🙂 After about 6 hours, I move the dehydrator inside.  After drying about 15 to 18 hours, depending on the moisture content, these onions are packaged into jars. Here, I have dried some of both our yellow and white onions. Storage for these dried onions is years. They are wonderful for using in soups and stews but you can also use them in chicken or tuna salad or for seasoning a cooking hamburger by putting a tablespoon or two into a bowl, covering with water and then placing into the frig overnight. You will have rehydrated onions to use like fresh! That is actually what some restaurants do. |
|
Oklahoma Pastry Cloth™ Company on Facebook
|
 |
Roses and Berries and Grapes – Oh My!
Thursday, May 5th, 2011
   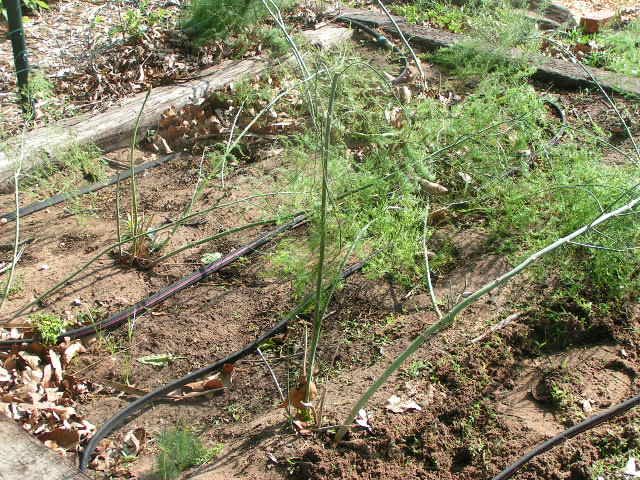 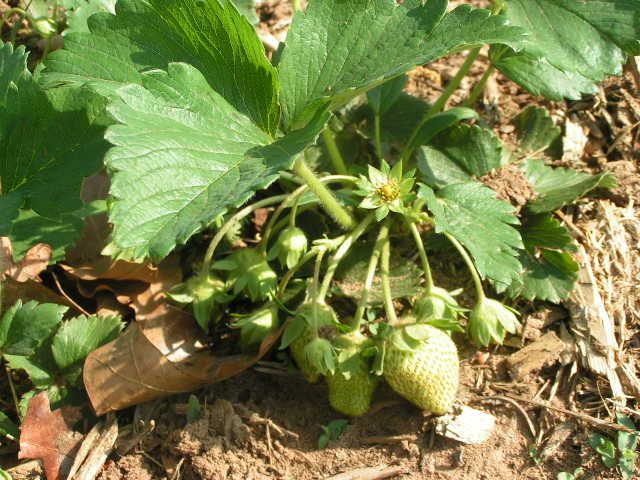 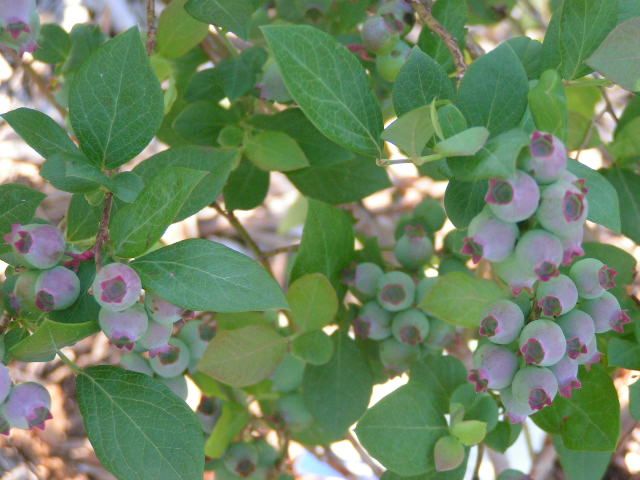 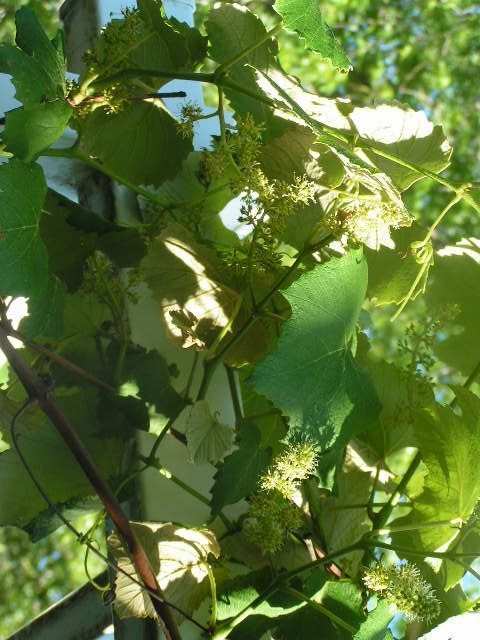 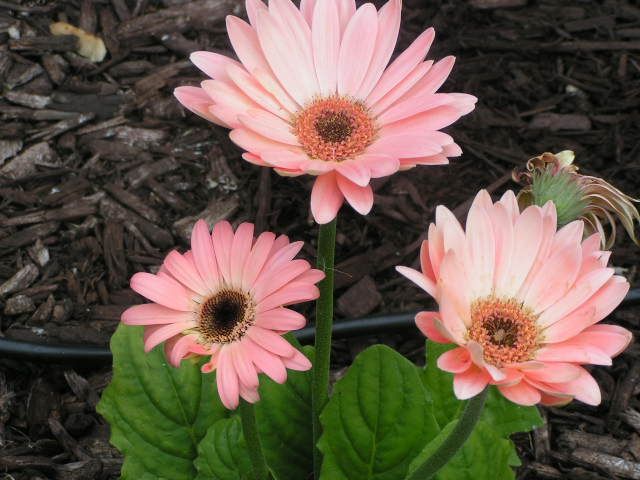 |
|
Oklahoma Pastry Cloth™ Company on Facebook
|
 |
Plantin’ Taters
Friday, March 18th, 2011
 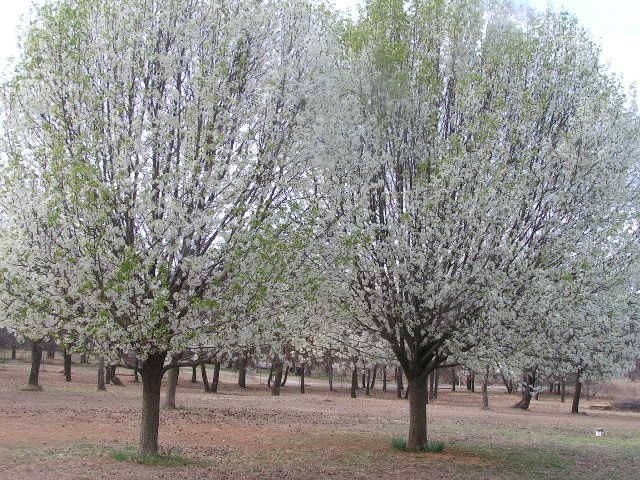 Spring has actually come to Oklahoma! The drab brown of winter is slowly turning into Spring Green! The Bradford Pears are glorious. 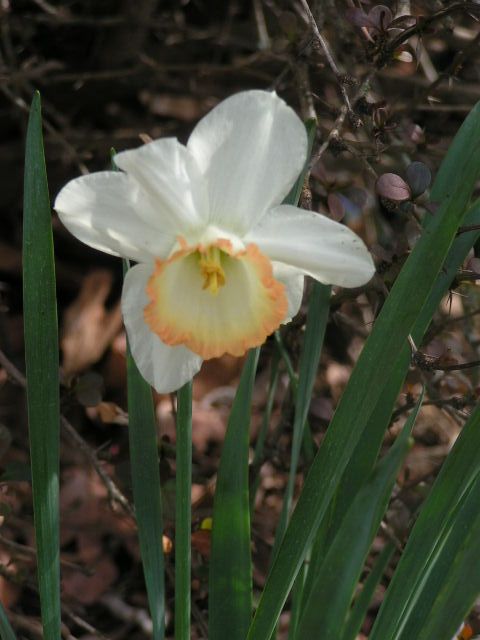 Dafodils are peeking out from emerald folage. 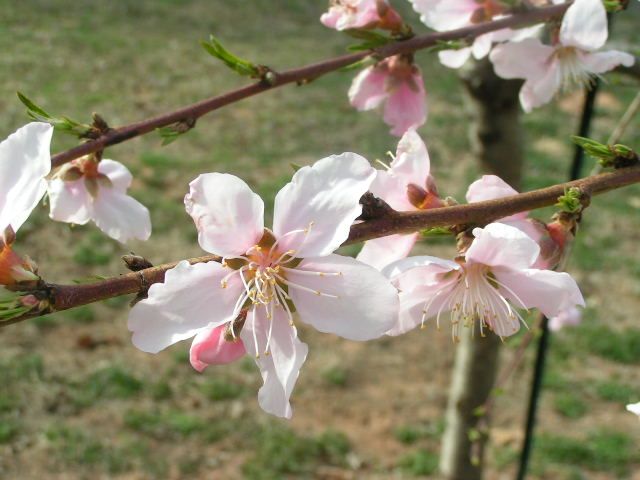 Nectarine blossoms seem to have escaped the 21º frosty morning at the first of the week and are lacing the trees as pink, cotton candy flowers. 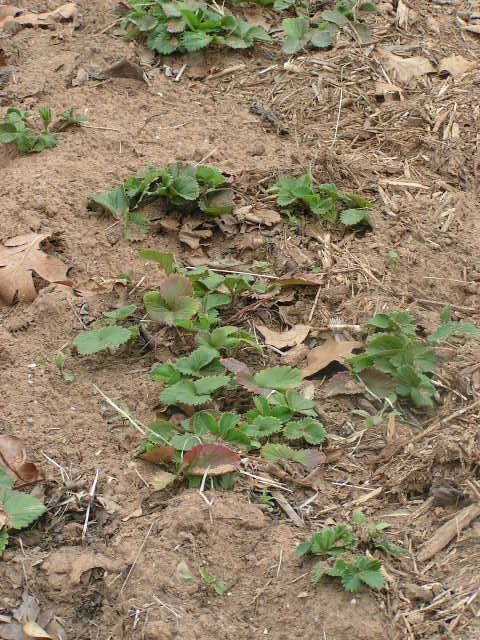 The rows of strawberry plants proved that they could withstand one of the coldest, snowiest winters Oklahoma has seen in a very long time and are starting to grow and spread. 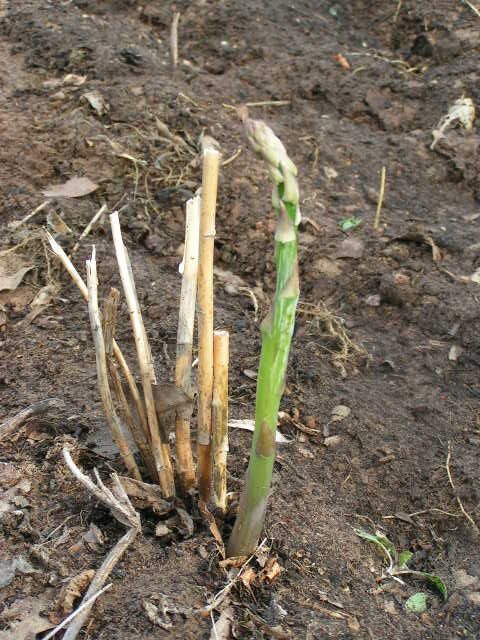 And the asparagus is poking through the soil like a finger testing the wind to see if it’s safe! Here at the Oklahoma Pastry Cloth™ digs – no pun intended! – gardening season has hit with a vengeance. We plant pretty early here in Oklahoma and we can plant tomatoes as early as the first of March complete with water teepees to avoid any late frosts. The plants start early and grow hardy early. We usually have two growing seasons. 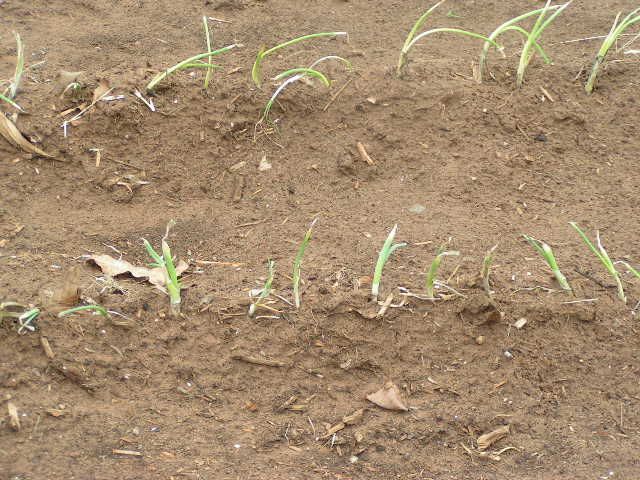 This week, in our garden, potatoes, onions and lettuces were put in while the wind blew 30 mph and out-of-control wild fires raged all around us. It’s been a tough week for many folks here. Our soil is very sandy and it drains really fast. That means that when there is little rain, the bermuda grass becomes the prime fuel for a wayward flame started by some idiot who drops his cigarette butt and pretty soon trees, pastures, houses and barns go up in smoke. After all of these years of fires out here in prairieland, you would think people would learn!! Anyway, here, I’ve planted the onions a little deeper than they will be later because in the sandy loam, it is easy to establish them and then pull the soil away when they have rooted. Planting them deeper helps them stay upright. It’s all these little suckers can do to battle the Oklahoma winds. As I said, the soil is sandy, but we have added, for the past 15 years, horse manure, compost, mulch and peat moss so that it is the richest sandy loam you ever saw. It smells so good!! And it is in that soil that I planted potatoes – a total of 104 cuts or 13 rows. 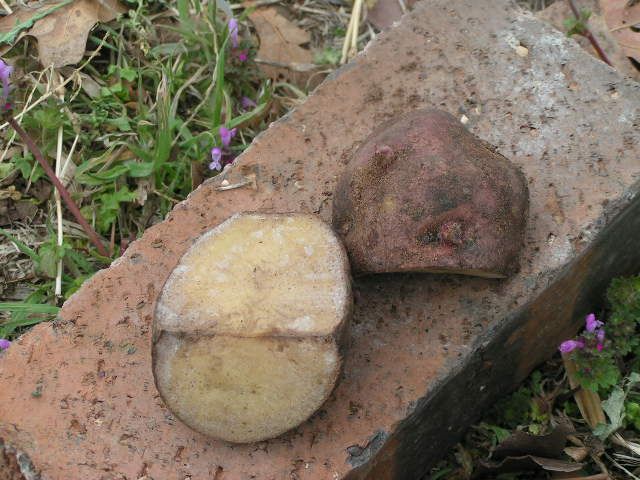 To start off preparing for spud planting, good quality seed potatoes are required. These can be found at any local garden shop and even in some grocery stores. There are all kinds of varieties – Yukon Golds, Pontiac Reds, Kennebec…these are the three that I like. My favorite is just the plain ol’ standard Pontiac Red. A couple of days before planting, I take each potato and locate the “eyes”. These are little indentions that have knobs sticking out of them. These are the buds. I try to get good sized seed potatoes so that I can cut them into pieces with two of the eyes per piece. And the pieces should weigh at least an oz. Cutting them this way, I get more plants per potato than just one. 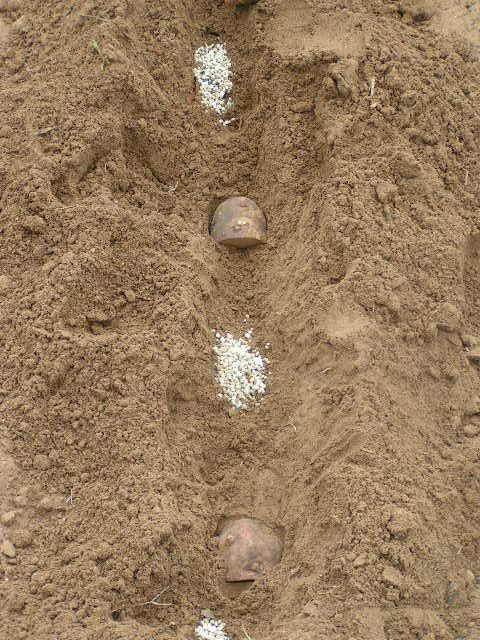 I plant my potatoes differently here in Oklahoma than we did in Tennessee MANY years ago. There, we did mounds that would make for good drainage. Here, in this sandy soil, I have found that rows are more successful. I place each potato cut side or sides face down in the soil about 3″- 4″ deep. This keeps them from freezing if we have a wierd freeze and it keeps them from drying out in our Spring heat. Yesterday, it had already gotten to 86. I place the potatoes about 1 1/2 to 2 feet apart and place about a tbsp of 10-20-10 fertilizer on either side of each potato cut, being careful not to get it too close to the potato which will burn it. 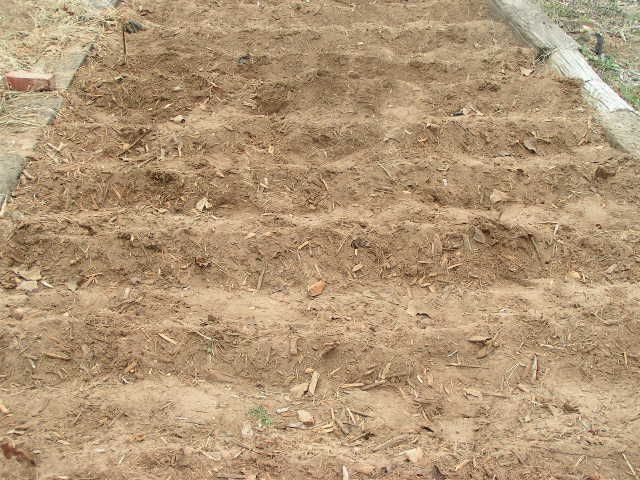 After I get all of the rows done, I go through with a hoe and pull the dirt up to a peak over the potatoes to make an even, covered row. It’s hard to tell in this picture because of the angle, but the rows are also 1 1/2 to 2 feet apart. I’ll keep adding to this post as growing season progresses and you can see how they turn from cut pieces to wheelbarrow loads of potatoes! Stay Tuned! |
|
Oklahoma Pastry Cloth™ Company on Facebook
|
|
|

 Homestead Revival
 Paratus Familia
 Rural Revolution