

It is February 1st and aside from the fact that two of my sisters, my husband and two of our presidents’ birthdays are celebrated this month, we do have a holiday coming of all things lovey-dovey – Valentine’s Day.
♥
Now, here in Oklahoma, we consider Valentine’s Day the next best excuse for eating chocolate since the previous excuse comes nearly two months earlier at Christmas and the next one isn’t until the Easter season. After that, it is every man – or woman – for himself in the rationalization department! If you are looking for some unique and exquisite chocolates that have a real story, Google Bedré Chocolates which are owned and produced by the Chickasaw Tribe right here in Oklahoma. They are the only chocolates produced by an American Indian tribe. They are delicious!!
♥
Being a retired home school parent, I know the unwritten law in the unwritten book of home schooling that states, “Make every opportunity the opportunity for a teachable moment.” I shall do so now. Hence, follows all you ever wanted to know about Valentine’s Day:
♥
According to the World Book Encyclopedia – that bright red number copyrighted in 1989 (yes, I still have it on our book shelves) – there are different theories about how Valentine’s Day came to be. Some trace it to an ancient Roman festival called Lupercalia. Others insist that it involves a certain saint in the Christian church and others equate it with an old English belief that birds mate on February 14. The ancient Romans held the festival of Lupercalia on February 15 to ensure protection from wolves. This appears to be an appropriate celebration, today, for most young women who find themselves chased by “wolves” on a continual basis. In Rome, the celebration was marked by young men hitting people with strips of animal hide. Even back then, they recognized that the real wolves walk on two feet! The women took the blows because they thought that getting struck made them more likely to have children. It is my informed opinion that this practice was then passed down to those very children, using switches from a nearby tree and women have been blessing their children with such switches ever since.
♥
The Christian church disputes this origin because it is known that within the Church, there were two saints named Valentine. According to one story, young men were forbidden, under Roman Empire law, to marry because they made better soldiers if they weren’t tied to a family. A priest named Valentine took it upon himself to secretly marry star-crossed lovers who didn’t care a whit about the law and who had all read Shakespeare’s Romeo and Juliet. Yet another story says that the other Valentine made friends with many children as HE knew the story of the Pied Piper. This made the Romans mad and they imprisoned Valentine (Of course, it is possible that the fact that he refused to worship their gods might have had something to do with this). The children missed him so much that they tossed loving notes, produced by Hallmark Cards, to him through his jail cell window. We have been giving Hallmark Cards on Valentine’s Day ever since.
♥
So there you have the history of Valentine’s Day in an abbreviated form. I am including the recipe for an original, wonderful, simple and fail-safe breakfast treat that you can make for your Valentine or Valentines to start the day off right. Happy Valentine’s Day!!!
Breakfast “Soufflés”
1 whole egg, separated
2 egg whites
1/4 cup Kraft sharp cheddar Easy Cheese in a can (yep!) or any other brand of sharp cheese in a can
2 tbsp shredded asiago cheese
4 small cocktail croissants (about 1 oz each)
1 slice bacon
3 tbsp Hormel Real Crumbled Bacon with Picnic Bacon
1/2 cup skim milk or 1/2 and 1/2 if you want to get dangerous
1 pat butter
1 cup fresh spinach chopped
1/4 tsp onion powder
1/4 tsp salt
2 mini springform pans or medium ramekins
PRINT RECIPE
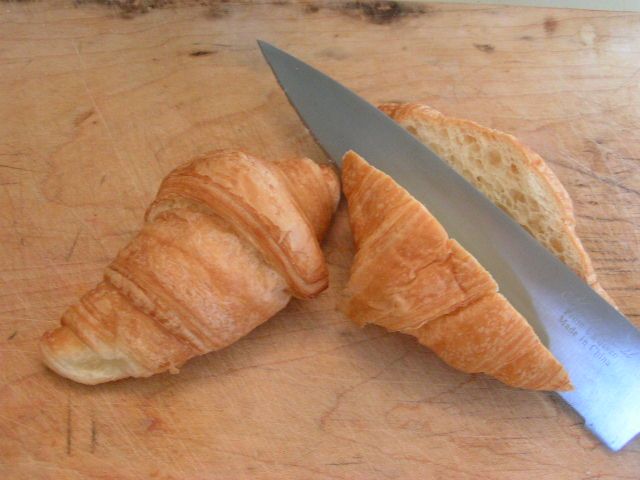
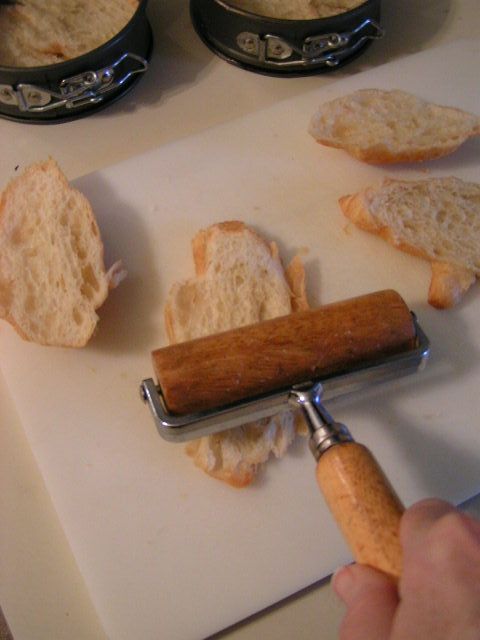
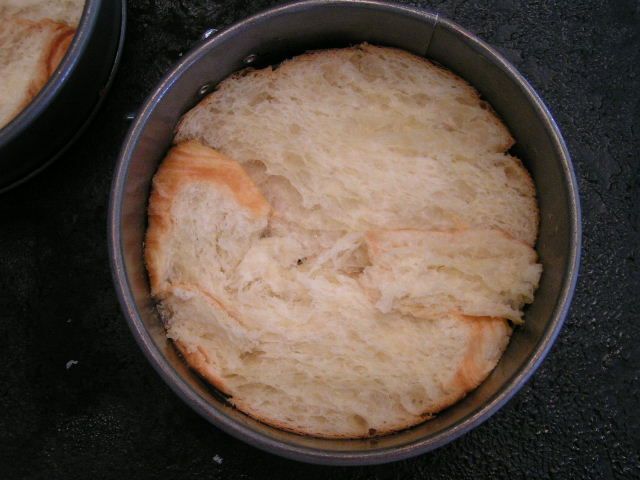
Place springform pans or ramekins onto a cookie sheet. Slice croissants in half lengthwise. With a rolling pin, roll 5 of the halves flat. In the two springform pans or ramekins that have been sprayed with Pam, press two croissant halves into each bottom, filling any gaps with pieces of the extra half.
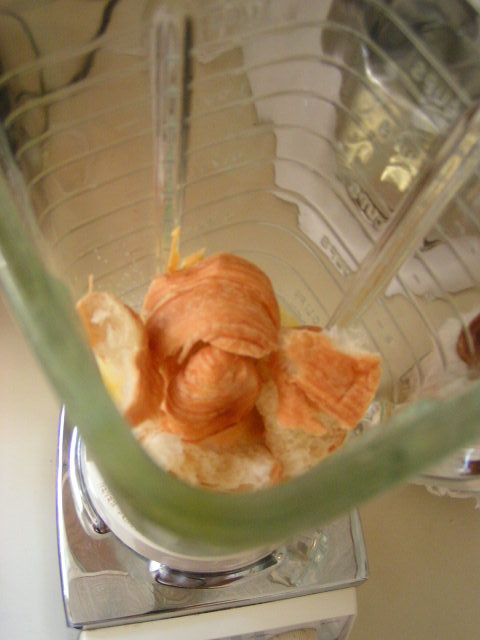
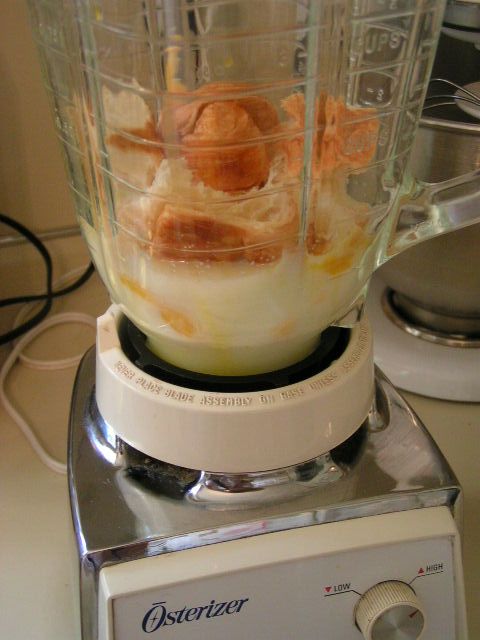
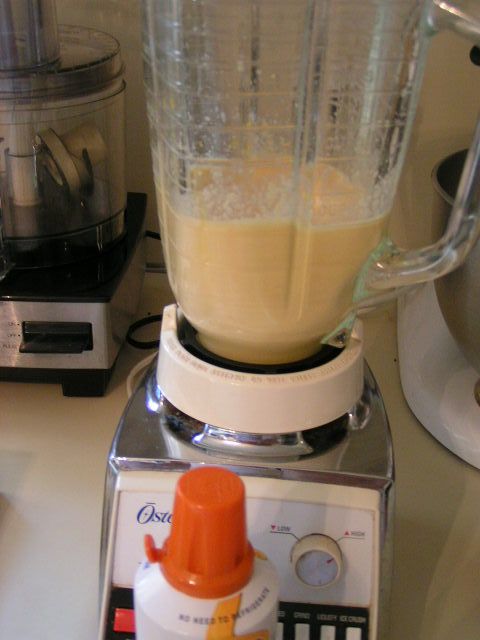
In a blender, put egg yolk, Kraft Easy Cheese, milk, one of the whole croissants, onion powder, and salt and blend until smooth.
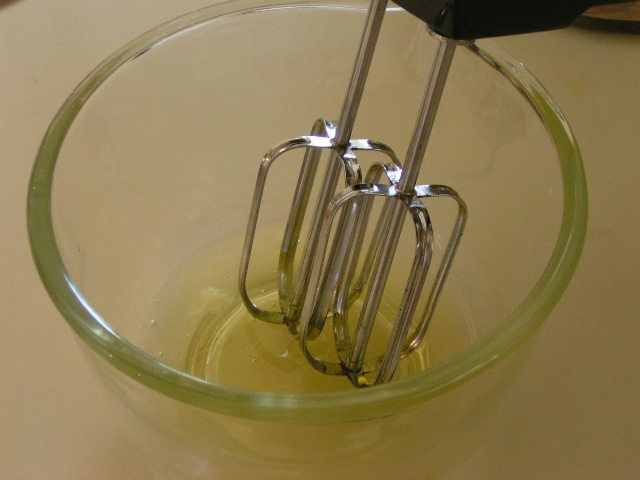
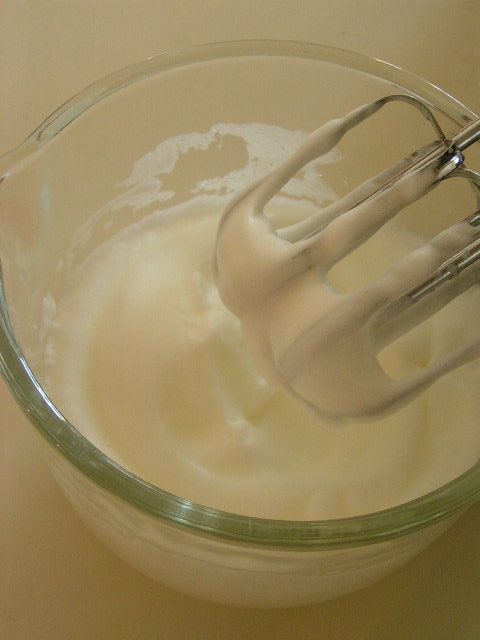
Place egg whites into a bowl and beat with mixer until fluffy and white.
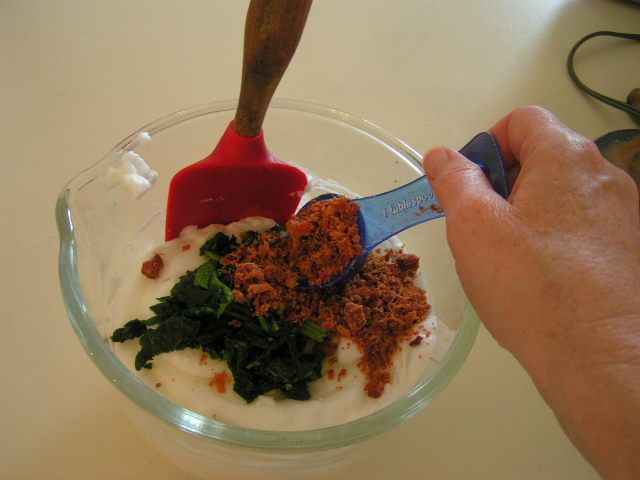
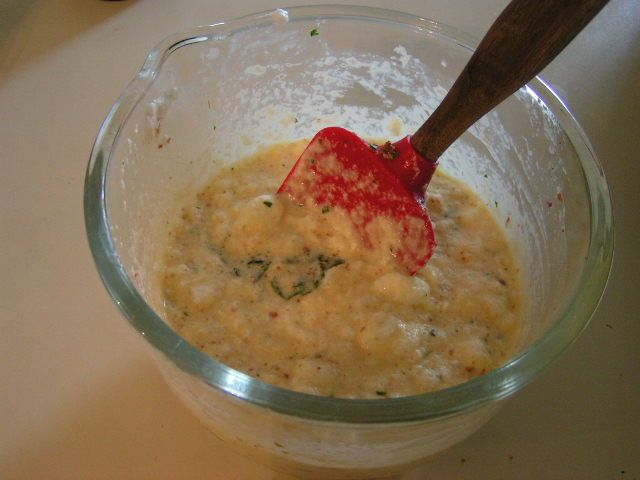
Add Hormel ham and bacon bits and spinach to whipped egg whites, folding them in gently, without stirring.

Pour 1/2 mixture into each pan and sprinkle with asiago cheese and place
1/2 of the final croissant half and 1/2 slice of cooked bacon on top with
1/2 pat of butter.
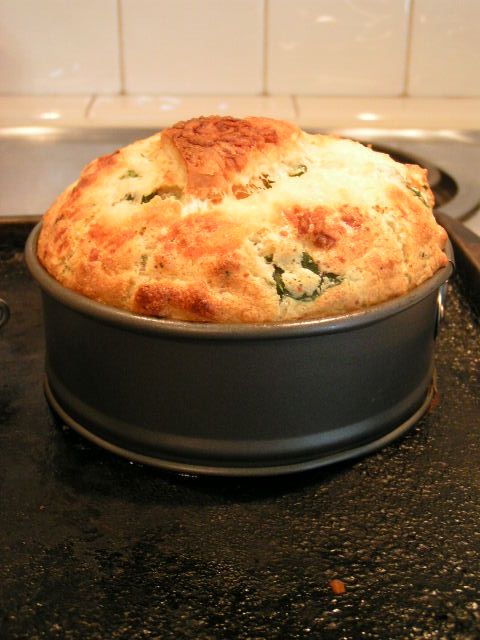
Bake at 350 degrees for approximately 25-30 minutes until set.

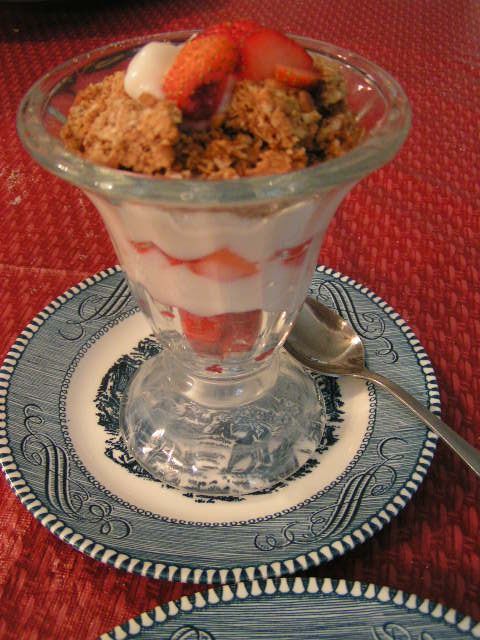
Add whatever fruits and garnishes you choose to say, “I love you!”
♥ ♥ ♥ ♥ ♥ ♥ ♥ ♥ ♥
Posted in Breakfast, Humorous, Let's Cook! | 4 Comments »
Tuesday, December 15th, 2009
“Who Will Help Me
Make The Bread?”

Christmas is coming and I thought that I would post my favorite bread recipe just in time for the big day. It is an easy recipe and makes the most delicious bread that can be used for everything from warm, buttered slices alongside a plate piled high with casseroles, potatoes, ham and turkey, or for ham or turkey sandwiches, or for French toast early in the morning before presents are tackled. I use this recipe to make hamburger and hot dog buns too. We love this homemade bread so much. And it is good for you too! (how’s that for a ’60’s ad?)
My bread is made with home-ground Prairie Gold, hard, white, Spring wheat, although you can use any flour you like from the store. Sometimes I do use freshly ground, hard, red wheat, but the mild and nutty flavor of the Prairie Gold is just delicious. I grind my wheat on a Lil Ark hand grinder, using stone burrs, that my Mr. Wonderful converted to an electric grinder. Would you like to know just how brilliant he is? Well, I’m going to tell you anyway. He replaced the handle with a flywheel that is connected to a larger flywheel by way of an automotive “V” belt. The larger flywheel is connected to the motor of an old trash compactor. The trash compactor gave up the ghost long ago and was compacted itself – minus its motor. Anyway, my Mr. Wonderful housed the motor in a wooden box with a switch on the outside and mounted the entire assembly on a long board. I think that he should have painted the whole thing a deep forest green and added a quiet, gurgling brook type of fountain to give the semblance of an old grist mill, but he insisted that water and electricity don’t mix very well, so my grinder just looks like a plain, wooden box. The nice thing is that if the electricity goes out, my Mr. Wonderful can just unhook the flywheel, add the handle and I am back to hand-grinding by kerosene lamp light.
I know, I know. There are electric mills out there that grind really fast with metal burrs. The best supplier I can recommend can be found at Sonrise Whole Grains where you can also purchase bags and buckets of all kinds of grain. The Bartons are friends and I can vouch for their servant attitude and willingness to help you in any way possible. I do plan on purchasing one of those mills soon to grind the soft, white wheat that I use for biscuits, pie crust and pastry. It tends to gum up my stone burrs. But there is just something about my stone ground flour that makes the bread taste that much more special.
Freshly ground, whole wheat flour must be kept in the refrigerator or freezer once ground. It breaks down quickly at room temperature. I keep my flour in the freezer and then, when I am ready to make bread, take out whatever I need about an hour ahead of time to bring it back to room temperature. I also sift my flour. Many people do not, but I find that if I sift it two or three times, my breads are lighter. Of course, flours bought at the store are pre-sifted. I use my grandmother’s sifter that has the turning handle on the side. In January, I will start carrying this same kind of sifter. The sifters with the squeeze-trigger handles do not work well for the grainier, freshly-ground flours. When sifting, a little of the larger wheat germ is sifted out, but I keep that in a ziploc bag in the frig and sprinkle it on cereal, add it to baked goods or mix with peanut butter for crackers or a sandwich.
I’m sure that is all more information than you wanted, so now for the recipe:
Whole Wheat Sandwich Bread
1/4 cup honey or sugar (1/8 if you want less sweet taste)
1/2 tbsp salt
1/2 cup warm water
1 egg white
3 1/2 tsp yeast
3/4 cup warm milk or 3/4 cup warm water and 1/3 cup powdered milk
1/4 cup canola oil or melted butter
3 – 3 3/4 cups flour
2 tsp dough enhancer
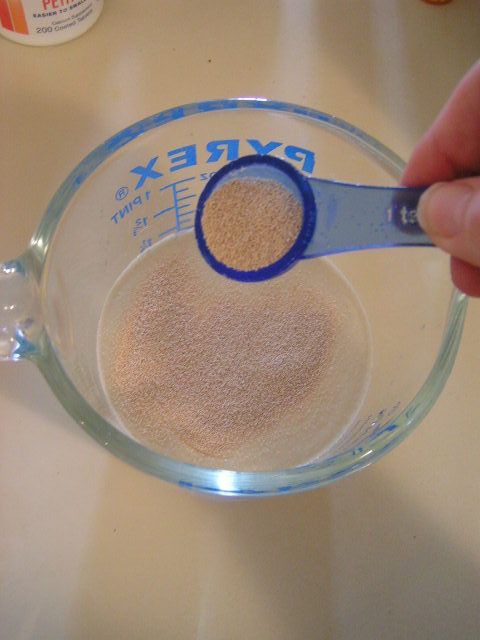
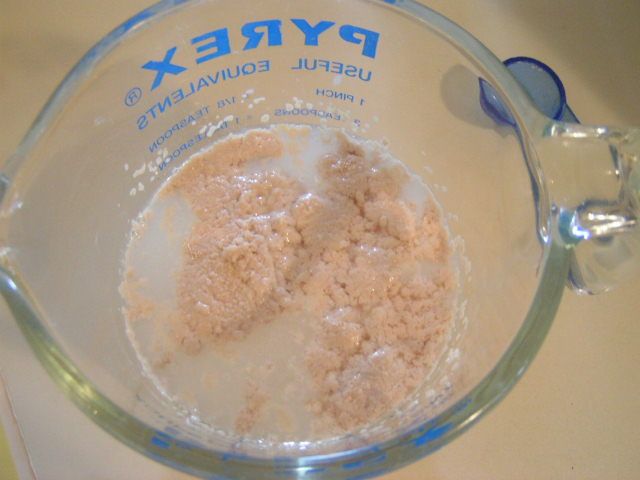
In a glass container, add a pinch of sugar to 1/2 cup warm water and sprinkle yeast over the water. I shake the container a little to force water over the top of the yeast. Allow to “proof” until yeast is bubbly on the surface of the water. I use SAF yeast that can also be purchased from Sonrise Whole Grains It is a fast rising yeast, but you can use any yeast, including the rapid rise variety.
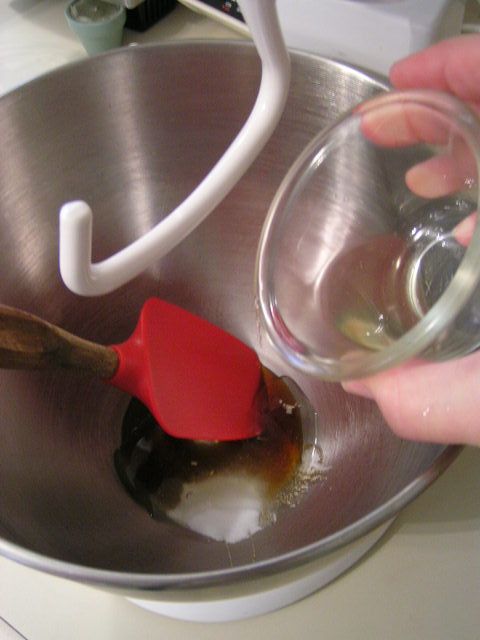
In a mixing bowl, add honey or sugar, salt, egg white and oil and powdered milk if not using warm milk.
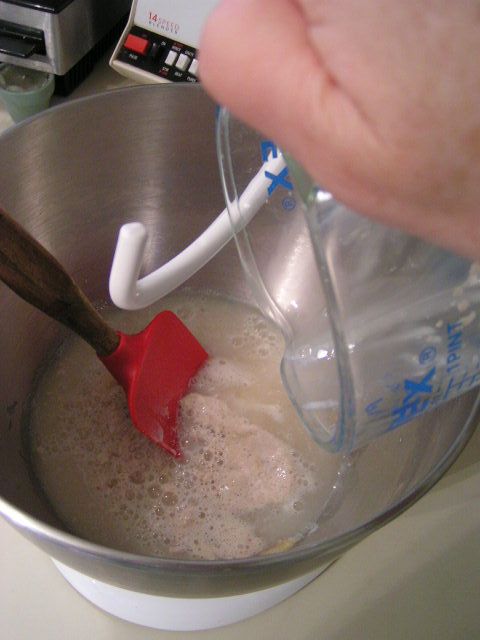
Add the proofed yeast/water and 1/4 cup flour or whole wheat flour. Mix on low.
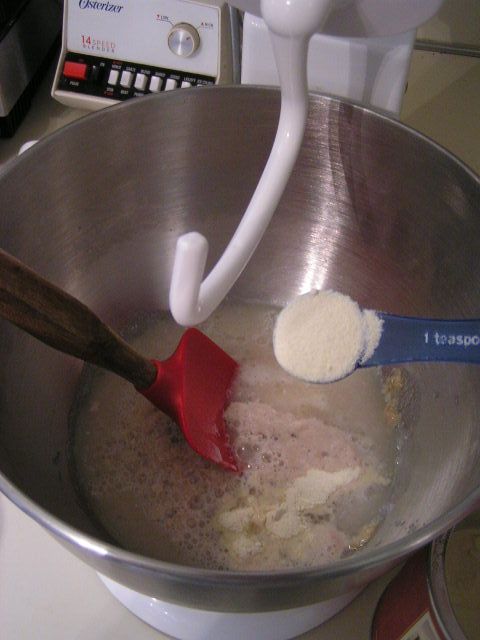
At this point, if using milk, add the 3/4 cup warm milk. (I use the powdered milk and warm water mixture) Add one cup of flour or whole wheat flour and two teaspoons dough enhancer.
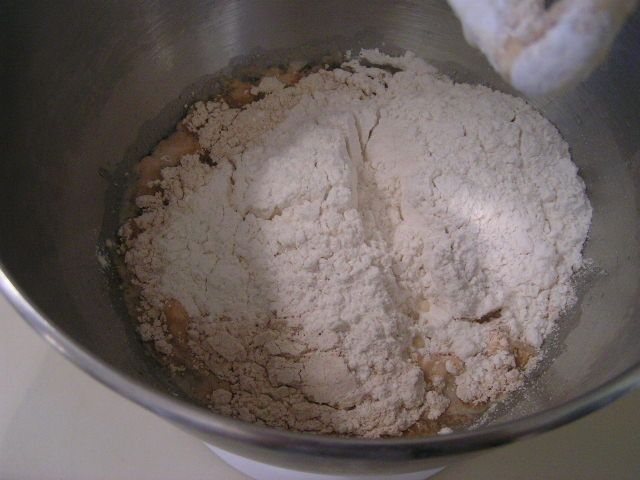
Because of my Mr. Wonderful’s tastes, I add one cup of regular, white flour in with the whole wheat at this point and then continue with whole wheat but you can use regular flour all the way through. Mixing the two makes it just a bit lighter than using all whole wheat. However, you may want to use all whole wheat. It is all a matter of preference.
LATER NOTE: I have since found that sifting the fire out of my whole wheat to add lots of air and volume makes all the difference in the world, thus not requiring any white flour. I also use a 1 to 3 ratio of barley flour to whole wheat which just gives it an added punch. I mix the two flours together and then measure out 3 to 3 3/4 cups for the recipe.
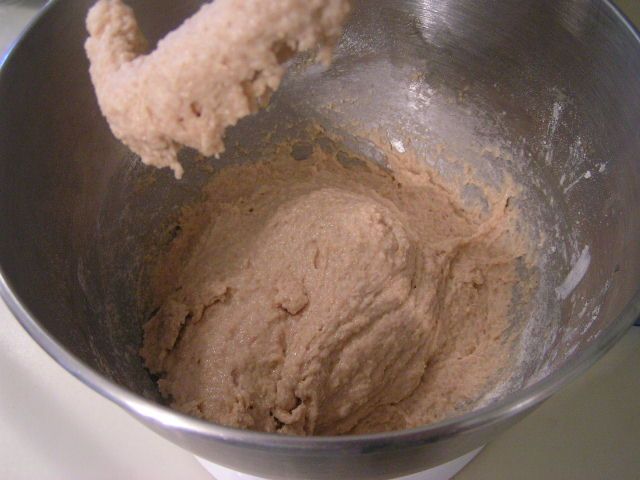
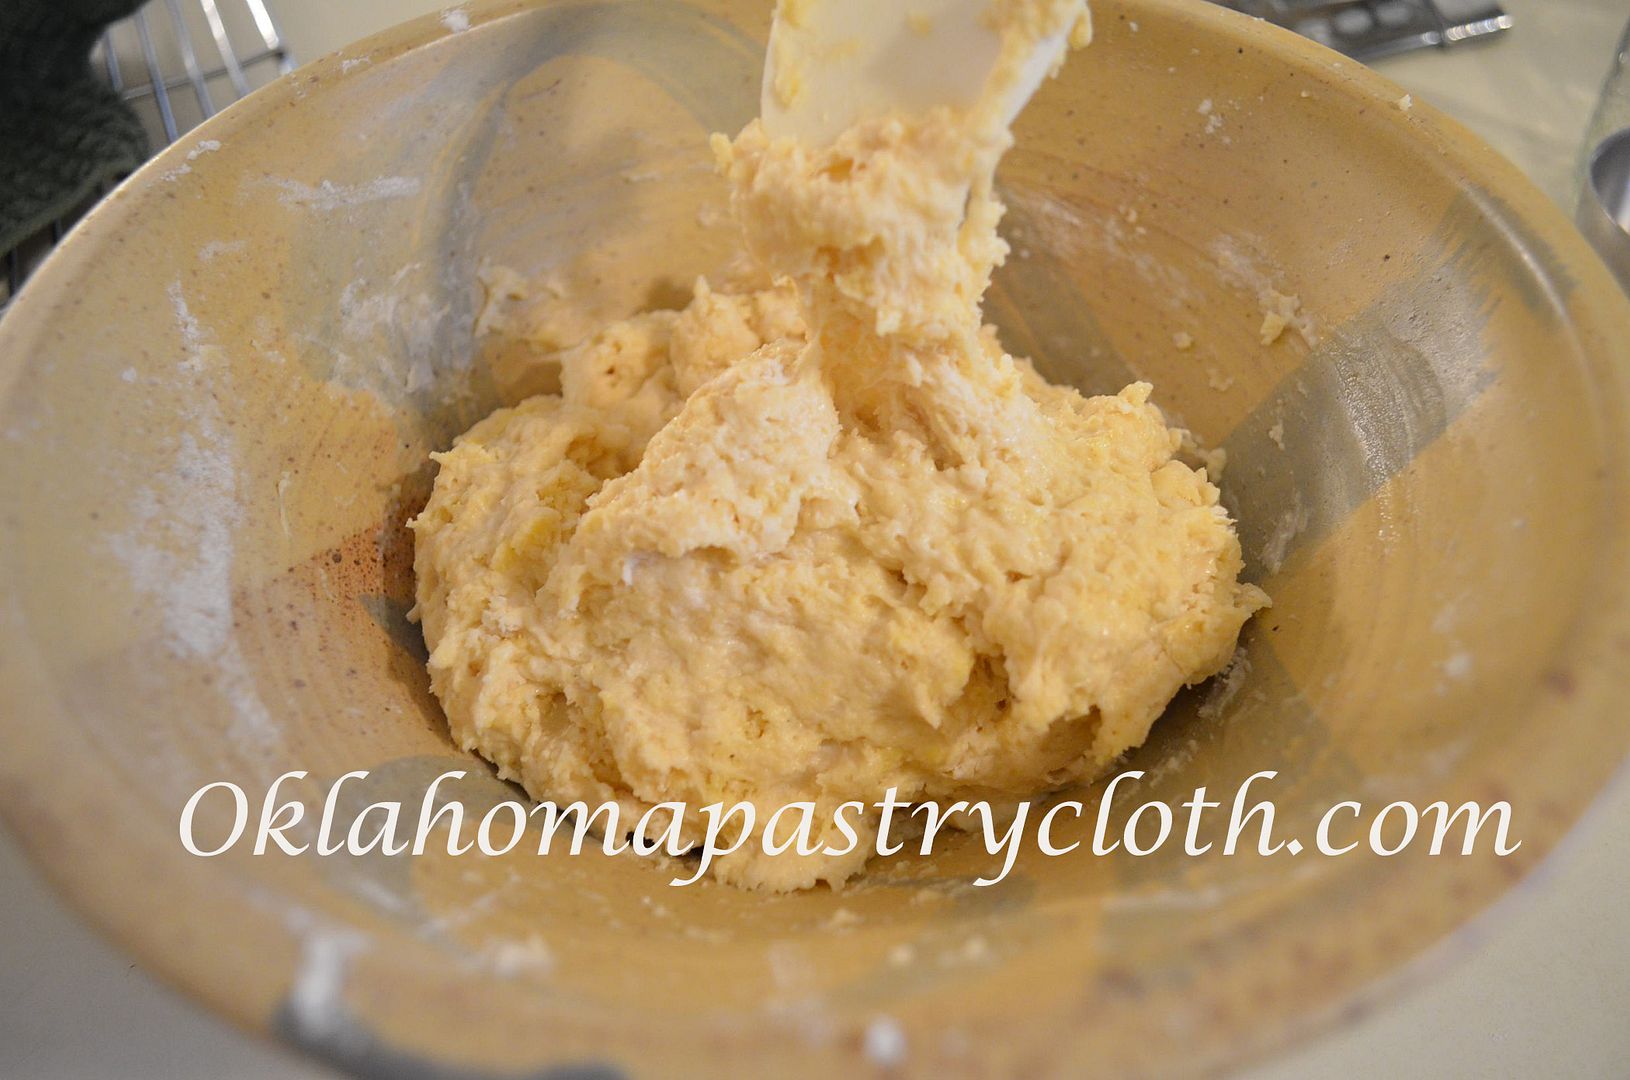
Adding 1/2 cup of flour at a time to equal 1-2 cups, continue mixing until the dough is firm but still sticky. This dough does not pull away from the side of the bowl and if it does, it means you have added too much flour. On medium speed and using dough hooks, knead/mix the dough for 8-10 minutes until smooth.
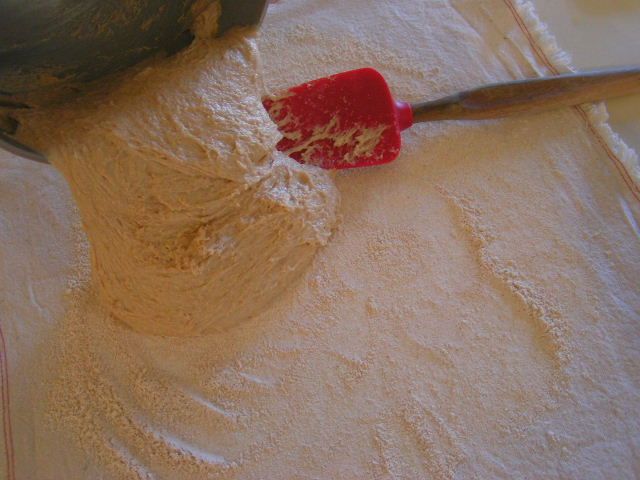
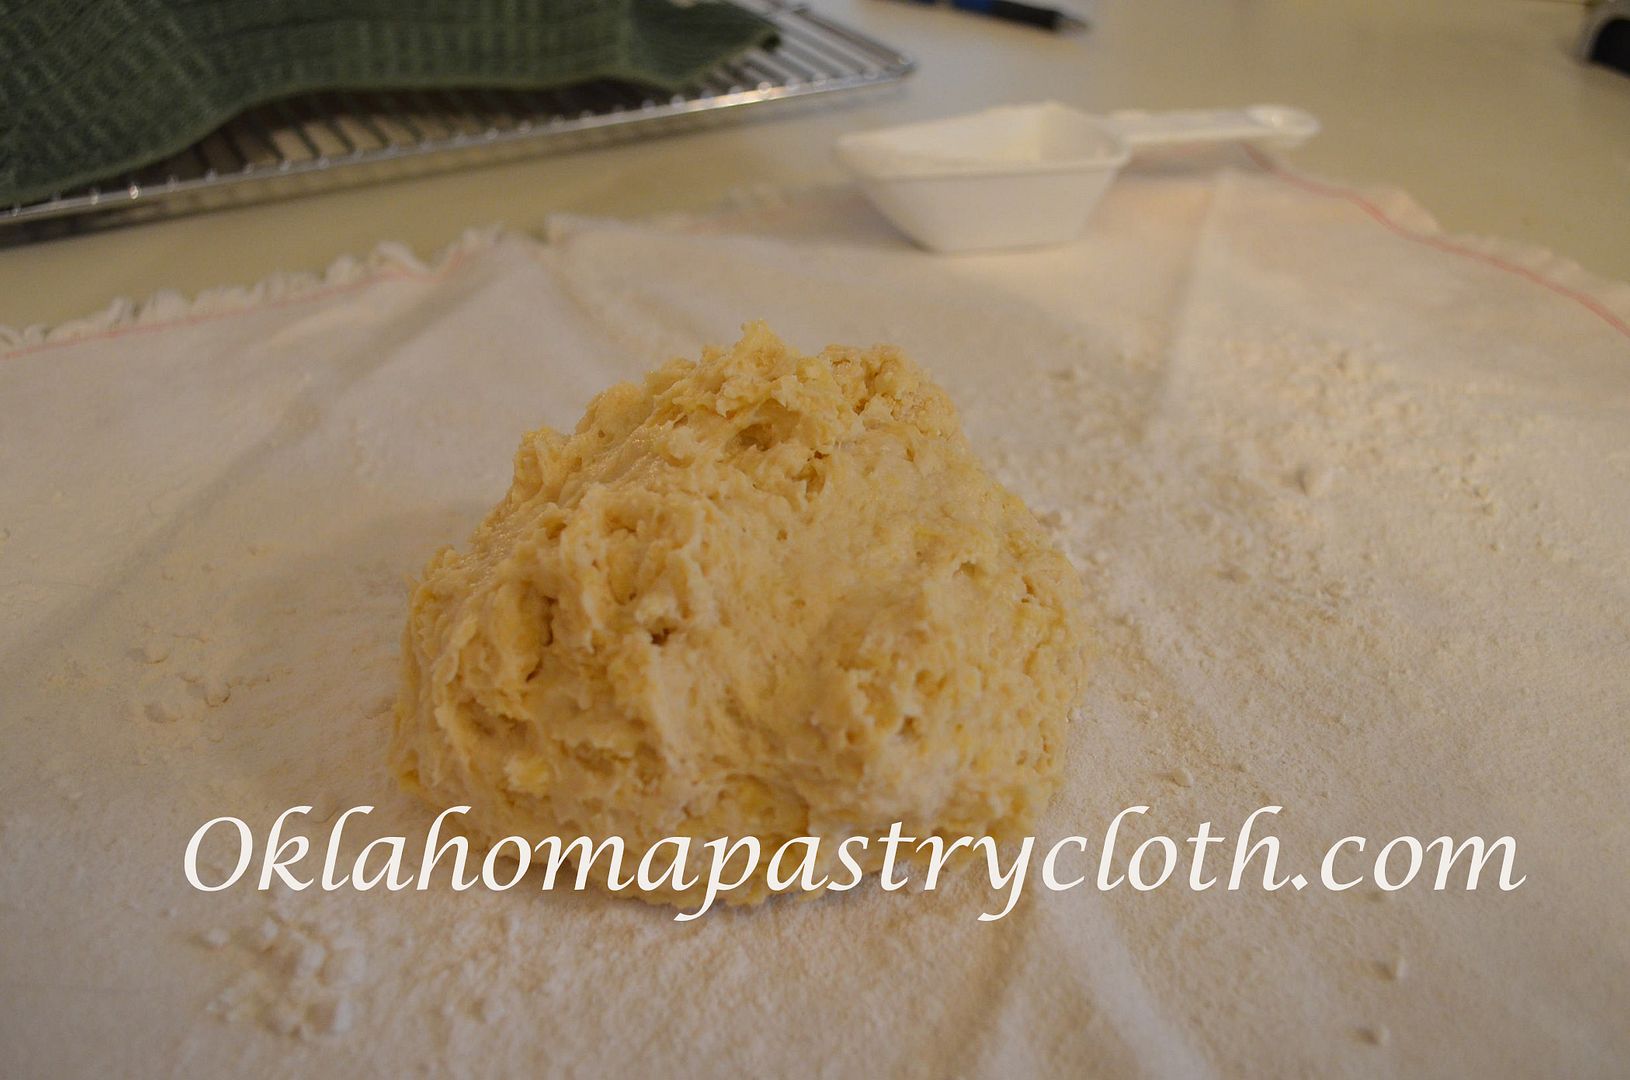
Scrape the dough onto your Oklahoma Pastry Cloth™ and turn to coat all sides with flour.
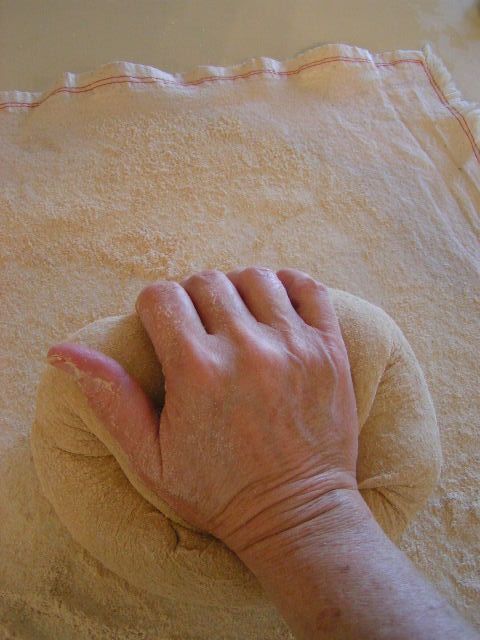
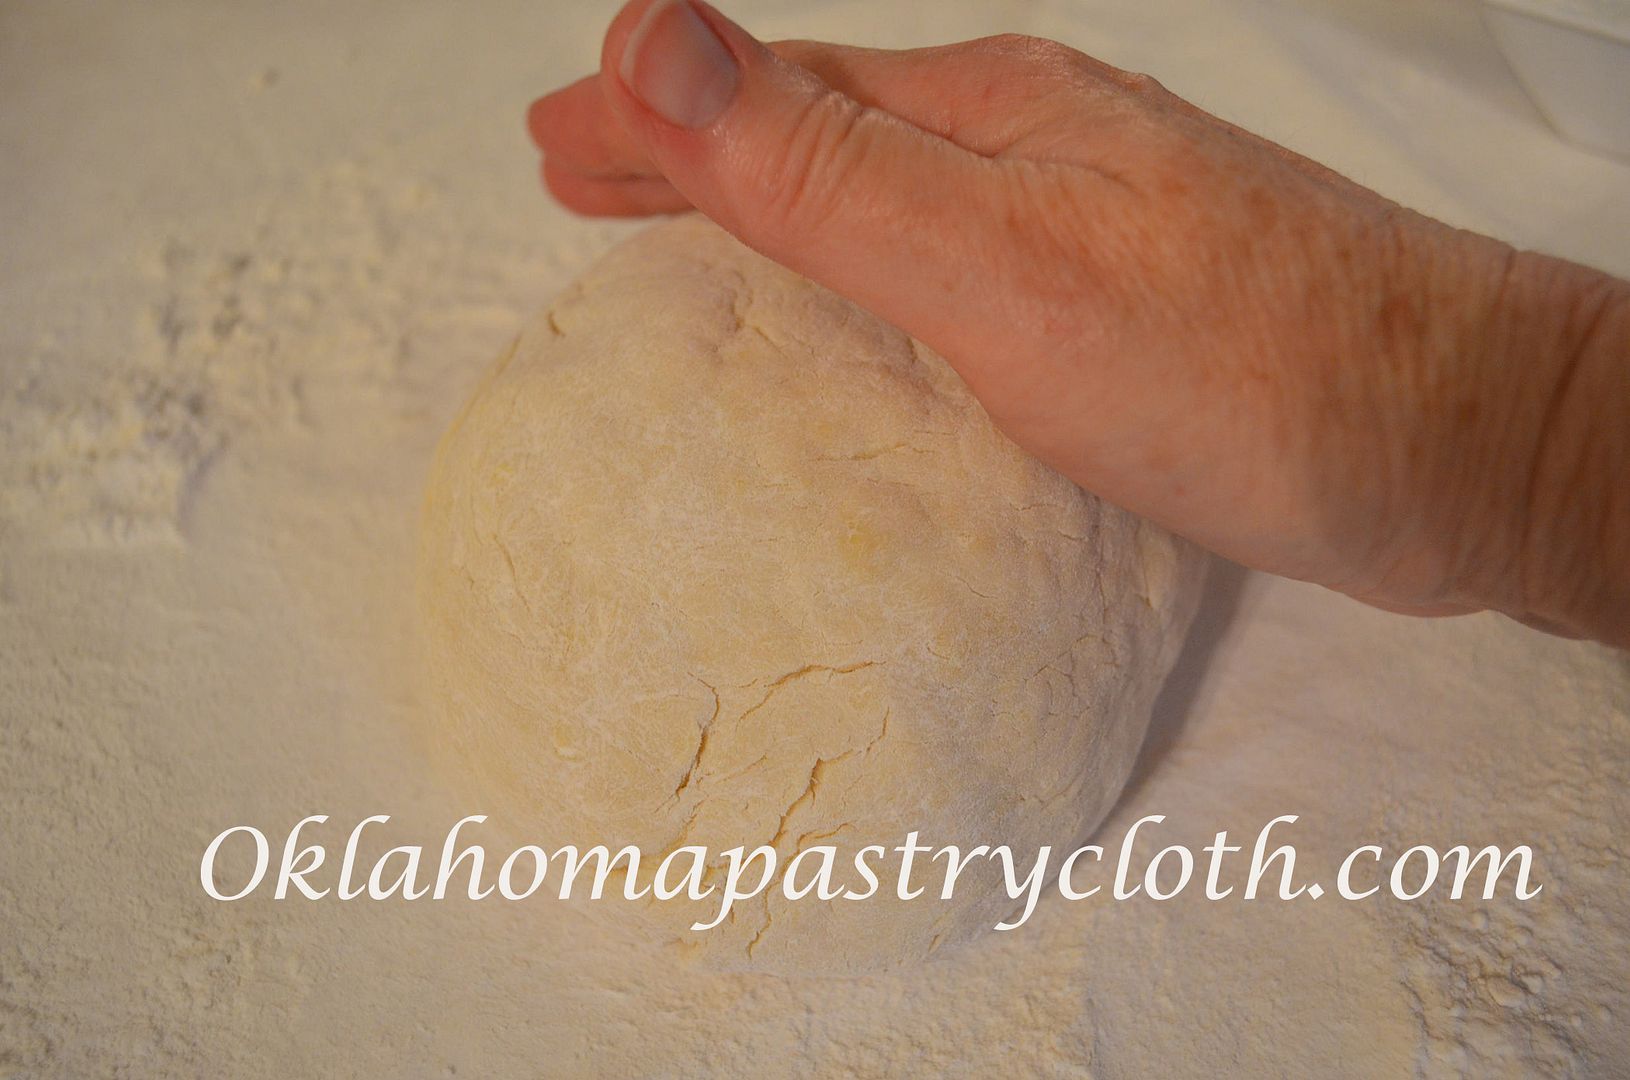
Gently knead dough to form a smooth ball using the remaining flour.
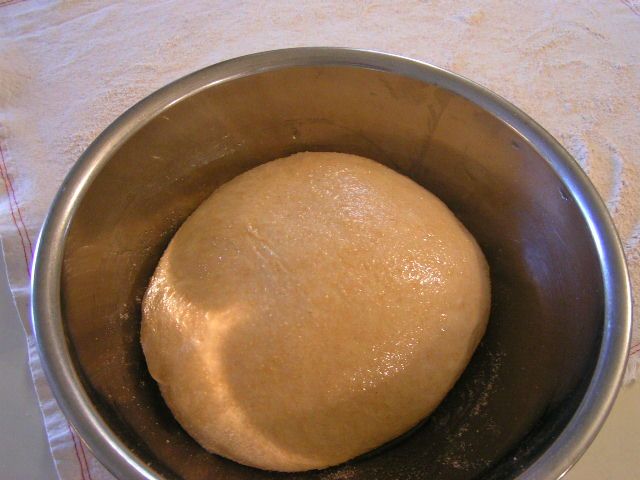
Pour 1 tbsp olive oil into the bottom of a bowl that is twice the size of the bread ball, and place dough topside down into the oil. Turn the dough back upright so that top is oiled. Cover with a warm, wet towel. Allow dough to rise in a warm, dry place until double – anywhere from an hour to two hours. I like to warm my oven to 150 degrees and then turn it off. I then place the bread dough to rise in my warm oven.
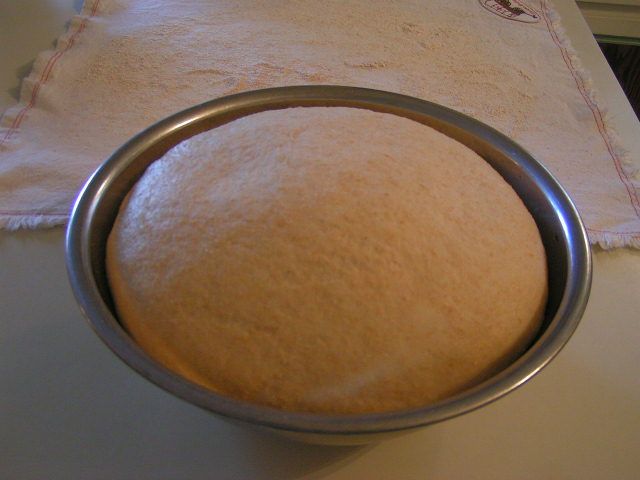
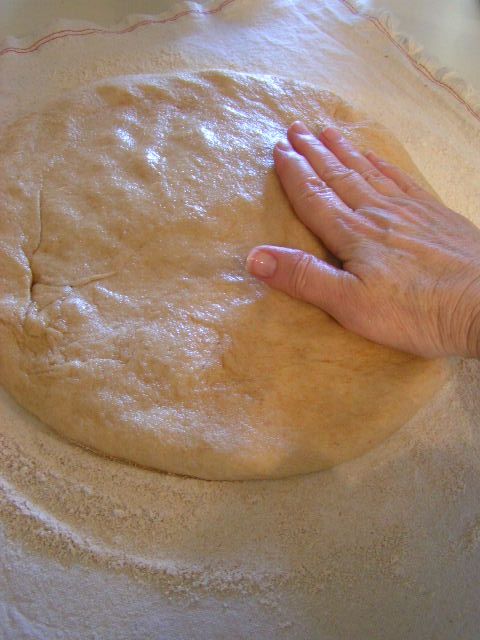
When the dough has doubled, roll it out onto the pastry cloth and pat it out into a thick circle.

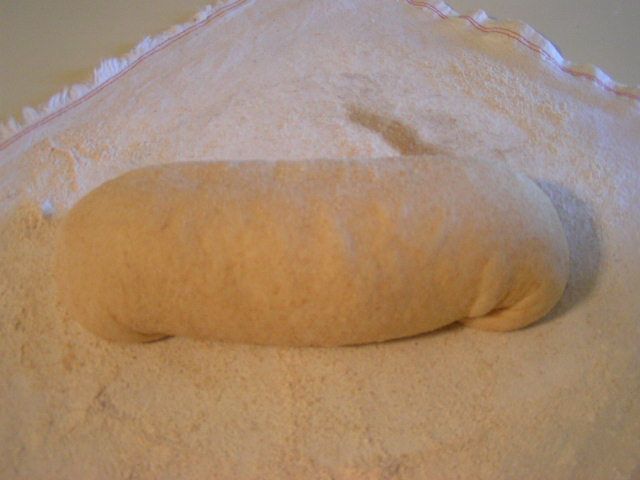
Oil hands with olive oil and proceed to roll dough toward you like a jellyroll. Using your hand, seal edges as you roll, pressing down and under the rolled part. Continue oiling hands to do this until it is rolled. Tuck under the edges to form a loaf. Or, if you want to make hamburger buns instead of rolling into a loaf, cut out buns with a large biscuit cutter.
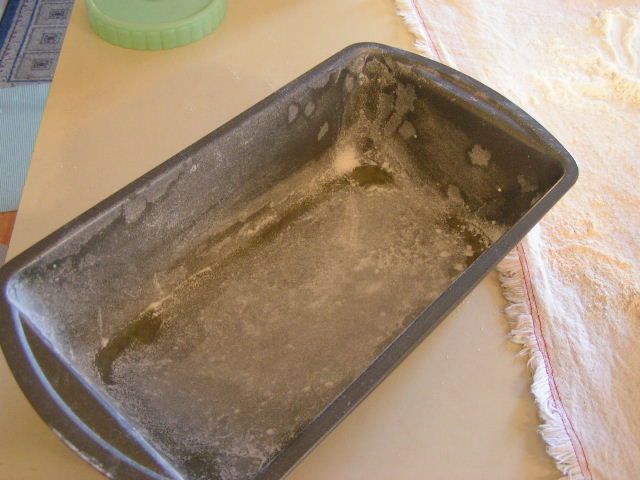
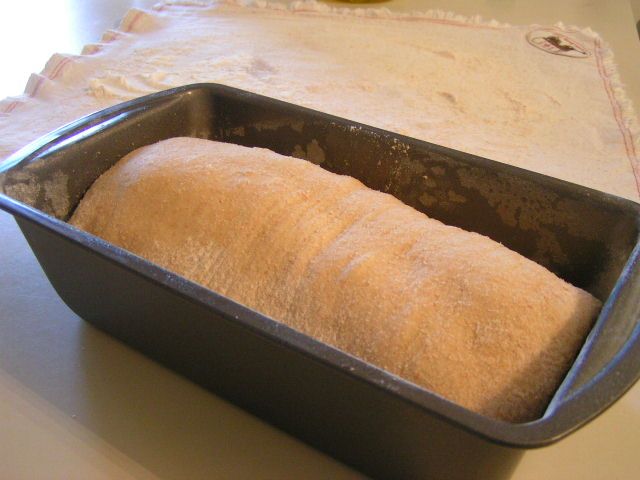
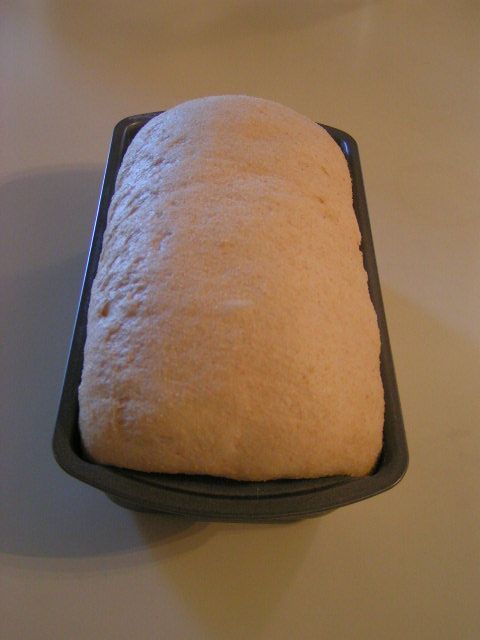
Oil and flour a loaf pan and place loaf into pan. For buns, place them on an oiled and floured cookie sheet. Cover with warm, wet towel and allow to rise until double – anywhere from 30 minutes to an hour. Hint: If the towel sticks to the dough as you are trying to lift it off after rising, just spray water on the towel and it will lift right up. This bread has doubled and is ready to go into the oven.
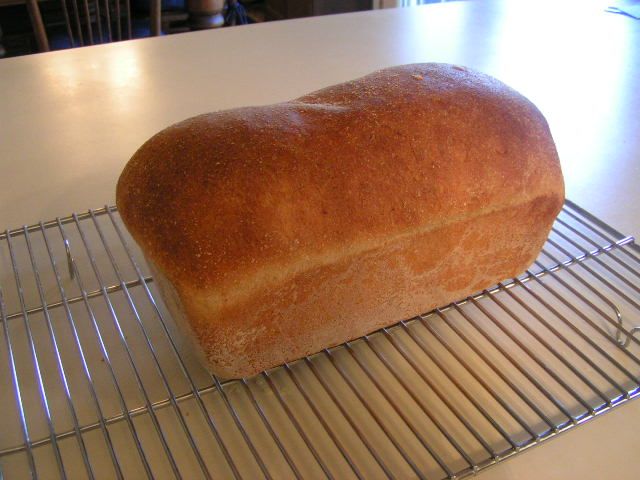
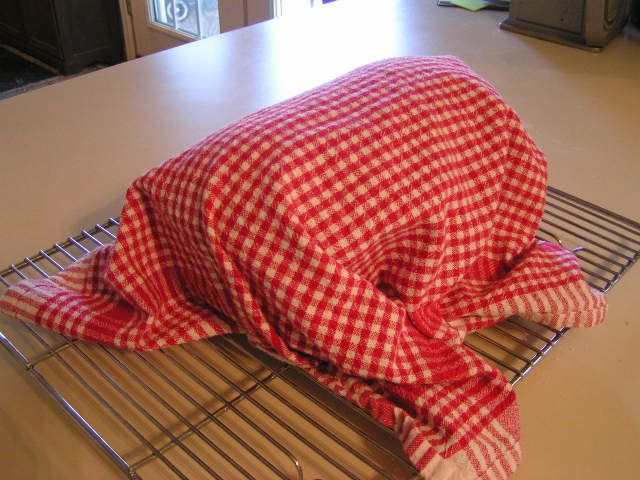
Preheat oven to 350 degrees. Bake bread for 20 minutes or until golden brown. Turn loaf out onto a rack to cool. I cover my bread with a tea towel to allow it to cool slowly.
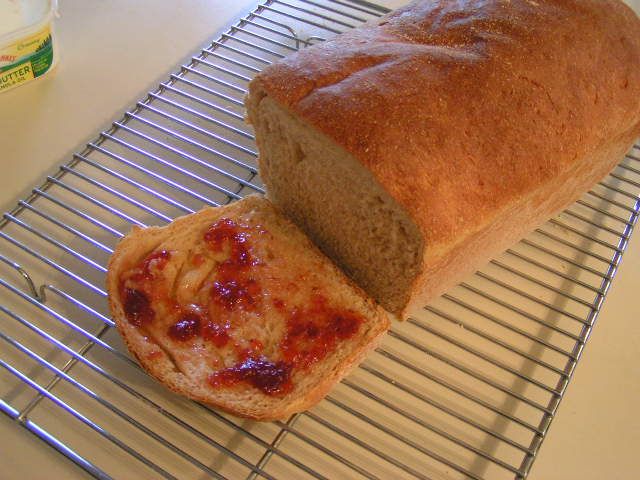
Now you are ready to slice your bread! Serve it warm with butter and jam. Or, if you have used the recipe to make buns, grill up a juicy burger to sandwich between a bun.
I hope you enjoy this recipe as much as we do. It is actually a very fast recipe for bread and is light as a feather. Have a wonderful Christmas and here’s hoping that you make special time for those you love!!
Happy Cooking!
MB
|
Please join us on FaceBook!!
The Oklahoma Pastry Cloth™ Company on FaceBook
|
Join in the conversation by leaving a comment below!
|
Posted in Breads, Let's Cook! | 11 Comments »
Tuesday, November 3rd, 2009
Sourdough bread is the oldest kind of leavened bread known to man. It is earliest recorded in Egypt around 1500 BC, but how it was discovered is total conjecture. There are all kinds of good stories regarding the discovery of the potent dough, but it is anybody’s guess how the first person suddenly decided to use wild yeast to make their usual flatbread rise to a fluffy loaf. Of course, with all of the brewed products available back then, like wines and beers, it is conceivable that some might have spilled into flatbread dough or that dough was left out and attracted the plentiful wild yeasts to produce a bubbly sponge, but I’ll leave you to your imagination to come up with “the story” of how sourdough starter was discovered.
My own imagery conjures up a man who stumbles home after a night out with the boys, precariously grasping a clay jar of strong Egyptian beer (brandname Pharoah’s Choice), and occasionally managing to find his lips to take another swig. As he wobbles into his humble abode, he finds his dutiful wife on her knees, mixing a batch of dough to bake for the next day’s flatbread allotment. Mr. Ancient Egyptian lunges toward his wife to give her a drunken hug, as she stands to greet him, and as if in slow motion, the clay jar of suds pitches out of his loose grip, flies through the air and lands squarely on the floor, shattering to pieces and sending waves of dark ale into Mrs. Ancient Egyptian’s bowl of flour and oil. Mrs. Ancient Egyptian lets loose with a string of hieroglyphics and cries over her ruined bread. The mess goes into the trashbin, also made of pottery, and the angry wife stomps off to bed. Next morning, she awakens to find an oozing, bubbly live thing, growing in her trashbin and out of curiosity, the Mrs. pours the doughy sponge into her floured breadbowl because she didn’t have an Oklahoma Pastry Cloth™, picks out any bones that had also been thrown into the trash from dinner the night before, adds some flour and then bakes the dough in her 400 degree brick and mortar oven. Out comes a tall, fluffy confection that she tentatively samples. A smile gradually replaces her angry frown and she comments, (in ancient Egyptian of course) “This bread is tangy and light – a veritable pastry worthy of royalty! I would think that it would be quite good with jam and tea.” As a result, she forgives her husband and encourages him to come home and drop his ale into her bread on a regular basis. I’m sure that it happened that way.
Sourdough starters are made with a variety of ingredients. Depending on the taste desired, milks, potato water, sugars, and various types of flours are incorporated to create a “sponge”. This sponge is continually “fed” to keep the yeast alive and thriving and as it is nursed, it develops its own particular flavor. Personal taste determines which characteristics are desirable or not.
Just a bit of historical trivia: According to www.kitchenproject.com, during the gold rush days in San Fransisco, California, a bakery run by the Boudin family from France used sourdough culture to create a unique and famous bread that miners enjoyed every morning. Since 1849 they have been using the same sourdough culture, which they call a “Mother dough” and the same recipe. So important is their “Mother Dough” it was heroically saved by Louise Boudin during the Great San Francisco Earthquake of 1906. Here in Oklahoma, sourdough starter has been used on the prairie through days of wagon trains, landruns and cattle drives to produce biscuits, pancakes, muffins and bread. It doesn’t take long to find a class here, where one may learn to create these morsels in a dutch oven nestled in the coals of a campfire.
Every sourdough sitter considers their starter to be the best. As in the case above, many starters have been handed down through generations of bread bakers. However, it is possible for you to start your own legacy and tweek it to your own taste. You can make the base recipe that follows, and then divide it to keep some going as a pristine culture and experiment with various additives like milk or potato water instead of just plain water on the rest. Also, as your culture becomes exactly what you like, it is a good idea to pour some onto wax paper and allow it to dry into a flat sheet that can be broken into small pieces and stored in a tightly sealed jar. If something horrible happens to your live culture, you can start over by adding two tablespoons of dried culture with 2 tablespoons of water to reconstitute and bring to room temperature and then start your usual process over again with this base.
If you are not going to use your starter for a time, you can put it in a jar with a tight fitting lid and store it in the refrigerator. I have also had luck with freezing cubes of my starter to then thaw to room temperature and start the process over. And one last tip that I use: I use bottled spring water to hydrate my starter, as city water has chlorine that kills the yeast and well water can have bacterias that ruin the taste.
I have tried a variety of starters and have come up with my favorite that is very, very simple. If you wish to be truly “pioneer”, then you would omit the yeast and let this starter stand for three days, stirring once each day, to capture any wild yeast in the air. When you start seeing bubbles, you start the “feeding” process. I personally like the flavor achieved from adding a little powdered yeast to get started. Again, if you wish to be “pioneer” in making the true, slow, sourdough bread then you would follow my bread recipe, ommitting the yeast and allow your dough to rise for as long as 24 hours, but I am including in the recipe, two teaspoons of yeast in case you do not wish to wait that long to have bread and still have the sourdough flavor.
Starter Recipe
3 tbsps whole wheat four
2 1/2 tbsps warm water
1 tsp powdered yeast
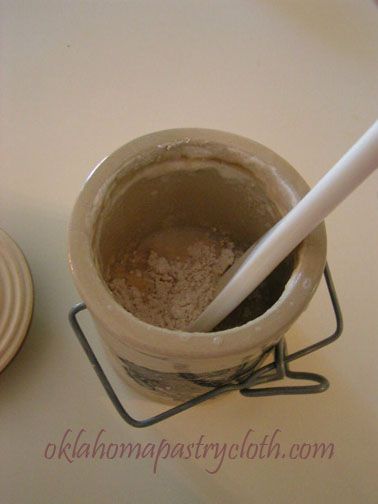
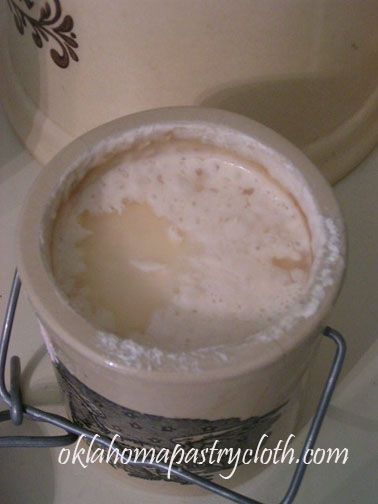
In a crock container or other opaque glass jar, mix ingredients with a wooden or plastic spoon. Do not use any metal utensils or containers. Allow to stand overnight, covered with cheese cloth. Next day, stir in 2 more tbsps of flour and 1 1/2 tbsps water. Stir and let stand overnight. Continue this process each day of using 2 tbsps flour (you can use white flour at this point) to 1 1/2 tbsp water until you have approximately 1 1/4 cups of starter. At that point, you have enough to make a loaf of bread. You must have enough starter to be able to remove 1 cup and still have some left to continue feeding for the next time. As the starter grows, it should be bubbly and pungent. Overnight, if a liquid rises to the top, just stir it in and continue feeding. Each time you make bread, it is a good idea to transfer all of the starter into a clean jar or bowl and wash the container that houses the starter to keep mold from ruining it. Dry the container and return any culture that is left after removing a cup and start the feeding process again.
To make bread:
1 cup sourdough starter at room temperature
3/4 cups warm water
2 tsps yeast
2 tbsps honey or sugar
1/4 tsp baking soda
2 tsp dough enhancer (lecithin)
3 cups high gluten flour either whole wheat or white or combination of both
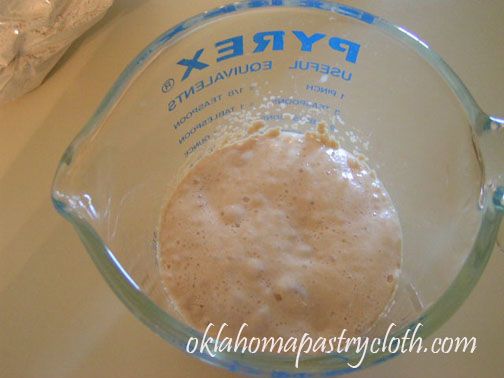
Sprinkle yeast over the surface of the 3/4 cups warm water and allow to “proof” or dissolve in the water and bubbling to the top.
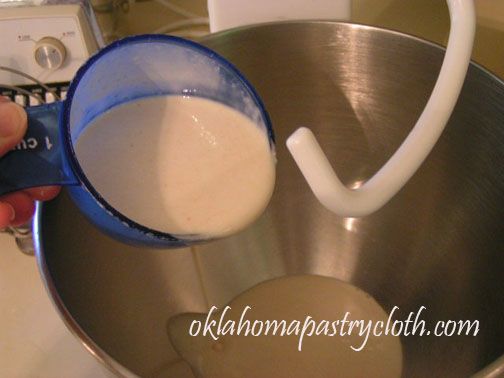
In a mixer with a dough hook, place starter, honey or sugar and yeast water along with one cup of flour, salt, enhancer and soda. Mix to blend.
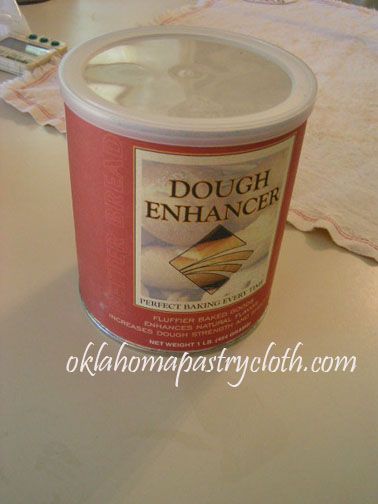
Dough enhancer can be purchased at Sonrise Grains
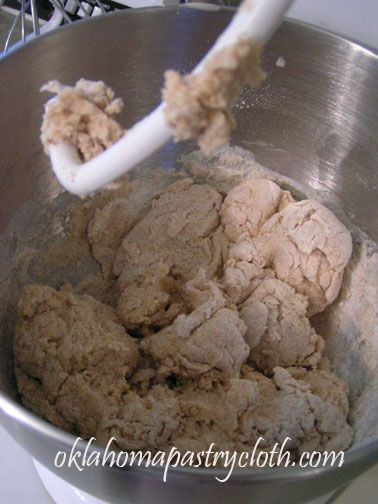
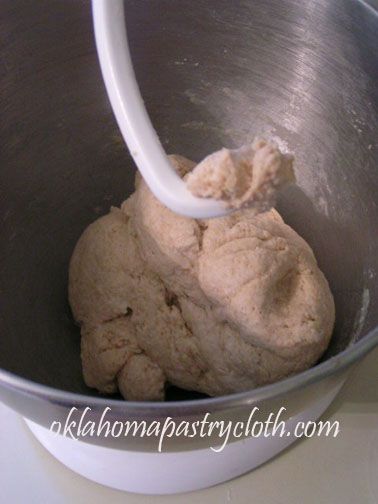
Gradually add second cup of flour. Continue mixing. Add third cup in stages because you may not need all of it. The thickness of your starter will determine how much flour you use. Your dough should pull away from the sides of the bowl. If it does not, add more flour. If it appears too dry, you may add a little more water. This picture shows the dough too dry.
This is better
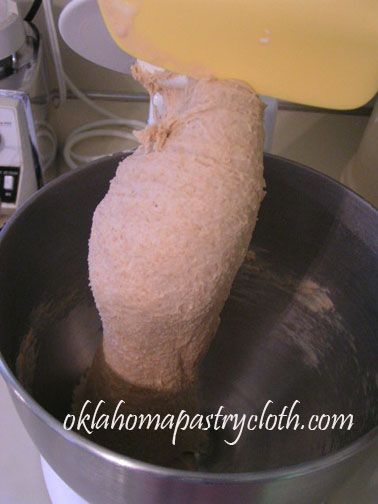
Using the dough hook on low speed, knead the dough for 8-10 minutes. It should be smooth and easily formed into a ball.
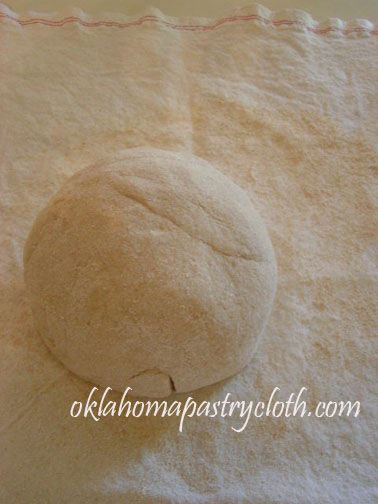
Put the dough out onto the Oklahoma Pastry Cloth™ and form into a ball. Wrap in plastic wrap and allow to rest for 10 minutes.
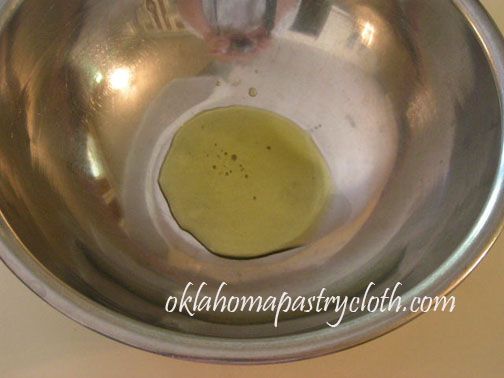
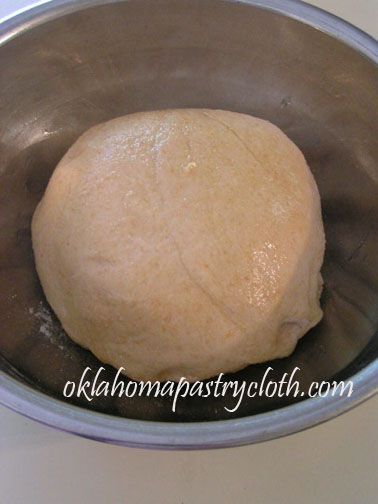
In a bowl, pour a tablespoon of olive oil into the bottom and place the dough, topside down, into the oil. Turn right side up to coat the dough ball in oil.
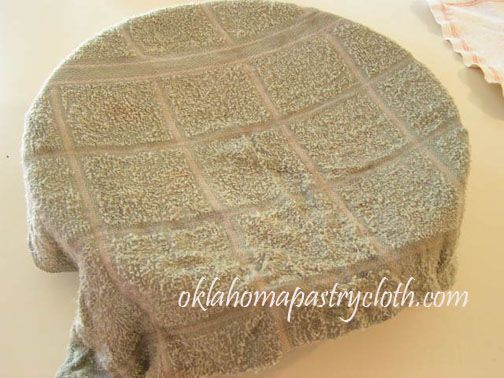
Cover with a warm, damp towel and allow to rise until doubled. If not adding yeast, allow to rise in a bowl that is covered with a wet towel and then covered in plastic wrap. Rise for anywhere from 8 -12 hours until doubled. The longer the rise, the stronger the flavor.
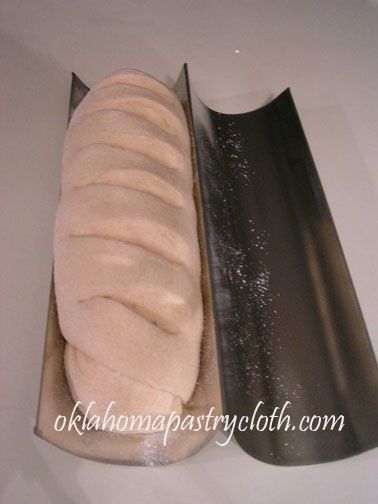
When risen, punch the dough down and put out onto pastry cloth and pat out to 1 inch thick. (If not using yeast, knead in a little flour.) With oil on your hands, wipe the dough with oil and then begin rolling toward you like a jelly roll, firmly pressing the edges into the dough. Continually oiling your hands, continue rolling until loaf is created. Tuck ends under. On a cookie sheet or Italian loaf pan, oil the pan and sprinkle with corn meal. Place loaf onto cookie sheet or into pan and cut diagonally with scissors to make slashes. Cover with warm, wet towel and let rise until double. (If not using yeast in the recipe, cover with towel and spray water mist onto the towel occassionally to keep it moist as it rises for 1 to 4 more hours.)
Preheat oven to 400 degrees. Spray the bread with a mist of cold water before placing into oven and then bake for 20 minutes until browned. Turn bread over in the Italian loaf pan and bake 4 minutes longer to brown bottom.

Remove from oven and cool on rack. While hot, you can brush melted butter over the bread. Cover bread with towel as it cools for 30 minutes to make the crust soft yet crunchy.
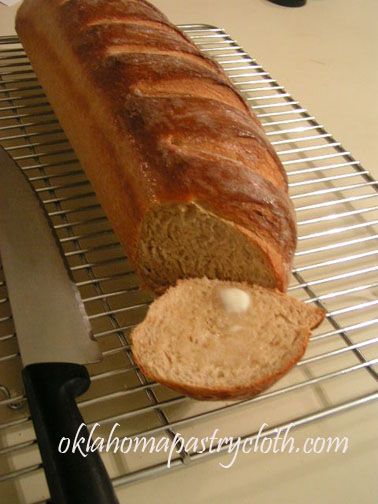
Slice and serve. And it IS good with jam and tea!!
Happy baking.
MB
Tags: history, humor, humorous, recipe, sourdough bread, starter, yeast
Posted in Breads, Humorous, Let's Cook! | 18 Comments »
|










 Homestead Revival
 Paratus Familia
 Rural Revolution