|
“De-Serve” (A Recipe To Serve!) OK, so that was kind of a crazy thing to write, but I was thinking about that place with the golden arches and their old slogan. Remember? It was that catchy song about what you deserve – you know – like a break today? However, as I grow older and older I am finding that what I think I deserve ain’t all it’s cracked up to be! I bet you can’t get that song out of your head now, can you? 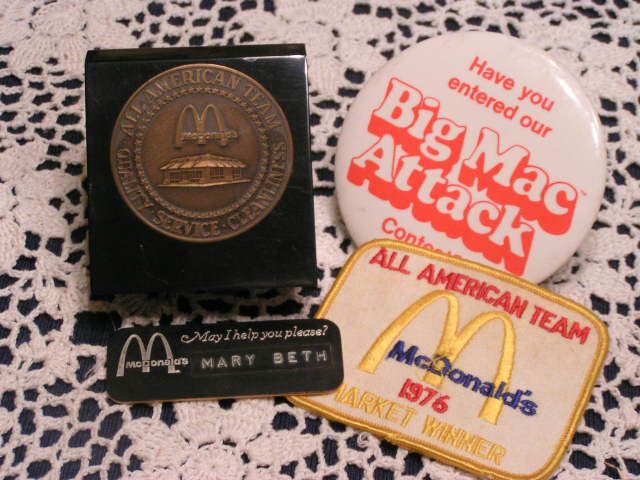 In my youth, I had the “prestigious” honor of being a “crew member” of the McDonald’s Restaurant team – aka, a “hamburger flipper”. I lived, breathed and literally ate McDonald’s. I don’t know how it is now, but back then, McDonald’s was run like the army and there was a real pride in the job and a sense of ownership in the company. Each year there was a competition for all crew members in order to become part of the “All American Team”. The more All American Team members at a store, the more prestigious the store in the eyes of the corporation. Competition was fierce and hard and not just a little scary. It was like participating in the Olympics, only instead of swimming you were waiting on and serving customers in under a minute, or in place of throwing the shot put, you were assembling, wrapping and tossing cheeseburgers onto a warming tray to a stop watch. The competition went on during the day while customers were actually being served and “The Suits” were there watching your every move. The one year that I decided to take the plunge, I competed at the cash register and outside the restaurant in grounds cleanliness. I won. I have proof. But I’m still waiting for the endorsement offers.  Now, I need to remind you that cash registers at the time were not the electronic wonders they are today. Computers were something only ‘brainiacs’ even considered and, as far as we were concerned, still occupied an entire room with magnetic wheel thingys (my hubby tells me they were called column tape units and he would know) whirling synchronistically . If that isn’t a real word, it sounds good – can’t you just see it?? Yep, the cash box on which I registered counter sales was an upright mechanical monster with round, brown keys in rows all down the front of the unit. The first vertical row was for the cents, the second, tens of cents, the third, ones, the fourth, tens and so on. The number totals showed up in white on black placards, side-by-side, in a window above the buttons. In order to put in a monetary amount, one had to punch each row of places matching the numbers of the entry. I remember starting out punching one button at a time with one finger as the customer stood there looking at me like, “You moron, can’t you work any faster than this? My Big Mac is gonna mold before I get it.” However, I eventually mastered the beast and could use multiple fingers to put in a total all at once – three fingers for “$1.99” and the thumb and first finger to “enter”. I thought I was hot stuff. And, oh yes, I was there when the Big Mac was first introduced. I had a “Mac Attack” on a regular basis.  I learned to count back change. Those cash registers only told you what the total due was, not the total cash back. A $20 bill for that $1.99 order? A penny – two dollars, three dollar bills – three dollars, four dollars, five dollars, a five dollar bill – ten dollars, and a ten dollar bill – twenty dollars. Give a clerk today, if there is no computerized cash register, a ten dollar bill and a nickle for a $1.95 purchase and watch him slowly come unglued trying to figure out how much money you should be getting back!!! Crew members were required to be “versatile” and one’s pay scale and evaluation was based on just how many things one could do in the restaurant. That meant that I didn’t just work the front, but I cooked too and I loved it. It was a fascinating process and I am here to tell you that a McDonald’s hamburger or French fries are no more unhealthy for you than a hamburger or French fries that are fried at home. Food is food and frying is frying. Back then, however, there was one breakfast ingredient that seems to be missing these days and that was butter. But I’m getting sidetracked – back to versatility. Another job that was a requirement back then was being a morning host or hostess. That has gone by the wayside too, apparently, but it was a fun job that involved making sure tables were clean, visiting with the customers, refilling coffee and bringing extra food items requested. It is a job that taught me the value of a servant attitude. I found that the more gracious I was and the more willing I was to do for the customers, the kinder they were and the more appreciative they were. Even when I would get a real grouch, I found that if I didn’t take offense and just treated them kindly, their grouchiness didn’t bother me and they seemed to leave a little less grouchy. It’s a lesson to practice every day.  I never would have picked McDonald’s as my career of choice at that time. I was fresh out of college with a degree in Fine Arts, but there weren’t any jobs out there in “Art” even if one did think that one’s art was “Fine”. McDonald’s was the only job I could land. I found out however, that even though I was not getting what I thought I “deserved”, I was learning an enormous amount of information and wonderful skills that would serve me the rest of my life. I’ve found that to be true in everything I’ve done that hasn’t jived with what I thought I had to have. I have figured out that I really don’t know what is always best for me and that I just have to chill and let God do the leading to whatever “best” is. It has led to a much more peaceful life, believe me!! We are at the beginning of a new year and stress is pretty heavy in the country and in the lives of many individuals. Seeking to serve rather than to be served is a heck of a way to deal with stress. When we seek to serve, rather than focusing on what we think we “deserve”, there is a change in attitude and actions for everyone involved. Anyway, because with any life’s lesson there really has to be food involved, it is time for a recipe. The following is my way of using the homemade English Muffins, from the last post, for egg and muffin breakfast sandwiches. Your kids will love you for them! Sandwiches Per Sandwich: 1 egg or two egg whites 1 English Muffin 1 slice American Cheese 1 slice Canadian Bacon or 2 slices thin-sliced Smoked Ham Melted butter or olive oil 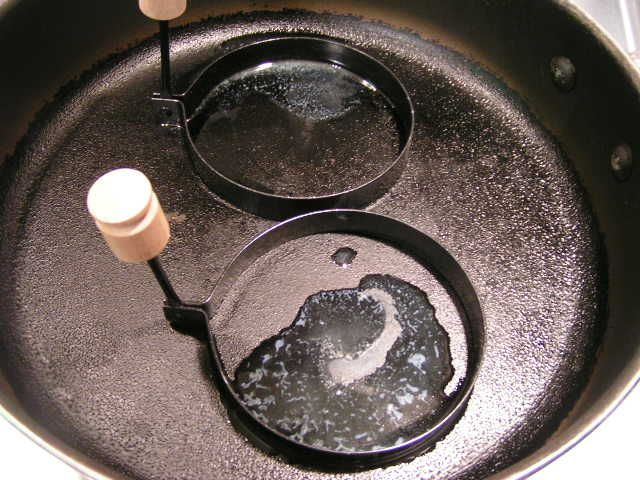 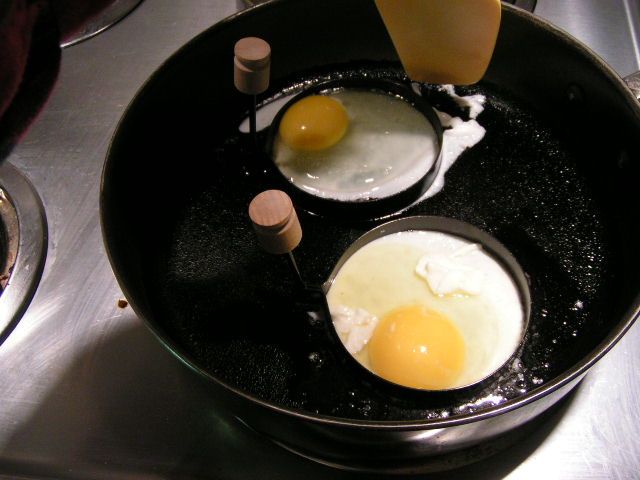 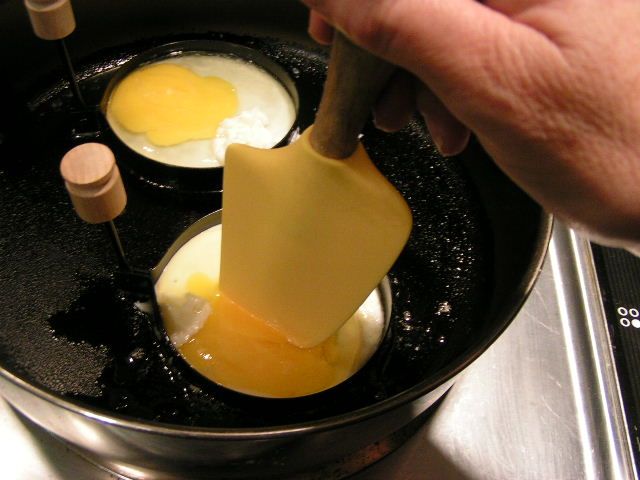 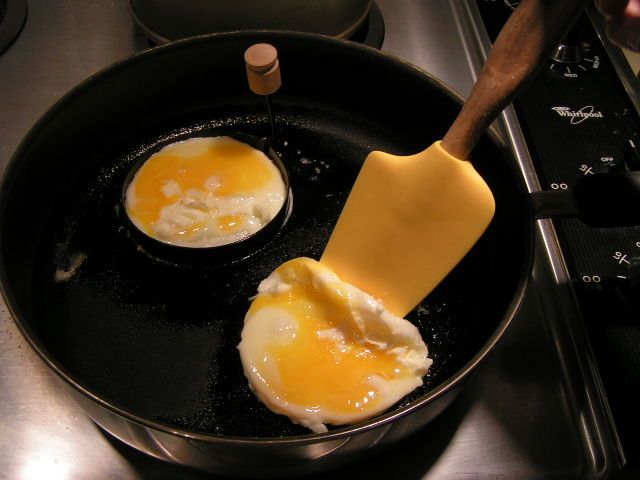 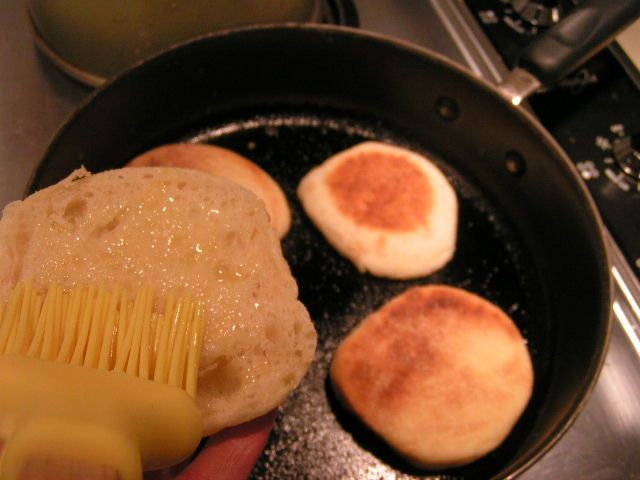 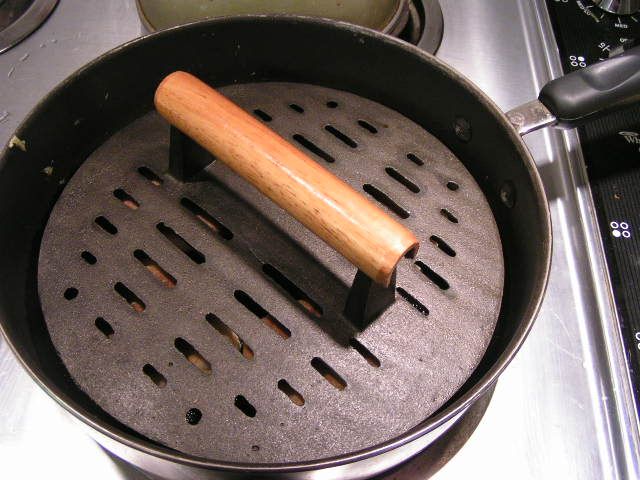 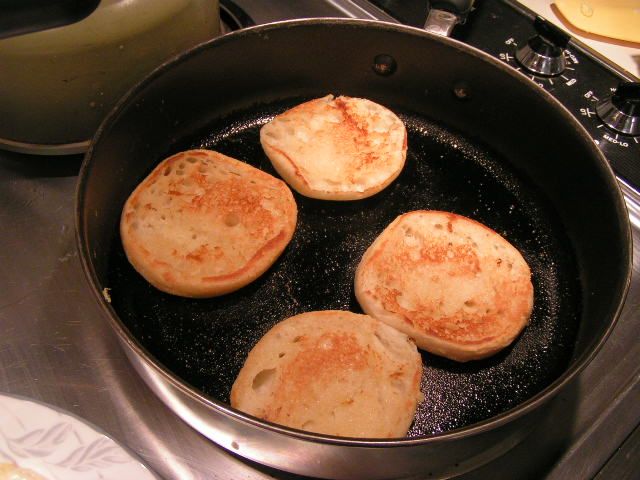 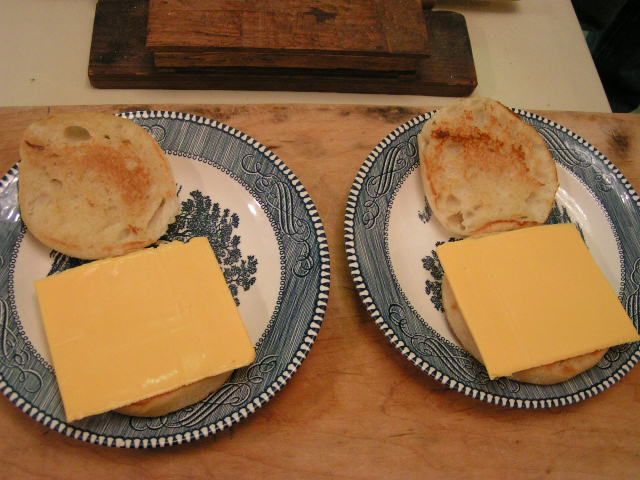 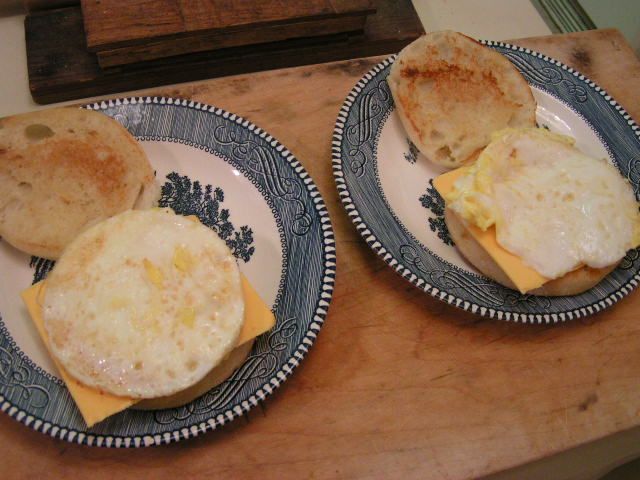  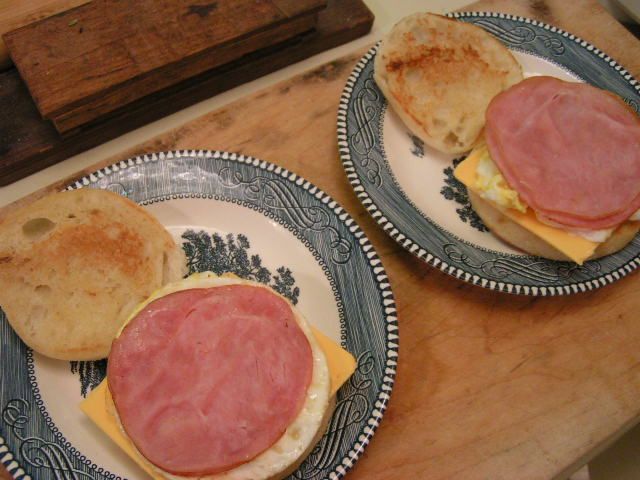 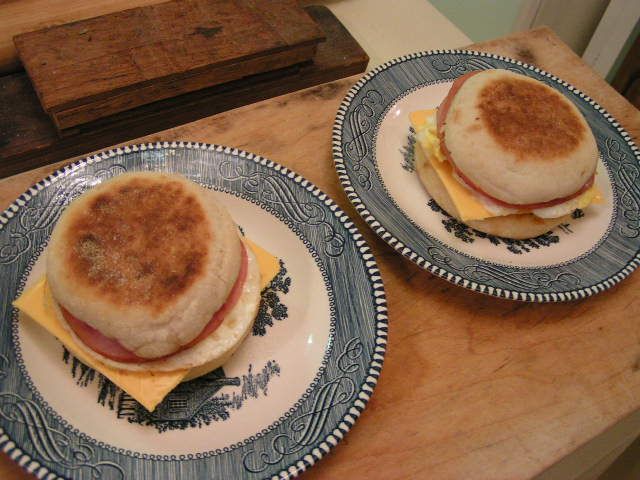 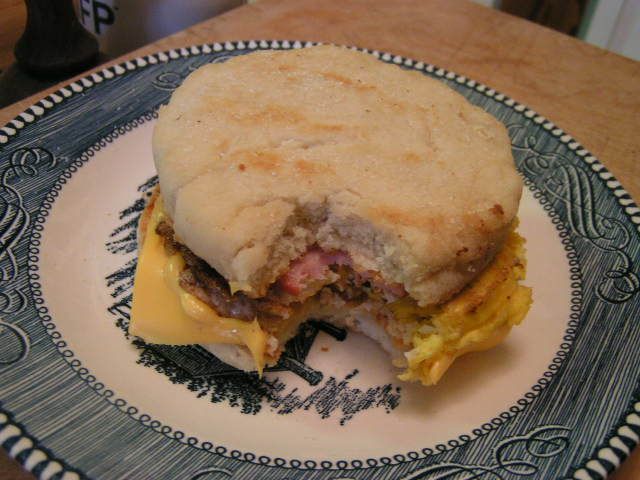 |
|
Oklahoma Pastry Cloth™ Company on Facebook
|
|
|
Archive for the ‘Let’s Cook!’ Category
Egg and Muffin Sandwiches
Monday, January 3rd, 2011
English Muffins
Thursday, December 30th, 2010
|
I grew up with English Muffins for breakfast. I think I heard it said that my mom used to make them from scratch, but all I remember are boxes of Thomas English Muffins or various other brands in tubular bags loaded with muffins stacked one on top of the other. We cut the treats with a fork and toasted them in the oven until the tallest points were crisp and brown and the rest of the muffin was warm and chewy. Eggs Benedict was a favorite in our house, with the English Muffin as the basis for that whole, yummy egg concoction. I did a little research, out of curiosity, to see where this muffin originated and got conflicting reports. According to Wikipedia, they originated in England and may have been around as long as the 10th century, however, they didn’t become fashionable until the late 1800’s. It stated that these muffins were and are served as a staple part of “tea”. But according to Foodreference.com The English swear that they never heard of them until these muffins were imported to England from America. It appears that Wikipedia may have confused English Muffins with Crumpets. Crumpets are a flatter, chewier, spongier version and really are a “tea” staple in England. Foodreference.com joked that perhaps a pitiful English baker named Thomas, messed up his mother’s crumpet recipe – probably added too much flour – and produced the English Muffin instead. Who knows. It makes a good story though! About a month ago, one of the active participants on the MaryJane FarmGirl Connection challenged all of us “Farmgirls” to a bread baking day. What fun. We were told to make something that we had never tried before. It was a blast reading recipes that were shared and seeing photos of the results. What a wonderful group of women. It was with that challenge, that I decided to try my hand at English Muffins. The following is the result and I must say, “Oh my!!” A pat of butter and some strawberry jam and you might as well leave me to meditatin’. These were very easy to make and I encourage you to give it a try. You will love the results. No more ‘store boughten’ for me!!!! 1 cup water 1/2 cup scalded milk 2 tsp sugar 1 tsp salt 2 tbsp warm water 1 pkg active dry yeast [or 1 tbsp loose yeast] 4 cups flour 3 tbsp softened butter 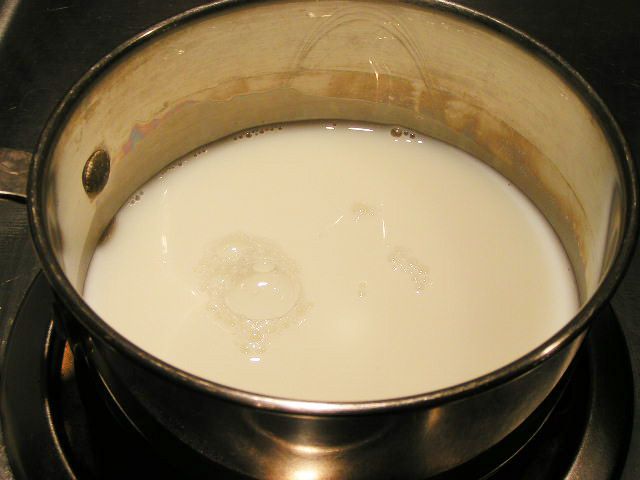 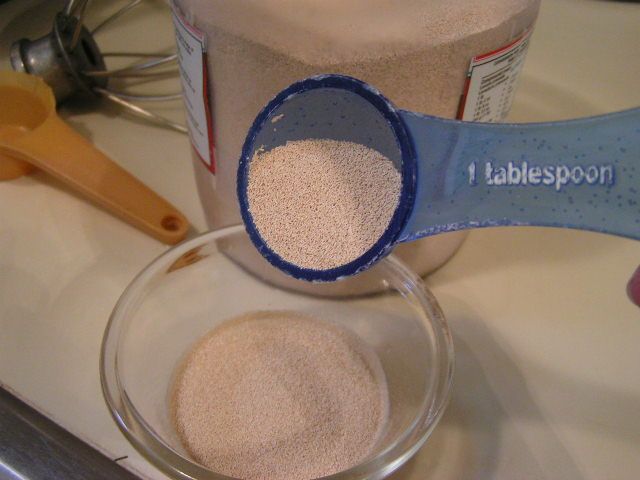 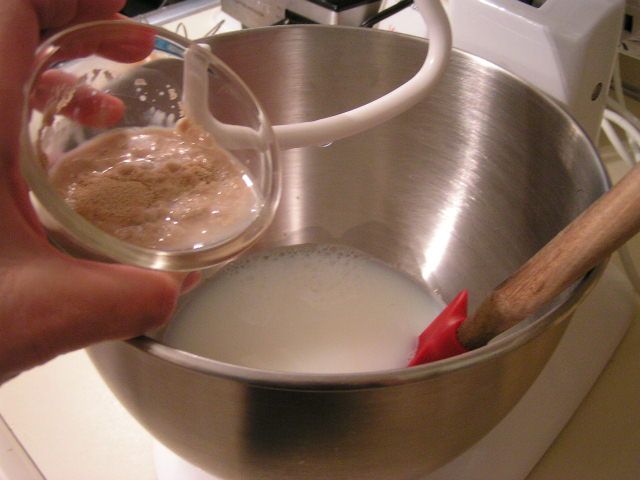 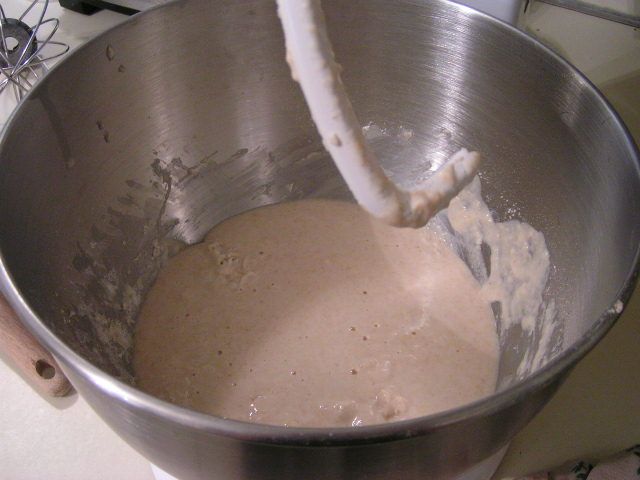 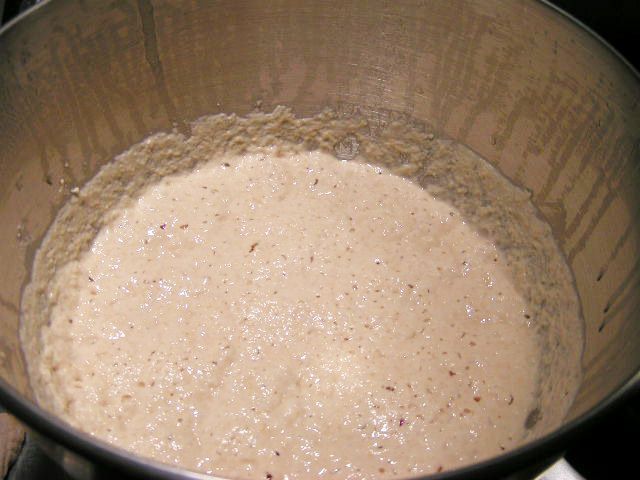 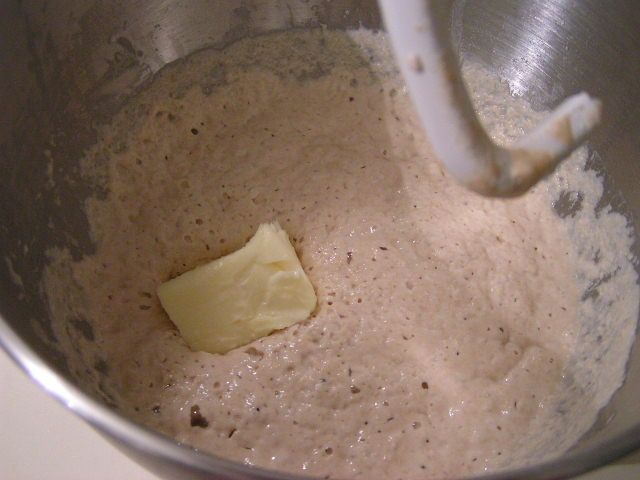 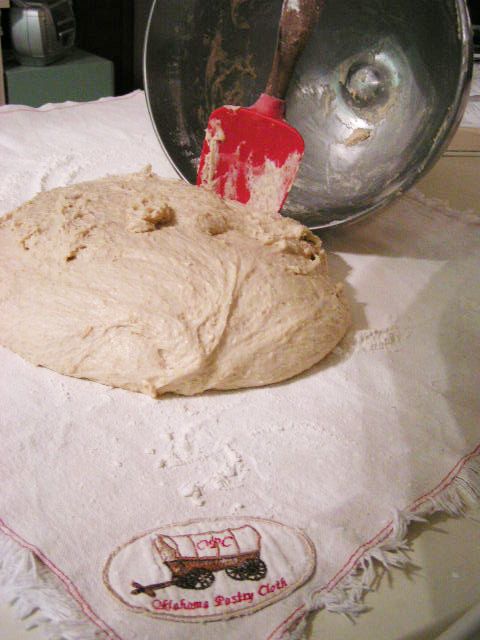 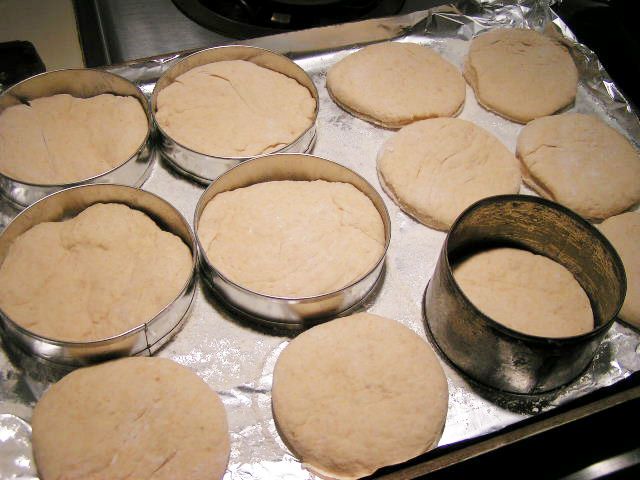 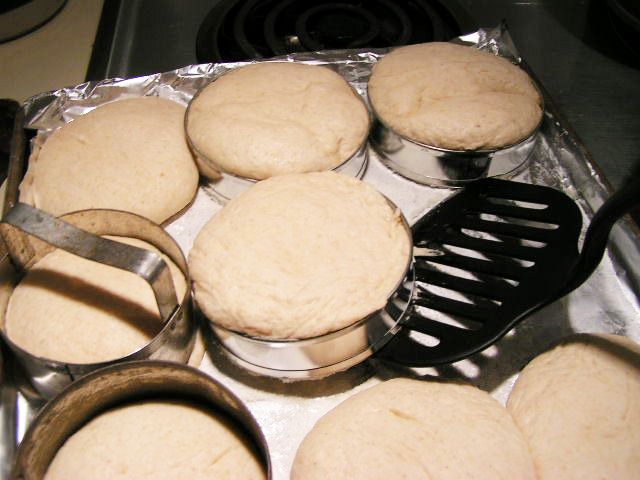 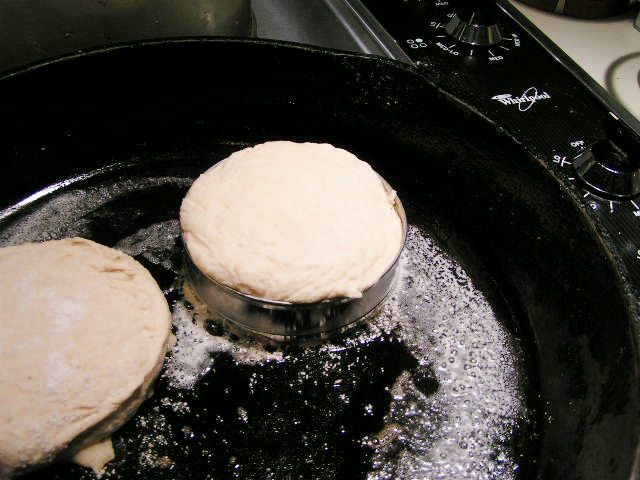 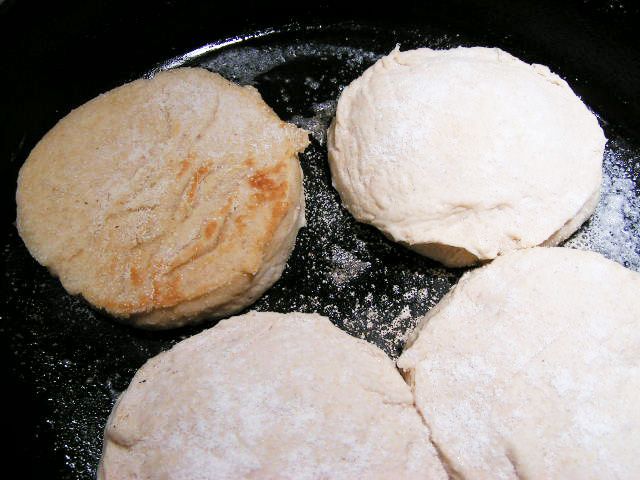 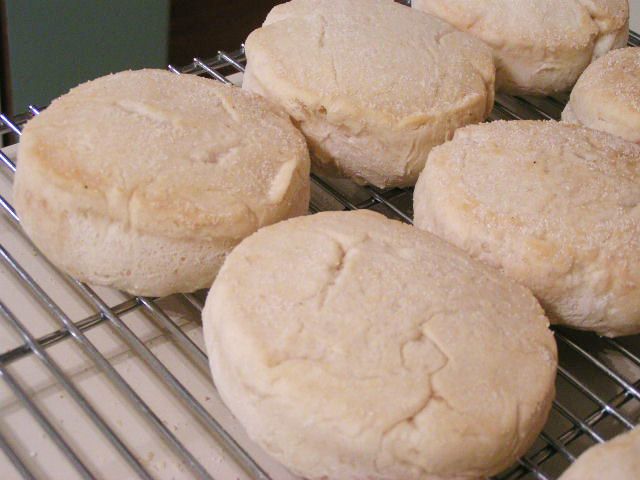 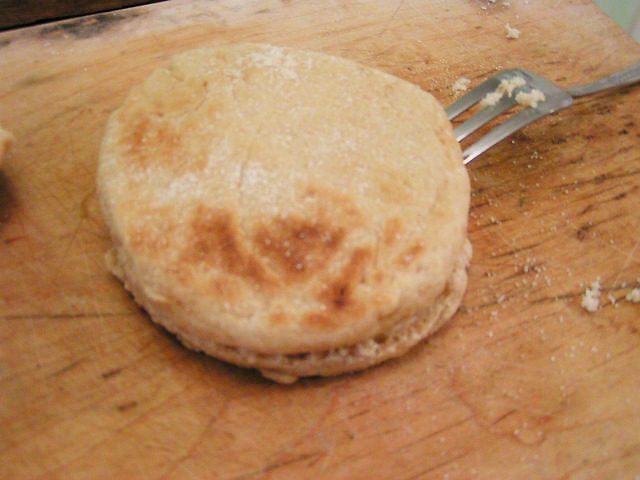 I don’t care where these precious breads were invented or if they were just a mistake on the part of a bad English baker who immigrated to the US, they are delicious and a real treat. Next post, I’ll show you something that you can do with them that will thrill the kids. Until then…. |
|
Oklahoma Pastry Cloth™ Company on Facebook
|
|
|
Random Musings – Buttermilk Biscuits From Scratch
Wednesday, December 8th, 2010
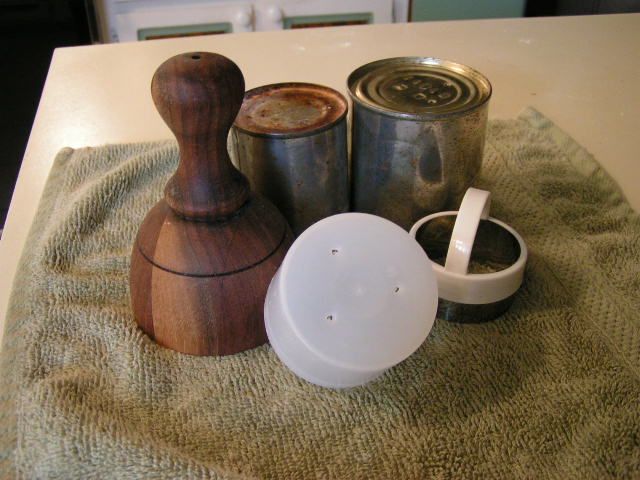 Isn’t it funny the things we say before we really realize how dumb we sound? Like the clerk who recently told my daughter that she didn’t think the grocery store carried poppy seeds anymore because of the opium in them – Huh?? Or how about someone near and dear to me who announced that the IPhone had an exciting new app that turns your IPhone into a walky-talky, allowing you to talk to other people over your IPhone!! Ya think? (Oh and that’s ‘application’ for those of you out-of-the-technologically-advanced-loop kinda fuddy-duddies) One of the best was stated by a sport’s caster announcing a Denver Bronco’s game, years ago, who marvelled, “He threw it with his left arm!! He threw it with his left arm!! He’s amphibious, you know!!!” I’ve had my major share of unengaged brain moments myself. There was the time I didn’t realize that I explained to a friend of ours, who had accompanied us to a reunion, not to be alarmed about one of our cousins who suffered from “necrophelia” (attraction to corpses). I couldn’t understand the shock and recoil of our guest until one of our children whispered to him, “She means narcolepsy“(sleeping disorder). Oh yes. I really said that. And then, there was the awful time that I got frustrated with one of the old timers who loved to kid me in the grocery store meat department where I worked years ago. Balancing a row of packaged chicken breasts, three deep, along my left arm as I was placing them in the bin, I picked up one package, waved it in front of his face and threatened, “Do you want some breasts in your mouth??!!” There was nothing to do but hide in the big cooler between the hanging sides of beef and pork until the coast was clear. My favorite story of all time, though, involves a very dear friend of mine (whose name I will change to protect the not-so-innocent), Claude. In that very same grocery that I mentioned as my place of employment, there was a very handsome, macho, young man – the brother of my boss and co-owner of the store – who worked the cash register every so often. His name was Gerald. My boss, had a delightful little tow-headed four year old son, who spent many days with us in the meat department. And his name was Jarod. One day, my friend Claude and his wife had come to the grocery store to shop. Seeing Jarod playing in front of the store, Claude’s wife mentioned, “Oh! There’s Jarod. When you get closer to him, be sure to play “Got’cher Nose” with him because he loves it.” If you have no idea what that game involves, it requires the adult to grab the youngster’s nose, and then, sticking the thumb between the index finger and the middle finger to present it as the stolen nose, the adult declares, “Got’cher nose!” to which the youngster screams in terror, “Give it back!! Give it back!!” It is solely for the sadistic pleasure of adults to terrify, frustrate and generally disturb the psyche of young children. Now Claude, dutiful husband that he was, pushed the cart around the store and loaded it with groceries alongside his wife. In order to pay for their loot, Claude stationed the buggy at the checkout stand manned by Gerald, my boss’s brother. Claude looked a little timid at first, but just as Gerald rang up the last item and stated how much was owed, Claude reached across the conveyor belt to Gerald’s nose, grabbed it and declared, “Got’cher nose!!” Now, Claude defends his actions by explaining that when his wife mentioned “Jarod”, he heard “Gerald”, and disaster ensued. Gerald, every bit the man’s man, stepped back in shock and stared at Claude in total confusion. Then Claude saw little Jarod and realized his mistake. Leaving groceries, cart, a stunned checkout clerk and a wife, who was in hysterics, Claude exited the grocery as fast as he could and waited in the car until his wife made it out with the groceries. It was quite awhile before Claude set foot in the place again, and those of us who worked in the grocery had a story and a laugh for weeks and weeks. Well, speaking of Claude – Claude, like Ernest in the old milk commercials, used to pop up at our home every morning because he knew that there would be fresh biscuits and sausage for the taking. He loved biscuits and he always made me feel so appreciated as he devoured a plateful. And so, it is in honor of Claude that I thought I’d post my biscuit recipe. Hey, Claude!! Got’cher nose! 2 cups flour (all purpose or whole wheat pastry flour) 1 tbsp + 1 tsp baking powder 1/4 tsp baking soda 1 tsp salt 6 tbsp shortening buttermilk oil butter 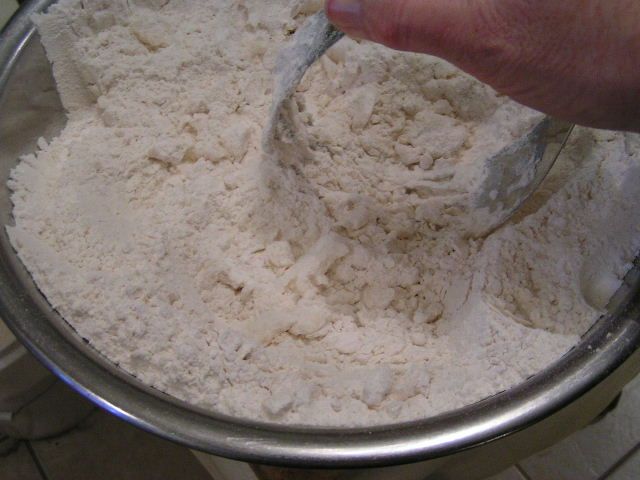 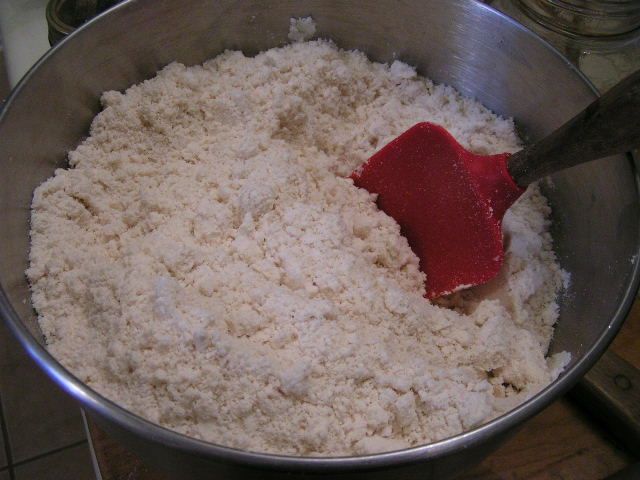 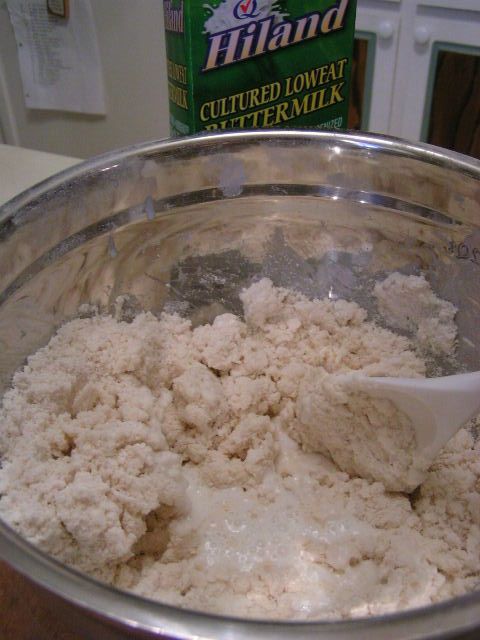 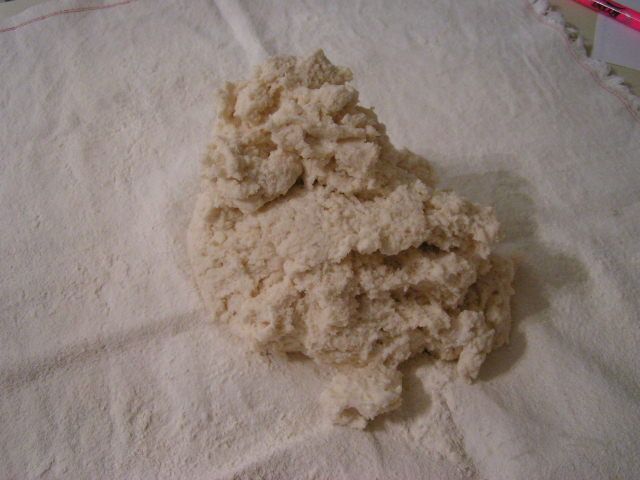 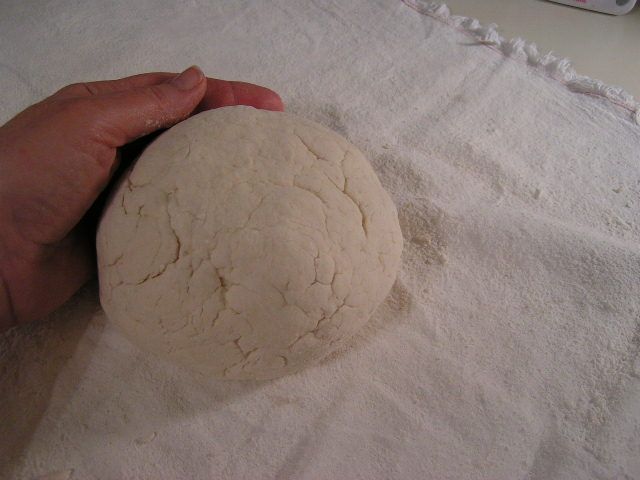 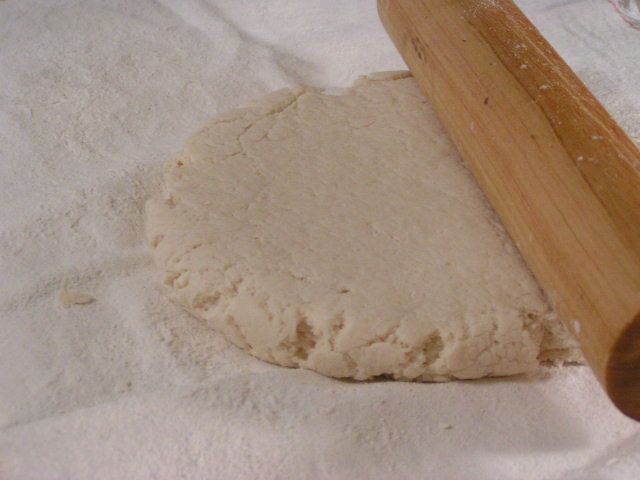 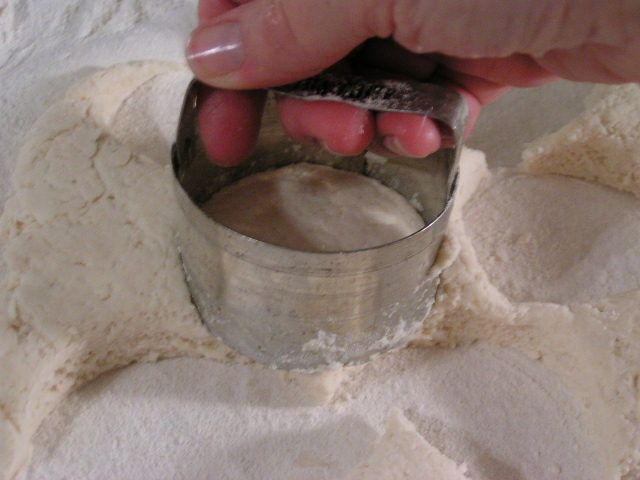 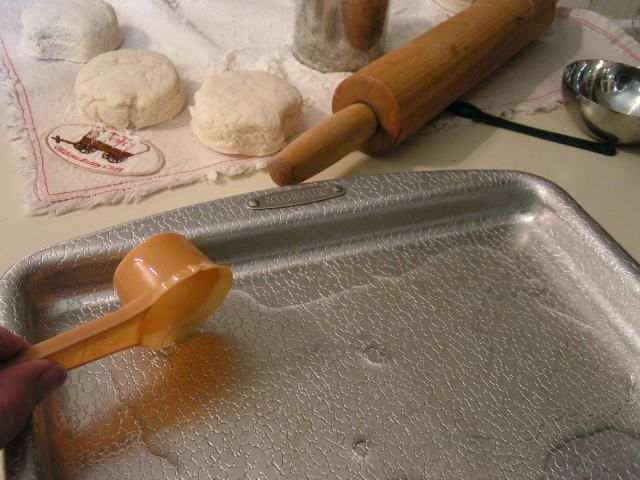 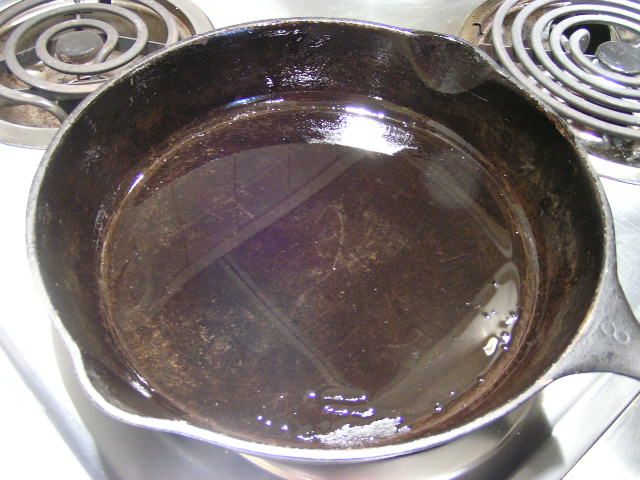 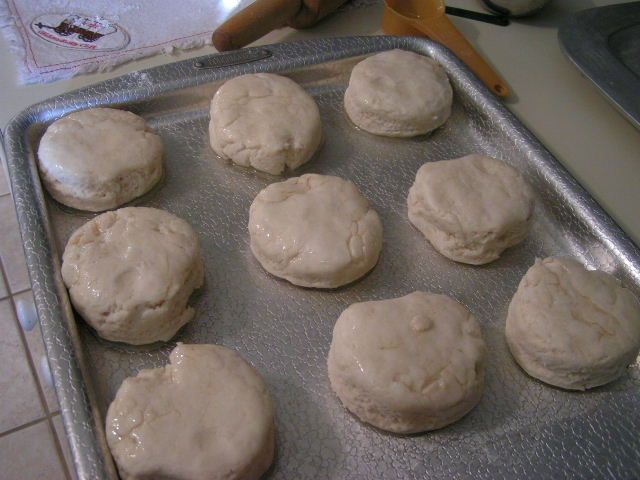 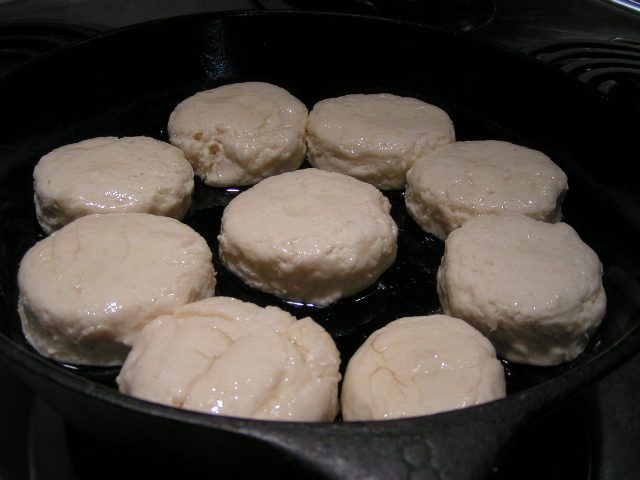 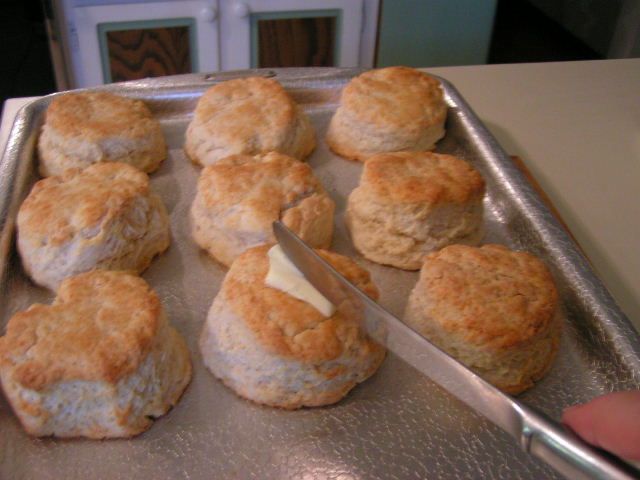 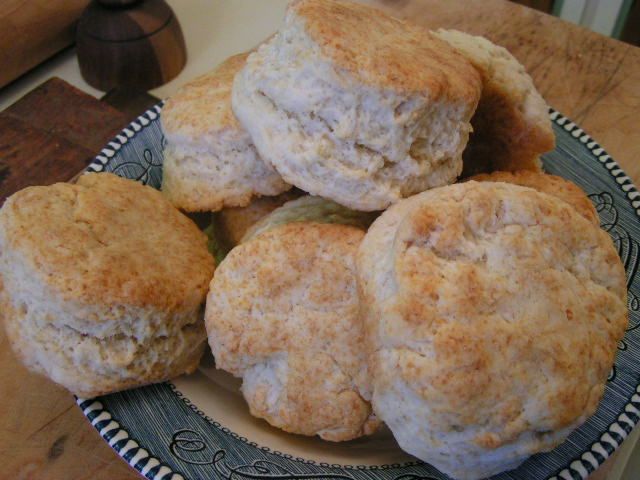 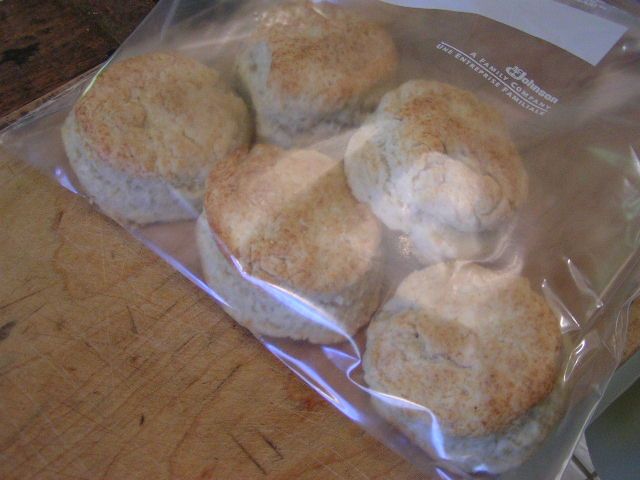 |
|
Oklahoma Pastry Cloth™ Company on Facebook
|
Thanksgiving 2010
Saturday, November 27th, 2010
|
Thanksgiving is over – it was wonderful for us – and time to move on to the next big meal at Christmas! I think that this time of year is measured as time between meals or maybe, as pounds gained? Whatever, the food just seems to taste better during the 37 or so days between Thanksgiving and New Year’s. While it appears that everywhere from Colorado to Idaho to California experienced a freezing, snowy Thanksgiving, those of us in sunny Oklahoma felt some nippy temps but still had trees with painted leaves as a background, through the window, to our massive dinner spread. 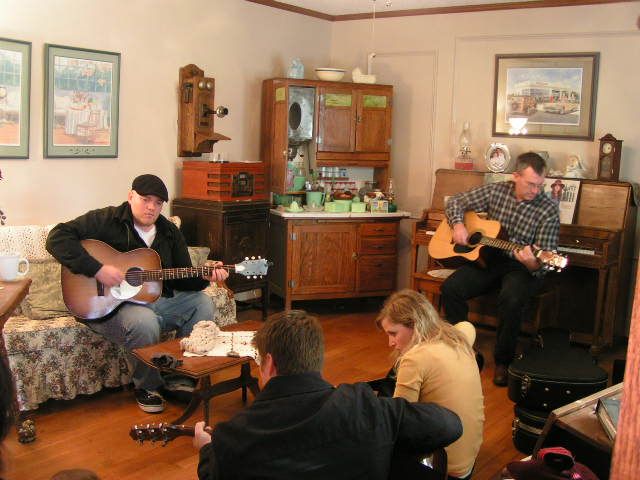 We enjoyed a houseful of guests, four of whom sported guitars, and so a lovely day was spent eating and then listening to the soulful strains of Hank William’s “So Lonesome I Could Cry”, the harmony of gospel songs and the catchy beat of the eldest son’s original creations. Having two professional musicians in the family, along with a whole slew of amateurs makes for a toe tapping, knee slapping concert whenever we all get together. Our dinner consisted of the usual turkey, oiled up and totally covered with smoked paprika, baked in a separate roaster for a much more tender, juicy bird. Cornbread dressing, mashed potatoes and gravy, candied sweet potatoes, sweet potato casserole, green beans, corn on the cob, 7 layer salad and my pasta salad (recipe follows) accompanied the bird of the hour. Just for the heck of it, I decided to see what everybody had to say about the sauerkraut and so I sliced up smoked sausage and baked that on a bed of the kraut. If I may brag, everyone went nuts over it and several ended up carrying home a jar! Yay. I suppose I’ll have to find cabbage at 10 lbs for $1 again and get busy. 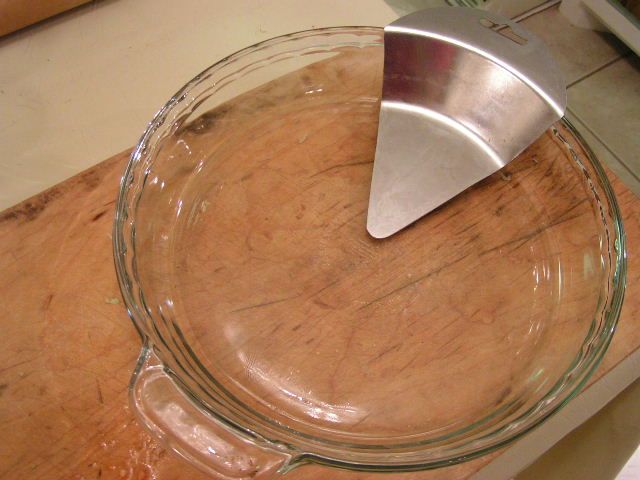 I have to admit to a huge, red-faced mistake, however, before I give you my recipe for a pasta salad. My favorite pie in the whole world is pecan pie. I am a terrible American because I can’t stand pumpkin pie. However, because I love my family I do make a pumpkin pie each year and I generously let them have every single bite! For the pie cook, one of the kitchen utensils that we carry at the Oklahoma Pastry Cloth™ store is the First Slice Out Pie Spatula and it is the handiest little thing. It is placed into the pie plate and then the pie shell is placed on top of it. Once the pie is filled and covered, it is baked and the first slice out is easily achieved by cutting around the spatula and just lifting it up. 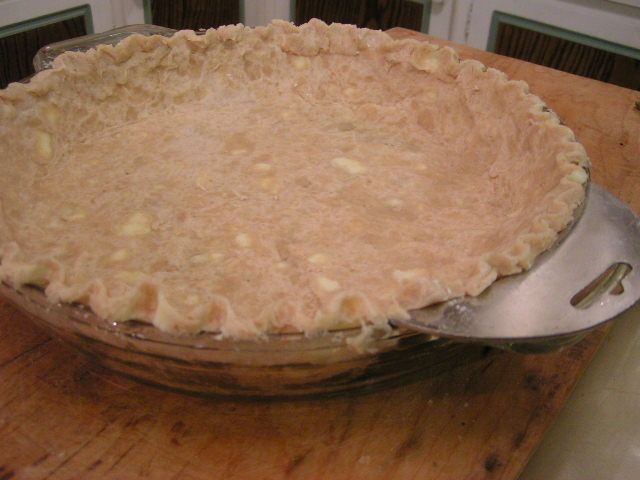 Sounds brilliant, right? Well, it is – that is unless a runny, sticky, custard pie filling and large, glass pie plate are involved. It works like a charm for apple or cherry or such in a standard pie tin, but a pecan pie is a whole ‘nother kettle of fish. Well, not that pecans and fish have anything in common. Bad metaphor. Never mind. Anyway, it seems that when the sticky, gooey mess that is pecan pie filling is poured into the shell, if there is ANY kind of crack in the crust, some of it WILL seep under the pie shell at the edge where the spatula and crust meet. The baked result is a pie spatula that is adhered to the pie pan with the strength of Super Glue. I sheepishly pried under the spatula with a knife to no avail to get that first slice out and everyone gathered around to watch me battle with my genius utensil, each giving their own suggestions based on obviously more engineering know-how than I possessed. Finally, my dear son-in-law who is so smart, took the knife from my feverish fingers and gently rocked the spatula back and forth until, with a great sucking sound, it lifted off of the surface of the pie pan, bringing strings of oozing mess with it. He popped the mess into his mouth and announced that it tasted like taffy candy. Lovely. My pie was a dug-out disaster, but it tasted like taffy! It may have been the ugliest pie at the buffet, but it DID taste good. So word of warning: The pie spatuala works best in a standard pie pan and make sure that your crust is thick and perfect if you are going to use a custard filling! 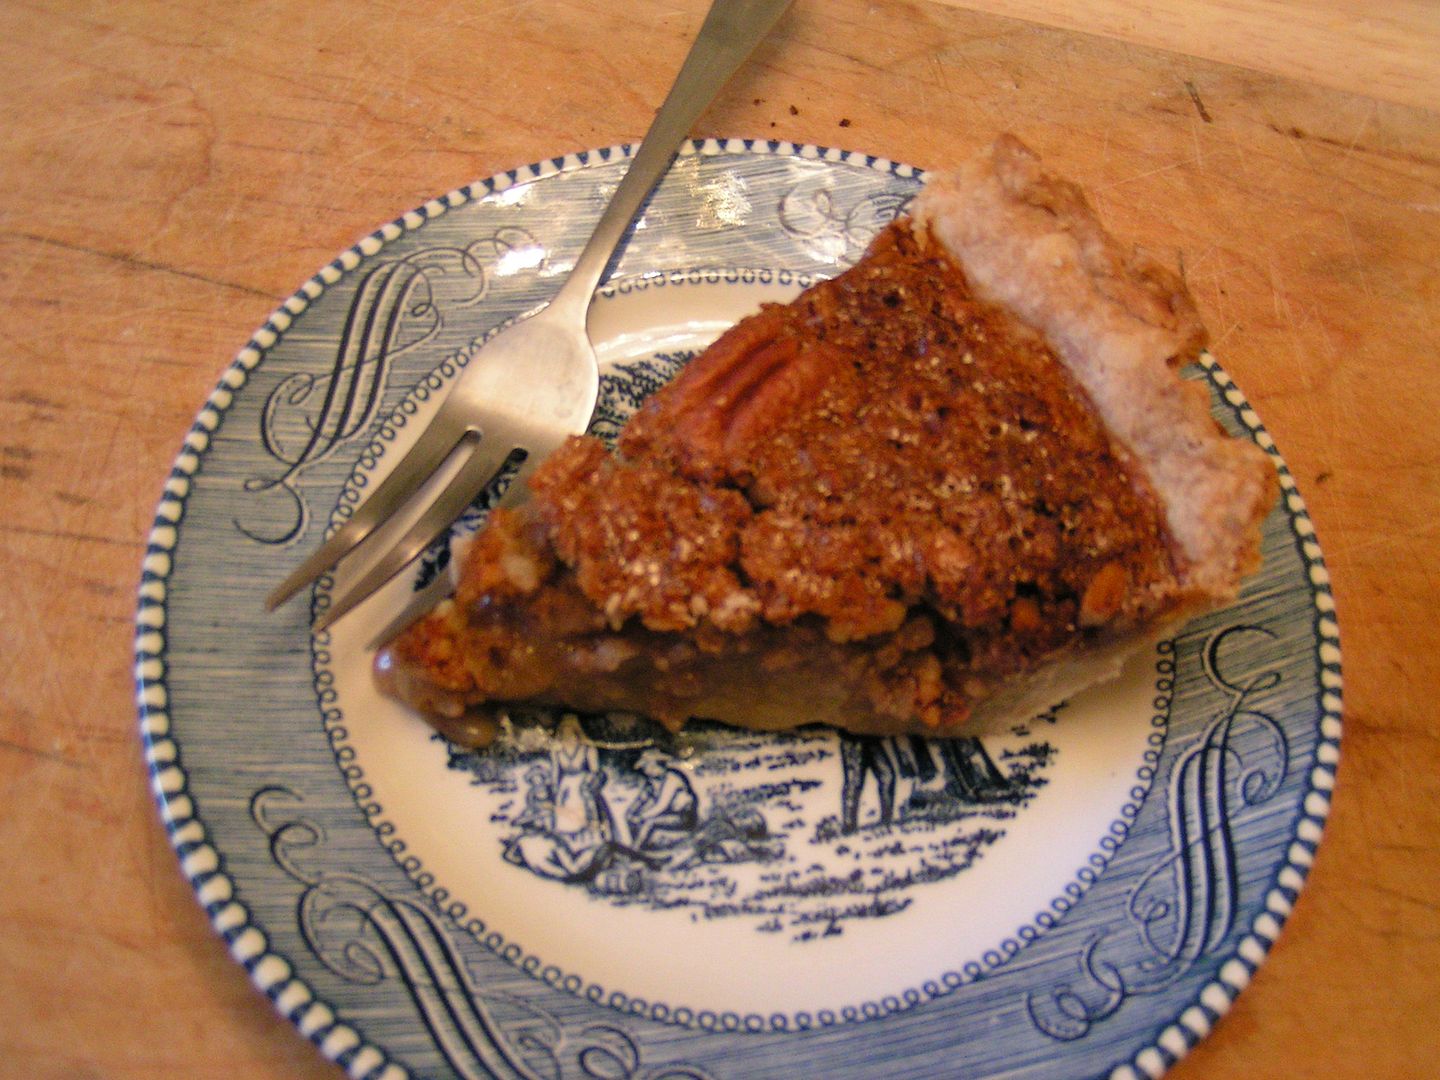 Our Thanksgiving Day was just that – a day of thanks. However, for us here at the Oklahoma Pastry Cloth™ homestead, every single day is a day of thanks for all that God has provided and for the strength and wisdom He offers. There is good in every situtation, no matter how bad it may look to us. Growth can always be had if one will focus on what God is teaching rather than what the circumstances seem on the surface. We pray that, for you all, this time is one of love, joy and personal growth. 1 1/2 cups uncooked pasta 2 tsp olive oil 3 stalks celery 1/2 cup sliced carrots 1 small head broccoli cut up 1/2 med. onion chopped 1/2 cup black olives, chopped or sliced 1/4 cup green olives, chopped or sliced 1/2 c. mayonnaise (light or fat free is fine) 2 tbsp + 1 tsp sugar 3 tbsp vinegar 1/4 cup any type Italian salad dressing 1/4 cup parmesan cheese 1/2 tsp oregano 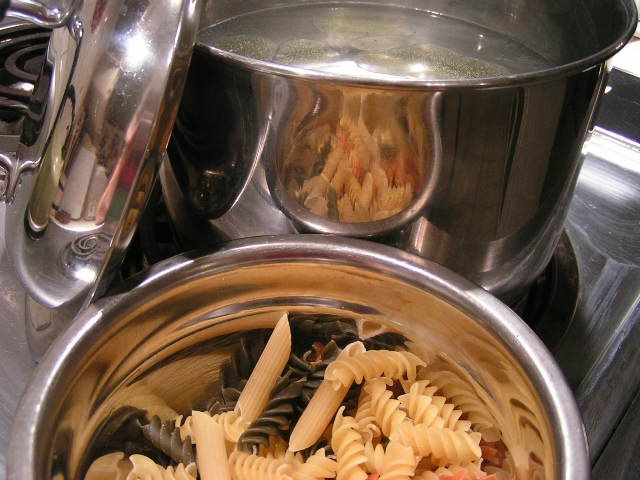 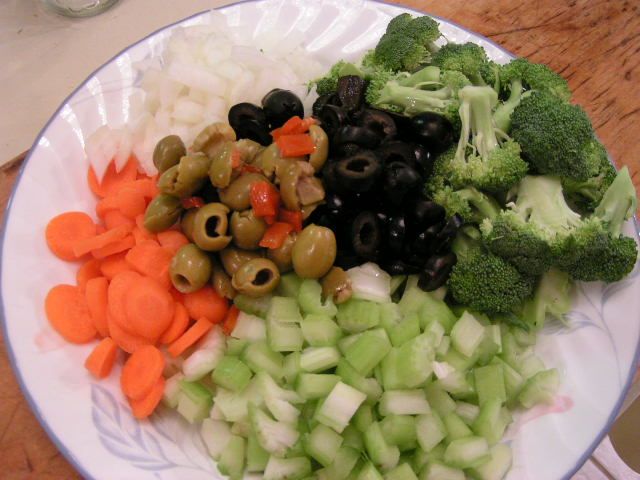 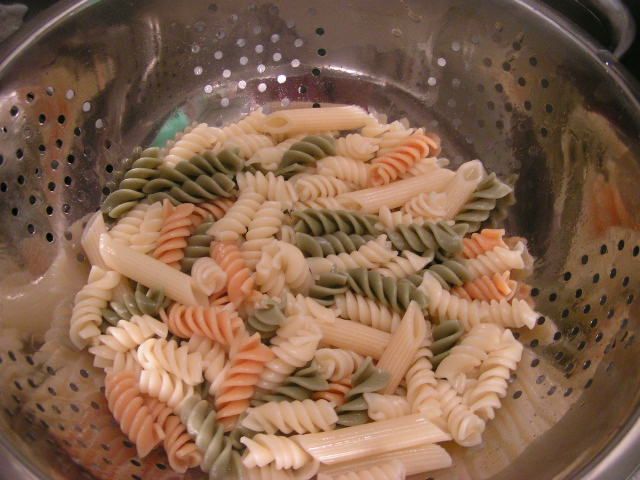 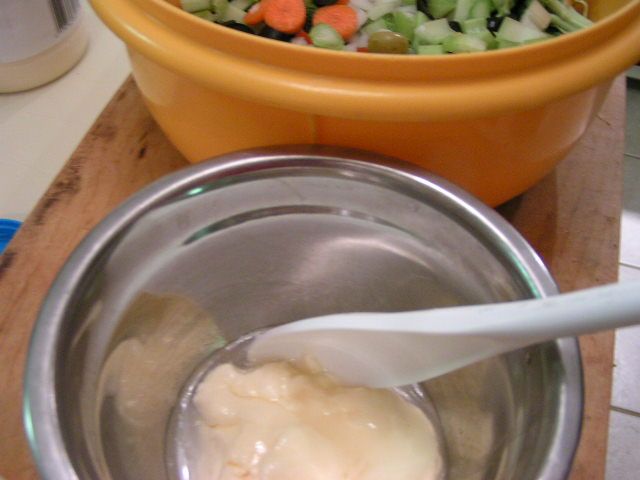 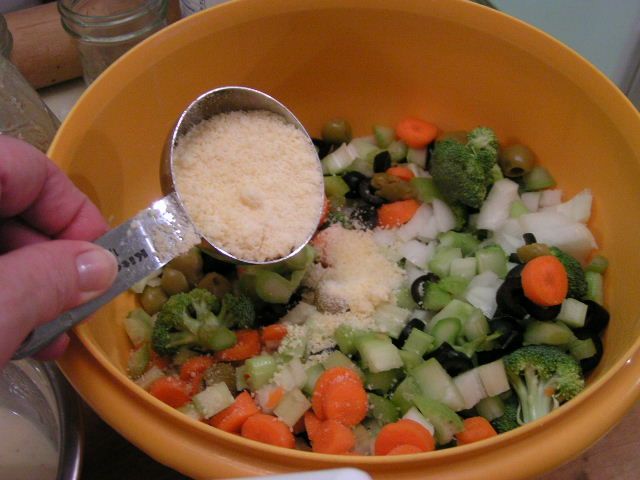 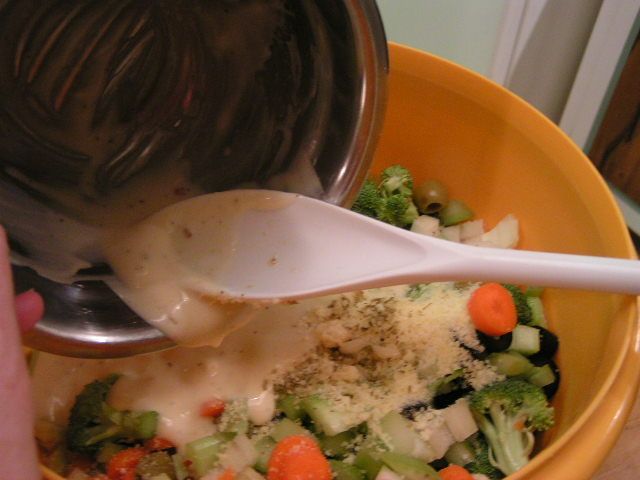 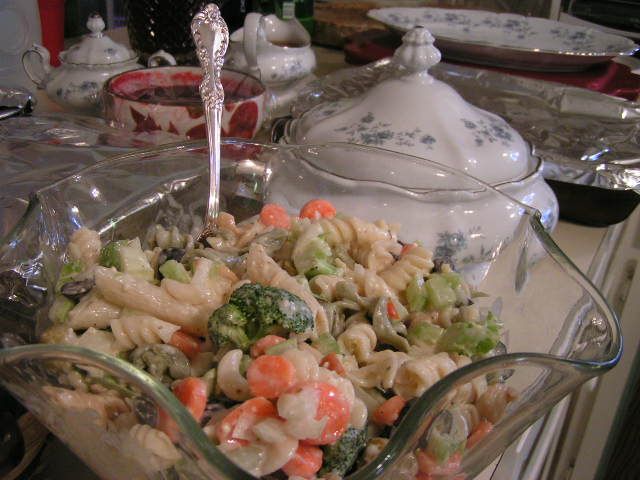 |
|
Oklahoma Pastry Cloth™ Company on Facebook
|
Making Sauerkraut
Sunday, November 14th, 2010
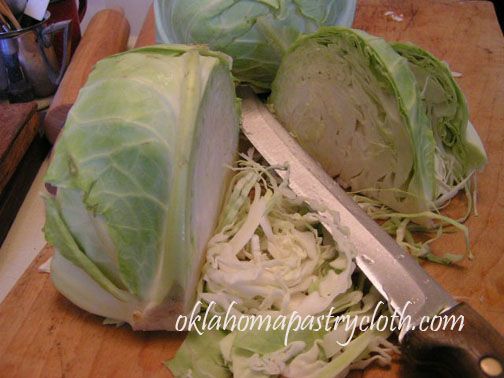 Well, I think that I will venture into the world of German Cuisine and explain the exciting experiment that was performed in the Oklahoma Pastry Cloth™ laboratory. We made Sauerkraut!! That may not sound exciting to most people, but to me it was a journey into my ancestral past. My grandmother made Sauerkraut in crocks and I have two of those crocks. I’ve been told that they had the additional use of being her knife sharpener. She would turn the crocks over and sharpen her knives on the bottom like on a stone, but I digress. I never got to watch my grandmother make her Sauerkraut, but I have heard the stories and so, as much as I love the stuff, I decided to see if maybe making it is in my genes! This experiment was prompted by a sale on cabbage at the Firelake Grocery owned by the Absentee Shawnee tribe nearby. 10 lbs for $1! Now THAT’S a sale. I knew that I had to have that cabbage. So what if I had no idea what to do with it? I had to buy it because it is such a steal and it’s wrong to pass up a steal. As I loaded my buggy, I remembered my grandmother’s crocks and my adventure was set. |
|
According to Wikipedia, Sauerkraut probably originated in the north of China among the Mongols. That would make sense because one of my favorite Korean dishes is Kimshe which is simply Korean Sauerkraut. Anyway, Sauerkraut was brought to Europe by migrating tribes. Eastern Europeans, eat a LOT of sauerkraut. In Europe, the Jews adopted sauerkraut as part of their cuisine and are thought to have introduced it in the northern countries of Western Europe and then to the United States. Sauerkraut is a staple of the winter diet in Germany and the Netherlands. While sauerkraut is usually prepared with pork, the Jewish people customarily use goose or duck meat. |
|
Now came the part in the research that kinda got me. When we had our sheep farm, we raised Sudan Grass and cut it and chopped it and put it into a silo to ferment for the sheep and cows to eat. According to Wikipedia, it’s the same process that is used for Sauerkraut. We’re eating silage!! No wonder those sheep and cows burp so much. Anyway, when making Silage – I mean – Sauerkraut, you have to be very careful to monitor the temperature of the area where it is fermenting. The USDA says to use more salt than is traditional, but that makes it way too salty. So, in order to avoid food poisoning if using traditional amounts of salt, you must keep the temperature at the correct level. Depending on who you talk to, this should be anywhere between 40 and 70 degrees. 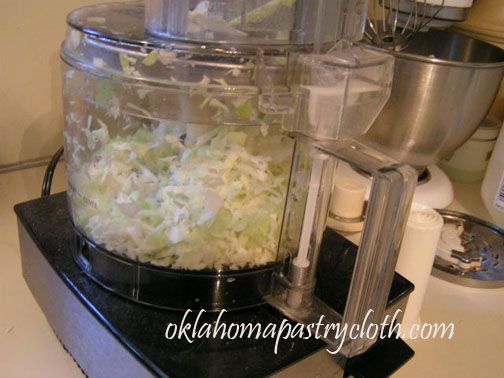 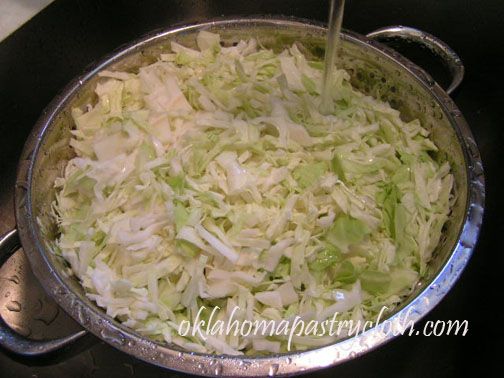 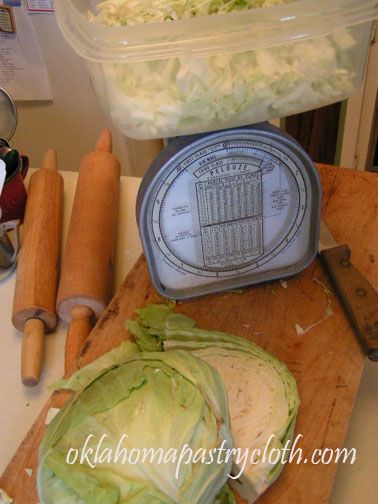 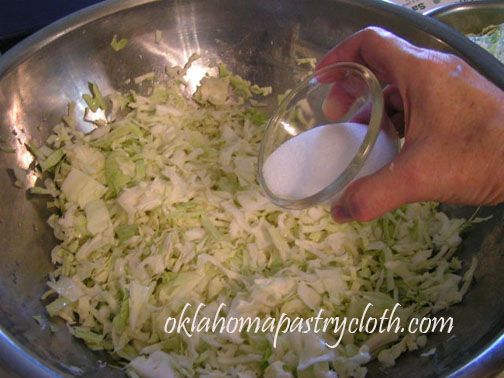 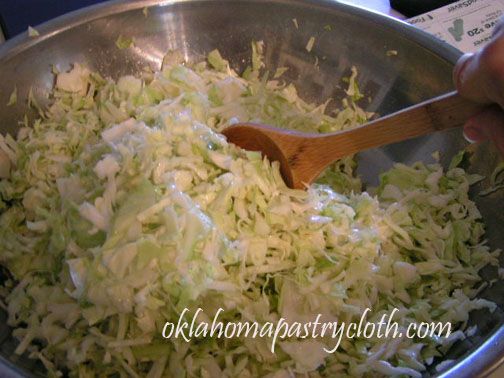 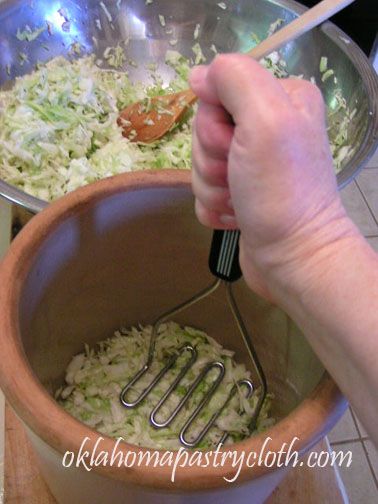 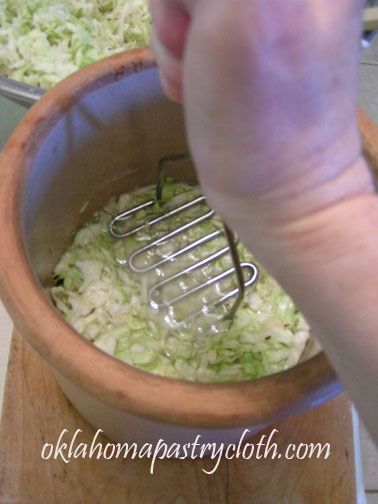 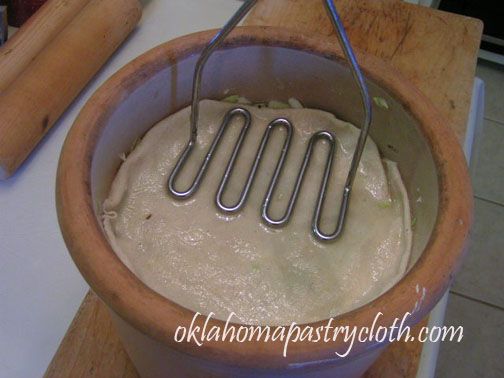 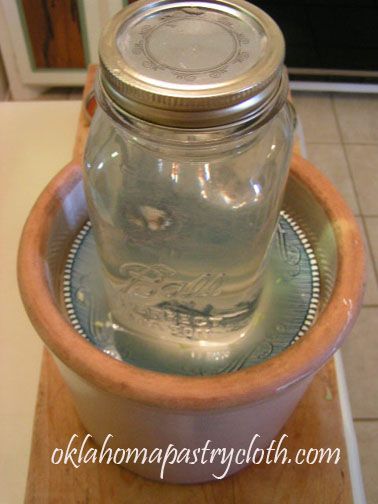 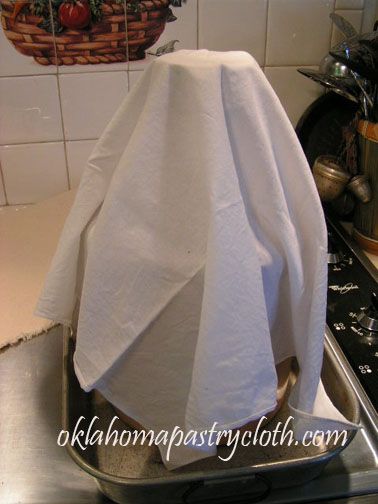 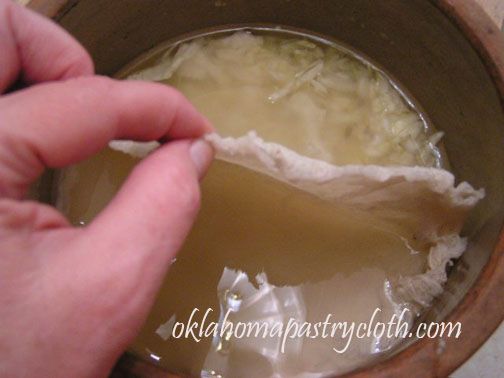 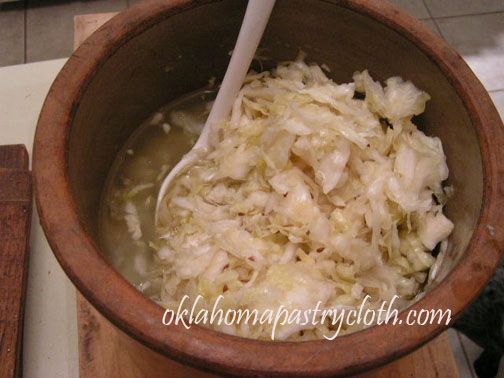  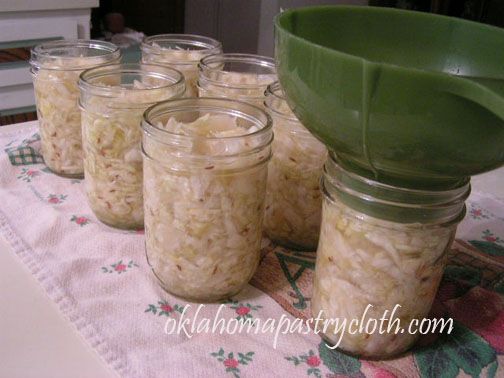 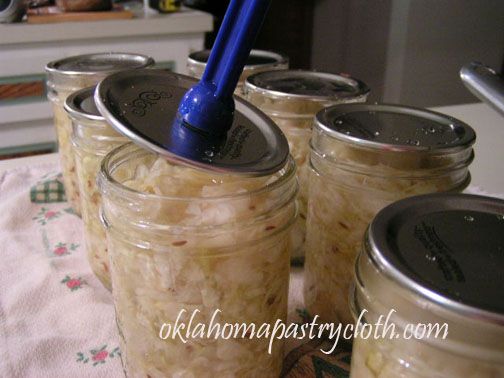 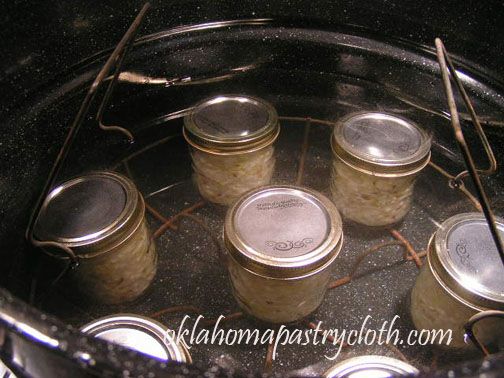 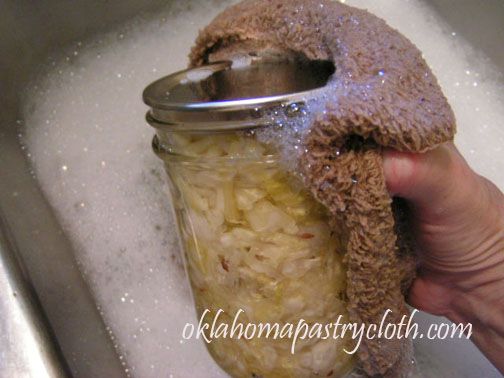 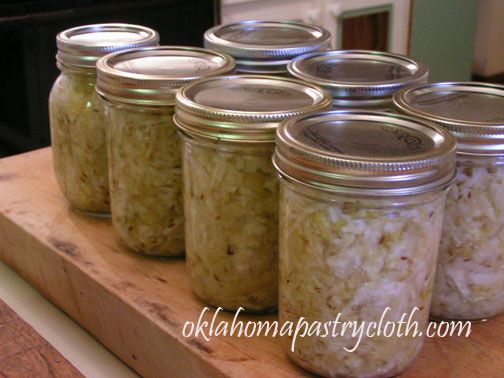 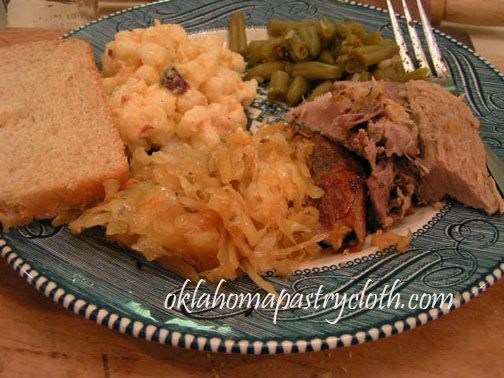
|
|
Oklahoma Pastry Cloth™ Company on Facebook
 |
Canned Apple Pie Filling
Tuesday, November 9th, 2010
 |
|
OK, time for pie stories. My favorite one has been told by my mom and dad for years. Seems that when they were first married, my mother, wanting to please her new husband, decided to bake his favorite pie – cherry. She went to the store to buy fresh cherries and worked her fingers to the bone creating a pie that looked like a picture. She placed a slice at my father’s place and he eagerly dug in to sample her achievement. He nearly broke a tooth as he bit down on several pits. It was then that my mother learned that cherries had seeds that had to be removed!!! My worst pie story happened years ago when some friends decided to “set me up” with a friend of theirs. My girlfriend and her husband had me over for dinner to meet this guest and insisted that I help make the meal by making dessert – specifically an apple pie. I had no doubt that they were trying to force that way to a man’s heart thingy. I asked her what kind of apples I was using and she said, “I dunno. They’re from the tree out back.” I peeled and sliced the apples and put them into my homemade crust and stuck it in the oven for an hour at 400º. I figured that would be plenty of time. Shortly before the arrival of this guest whom I was supposed to be impressing, we pulled out the pie and discovered that the apples were barely cooked! Oh no. Either her oven was wrong or those apples were really firm! I was NOT serving that pie and so I ran to the store and got the makings for Bananas Foster! After dinner and after the Bananas Foster, the guest mentioned that he’d been told that he was having apple pie made by yours truly and that he thought he’d smelled one when he’d walked into the house. I was slowly sinking under the table. Finally, my friend explained what had happened and the guest replied that they had told him I made a good pie and he wanted to try it anyway. I decided this person was purposely trying to annoy me and of course, I was looking for any way to escape. My friend took the pie out of the oven where she had placed it to stay warm at 200º. It had been in there for a couple of hours. She sliced it and put pieces on plates and served them. I couldn’t believe my eyes. The slices were just beautiful and the apples were perfect. I took a bite and savored the flavor. The guest said, “What’s wrong with this pie?? It is fantastic.” It had continued slowly cooking at 200º unknown to my friend and me! I was saved! And no, the guest didn’t steal my heart!!! 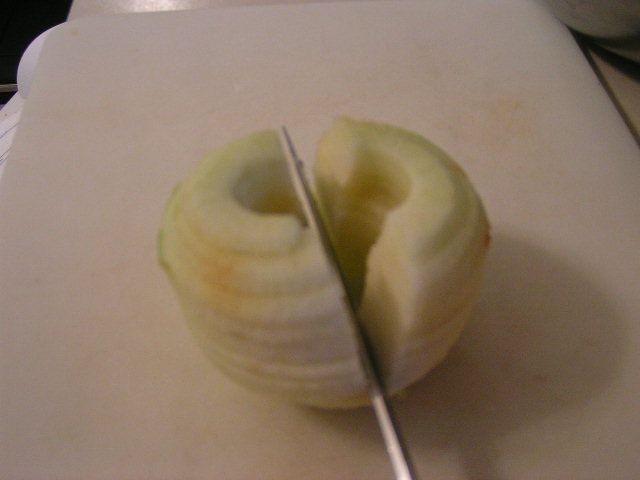
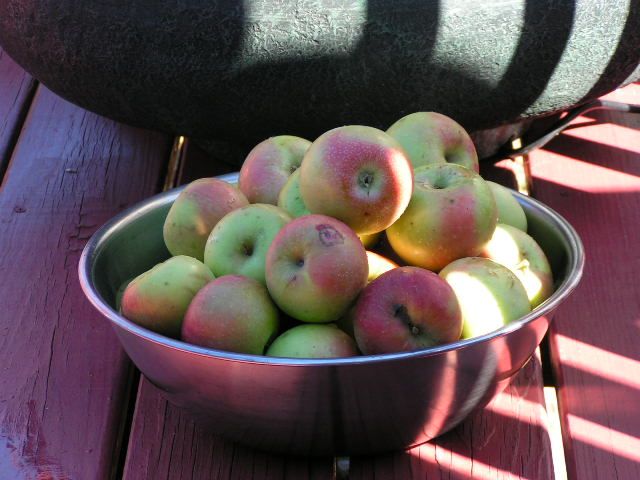
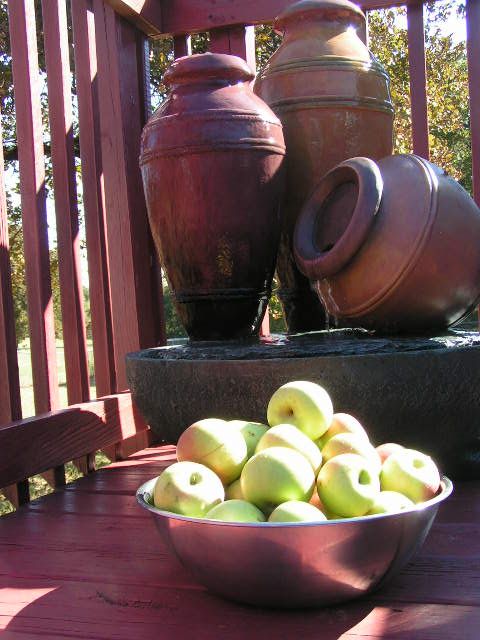 In the Oklahoma Pastry Cloth™ kitchen, apple pie is the favorite of all pies. Therefore, I have to plan on making quite a number through the year, especially during this season. It is also always a favorite of guests that can be whipped up at a moments notice if you have the pie filling already made as well as the pie crust mixed and ready to form a dough. And how do you do that? Just follow the instructions below and you’ll be one happy camper. And if you need a testimonial, last Christmas for a dinner party that we attended, I brought an apple pie using this recipe and our pie crust mix recipe. Overheard was one of the young boys asking his father, “Have you tasted this??!! This is a KILLER pie.” I knew that I had finally arrived! Canning Apple Pie Filling 6 lbs apples 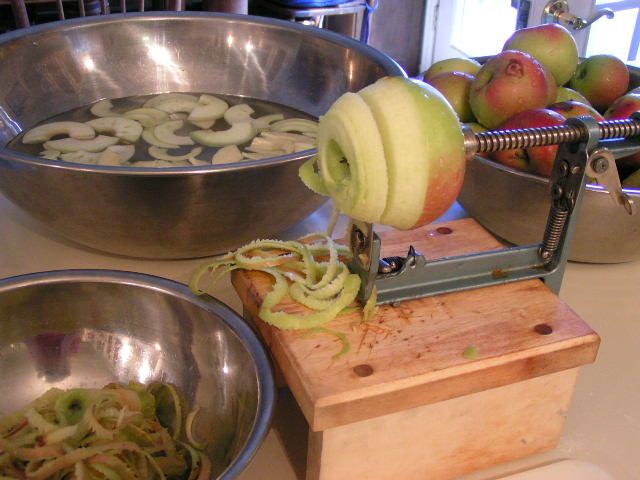 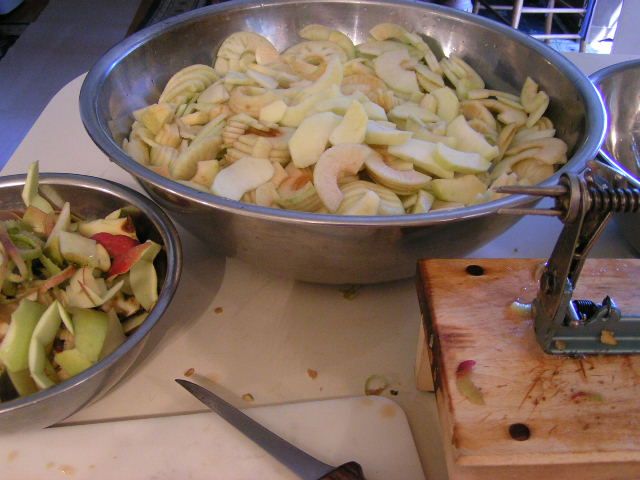 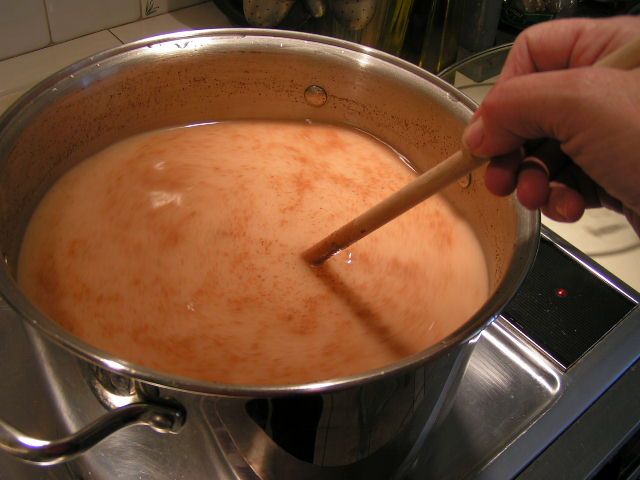 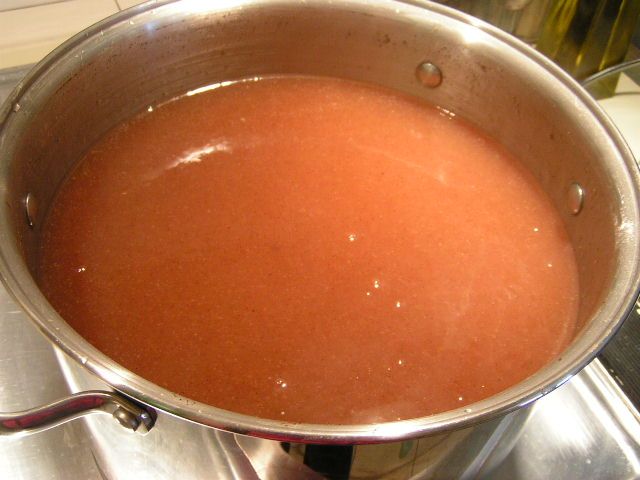 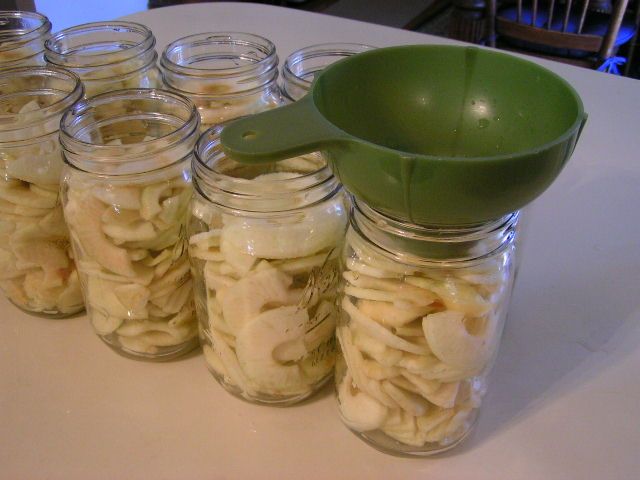 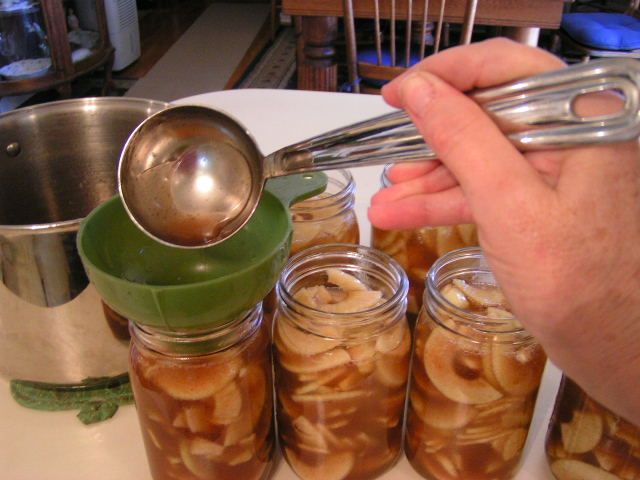 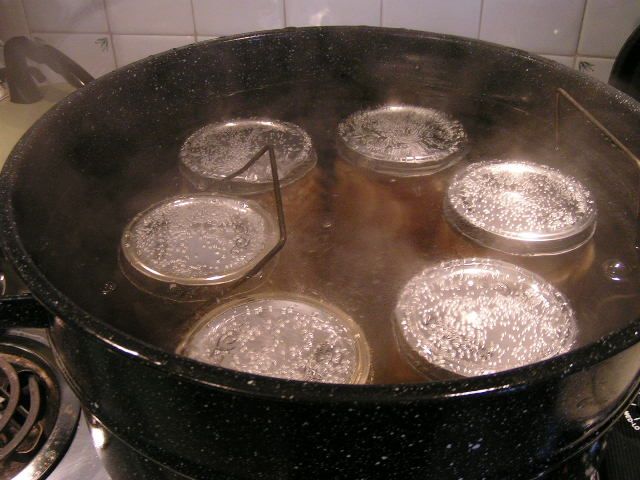 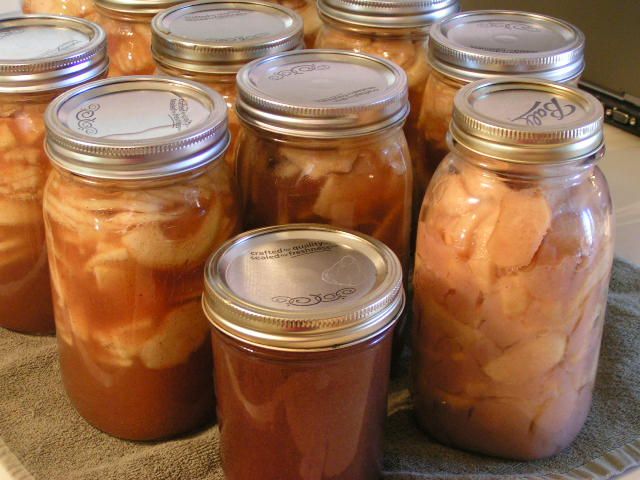 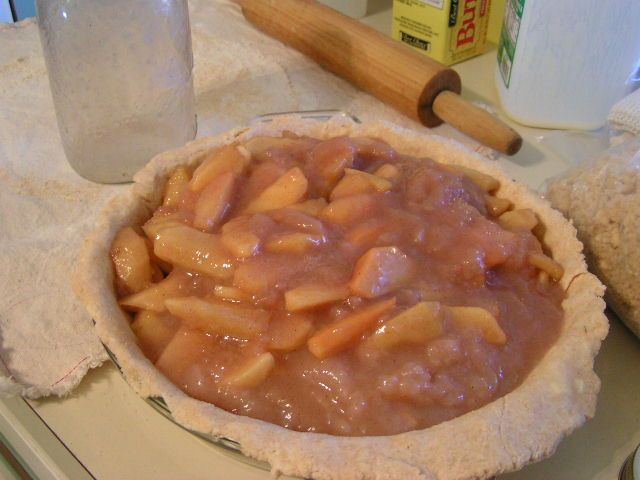 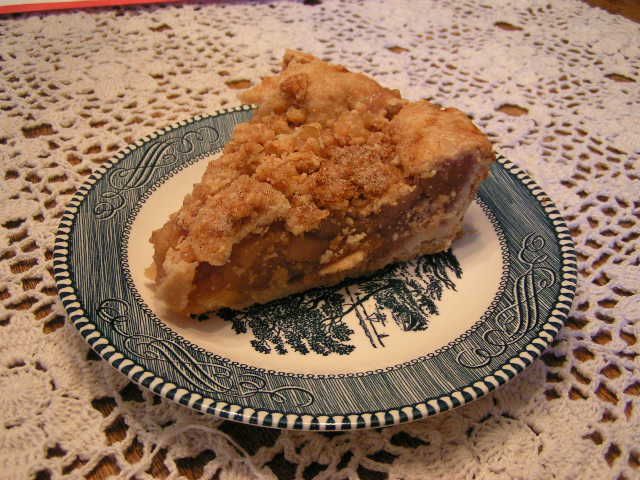 I use two quarts for one large pie, 1 1/2 quarts for a smaller pie pan. You can do either a regular crust or a crumb crust. For the crumb crust I put a regular crust on first and then mixed 1/2 cup of my pie crust mix with 1/2 cup sugar and a half tsp of cinnamon and then sprinkled it on top of the crust. Bake at 400º for 45 minutes to 1 hour. 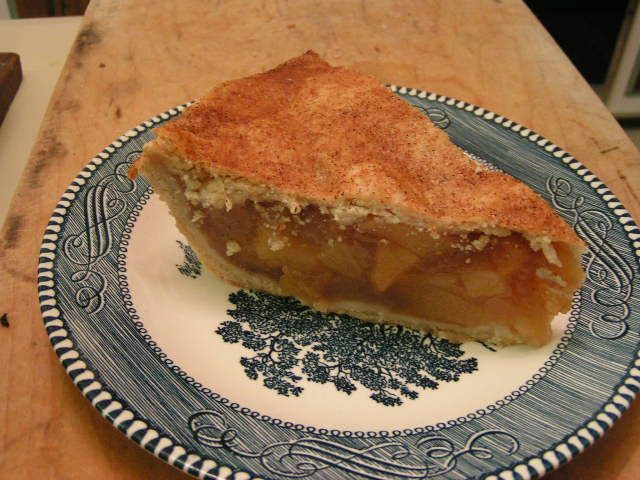 And here is one of my pies with a regular crust. This pie filling always cuts such a pretty piece when it is cooled! |
|
Oklahoma Pastry Cloth™ Company on Facebook
|
Home Canned Apple Butter
Wednesday, November 3rd, 2010
 |
|
In Deuteronomy 32:10, we are told that God protected Jacob as “the apple of His eye”. The Greek word for apple in this verse actually means “pupil” of the eye. The pupil of the eye is what actually sees and focuses on an object. God saw Jacob and made him His focus. Isn’t it neat to know that God sees us and focuses on us? Nothing in our lives is missed and we are encircled just as the pupil is encircled by the iris. Of course, when we are going through things that are so tough, if we could only remember that God sees it all and surrounds us, we might learn to be content no matter what our circumstances. God focuses on you and me like the pupil of His eye. We aren’t some insignificant part of the universe. We are loved! 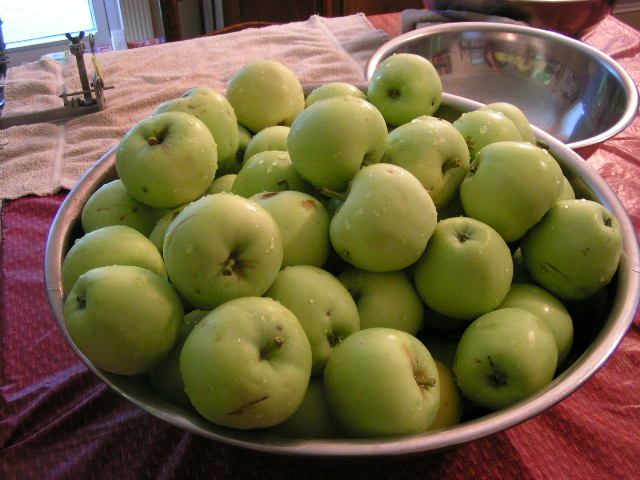 But speaking of apples, today I’m going to deal with apple apples. We all know that,“An Apple A Day Keeps The Doctor Away.” Or so every child has been told since Johnny Appleseed. Apples are high in fiber, vitamins and they just plain taste good. Now that it is Fall, apples are in abundance. Apple bobbing at Halloween or caramel apples and candied apples at fairs and bazaars are a yearly treat. There are so many varieties of apples that it is hard to keep up with what’s what. My favorite eating apple is the relatively new Gala Apple and among our apple trees, we have one Gala. My second favorite is the Yellow Delicious and we have several trees of that variety. Add in a Red Delicious and a Lodi and we have our own mini orchard. It is so fun having apple trees and when planting, it is nice to consider both summer and Fall varieties of the fruit. Our Lodi, which is a California apple and very prolific, is a summer apple, ripening in June. The Lodi apple is a cooking apple and is pretty doggone tart. I use them for applesauce and apple butter. They are also good for drying for snacks. The Fall apples are more for eating and using in pies, cakes and other baking. They can also be dried. Nice, firm, crunchy apples are best for pies because they hold their shape while cooking. The Lodis cook down to mush and a pie of Lodis winds up being an applesauce pie!! I think that I will use two posts over the next few weeks to offer you some ideas for using your apples. In this post, you will find my recipe and photo directions for making apple butter. I use our Lodi apples, but you can use any type you like as long as they are relatively tart apples. Apple butter has a lot of sugar in it and so you want nice tart apples to give it the tangy flavor characteristic of good apple butter. Lodis require little mashing or running through a colander. Apples that are more firm may require that step in order to make a nice, uniform applesauce base. Also, some cooks leave the skins on the apples for more flavor, but that requires a lot of colander work to separate the skins. I will just have to admit that I have a lazy bone but my apple butter gets rave reviews even without cooking any skins! And if you’ve never had apple butter on a hot, buttery biscuit, you just haven’t lived! 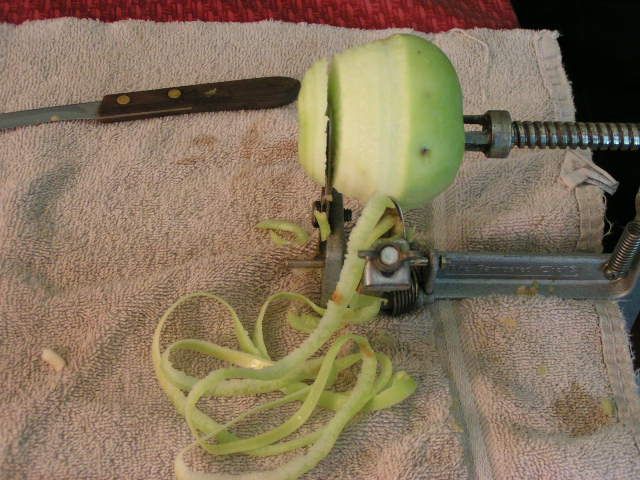 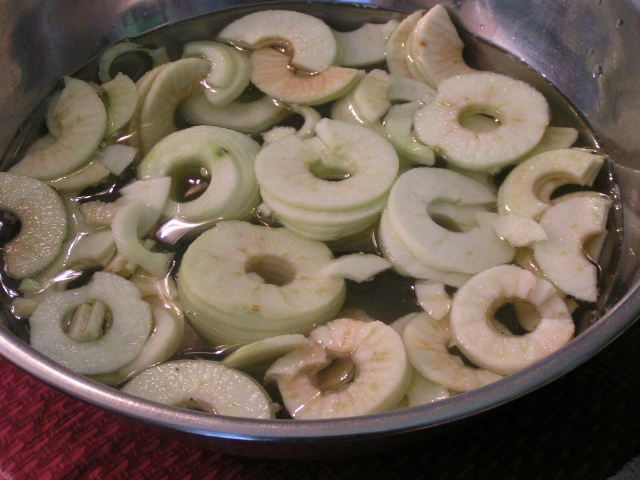 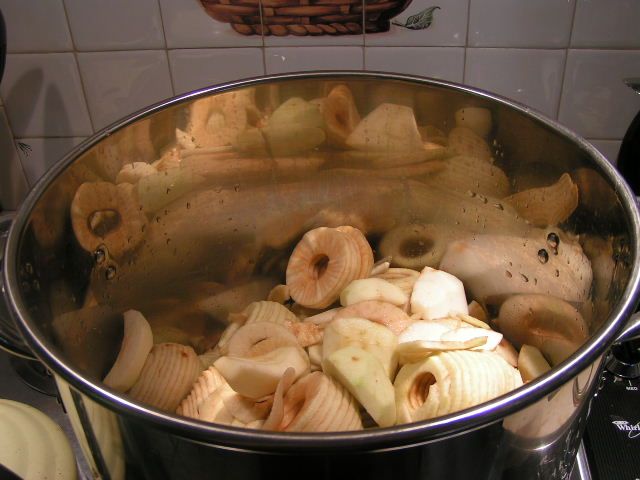 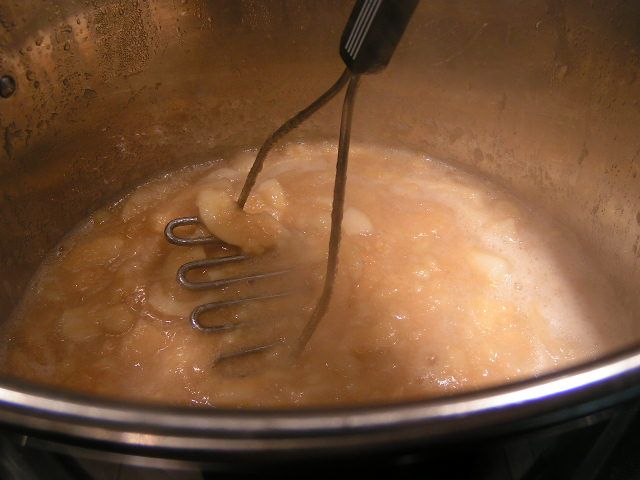 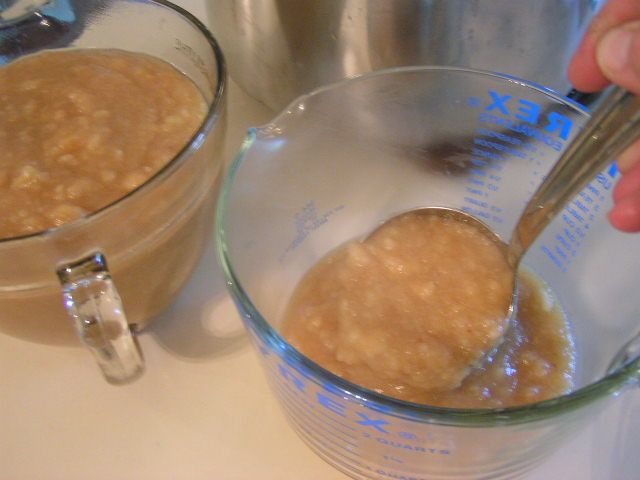 1/2 Cup Sugar 3/4 tsp cinnamon 1/4 tsp cloves pinch of allspice pinch of salt For example, 20 cups of pulp require 10 cups of sugar, 5 tbsp of cinnamon, 4 tsp clove, 2 tsp allspice and 2 tsp salt. Cover and cook until sugar dissolves. 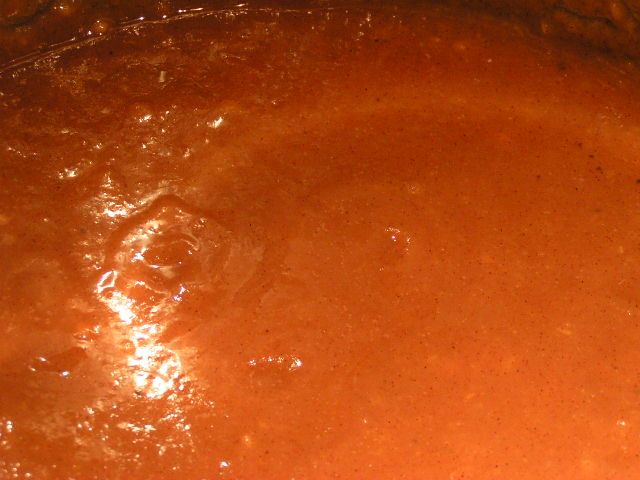 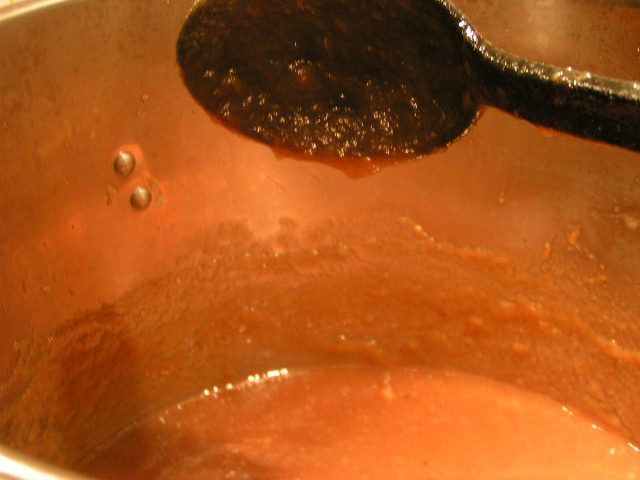 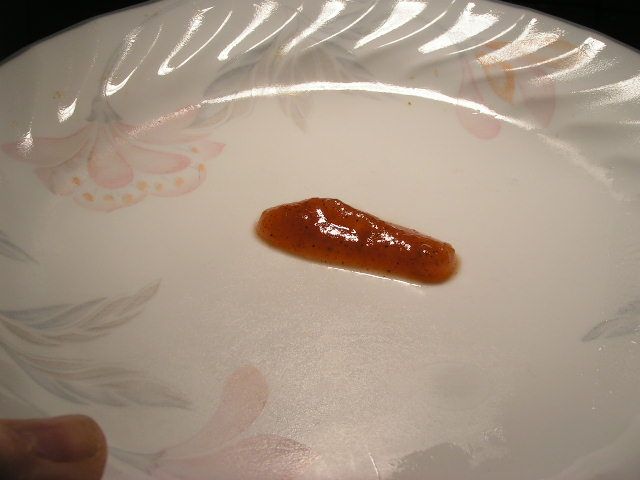 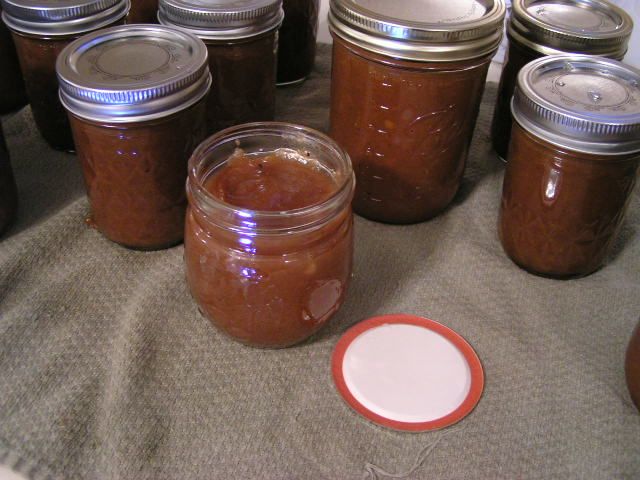 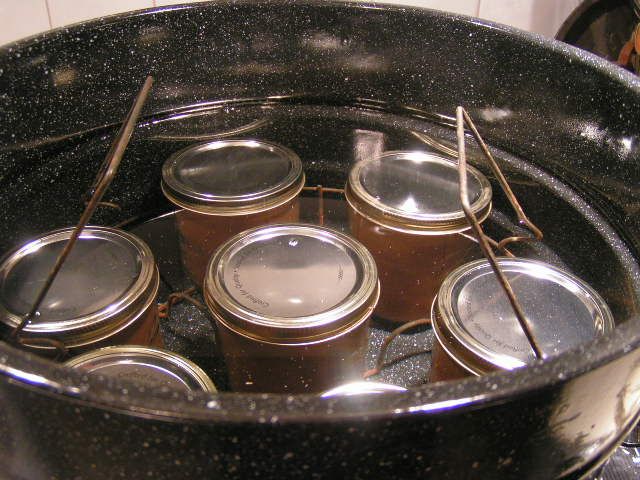
MB |
|
Oklahoma Pastry Cloth™ Company on Facebook
|
Makin’ Smoothies
Friday, October 15th, 2010
|
|
|
As a homemaker, there is nothing more fun than getting inventive, inspired by some tidbit of food leftover and useless for anything major. When a great concoction is created and the family smacks their lips in appreciation, the homemaker feels that all is right with the world. Such was the case tonight as I noticed a fruit fly winging its way around and around a lone banana left ripening on the counter top. It was pretty ripe and would have been useful for banana bread had it been one of three bananas, but alas, it was alone. What does one do with one banana in a short time? What else? Make a smoothie. Smoothies are so easy and quick. And they are great at any time of the year. They are also healthy, especially when made with yogurt. Any fruit combination can be used and any yogurt flavor can be used. I use frozen fruit as much as possible to make it colder and thicker. My favorite is as follows and used that lone banana: 1 banana 1 thick slice of fresh pineapple, frozen 1 cup frozen, sliced strawberries 1 tbsp frozen orange juice concentrate 1/2 cup vanilla yogurt 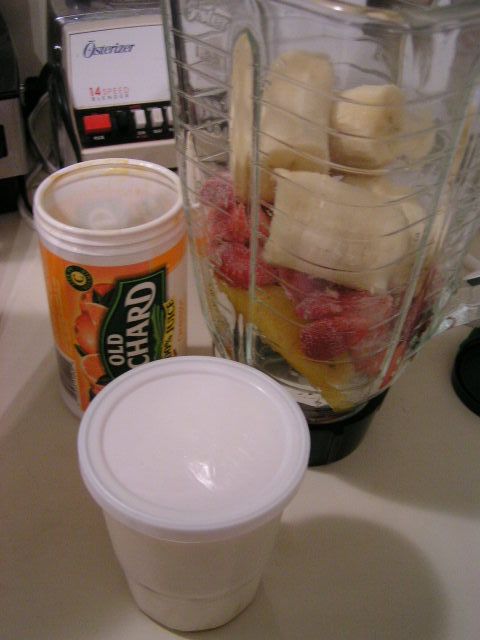 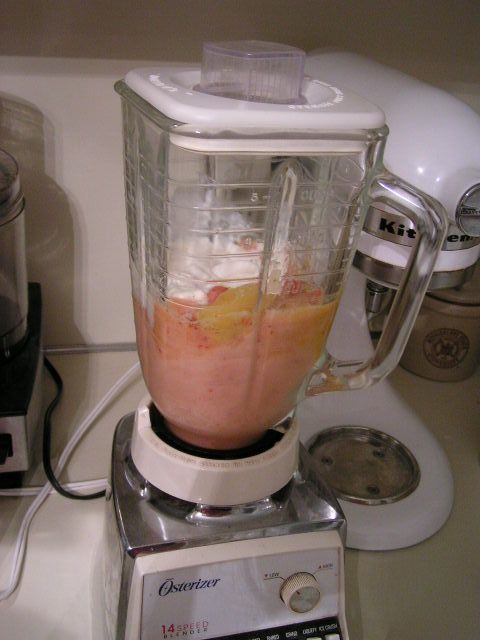  |
|
Oklahoma Pastry Cloth™ Company on Facebook
|
Belgian Waffles
Monday, October 11th, 2010
|
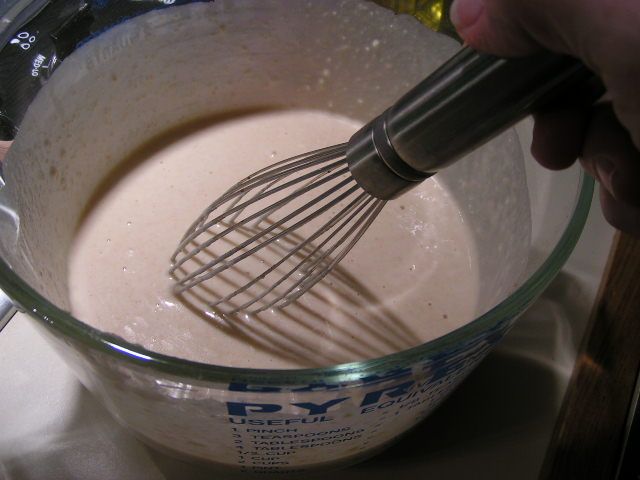
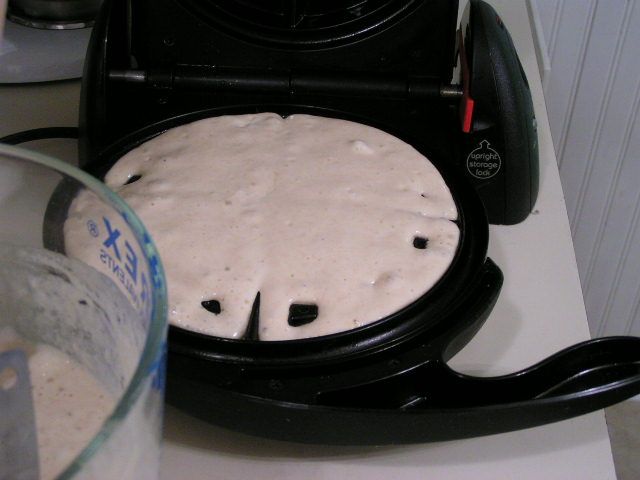
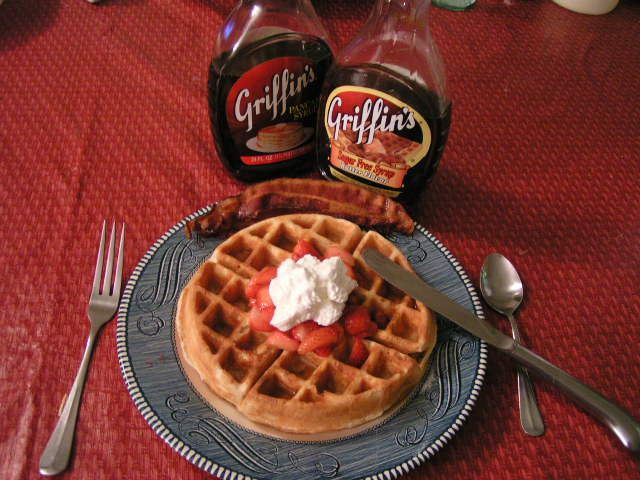
Of course, with any new-fangled idea, there were bugs, the major one being that when the cook used one of these pans, what looked like bugs appeared in the scrambled eggs or the white gravy, due to flakes of the nonstick surface loosening. Small sheets of Teflon® floated in the cooking food and small, shiny hints of the base metal were exposed. If you were the least bit paranoid, you worried that your family was ingesting some poisonous substance that the government had invented to get rid of half of the population to save the planet. If you weren’t paranoid, you surmised that maybe Teflon® wasn’t such a great invention after all. Then came the nonstick surface that was co-mingled with the base metal of the cooking utensil. That was better. I think that T-Fal® was one of the first. It worked pretty well, but we quickly figured out that nonstick didn’t really mean, NONSTICK. It just meant “not-as-likely-to-stick-especially-if-you-use-oil-to-coat-the-pan-like-you-did-for-your-old-pans-that-were-not-nonstick.” I had a whole set of T-Fal® and still have a few cookie sheets, but while they were the “thing” in the ‘70’s, as I became more and more entrenched in the kitchen, I gravitated back to my perfectly seasoned, cast iron skillets and wonderful three-ply bottomed, heavy-weight, stainless steel pots and pans. Wouldn’t trade them for the world. It is with this background of wisdom that I should ask myself, “What were you thinking?” because, recently, I couldn’t resist the purchase of a nonstick surfaced Belgian waffle maker that was on sale. Actually, another waffle iron was on sale, but the store was out and because I had such a pained expression on my face and the manager probably thought that my gray hair indicated that I might be hard to get along with, I was handed a more expensive, with more gadgets, Belgian waffle iron at the sale price. It had a timer that beeped! I took my prize home, predictably thrilled at beating the system of sales, and quickly unboxed it to prepare for the next day’s breakfast surprise for Hubby – waffles topped with strawberries and whipped cream. I read the directions for the batter – easy enough – decided on how I was going to change it (added vanilla) because it isn’t in my nature to just follow directions, and made sure that I had all ingredients required. I got up the next morning, whipped up the batter in a matter of minutes, heated the waffle iron until the light went out and carefully measured ¼ cup of batter into each section. Closing the lid, I flipped the whole assembly on the stand, over to the opposite side as per the directions. Steam gushed from the seam of the surfaces and a wonderful sizzling sound let me know that breakfast was on its way. The timer automatically began its countdown. 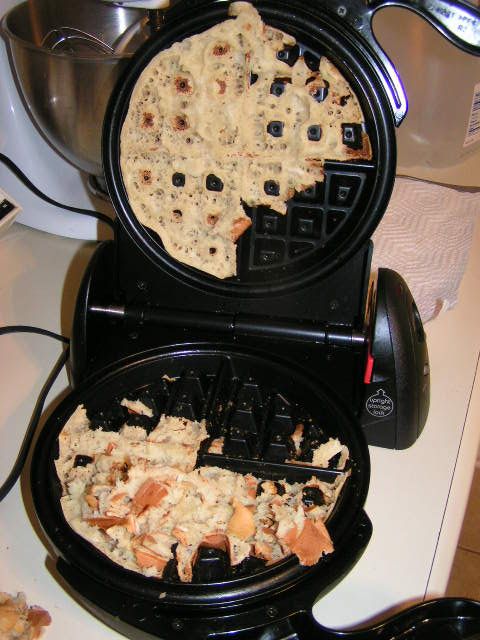 At the ear-piercing shriek of the waffle siren, I jumped out of my skin and rushed to flip the waffle iron back to the other side of the stand. I gently lifted the lid – well – attempted to lift the lid, but nothing separated. I got a plastic fork and slipped it between the layers of metal to carefully pry them apart but nothing budged. But it’s a nonstick surface! The box said so…. no oil needed. It’s 2010! It’s new and improved! I flipped it back to the other side and tried gently pulling the sections apart. No dice. I turned it over to its original position and thought, “Maybe I’m not pulling hard enough.” I gave it a hard tug and jerked the top lid off of the bottom surface. One half of the waffle traveled with the lid and the other half stayed on the bottom. Now you know that you are NOT to use ANY metal utensils on nonstick cookware. Plastic only. And so, I took the plastic fork and carefully slid it under the top half of the waffle. Fully expecting for the waffle to lift off the surface, I was sorely disappointed. The tines of the fork slipped through the cooked dough, and succeeded only in removing a couple of chunks. I tried a different location with the same results. At this point, I was frustrated and I started digging at the center of the mess. Some of the pastry lifted out of the multiple indentions, but the majority remained adhered to this “nonstick” epitome of false advertising. The tines on the fork broke. Of course, it never occurred to me, at the time of purchase, to see if the two cooking surfaces could be removed for easy cleaning. And of course they could not be removed. They opened into a gigantic “L” with teeth, every tooth encrusted with waffle plaque. The lettering on the base cautioned, “DO NOT IMMERSE”. Why would I need to immerse it?? It is nonstick, for crying out loud! My only recourse was to concentrate on one surface at a time, digging out as much of the now rock-hard waffle as possible. I poured hot water just to the batter level to soak and finally washed with a brush, repeating the process for the other side. This took most of the morning. Did I mention that my husband ate cereal that day? 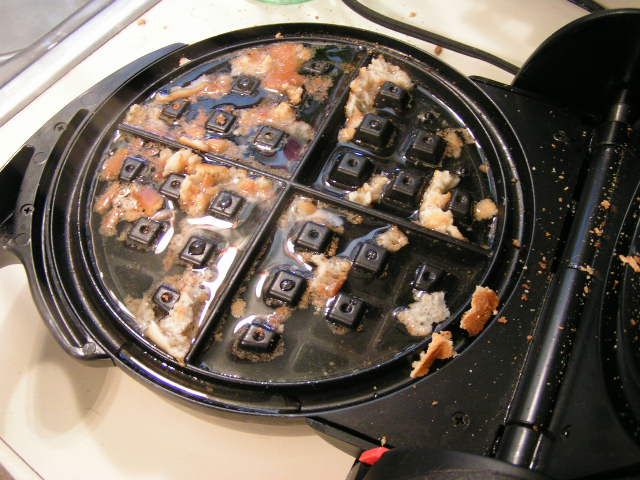 Yes, all of the labor saving brilliance that is dangled before us cooks have obviously been created by inventors who never really watched the process of food preparation and cleanup, let alone attempted it themselves. However, I will say that one such item HAS put its comrades to shame, as it has proved to perform in exactly the way it was intended. It has made available for my dear husband, the Belgian waffles that he loves, baked on the aforementioned, offending waffle maker. This product states on its label, “no stick, fat free, cholesterol free, calorie free, sodium free, naturally clear”…Yep. It’s spray olive oil in a can and it works like a charm. Who would have ever thought of putting oil on the surface of a cooking utensil to keep food from sticking? What will they think of next?? |
|
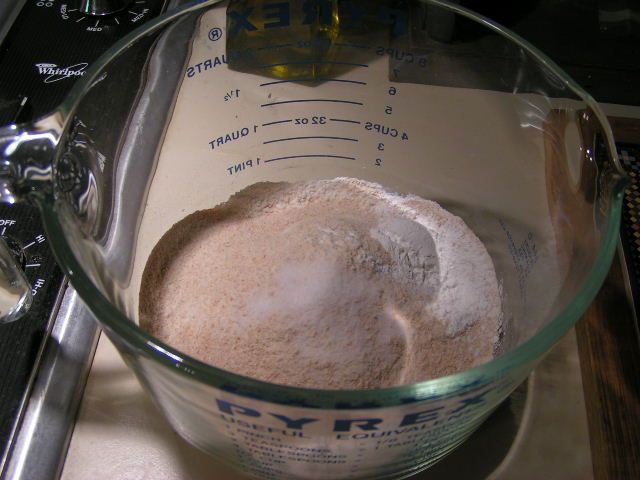
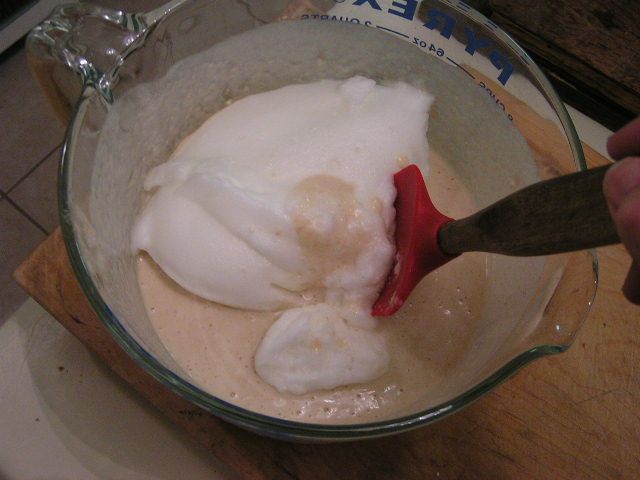
1 3/4 cups all-purpose flour or pastry flour 1 tbsp baking powder 1/2 tsp salt 2 tsp sweetener (honey, sugar, splenda, etc.) |
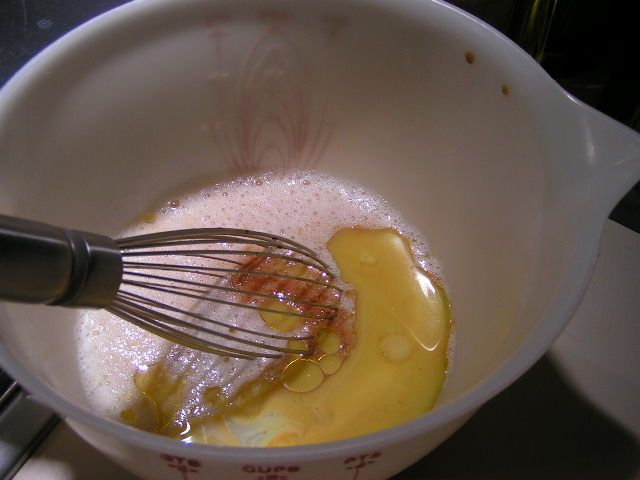
1 3/4 milk (2%, whole, skim) 2 eggs, separated 2 tbsp vegetable oil Possible additions: 1 tsp cinnamon 1/2 cup chopped pecans |
|
Oklahoma Pastry Cloth™ Company on Facebook
|


 Homestead Revival
 Paratus Familia
 Rural Revolution