 I don’t know about where you are, but here in Okie Land, it’s just downright cold. Last night, we had a low in the 30’s and it appears to be making a repeat performance tonight. A wonderful rain has continued the entire day, totally breaking the drought for sure. We even had a little pea-sized hail for good measure. The ground is soaked and that’s a good way to be!! A neighbor even burned trash this weekend – something that has been forbidden in these here parts. And so, though this is the first of May, and though we normally have warm weather by this time, I decided to “soup” up my basic chicken soup recipe and make a meal into which Mr. Fix-It could sink his teeth. By his third bowl, I figured that he liked the results. There’s leftovers for tomorrow too! Here is my new concoction! Soup Note: You can substitute dried veggies, canned chicken and canned milk if you want to try your hand at ‘sustainable’ cooking.  Pour one to two tbsp olive oil into a large stock pan or pot.  Add 1 tbsp flour and on medium heat, stir until flour is fully incorporated to make a light roue.  Add 2 quarts chicken broth and 1 bouillon cube and stir. Simmer on medium heat  In a skillet, add one tbsp olive oil and sauté 1/2 cup chopped onions until soft   Chop three large button mushrooms  Add chopped veggies to sautéd onions and toss  Pour vegetables into simmering broth  Add 1/8 tsp thyme  And 1/8 tsp sesame oil  Add chopped raw chicken breast  Add a fresh orange peel. We love this. It makes all the difference, but it is optional  Stir and cover. Simmer for 30 minutes and then remove orange peel  Add 1/2 cup chopped cabbage and simmer, covered, for 10 more minutes  Uncover and add 1/2 cup half and half and stir well  Bring to a boil and gently sprinkle in homemade noodles while stirring to keep from clumping. We much prefer the homemade noodles to packaged and they are so simple to make. They are much more tender, but you can use the packaged. Simmer until tender. The noodles will naturally thicken the soup, but if you want it to be any thicker, just add cornstarch that has been mixed with cold water. Note: If you plan to can this soup, leave out the noodles. Just open a jar of soup later and add noodles prior to serving. Noodles get mushy when canned.  |
|
Oklahoma Pastry Cloth™ Company on Facebook
|
 |
Archive for the ‘Let’s Cook!’ Category
Creamy Chicken Veggie/Noodle Soup
Monday, May 2nd, 2011
Orange Scone Recipe
Thursday, April 21st, 2011
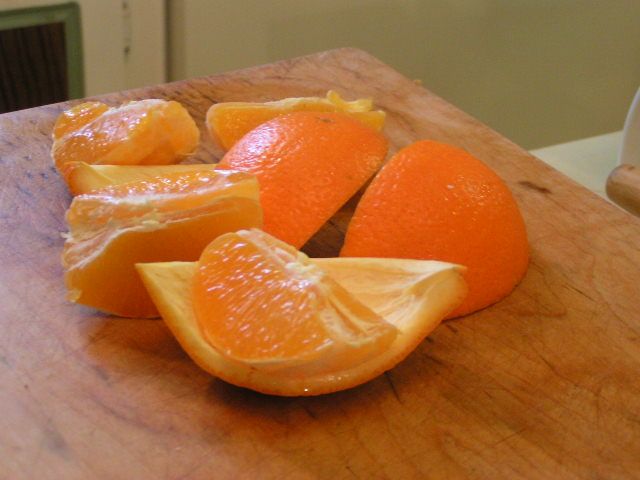
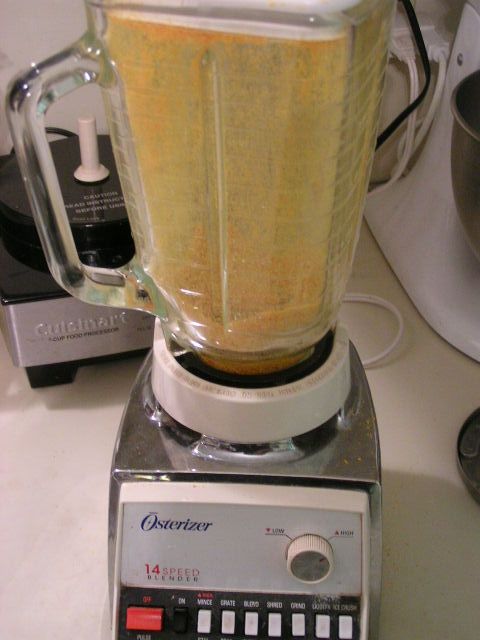
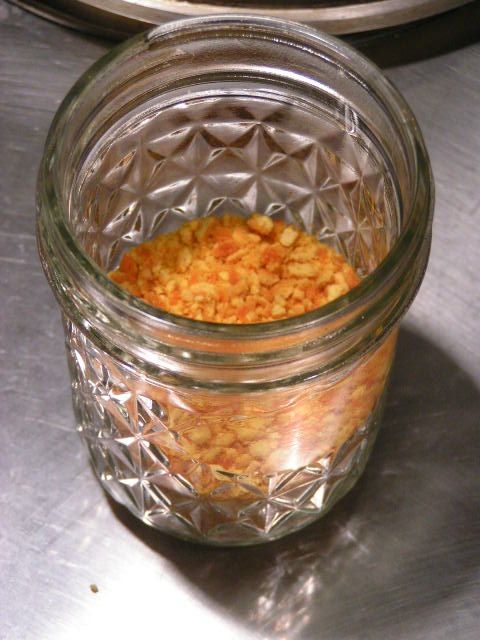
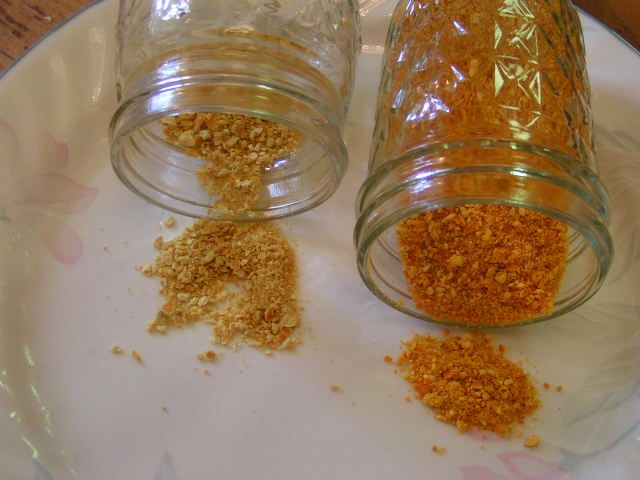
 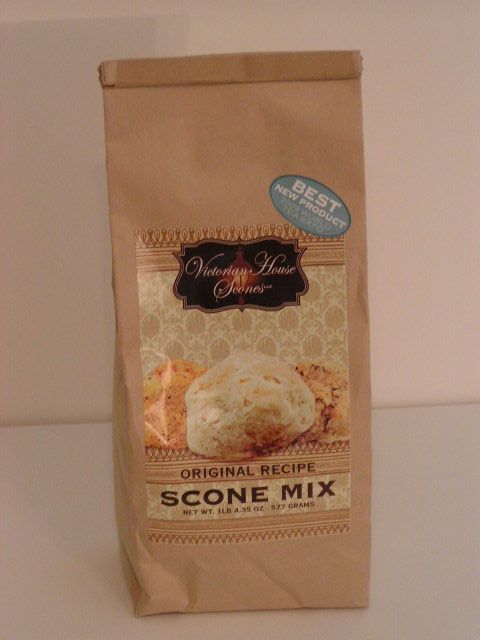 Yep, that’s what I tell anybody who says to me, “A scone? What’s a scone??” when I am showing off the three scones mixes that I carry at the shopping page. The Victorian House Original Recipe Scones are especially good because you can add anything you like to them like 1/2 cup of white chocolate and 1/3 cup of Craisins to create “addiction from a bag”! They are handy because you can make them ahead of time and either freeze them raw for baking later, or keep them in the frig raw for baking the next day. And one bag makes 16 big scones – a bonus! Packaged scones are a great thing to have on hand for a quick tea with the neighbor, a relaxing treat for your afternoon or a wonderful “thank you” gift in a pinch. The Victorian House Scones are an authentic Scottish scone, made with buttermilk. But for those who like to say, “I make MY scones from scratch” – you know, the: “I grew the wheat, dried the wheat, ground the wheat, milked the cow, churned the butter, separated the cream AND got the eggs from our chickens” kinda gals – ok, so you got the ingredients at the store and put them into the mixer! Whatever – it’s homemade! – here is a recipe for you. These scones are fluffy and light and just keep you wanting more. This recipe is my own recipe that I have developed over many, many attempts at scones. And yes, if I should ever decide to market the mix, I WILL have to kill you. 🙂 This recipe uses the dried orange zest from a couple of posts ago. And these are the English type of scone. So here you go:
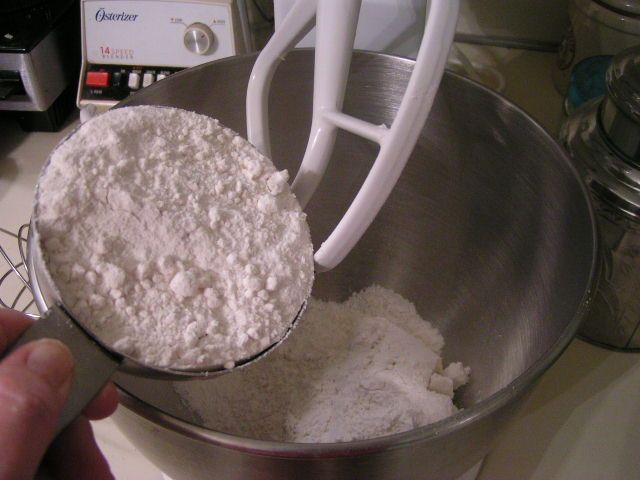 Add flour to mixing bowl 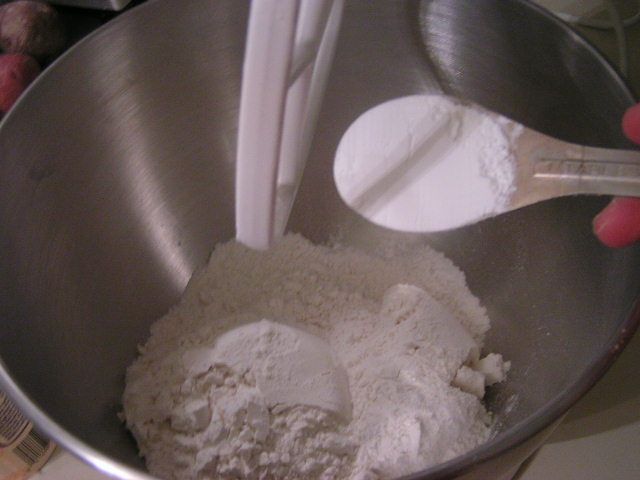 Add Baking Powder 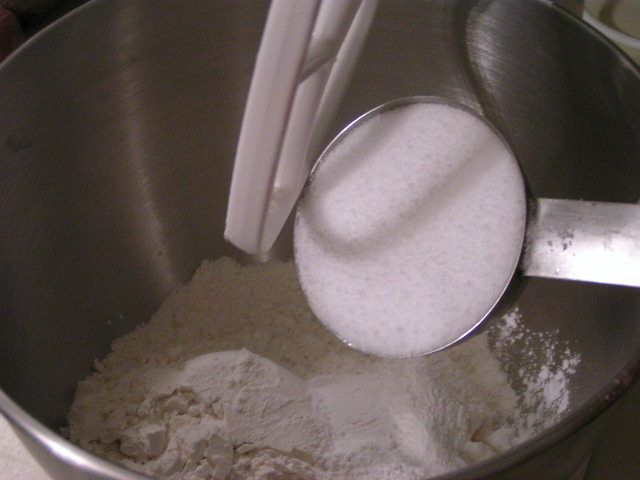 Add sugar or Splenda. If using Splenda add powdered milk. 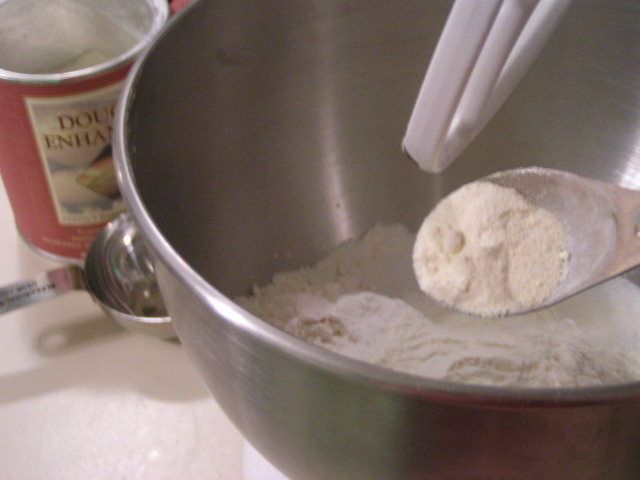 Add dough enhancer – this is optional 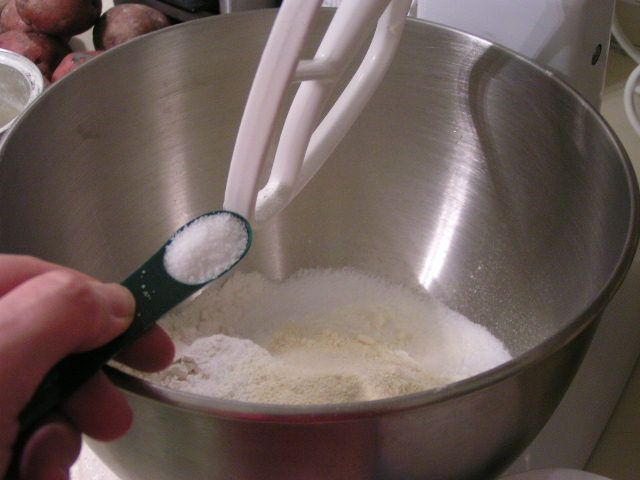 Add salt 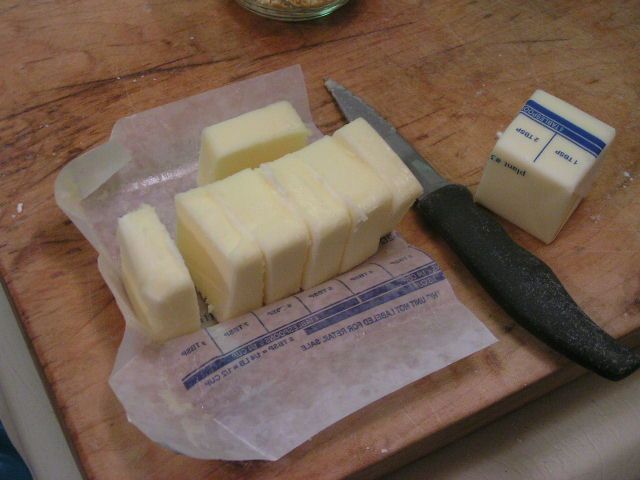 Cut butter into pieces 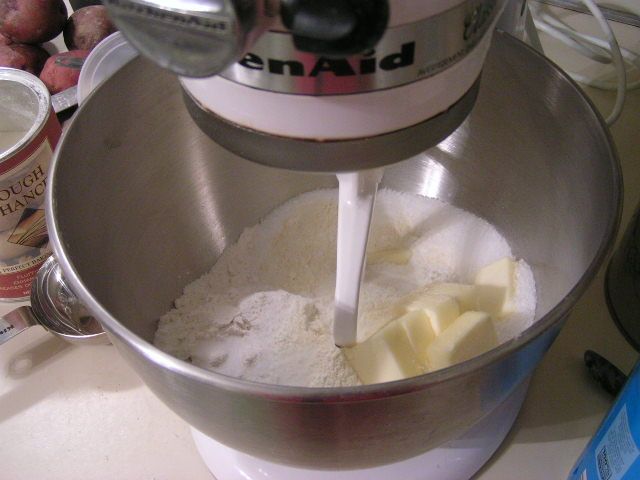 Using mixer or dough blender, cut butter into flour until the mix resembles small peas. 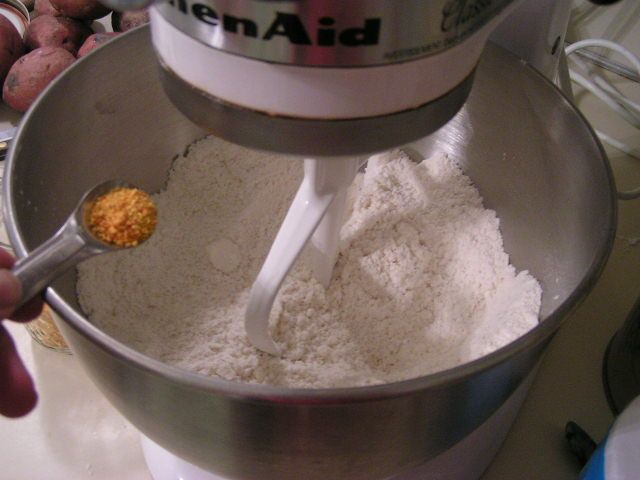 Add orange zest. 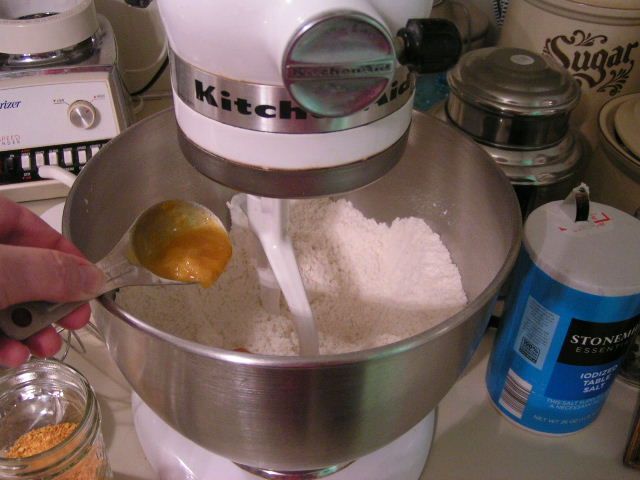 Add 2 -3 tbsp frozen orange juice concentrate to the mix depending on how much of an orange flavor you prefer. Stir in 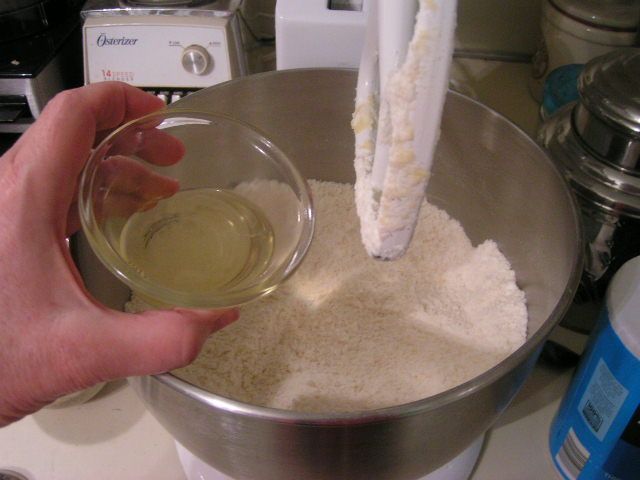 Add egg white and stir (you can use a whole egg if using Splenda for more moistness) 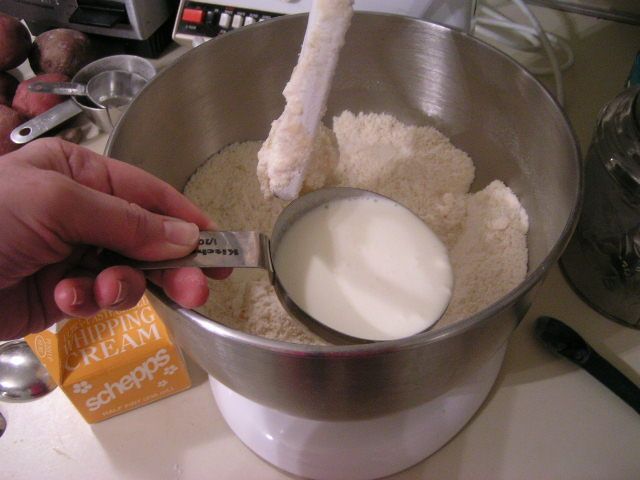 Add cream 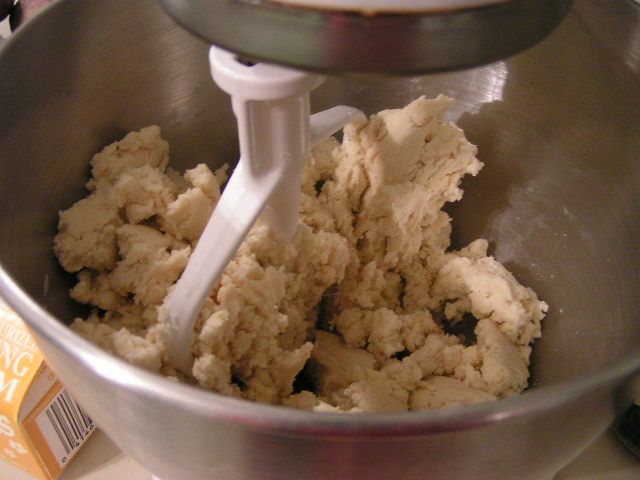 Mix until dough just holds together 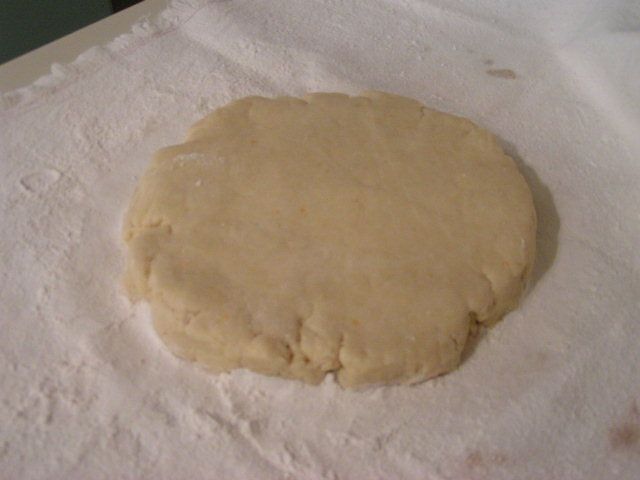 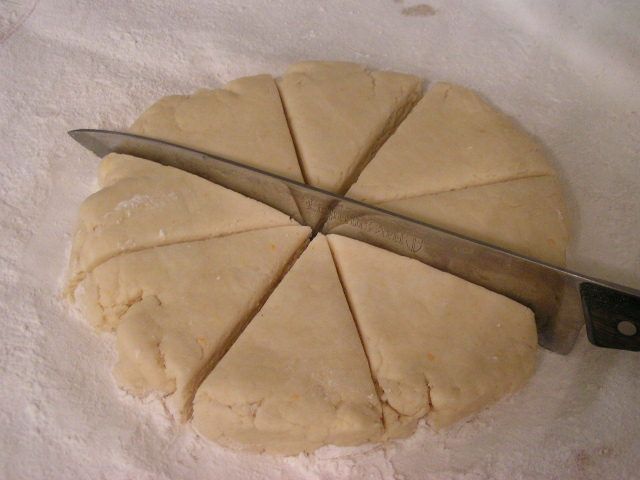 Place dough on a floured surface like the The Oklahoma Pastry Cloth™. Pat the dough out into an 8″ circle and cut into 8 triangles 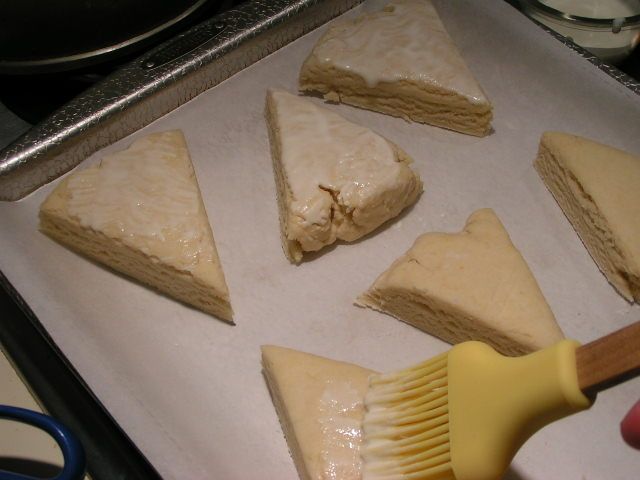 Place scones on a cookie sheet that has been lined with parchment paper and brush with a mixture of the reserved egg yolk and 3 tbsp cream. 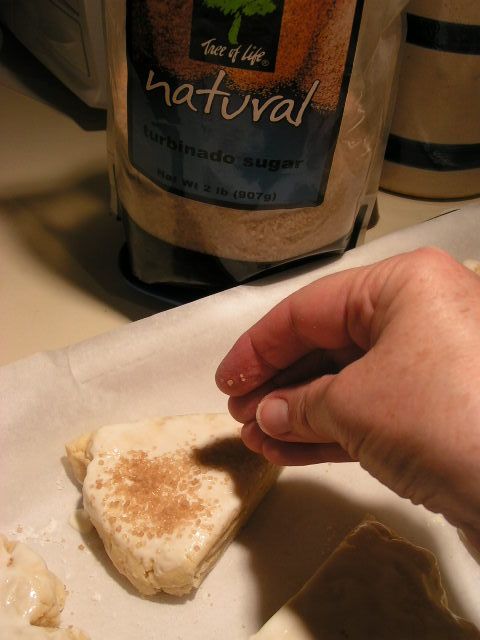 Sprinkle with raw sugar. Bake for 15 – 20 minutes depending on how fast your oven is. You want them to be golden brown. If you would like, dip the tops of the freshly baked scones in the following icing:
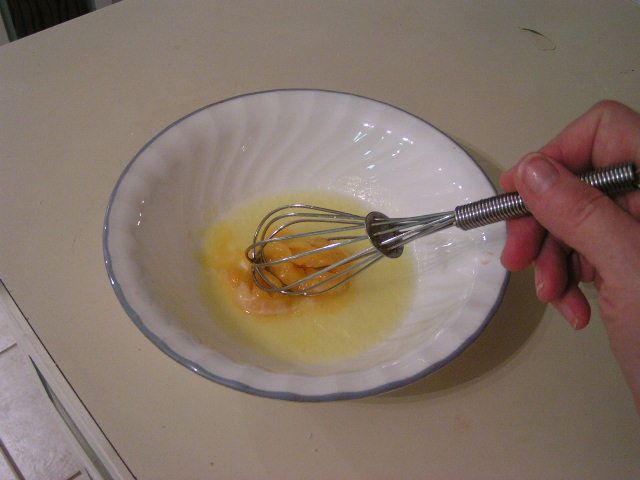 Stir orange juice concentrate into melted butter 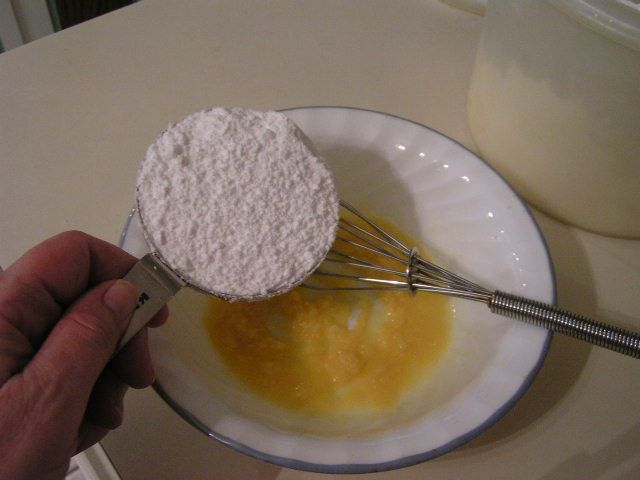 Add powdered sugar and stir. Add milk and continue stirring until smooth. Add more powdered sugar if it is too runny. 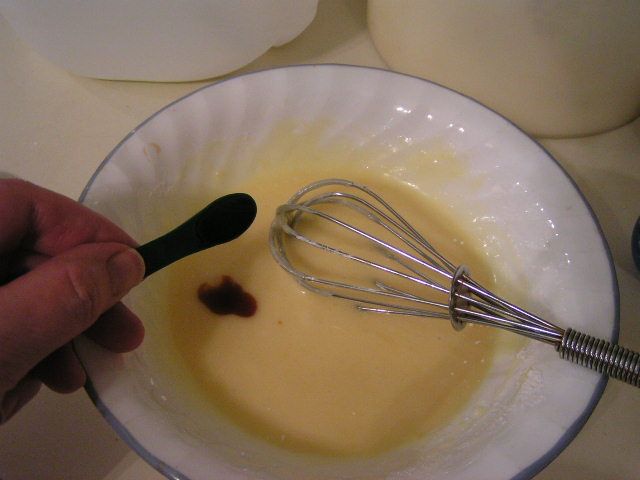 Add vanilla 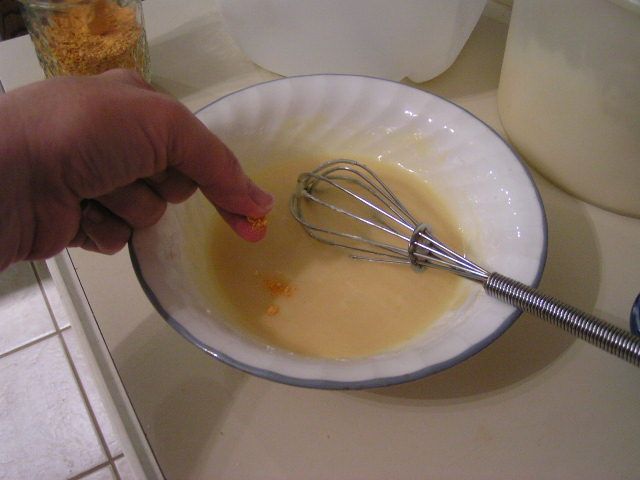 Add pinch of orange zest. Stir and then dip the tops of the scones into the icing.   Serve warm or cold. The scones in the forefront are the ones made with Splenda. They are a little heavier and hold their shape. The ones in the background are made with sugar and are lighter and more puffy. Serve with tea and lemon curd and you are set!! |
|
Oklahoma Pastry Cloth™ Company on Facebook
|
 |
A New Generation of Canners!
Tuesday, April 19th, 2011
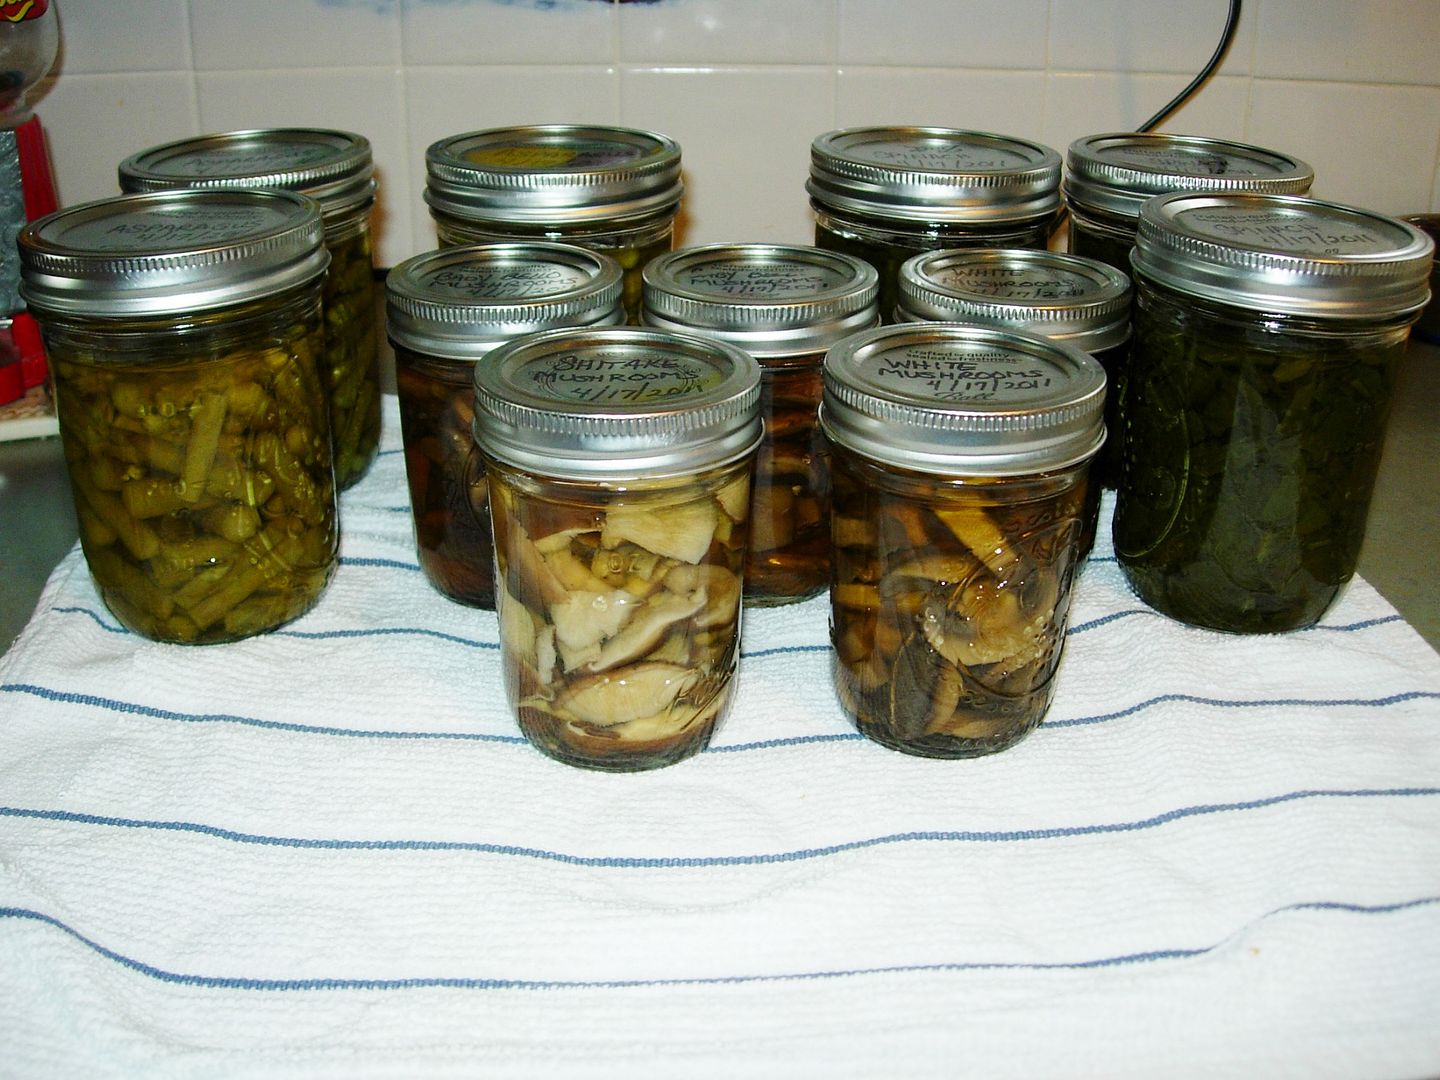 It is always exciting to hear from a reader who has jumped with both feet into the wacky world of canning! I love to hear the stories and see the results because it is wonderful to know that the art is being passed on. As I hear the excitement in the notes attached to photos, it takes me back to my early days of canning with visions of my first little kitchen, its unfinished concrete floor, boxes of bottle lambs in the corner and my brand, spankin’ new pressure canner gleaming on the stove. That was a long time ago. I received this photo from reader, Carol, who really took on some unusual produce to attempt her first experience in pressure canning. She wrote the following: “The farmer’s market started last Saturday and bought some nice fresh asparagus and spinach and had some mushrooms from the grocery. I took my pressure cooker for a test drive then I commenced to canning! 3 pints of asparagus, 3 pints of spinach, 4 1/2 pints of mushrooms. I am so excited. I have always wanted to do this. ( I know, I need to get a life) I have never canned or used a pressure cooker before. My family is terrified of pressure cookers after my Grandma exploded one while cooking stew and for years they found splats of stew around they kitchen and it took forever to get it all off the ceiling…” So I am offering a “congratulations!!!” to Carol for overcoming the family phobia and successfully processing some really unique items! 🙂 Yay! |
|
Oklahoma Pastry Cloth™ Company on Facebook
|
 |
Kudos!!
Sunday, April 10th, 2011
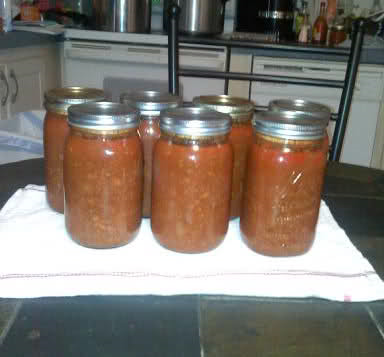 I’d like to give a shout out and kudos and ‘atta-girl’ and ‘way to go!’ (can you think of anything else?) to reader, Debbie, who sent in this photo of her first attempt at canning chili. It was such a success that she is moving on to canning soup for her very large family. Congrats, Debbie!! We are so proud of your success and eagerness to plan ahead for your family. If you have a success story or ideas that you would like to share, please email us with your pictures and story. Again, congrats, Debbie!! |
|
Oklahoma Pastry Cloth™ Company on Facebook
|
 |
Chicken and Broccoli Bake
Thursday, March 31st, 2011
 Once in awhile I get a wild hair and just start experimenting. Like splashing paint randomly on a canvas, I’ll play a game of “pull out what you have, throw it together and pretend it’s good!!” Most of the time, the result is pretty successful, but once in awhile I’ll end up with a disaster like my ‘seafood casserole’ which has been the subject of really bad jokes for the past 10 years. Or at least I think they are bad. For some reason, at family get togethers, that meal always finds its way into the conversation. That casserole was big enough to feed our family of six and all the neighbors up the road and across the road. Unfortunately, the kids took one bite and asked when I had started combining WWII MREs for dinner. Actually, WWII MREs would have tasted better. Mr. Fix-It, always the gentleman, smiled through gritted teeth and pretended to chew. I gave the casserole to our Labrador, Toby, who is the canine equivalent of “He likes it! Heh, Mikey!” (The Life commercial, silly!) Toby sniffed the casserole and looked at me with those big, brown, soulful eyes that silently queried, “When did you start combining WWII MREs for dinner?” He didn’t eat it either. Mr. Fix-It is my restaurant critic. No thumbs up from him or five stars. It’s number of helpings that determines the quality of my concoctions. One helping that is barely touched is a signal that failure is the operative word while two helpings is the, “Old gal, you did it!!” Well, this was a ‘Mr. Fix-It Two Helping Recipe” and so I thought that I would share it with you. And please, if you don’t like it, don’t tell me. Just go buy a Labrador! 
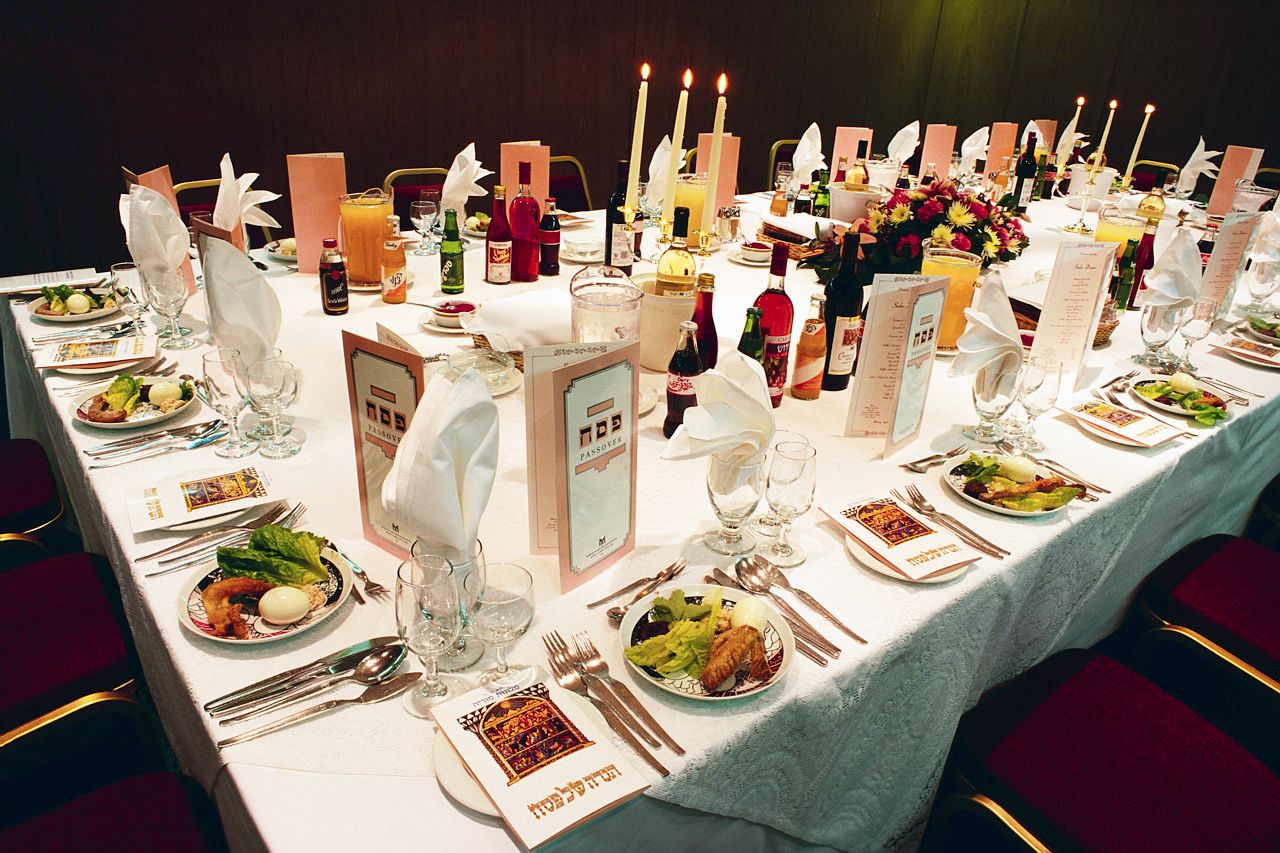
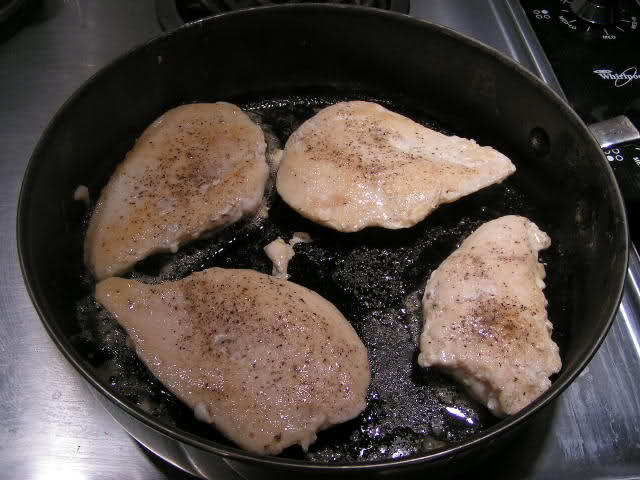 Salt and pepper chicken breasts and brown in 2 tbsp olive oil 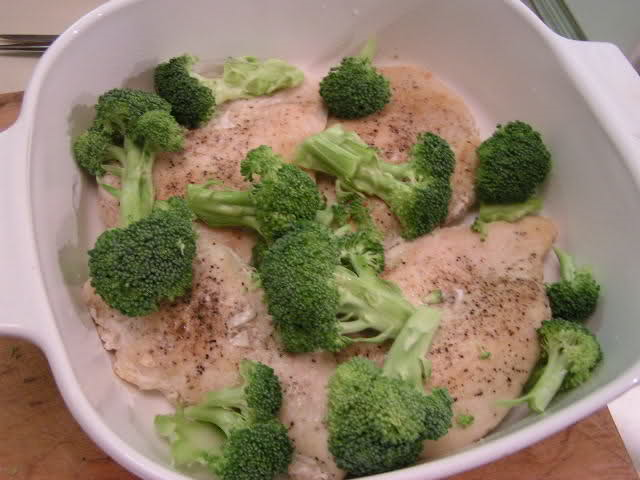 Place chicken in a baking dish. Lay broccoli around and on top of the chicken breasts 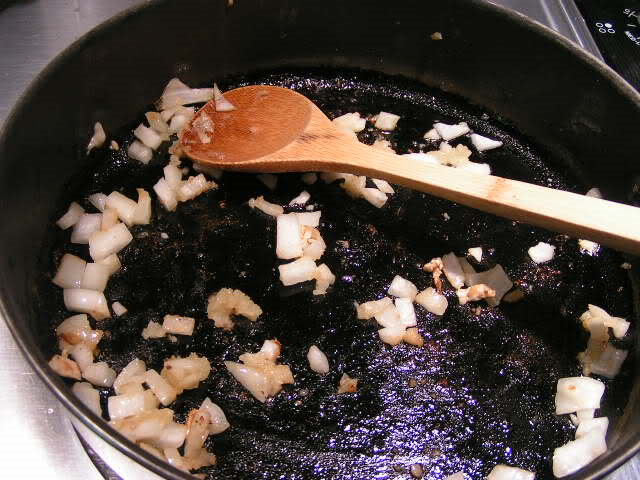 In the same skillet of drippings, sauté onions and garlic until just clear. 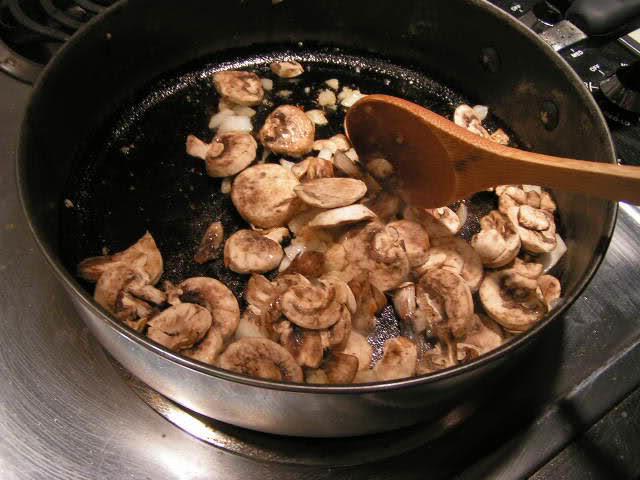 Add mushrooms and cook until tender and browned 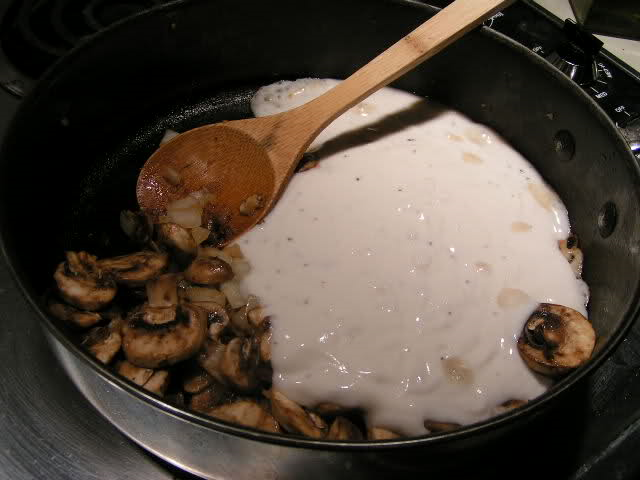 Add prepared gravy mix. I like using the mix because it is lower in calories and fat, but you can make a white gravy mix from scratch, in a saucepan, using equal amounts of melted butter (or other fat) and flour, adding milk a little at a time and stirring until gravy is thickened. Add salt and pepper to taste. 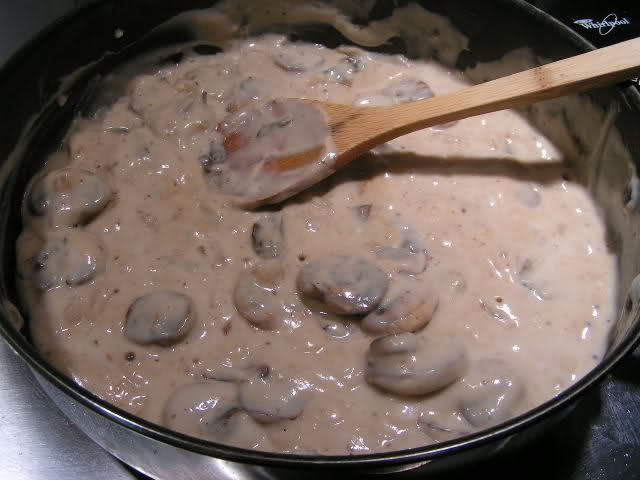 And stir until everything is incorporated 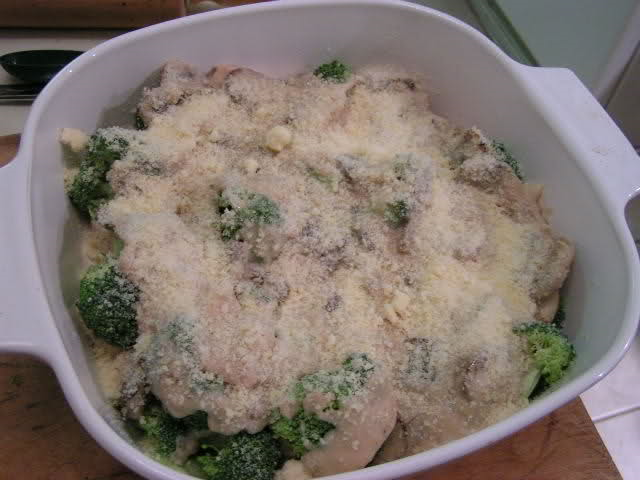 Pour mushroom sauce over the chicken and broccoli and spread to cover and sprinkle parmesan cheese over the sauce 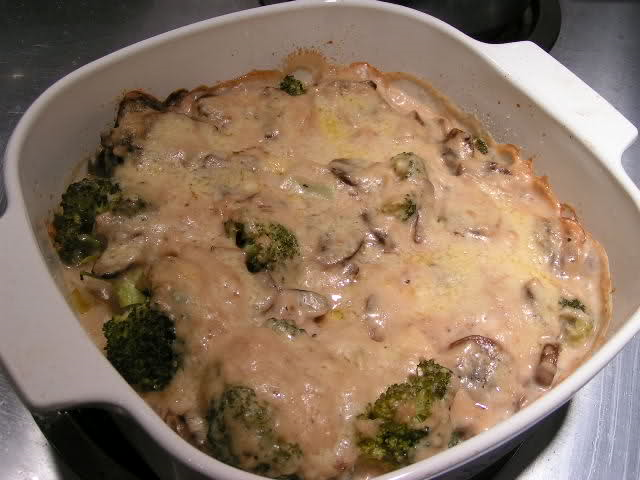 Cover and bake in 350º oven for 30 – 45 minutes until brown and bubbly
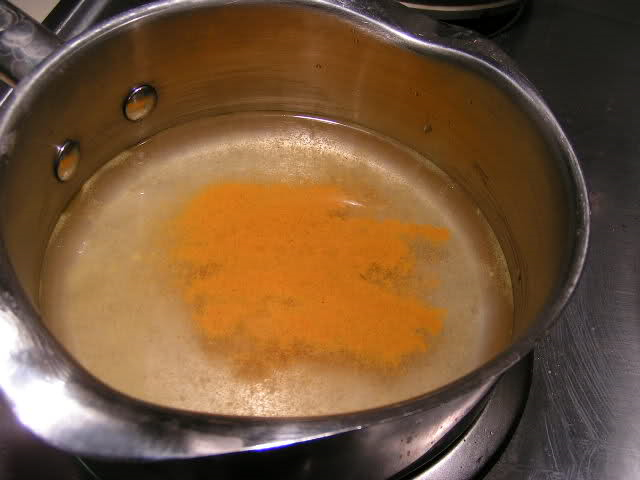 In a large saucepan add bouillon to water and add turmeric 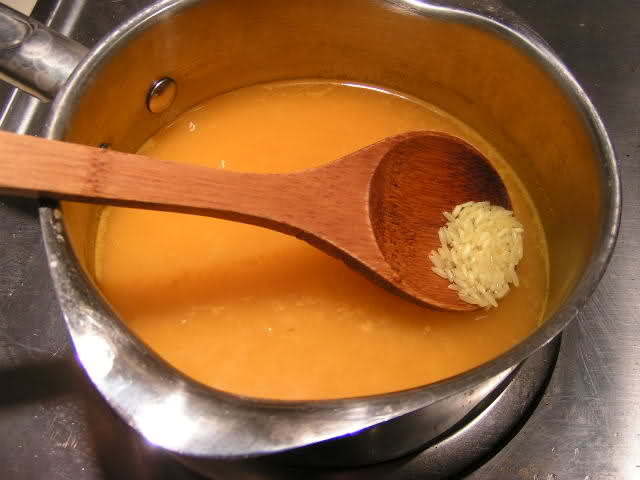 Bring water to a boil and add rice. Cover, reduce heat to simmer for 20 minutes 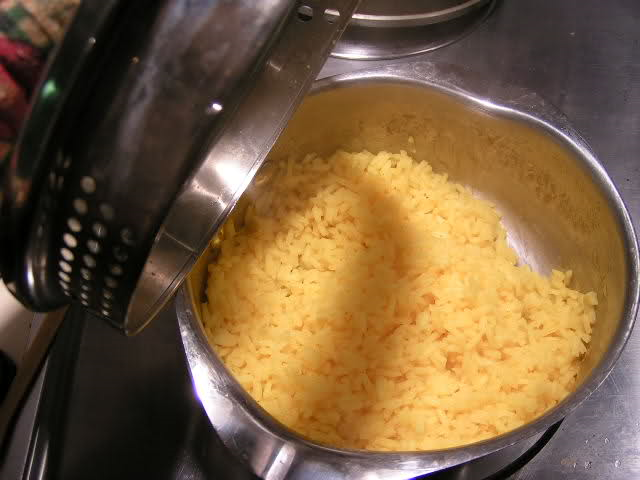 Toss rice and cover to let stand for 5 minutes.  Serve one breast and broccoli with sauce per person. And of course, you’ve gotta have that homemade whole wheat bread! 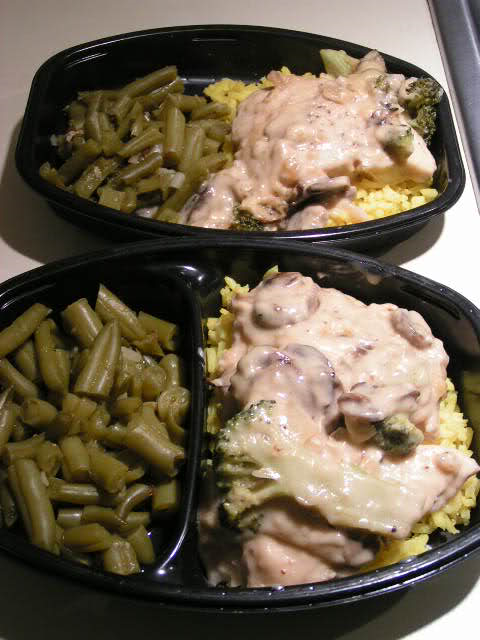 If you have leftovers, pop them into plastic trays, wrap with foil, label and freeze and you have your own ‘TV Dinners’. This is one chicken breast split into two dinners! Can we say, “Lunch?”  |
|
Oklahoma Pastry Cloth™ Company on Facebook
|
 |
“Time To Make The Donuts”
Tuesday, March 29th, 2011
|
  My dear friend and reader, Mrs. B., did it again. Not only did she gift me with my wonderful Bosch mixer, but she alerted me to the newest post at one of my favorite and linked blogs, New Life On a Homestead with the recipe for donuts to mix in my new Bosch mixer. The recipe originated at Enola Gay’s Paratus Familia and then Kendra made an edition at her blog. The pictures of the donuts at both sites made Mr. Fix-It drool and since I was tired of wiping up spit from the kitchen floor, I asked him if he’d like me to attempt the confections. You know the answer! And so I did the recipe, as written, with one change. I substituted potato flakes for some of the flour. I used home ground, whole wheat flour that I sifted and sifted but added potato flakes because I know that is the secret ingredient for a famous donut. I figure, what could it hurt? I make potato rolls and bread, so why not potato donuts? The home ground flour works great, but all purpose is fine too. So that’s what I did and the following is the result. The recipe made 27 small donuts + 27 holes. Also, I used a thin glaze and only dipped one side to make them not so sweet. They were just right. We shared these gems with our neighbor up the road and one of the sons said that he loved them because they were not too sweet.
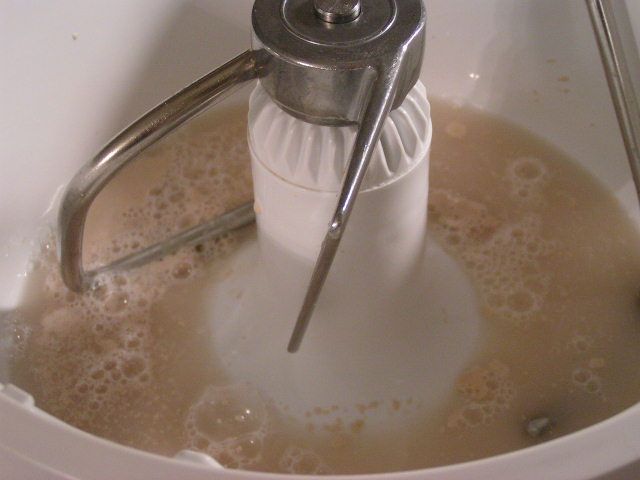 I used my Bosch but you can use any mixer with a dough hook. Of course, you can do this by hand as well. Add 1 3/4 cup warm water and 1 tsp sugar and sprinkle 1 Tbsp yeast over the surface, allowing to ‘proof’. 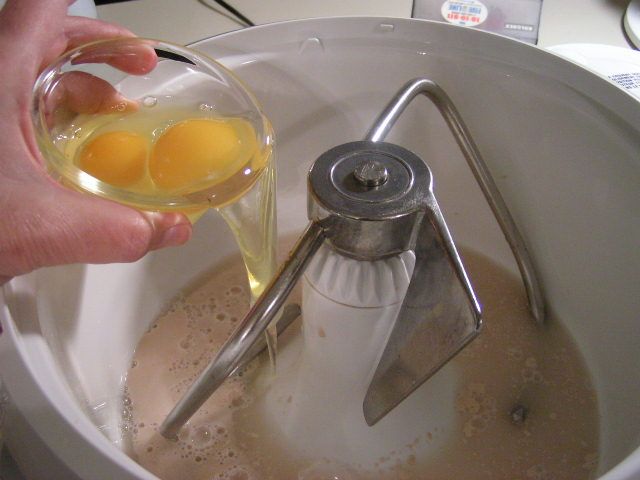 When the yeast water is bubbly,add 2 eggs… 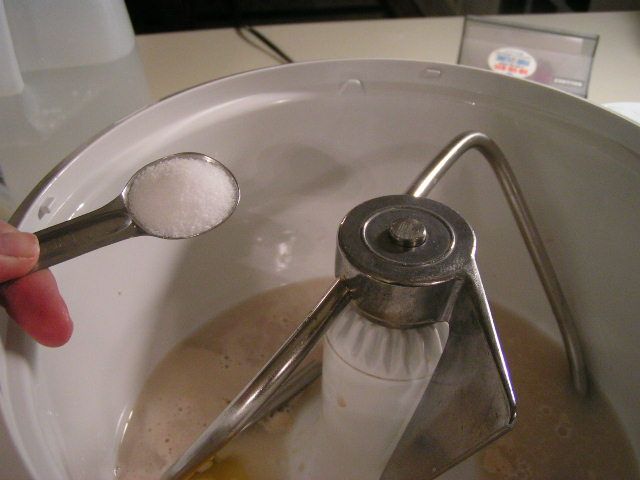 …and 1 tsp salt 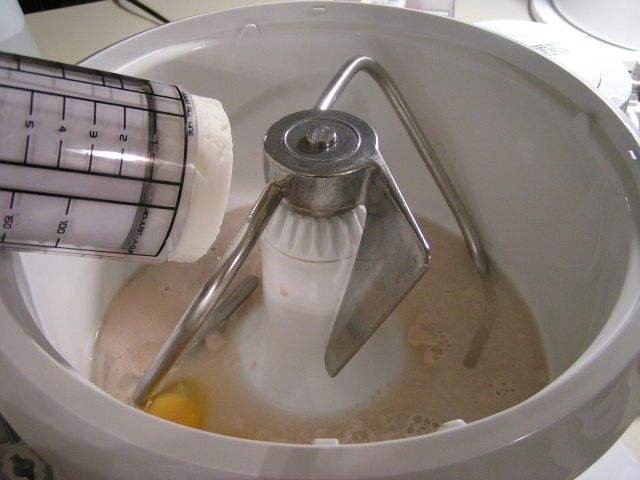 …and 1/3 cup shortening. 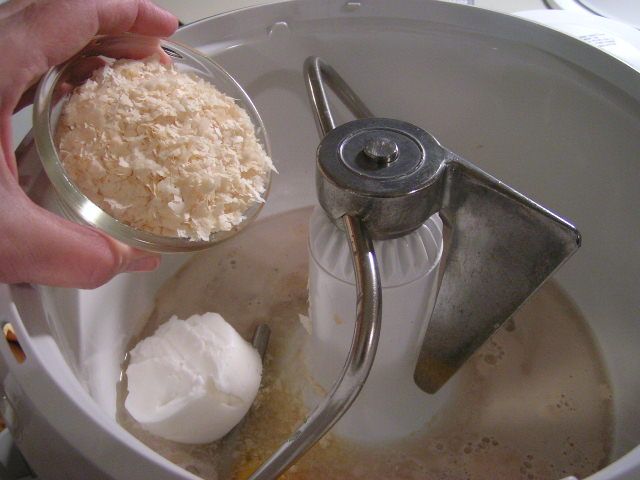 I added 1 cup of potato flakes. 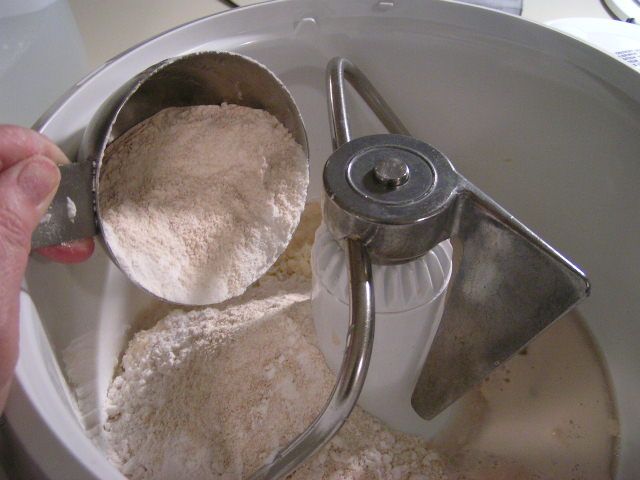 Add two cups of the flour. I am using whole wheat ground from Prairie Gold Hard White Wheat. 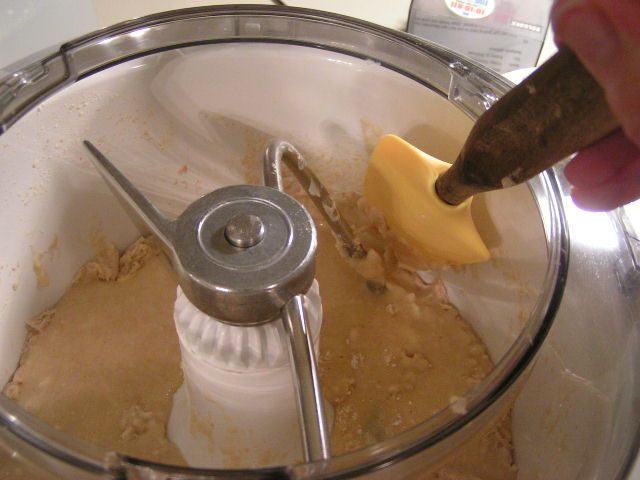 Mix and scrape the sides. 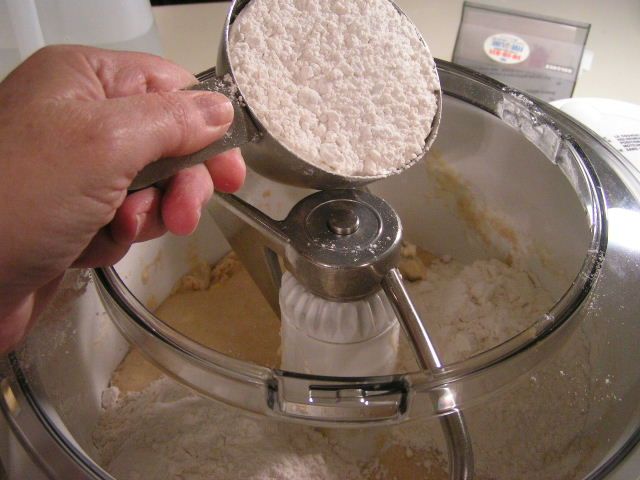 Add another cup of flour and mix. 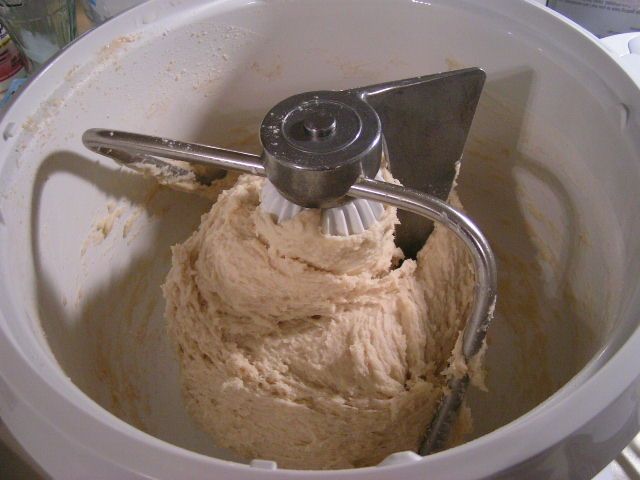 Continue adding flour by the cup until the dough pulls away from the side of the bowl but is still nice and soft. I used a little under 4 ½ cups of heavily sifted flour. Continue mixing on low for 8 minutes to knead. 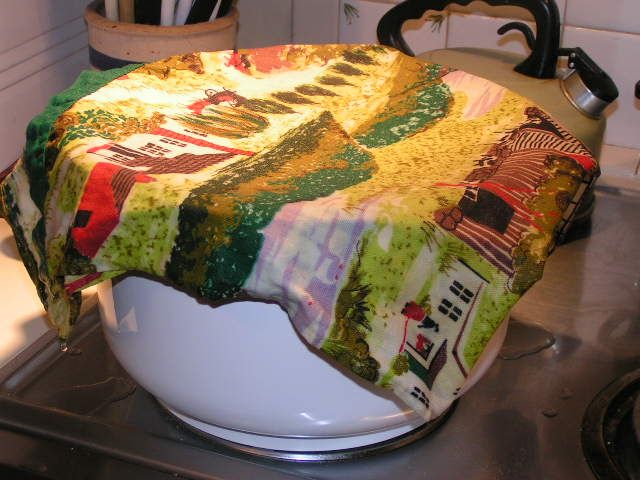 Let the dough rise until double – about an hour if it is in a warm place. Here, I am just leaving the dough in the mixer bowl, covering it with a damp cloth and then it is going into the oven which has been preheated to 150º and turned off.
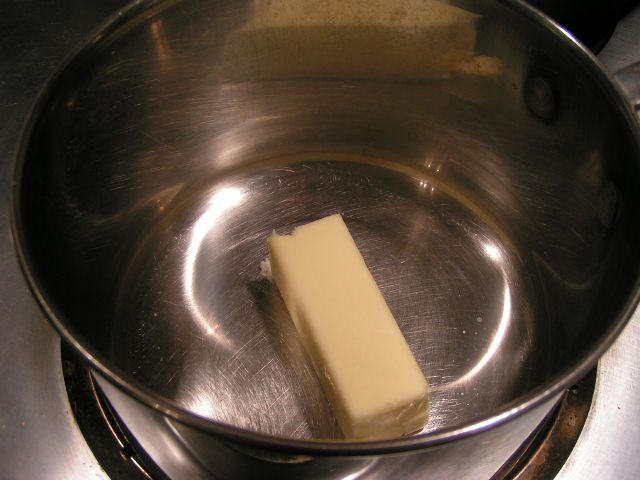 While waiting for the dough to rise, I made the glaze. Melt 1/3 cup butter in a saucepan. 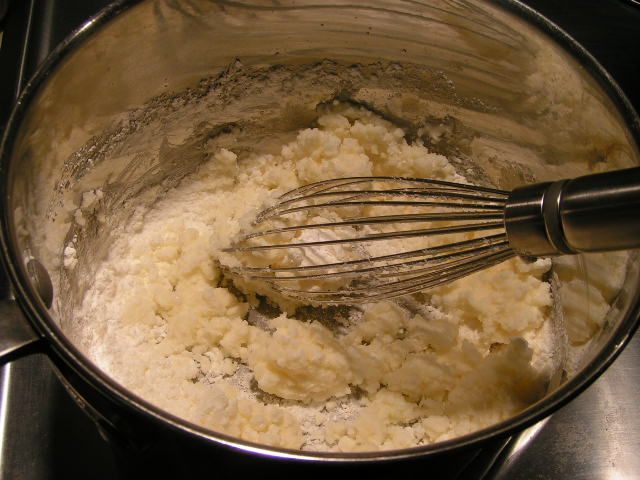 Add 2 cups powdered sugar and stir 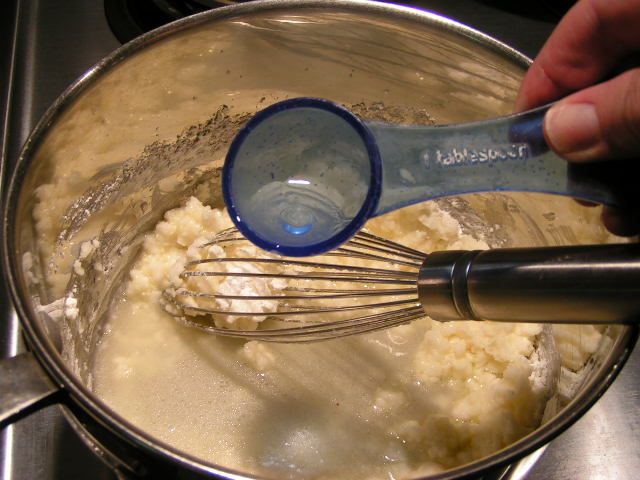 Add 4 Tbsp hot water. I added a little more water because I wanted a thin glaze. However, if you want a glaze that is thicker,1 1/2 or that you can spread, use more powdered sugar. 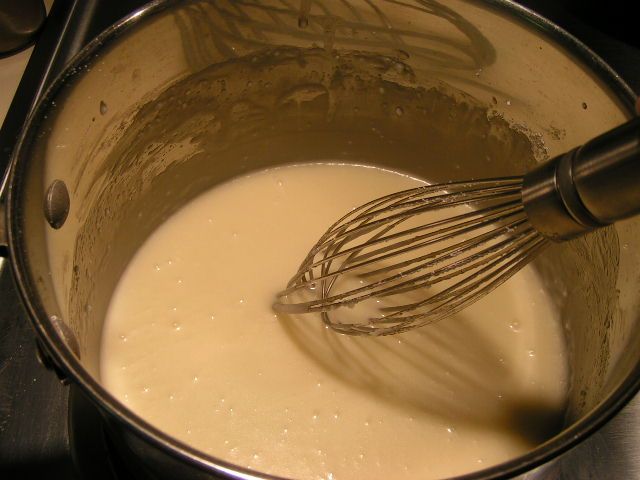 Stir until smooth 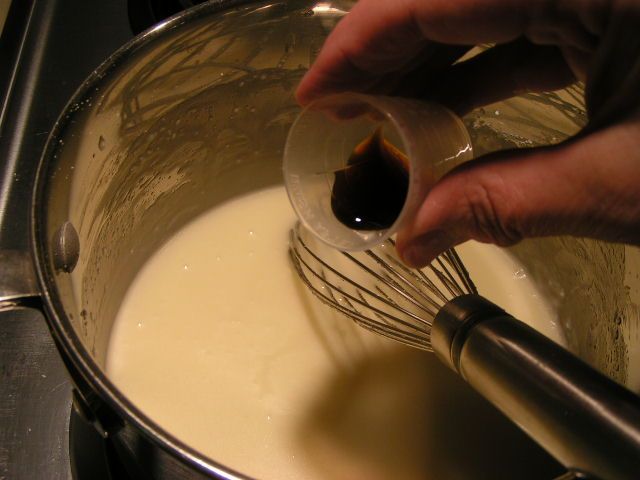 Add vanilla and stir until mixed. Set aside on a warm eye. I did it this way because I grew up with Krispy Kremes and have watched them glaze their donuts. The glaze is kept warm and thin and it doesn’t take much to glaze a donut. I decided to kind of replicate the process. 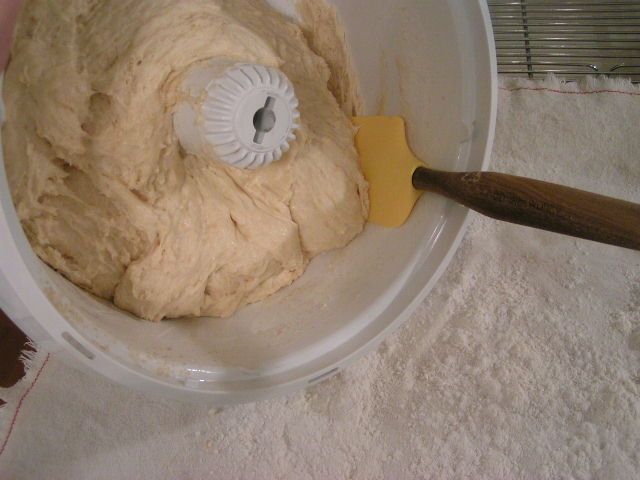 When dough has risen, scrape out onto floured surface. I am using one of the spatulas available on the Shopping Page as well as an Oklahoma Pastry Cloth™. 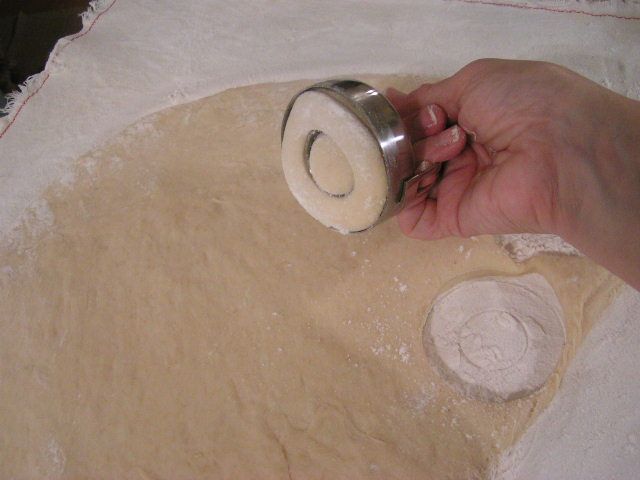 Roll out dough to about ½”. I used a rolling pin. Here I am cutting the donuts with a two part donut/biscuit cutter. It is wonderful because the center is removable so that the gadget becomes a biscuit cutter. 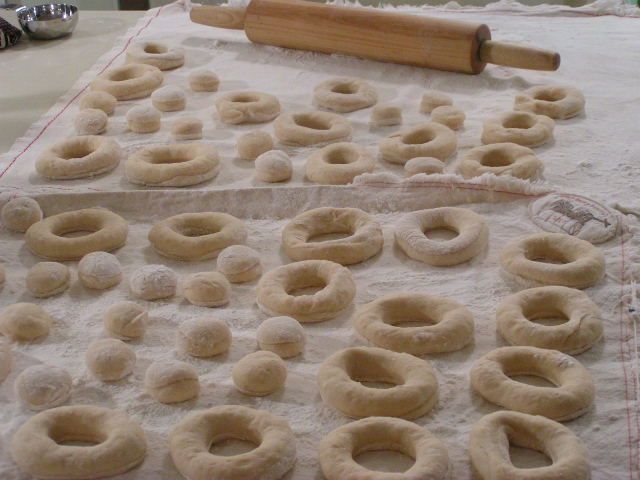 Place the donuts on the floured surface and cover with a damp cloth to rise until double. 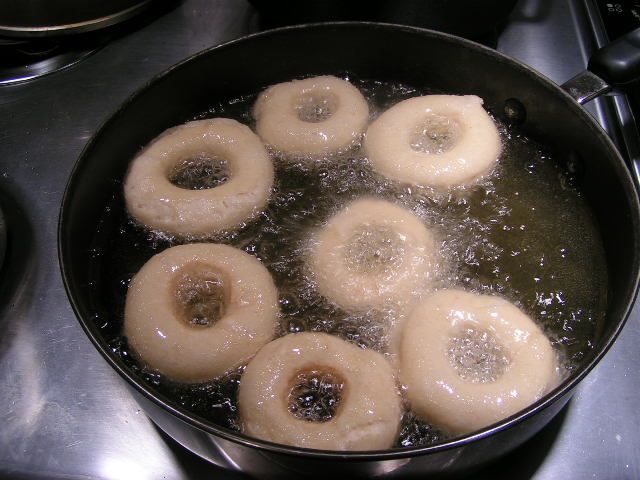 When donuts have risen, carefully place them in oil that has been heated to 350º.  A wooden chopstick is great to turn donuts to their other side when browned on the first side.  Cooked donuts placed on a rack from the oil, waiting to be glazed 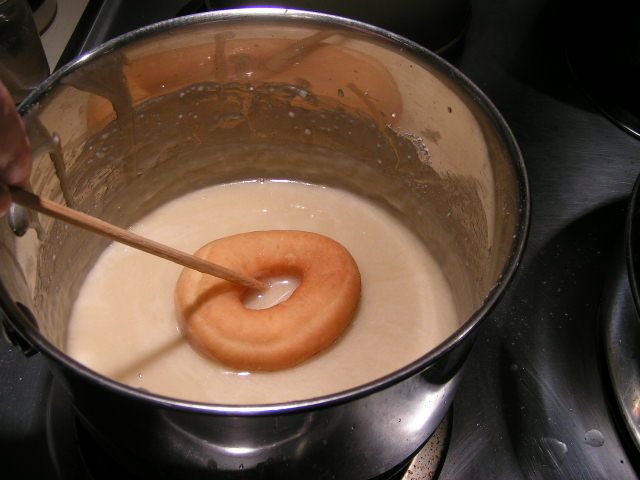 Using a chopstick or other utensil, place the donut in the warming glaze.  Lift the donut out of the glaze and place on rack or cookie sheet.   Don’t you just want to dive in? We did!!
|
|
Oklahoma Pastry Cloth™ Company on Facebook
|
 |
Grinding Corn
Friday, March 25th, 2011
 It doesn’t take much to thrill me. I’m one of those people who appreciates the little thngs in life! For probably 12 years, I’ve been grinding wheat to make our breads and other flour products and it’s been grand. I started out with a hand grinder – a Lil Ark – that has large, stone burrs to grind the grain. You’ve heard of stone ground meal, I’m sure. Well, we don’t have a watermill, but we still have the stone ground flour! 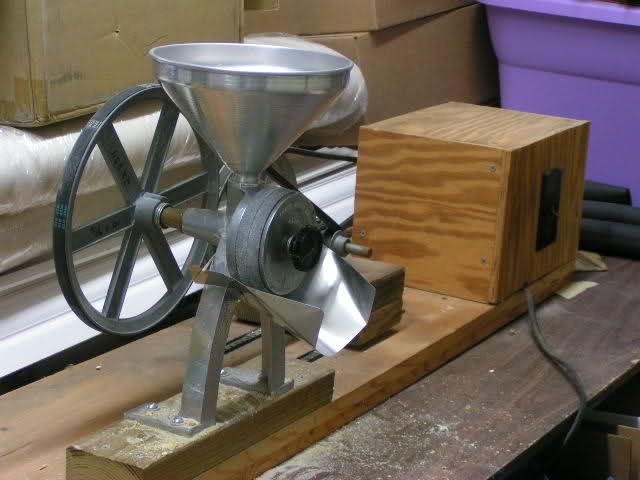 Mr. Fix-It, ever the mechanical genius, watched as I rotated ’round and ’round with the handle to the mill to get about 2 cups of flour for 20 minutes of work. Good exercise, but rather boring. He knew he could get a motor to do the work for me and so he promptly set out to do just that. Two fly-wheels, a couple of auto belts, some pine and an old trash compacter motor later and Mr. Fix-It had indeed fixed it! It isn’t much to look at, but by jove, it does an incredible job. It stays in the garage because it is huge and kinda messy. 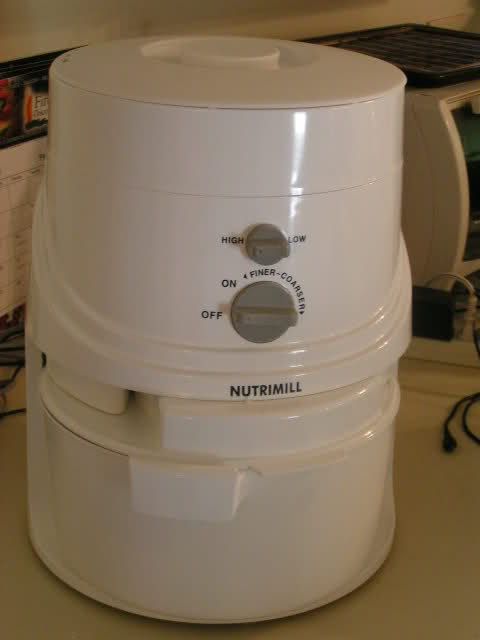 And then I graduated. I got a Nutrimill…the grinder of electric grinders. What took my Lil Ark an hour to accomplish, the Nutrimill does in 10 minutes. All the more flour to bake with, my dear! These grinders can be found at a number of places online and they are sooooo worth it. Some online sources include:
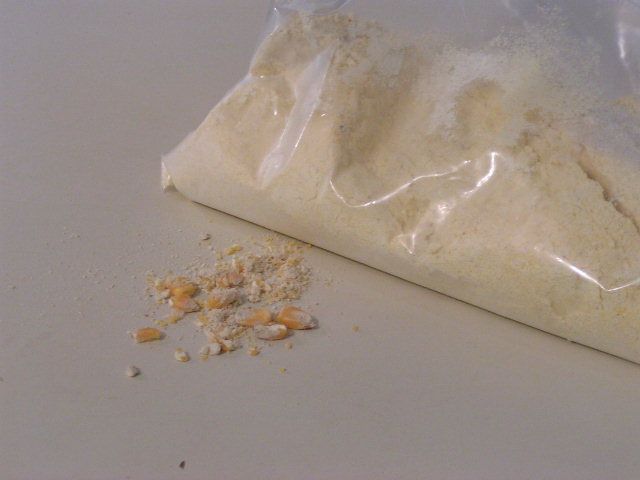 So all of this time, I’ve been making breads and such with wheat flour, but it never occurred to me to purchase corn and do my own cornmeal. Duh. Well, today ended that bit of ignorance. I purchased a sack of corn from Sonrise Whole Grains in Midwest City, and came home to experiment. I used both grinders and combined the results. The Nutrimill grinds the corn pretty fine, which is great for coating fish, while the Lil Ark makes a more grainy meal, which is good for cornbread. But together, it makes a-maize-ing cornbread. 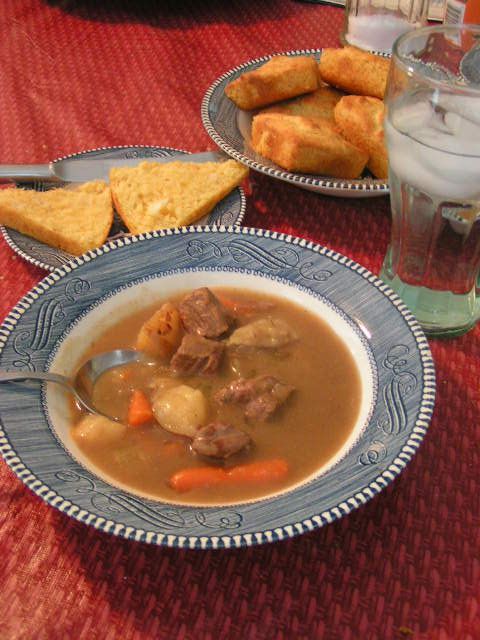 As a result, for dinner tonight, I made cornbread by my recipe posted previously and served that with some home canned beef stew. Now THAT’S livin’! |
|
Oklahoma Pastry Cloth™ Company on Facebook
|
 |
Canning Sausage
Thursday, March 24th, 2011
 But in Oklahoma, we say, “Sausage” like you ‘orta’! I love sausage. There is absolutely nothing like it. And, yes, it has to be made with pork. I’ve made turkey sausage before and I’ve added olive oil to give it some ‘crisp’ on the outside, but heh, it was turkey. That just isn’t real sausage. My favorite brand of sausage, if I haven’t made my own, is Tennessee Pride Country Sausage. Yes, I was born in Oklahoma and I live in Oklahoma, but I had a stint in between there in Tennessee. “Tennessee Country sausage is the best part of the meal”, don’t you know? It is very lean and has a wonderful flavor. Best of all, we get it here in Okie land!! 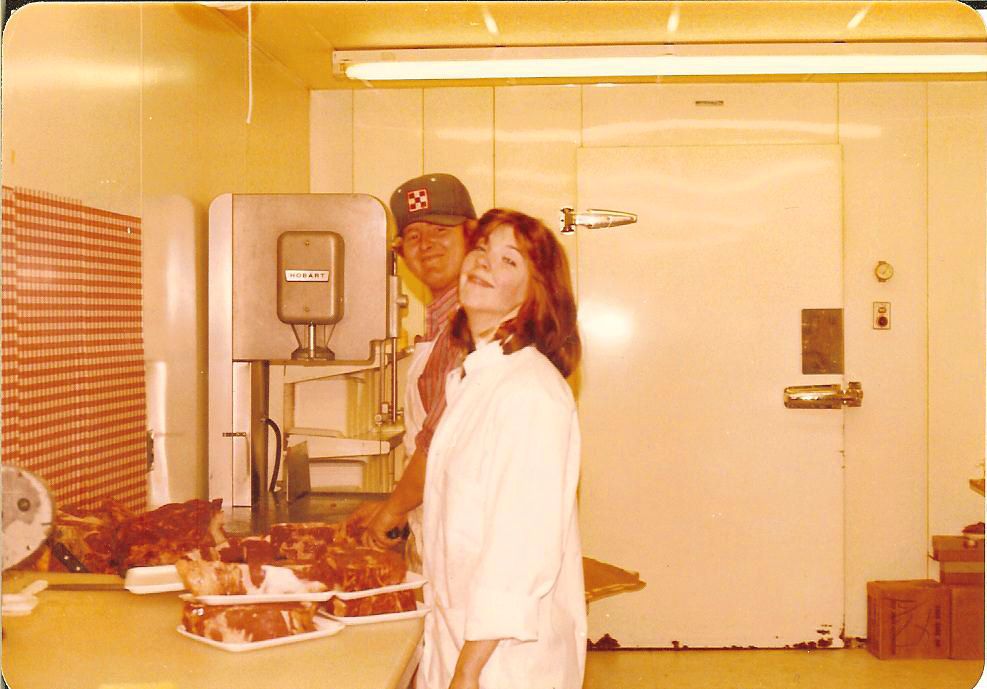 Working in the meat department in Blaine, Tennessee, (and yes, we acted this stupid) I learned to make my own sausage. We ground enough hogs to feed Ireland. I remember when I was expecting my first child, we and our friends, who raised hogs, killed several hogs to put in our freezers and I spent the afternoon grinding, seasoning and wrapping nearly 200 lbs of sausage and curing and hanging the hams and bacon. I was in those first three months of morning sickness and I must say, it took me years to be able to smell sage and brown sugar again. I got ill to put it mildly. My mother-in-law taught me how to can that sausage (sorsage as she called it) and I have been doing it ever since. Either homemade or store bought, sausage does very well canned. It keeps a lot longer than in the freezer and it is so easy to pull out in a pinch. As a side note, the Ball Canning book says not to add sage to your sausage because it could become bitter in the canning, but I have NEVER had that problem…and how is it sausage without sage??! What’s the last 4 letters of sausage? Sage! When I make my own sausage, I use sage from our garden that has been dried and hand rubbed. I have been canning Tennessee Pride sausage for a couple of years, which has sage in it, and it tastes wonderful too. 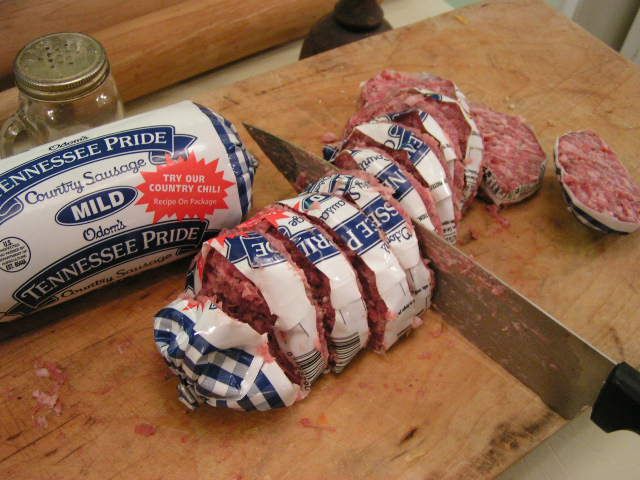 I canned sausage just before Christmas when I found it on sale. I try to do this once a year to last us and so it takes quite a few runs and a full afternoon but one run only takes about an hour and 45 minutes total time (preparation and processing). You can make your own sausage into patties or if you are using packaged sausage, slice the packages into patties. I am using a serrated knife here with tiny teeth. A straight knife just makes mess of soft sausage. Also, you can freeze your rolls slightly to make them easier to cut. But a serrated knife is still needed. 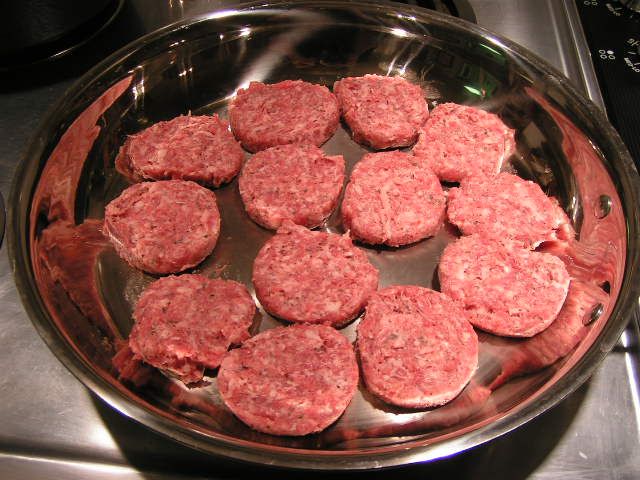 Place the patties into skillet. I add a 1/4 cup of light olive oil because Tennessee Pride is so lean. 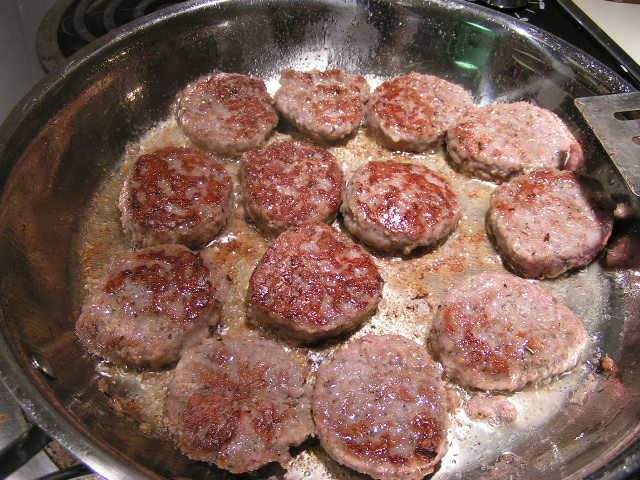 Brown patties on both sides. It doesn’t matter if you don’t get the sausage fully cooked as you would if preparing to serve it. 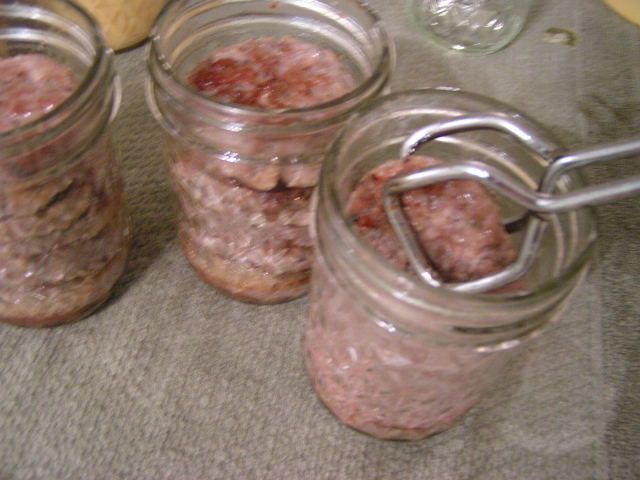 Carefully stack patties into sterilized and hot canning jars. Leave a 3/4 – 1 inch head space. Here, I am using half pint jars because there are just two of us, but when the kids were all home, I packed the patties into pint jars. I can get around 4 – 5 small patties per half pint jar. For larger jars, you can make your patties larger. 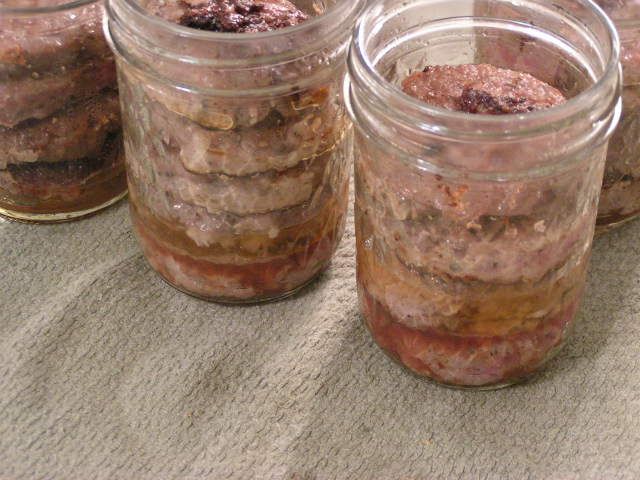 Pour drippings into jars, over sausage, leaving 1″ headspace. If you don’t have enough drippings to fill this high, it is ok. Just fill as much as you can as you see I’ve done in this photo. When the sausage is lean, it is hard to get alot of drippings. That is why I added extra oil in the cooking. Remove all air bubbles with a knife or canning spatula. 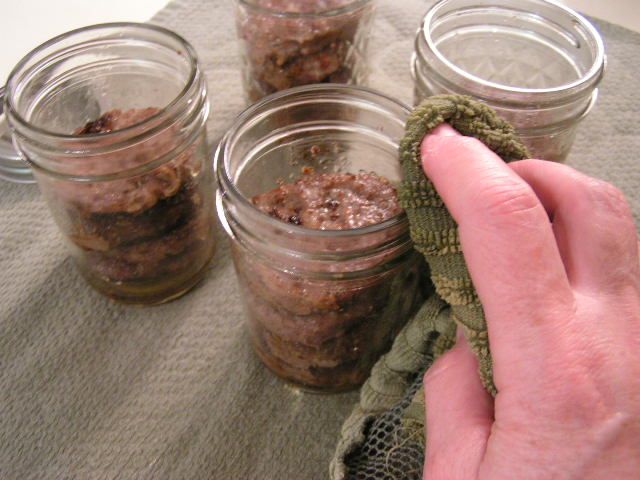 Wipe the rims of the jars with a hot, wet rag to remove all oils. 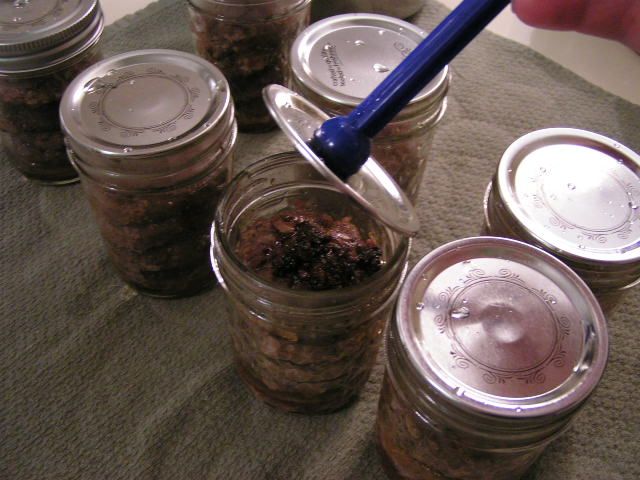 Add lids that have been simmering in nearly boiling water. Add rings and tighten slightly. I tighten and then back off just a smidge. 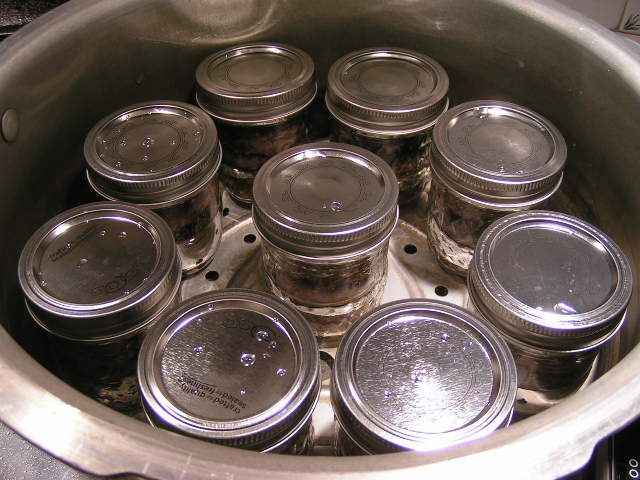 Place jars in pressure canner that has 2 to 3 inches of hot water in it. Pressure can at 10 lbs pressure for 1 hour and 15 minutes. For quarts, pressure for a hour and 30 minutes. 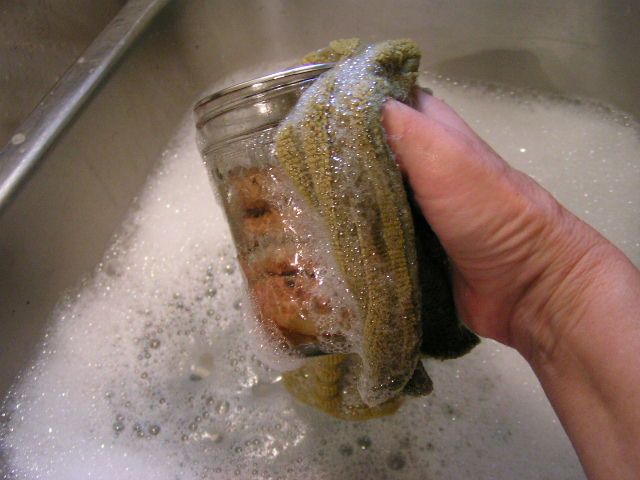 Remove jars from canner and let them cool. For those of you who have not canned before, you will hear a ‘pinging’ sound as the lids seal. All lids should look concave – sucked down toward the inside of the jar – if they are sealed. If the button in the center is still popped up, the jar has not sealed. When the jars are cool enough to handle, remove the rings and wash jars and rings in hot, soapy water to clean off any oils that might have escaped in the canning process. 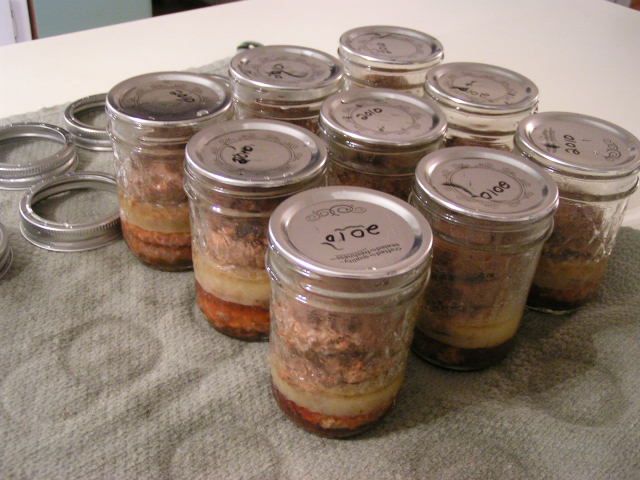 Allow the jars and rings to dry thouroughly and then replace rings to store. It is not required that you replace the rings, but they do protect the edge of the seal from bumping. 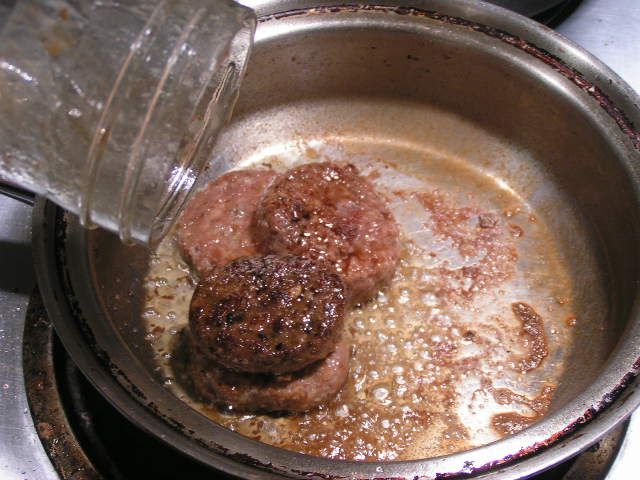 When you are ready to use your canned sausage, just open and place patties in a preheated skillet and include drippings from the jar. Fry the patties to give a little “crust” to each side. The preheated skillet helps to give a nice sear to the outside. 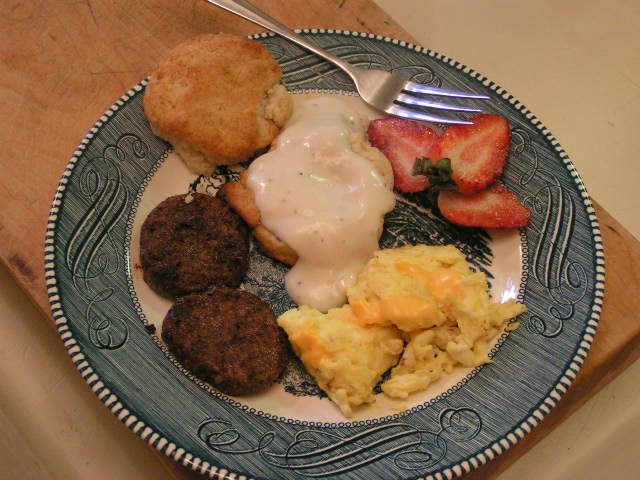 Serve as you would fresh sausage and chow down! |
|
Oklahoma Pastry Cloth™ Company on Facebook
|
 |
Canning Chicken and A Recipe
Thursday, March 10th, 2011
  Buying chicken on sale is a wonderful thing if you have the room to freeze it, but what do you do when chicken is on sale for a matter of cents per pound and you want to stock up for a good, long time? Freezer longevity for chickens is just a few months and so unless you eat chicken every night, it would be hard to make use of a large number of frozen birds. Canning is your option! Shoot, canning is ALWAYS an option because there’s just very little that can’t be canned! 🙂 And so, here are the steps to canning a whole bird followed by a rather surprising recipe – I thought it was surprising, anyway! The method that I am using here is called the “raw pack” method and does not involve cooking the chicken first. 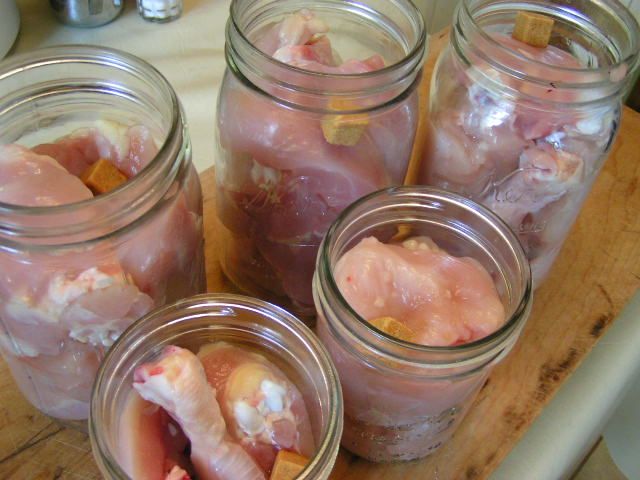 After cutting up the chicken, place it into warm, wide-mouth jars that have been washed and sterilized in the dishwasher or boiled in a large pot. It is important that they are widemouth in order to get the chicken out without tearing it apart. I can get one half of a chicken into a quart jar (minus the back which I use for stock). I also place just the wishbones together sometimes, in a widemouth pint jar, to use for recipes like enchiladas that call for just white meat chicken. I also skin all of my chicken to cut down on fat. I place one cube of chicken bouillon per jar. 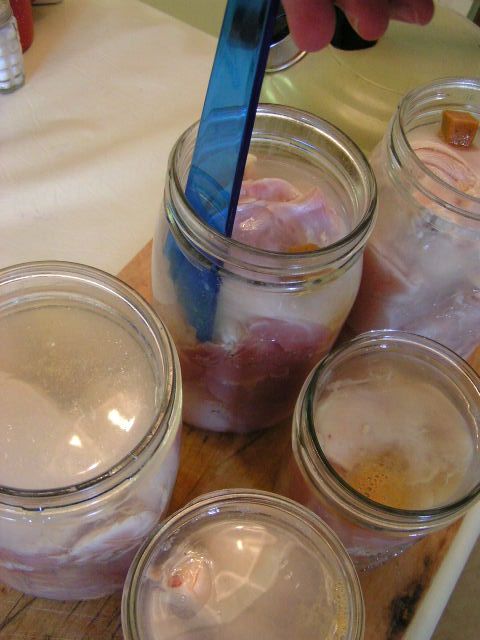 Meanwhile, I have a kettle of water boiling on the stove and slowly pour the hot water over the chicken to leave a 1/2″ headspace. Using a canning spatula or knife, move around the inside perimeter of each jar to release any airbubbles. 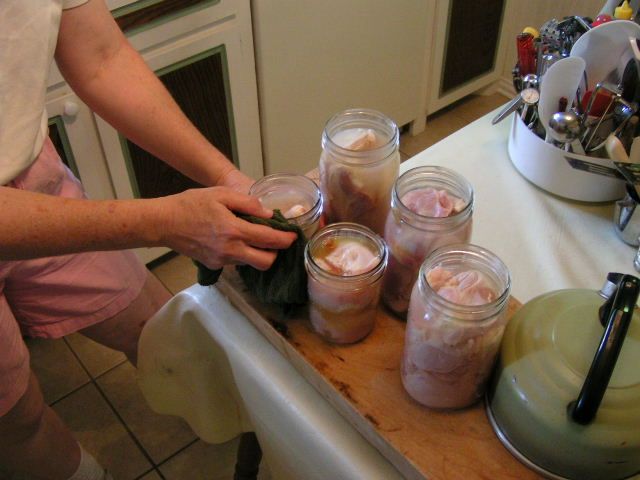 Wipe the top edges of the jars with a wet cloth to remove any chicken juice or oils. 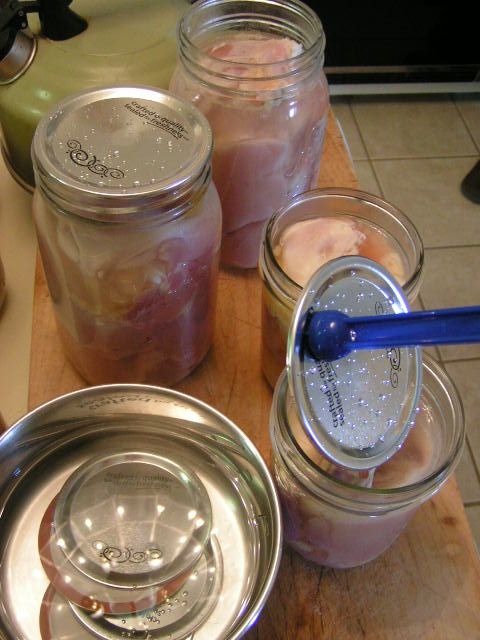 Place lids that have been warmed in a pot of nearly boiling water onto the jars and add rings. Tighten slightly. Place in a pressure canner just like I demonstrated in the post on canning chicken broth. Process for 75 minutes for pints and 90 minutes for quarts once your canner has pressurized. 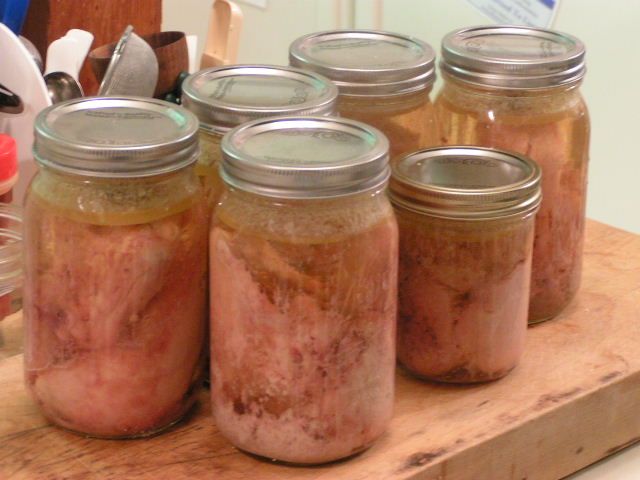 I have to admit that of all the things one may can, chickens make the UGLIEST presentation. The jars just aren’t pretty. There’s no getting around it. Once they come out of the canner and cool, it is a good idea to remove the rings and wash the jars (with the chicken in them) in warm, soapy water and then wash the rings to get any oil off that may have escaped in processing. Let the rings dry and then you can replace them or leave them off, whichever you prefer. Once your chicken is canned, it will last for at least a year. And it is so great for fast meals. Dump a couple of jars into a pot with some onions and broth and bring to a boil and then add dumplings. But that is just normal. How about different? 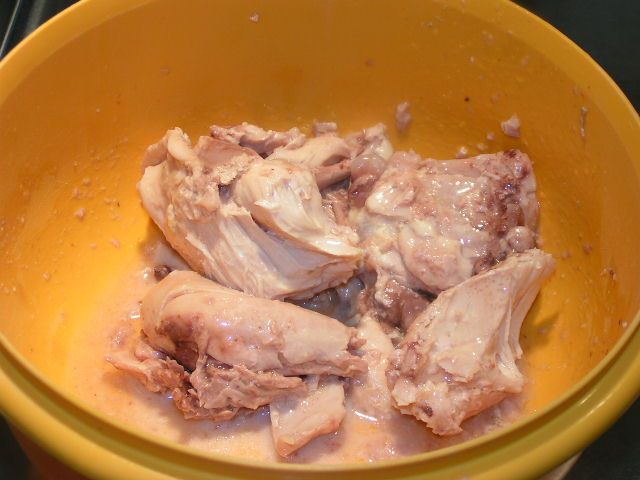 Last night, I opened one quart jar of chicken, drained the broth and carefully slid the chicken pieces into a large bowl. I sprinkled milk over the pieces. 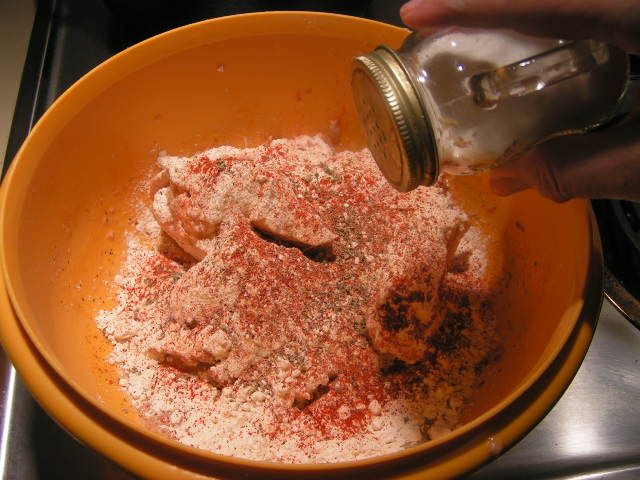 I added a cup of flour, about 1/2 tsp paprika, 1/4 tsp garlic powder, 1/4 tsp thyme, 1/2 tsp sage, 1/2 tsp black pepper and carefully rolled the pieces in this mixture. I salted the pieces at that point. Again, you have to handle the pieces gently or they will fall apart on you. If they do, it’s ok. Just dredge the parts in flour too.  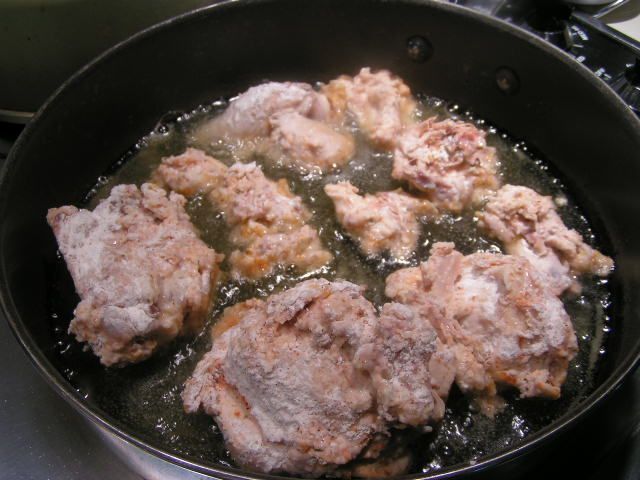 Next, I put just enough canola oil in a skillet to cover the bottom well and heated on medium high. Light olive oil would be fine too. Anything to get those good fats, people! When the oil was hot, I gently placed the floured pieces of chicken in the oil to “fry”. 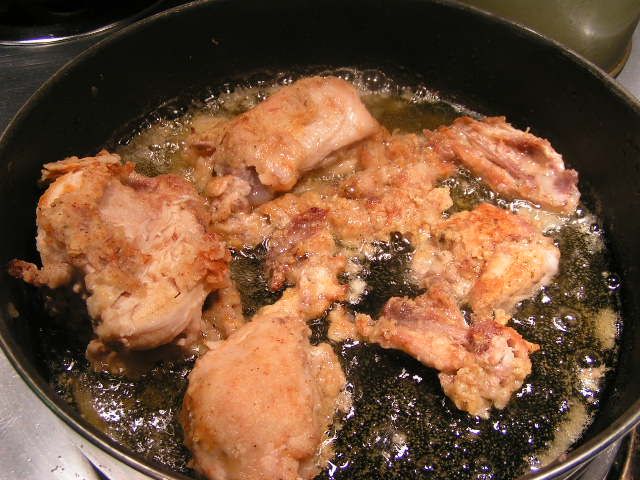 I carefully turned the pieces to brown on the other side. When browned, I transferred the pieces to a cookie rack placed over a cookie sheet and placed in the oven at 250º while I cooked the rest of the meal. This keeps the meat warm, but also lets excess oil drip off of the chicken so that it isn’t too greasy. 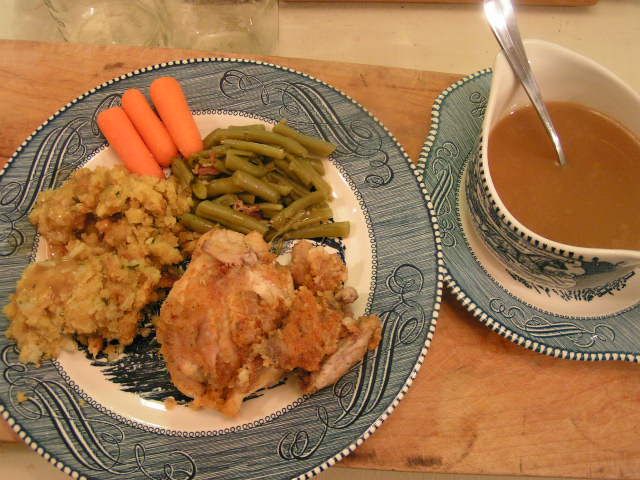  You can make gravy with the broth out of the jar and cornstarch or use a packaged mix. And I added stuffing to this plateful. Since the chicken has been pressure cooked in the canning process, it is tender and falling off the bone even before frying, so frying just gives these tender morsels a crispy covering. Mr. Fix-It was licking his chops and said that the chicken was superb! He’s my most honest critic. So see? You can use canned chicken in all kinds of ways! |
|
Oklahoma Pastry Cloth™ Company on Facebook
|





 Homestead Revival
 Paratus Familia
 Rural Revolution