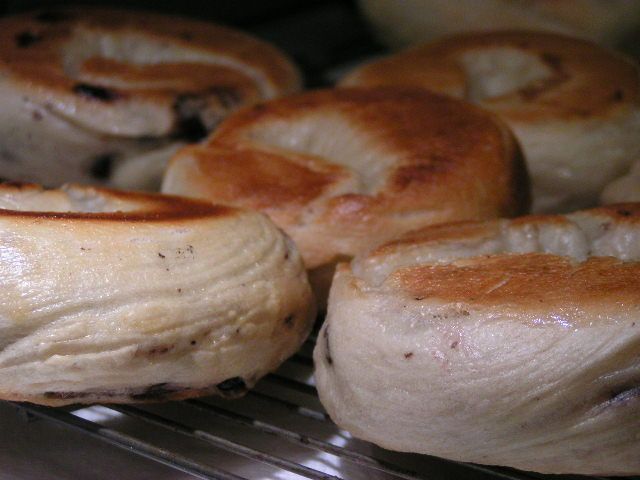
  This morning, I am munching on a toasted bagel with butter and strawberry cream cheese. Let me tell you. There is absolutely no bread on earth, in my book, that is more gratifying and fun than the toasted bagel. And the taste. Oh my. Crunchy/chewy on the outside and soft and yummy on the inside. The only thing that comes a close second for me is an Aunt Annie’s garlic pretzel!!! Once you’ve eaten a fresh, homemade toasted bagel, you will never go back to the store-bought ones again. They are melt-in-your-mouth delicious. The fun thing about them is that they don’t take very long to make!! And the more you make, the better you get at forming them. Pretty soon you are ready for a window in front of a gawking crowd that’s watching you slap bagel ropes around your hand and wowing them as you deftly tuck the ends together to make a perfect circle, ready for boiling water. According to the Kitchen Project the legend about bagels runs something like this: “In 1683 in Vienna, Austria, a local Jewish baker wanted to thank the king of Poland for protecting his countrymen from Turkish invaders. He made a special hard roll in the shape of a riding stirrup – Bugel in German – commemorating the king’s favorite pastime and giving the bagel its distinct shape.” In Poland, bagels were given as gifts to expectant mothers and used as teething rings for the new babies. And in Russia, they were given as good luck charms with magical powers! Immigrant Jewish bakers brought the bread rings to North America and they were quickly a favorite. Today, while many bagel stores use automated machinery to produce large quantities of bagels, there are also stores where artisans ply their trade with the stiff dough and roll them by hand. That is the way that I do it. Below is the recipe for basic bagels and step-by-step instructions. Total time from start to finish is a little over an hour. You can add any of your favorite ingredients to his recipe. Oven temp: 425º
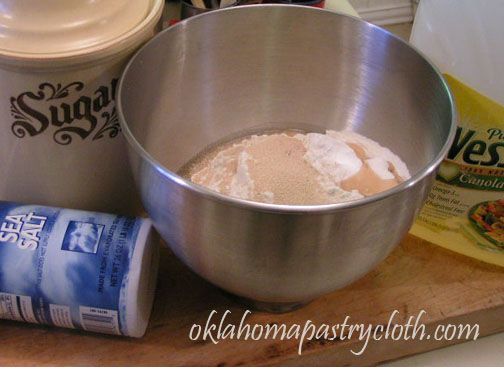 Place 1 tbsp sugar into a 2 cup measuring cup and add 1 1/4 cup warm water. Sprinkle yeast on top of the water and shake it until yeast starts to sink. Allow to proof for 5 minutes. Meanwhile, add all of the other ingredients to a mixing bowl. Pour proofed yeast in with the rest of the ingredients and mix with a dough hook on your mixer or mix by hand with a wide spoon. Knead by hand for 10 minutes or knead with a dough hook for 8 minutes on low. 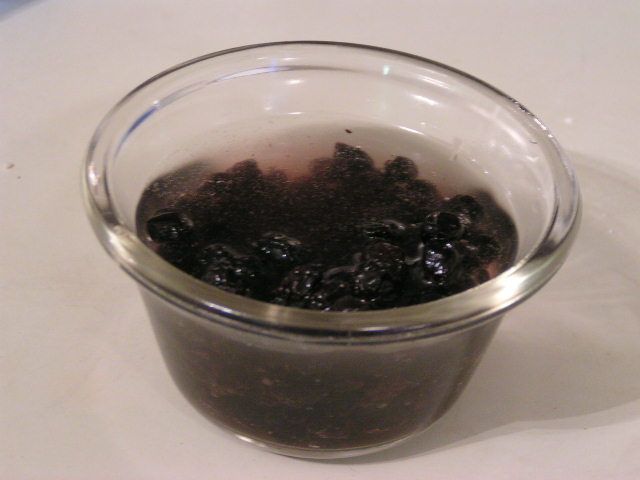 I reconstituted some dried blueberries overnight by pouring warm water over them and putting them in the refrigerator to soak overnight. I added these to part of the dough after kneading. I divided the dough, leaving part in the mixer and then added the drained blueberries to mix. You can add cinnamon and raisins or fresh blueberries, garlic and onion pieces, anything that you like in a bagel. 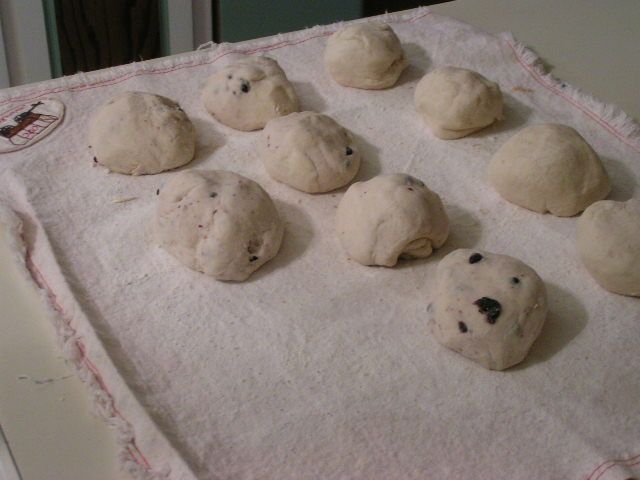 On a floured surface, divide the dough into 8 balls. I am using an Oklahoma Pastry Cloth™ here and it provides a wonderful surface on which to work with bagels. And cleanup is a breeze. Cover the dough balls with a warm damp towel and allow to rest for 20 minutes. 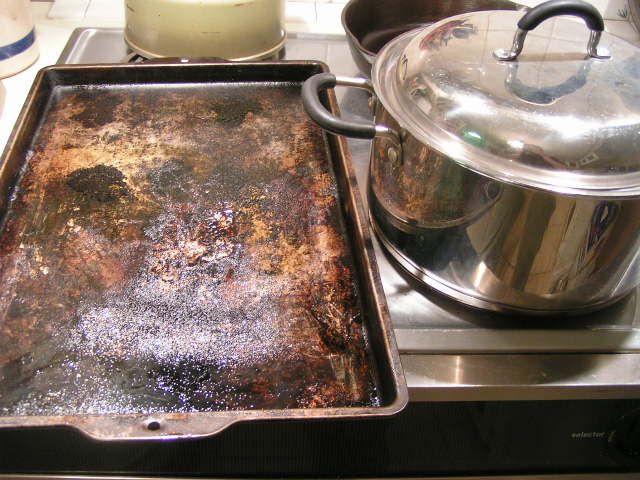 In the meantime, prepare a large pot with water to be boiled and oil a cookie sheet. 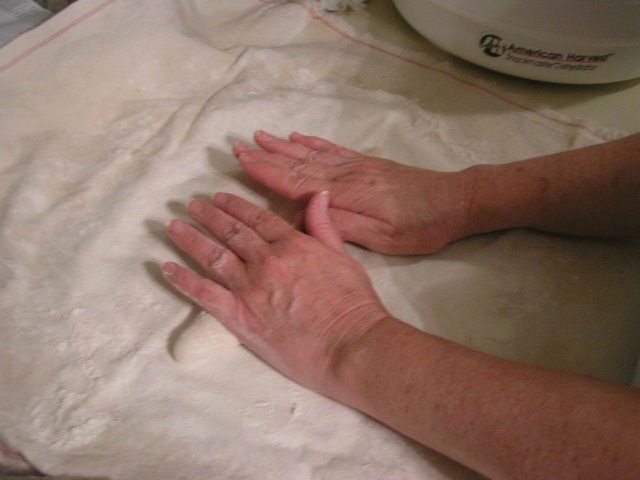 Remove damp towel from dough balls and flour the rolling surface. Roll each dough ball out to the length equal to the width of your hands placed side-by-side. 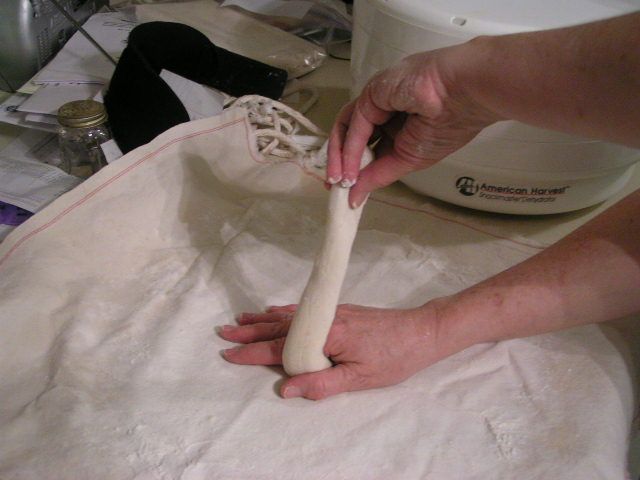 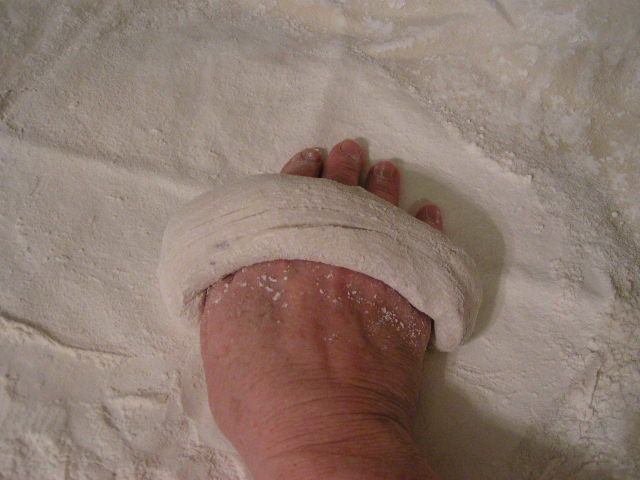 Place one end halfway under your less dominant hand and pick the other end in your other hand. Wrap the rope over the top of your less dominant hand and bring the end under your hand to match the other end. I have a bowl of water nearby where I can dip my fingers in and wet the surfaces of both ends so that they will join easily. 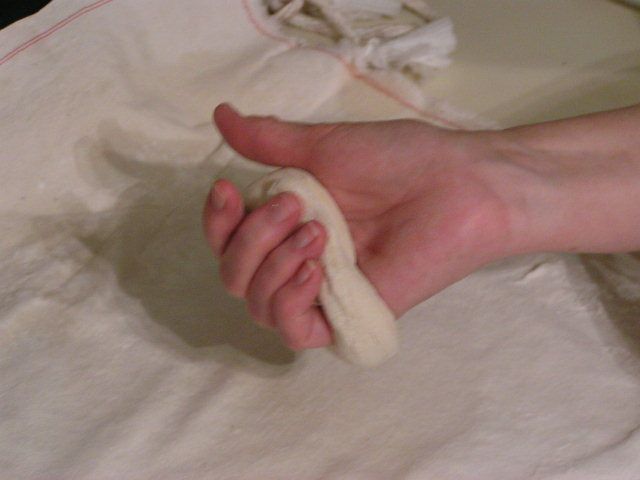 I flip my hand over and gently squeeze the ends together. Or you can press the ends together by pressing down onto the floured surface. At this point, I place the formed bagels back onto the pastry cloth, but the pastry cloth has been put onto a flat surface like a cookie sheet or pizza board. When all bagels have been formed, I cover them with the warm, wet towel again and then place in the oven that has been warmed to 150º and turned off, to rise for 20 – 30 minutes. They should look slightly puffy when they are done. You don’t want them to rise too much, but just have a nice, full shape. Meanwhile, start your water to boiling. 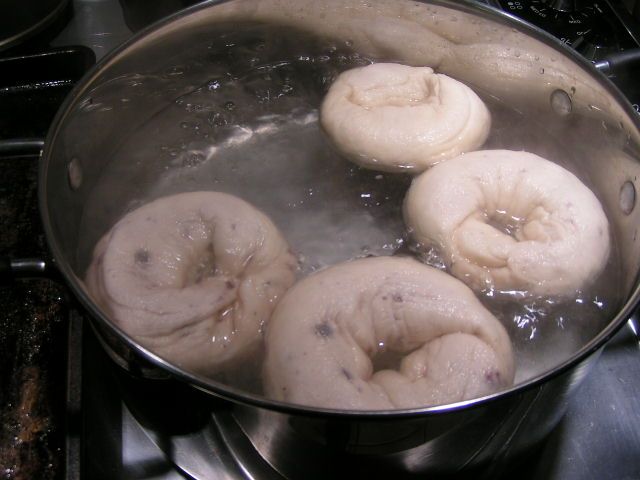 When the bagels have risen slightly, drop them into the boiling water for 1 minute on one side. 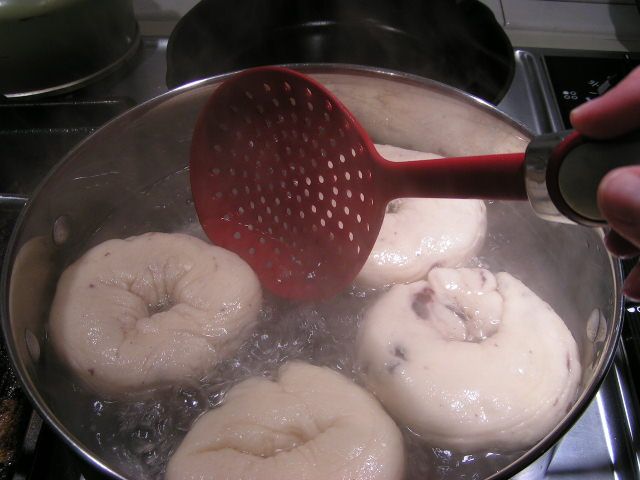 Using a large, slotted spatula, gently turn the bagels and let them boil for 1 minute on the other side. 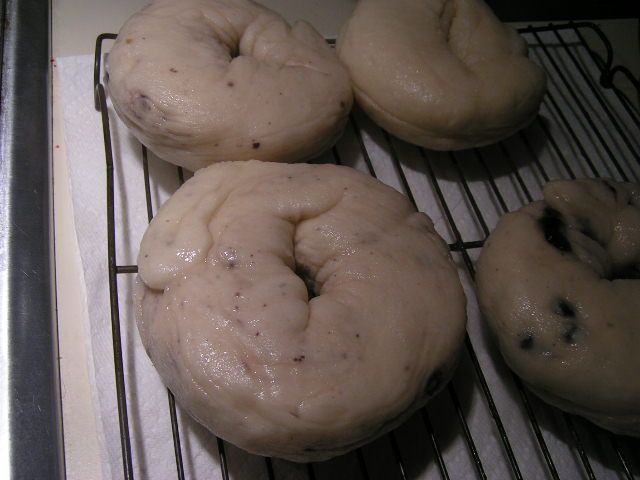 Lift the bagels out of the water and allow to dry for a minute on a rack. 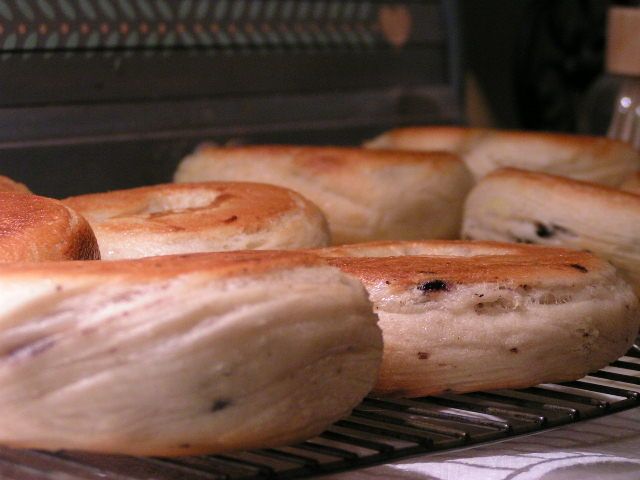 Then place them on the oiled cookie sheet. Bake at 425º for 20 minutes. If you like your bagels to be crispy on both sides, after 10 minutes of baking, you can flip them over to the other side and bake for 10 more minutes.  Just to show you the difference in appearance, the two bagels on the left were not turned and the one on the top right was flipped in the middle of baking. Slice bagels and toast in a toaster or toaster oven and serve warm. Extra bagels can be stored in a plastic bag and refrigerated for freshness. 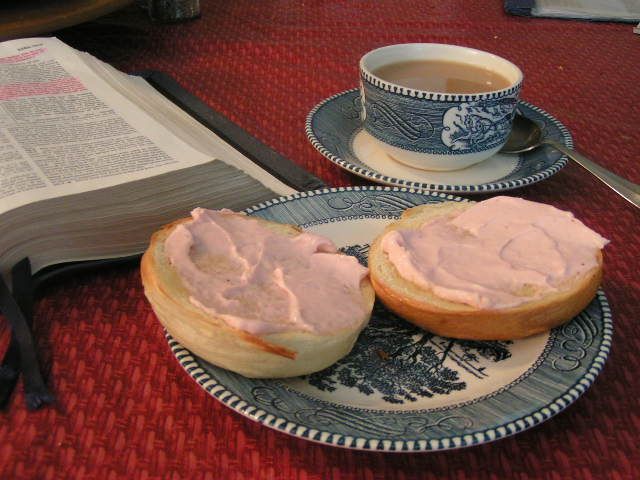 Bible study with a freshly toasted bagel slathered with butter and strawberry cream cheese accompanied by a nice cup of hot, Fortunes Blueberry Vanilla Tea found at the Shopping Page.  |
|
|
Oklahoma Pastry Cloth™ Company on Facebook
|
|
 |
|
|
Tags: bagels, baking, boiling, Breads, cream cheese

Mary Beth,
You always make it look so easy! I’m gonna have to give it a try! 🙂
Hi MB,
As an American of Polish descent, I was pleased to learn that Poland played a significant role in the invention of the bagel. Who’d a thunk it? Austria (and the rest of Europe for that matter), owes a great debt to the Poles for repelling the Muslim invasion. I guess it lasted for about 300 years. Too bad Europe is now being overrun by Muslims in the name of political correctness.
Best regards…
Candy, it IS easy. You’ll love them!!
You are of Polish descent? I’d of NEVER guessed it by your name.
🙂
Simply beautiful bagels! Well done!
Thanks!! You need to make some. 🙂
They look delicious! Thanks for making it seem possible.
Oh! They are possible and would be a fun grandchildren/grandmom project!
I can’t wait to try these. They look wonderful! Thank you for the recipe.
Let us know how they turn out, Brenda! You can add your own touches like poppyseeds or sesame seeds or whatever!
MB,
You are amazing! I want you to adopt me, move my family onto your place and call us yours! There is NOTHING you can’t do! 🙂
Oh one more thing, please of course. 🙂 I didn’t see where you said how much yeast. Thanks so much! 🙂
Lacey, that’s 2 tsps yeast and I don’t have to adopt you!! You can do anything too!! 🙂
Hi. I’ve tried to make these twice, and with no success. There is not enough water to get all of the flour wet. It’s quite frustrating. You might want to make some improvements in your water to flour ratio.
Andrea, I usually use 1 1/2 cups instead of the full 1 3/4 cups of water and that should be enough. If you are using freshly ground flour, you need to sift it numerous times before measuring it and using it to add air and make it lighter. The dough itself is a very stiff dough and is not light. Hope that helps.