  Buying chicken on sale is a wonderful thing if you have the room to freeze it, but what do you do when chicken is on sale for a matter of cents per pound and you want to stock up for a good, long time? Freezer longevity for chickens is just a few months and so unless you eat chicken every night, it would be hard to make use of a large number of frozen birds. Canning is your option! Shoot, canning is ALWAYS an option because there’s just very little that can’t be canned!  And so, here are the steps to canning a whole bird followed by a rather surprising recipe – I thought it was surprising, anyway! The method that I am using here is called the “raw pack” method and does not involve cooking the chicken first. 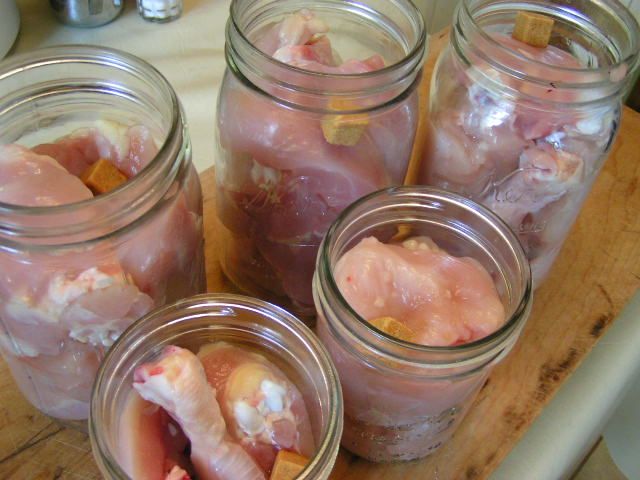 After cutting up the chicken, place it into warm, wide-mouth jars that have been washed and sterilized in the dishwasher or boiled in a large pot. It is important that they are widemouth in order to get the chicken out without tearing it apart. I can get one half of a chicken into a quart jar (minus the back which I use for stock). I also place just the wishbones together sometimes, in a widemouth pint jar, to use for recipes like enchiladas that call for just white meat chicken. I also skin all of my chicken to cut down on fat. I place one cube of chicken bouillon per jar. 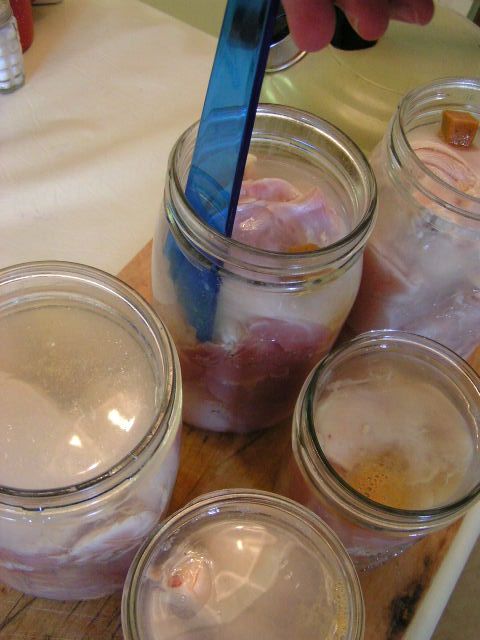 Meanwhile, I have a kettle of water boiling on the stove and slowly pour the hot water over the chicken to leave a 1/2″ headspace. Using a canning spatula or knife, move around the inside perimeter of each jar to release any airbubbles. 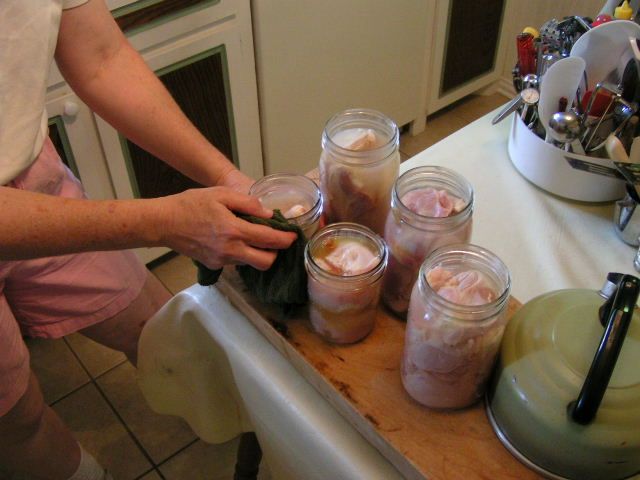 Wipe the top edges of the jars with a wet cloth to remove any chicken juice or oils. 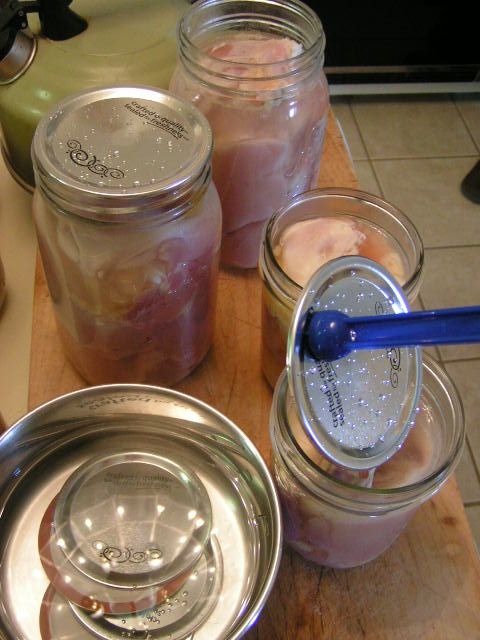 Place lids that have been warmed in a pot of nearly boiling water onto the jars and add rings. Tighten slightly. Place in a pressure canner just like I demonstrated in the post on canning chicken broth. Process for 75 minutes for pints and 90 minutes for quarts once your canner has pressurized. 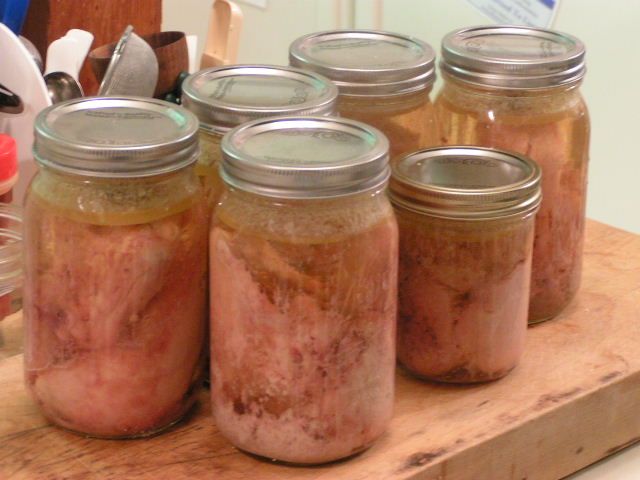 I have to admit that of all the things one may can, chickens make the UGLIEST presentation. The jars just aren’t pretty. There’s no getting around it. Once they come out of the canner and cool, it is a good idea to remove the rings and wash the jars (with the chicken in them) in warm, soapy water and then wash the rings to get any oil off that may have escaped in processing. Let the rings dry and then you can replace them or leave them off, whichever you prefer. Once your chicken is canned, it will last for at least a year. And it is so great for fast meals. Dump a couple of jars into a pot with some onions and broth and bring to a boil and then add dumplings. But that is just normal. How about different? 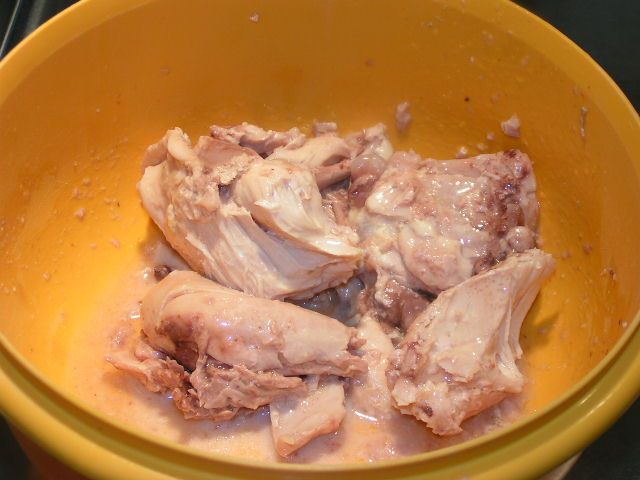 Last night, I opened one quart jar of chicken, drained the broth and carefully slid the chicken pieces into a large bowl. I sprinkled milk over the pieces. 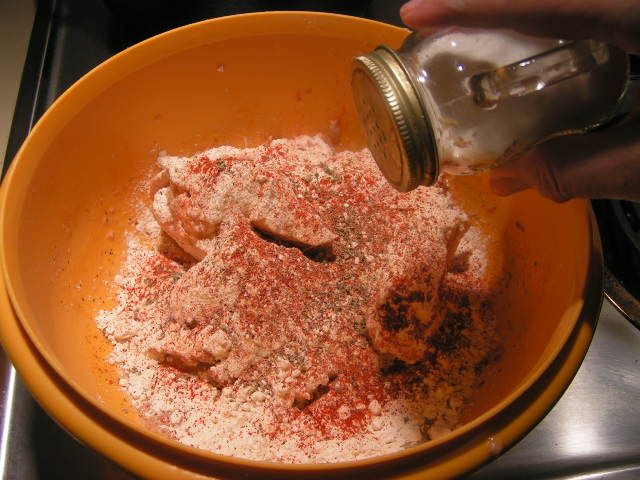 I added a cup of flour, about 1/2 tsp paprika, 1/4 tsp garlic powder, 1/4 tsp thyme, 1/2 tsp sage, 1/2 tsp black pepper and carefully rolled the pieces in this mixture. I salted the pieces at that point. Again, you have to handle the pieces gently or they will fall apart on you. If they do, it’s ok. Just dredge the parts in flour too.  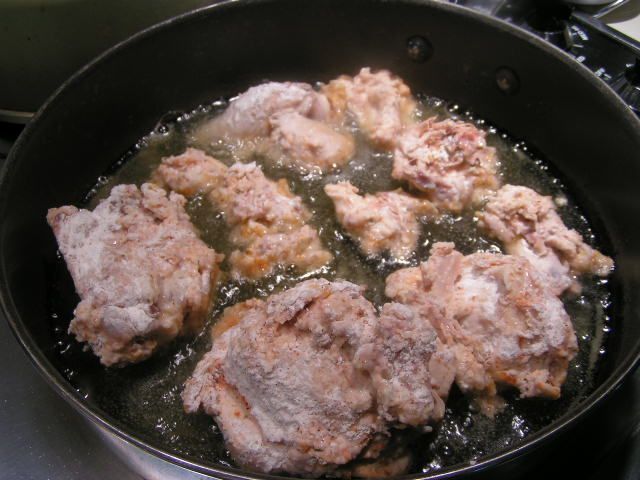 Next, I put just enough canola oil in a skillet to cover the bottom well and heated on medium high. Light olive oil would be fine too. Anything to get those good fats, people! When the oil was hot, I gently placed the floured pieces of chicken in the oil to “fry”. 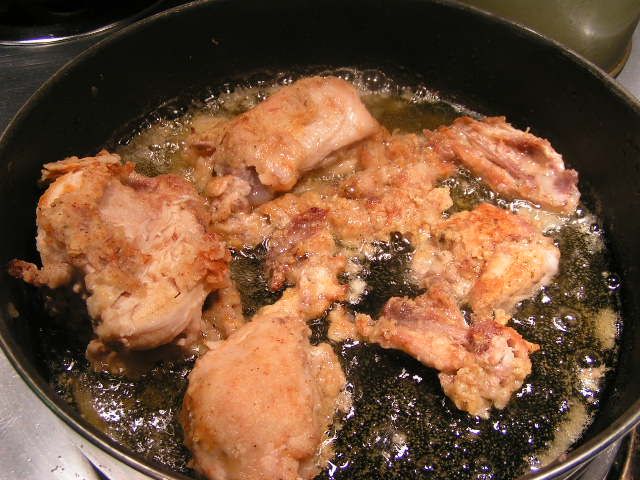 I carefully turned the pieces to brown on the other side. When browned, I transferred the pieces to a cookie rack placed over a cookie sheet and placed in the oven at 250º while I cooked the rest of the meal. This keeps the meat warm, but also lets excess oil drip off of the chicken so that it isn’t too greasy. 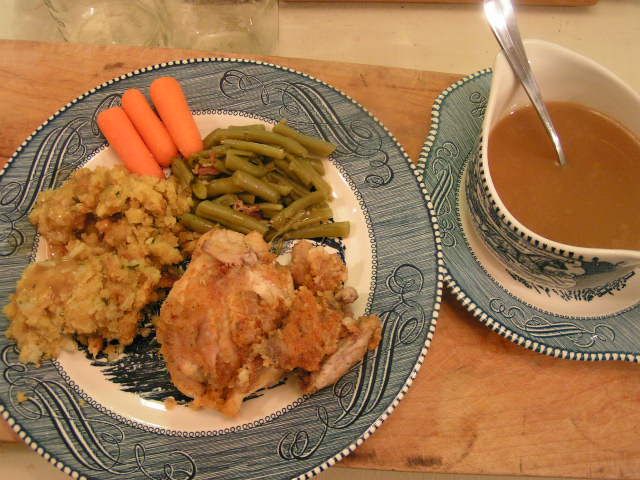  You can make gravy with the broth out of the jar and cornstarch or use a packaged mix. And I added stuffing to this plateful. Since the chicken has been pressure cooked in the canning process, it is tender and falling off the bone even before frying, so frying just gives these tender morsels a crispy covering. Mr. Fix-It was licking his chops and said that the chicken was superb! He’s my most honest critic. So see? You can use canned chicken in all kinds of ways! |
|
Oklahoma Pastry Cloth™ Company on Facebook
|
Tags: canned, chicken, food processing, fried chicken, recipe

Yum yummy! I’ve got to try this! You are sooooooo creative!
Gosh that looks good!
What time is supper tonight?
So sorry! That was LAST night! Shall I post when I open the next jar?
Not necessarily creative, STCJ, just hungry!!
[…] to waste. So, I rectify that problem by canning the leftovers. In a past post, I showed you how to can chicken by using the raw pack method. The chicken cooks in the processing. However, already cooked meat may […]