|
Here in Oklahoma, most of us are tough old birds. We’ve learned the only thing predictable is that there is nothing much predictable in this state. One minute you can bake a chicken in your car and the next minute you’re trying to figure out how to get that car out of a snow drift. Of course, the car can get cooked in one of our prairie fires as well. Ice storms can paralyze daily life for a week and tornadoes can change lives forever. And then of course, there are the hail storms. So, we Okies have pretty much figured out that you don’t need a government commission on emergency preparedness to tell us to be prepared. We’ve been prepared since the days of the Land Run when barrels of beans, flour and sugar and a crock of sourdough starter meant protection from starvation when the WalMart shelves were empty. Unfortunately, there ARE some city dwellers here who have either forgotten these facts or who moved here from some foreign country, like Los Angeles, who get caught with their rations down. But for the most part, we’re a pretty prepared and flexible lot. I got tickled the other day when a 30 minute program was aired to remind us that we have the likes of tornadoes and such here in Oklahoma. Ya think? A body would have to be living in a cave 24/7 to miss that little bit of reality. Anyway, the Oklahoma preparedness program has been called “Red Dirt Ready” and the name symbolizes the fact the Okies immediately jump in to help after a disaster, getting all covered in Oklahoma’s famous red dirt. That’s true. We do. It’s what makes this state great. 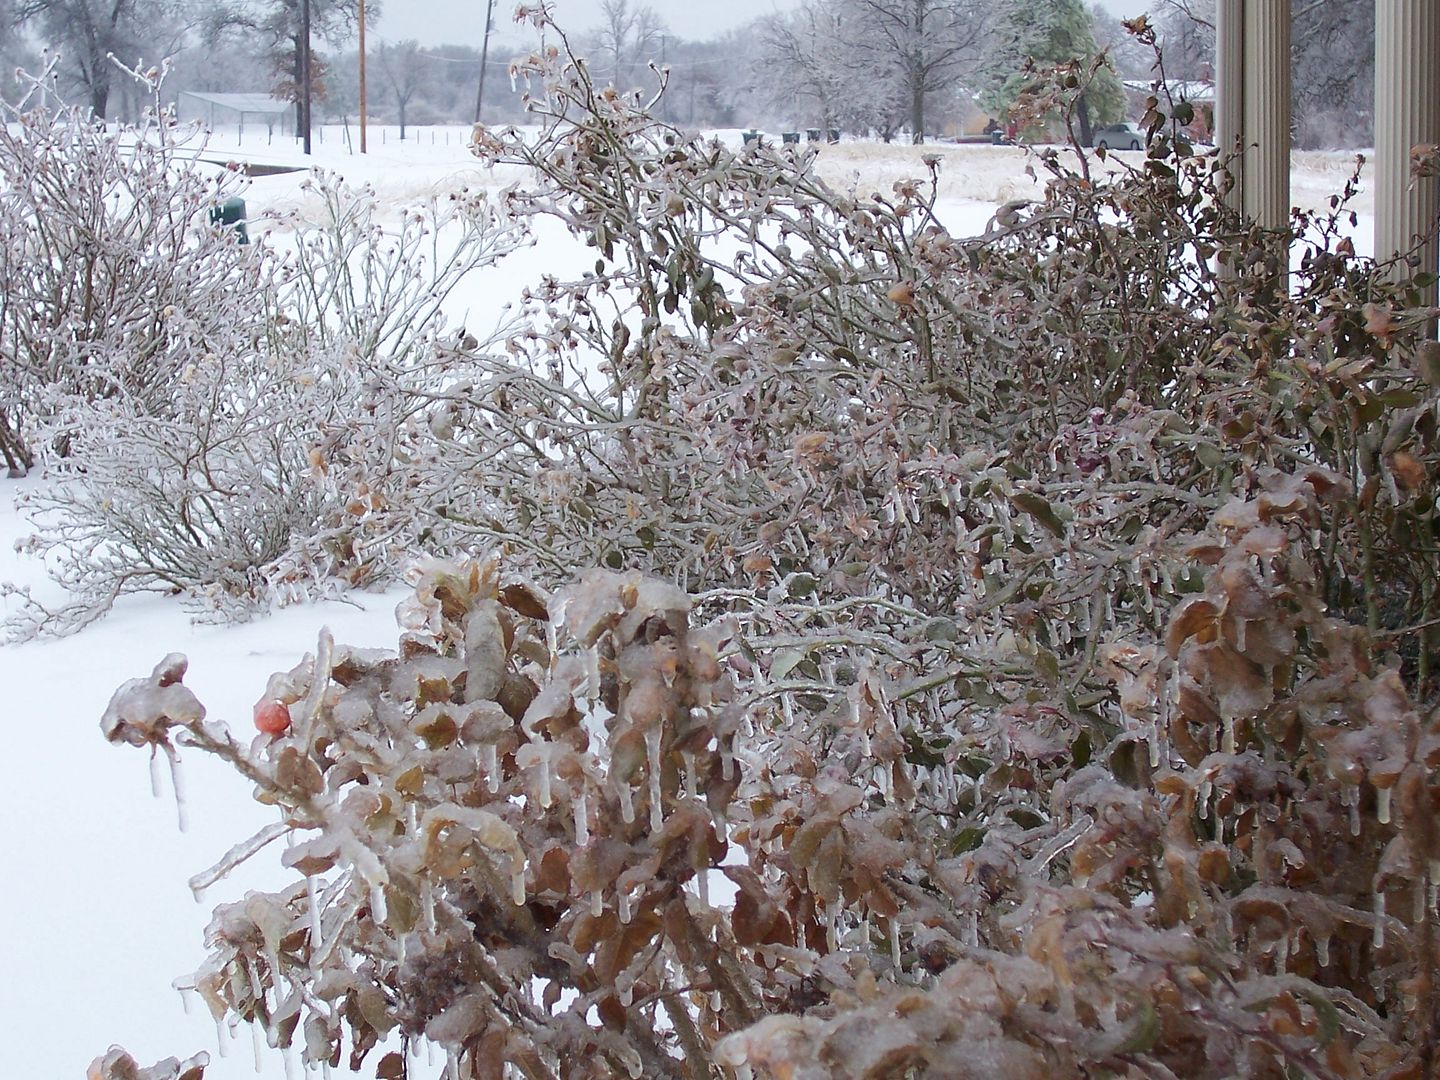  Electricity can be a problem around here. It is not unusual for us to be without for a couple of days and in many areas that can run into a number of weeks. That wreaks havoc on one’s frozen vittles if one hasn’t a generator and so it is nice to have plenty of stock that requires no refrigeration. That would seem impossible for such things as fruits and veggies, but not so! The age old art of dehydrating comes in really handy to offer up a pantry full of wonderful and healthy treats that will last a looooong time. Having a garden each year, I dehydrate stuff yearly, but lately, I’ve been a dehydrating fool. I have been challenging myself to see what I can dry next and how best to use it. I’ve decided to do a series on using a dehydrator with recipes. Today I’m demonstrating celery and broccoli drying. I was inspired to do the celery because our local store, Firelake Grocery, had celery on sale, 3 large bags for $1. The broccoli was on sale as well – two good sized heads for $1. I use a lot of both. Now, I need to sidetrack here for a sec because I realize that these are not organic items coming from a local grocer. However, with food prices soaring, many people can’t afford the more expensive organic foods and I want to let them know that it’s ok. This is where my faith comes into play. I see 3 large bags of celery for $1 as a blessing and I see God as my provider of blessings. Therefore, I just trust that all I can do is the best that I can and trust God to take care of me. In other words, I eat as healthily as I can and leave the rest up to the Lord. Shoot, I used to break thermometers when I was young and chase the little balls of mercury around on the table for hours with my friends! I promise, I don’t glow in the dark – although I do have very white hair. Do you suppose – – – ? Back to the celery and broccoli. The long and the short of it is that I bought 16 bags of celery and a lot of broccoli. Neither of these items is anything you can keep for any amount of time unless you dry them or freeze them. I like to freeze celery by chopping it, leaves and all, and spreading it onto a cookie sheet, freezing it hard and then taking it off of the sheet to place it into freezer bags. That way the pieces stay separate and don’t clump up. Frozen celery is a quick addition for sautéing and putting into chicken salad. However, as I said, frozen is useless when there is no electricity. Plus, I don’t have that much freezer space! I froze one bag of this celery and all of the rest I dried. 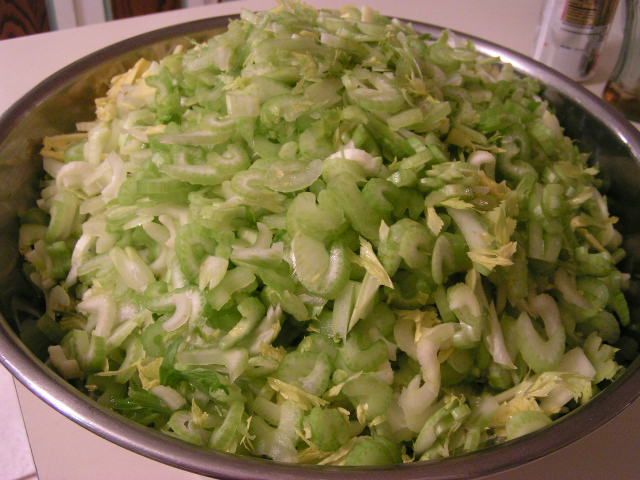 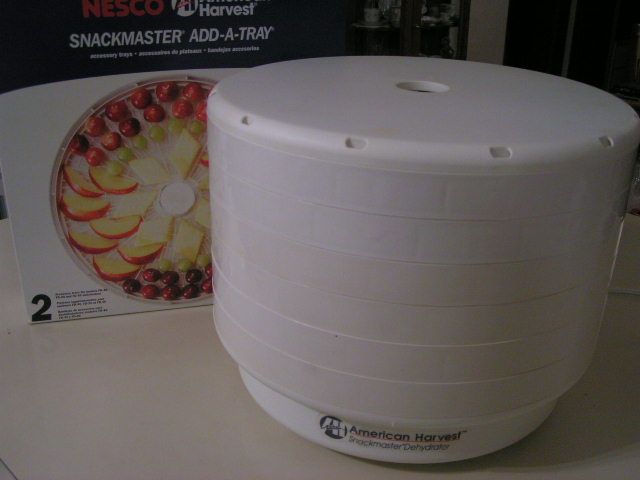 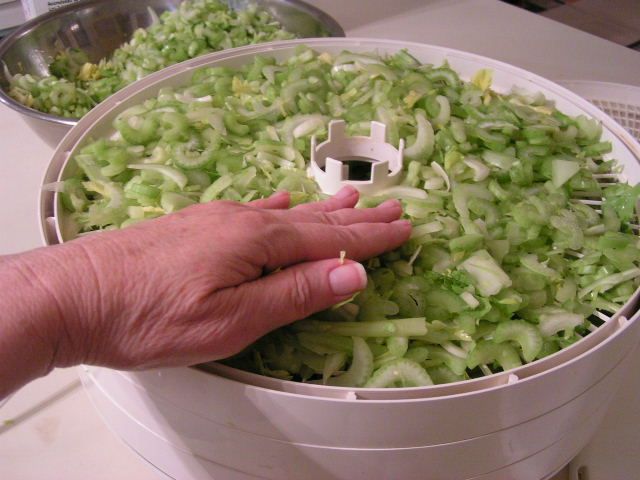 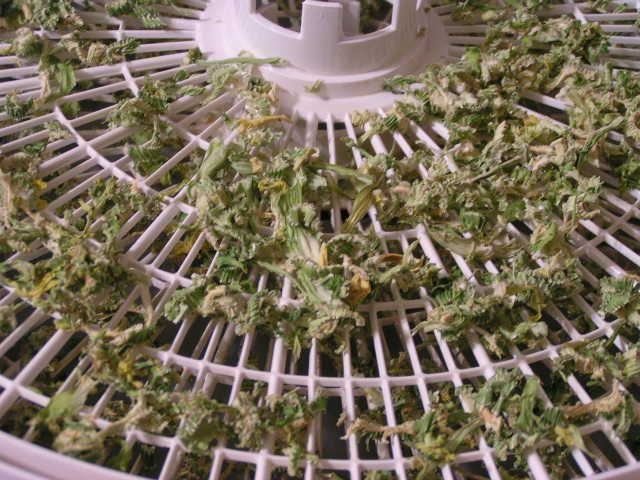 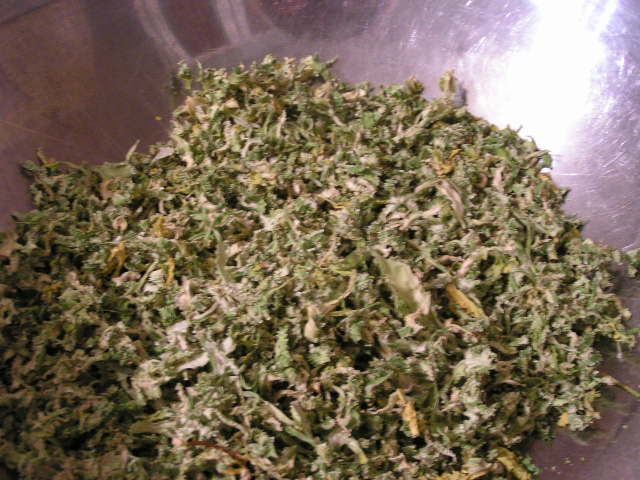 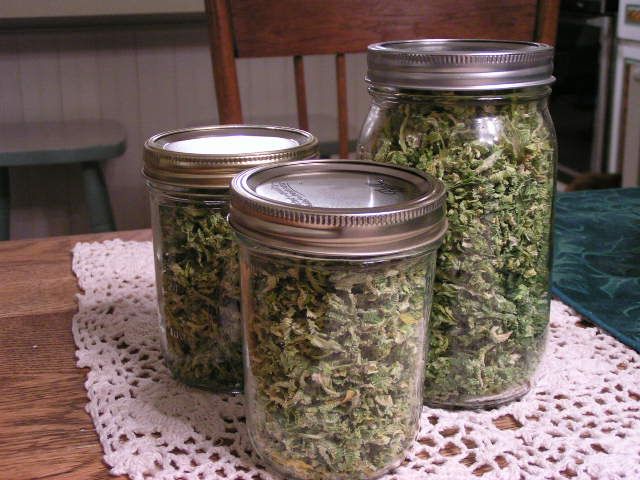 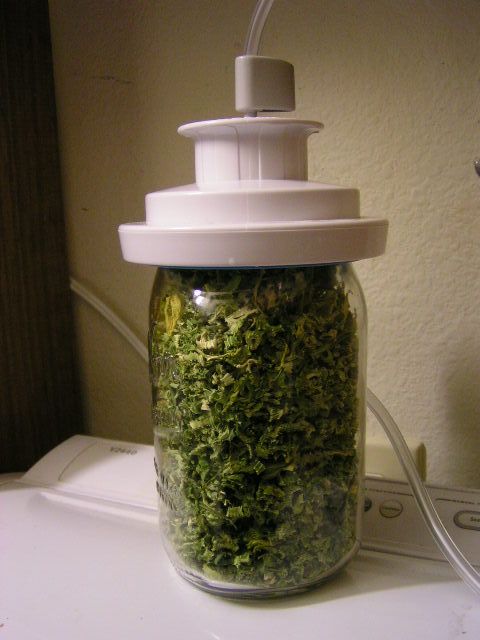 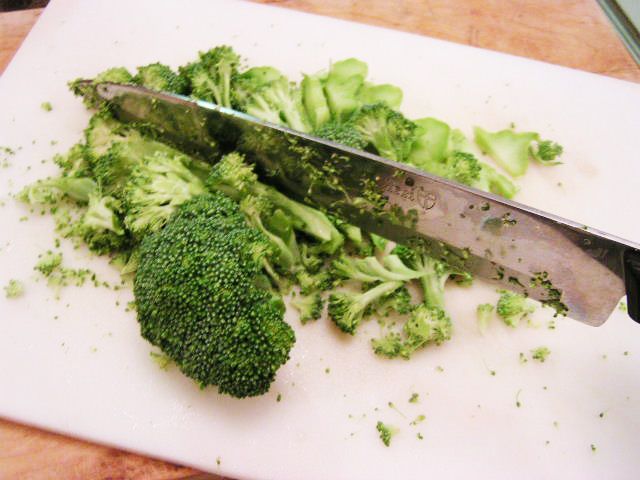 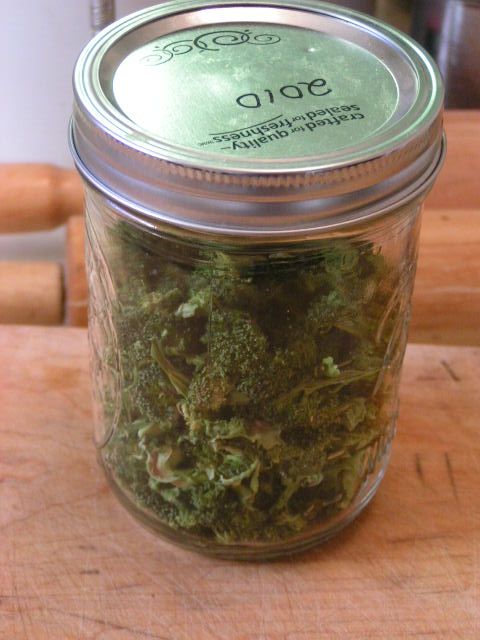 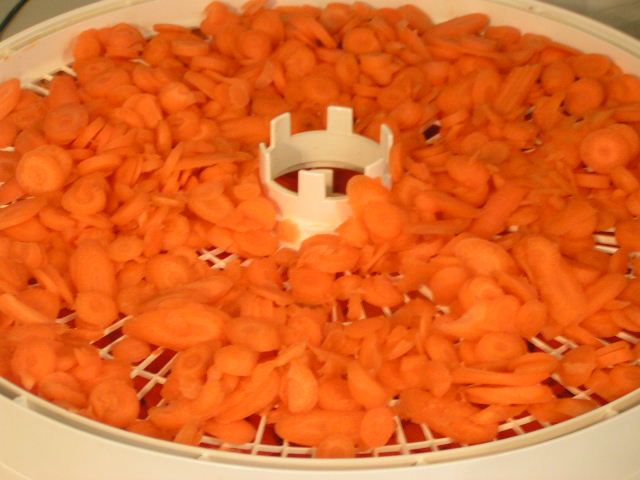 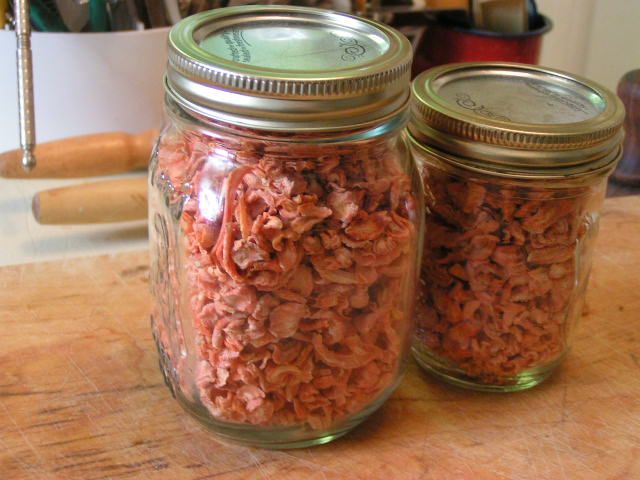 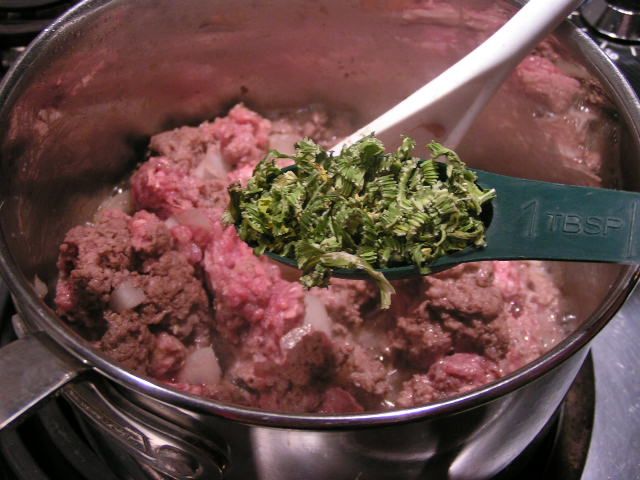 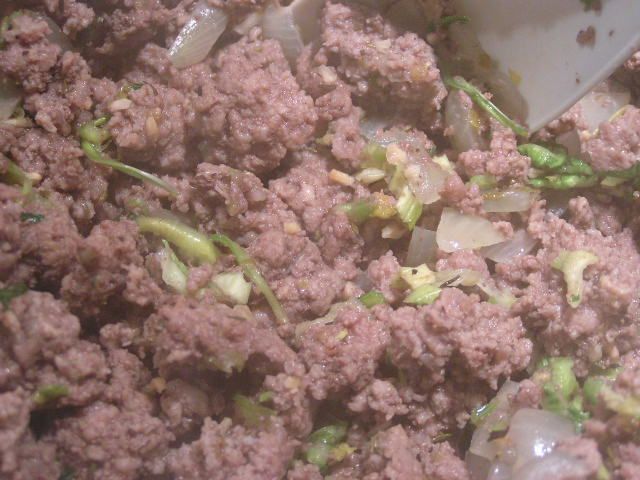 So there you have it. That will keep you busy for a couple of days and by Thursday, you’ll be ready for a recipe. I’ve made a New Year’s Resolution – I’m going to do my dead level best to post twice a week, hopefully Mondays and Thursdays. Just remember what happens to New Year’s Resolutions – they’re kinda all dried up too. |
|
Oklahoma Pastry Cloth™ Company on Facebook
|
|
|
Tags: broccoli, celery, dehydrating, dehydrator, drying, preparedness

Can you also dry squash and zucunni? It is always plentiful down here and at a good price from May to Sept. and we love squash, so was wondering if they too can be dried?
Judy, you can dry anything! 🙂 I would say that squash would dry pretty well, actually. It would probably reconstitute for casseroles, zuchinni bread and such. I’ve never done it but now you have me curious. I think I’ll try it!
How do you know when dry is dry enough? I tried figs last year and they turned into crispy little critters I was actually afraid to use. I purchase (I know, gasp) dried fruits to use – like apricots and cherries. They have some moisture. How do you know when dry enough is dry enough? Won’t moisture cause them to ruin? And, I will confess, I’ve had fruit mold in my dryer. Needless to say, I’ve got a long way to go to master it. What am I doing wrong? I don’t have a ready supply of fruit, but I’d love to have some bell peppers to use for quick recipes. Help?
Holly, I know your angst!! The first time that I dried blueberries, they were little round pellets that went to pieces when you squeezed them. They popped into dust! I didn’t realize that the skins need to be split. For fruits with skins like blueberries, cranberries, grapes, figs, etc. you drop those in boiling water for 1 minute and then immediately drain and drop into ice water. Dry them and then place onto the dehydrator racks. Every so many hours check the fruit and take out a couple to cool and see if they are pliable. They should not be crisp.
Peppers, however, are different. I will be doing a post on peppers and potatoes next, so keep watching! 🙂
Wonderful post!
I’ve always been a bit terrified of canning and totally stumped by dehydrating…I think I’ll give it a go now!
I can’t wait to try…there are so many things I really want to stock up on!
Thank you for having such a terrific blog!
I noticed the jar vaccums. How do they work? I have never seen those before but when I googled them sure enough there they were. None of the sites really said how they work
Thanks Stasia! Jump in there and do your thing! Practice makes perfect.
Lisa, the one in the photograph is a FoodSaver brand sealer and it vacuum seals both bags and jars. You can get them at WalMart or online by googling FoodSaver. The machine has a lid that lifts in order to place the lips of bags of food on the heat strip. The lid is then closed and the machine turned on and it vacuums all of the air out of the bags and seals them at the same time. To do jars, there is a tube that attaches to the machine and to the cap that fits over the mouth of the jar like in the picture. You heat a lid in hot water just like you do for canning, dry it and immediately place it on the jar. You put the cap over the lid and turn the machine on. The air is sucked out of the jar and the lid is forced on at the same time. The vacuum inside the jar sucks the lid in place. Pretty cool.
Wow! I never thought of dehydrating as such a space saver. I’ve always dried herbs and some fruits but have as yet to try veggies. I love to can but it does take up a lot of space. I’m looking forward to drying more items this year. Thanks!
Yep. Working fast and furious to get out two more posts for you to see how to use them in cooking!
[…] HOME SHOP HISTORY BLOG DEMO ABOUT CONTACT « Previous Post […]
We just our Nesco square dehydrator and we’re excited to take advantage of buying veg and produce in season (when it’s cheap) and putting it by. I also got a complete canning kit for Christmas, and am looking forward to reading your blog!!
You will love it, Justine!
Can you show how the Foodsaver works getting the air out of the jars please? I’ve been wanting to do this for a long time and would like to start this year. I’m planning my vegetable garden right now here in Oklahoma City 🙂
Sure Gina. I’ll get that up this afternoon. Gotta take the pictures first! Thanks for asking.
[…] Part I Part II Dehydrating Part III […]
Just wanted to say how much I enjoy the blog. I’ve canned for a long time but now have a dehydrater also. Our garden always gives us such a bounty, It’s only right to give some and save some. The Lord continues to bless. I very much appreciate the info on canning and drying. I live in Northern Oklahoma. I’ve lived around the world, but Oklahoma will always be my home. The people, the spirit, the land. Thank you for all of your work and time.
Thank you so much for your nice comment! You are so right about sharing your bounty. In the Old Testement, an offering to God came from the “gardens”. It is nice to hear the tradition continues! 🙂
It is gratifying to hear when something you enjoy is blessing someone else. and you are entered in the January Giveaway!
[…] Part I Part II Part III […]
[…] into a stock pot and cover with water, about a gallon plus. 4. Add 1-4 stalks of celery. I used my dried celery! 4 tbsp to equal 4 stalks. I love my dried celery! 5. Add 1/2 medium onion 6. Add 4-5 cloves of […]
[…] CLICK this link for her post on dehydrating veggies. […]
[…] Dry Celery […]
[…] Dry Celery […]